
This recipe is an amalgam of different recipes that I, at one time or another, tore out of magazines and filed away. I get several food magazines and I used to see recipes that I thought looked especially good so I saved the entire magazine. When I decided I wanted to try that special dessert or salad or soup that I’d seen I could never remember which issue or even which magazine I’d seen it in. So, instead of saving all the magazines I get, I now try to tear out the recipes I want to try and file them in spiral binders by category. If I try them and they are fails I throw the recipe out. Keepers stay in the binder with a 😊 on them. It’s my attempt to utilize my somewhat rusty organizational skills. Occasionally I sit down with one of the spiral binders and look for a recipe that strikes my fancy and that I have all the ingredients for. The latter is what sometimes inspires me to combine recipes or just ad lib on a concept. This chicken dish is one of those amalgams.
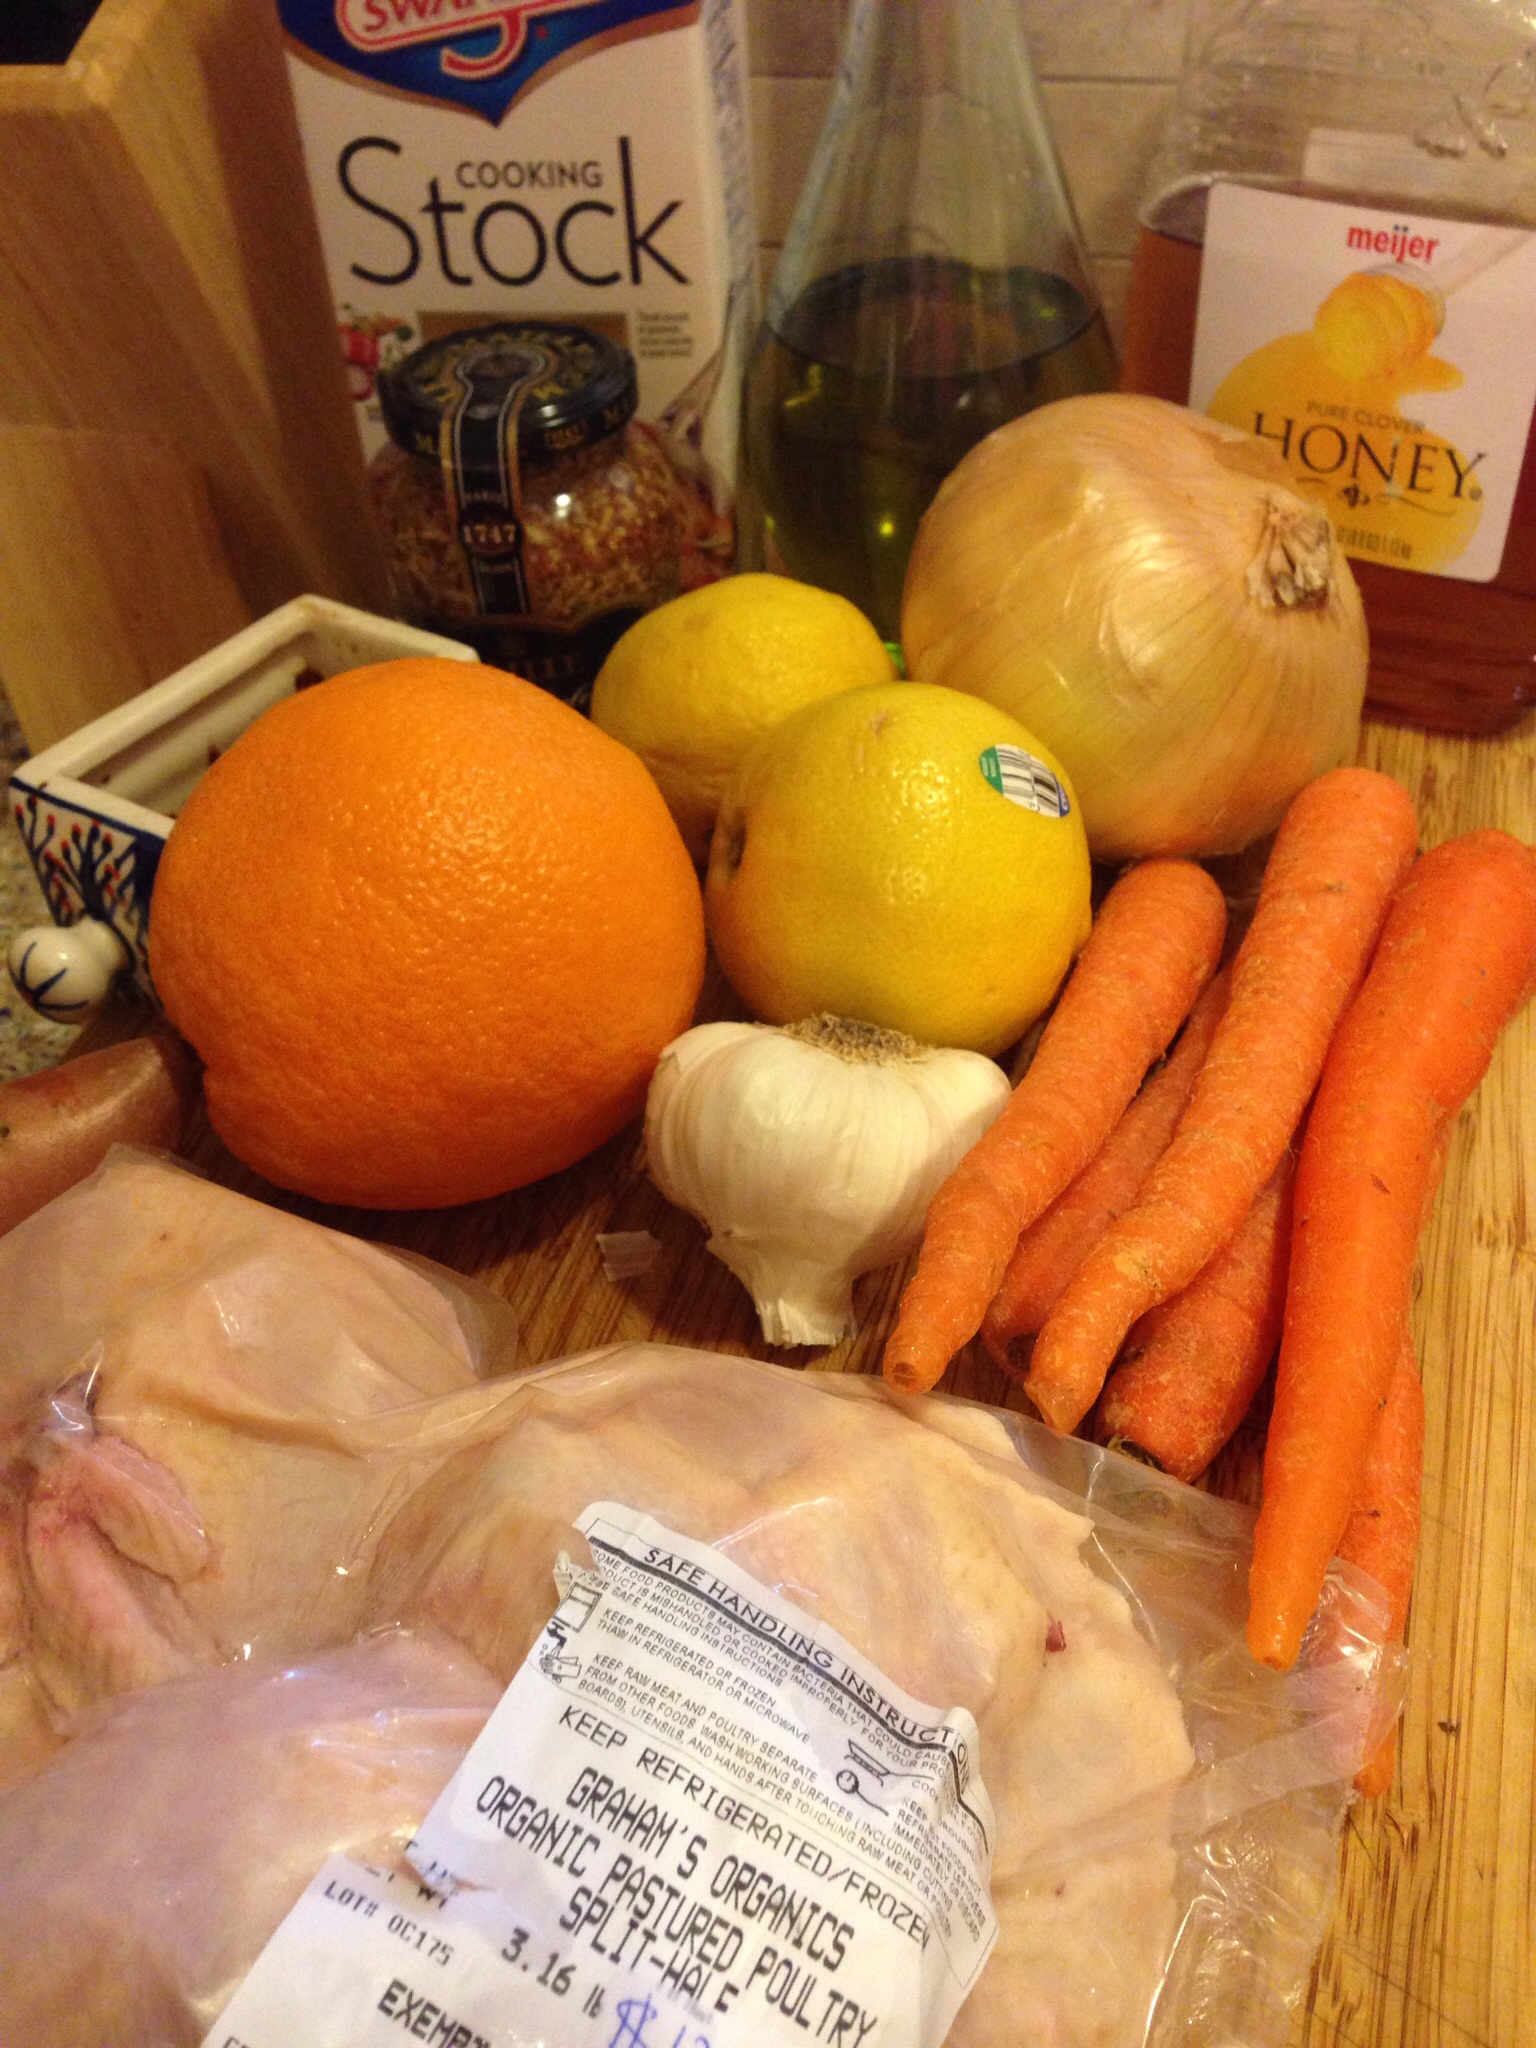
Ingredients:
Whole chicken cut into pieces (or whatever parts you prefer)
3 T olive oil
1/4 cup chicken broth
4 T fresh squeezed orange juice
4 T fresh squeezed lemon juice + 1 lemon cut into thin wedges
4 T whole grain mustard
4 T honey
1 tsp red pepper flakes
5-6 cloves of garlic chopped
1 large onion sliced
2-3 sweet potatoes peeled and cubed
4-5 carrots peeled and cut into chunks
Salt and pepper to taste
Cut the whole lemon in half, then in quarters, and finally cut each quarter into 4 wedges. Put the lemon wedges in a cup or so of boiling water and simmer for about 5 minutes. Drain and set aside.


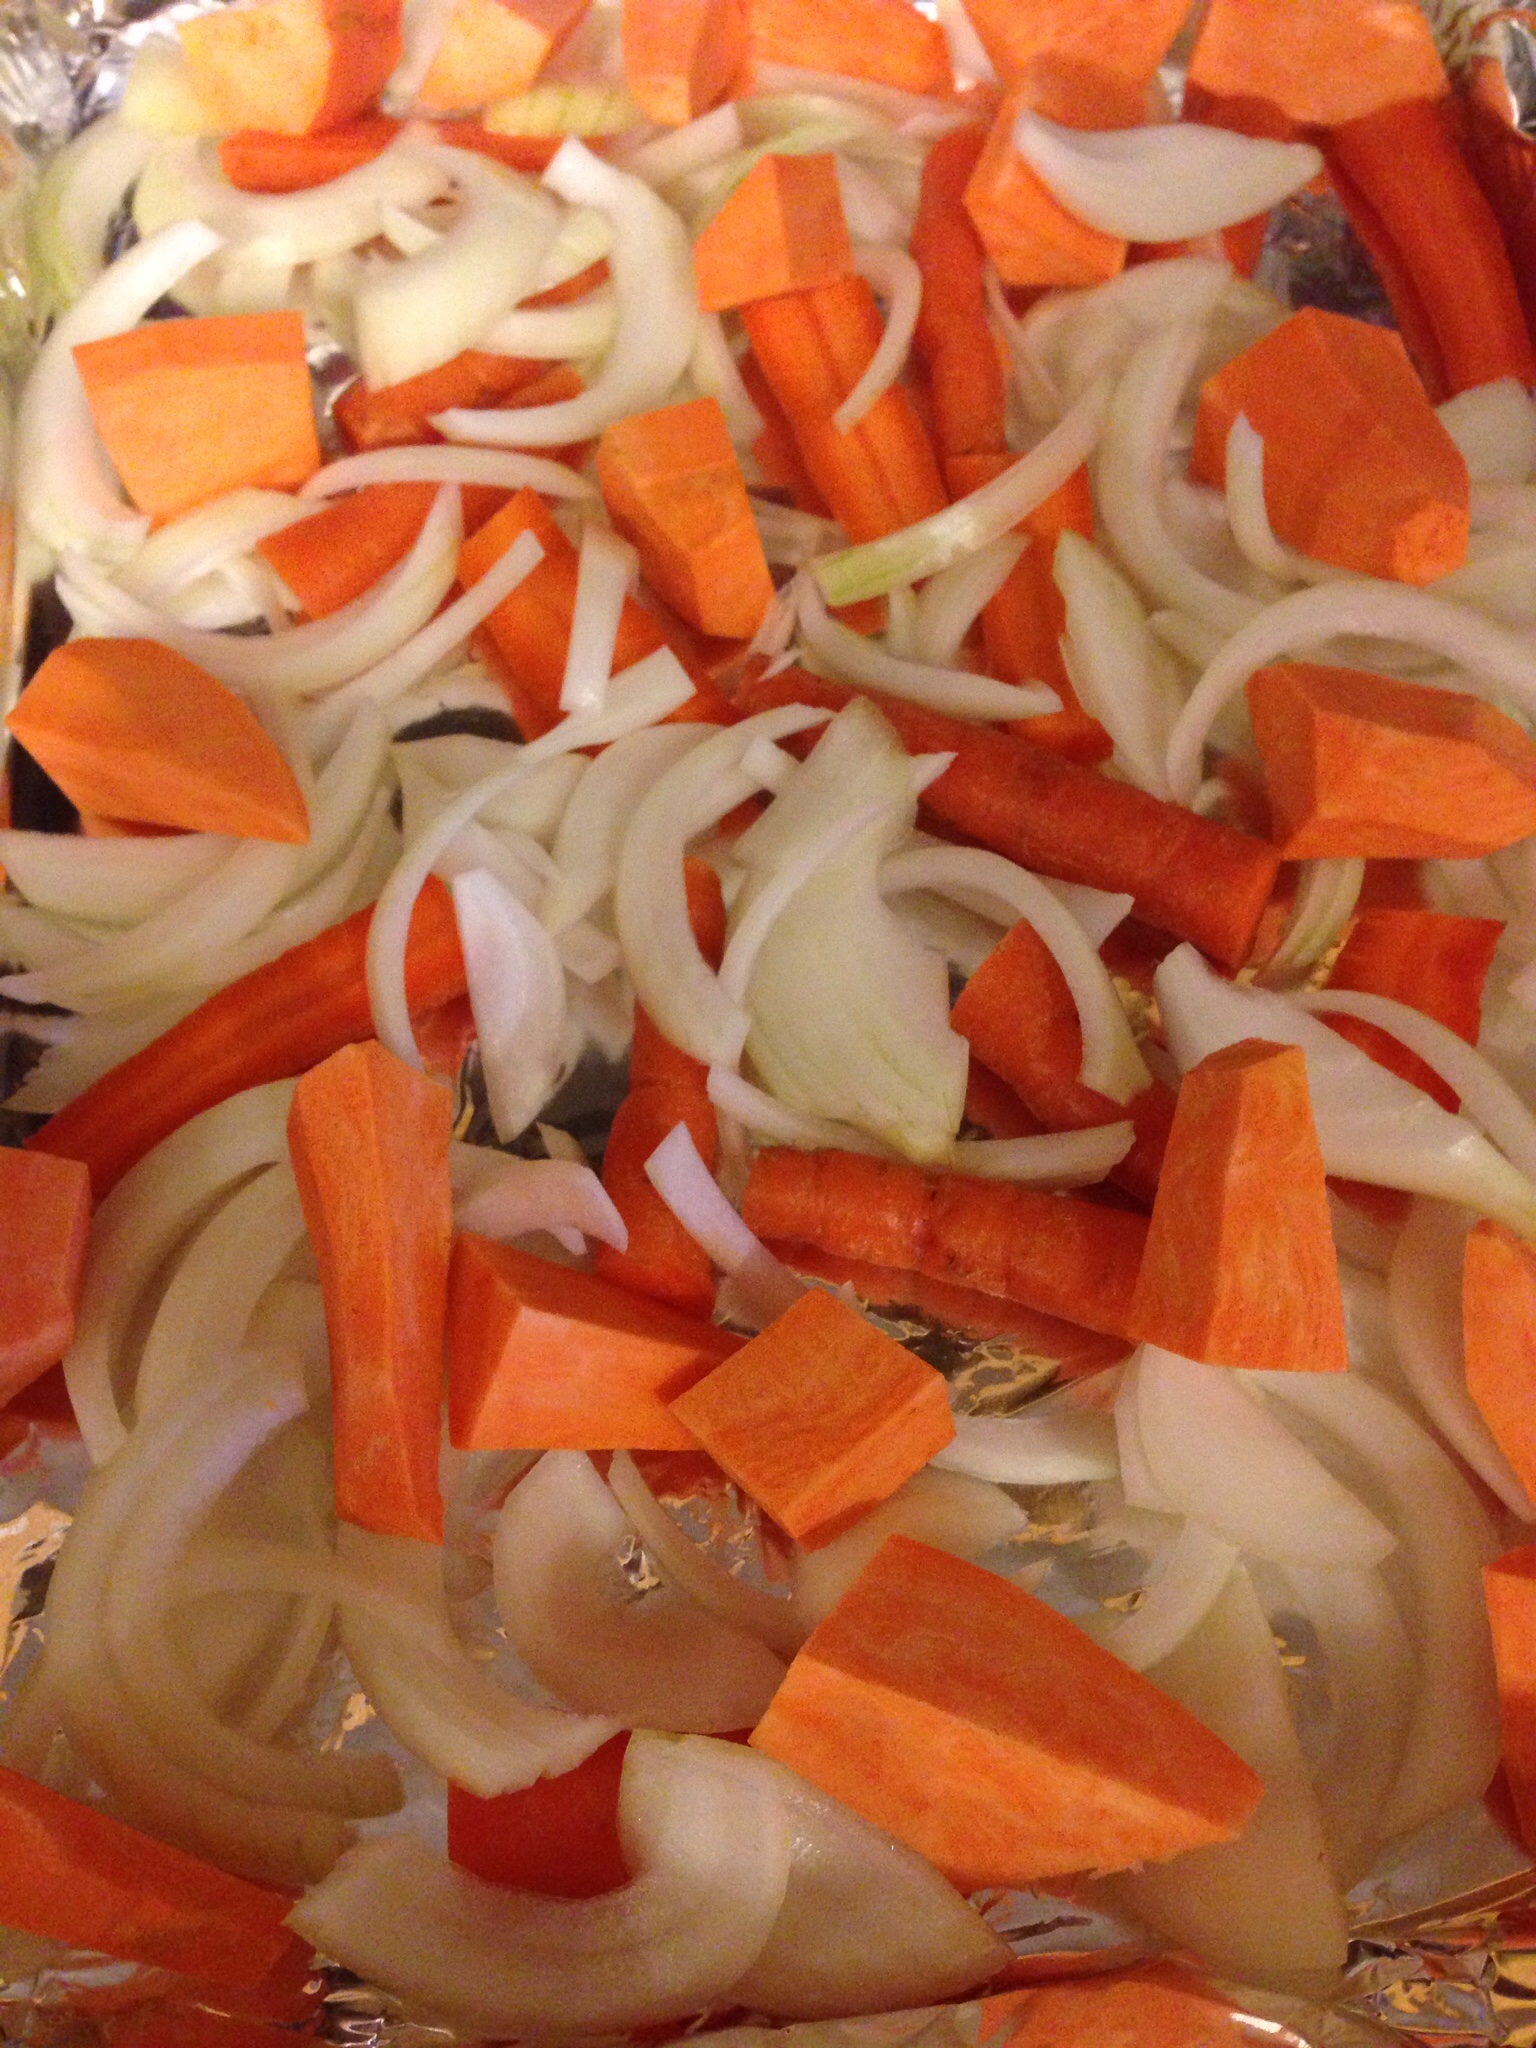
Preheat the oven to 425. In a large roasting pan or jelly roll pan lined with tin foil spread out the potatoes, carrots, and onion.
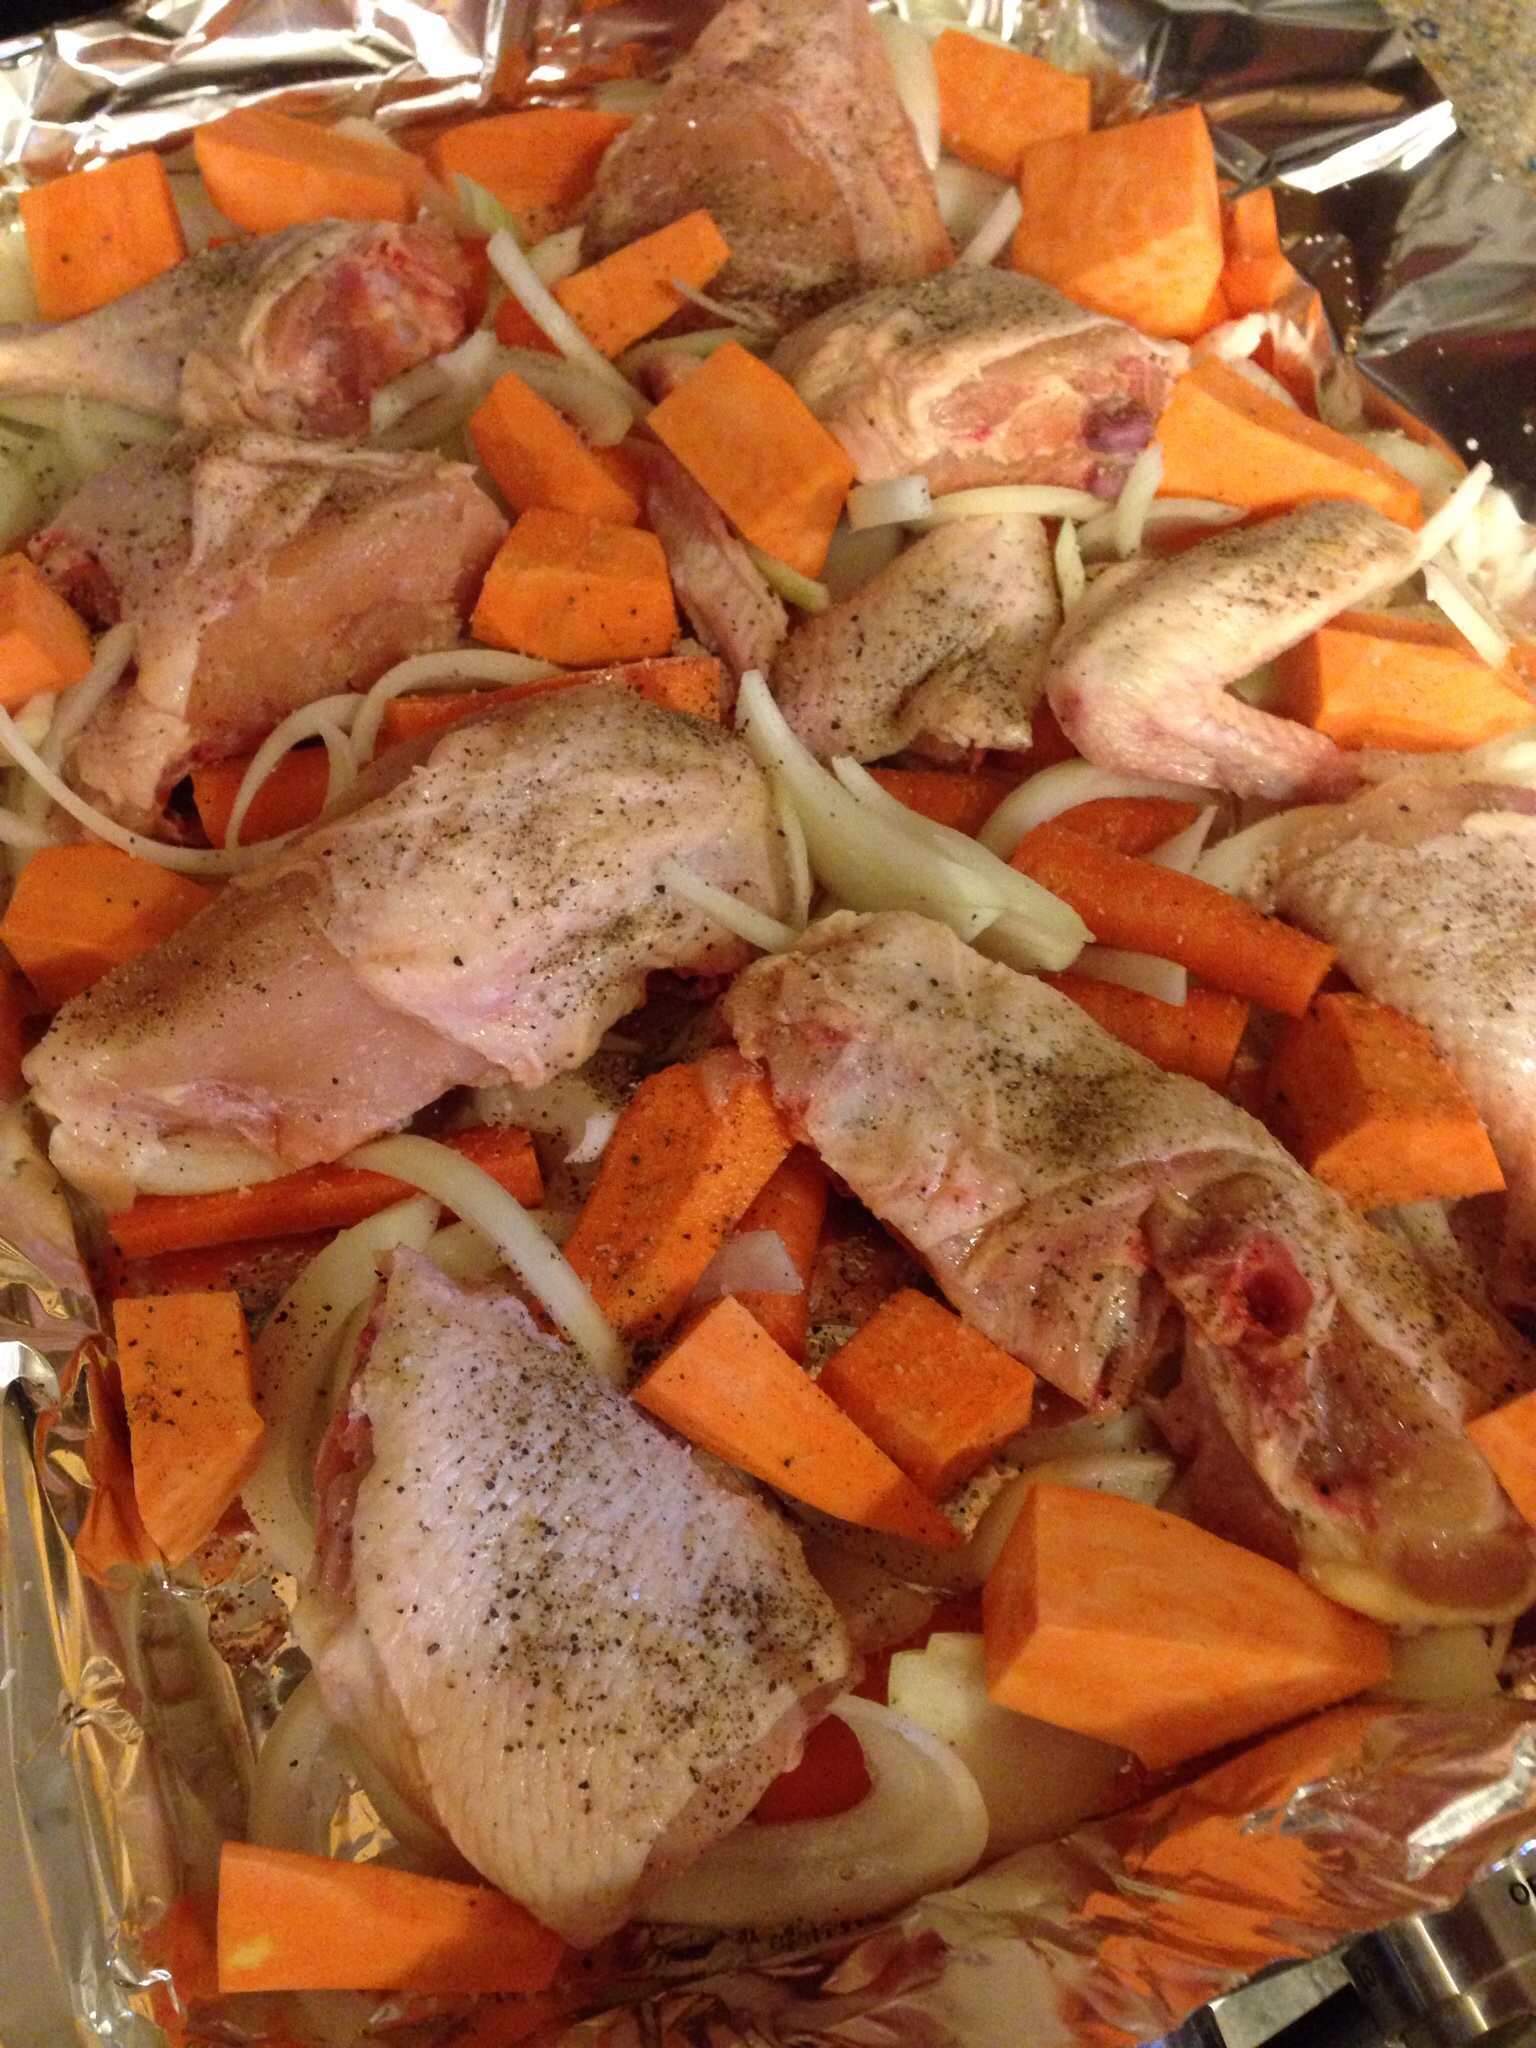
Generously salt and pepper the chicken and scatter the chicken pieces, skin side up, in with the vegetables.
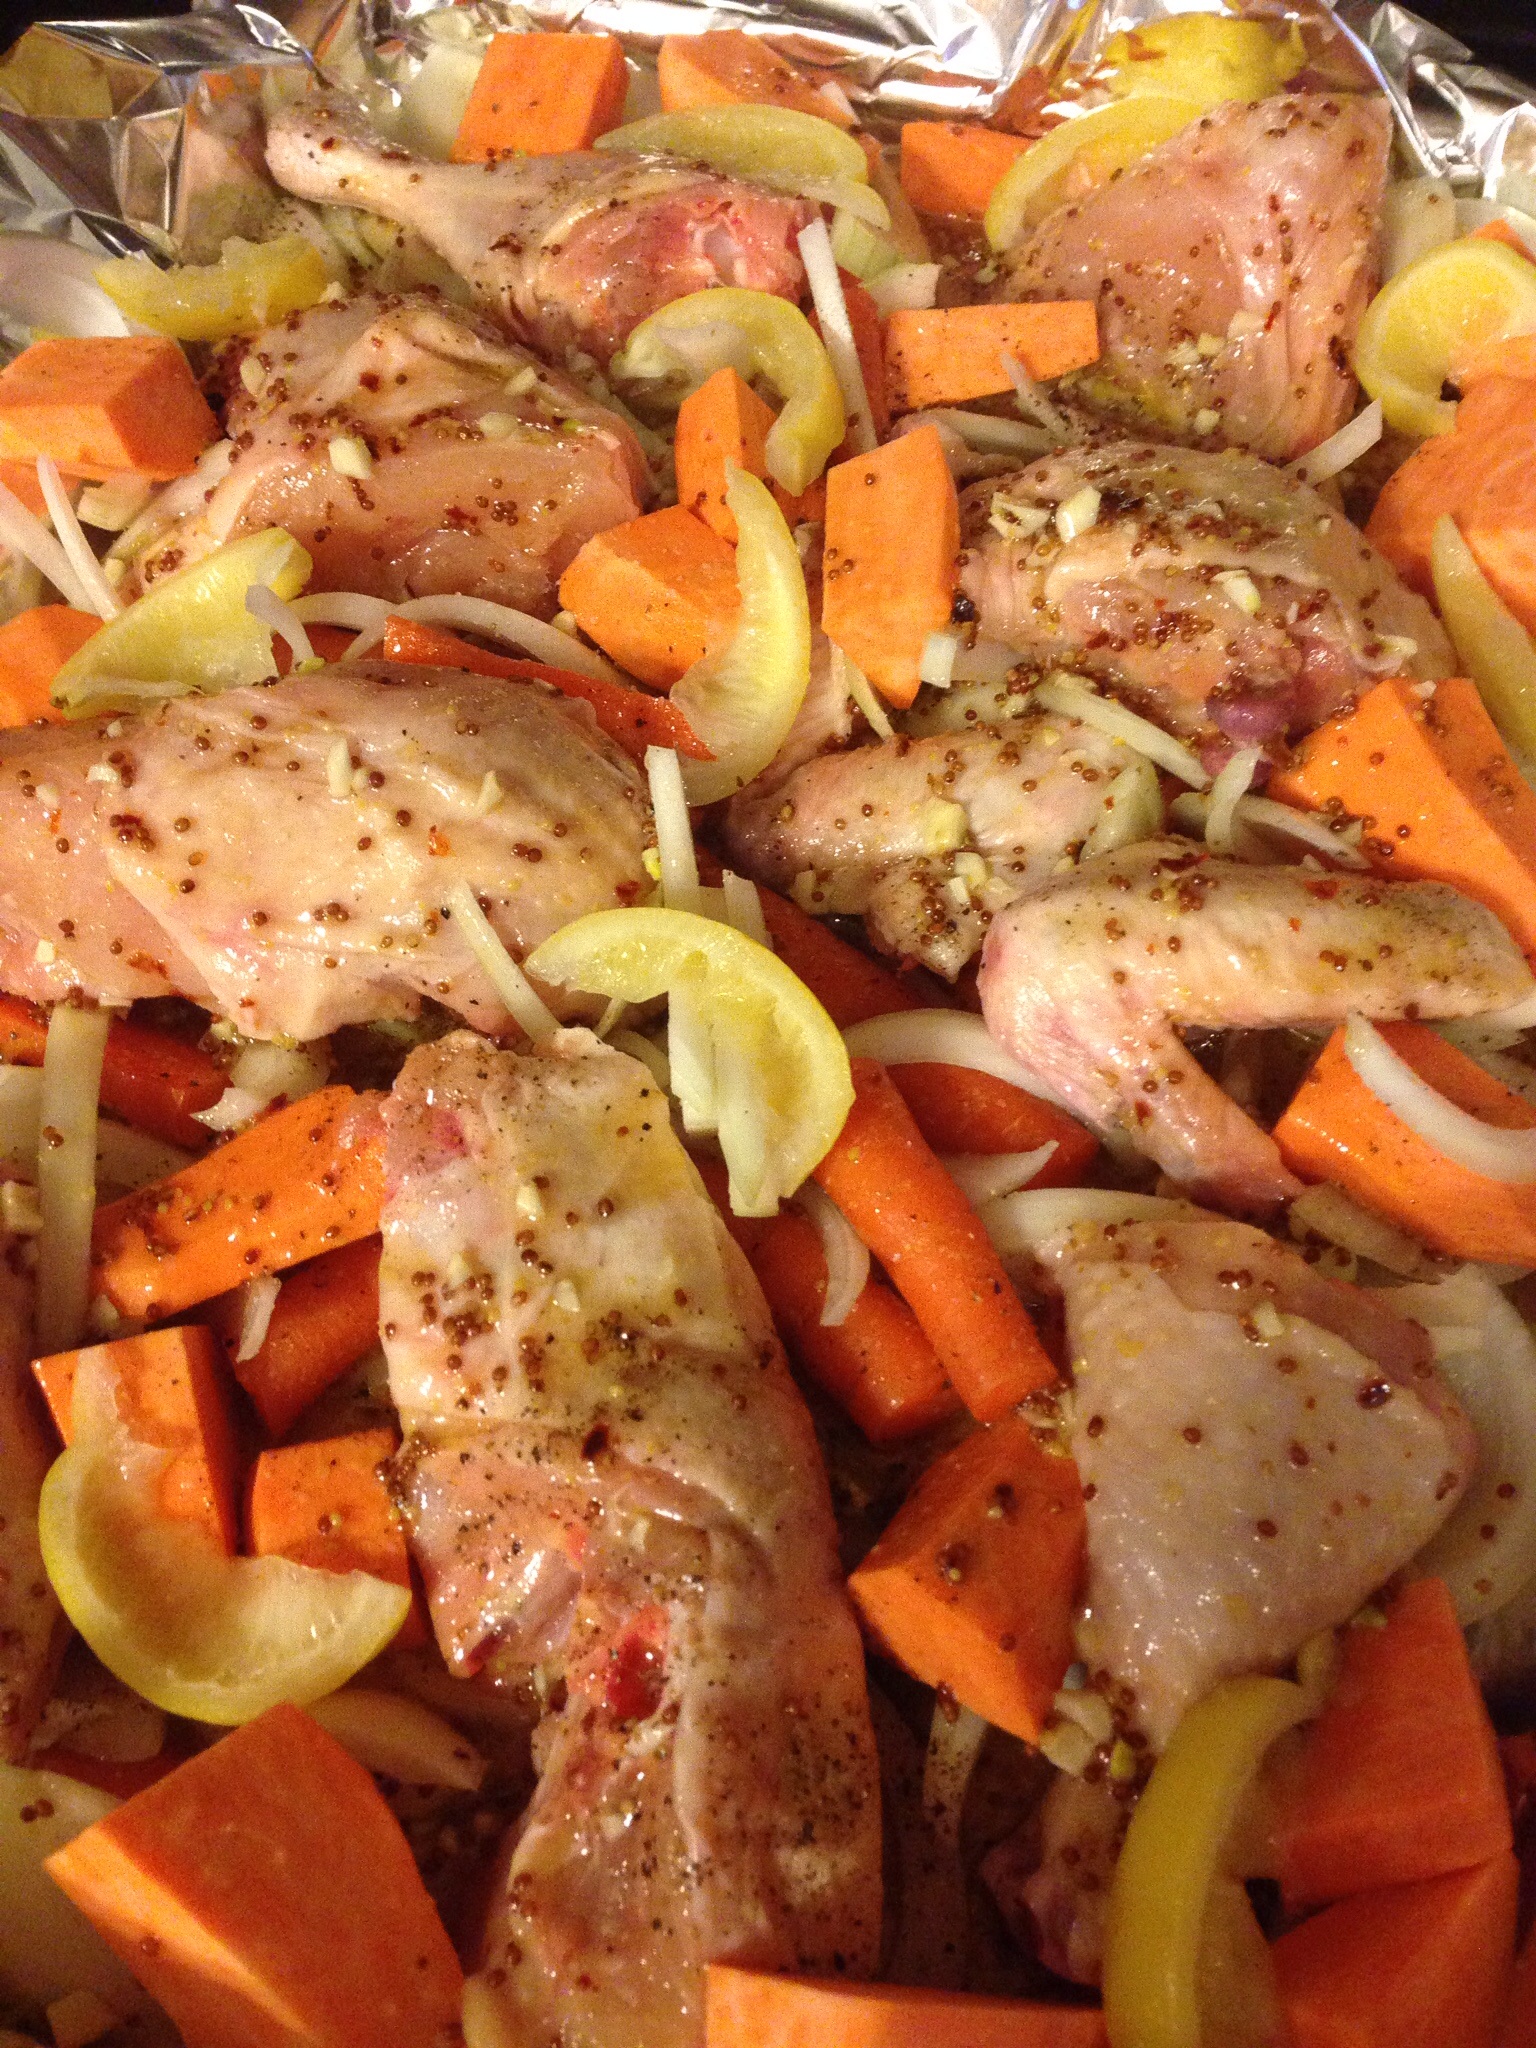
In a medium sauce pan combine the citrus juices, olive oil, mustard, honey, broth, red pepper flakes and garlic.


Whisk all of the ingredients together and bring to a simmer. Pour the sauce evenly over the chicken and vegetables and add in the lemon wedges.
Bake uncovered. Take care not to overcook and dry out the chicken. Use a meat thermometer and remove the chicken pieces once they reach 155-160 degrees. Keep them warm on a platter covered with foil. Return the vegetables to the oven until they are tender. Once the vegetables are done spoon the vegetables and sauce over the chicken pieces and serve.

I have a thing about cranberry sauce with chicken dishes; see my cranberry sauce on the plate at 3:00. I also had some leftover Amish egg noodles and served the chicken, vegetables and sauce over the noodles. You can change up the vegetables in this dish based on personal preference or whatever you have on hand… Cauliflower, Brussels sprouts, sweet peppers, green beans, turnips or parsnips. Any of those would be good. Your kitchen will smell wonderful while this is cooking!


You must be logged in to post a comment.