Chicken Pot Pie Soup

Soup is always a good choice for cold weather dinners. I love chicken and matzo ball soup but have never been a big fan of chicken noodle or chicken rice soup so I don’t make either. Maybe I had too much canned chicken soup as a child. We do like a good, homemade chicken pot pie so I decided to make it into a soup. I made my favorite pie crust recipe (part of my Meat Pie blog post if you’re interested), and made cut outs to put on top of the soup bowls. Because who doesn’t love flaky, buttery bites of pie crust! A couple years ago I spotted this cutter with the little chickens, and bought it for the express purpose of using it on individual pot pies. A few days ago I found it searching for something else in a drawer, and it’s what gave me the inspiration. This morning a friend asked me where I find all of the ingredients for my exotic dishes. Most all of my cooking uses basic, ordinary ingredients. Particularly in this pandemic I try extra hard to make things appetizing and fun to eat. And fun to cook. I must admit, I have had a few failed, lets not make this again, dishes!

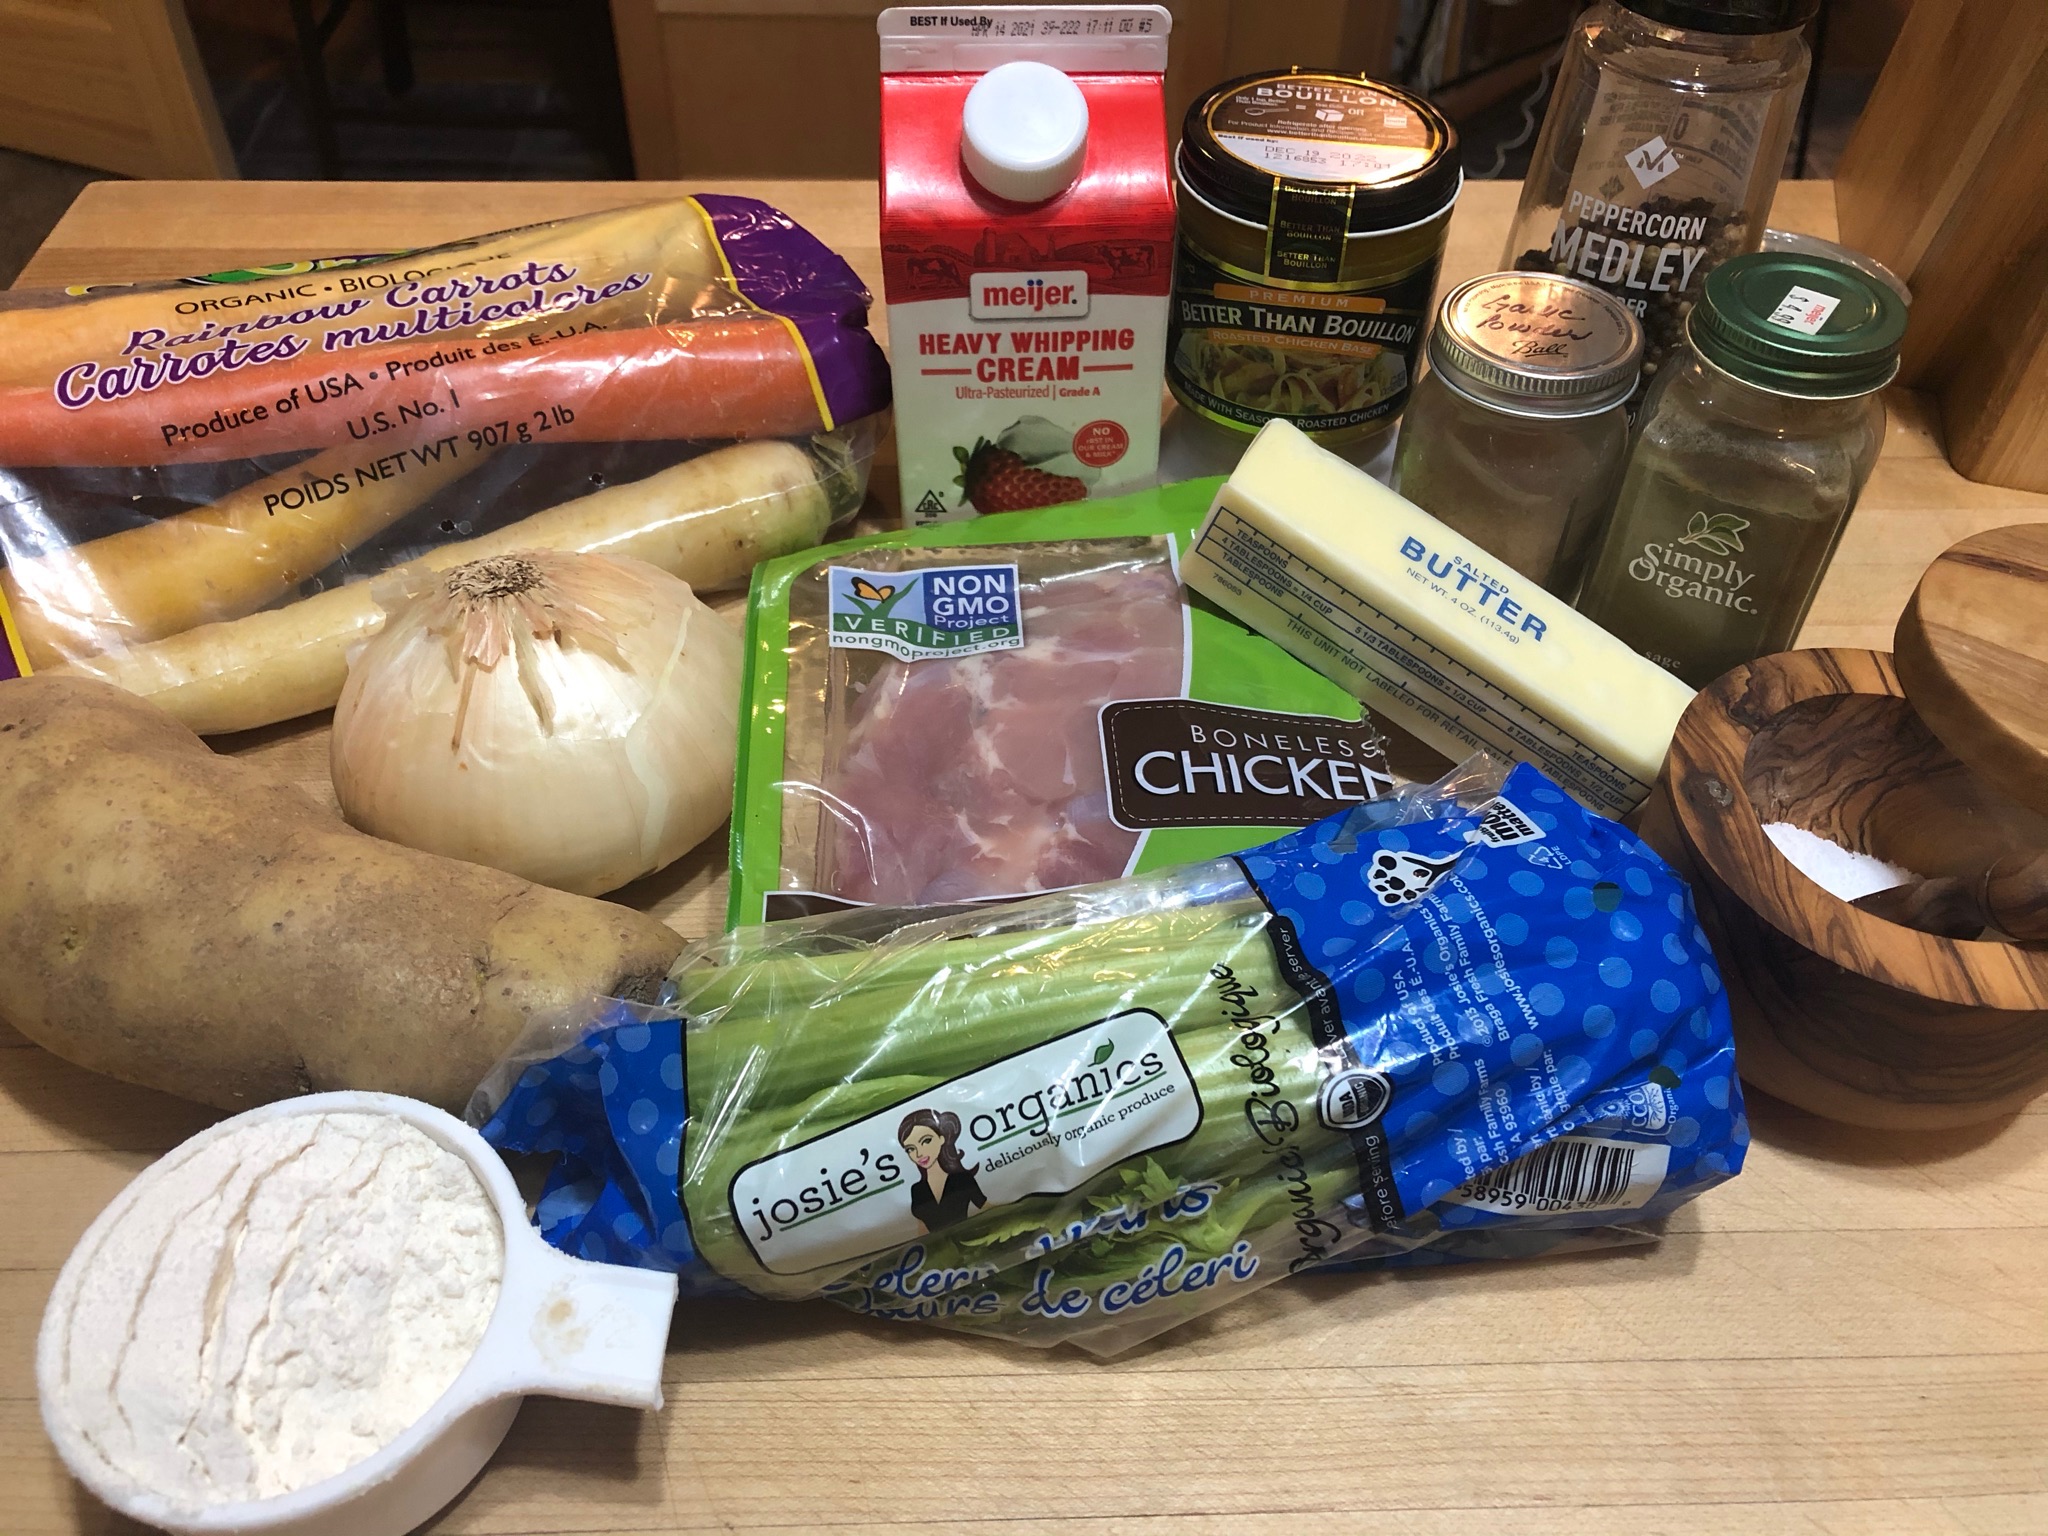
For the soup I pretty much used all of the ingredients I would use when making pot pies except I added more broth. The soup would have been even better if I had made my own broth, but I used the Roasted Chicken Better than Bouillon which is an excellent substitute. You could also use boxed or canned broth.

Ingredients:

One package chicken thighs or breasts diced

1 T olive oil

3 T butter

1-2 russet potatoes peeled and cubed

1 medium onion diced

2-3 celery ribs chopped

2 medium carrots thin sliced

1/2 cup flour

1 tsp sage

1 tsp garlic powder

Salt and pepper to taste

5-6 cups of broth

1 cup of frozen peas

1/3 cup heavy cream or half and half

Season the chicken cubes with salt and pepper. In a dutch oven heat 1 T of olive oil and cook the chicken bits until they are no longer pink. Remove them from the pan and set them aside. Add the butter to the dutch oven and sweat the onions, celery, potatoes and carrots over medium heat for 5-7 minutes, stirring occasionally. Stir in the flour, garlic powder, and sage. Add the broth and chicken and bring to a boil. Season with salt and pepper to taste. Reduce the heat and simmer uncovered, stirring occasionally, until the vegetables are fork tender, 10-15 minutes. Add the peas and heavy cream and heat thoroughly. Serve with the pie crust bites. I made hearts (it is Valentine’s month) and the discs with the chickens.

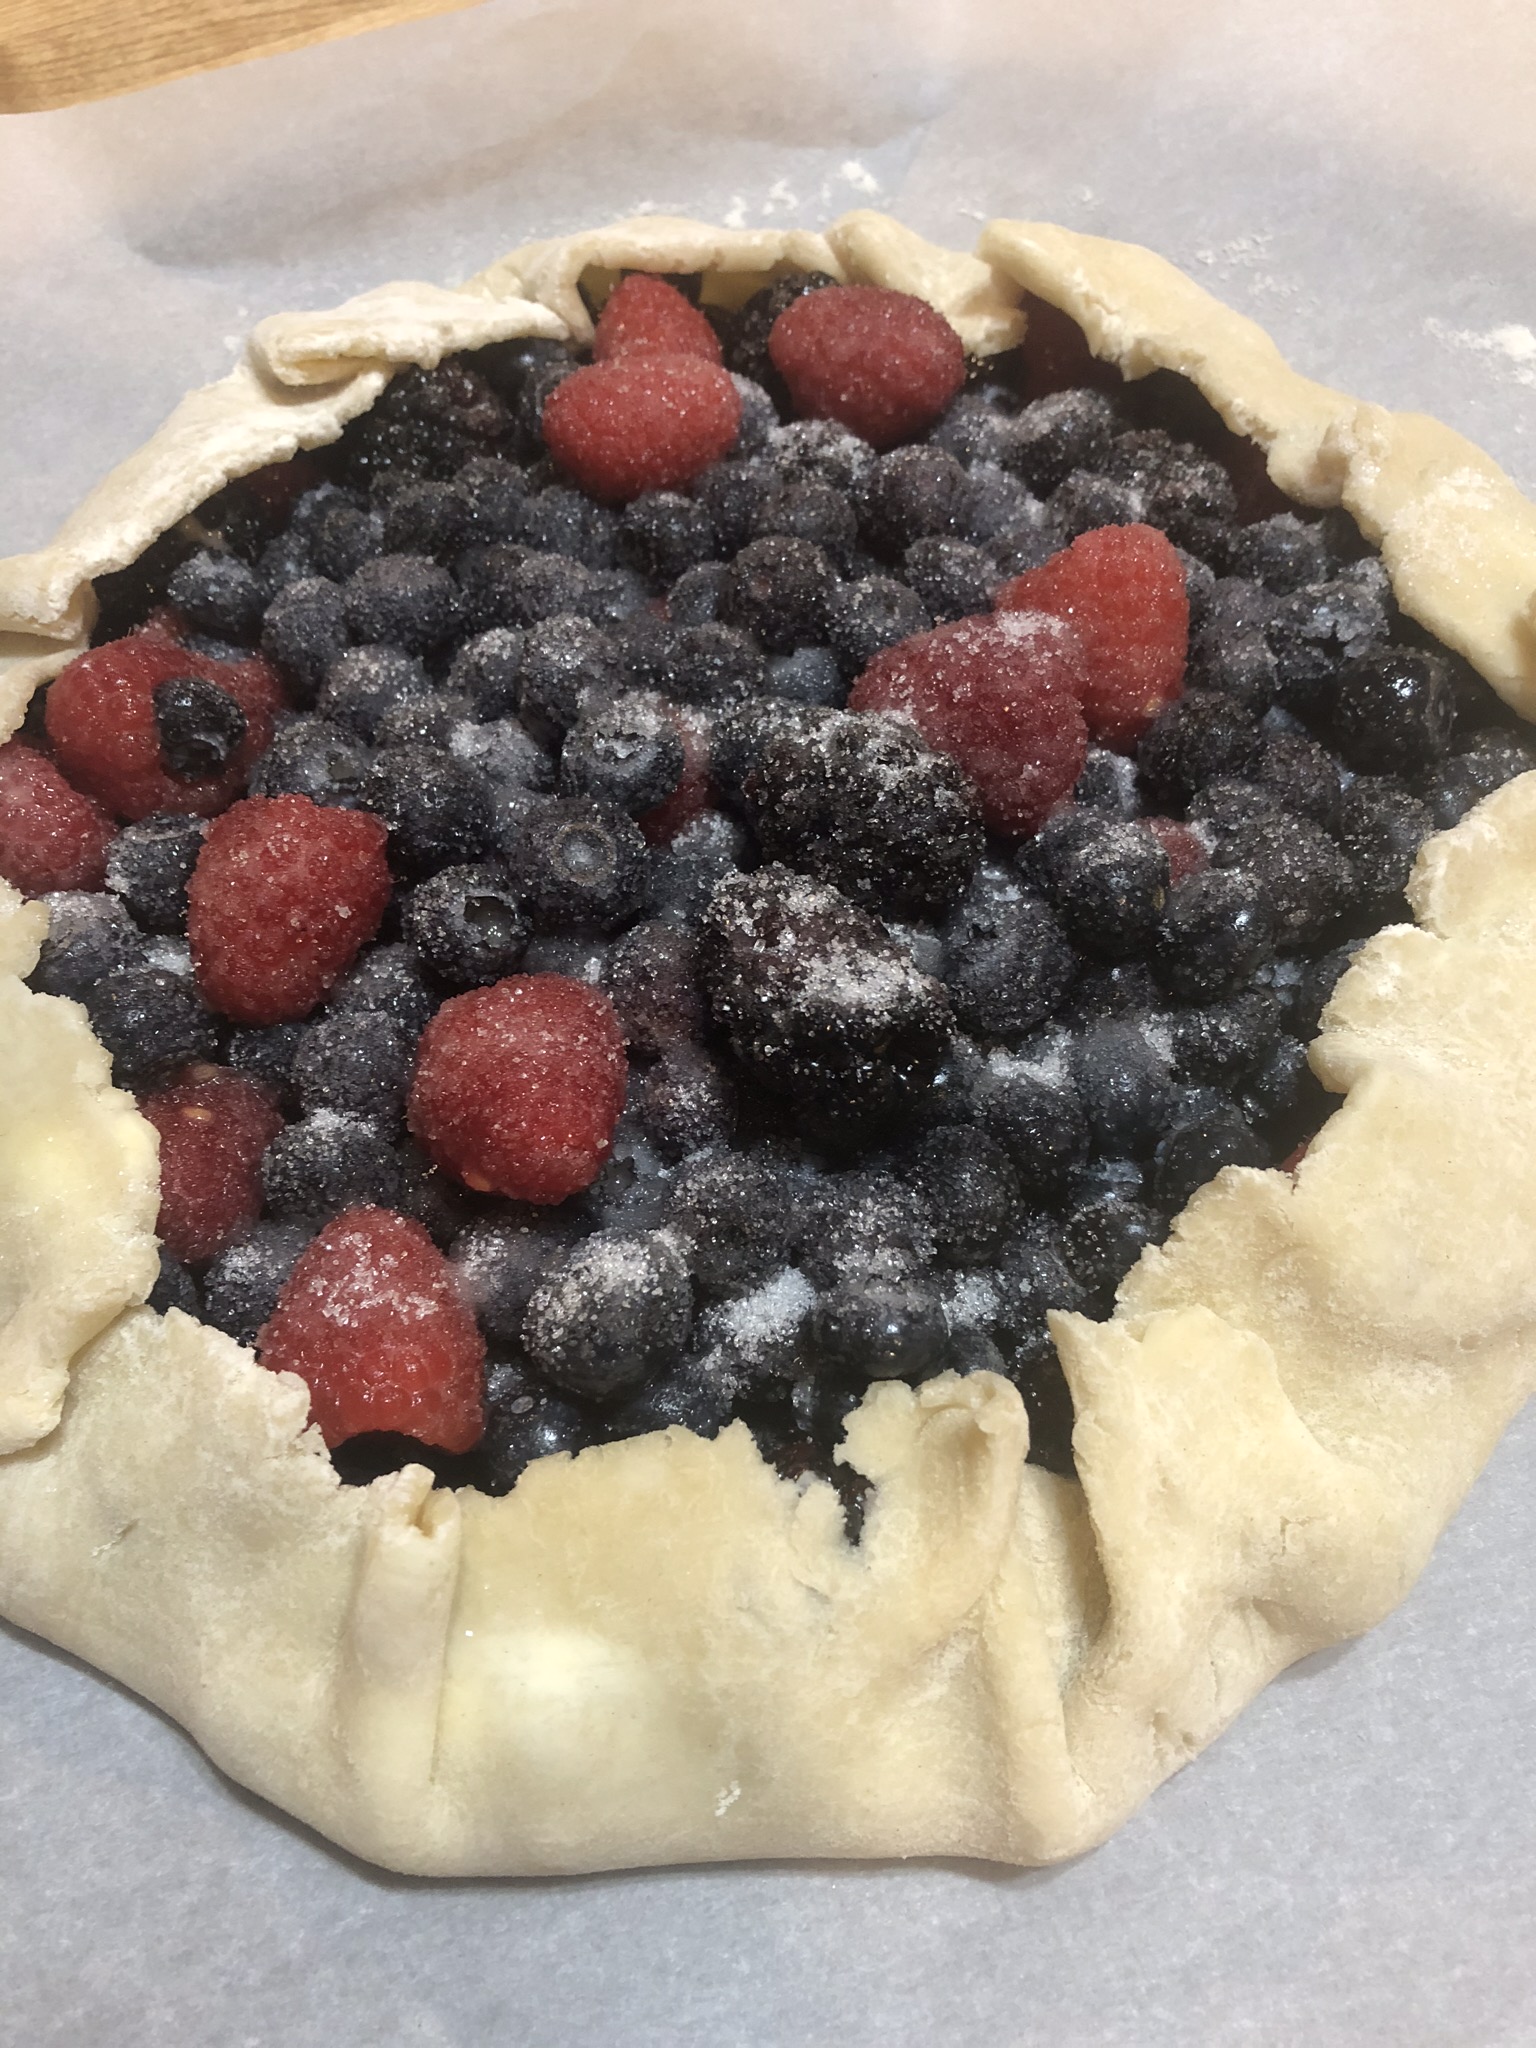
My pie crust recipe makes two crusts so I couldn’t let the second one go to waste. Yesterday I bought raspberries, blueberries, and blackberries and made a rustic tart.

Bonus!

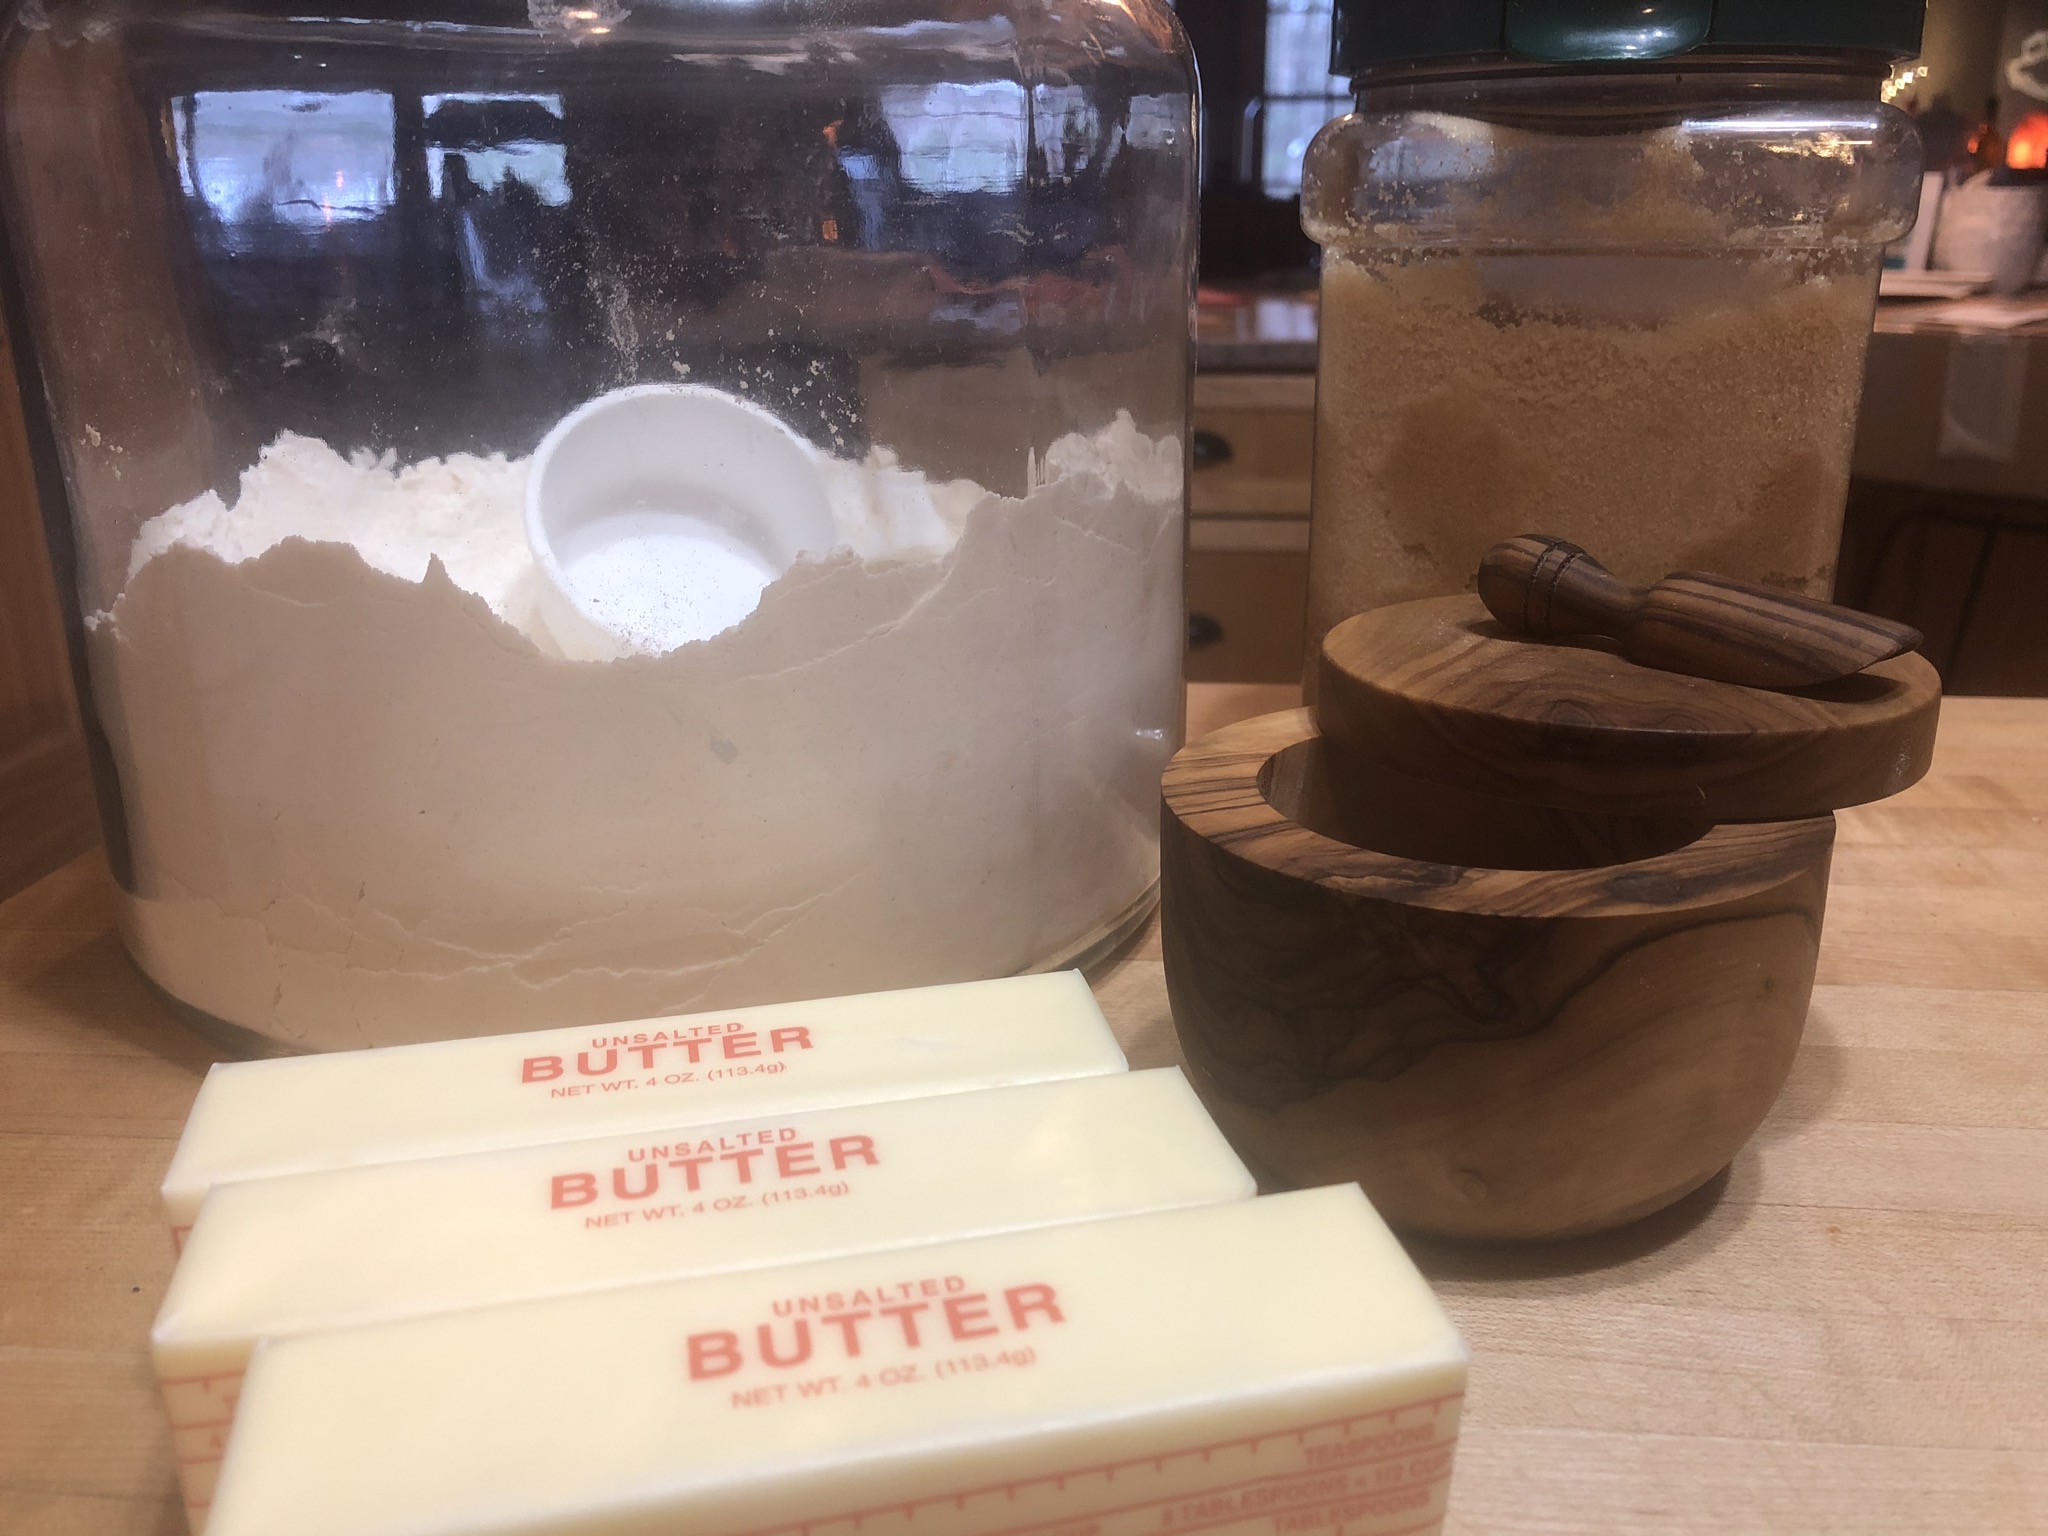
NOTE: I made my crust first, wrapped it in wax paper, and refrigerated it while I prepared the soup. While the soup was simmering I rolled out the crust and baked my cutouts. If you’re short of time you can use a rotisserie chicken from the grocery and just shred the chicken for the soup. Add any vegetables you like near the end of cooking…frozen peas, corn, green beans. Pillsbury refrigerated pie crust would also shorten your prep time, and you’ll still have an extra crust for a tart.

Pecan Pie Bars

My favorite slice of pie is pecan so I was excited when I found this recipe. It’s another wonderful King Arthur recipe. I’m thinking that one, or even two, pieces are less calories than a slice of pecan pie. So actually, I would consider this a lo-cal, diet recipe. Plus pecans have antioxidants, dietary fiber and so many vitamins and minerals that I don’t have time to list them all. So not only are these bars lo-cal, they are also healthy! It’s all about positive thinking.

We never had pecan pie when I was growing up. We had berry pies made from the berries we picked, apple pie, sugar pie, and raisin pie. If you asked my dad what his favorite kind of pie was, he would always add that raisin was his least favorite. I actually liked raisin pie. It is very similar to a mincemeat pie. Sugar pie had a graham cracker crust, a very, very sweet custard filling, and meringue on top. We all loved sugar pie. At least I certainly did. Haven’t made that in years but I have my mother’s recipe. All of our pies growing up were made with ingredients that were, at the time, relatively inexpensive. Pecans certainly don’t fall Into the inexpensive category then or now. You’ll see how simple these bars are to make. You may even have everything you need on hand.

Crust Ingredients:

18 T unsalted butter at room temperature

3/4 cup (160g) light brown sugar, packed

3 cups (360g) AP flour

1/2 tsp salt

Preheat your oven to 325 F. Lightly grease a 9×13 pan and line with parchment paper leaving an overhang for easy removal from the pan. In a medium size mixing bowl cream together the butter and sugar until light and fluffy. Stir in the flour and salt to make a soft dough. Transfer the dough to the prepared pan. Lightly flour your hands and press the dough into the pan in an even layer making sure to get into the corners. Using a fork, prick the dough all over.

Bake until the crust is lightly golden, 14-18 minutes. Remove from the oven. While the crust is baking prepare the filling.

Filling Ingredients:

8 T unsalted butter

1/4 cup honey

6 T (80g) light brown sugar, packed

2 T heavy cream (or milk)

2 T granulated sugar

1/4 tsp salt

2 cups (227g) pecan pieces

Place all of the filling ingredients in a heavy medium size sauce pan.

Cook over medium high heat, stirring regularly, until the mixture is smooth and starts to boil. Remove from the heat.

Stir in the chopped pecans. Pour the filling mixture over the hot crust, letting it spread to the edges and corners. If necessary, use an offset spatula to smooth the filling into an even layer.

Bake for 15-20 minutes until the filling is bubbling across the surface. Remove from the oven and allow to cool completely before lifting from the pan to cut and serve.

Cut and enjoy…this lower cal than a slice of pecan pie…treat.

NOTE: As with any recipe you can personalize these bars. If you prefer walnuts substitute them. If you don’t have light brown sugar dark would probably be fine. Likewise, milk would work if you didn’t have heavy cream. Whatever you do to these, I think they would still be delish!

Mustikkapiirakka Kukkaset aka Blueberry Pie with Flowers

One of the sites I really enjoy on Facebook is called Finnish Cooking & Culture. A few days ago I came across pictures and a recipe for these blueberry tartlets and decided I wanted to make them. I made a few modifications but the recipe was originally posted by Karoliina Reinkainen, truly a Finn. These gave me a couple of challenges, but once I got going I think I mastered flower pies. They are a perfect, two (or three) bite dessert. Most of the Finnish pastries and desserts that I’ve made and/or sampled are not overly sweet which is perfect for me. My husband’s general philosophy with regard to desserts is, the sweeter the better. But he did really like these.

When I was growing up, one of the things we did in the summer as a family was blueberry picking. My father worked for the US Forest Service and, while he was working in the woods, he’d come across these great blueberry patches. Then, on the weekend, we’d pile in the car with our coffee cans or little buckets and we’d go picking. Wild blueberries are much smaller than commercially raised berries so picking would sometimes be pretty tedious. And there were the mosquitos. But the picking had its rewards. When we got home we’d dump all of our containers into a sink full of water to wash them and remove stems and the occasional leaves that got in our coffee cans. Then we would each get a bowl of berries sprinkled with a little sugar and doused in cold milk. And then there were blueberry pies, and the blueberry fruit soup my grandmother would can and serve over her rice pudding. Those are all such good memories, even the picking.

Blueberries are a very tasty and also a very healthy treat. The wild blueberries we picked as kids boast twice the health boosting antioxidants as their commercially cultivated counterparts. Apparently the harsher the environment, the more potent the protection. Anyone who is familiar with Michigan’s Upper Peninsula knows that that environment can be pretty harsh. Eating a cup of blueberries a day is said to reduce the risk of cardiovascular disease by up to 15%. They also contain flavonoids that can help fight inflammation. Regardless of the health benefits, they are awful good eating! And now we can all justify the caloric content of these little sweet treats.

Cookie Base Ingredients:

125 grams/4 1/2 oz room temperature butter

1 dl/just under 1 cup granulated sugar

1 egg

1 1/4 cups AP flour

1/4 cup rye flour

1 tsp baking powder

2 tsp vanilla

In a medium size mixing bowl beat the butter and sugar until they are light and fluffy. Beat in the egg and vanilla. On low speed, or with a wooden spoon, stir in the flours and baking powder until well combined. Work the dough a bit with our hands and divide into two discs. Wrap in wax paper or Saran Wrap and refrigerate while you prepare the berries and the topping.

Filling Ingredients:

1 cup of blueberries (wild or commercial)

1 T corn starch

Sugar to taste

3 T jam (I used peach)

Gently stir all of the ingredients together in a small bowl and set aside.

Topping Ingredients:

150 grams/5 oz of creme fraiche or sour cream

1 egg

2 T granulated sugar

Vanilla to taste

Lemon zest

In a small bowl whisk all these ingredients together and set aside. Preheat your oven to 375. Lightly grease a miniature muffin tin. Now you’re ready to start rolling out your dough. Remove one of the discs from the refrigerator and roll out on a lightly floured surface. If you’re having a problem with the consistency work the dough a bit with your hands. Use a cookie cutter with a scalloped edge.

Drape your cutouts over the openings.

Gently press the cookies into the openings taking care not to tear the dough. I tore a few. Just gather than up and re-roll the dough.

Now you are ready to start adding the filling and the topping. My blueberries were good size and I put 3 or 4 in each cup.

Next, add about 2 tsp of the topping, taking care not to over fill them.

Now you’re ready to put them in the oven. I baked mine on the center rack for 14 minutes. Oven temperatures vary so check on them toward the end of the baking time. Once they are done cool them in the pan on a wire rack.

Once they are completely cooled you are ready to serve up and enjoy.

This recipe made about 34 tartlets.

NOTE: Take care not to overfill. You will notice I did that on a few tartlets. I also learned that it is much easier to remove them after they are completely cooled. I just ran an offset spatula around the edges.

I loved the little hint of rye in the cookie base but you can use all AP flour if you prefer. There is really no end to the variations on this treat. You could use whatever you have on hand; apple, raspberry, blackberry. You could also add a little seasoning to the base like cinnamon, nutmeg, or cardamom.