This is a recipe I’ve had for years, and I have no idea where it came from. If you love oatmeal raisin cookies you will love these bars. They are SO good! You can even convince yourself that they’re the perfect morning coffee accompaniment because they contain oats (high in fiber and good for your cholesterol) and raisins (good for strong and healthy bones and relieve constipation).
Filling Ingredients:
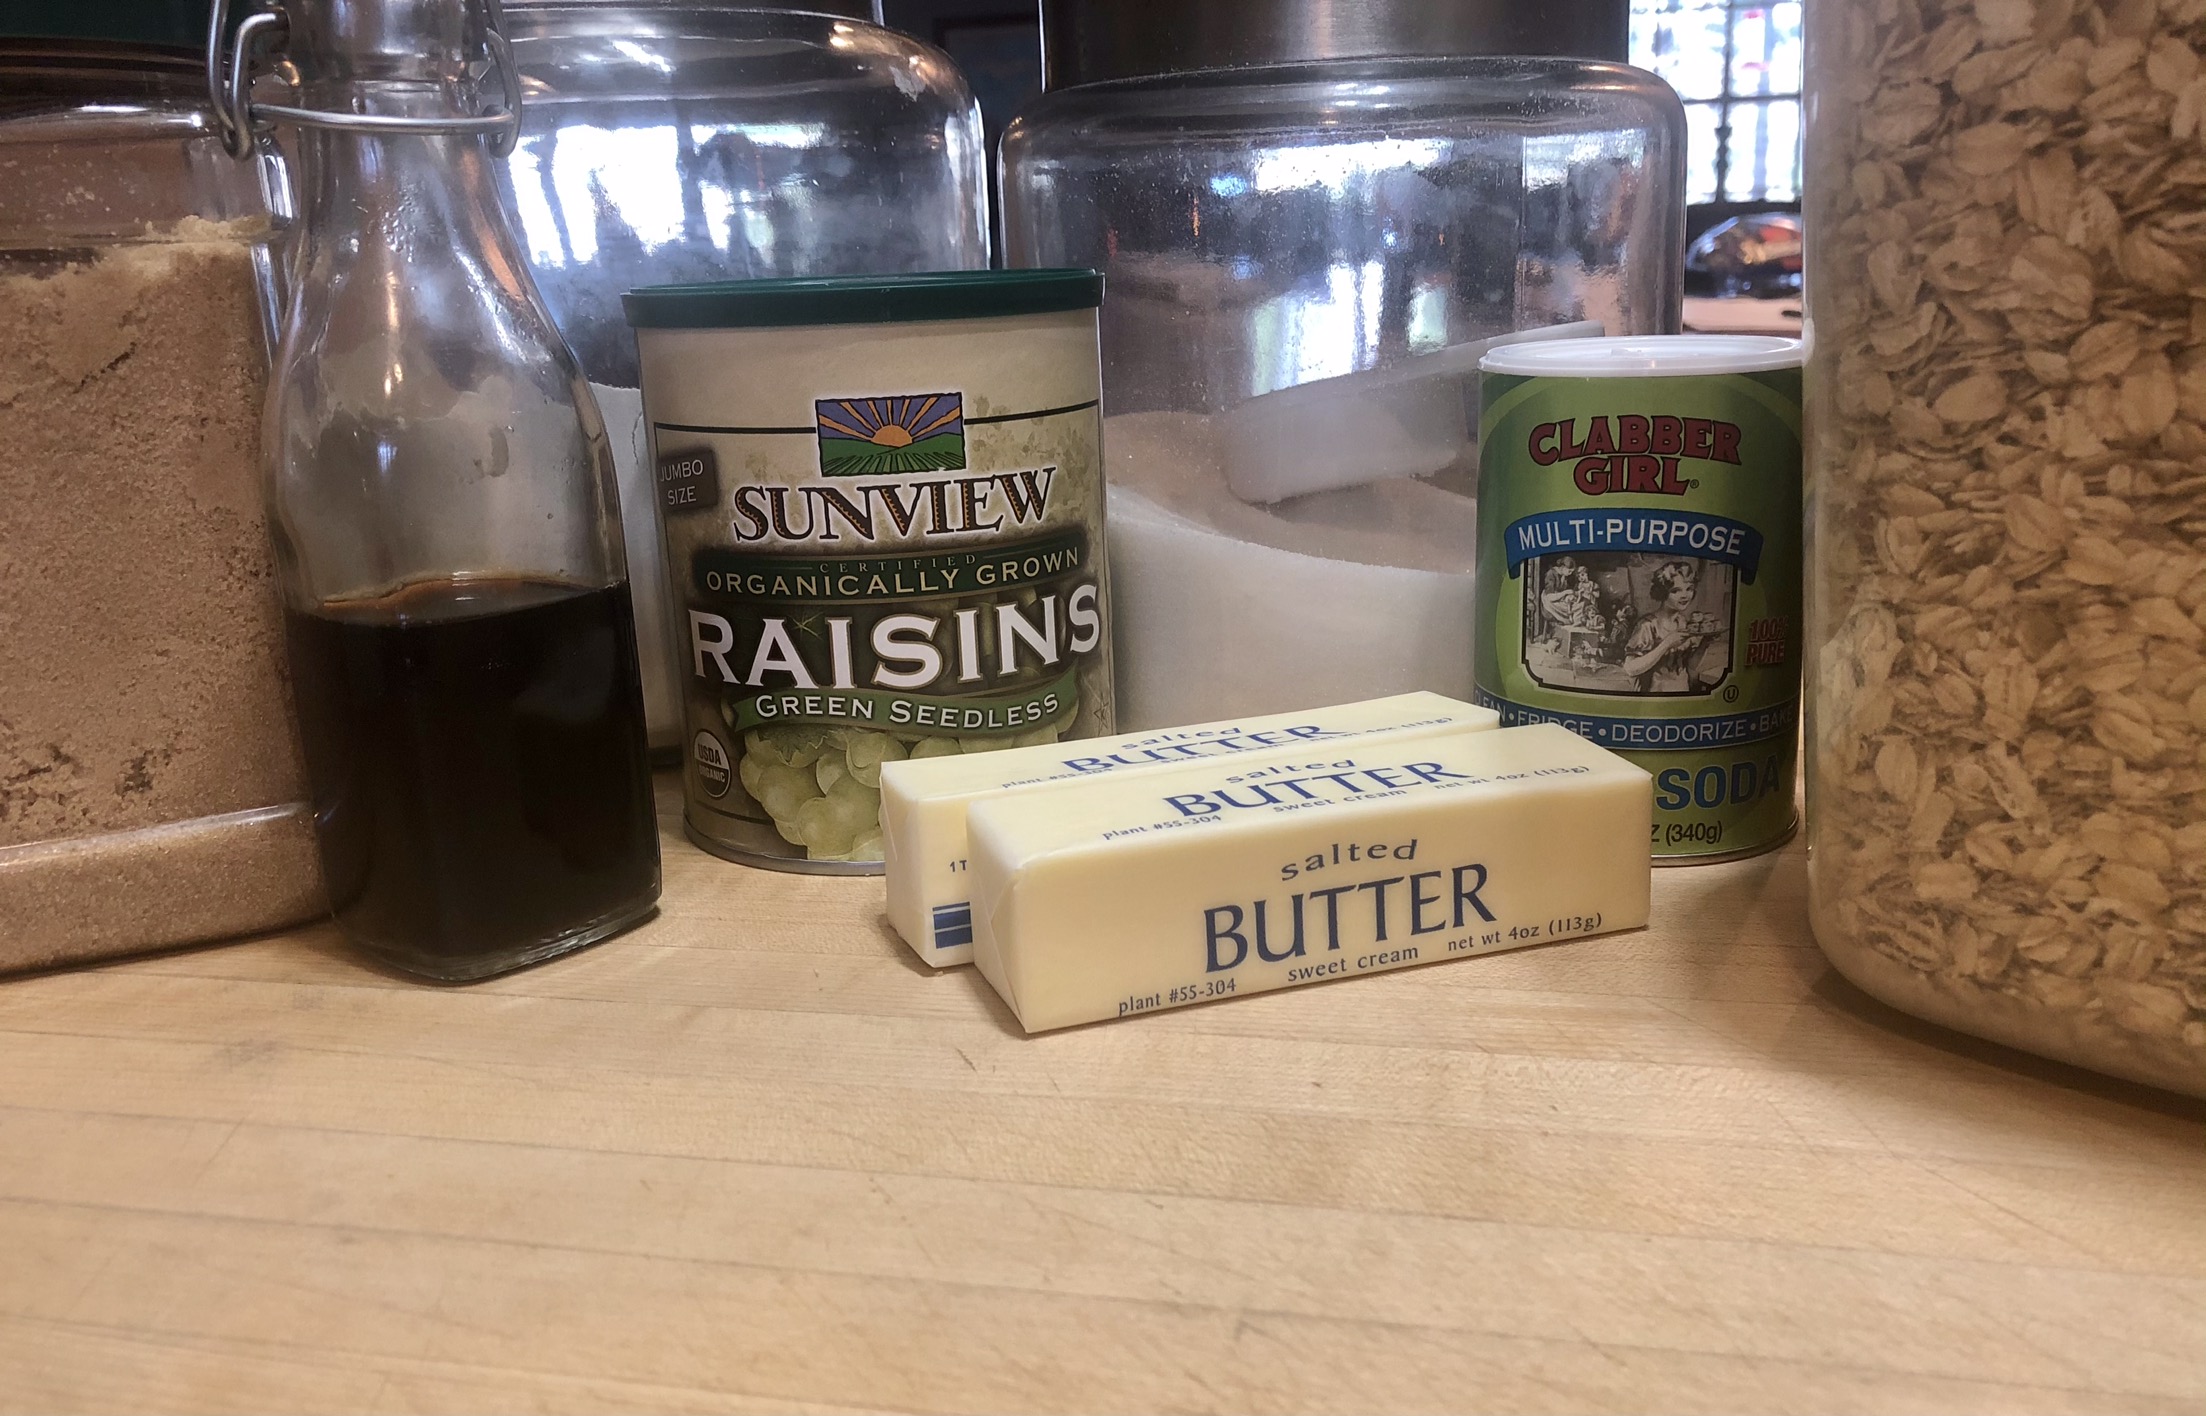
1 1/2 cup of raisins
1 1/2 cup of sugar
3 T AP flour
1 1/2 cup of water
Crust Ingredients:
2 cups AP flour
2 cups oatmeal
1 cup of melted butter
1 cup of brown sugar
1 tsp vanilla
1 tsp baking soda
Start by making your filling. In a heavy saucepan whisk together the sugar and the flour. Add the raisins and water and cook over medium high heat until the mixture comes to a boil, stirring occasionally. Continue to simmer until the mixture thickens.
Remove from the heat and allow the filling to cool.
Preheat the oven to 350 degrees and begin making the crust. In a large mixing bowl combine the flour, oats, brown sugar, and baking soda.
Add the melted butter and vanilla and stir until the ingredients are all combined.
Line a 9×13 pan with parchment paper, leaving an overhang on either side. The parchment paper allows the bars to easily be lifted from the pan making cutting and cleanup much easier. Spread 2/3 of the oatmeal mixture in the pan and press to form the base.
Pour the filling over the base.
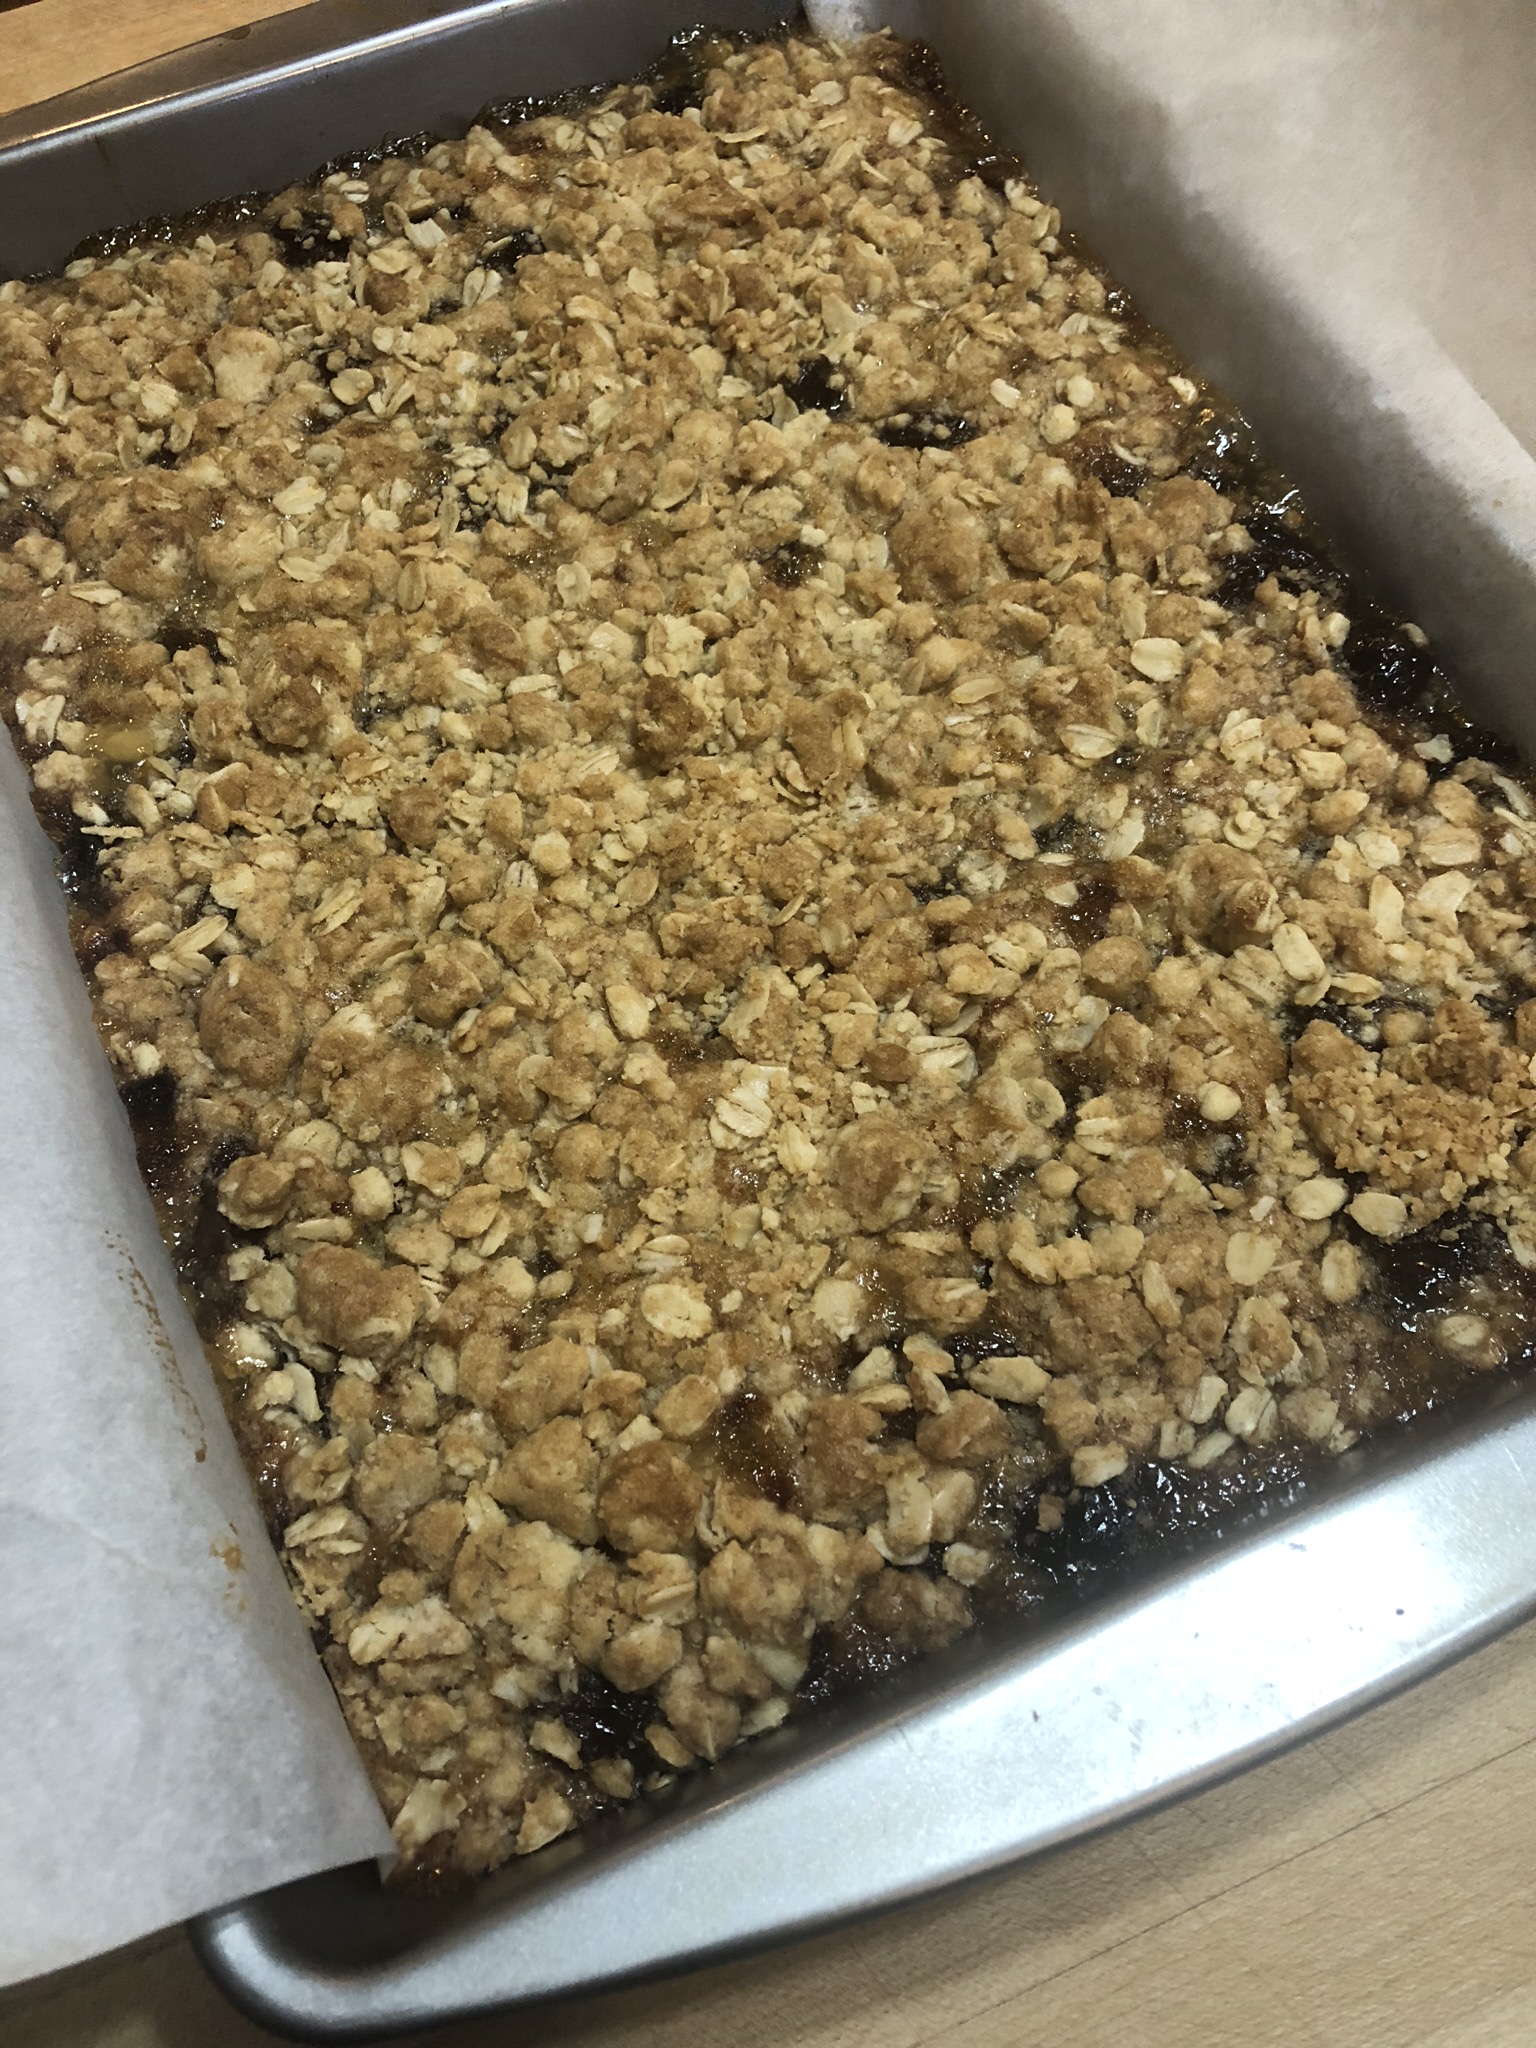
Top with the remaining oat mixture.
Bake for 35 minutes until the top is golden brown. Remove and allow to cool completely before cutting into bars.
Once it has cooled completely, using the parchment overhang, lift from the pan, cut into bars, and enjoy.
NOTE: I have made this with dates before, substituting 1 1/2 cups of chopped dates for the raisins. And, while I’ve never tried this before, dried cherries might also be a great substitute for the raisins.
When you love to cook and bake, and you get a new piece of equipment, you need to use it as soon as it arrives. I just received my Emile Henry Baguette baker. It’s just beautiful. A bright burgundy color.
The baker came with a little instruction booklet and a few recipes. When this pandemic first began last March my friend Jane and my daughter and son-in-law were in a bread making frenzie. A bit of competition as well. We shared bread pictures with each other. Jane and I never won the most beautiful loaf competition but we sure had fun trying. A few times a week we were making loaves of bread. When yeast was hard to find we made sour dough. And we bought equipment for that. A lame (an implement that holds a razor blade and is used to make the deep slashes in the bread dough), a bread cloche, and proofing baskets. We even ordered a 50 pound bag of King Arthur flour and a 25 pound bag of stone ground rye flour. We all took a time out over the Summer months but Fall is here and Winter will be soon. And we will be, once again, sheltering at home and baking bread. The baguettes are the simplest bread of all. My instruction/recipe book had a recipe for baguettes stuffed with caramelized onion and goat cheese and topped with a litttle rosemary, cheddar cheese, and honey. That was the first recipe I tried.
Ingredients:
1 large onion peeled and chopped
4 T olive oil
9 oz (2 cups) of AP flour
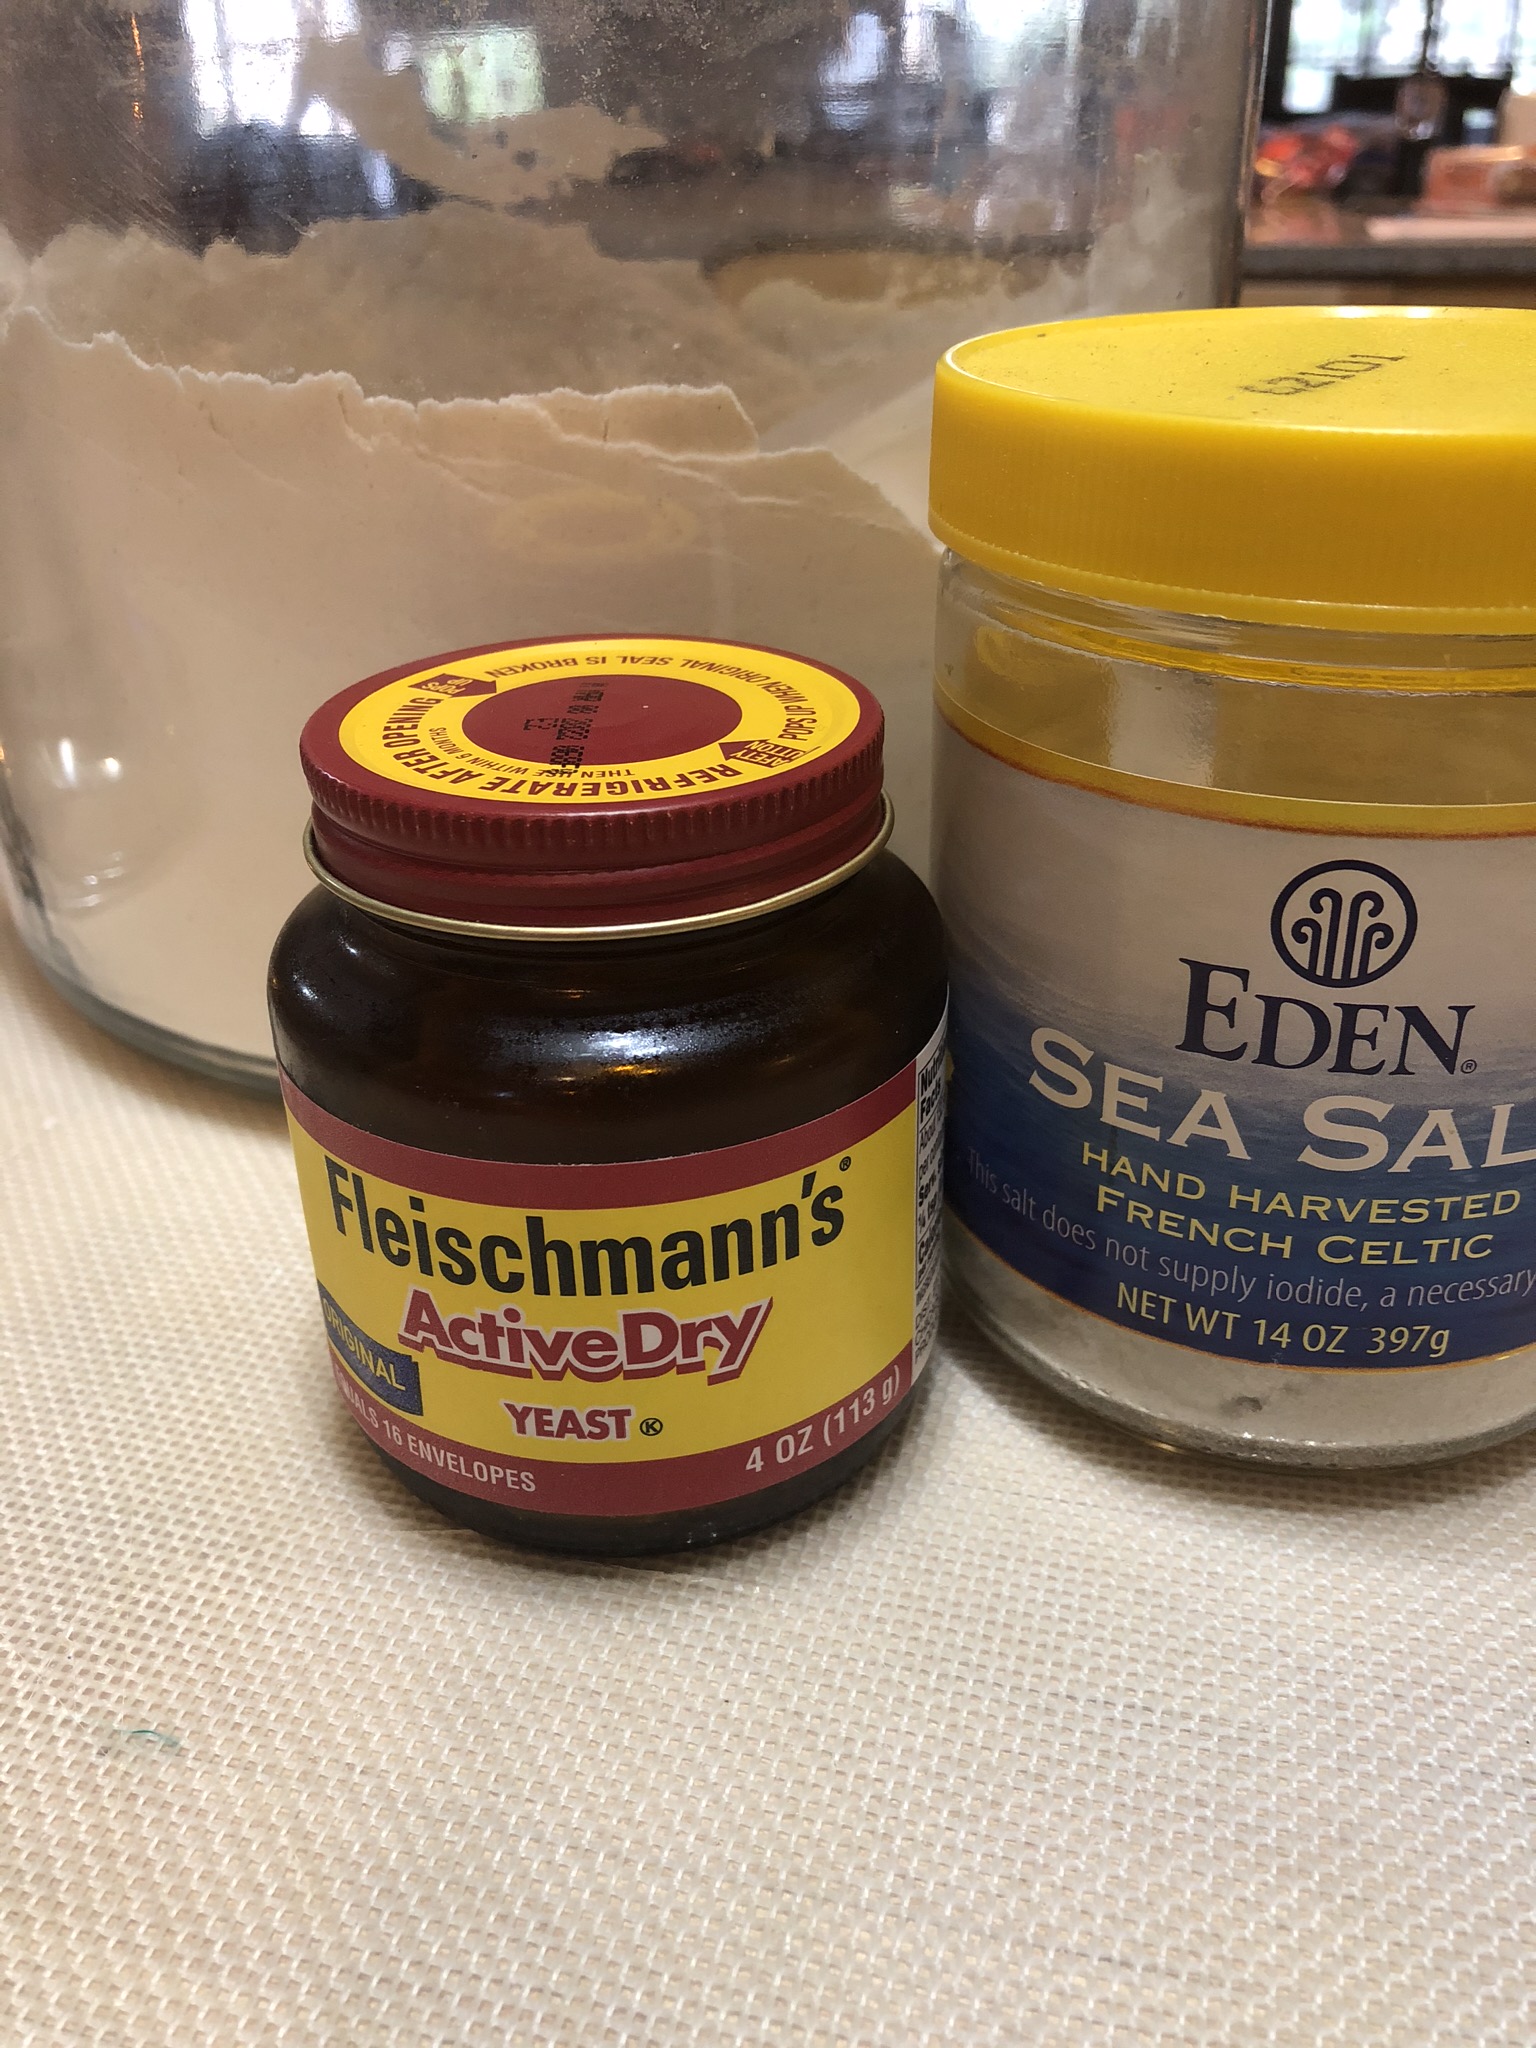
1 tsp fine sea salt
1 tsp active dry yeast
5 oz warm water, 100 degrees F
7 oz fresh goat cheese crumbled
1 tsp rosemary (I used fresh)
1 oz grated cheddar cheese
3 T honey
Heat 2 T of the olive oil in a heavy skillet and cook the onion over medium heat until it is tender and golden, stirring occasionally. My onions were small so I used two of them. Set aside to cool.
Combine the flour, salt, and yeast in a mixing bowl. One of the things that I’ve learned during all of this bread making is to weigh my flour. Whisk the dry ingredients together and stir in 5 oz of warm water and the other 2 T of olive oil.
Using a wooden spoon combine the ingredients, turn them out onto a clean surface, and knead for about 5 minutes until the dough is smooth and elastic. Form the dough into a ball, cover with a damp cloth, and allow to rise for about 30 minutes at room temperature away from drafts.
Once you’ve allowed the dough to rise, knead it to remove any air bubbles and divide it into 3 equal pieces. Flatten each piece into a rectangle about the size of your hand and, using a rolling pin, roll it out into about a 13”x4” rectangle. Spread a third of the caramelized onions and sprinkle some goat cheese onto the dough.
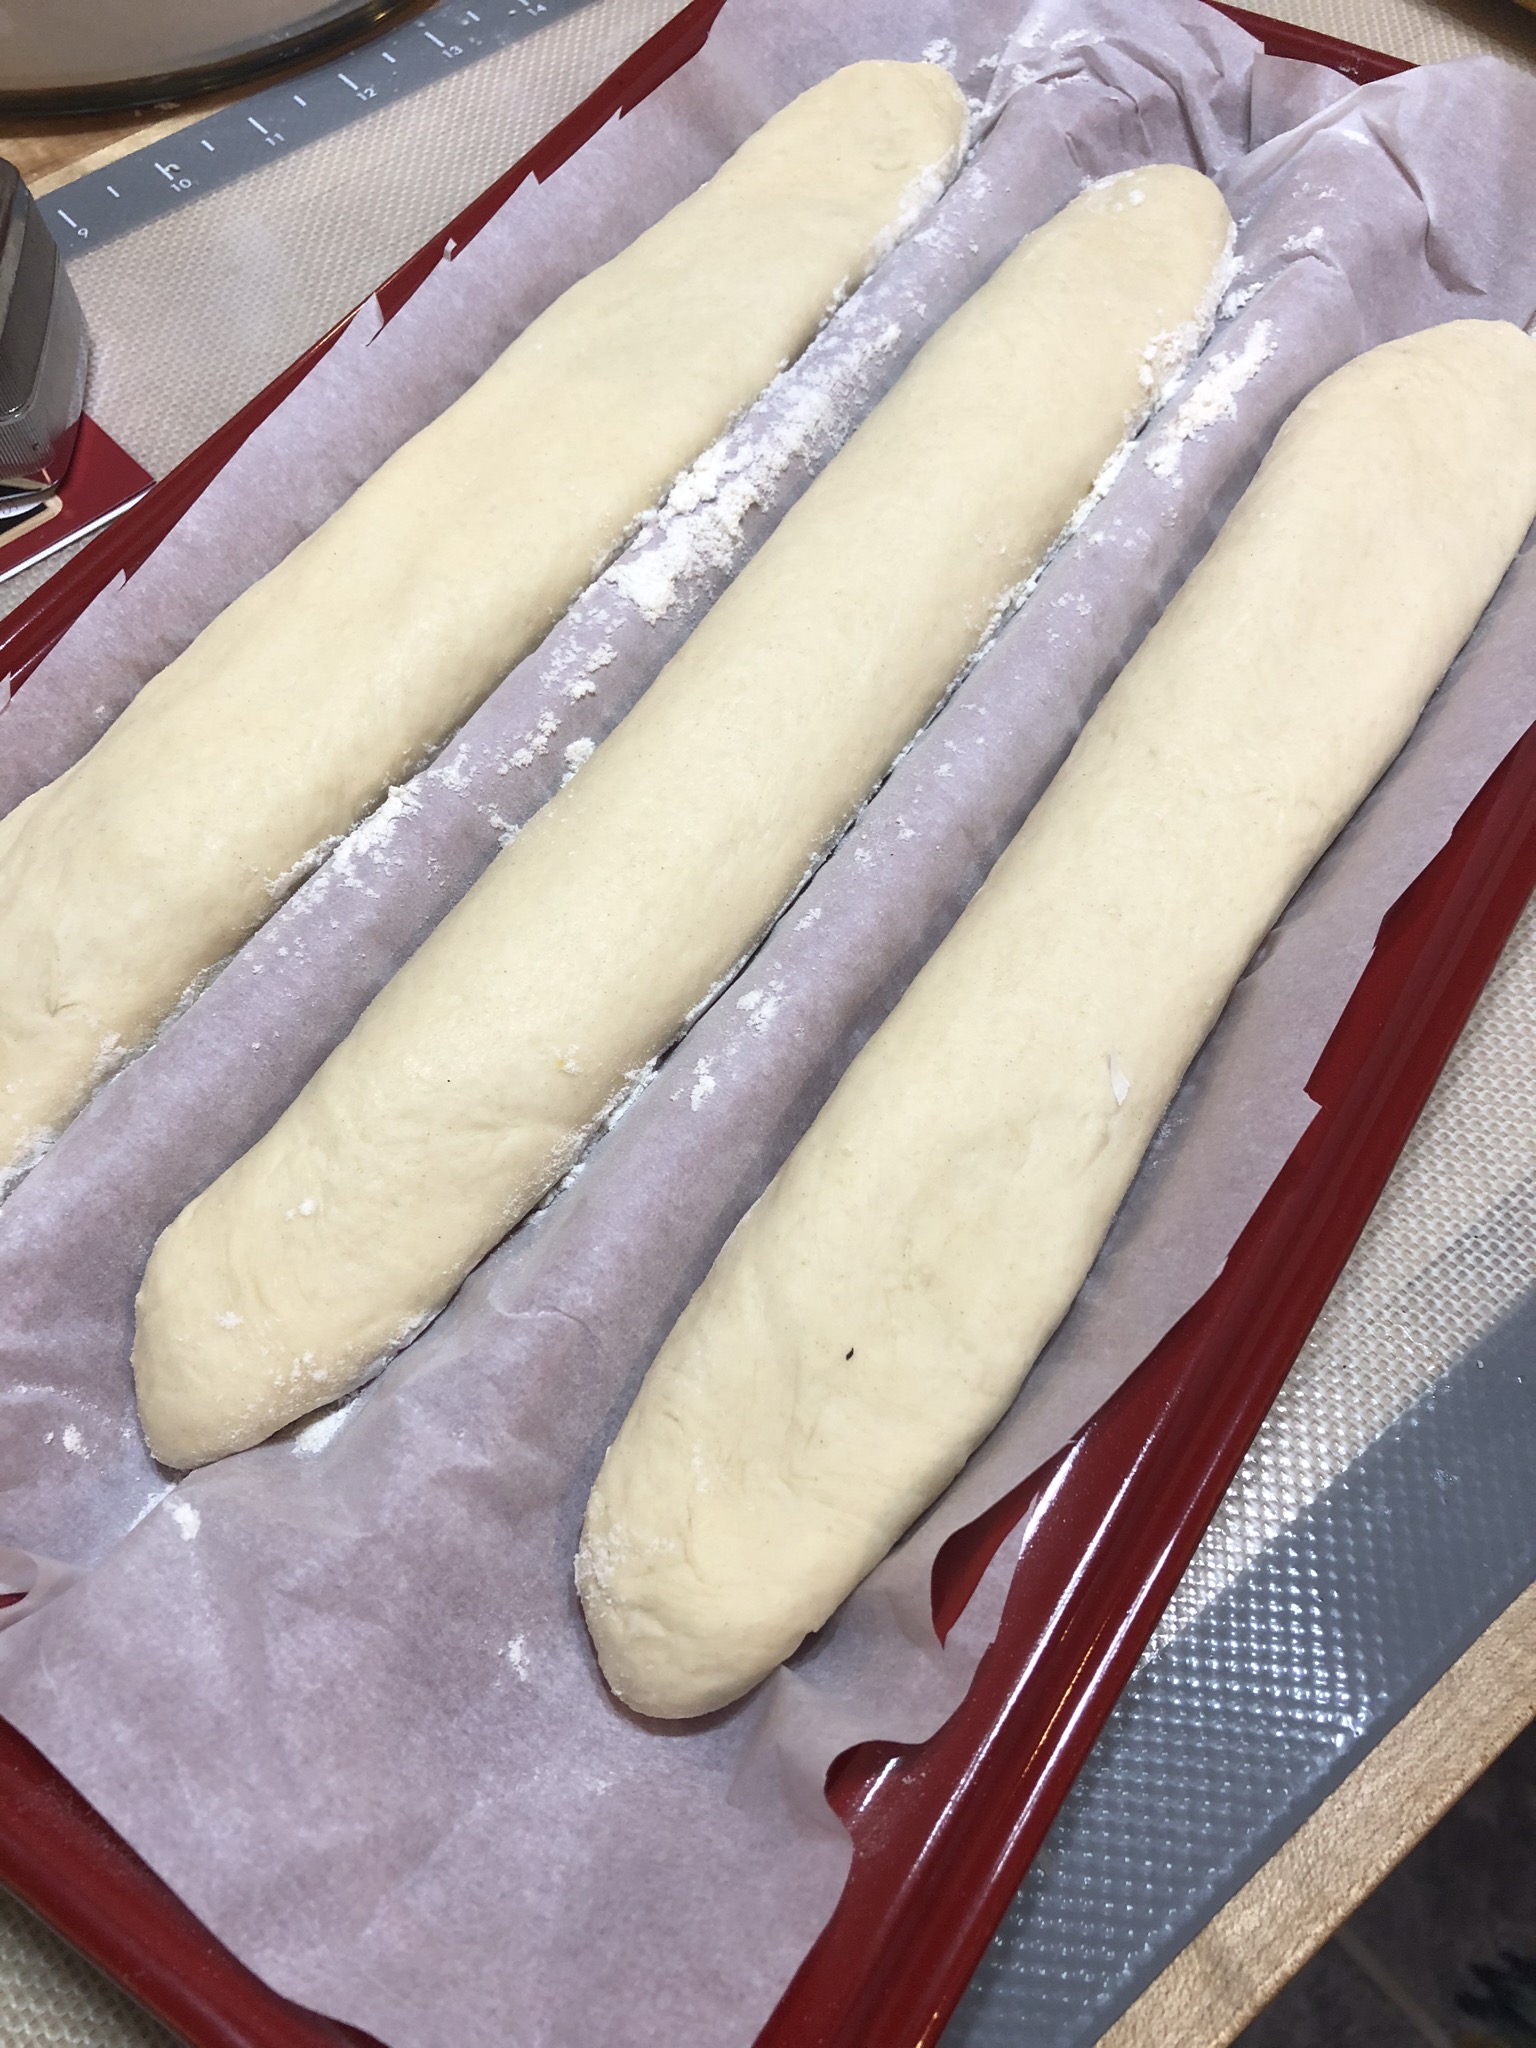
Fold one side over to cover two thirds of the dough and then fold the other side over to form a cylinder. Put the dough into the generously floured bread baker, seam side down. Repeat two more times. Cover with the lid and allow to rise for 20 minutes. While the bread is rising preheat your oven to 475 degrees.
After the second rise, brush the loaves with a little water and score the dough in several places deep enough to reach the onions. Sprinkle the loaves with the chopped rosemary and the cheddar cheese.
Cover the pan with the lid and bake for 25 minutes. Remove the lid and let the loaves brown for 2-4 more minutes. Remove from the oven and pour honey into the cuts in the loaves. Allow them to cool in the pan.
Slice and serve. We enjoyed a piece with our evening cocktail while it was still warm from the oven.
NOTE. These loaves could actually be stuffed with any variety of things. Different kinds of cheeses, olives (another suggestion in the recipe book), herbs, or crispy bacon bits. If you don’t have a baguette baker I think these would bake up nicely on a baking stone with a piece of foil tented over the loaves.
I made another batch of just plain baguettes today. I’ll combine some herbs and olive oil for dipping and we will enjoy these with our dinner tonight.
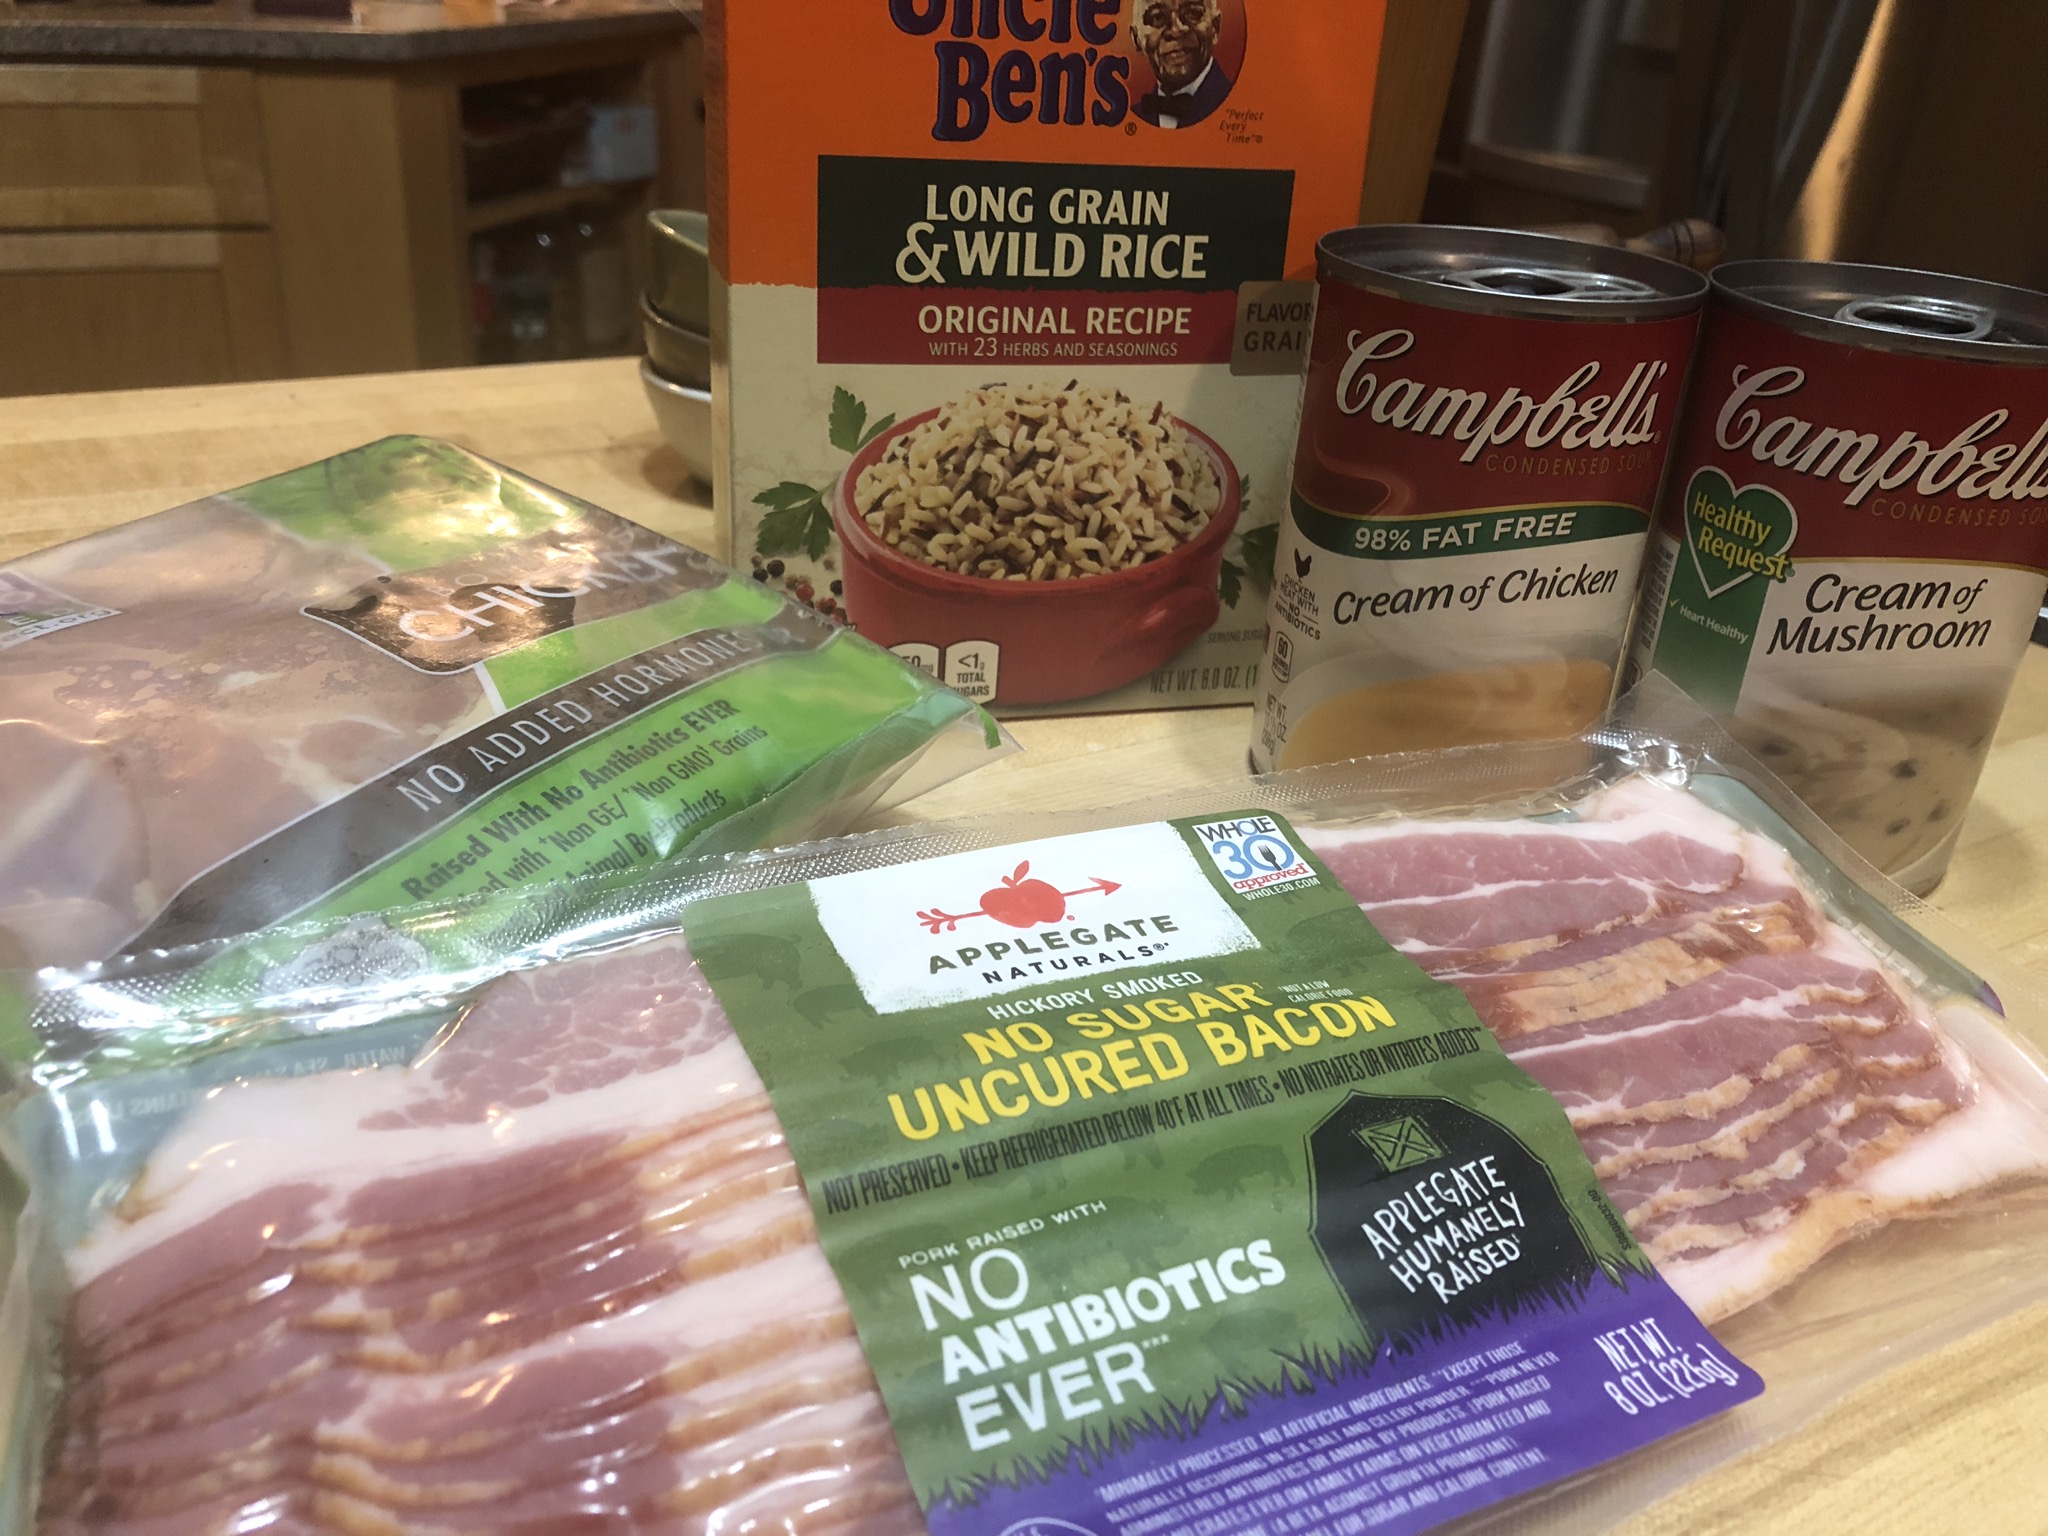
Last week when I was grocery shopping at Aldi I saw boxes of Uncle Ben’s Long Grain and Wild Rice on an end cap. I was reminded of a chicken and rice dish I made years and years ago and I picked up two boxes of the rice and a can each of cream of chicken soup and cream of mushroom soup. I rarely buy canned soups anymore tending to make more recipes from scratch. Probably because I have more time now and because I love to experiment with new recipes. But we all have old favorite recipes that we’ve hung onto for years and many use creamed soups. If you look on line you’ll find hundreds, if not thousands, of recipes with cream soups. I did a little research and found out that a chemist for Campbell’s Soup invented condensed soup in 1897. Campbells began producing cream of mushroom soup in 1934. That surprised me a little. I thought it was more recent than that. When my mother passed and my dad was cooking for himself I gave him my mom’s recipe for crockpot roast beef. A chuck roast, an envelop of dried French Onion soup and a can of cream of mushroom soup cooked on low all day. He loved it. The meat was tender and you had a nice gravy. A perfect example of what a creamed soup can do.
This recipe is similar in that it requires only four ingredients and in 90 minutes you have dinner. These are the ultimate comfort food recipes.
Ingredients:
8 oz of bacon
1 package of Uncle Ben’s Long Grain and Wild Rice
4 chicken breasts (or leg and thigh pieces if you prefer)
1 can cream of mushroom soup
1 can cream of chicken soup
Preheat your oven to 350. Line a 9×13 casserole dish with bacon.
Sprinkle the rice and the seasoning packet over the bacon.
Whisk together the two cans of soup along with a half of can of water and pour half of the soup mixture over the rice.
Add the chicken and cover with the second half of the soup mixture.
Cover the pan with foil and bake for 1 hour. Remove the foil and bake for an additional 30 minutes. While the casserole continues to bake prepare a vegetable and/or a salad to serve with the chicken and rice.
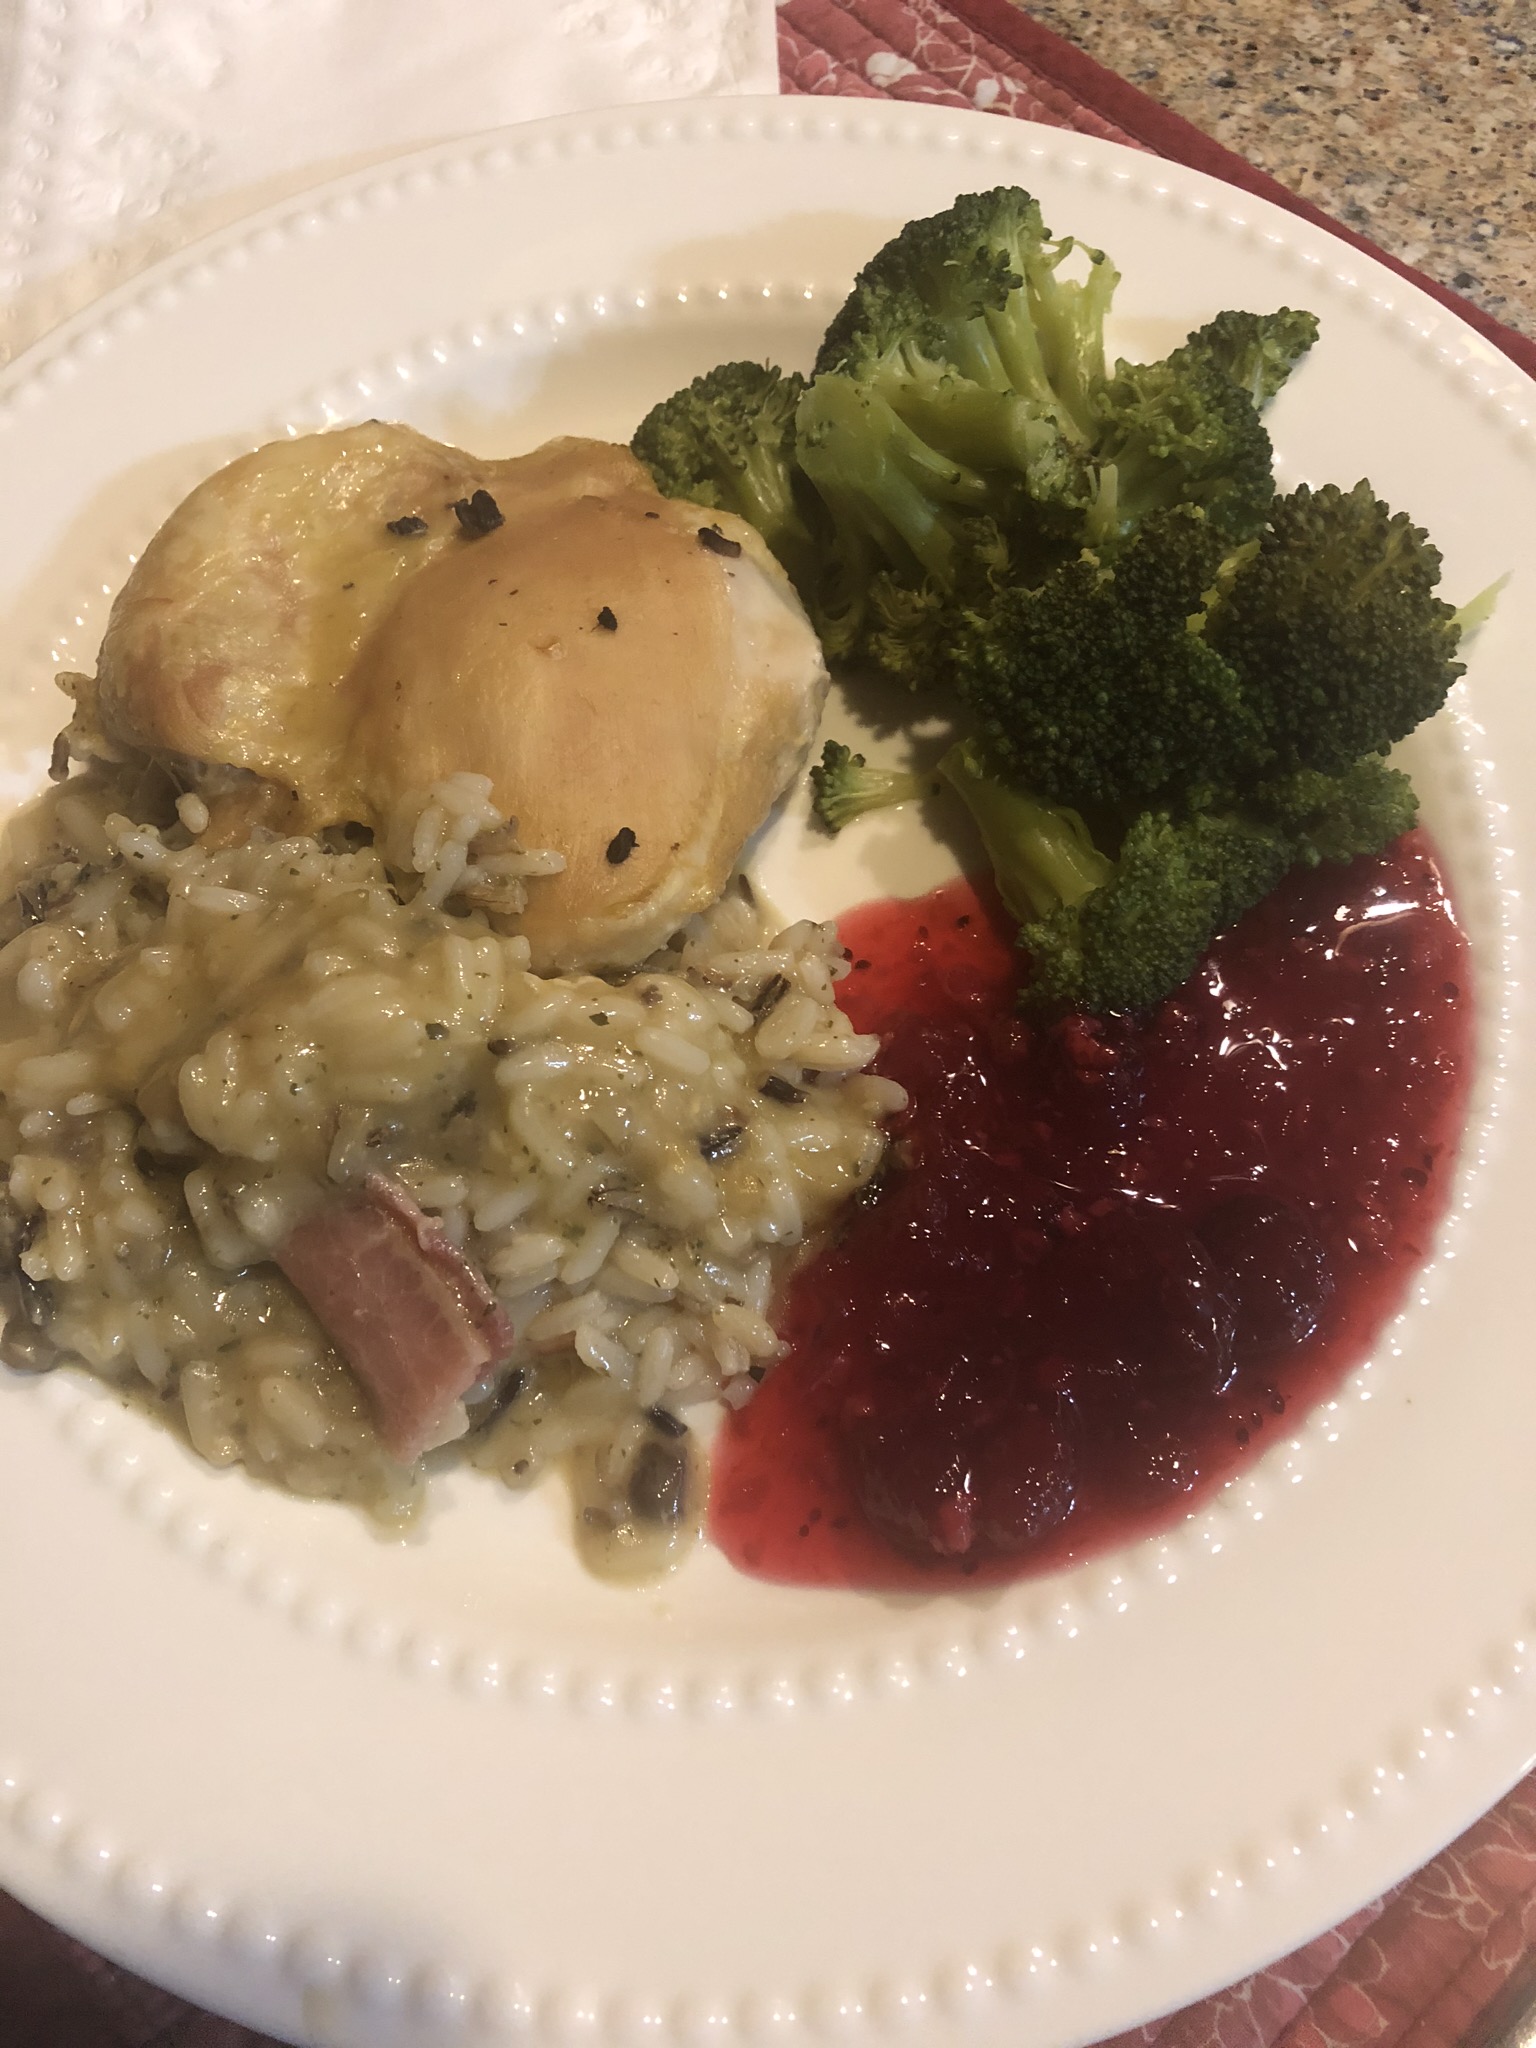
Plate and enjoy.
I served ours with broccoli and cranberry sauce. Because, if it’s chicken or turkey, there has to be cranberry sauce.
NOTE: I used boneless, skinless chicken but the original recipe called for bone in, skin on pieces of chicken. Use whatever chicken parts your prefer and whatever you have on hand. Almost any vegetable would be a good side dish including squash, green beans, or asparagus. I’ve never tried it, but this recipe might also work well with pork chops.
You may be inspired to get out some of your old tried and true recipes that call for creamed soups as we are all staying home during this pandemic. You’ll find them to be great comfort foods, especially during the winter months.
I grew up in Michigan’s Upper Peninsula where pasties are a staple. Once you cross the Mackinaw Bridge from the lower to the upper you start to see signs for restaurants and little shops featuring pasties. In 1968, then Governor George Romney, designated May 24 National Pasty Day in Michigan. The pasty first arrived in Michigan’s Upper Peninsula in the 1840s when tin miners from Cornwall immigrated to help develop the mines. The pasty is a complete and hearty meal in itself and can be eaten without plates and cutlery, making it a perfect supper for miners. If the pasty was no longer warm they would heat them by putting them on a shovel and holding the shovel over a heat lamp candle.
The pasties I grew up with are made of ground beef, potatoes, rutabaga, carrots, and onion and seasoned only with salt and pepper. The vegetables are all diced rather than sliced. The vegetables and meat are wrapped in a crust. A pot pie without a pot. If you’re a Yooper, you use catsup on your pasty. If you request gravy you’ll quickly be identified as a tourist. In mi-August of each year there is a pasty festival in Calumet complete with a beer tent and lots of pasty vendors offering samples. The Finns consider pasties as part of their ethnic cuisine and you will see them featured at Michigan’s Finnish Festivals.
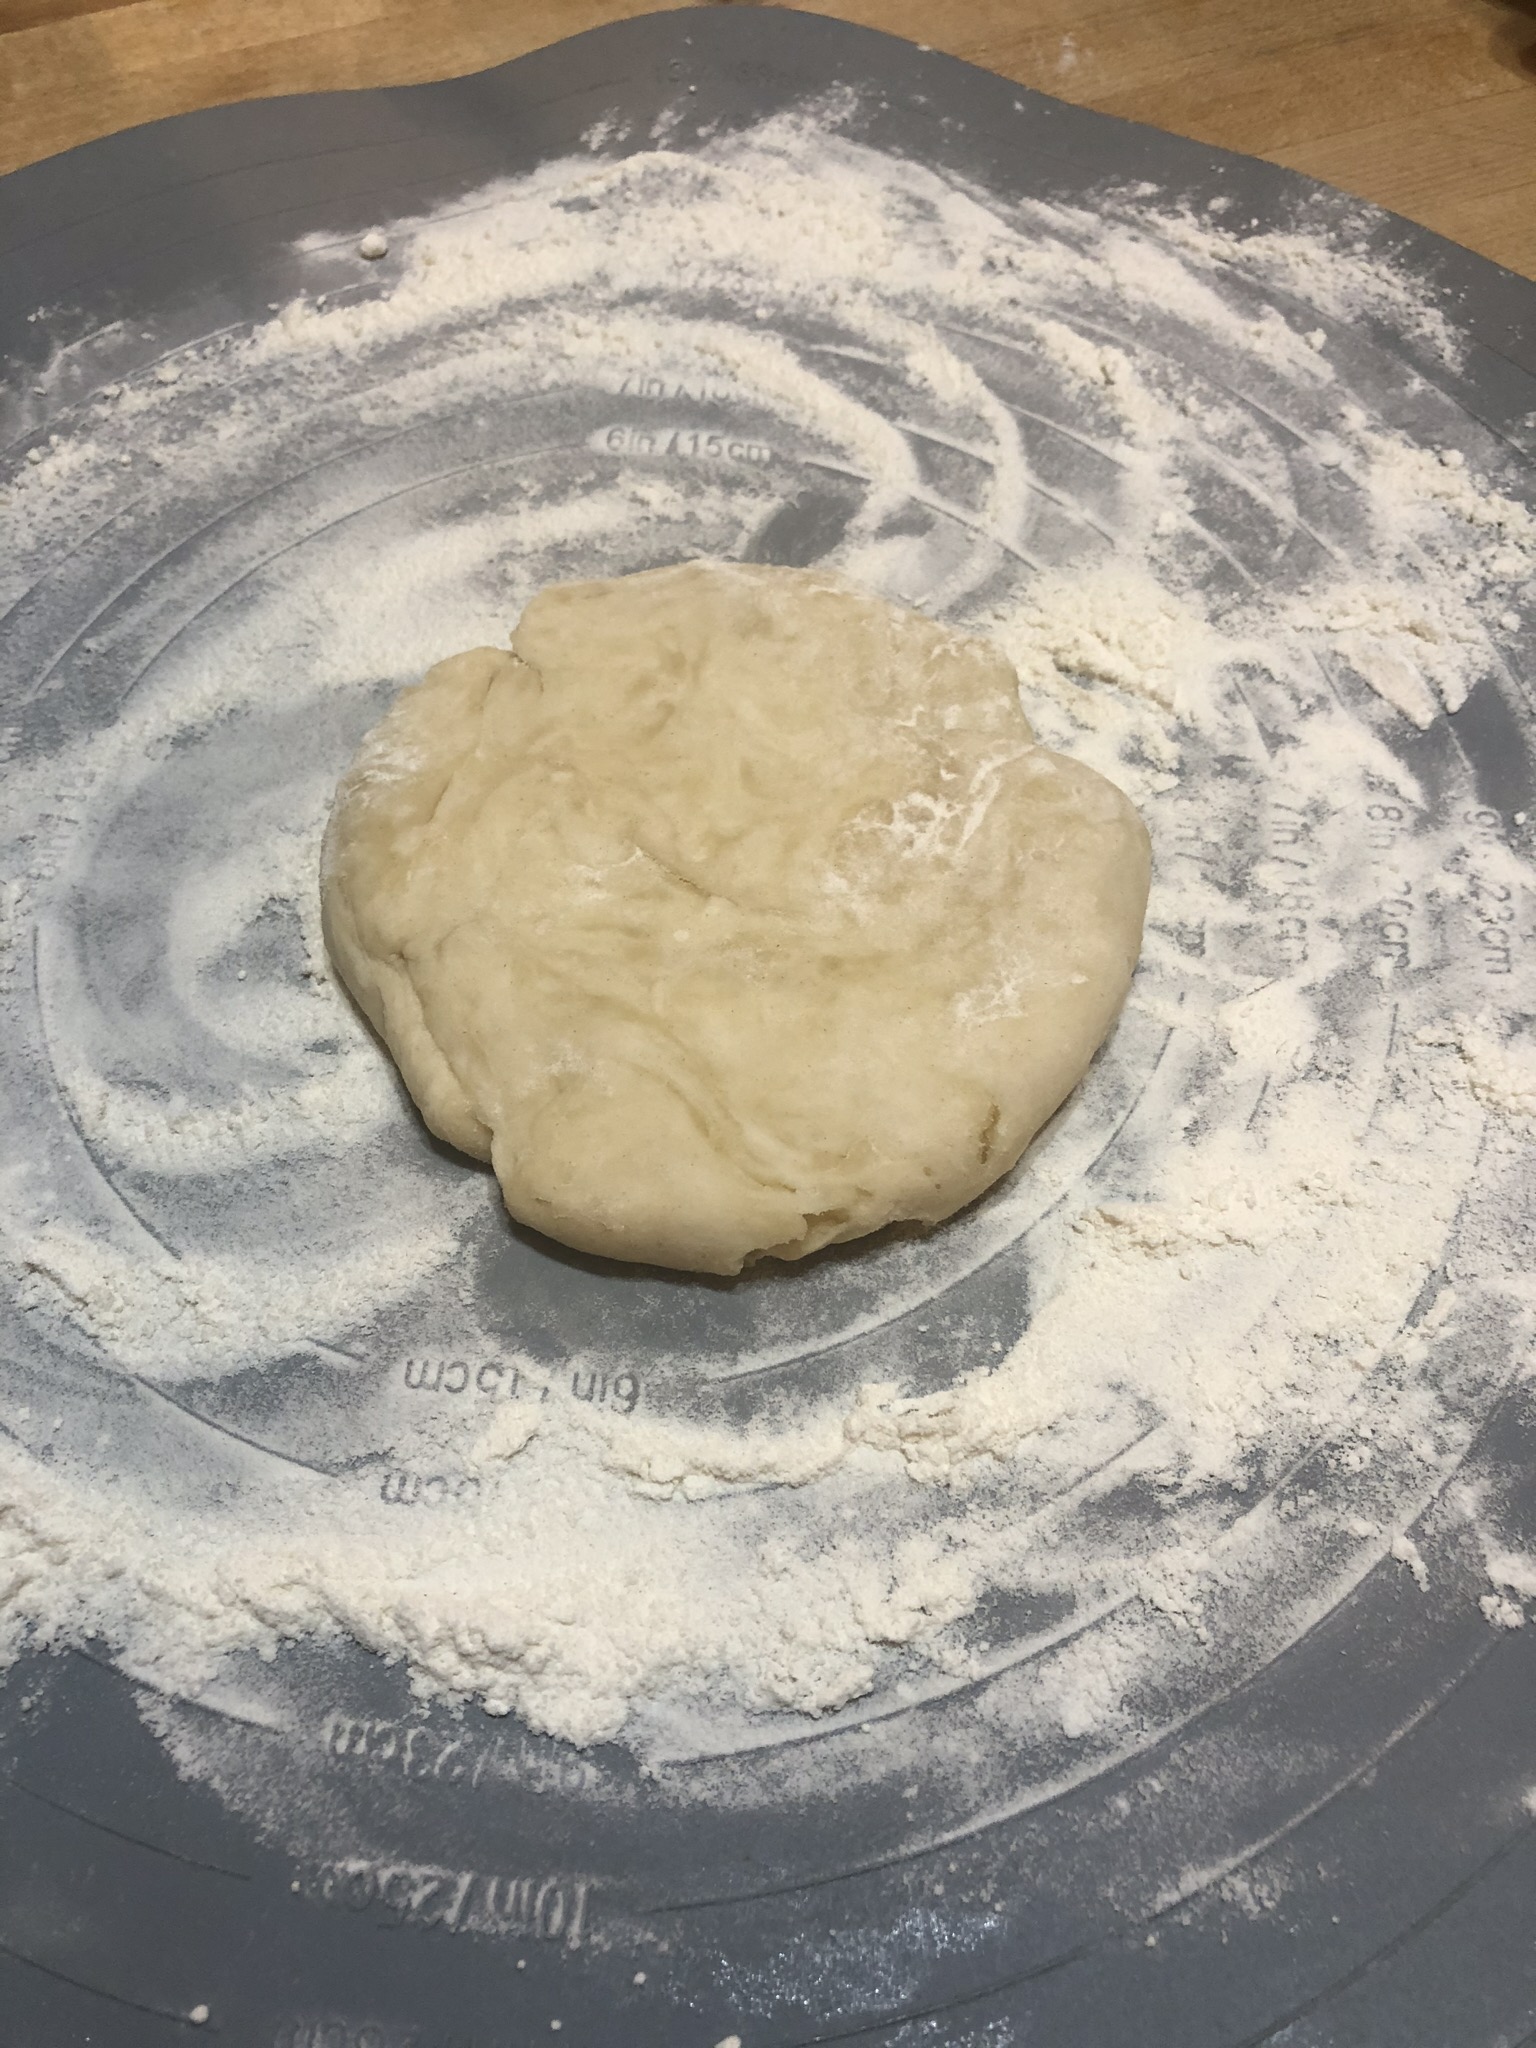
The largest pasty on record was made in 2010 and weighed in at 1,900 pounds. I’m not sure now they rolled that crust out or where they found an oven large enough to bake it! As I started working on my pasties yesterday I had come across a recipe that I had saved for an unusual crust. I was a little skeptical but I thought I’d give it a try and I was very happy that I did. The dough came together easily and was great to work with. The recipe for the crust and the filling make a dozen pasties so keep that in mind.
Crust Ingredients:
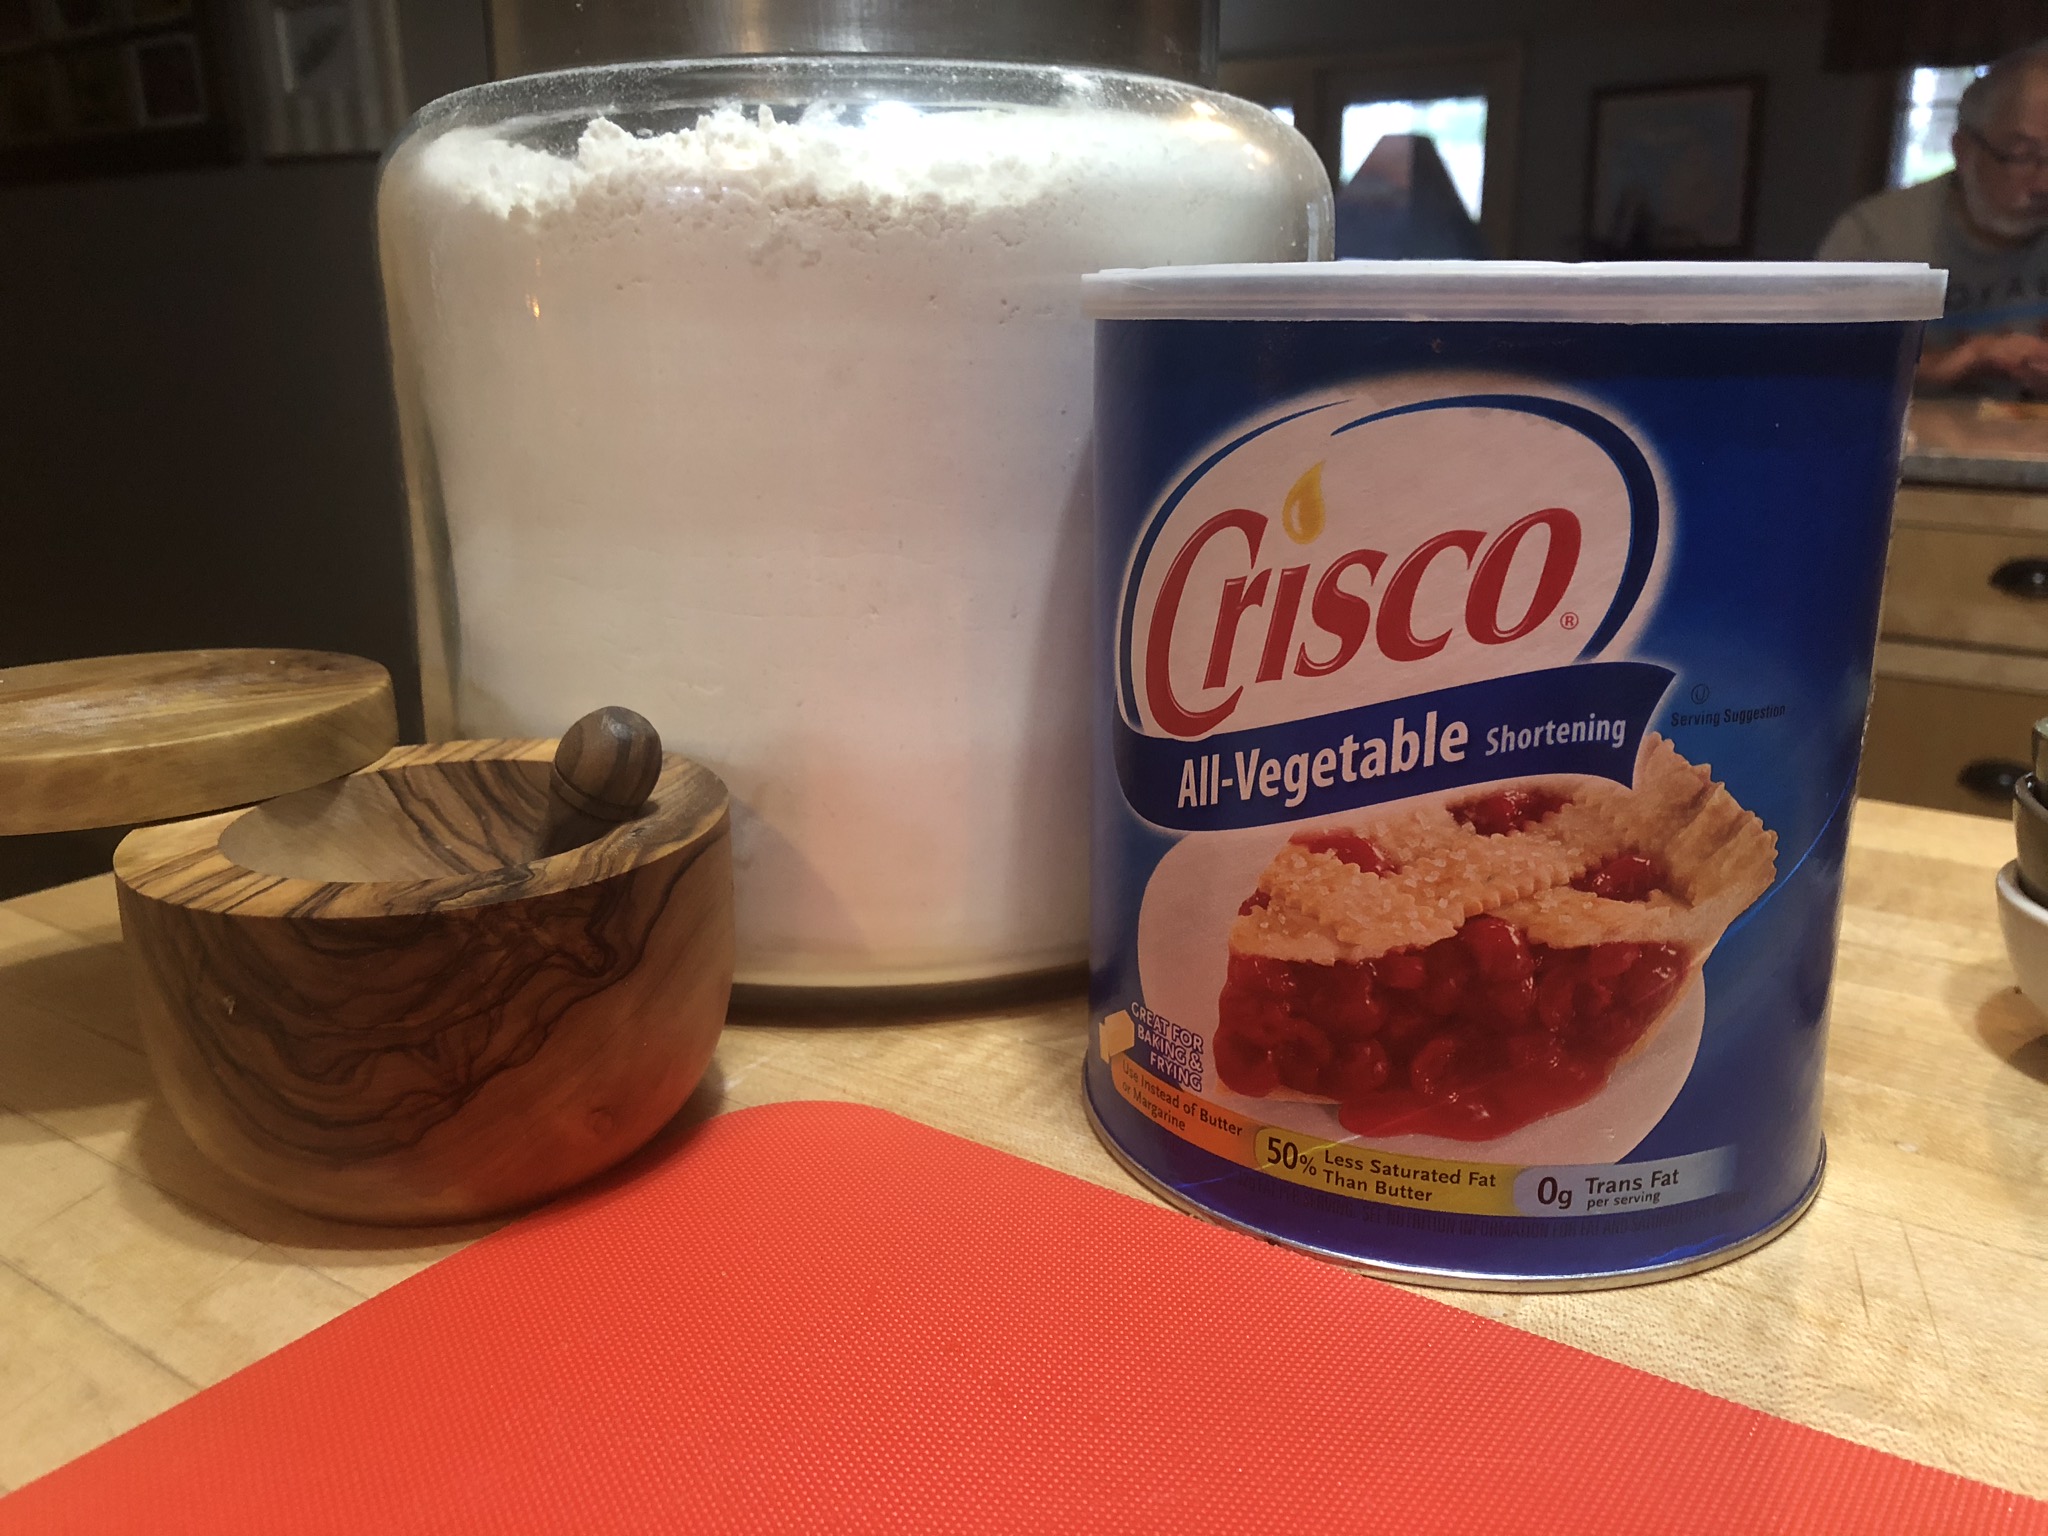
2 cups of shortening
2 cups of boiling water
6 cups of AP flour
1 T salt
Measure out the shortening into a large mixing bowl and add the boiling water.
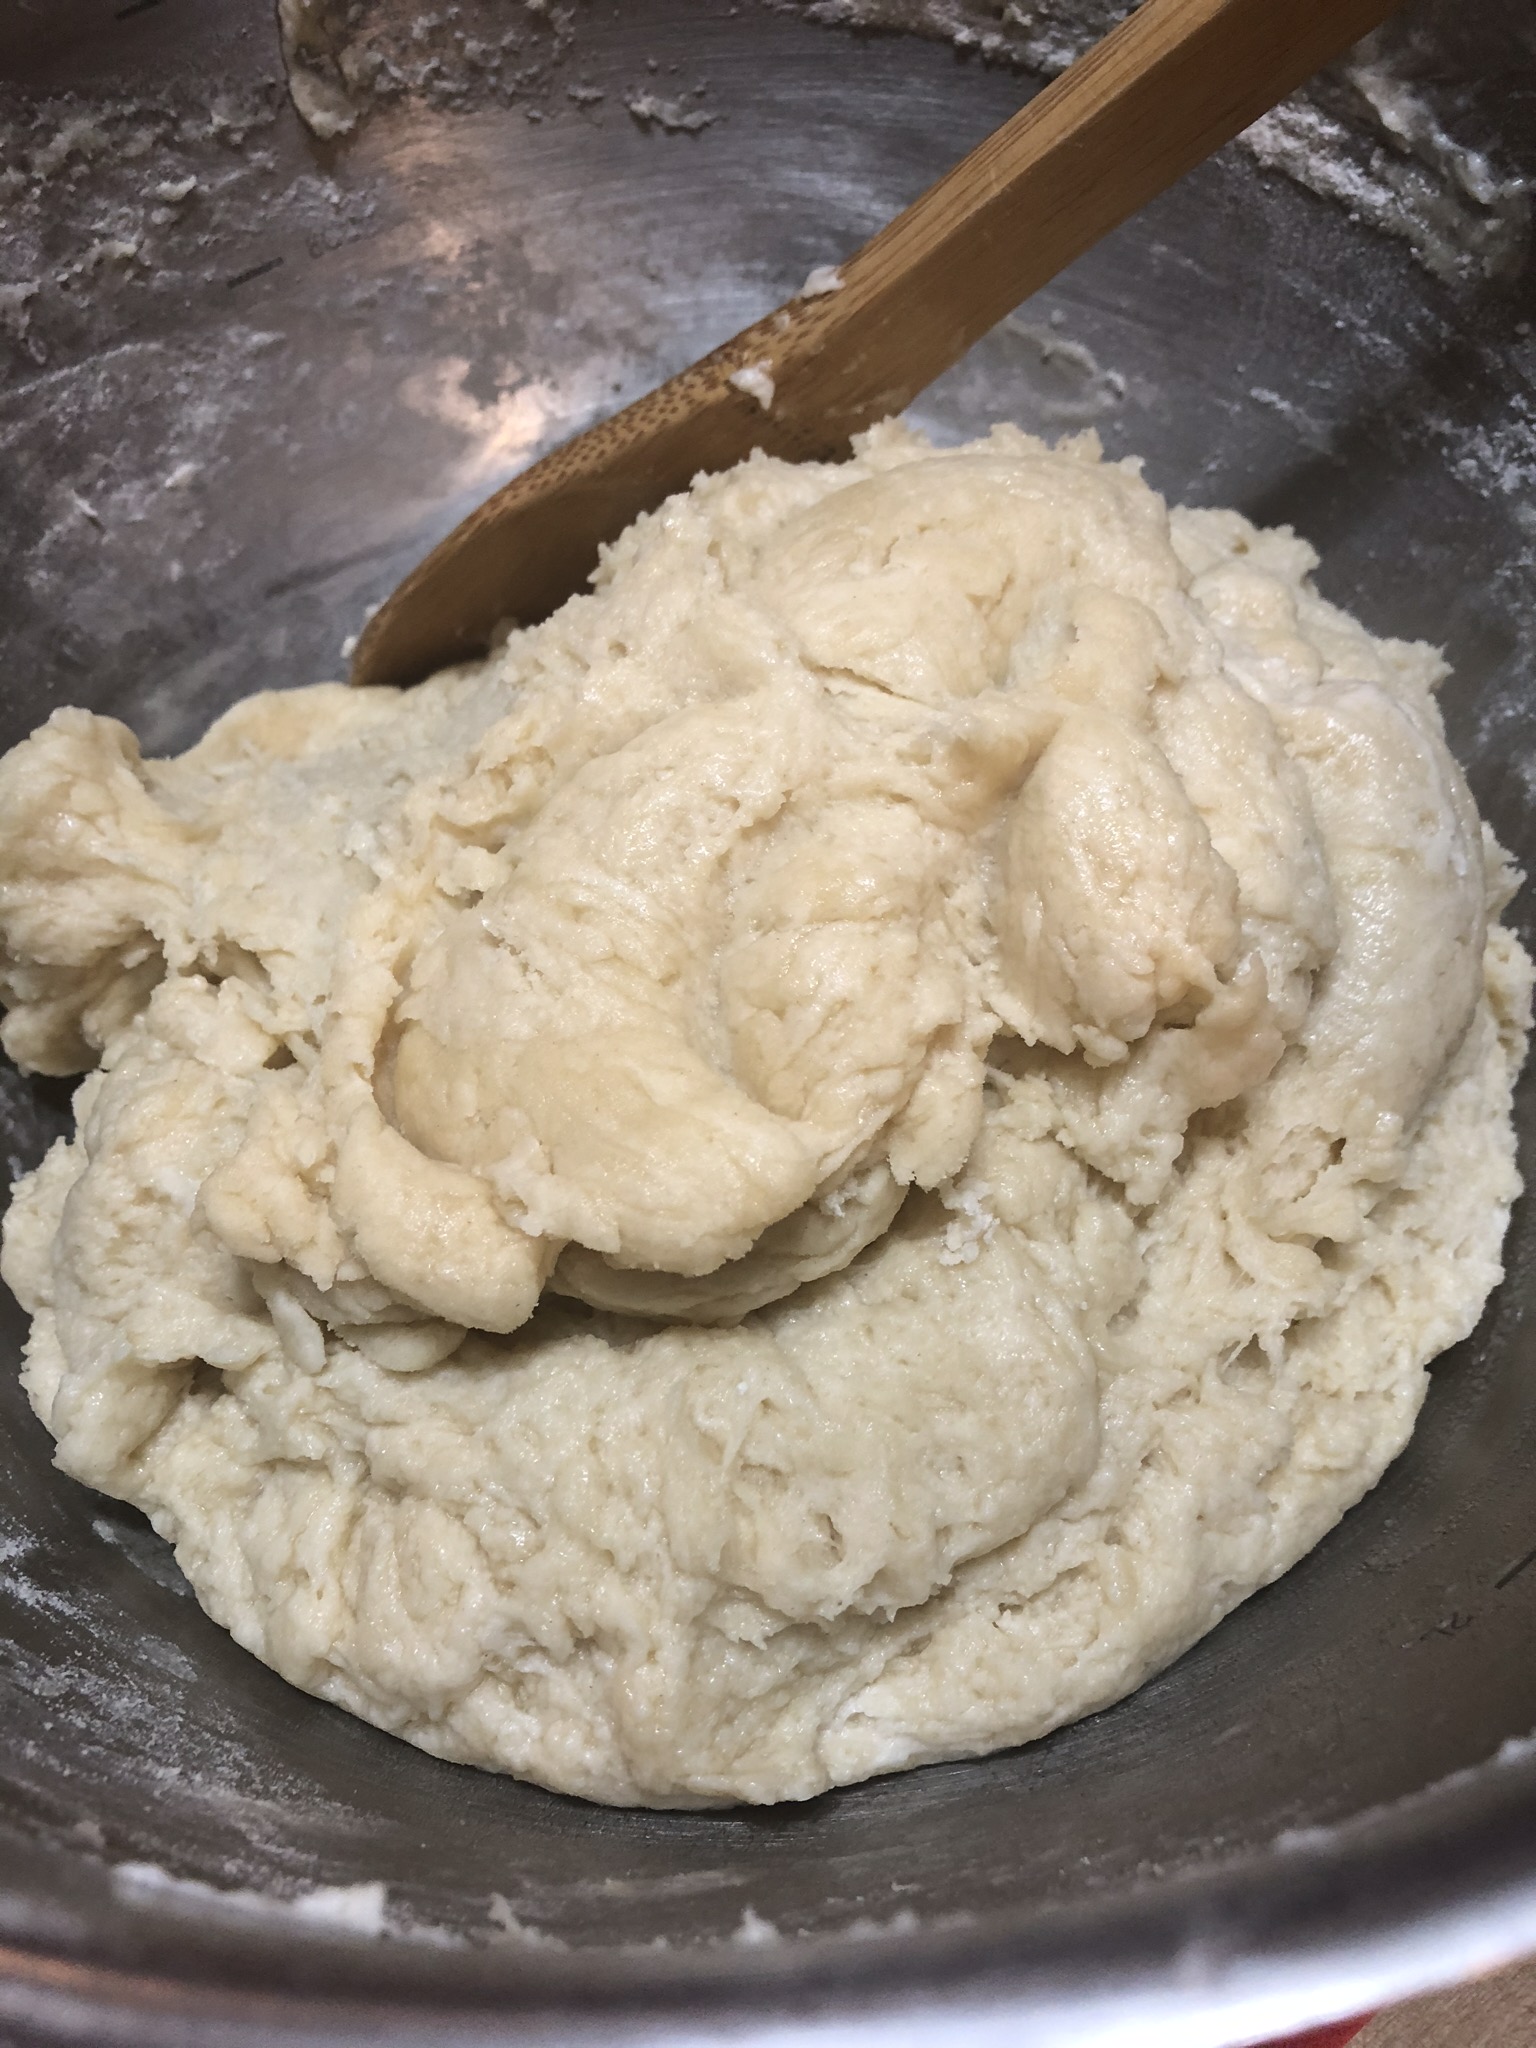
Whisk together until all of the shortening is melted.
Stir in the flour and salt with a wooden spoon until you have a smooth, soft dough.
Turn the dough out onto a plate, cover with Saran Wrap, and refrigerate. Now you’re ready to start chopping your vegetables.
Filling Ingredients:
2 pounds of ground beef
1 pound of ground pork
9 cups of diced potatoes
3 cups of diced rutabaga
2 cups of diced carrots
4 cups of diced onion
Salt and Pepper
Peel the veggies and cut them into a very small dice, taking care to keep them fairly similar in size so they cook evenly. Combine all of the veggies in a large stainless steel bowl.
Add the ground meat, season well with salt and fresh ground pepper, and get your hands in there and mix all of the ingredients well. This will help to keep your ratio of meat and vegetables similar in each pasty.
Now you’re ready to take your dough out of the refrigerator and start rolling out the crusts. Divide the dough into a dozen even pieces. If you’re leery about eyeballing it weigh the dough on a food scale and do your math. Take one of the dough balls and, on a generously floured surface, roll it out into an 8 inch circle.
Once you’ve rolled out the dough put a cup and a half of the filling onto the dough.
With your fingers or a pastry brush moisten the edges of your dough for a good seal. Fold the dough over and crimp the edges. Cut a hole or two on top to vent the pasty while baking and transfer to a parchment lined baking sheet.
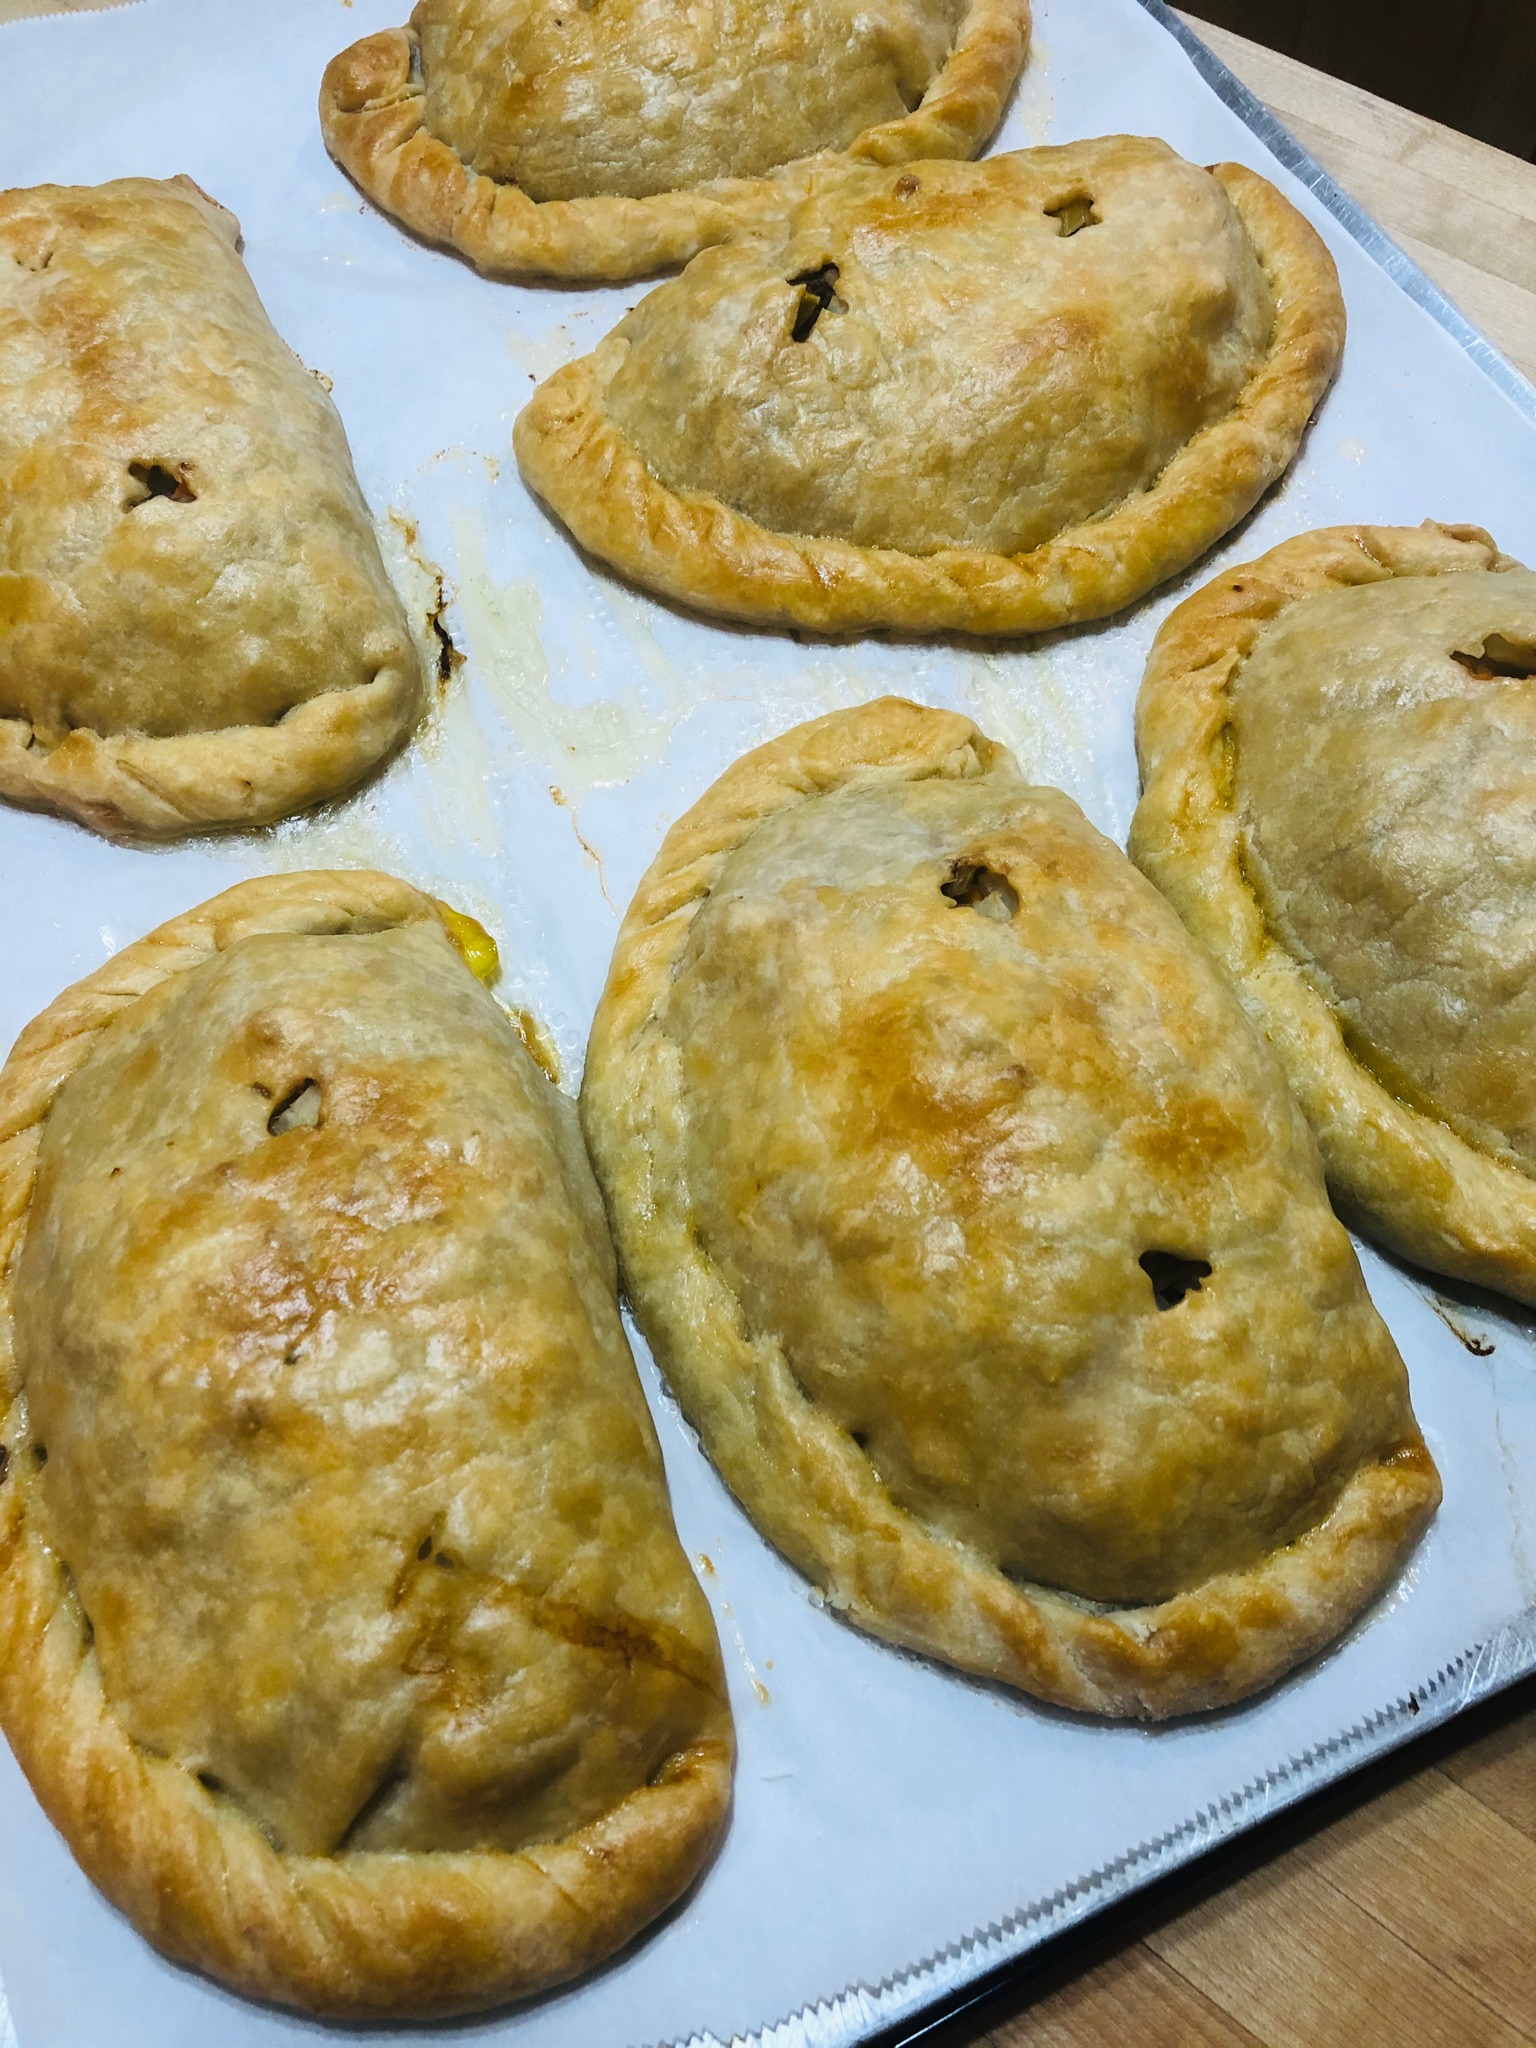
Once you have a sheet full of pasties bake them in an oven preheated to 350 degrees for 60 minutes.
Serve them piping hot or, if you’re going to freeze them, allow them to cool completely and wrap them in aluminum foil. Enjoy!
When I would make something for my Dad, like a pair of mittens or homemade cinnamon rolls, he would pay me the highest compliment by saying, “This is just like store bought.” Last night when my husband ate his pasty he said, “These are better than the ones we get from the store in the UP”. So I guess I’ve moved up in the compliment department because the ones we get at the store in the UP are pretty darn good!
NOTE: I use Brooks Tangy Catsup exclusively and it’s really good on pasties. You’re welcome to use gravy if you don’t mind being mistaken for a tourist.
Pasties freeze very well and are great to pull out for a meal when you’re short on time.
As always, a recipe is just a guide. Make whatever adjustments you’d like based on your personal preferences in terms of seasoning, vegetable proportions, and type of meat.
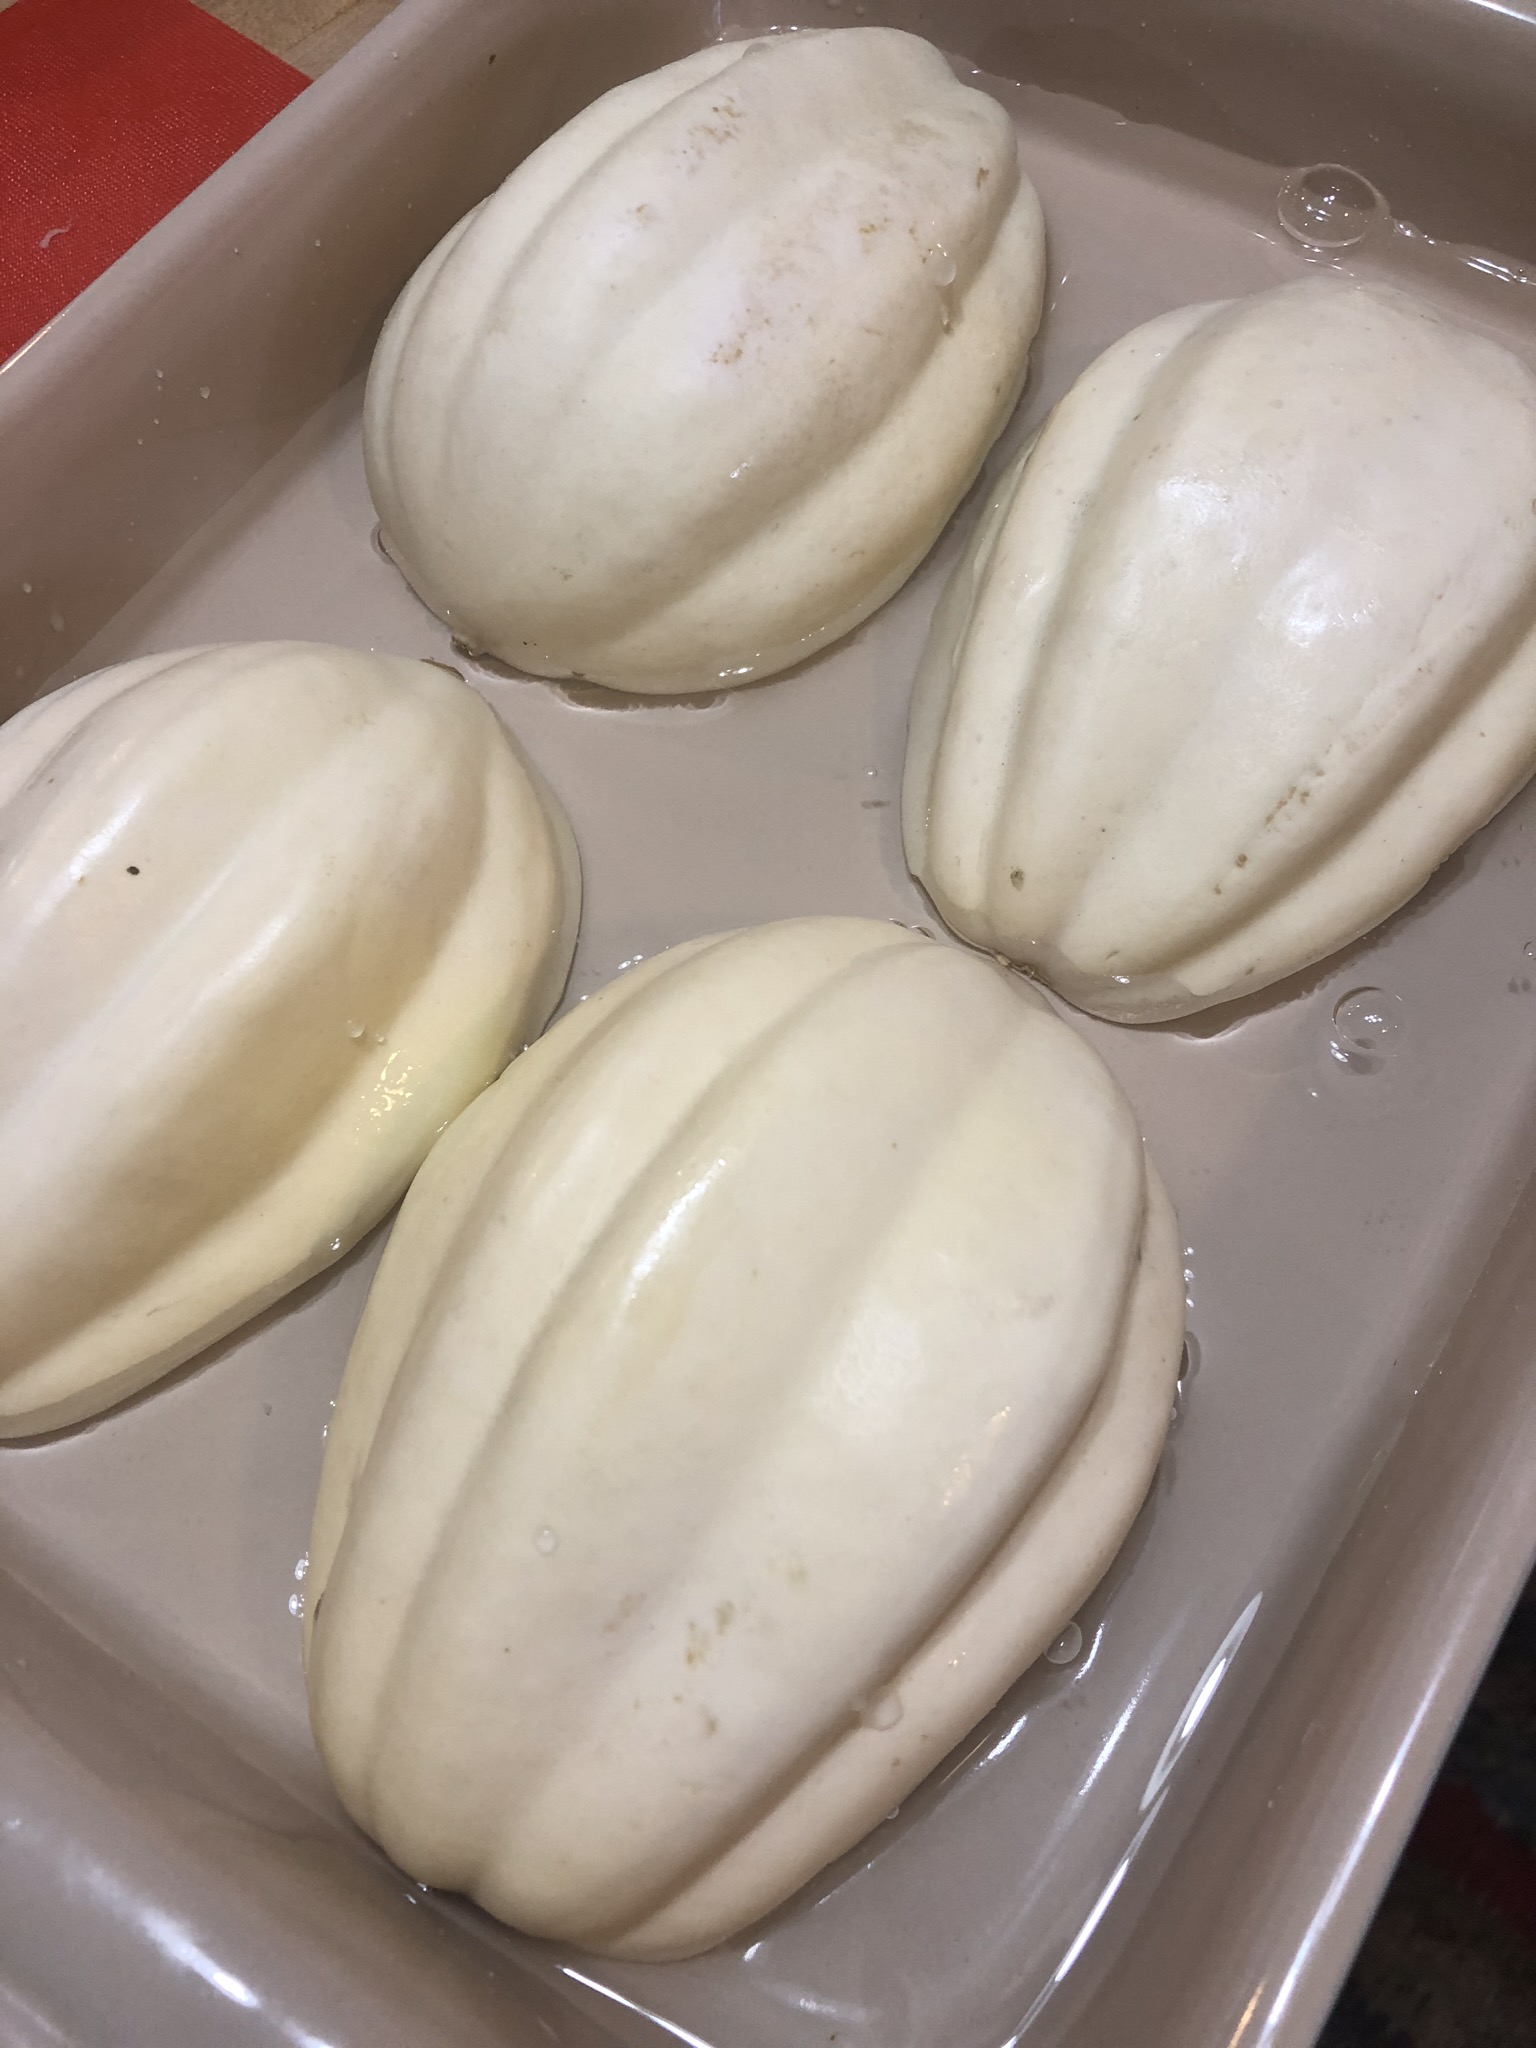
My friend and I stopped at a farm market and saw these interesting white acorn squash. I’ve never had them the clerk said, but they say they taste just like mashed potatoes. Always game to try something new I bought two of them. My husband doesn’t really care for squash, so I thought, if it tastes like mashed potatoes, he’ll like it. I cut them in half, removed the seeds, and baked them in a casserole dish with an inch or so of water until they were tender. I scooped the squash out of the shell and it was tender and creamy.
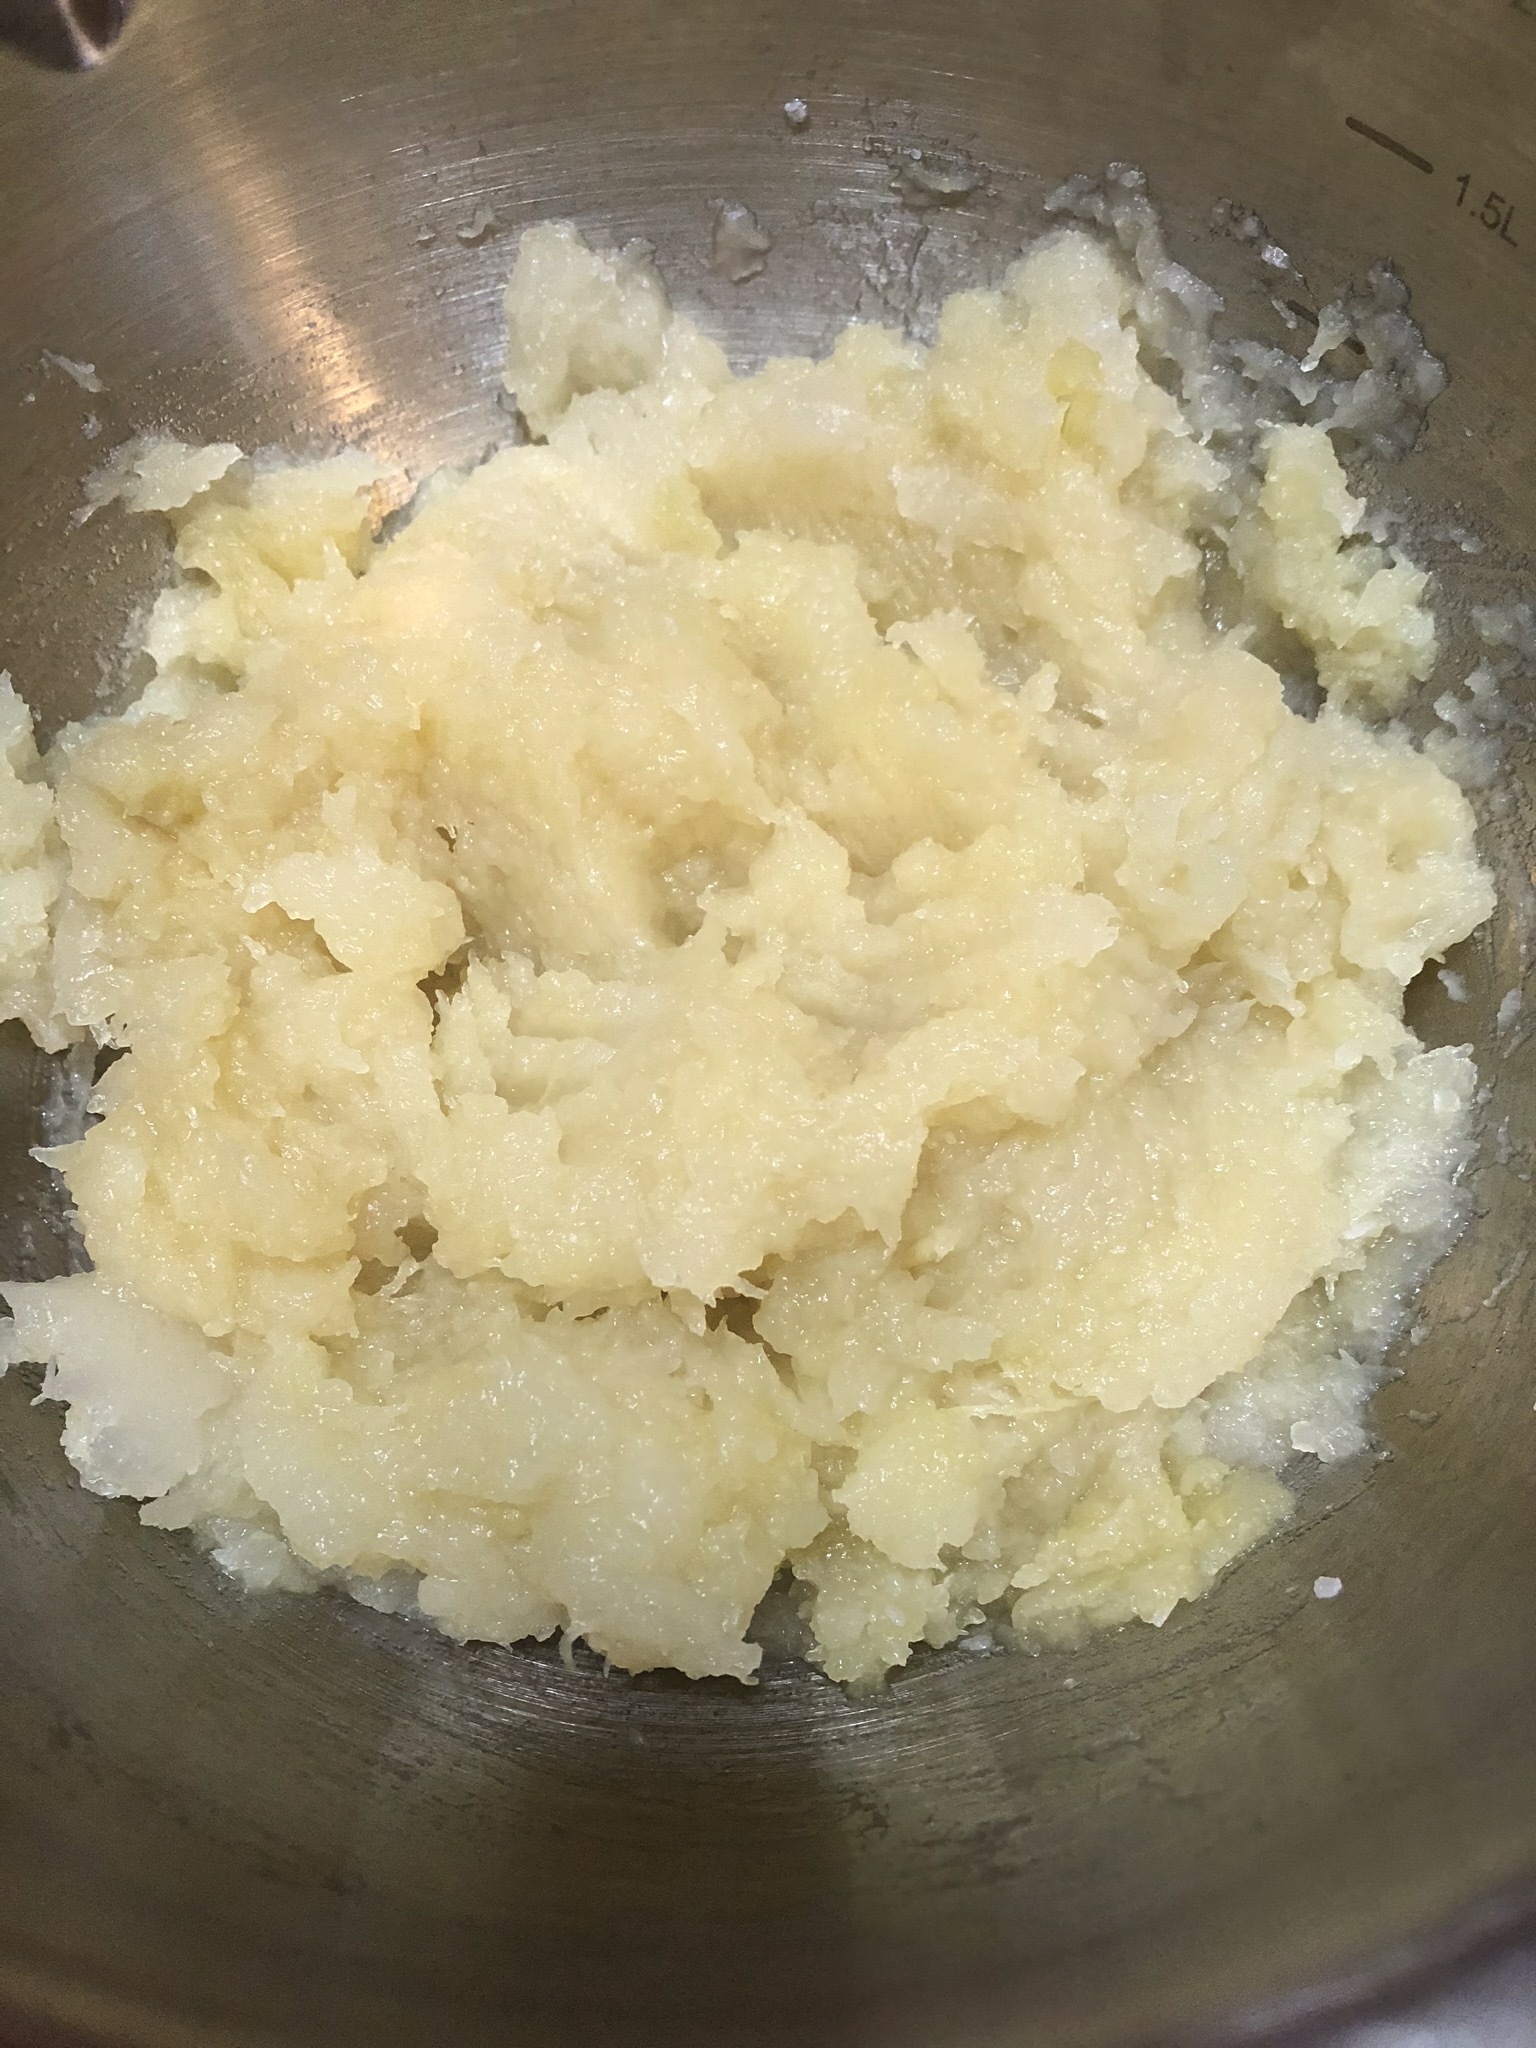
Then I tasted it. It tasted like nothing. It actually tasted worse than nothing. Potatoes taste like potatoes. This tasted like nothing. So I texted my daughter and one of her friends for recommendations on what to do with this squash to give it some taste. My daughter suggested stuffing it with wild rice and sausage which would have been good except I was serving it with a pork loin. Her friend John suggested butter and sage. I googled white acorn squash and they suggested apple, honey, robust cheeses, bacon, or fresh herbs. Obviously things that actually have flavor. I decided to caramelize onion in butter and sage.
The onions were sweet and melt in your mouth tasty. I stirred those in to the squash along with some fresh grated parmesan cheese. And more butter. It still did not taste good! I should have just served onions caramelized in sage butter with parmesan cheese as a side.
Lesson learned. I will never buy white acorn squash again. If I want something that tastes like potatoes, I’ll buy potatoes. But if you still want to try white acorn squash, don’t say I didn’t warn you.


You must be logged in to post a comment.