Veggie Burgers

For quite awhile I’ve been talking about trying to replicate the ”Impossible” burgers without all of the added ingredients like methylcellulose, yeast extract, gums, and an ingredient high in iron called ”heme,” the red ingredient that appears to make the impossible burger bleed. While there is heme in humans and animals, and it is in the meat products that we eat, the heme in the impossible burgers is genetically modified from soybean roots. If you’re interested in reading more about heme, and how and why it is incorporated into the impossible burger, I suggest you google it. But there are none of those ingredients in this recipe which I found in Food and Wine’s August issue. I mean, where would I find heme?? I must admit it was quite a process, and it is decidedly easier to take a package of ground beef out of your freezer. But, if you want a plant based burger without a lot of additives, that is healthy, and good for the environment, try this recipe. It made eight burgers. My husband and I each enjoyed a burger for lunch and I froze the other six in packages of two. My husband said they were alright. I really liked mine. And I would definitely make these again.

Ingredients:

4 cups of water

1 T plus 1/4 tsp kosher salt, divided

1/3 cup uncooked pearl barley, rinsed

1 dried bay leaf

1 pound of fresh button mushrooms stemmed and quartered

2 T tamari or soy sauce

6 T plus 1 tsp olive oil, divided

1/2 tsp black pepper

1 head of garlic halved crosswise

2 medium carrots peeled and shredded (about 3/4 cup)

2 small beets peeled and shredded (about 3/4 cup)

1 tsp ground cumin

1 tsp smoked paprika

1 can chickpeas (15 1/2 oz can), drained and rinsed

2/3 cup gluten-free or regular panko

1/4 cup finely chopped walnuts

1 T whole grain or dijon mustard

It expedites things to get all of your ingredients prepped and measured.

Preheat oven to 400 F.

In a medium saucepan bring 4 cups of water and 1 T of salt to a boil. Rinse the barley and add it to the water along with a bay leaf. Return to a boil. Simmer undisturbed for about 25 minutes until the barley is al dente. Drain, remove and discard the bayleaf, and allow the barley to cool for about 15 minutes.

While your barley is cooking toss together the mushrooms, tamari, 2 T of olive oil, pepper, and 1/4 tsp salt.

Spread the mushrooms in a single layer on a rimmed baking sheet. Place the garlic head halves on a sheet of aluminum foil, drizzle with 1 tsp olive oil, wrap tightly and place on the baking sheet with the mushrooms.

Roast the mushrooms and garlic in the preheated oven until the mushrooms are browned and beginning to dry out, about 40 minutes. Stir twice during cook time. Remove from the oven and allow to cool for about 10 minutes.
Unwrap the garlic and squeeze garlic cloves from the skins. Set the roasted garlic aside.

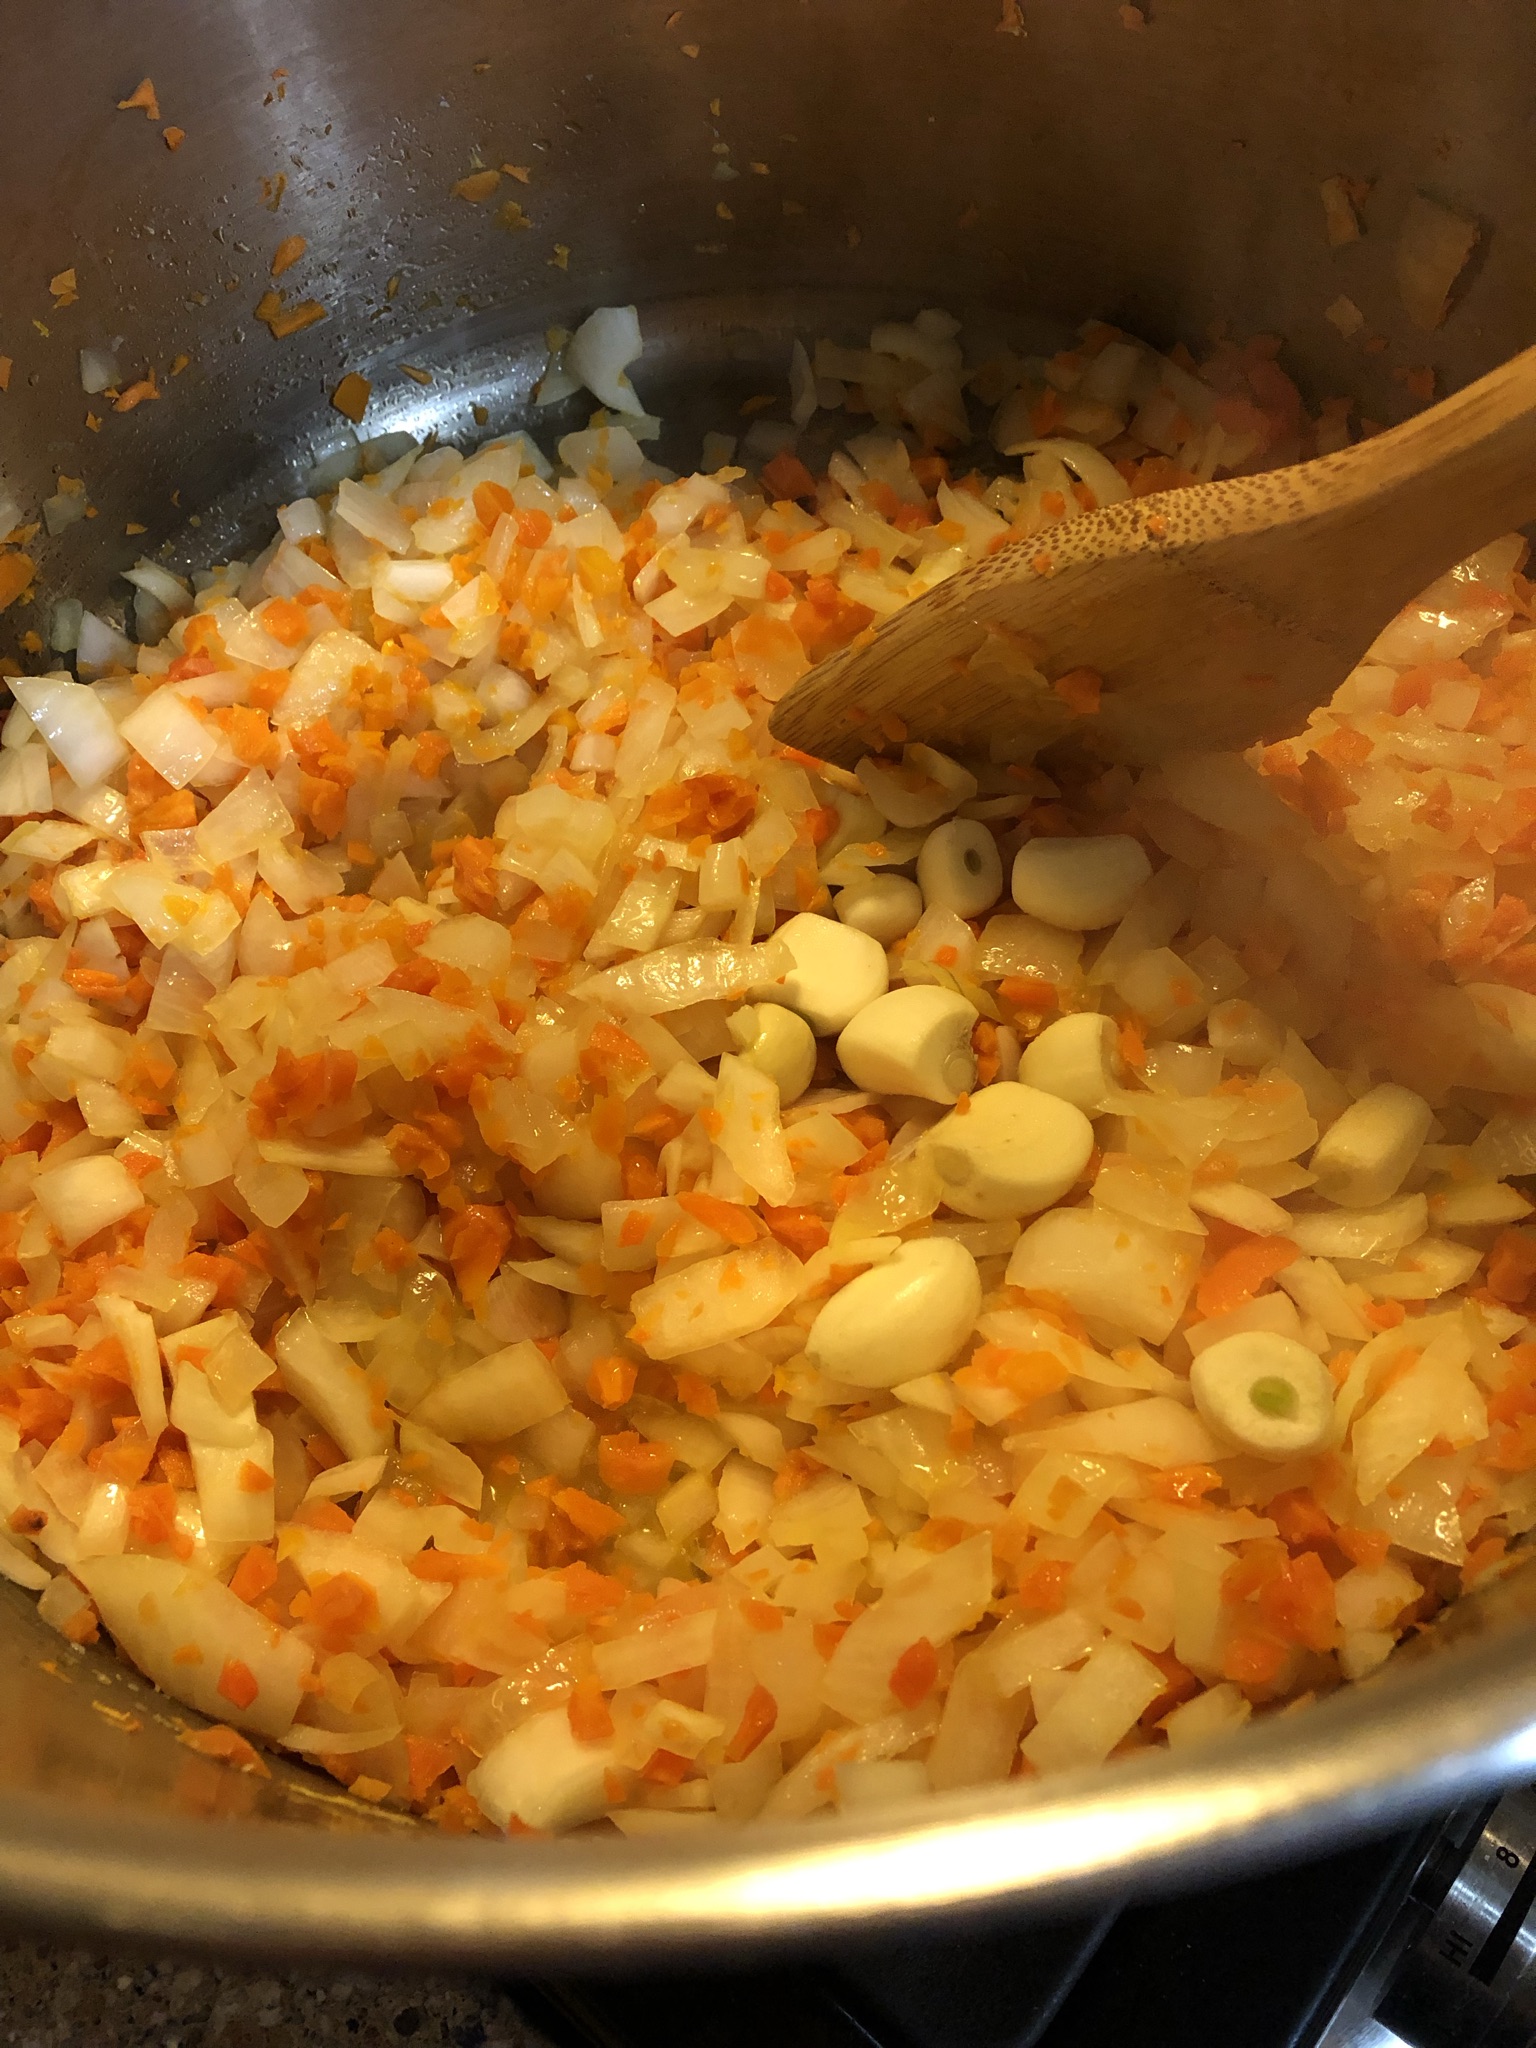
Transfer the cooled barley to a food processor and pulse until roughly chopped, about 15 pulses. Transfer the barley to a large bowl and add the beets, carrots, cumin, and paprika.

Transfer the roasted mushrooms to the food processor and pulse until finally chopped, about 10 pulses. Transfer mushrooms to barley mixture.

Add chickpeas to the food processor and pulse until roughly chopped, about 10 pulses. Measure out 1 cup of chopped chickpeas and transfer to the barley mixture.
Add the roasted garlic to the remaining chickpeas and process until smooth, about 1 minute. Scrape down sides of the bowl as needed. Transfer the chickpea and garlic mixture to the barley mixture.

Add the panko, walnuts, and mustard to the barley mixture and stir well.

Shape the mixture into eight patties, about 1/2 cup each. I used my ice cream scoop.
Heat two T of olive oil in a heavy, oven safe skillet. Add 4 patties and cook until golden brown and crispy on both sides, about 2 minutes per side.
Transfer the seared patties to the oven. Bake patties at 400 until the tops and sides are crispy, about 10 minutes. If you want a cheese burger, add cheese during the last couple of minutes. Serve the patty on a bun with toppings of your choice.
I served our burgers up with mayo, lettuce, and red onion. I was wishing for a nice, thick slice of tomato. That would have made these just perfect.

NOTE: If you’re preparing two to four burgers at one time sear them in an oven safe skillet and transfer the skillet to the oven. If you are doing all eight burgers, bake them on a rimmed baking sheet. Remember there will be very little if any shrinkage as the patties cook.

I put six of the patties in packages of two and froze them. The recipe says they can e frozen for up to one month. Thaw frozen patties overnight in the refrigerator before cooking.

Pizza Crust

Who doesn’t love pizza? I think it’s one of almost everyone’s favorites and there is no end to the combination of toppings you can use. Several weeks ago we were in Munising in the upper peninsula of Michigan, and I enjoyed a wood fired Savory Blueberry Pizza with mozzarella cheese, bleu cheese, ham, bacon, onion, and blueberries topped with a blueberry balsamic vinaigrette. It was delicious! They also offered a pimento cheese, jalapeño, and bologna pizza and a fig and pig to name just a few. Last night I made a pizza that I found in Cuisine at Home that starred roasted potato, garlic, rosemary, broccolini, leeks, and gruyere cheese. My husband’s favorite pizza needs lots of tomato sauce, and preferably some meat, although we do enjoy a good veggie pizza. Regardless of the toppings, a good pizza, in my opinion, begins with a good crust. I prefer a thinner, crispy crust. I don’t want to feel like I ate a loaf of bread after a couple slices of pizza. Several people have asked me to share my crust recipe and this is my favorite place for sharing. I have no idea where this recipe originated, but I’ve used it for years.

Ingredients:

1 1/4 cups room temperature water

2 T olive oil

2 1/4 tsp (one packet) instant yeast

1 tsp salt

1 T sugar or honey

3 1/4 cups AP flour and more for kneading

1/4 cup cornmeal

Whisk together the flour, yeast, salt, and cornmeal. I use instant yeast because it can just be mixed in with the other dry ingredients and doesn’t need to bloom in water. Make a well in the center and add the sugar or honey, water, and olive oil. Stir well with a wooden spoon and turn out onto a clean, lightly floured surface to knead. Knead for 5-7 minutes. As you’re kneading you may need to add additional flour. The dough should be elastic and slightly sticky. If you prefer, you can use a stand mixer with a bread hook to mix and knead your dough.

Once you’ve kneaded the dough return it to a bowl that has been lightly brushed with olive oil. Flip the dough over once coating both sides, cover with a clean dishtowel, and put in a warm place. Allow the dough to rise until doubled in size, approximately one hour. While your dough is rising preheat your oven to 450 with your pizza stone on the middle rack.
Punch the dough down and divide into two pieces. Shape each into a ball and allow them to rest for 10 minutes. Put one of the dough balls onto a piece of parchment paper that has been lightly sprayed with PAM. Place a second piece of parchment that has also been sprayed with PAM over the top and roll into your desired shape. Mine never seems to be round but the shape really isn’t important.

Use a fork to make pinpricks in the dough. This prevents the crust from bubbling up when you par-bake it. Cover with a dishtowel and let the dough sit for another 15 minutes. Transfer the crust on the parchment to the preheated pizza stone, and allow it to bake for 5-6 minutes. This helps to keep the crust from getting soggy, particularly with a saucy pizza. Remove the par-baked crust from the oven and add all of your toppings.

These were the toppings on the potato and broccolini pizza. The little balls are fresh mozzarella cheese. Bake for approximately 15 minutes. Remove to a cutting board.

Slice. Enjoy.

NOTE: Occasionally I add some dry herbs like oregano or basil to the dry ingredients in the crust. This recipe makes two crusts. You can divide the recipe in half or refrigerate half for another time. Or just make two pizzas. Last night I rolled the second crust out and transferred it to a pizza pan still on the parchment and put it in the refrigerator. The plan is to make a traditional pizza in the next few days.

Earlier this year one of my pandemic purchases was a baking steel that I ordered from King Arthur. I absolutely love it, and use it always when I make pizza. A pizza stone works great as well. If you have neither, just use your favorite pizza pan. You’ll still get a great pie.

Air Fryer Chicken

I frequently see memes on line asking who survived the pandemic without getting pregnant, divorced, or buying an air-fryer. I’m still married, definitely not pregnant, but I did buy an air-fryer and I love it. Aside from grilling hotdogs, heating frozen snacks, and making nice, crispy homemade french fries without deep frying it performs many other functions very well. It is great for roasting peppers, vegetables in general, and does a great job on chicken. An air-fryer is pretty much an amped up convection oven that sits on your countertop. They work on the same principal. Also great on hot summer days when you don’t want to turn on the air conditioning.

My friend Jane came across a recipe for cooking a whole chicken in the air-fryer using a great seasoning mix. I used it on a whole chicken that I spatchcocked out of necessity because my hen couldn’t sit upright in my air-fryer. Spatchcocking is simply the technique of cutting out the backbone (I use my Pampered Chef kitchen shears), opening the chicken up and flattening it. Be sure to save the backbone for making broth. A spatchcocked chicken cooks faster and more evenly whether you’re doing it on a grill, in the oven, or in the air-fryer. What makes this recipe is the seasoning. I’ve done whole chickens and I’ve also done just skin on, bone in chicken thighs, because we both prefer the dark meat. I misplaced the recipe after I used it the first time, but now I’ll know exactly where to find it.

Ingredients:

2 T avocado oil

1 T salt

1 tsp fresh ground pepper

1 tsp garlic powder

1 tsp smoked paprika

1/2 tsp basil

1/2 tsp oregano

1/2 tsp thyme

This spice blend is the perfect amount for a whole chicken. If you are doing ”parts” use less and store the remainder away in a sealed container.

Rub the avocado oil on both sides of the chicken.

Combine the salt and pepper and spices and sprinkle generously on both sides of the chicken.
Preheat your air-fryer. I used the high temp grill setting on mine. Each brand of air-fryer has different function settings and temperature settings. Once the air-fryer reaches temperature add the chicken skin side down.

Cook for 7-8 minutes before turning. For a whole chicken cook for 20-25 minutes before turning. Total cook time for parts is 10-12 minutes, 30-35 for a whole spatchcocked chicken. You want the internal temperature to reach 160 so it’s best to use an instant read thermometer to ensure your chicken has reached a safe temp.

The chicken remains juicy on the inside and the skin crisps up beautifully. I served ours last night with a salad, smashed sweet potato and broccolini.

Enjoy!

NOTE: Refer to the instructions/recipes provided with your air-fryer. You’ll find recommended cook times for all kinds of dishes. Air-fryers vary and as I mentioned earlier, have different function settings and temperature settings. My air-fryer is a Ninja.

If you survived the pandemic WITHOUT buying an air-fryer, this seasoning mix will probably work just as well in your regular oven!

This recipe reminded me of one I’ve had in my little recipe book for who knows how many years. It’s written in my daughter’s handwriting and it’s title ”Old People Chicken.” Ingredients include 1/4 cup kosher salt, 1/4 cup brown sugar, 1/4 cup sweet paprika, 2 T fresh ground black pepper, and 2 T oregano. The recipes have a similar flavor profile. My Christmas cookie baking friend and I have a cookie recipe (that we only used once) titled ”Old Lady Cookies,” also written in my daughter’s handwriting. Seeing a theme here.

Pizza Sauce

Sunday of this week I canned two bushels of tomatoes, some diced and some stewed yielding 92 pints. Yesterday I turned a half bushel of roma (plum) tomatoes into pizza sauce. The roma tomatoes make great sauce because they are a nice meaty tomato with less seeds. I also find them a bit easier to peel. A half bushel of tomatoes fits perfectly in my large canning kettle. Since it takes several hours of simmering for the tomatoes to cook down, in my kitchen it is only practical to do a half bushel at a time. We eat a lot of dishes with tomatoes throughout the year and home-canned tomatoes and sauces taste so good! I wish I could say the tomatoes all came from our garden, but living in a forest doesn’t allow for enough sun to grow produce. There are several nice farm markets in our area that sell Michigan produce so they are my go to.

The first job is getting the tomatoes ready for saucing. That’s the worst part! They need to be cored, peeled, and diced. If you haven’t peeled tomatoes before you want to wash and core them first. Have a large pot of simmering water ready and put several tomatoes in for a couple minutes. Remove the tomatoes to an ice water bath, slide the skins off, and dice. Repeat and repeat and repeat.

Ingredients:

1 bushel of roma tomatoes peeled and diced

2 large onions (about 4 cups) diced

2 heads of garlic peeled

4-5 carrots finely diced

1/2 cup olive oil

3 T dried basil

3 T dried oregano

Red pepper flakes to taste

Salt to taste

Add the olive oil, onions, carrots, and garlic cloves to the kettle and cook over medium heat until they are softened but not browned, about 5-7 minutes.

Add the tomatoes and bring to a simmer.

Add your spices and a generous amount of salt.
Mix well and simmer away. Stir often to make sure there is no scorching on the bottom of your pan. After about an hour of simmering and stirring use an immersion blender to break up the tomatoes and vegetables.
Continue simmering until your sauce reaches the desired consistency. It took about 4 hours for my sauce. I used the immersion blender several more times after the initial mix to make sure all of the tomatoes were broken down. Sample your sauce during the cooking process and add more seasoning or salt to taste.

Once your sauce has reached the desired consistency you will want to start the canning process. Make sure that all of your jars have been washed with hot, soapy water or run through the dishwasher. Put your jars and lids in the hot water bath and begin filling your hot jars with the hot sauce, adding 1/4 tsp of citric acid per pint. Process your jars in the hot water bath for 35 minutes. Remove the jars to a heavy towel and allow them to cool completely, best overnight. Repeat until all of your sauce has been jarred and processed. Once the jars have cooled I remove the rings and shelve them.

Since there was some sauce left in my kettle we had pizza for dinner last night.

I like a thin, crispy crust. Pizza toppings included italian sausage, mushrooms, peppers, tomatoes, and peperoncini. Homemade crust, homemade sauce…doesn’t get much better.

NOTE: The ingredients in this sauce are definitely not limited to pizza. The sauce can be used in all kinds of applications including pasta dishes, on a meatloaf, or chicken or eggplant Parmesan. Also, you can modify the spices per your personal preference. The carrots in this recipe help to thicken the sauce, and also add some sweetness without the addition of sugar. And maybe eating more pizza will help your eyesight. 🙂

There was one special, heart shaped tomato in this peck!

Making your own sauce is not difficult. If you have the time and the inclination you’ll be glad that you did.