
I haven’t blogged any recipes in awhile, but it’s not because I’m not cooking. I’ve tried some new things, taken all the photos, made my notes, and the finished products were not worthy of blogging or ever even making again. I subscribe to a few food magazines. I tear out the pages with recipes that appeal to me and put them in spiral binders. I have a LOT of recipes in those binders. When I’m tired of cooking the same old things I get a binder out and go in search of something new. One such recipe I pulled out recently was for chicken and spinach calzones. Those took me an entire Sunday afternoon, came out of the oven looking beautiful, and they tasted awful! Last night I tried a new recipe for a Middle Eastern Chicken and Chickpea Stew. That recipe will not be going back into the binder. Maybe if I fussed with them and made modifications the second time around they would be good, but there are so many options out there I can always find something new. Failed dinners are so sad.
Last spring when the pandemic first began I, like so many other people, started making more homemade breads. When we couldn’t find yeast we made sour dough. Making bread, when it’s successful, is such a satisfying pursuit. And the smell of bread baking is one of the best aromas. There’s nothing like a cup of coffee and a slice of warm bread with butter melting on it, or a glass of wine and a slice of good crusty bread with a piece of cheese. Last spring my friend Jane and I experimented with a lot of bread recipes. Some were more successful than others. Each one was a learning experience. We all now have more bread making tools. We have lames and proofing bowls and baking steels and cloches.
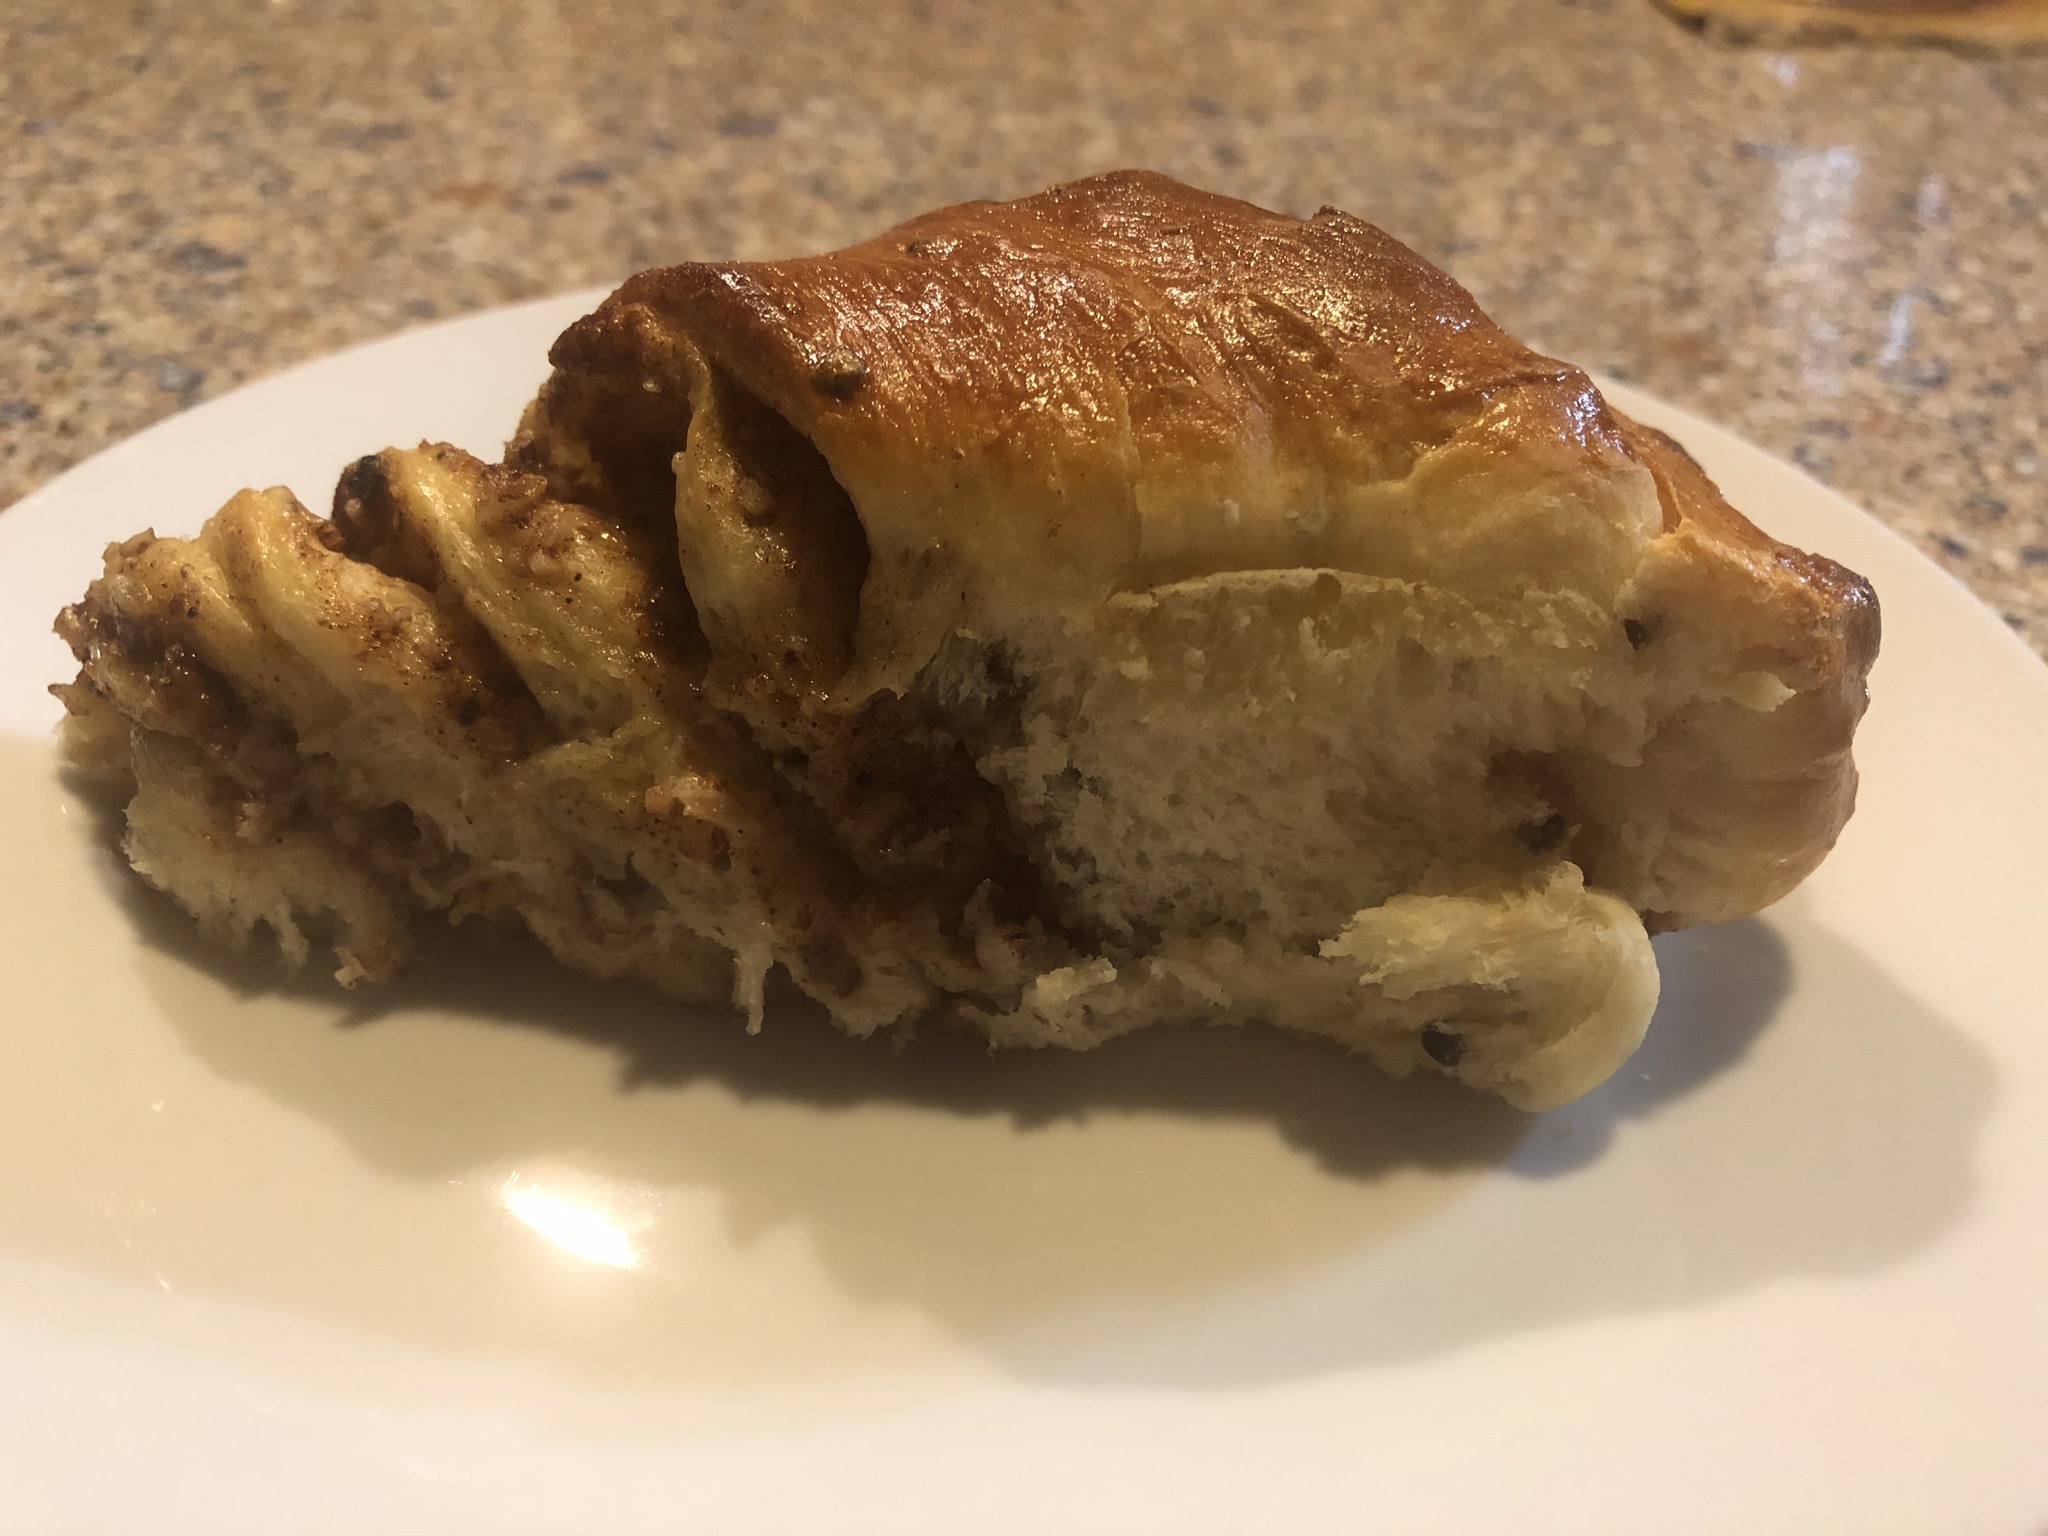
While looking through one of my binders, the one with bread and breakfast recipes, I came across this recipe for the Japanese Milk Bread Rolls. It’s a King Arthur recipe. I love their products and I’ve had decent success with most of their bread and other recipes. My daughter had just sent me pictures on Sunday of these beautiful Japanese pancakes she had made. They were very light and puffy looking, kind of like a soufflé. So when I came across this recipe I found it intriguing and decided to give it a try. The flour to yeast ratio is different as is the addition of the ”tangzhong.” Tangzhong is cooking a portion of the raw flour with liquid until the starches in the flour gelatinize. The purpose of this technique is to produce a soft, fluffy bread. The rolls are very good and they remind me a little of potato rolls.
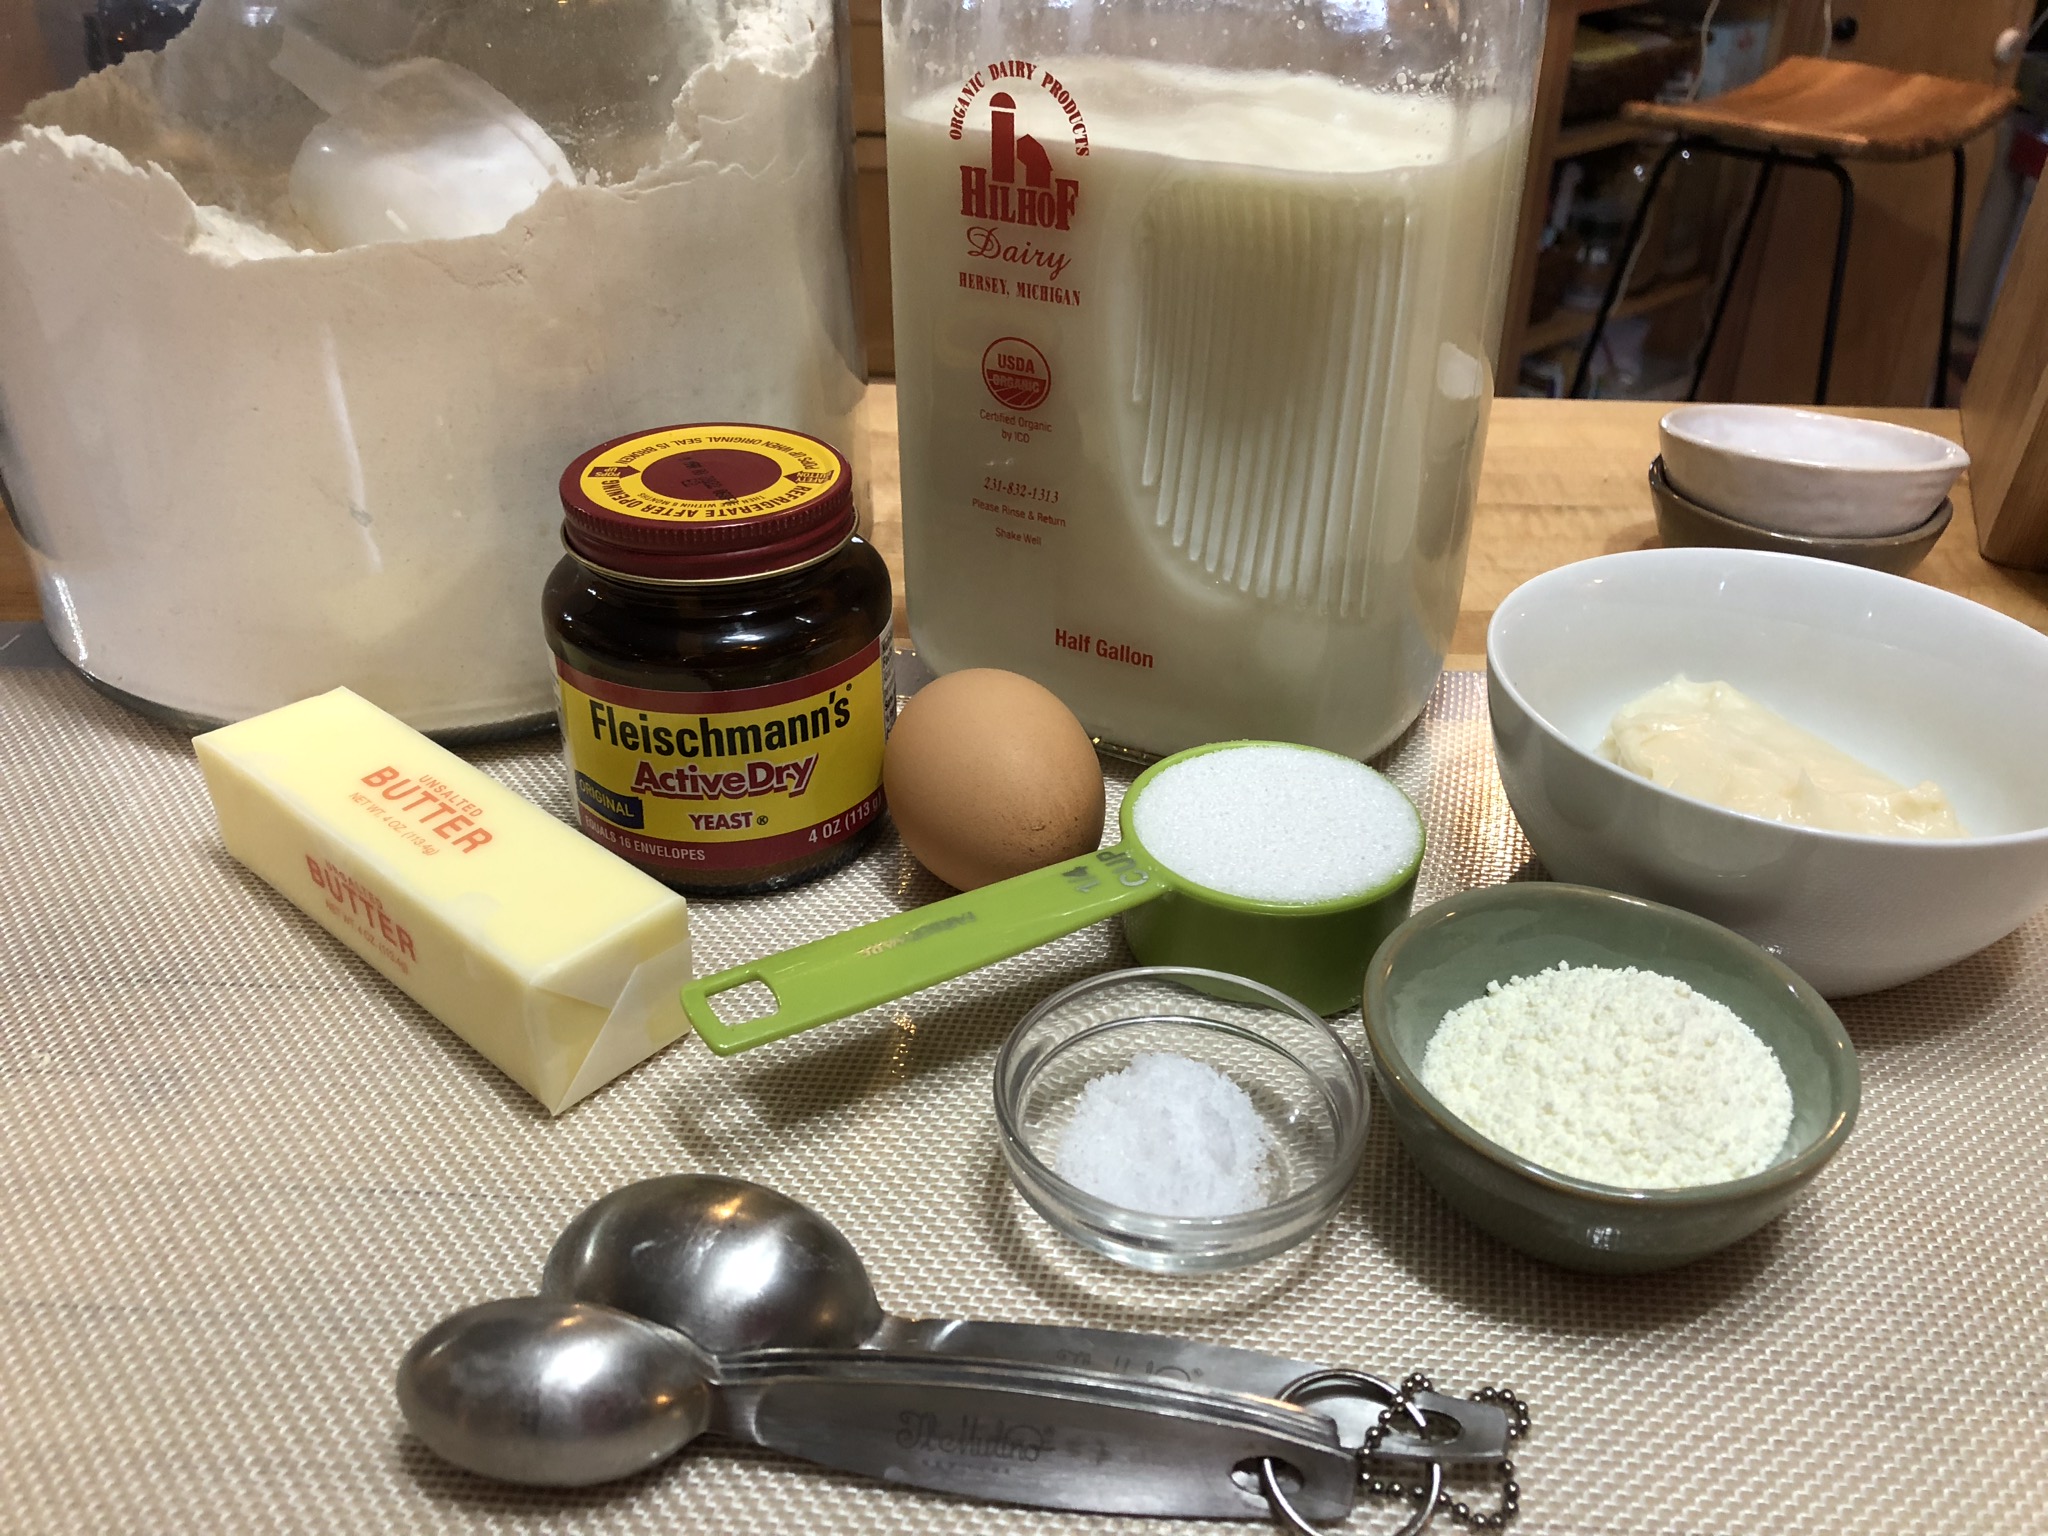
Ingredients:
Tangzhong (starter)
3 T water
3 T whole milk
2 T Bread Flour
Dough:
2 1/2 cups Bread Flour
2 T nonfat dry milk
1/4 cup sugar
1 tsp salt
1 T instant yeast
1/2 cup whole milk
1 large egg
4 T unsalted butter, melted
First we make the tangzhong. Measure out the milk, water, and flour and whisk together in a small saucepan until no lumps remain.

Cook over low heat, whisking constantly, until thick and the whisk leaves lines on the bottom of the pan, about 3-5 minutes.

Transfer to a small bowl and allow it to cool to room temperature.

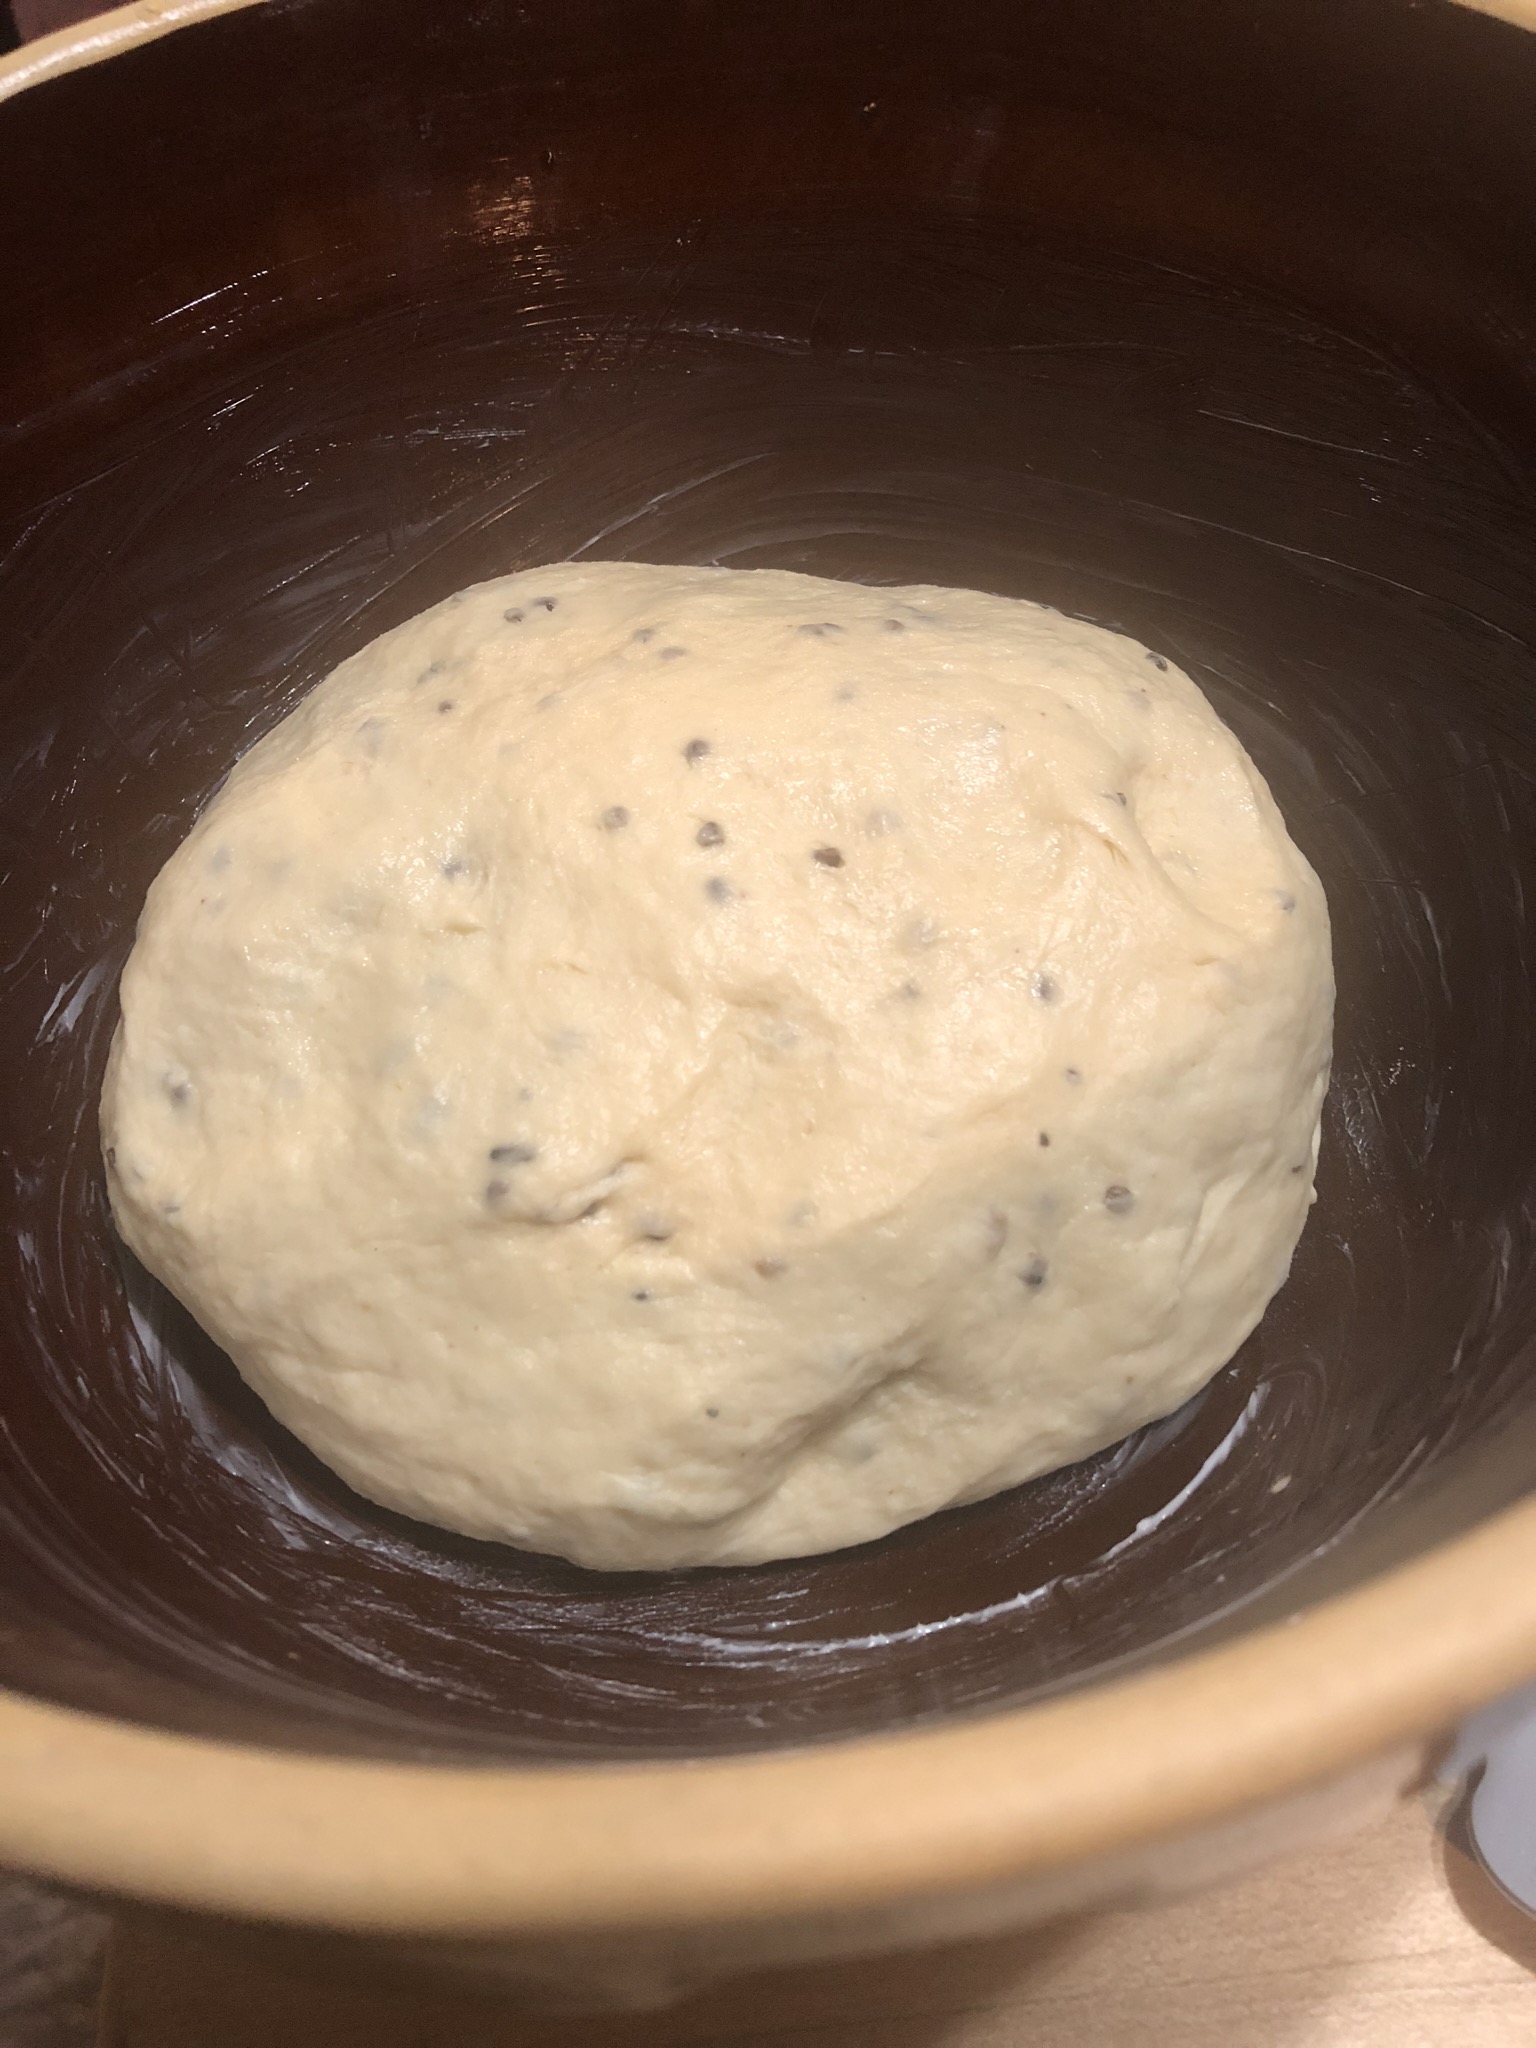
Once the tangzhong has cooled to room temperature combine it with all of the remaining dough ingredients. Mix and knead until a smooth, elastic dough forms. Shape the dough into a ball and let it rest in a lightly greased bowl for 60-90 minutes. Cover the bowl with a clean dish towel.

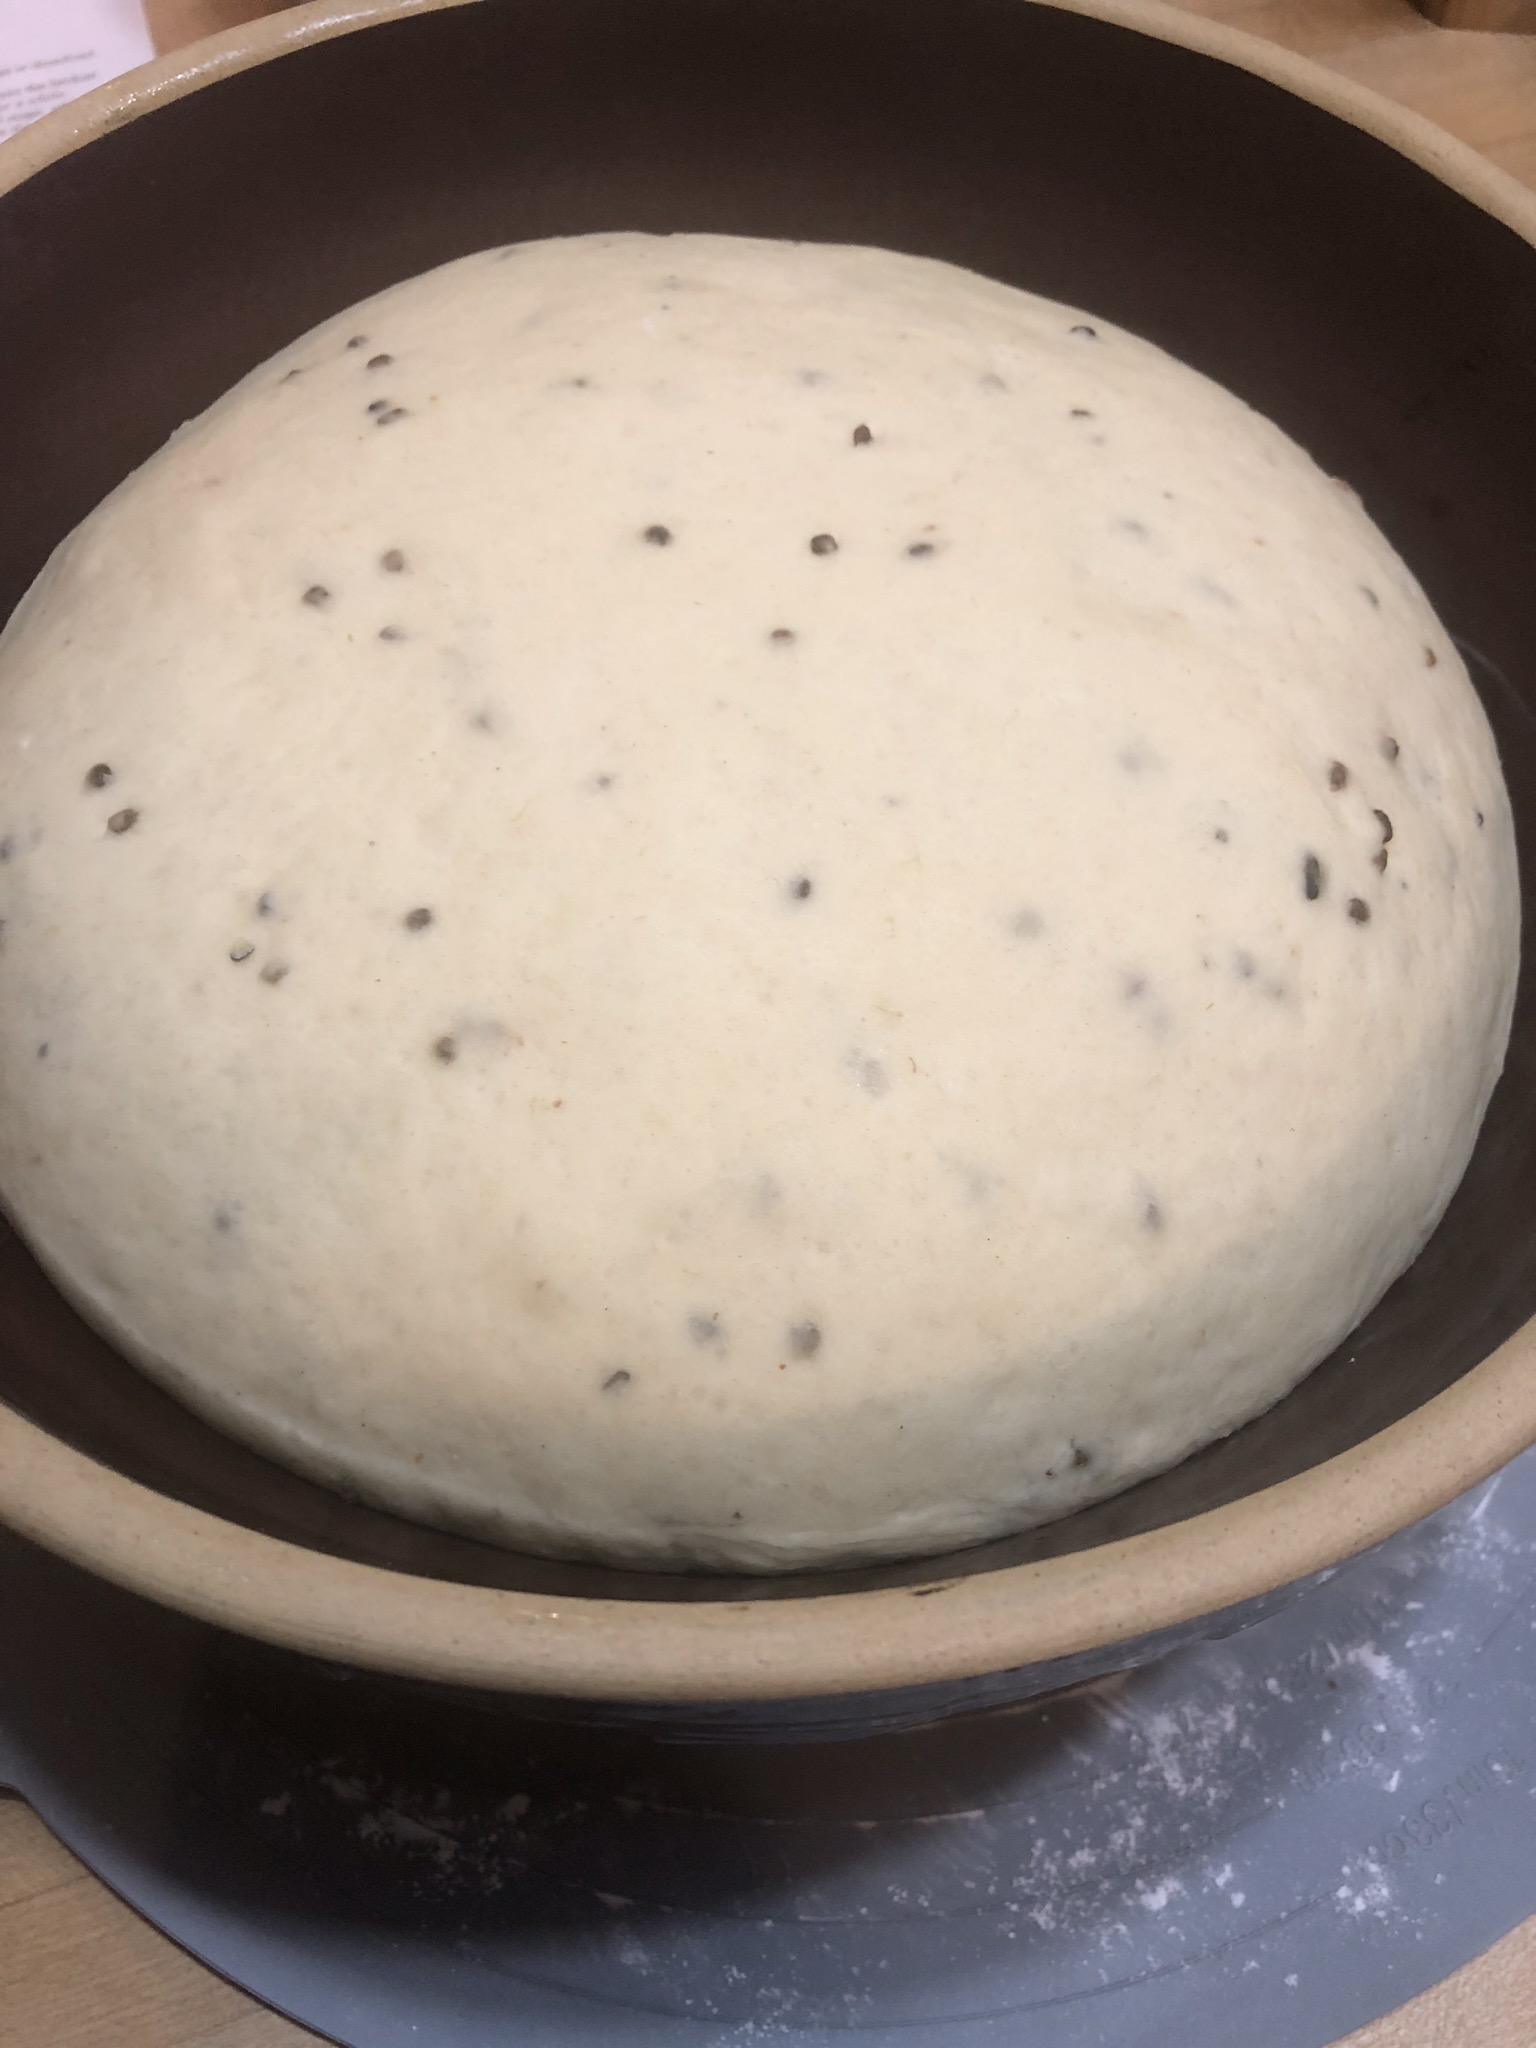
Dough will get puffy but won’t necessarily double in bulk. Gently deflate the dough and divide into 8 equal pieces. Shape each piece into a ball and place in a lightly greased 8” or 9” round cake pan. Cover the pan with a towel and let the rolls rest for 40-50 minutes, until puffy. While the rolls are resting preheat the oven to 350 degrees.
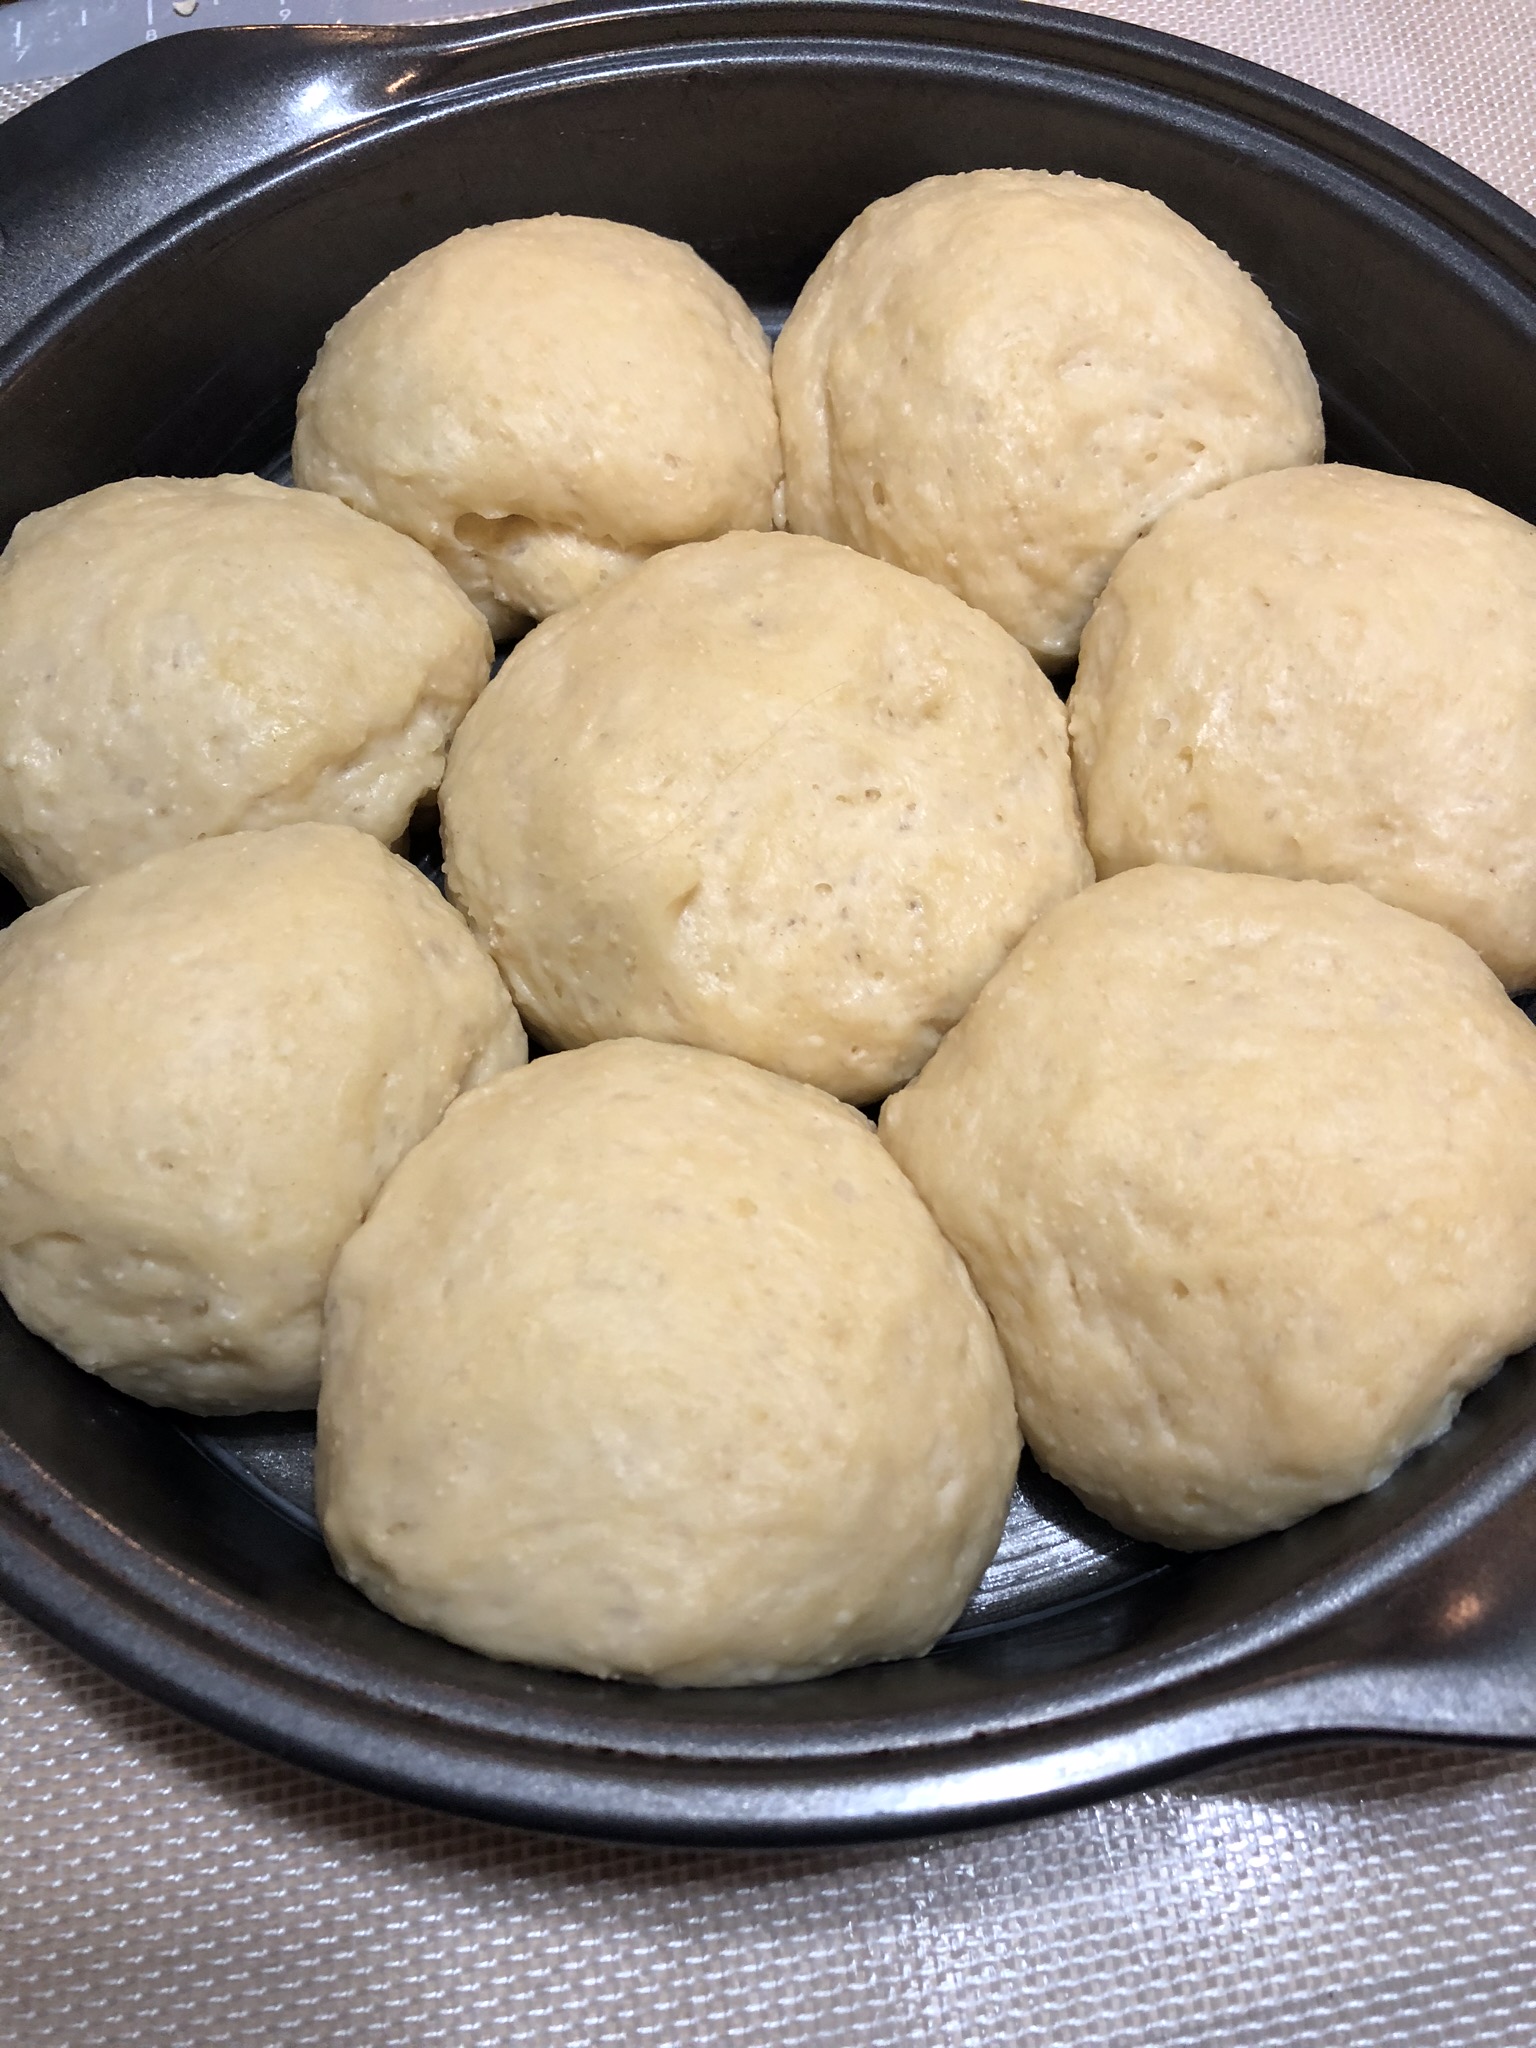
Brush the rolls with an egg wash (1 egg beaten with 1 T cold water).

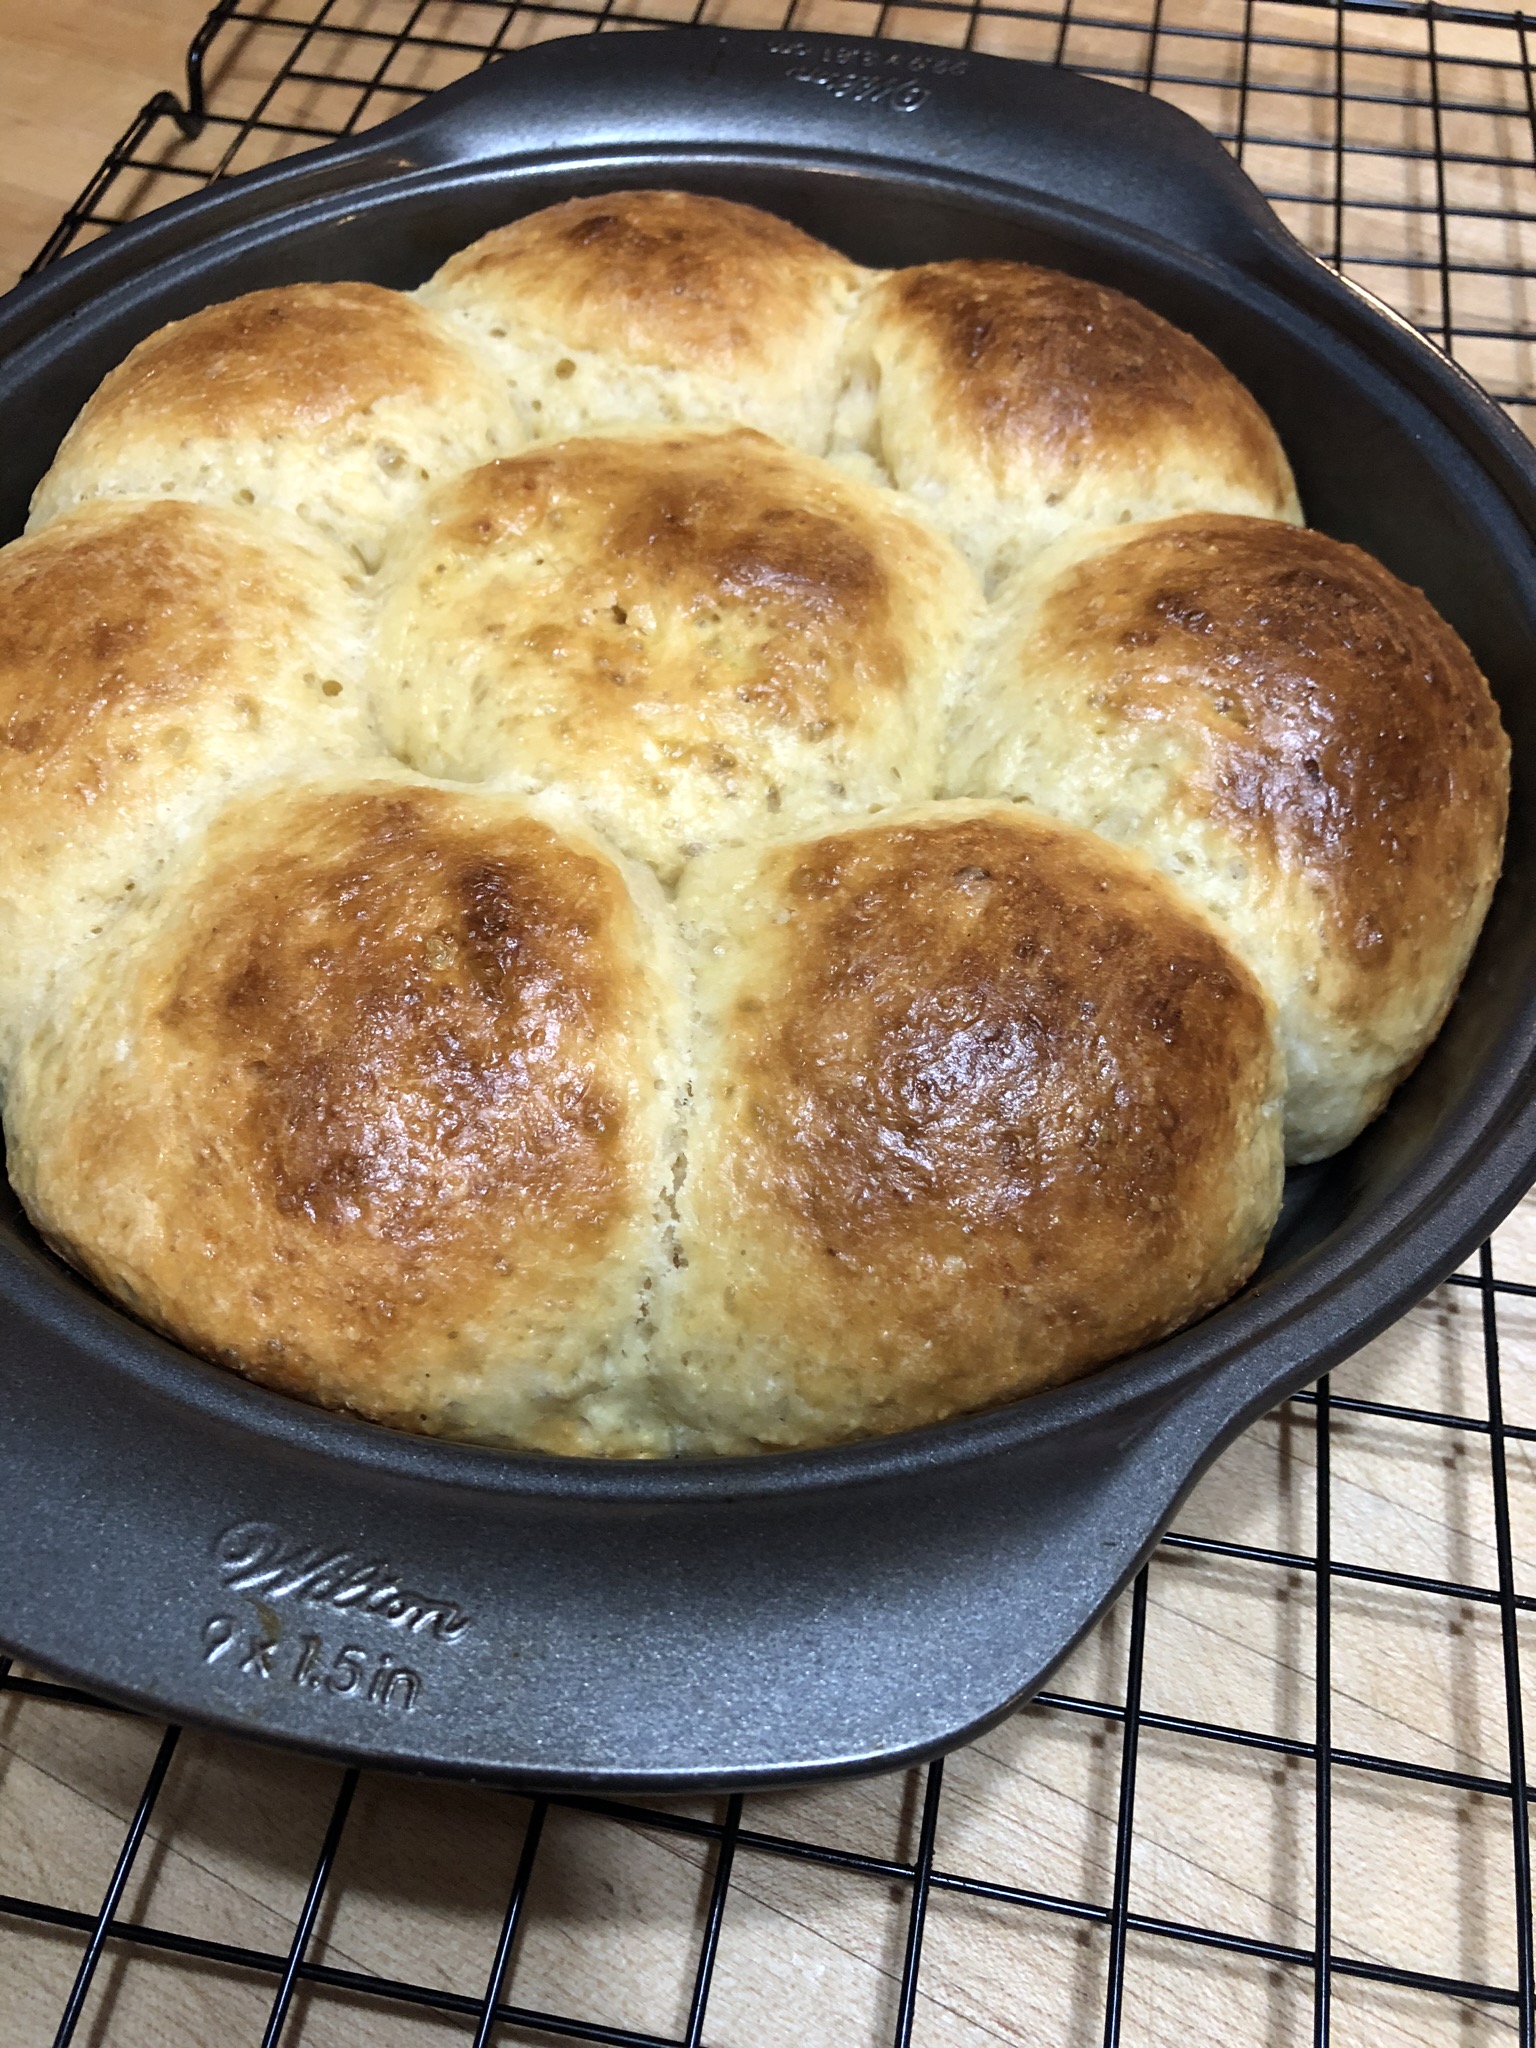
Bake for 25 to 30 minutes until golden brown on top and a digital thermometer inserted into the center of the middle roll reads at least 190 F. Remove the rolls from the oven and allow them to cool in the pan for about 10 minutes. Then transfer them to a rack to cool completely.
Enjoy these with dinner or for a midnight snack with a slice of cheese and cold meat.
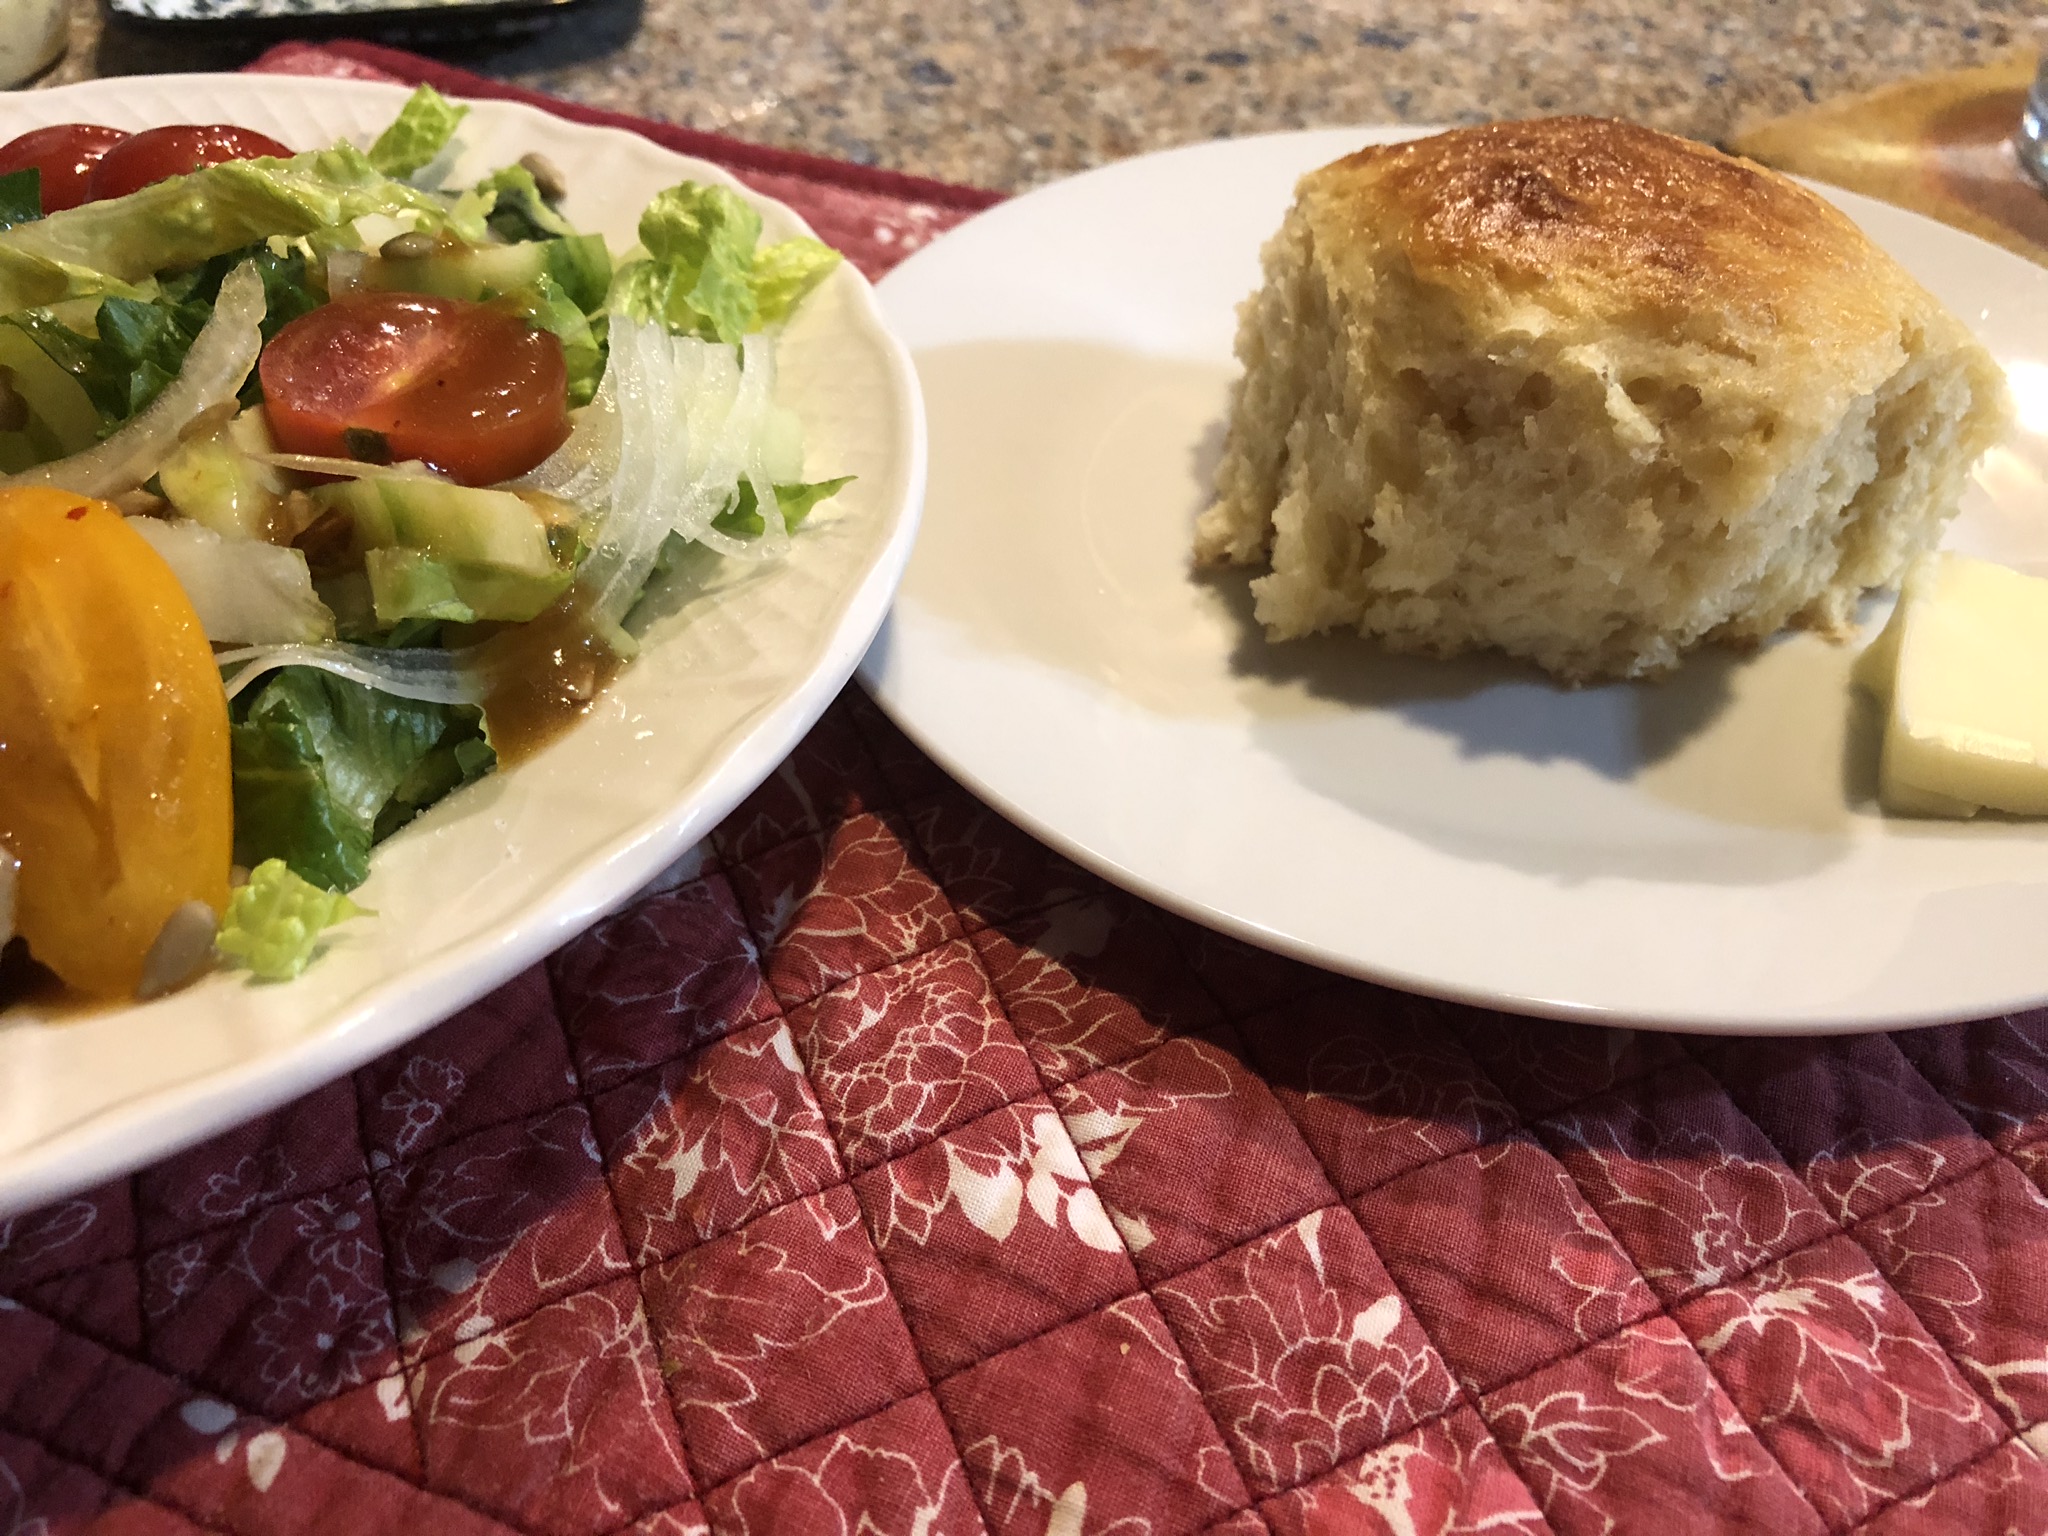
NOTE: I think these would hold up well as slider buns.
The recipe is actually very easy as yeast breads go. But you always need to be attentive to the process. I threw the first batch of dough away after forgetting to add the melted butter. I can assure you, once all of the other ingredients have been incorporated, 4 T of melted butter cannot be worked in.


You must be logged in to post a comment.