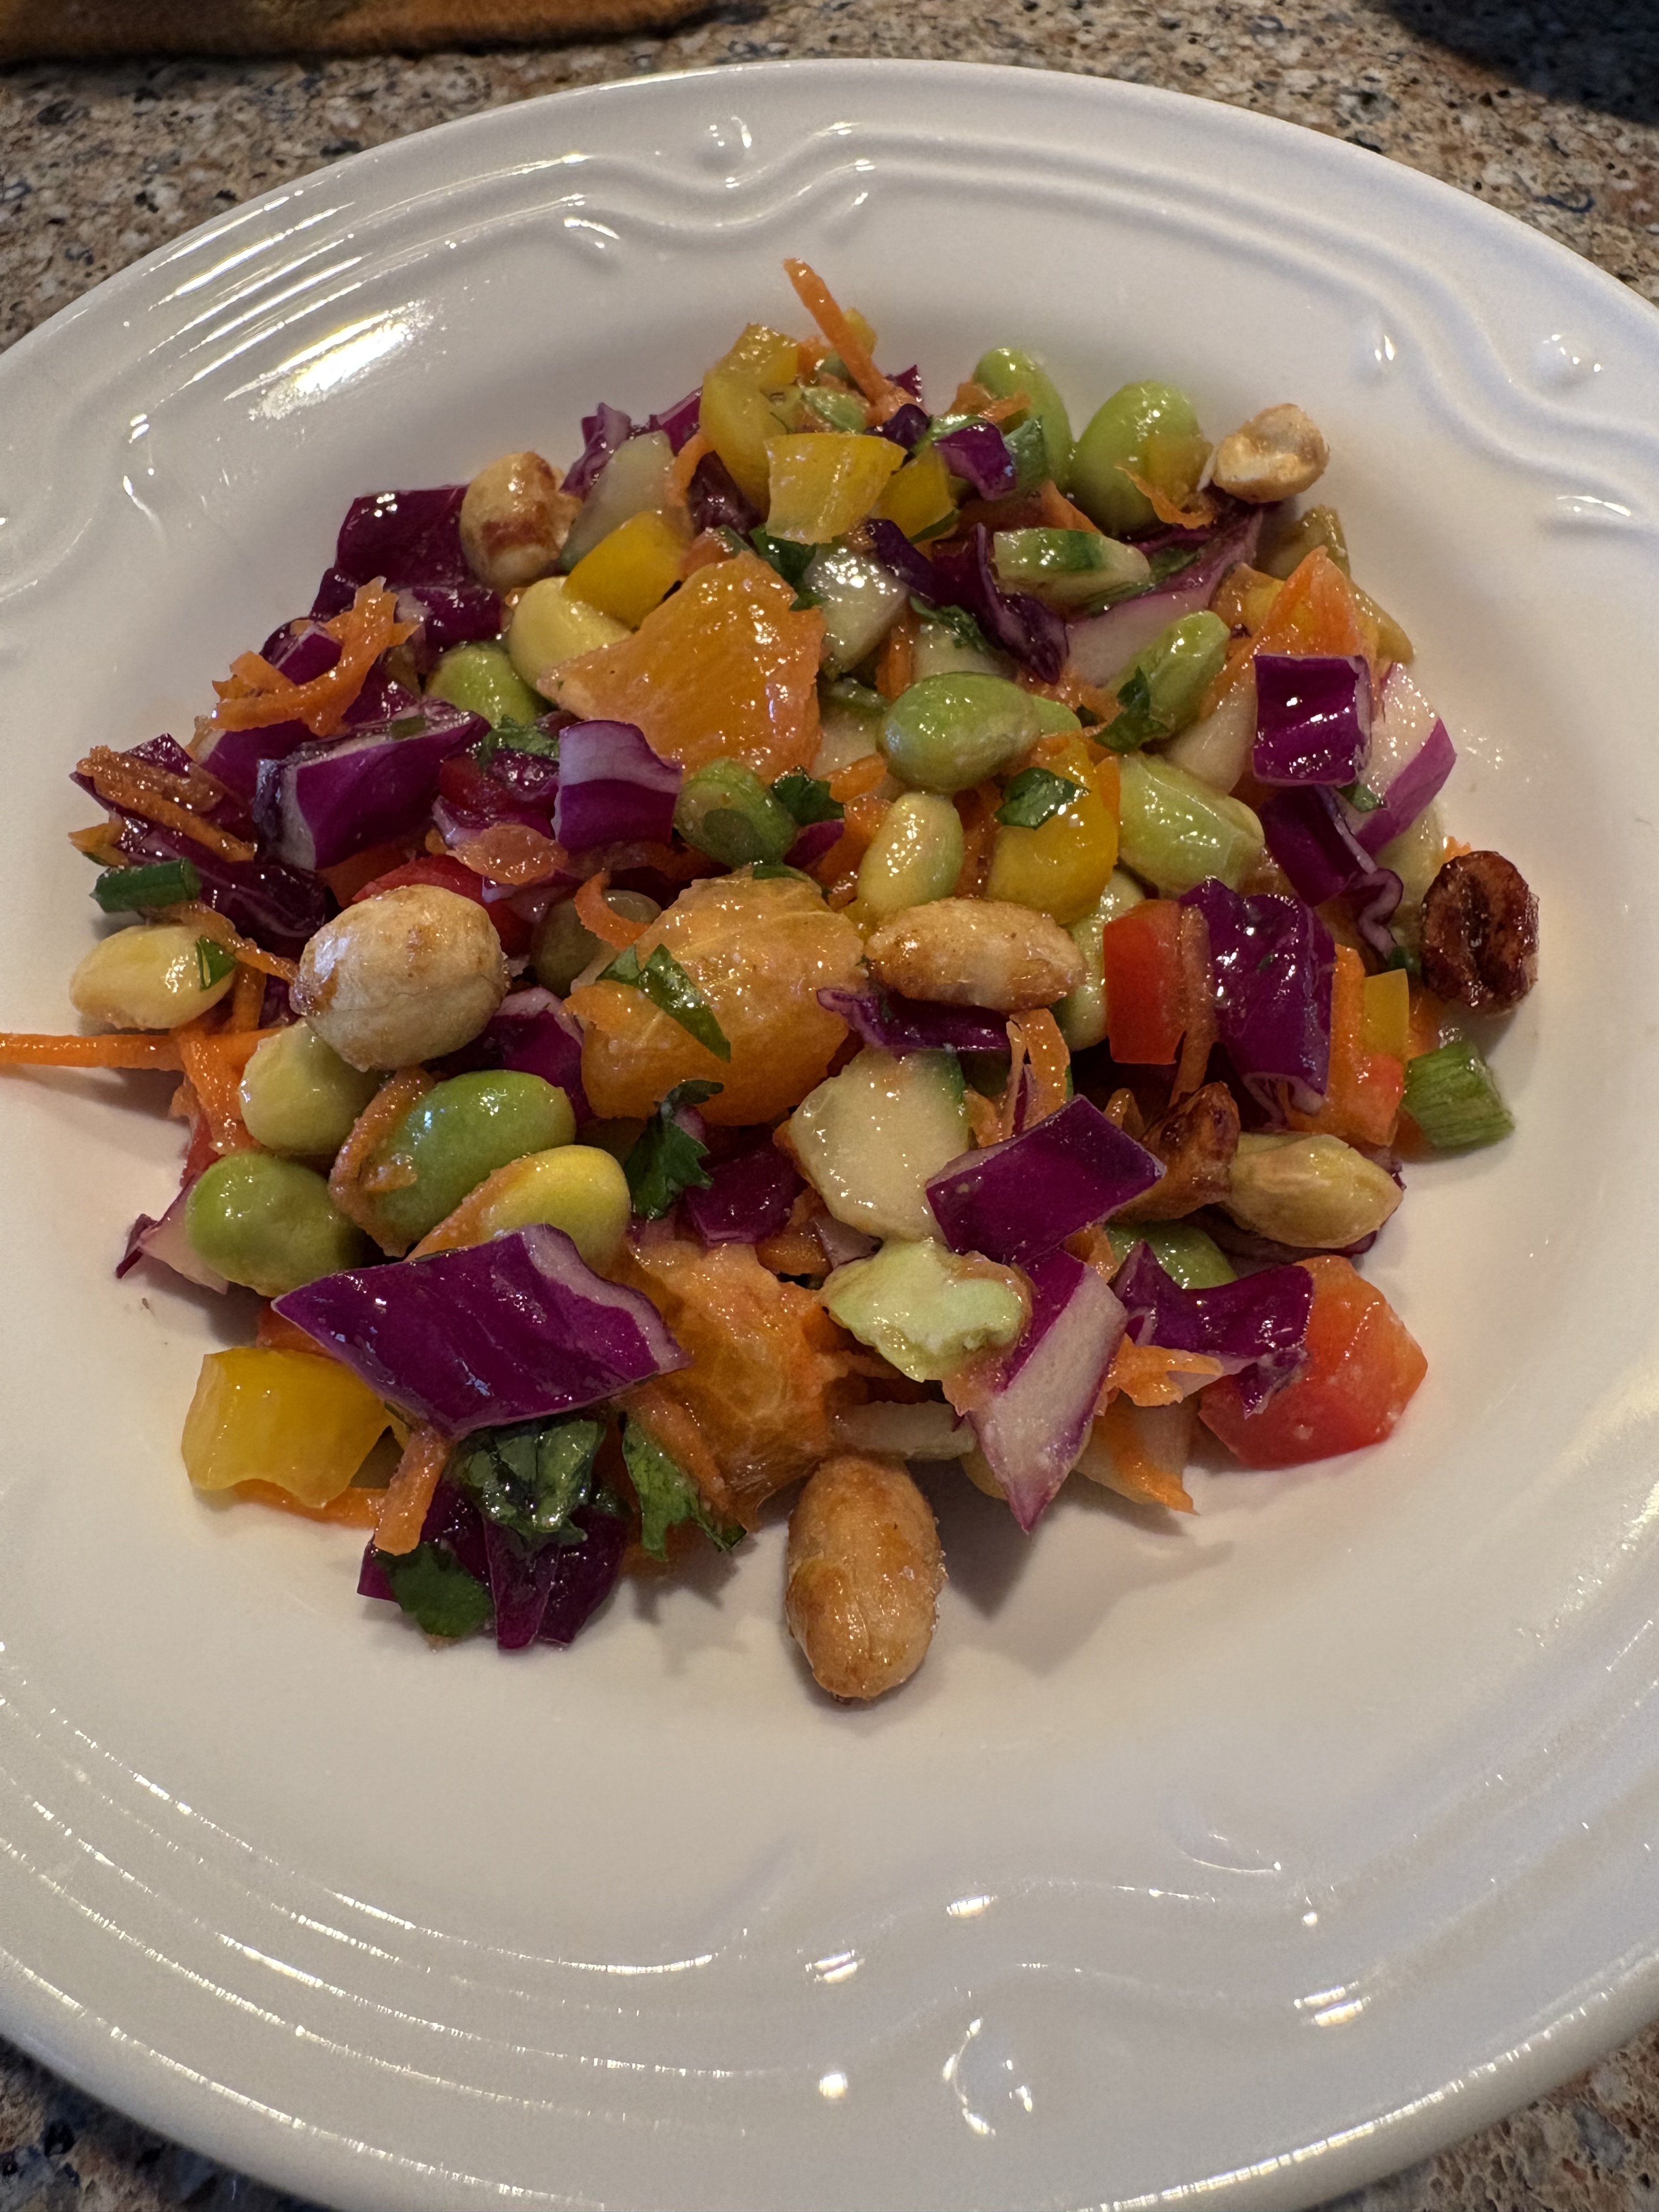
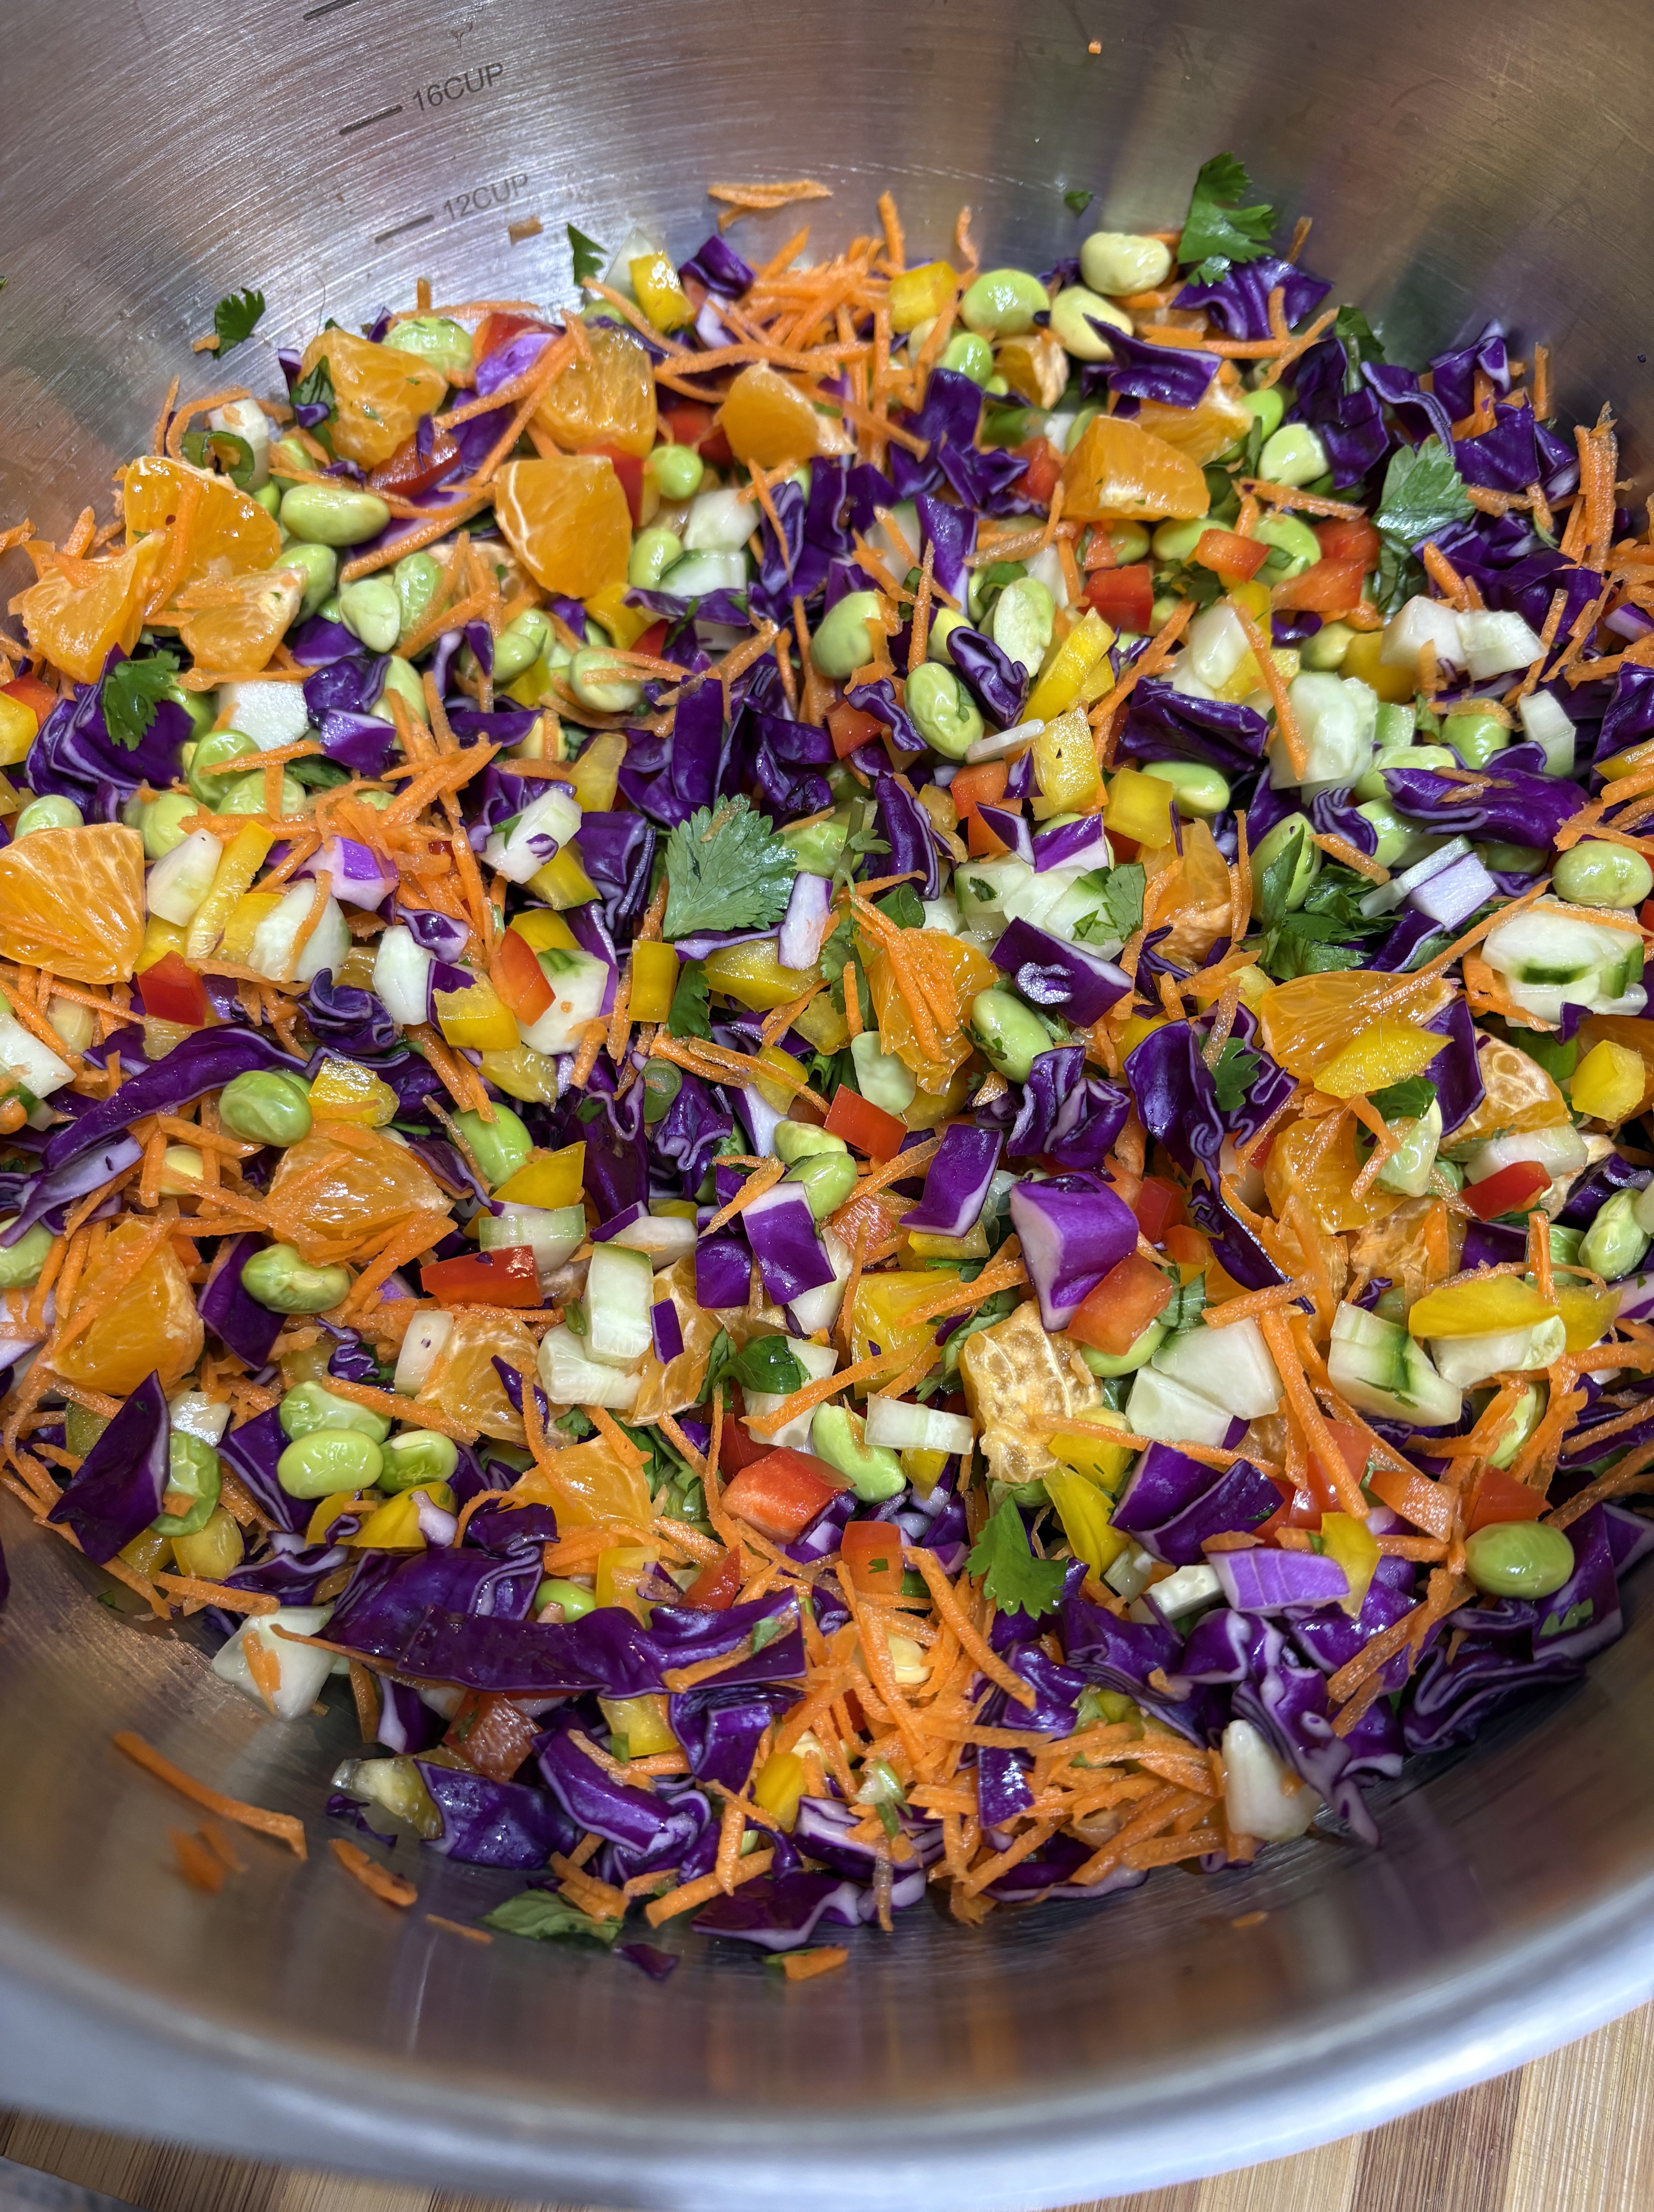
I’m sharing another recipe I found scrolling reels on the internet. One of my favorite pastimes. This one comes from Crowded Kitchen. I am always looking for new passing dishes to take to our Saturday Nighter get togethers. This chopped salad contains all ingredients I love, and it is so colorful. Because all the ingredients are finely diced the chopping is a little time consuming, but worth the effort. The edamame, mandarins, purple cabbage, miso, and sriracha give you Asian flavors. Miso is a savory, umami rich fermented paste made primarily from soybeans. It gives the dressing a slightly salty, savory, earthy flavor. This beautiful salad has it all…vegetables, fruit, and protein.
SALAD Ingredients:
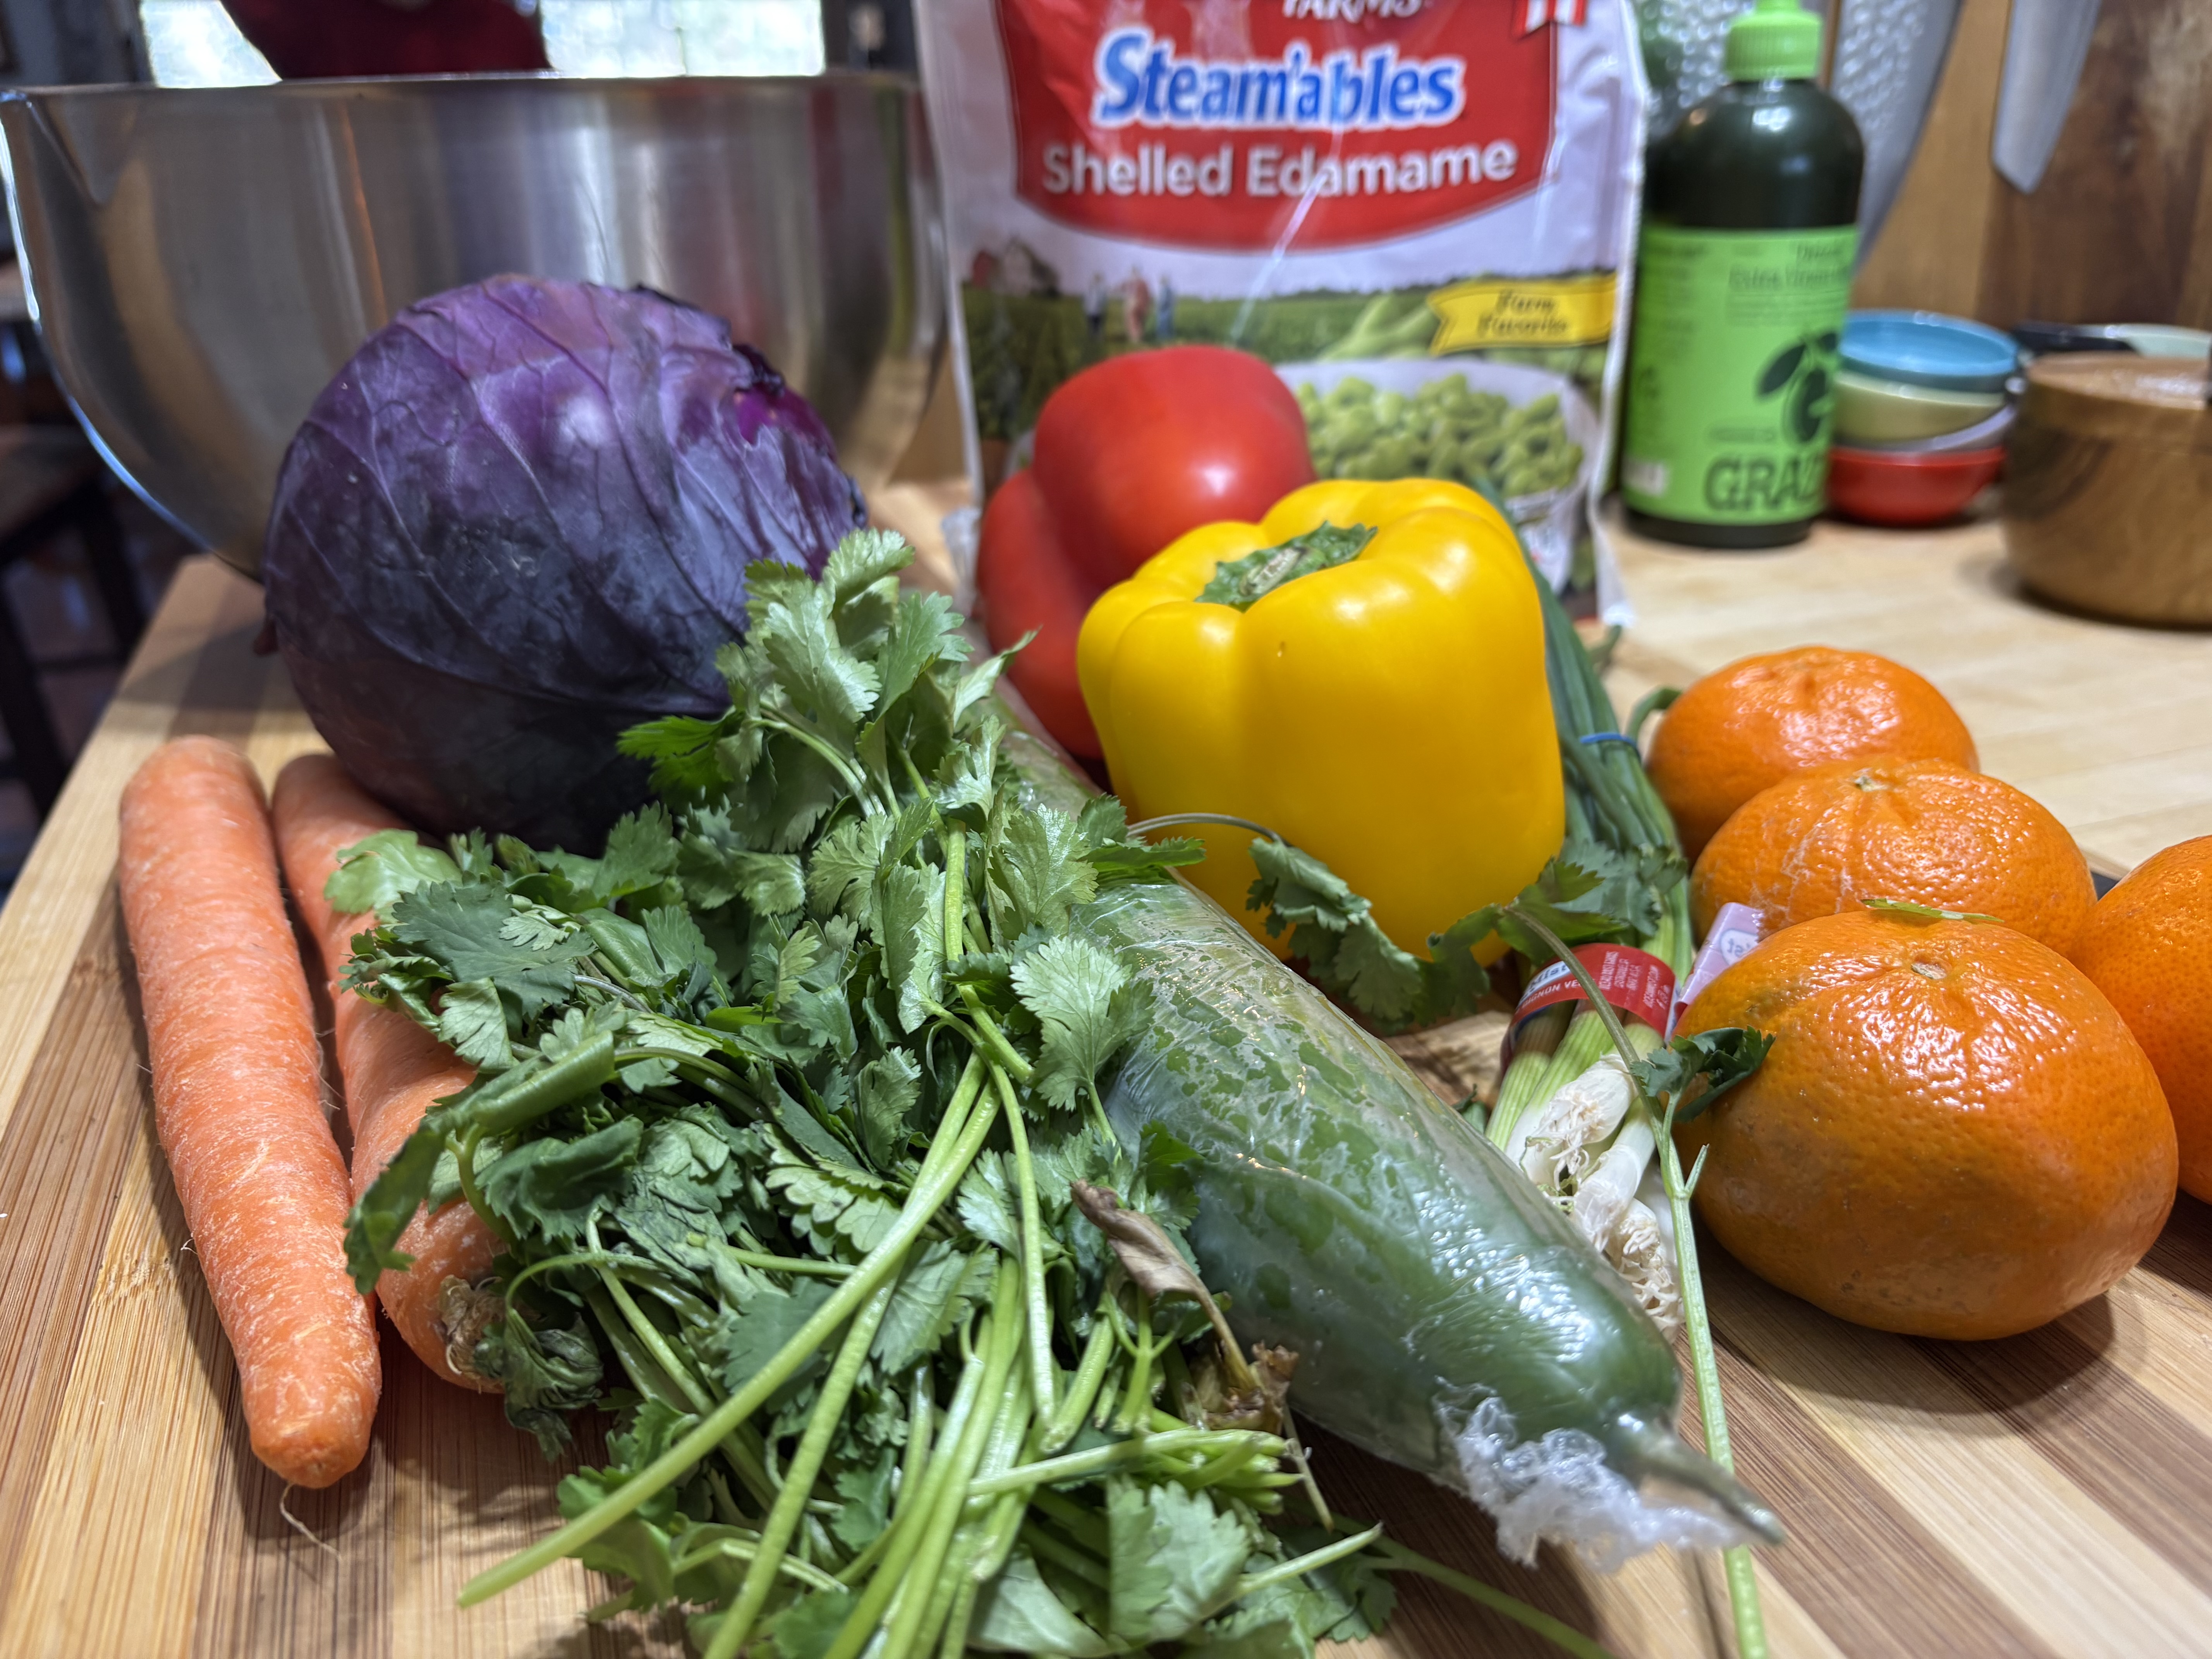
12 oz of cooked edamame
3 cups finely chopped purple cabbage
2 bell peppers finely diced
1 cup shredded carrots
1 cup finely diced cucumber
1 cup diced mandarines
1/3 cup chopped scallions
1/4 cup finely chopped cilantro
salt and pepper to taste
DRESSING Ingredients:
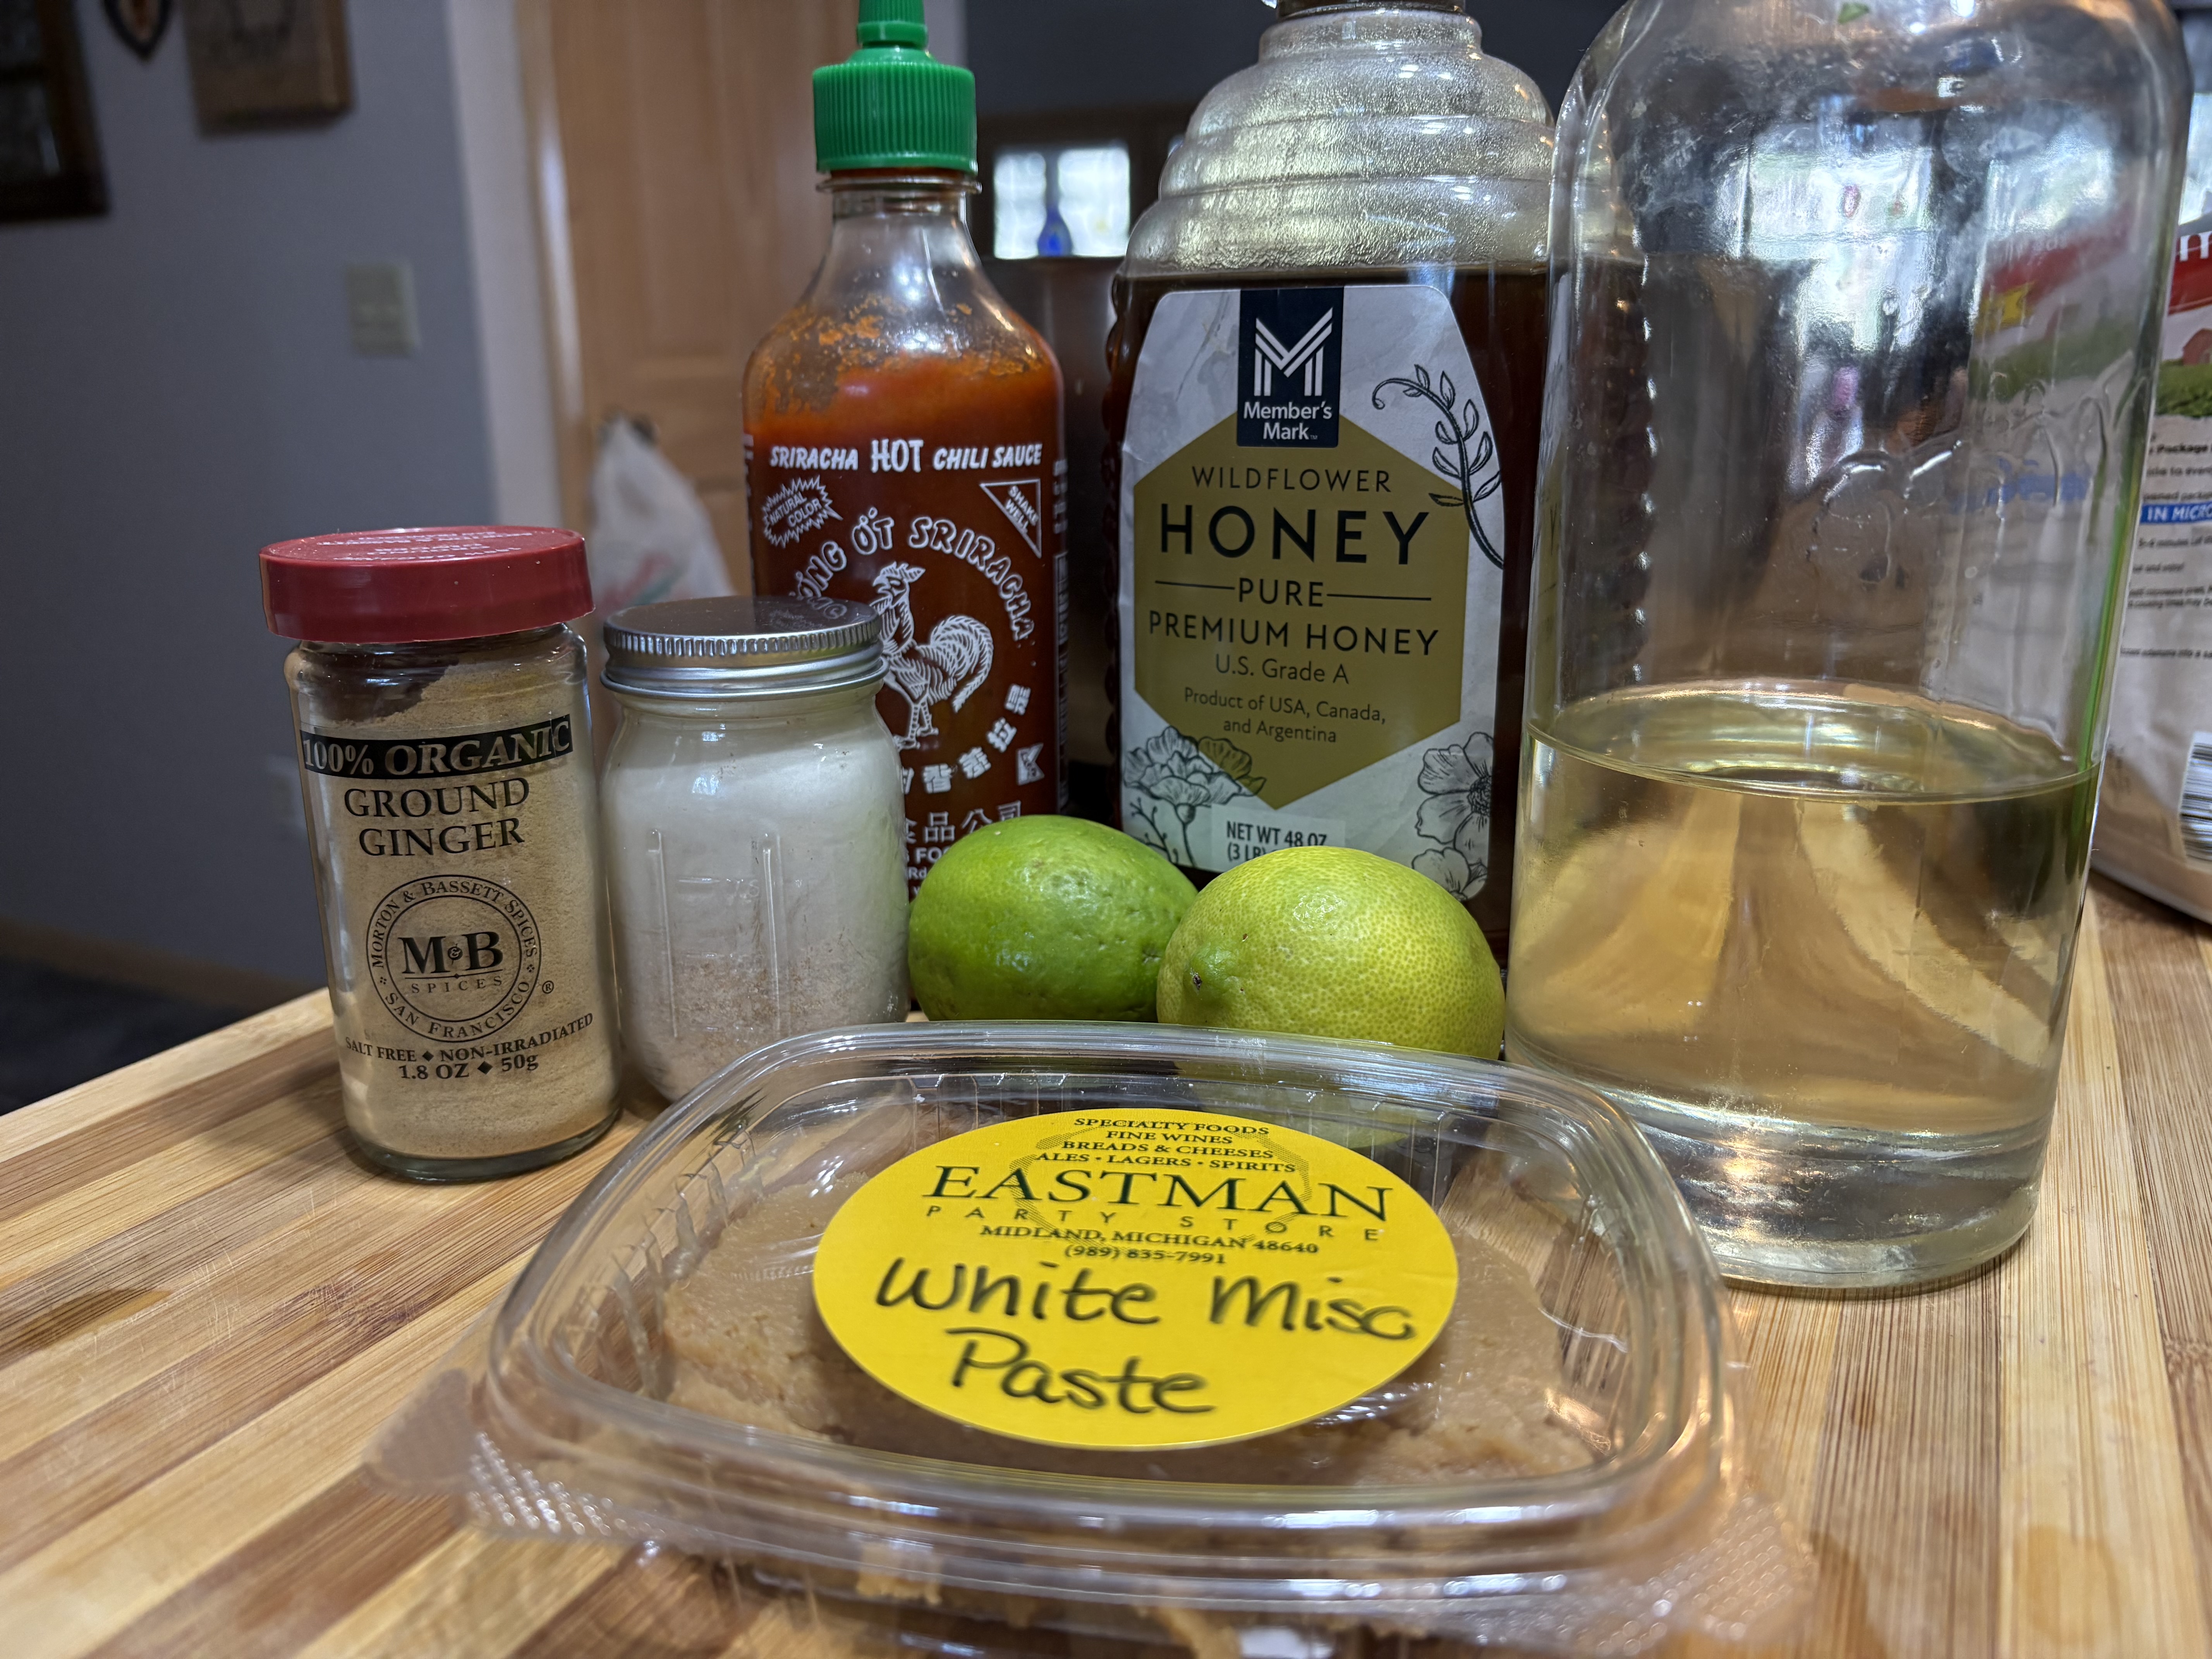
1/3 cup neutral oil (avocado, vegetable, sesame)
3 T freshly squeezed lime juice
2 T white miso
2 T sriracha
4 tsp honey
1 1/2 tsp garlic powder
3/4 tsp ginger
PEANUTS;
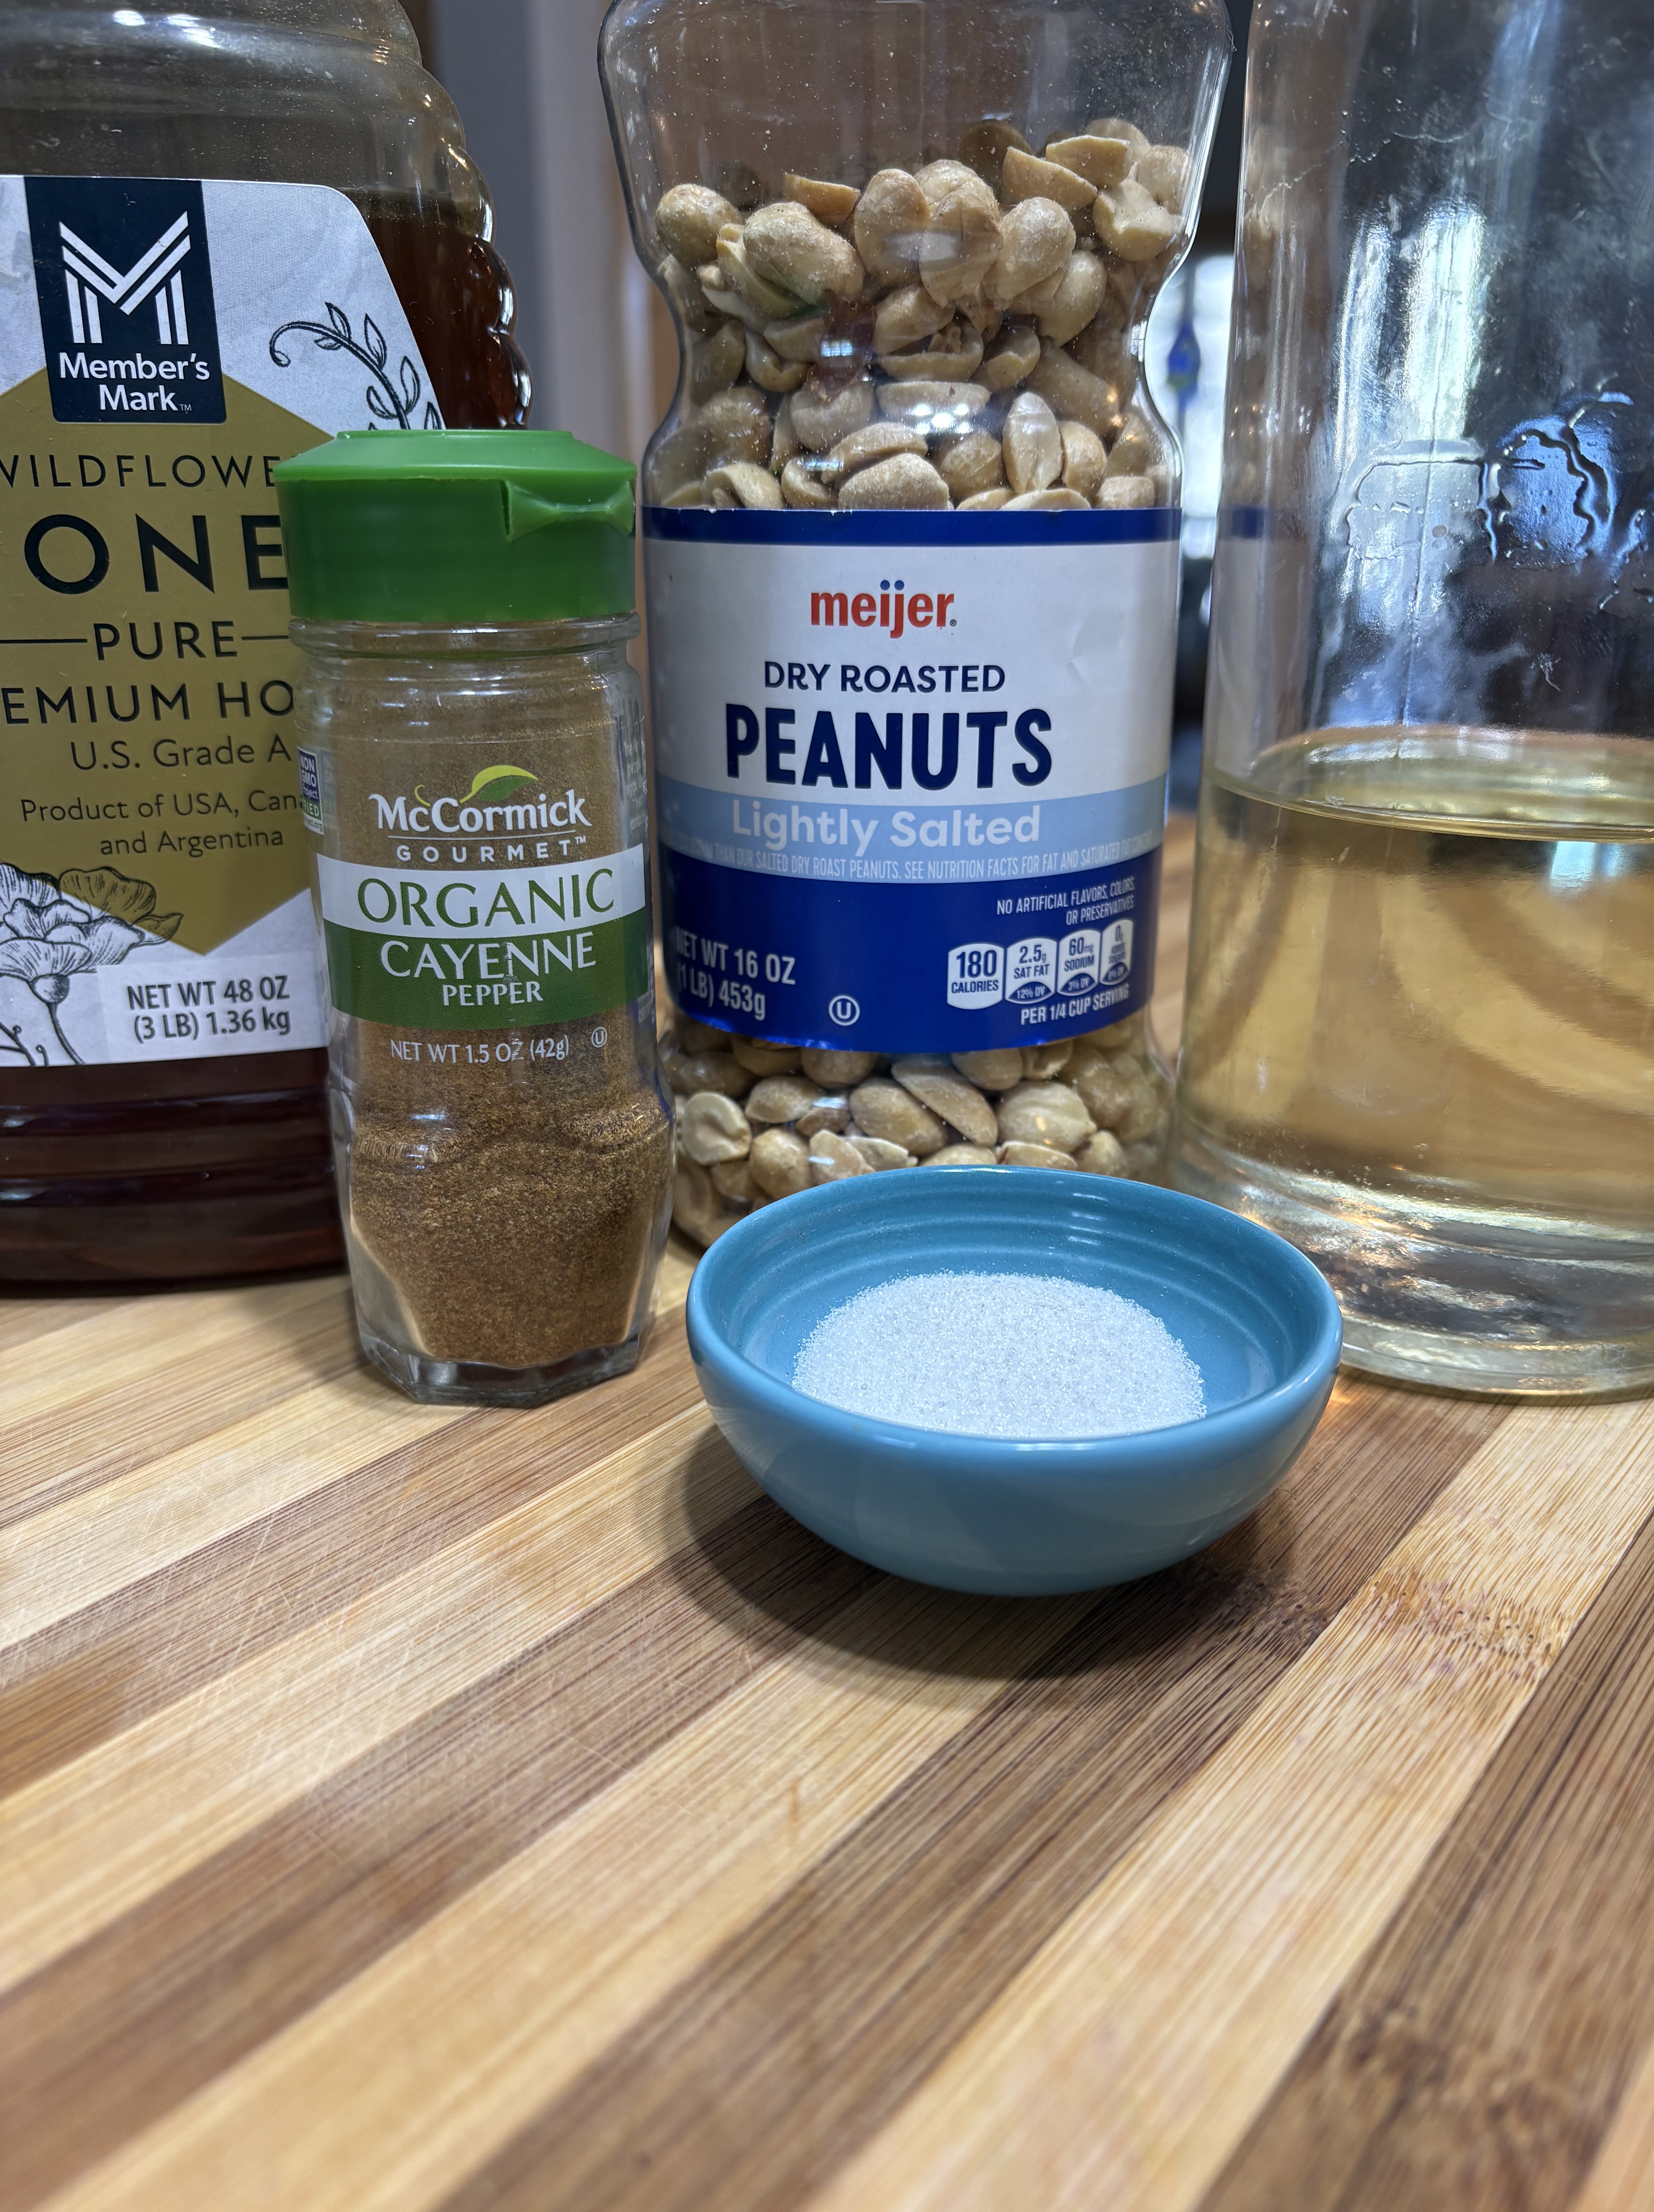
1 cup lightly salted, roasted peanuts
2 tsp oil
1 tsp honey
1/2 tsp kosher salt
1/8 tsp cayenne
2 tsp granulated sugar, divided
I used frozen, shelled edamame and steamed it in the microwave. Allow your edamame to cool completely before adding to the other ingredients. Once you’ve completed all of your peeling and chopping toss all of the salad ingredients together in a large bowl.
I combined all of the dressing ingredients in my small food processor and pulsed it a couple times to thoroughly blend. A wire whisk will also do the trick. Dress the salad and add salt and pepper to taste.
For the peanuts combine the oil, honey, salt, cayenne, and 1 tsp of sugar in a small sauce pan. Over medium heat whisk together and add the peanuts. Cook the peanuts, stirring often, for about 5 minutes. Cool on parchment paper. Once cool, toss with the remaining tsp of sugar. Add the peanuts to the salad for extra crunch.
Refrigerate for a couple hours before serving to allow all of the flavors to marry. Enjoy!!
NOTE: I only used 1 T of sriracha for those folks who are a little sensitive to heat, like me. However, I think 2 T would have been fine. Canned mandarins would probably work fine, but fresh is best. As with most recipes you can make adjustments based on personal tastes and availability of ingredients.


You must be logged in to post a comment.