Lace Oat Cookies with Hazelnuts

A few years ago my daughter gave me a cookbook for Christmas called Nordic Bakery.

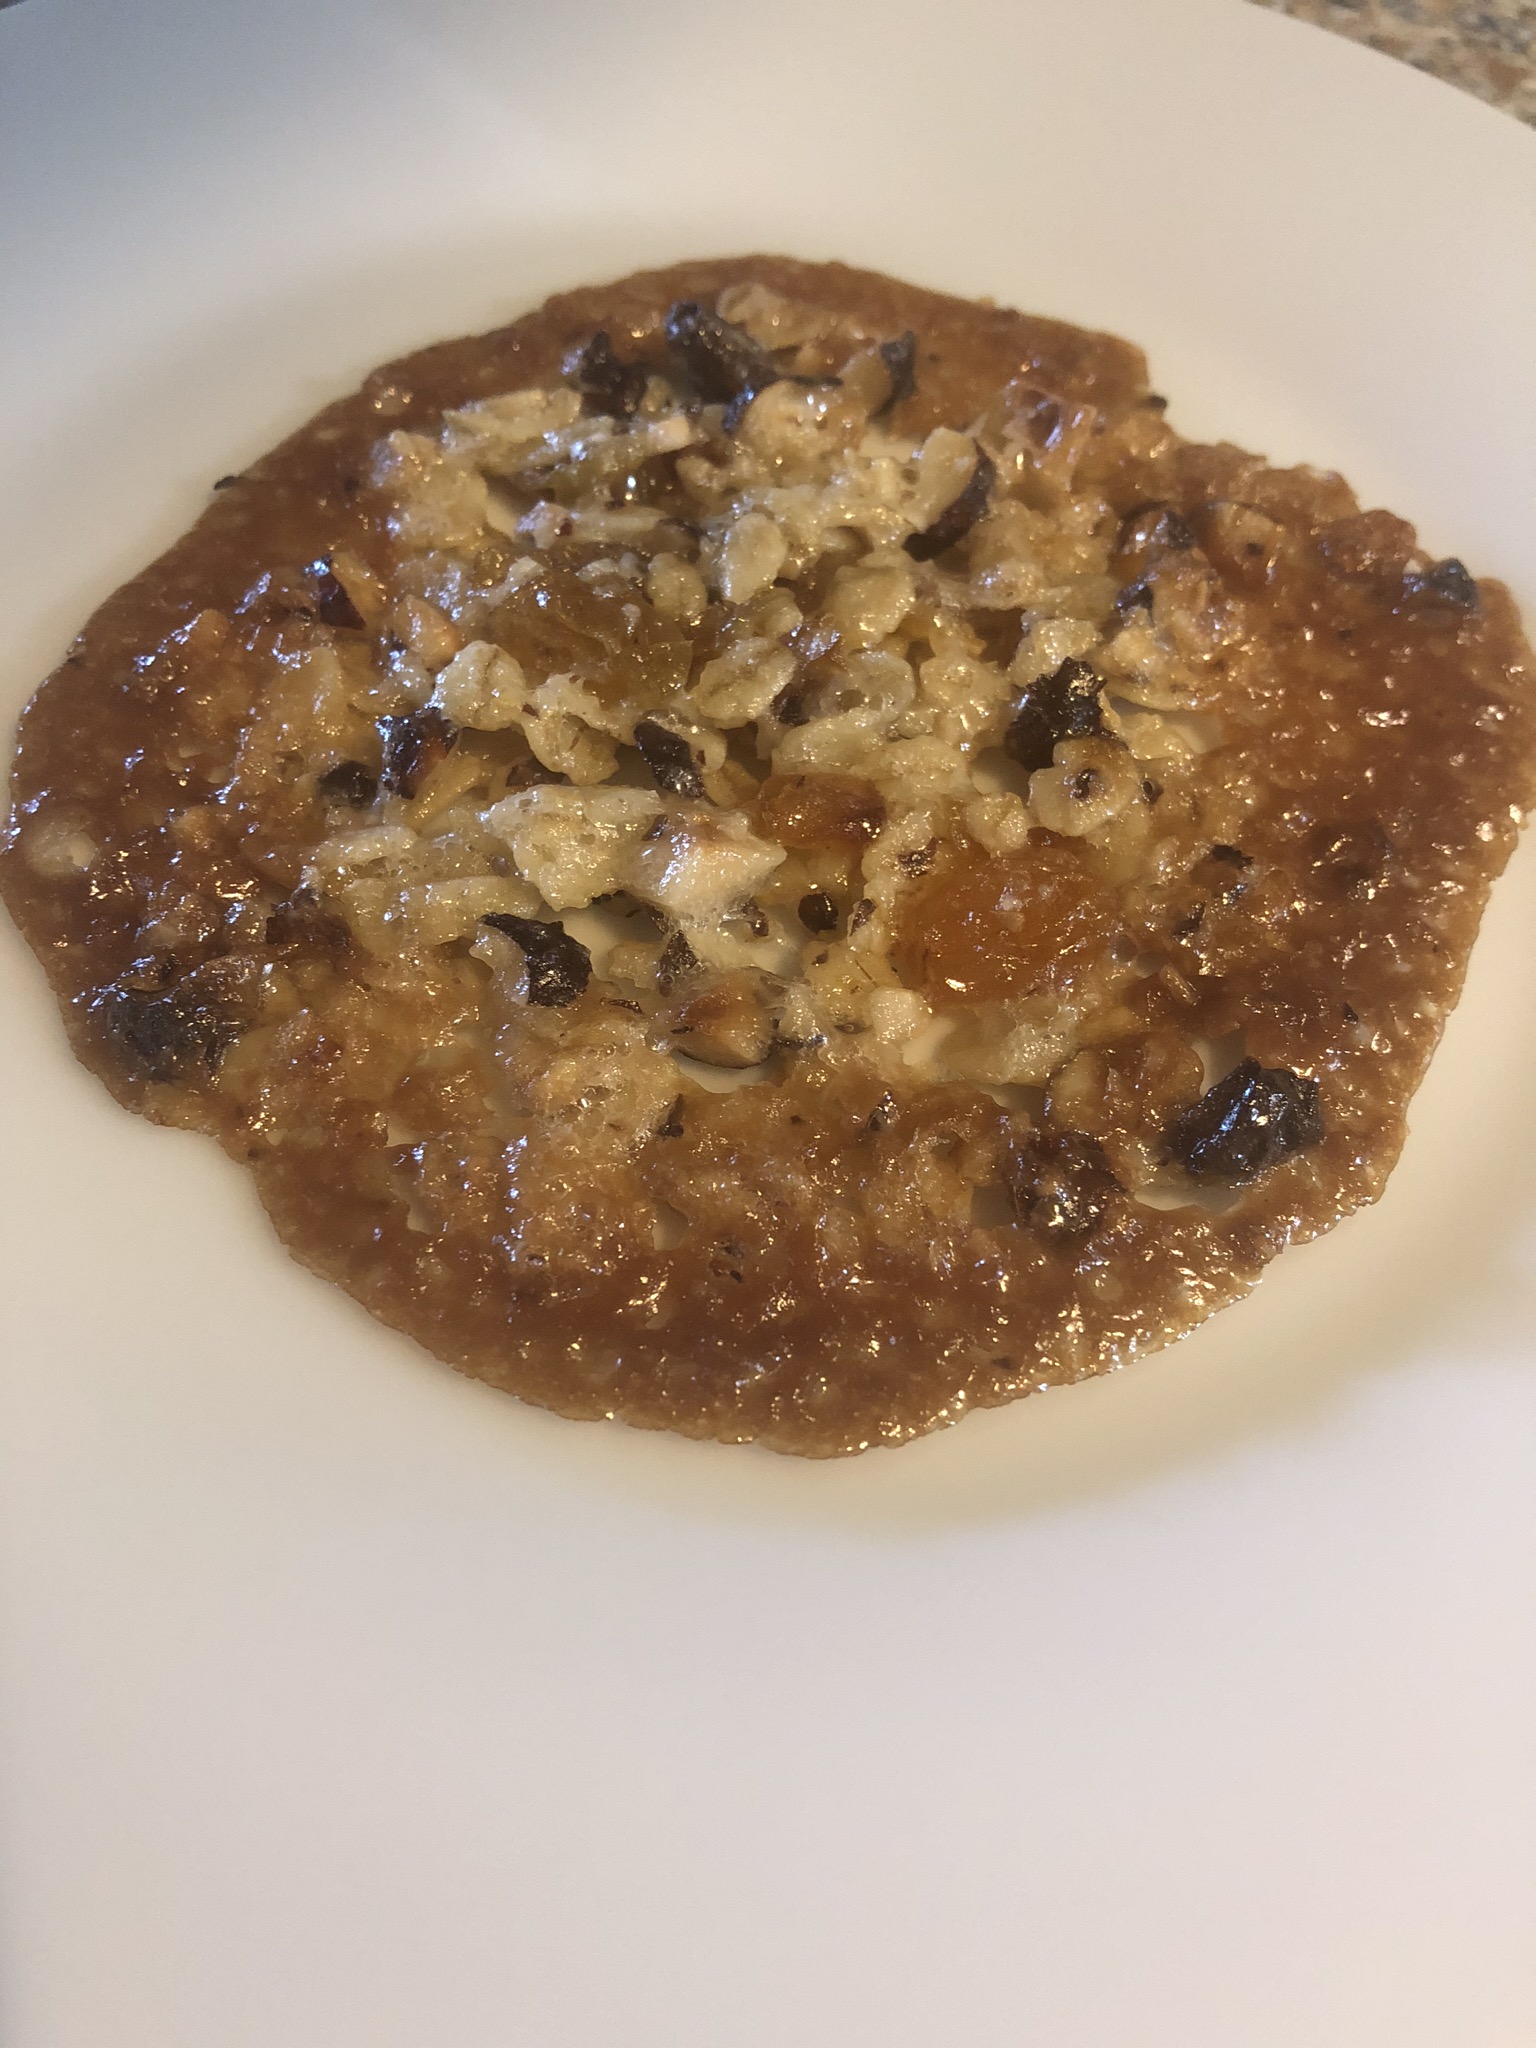
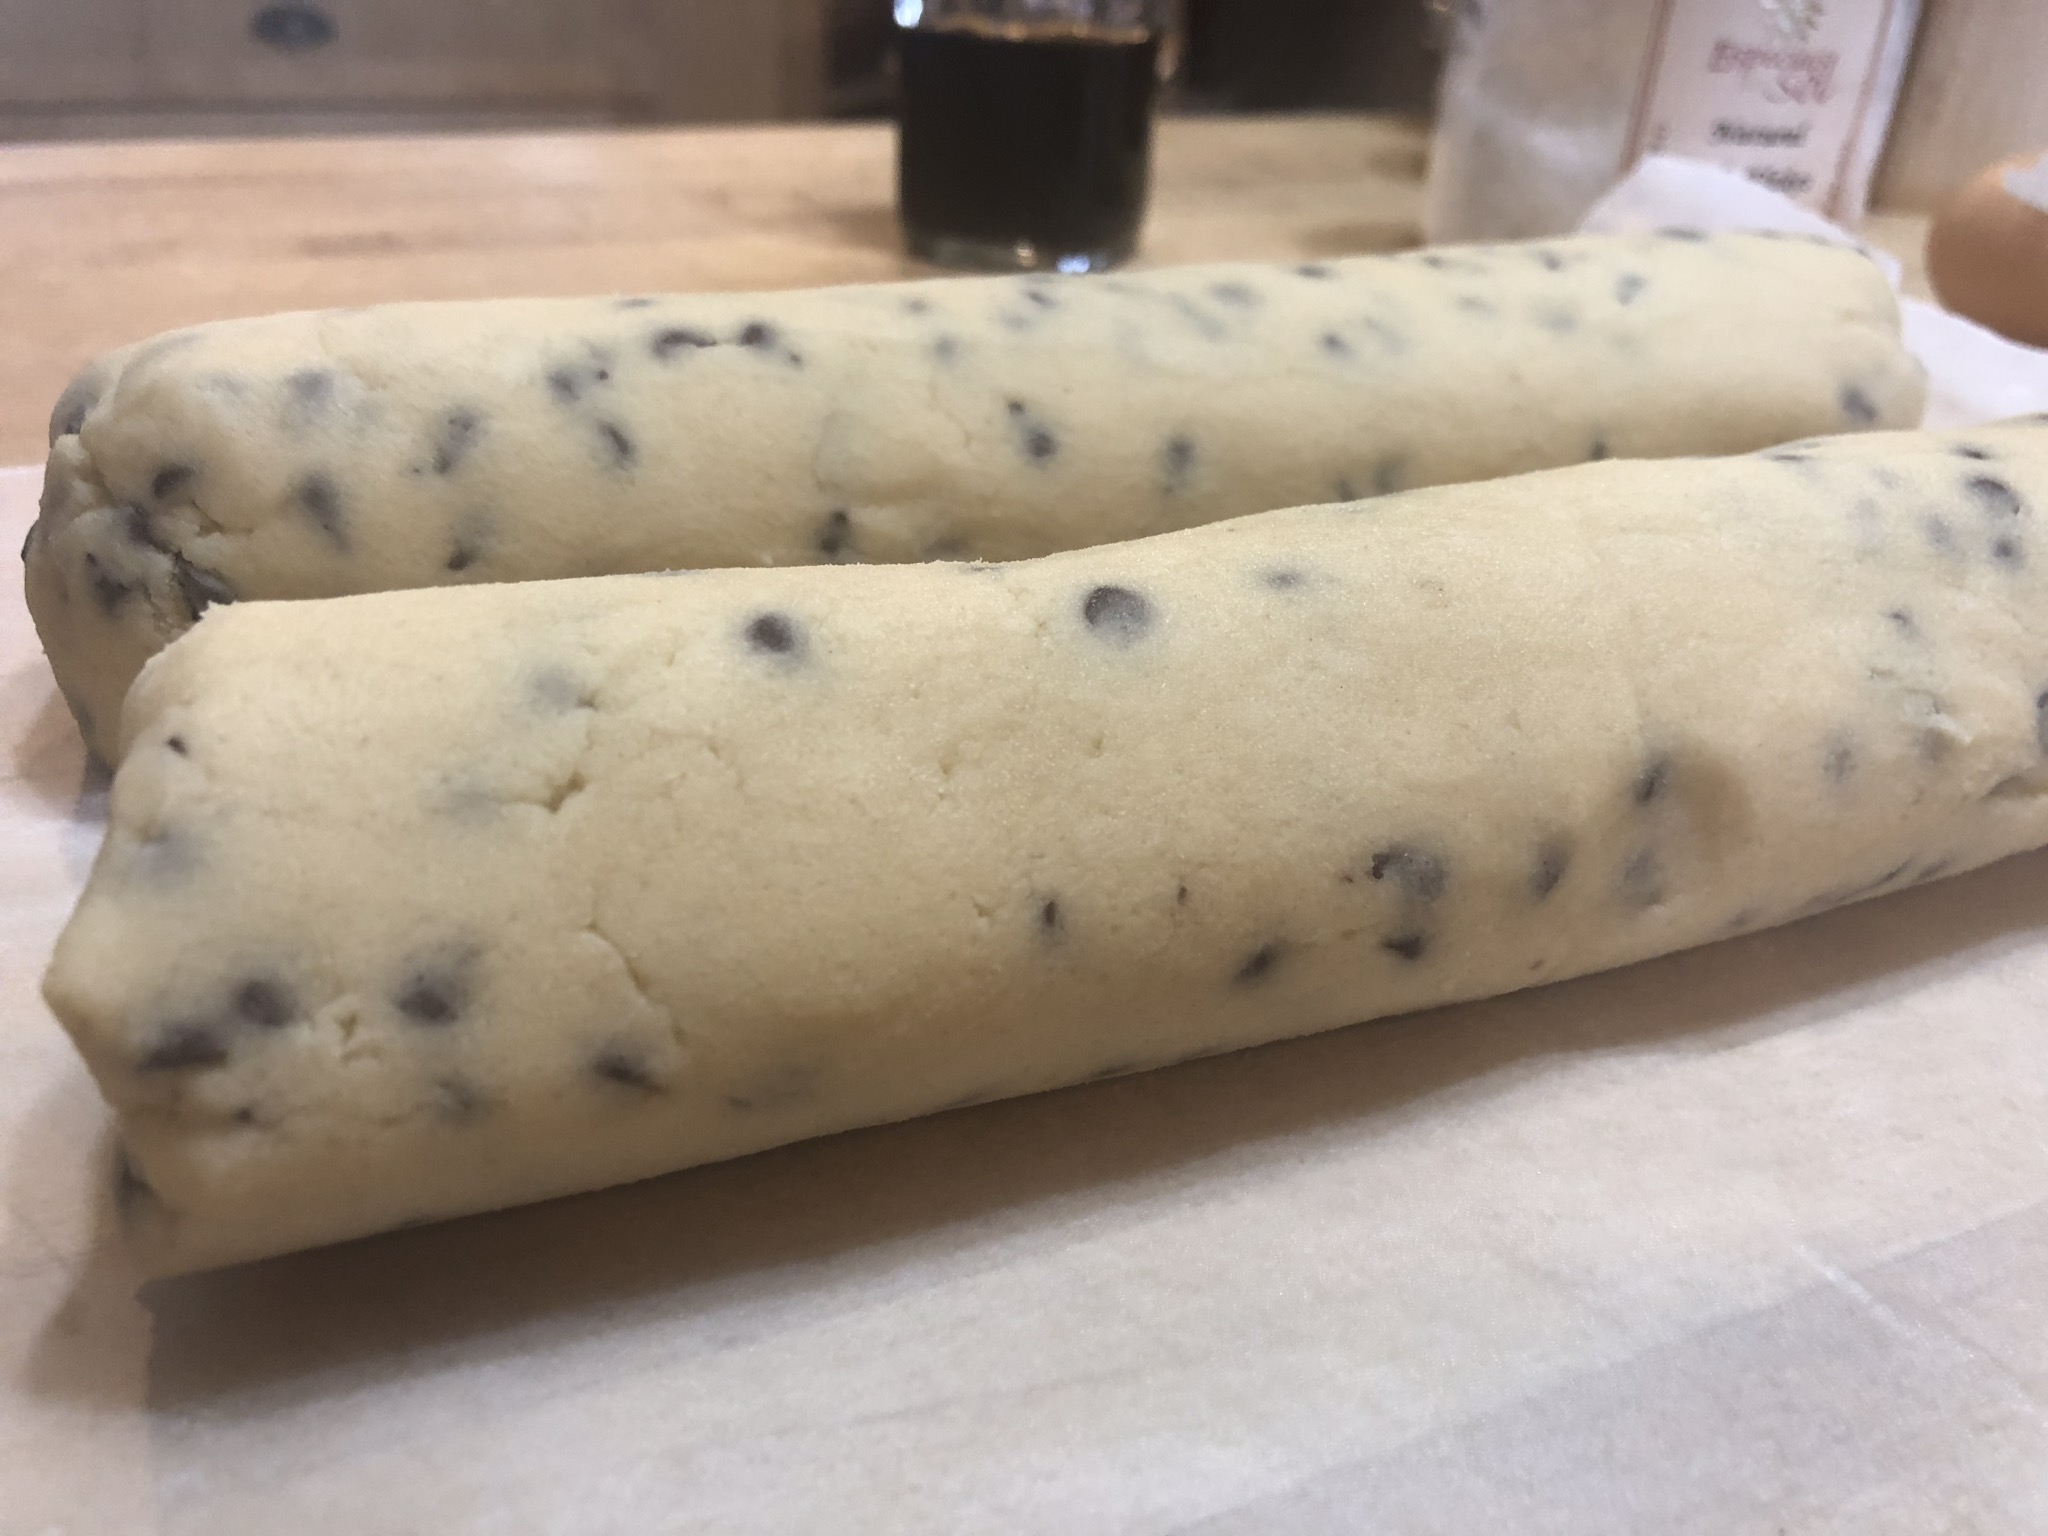
I’ve made several recipes from this book including the one pictured on the cover (Blueberry Tart with rye base) as well as some excellent savory dishes like their Vegetable and Blue Cheese Tart which I’ve made several times.  It’s a very interesting collection of recipes.  For some time I’ve been wanting to try these Lace cookies.  I had visions of shaping them into a bowl and adding a small scoop of ice cream or whipped cream and berries.  Or rolling them into logs.  Neither of those things happened.  Maybe next time.  While they are definitely delicious, I found these a little extra challenging.
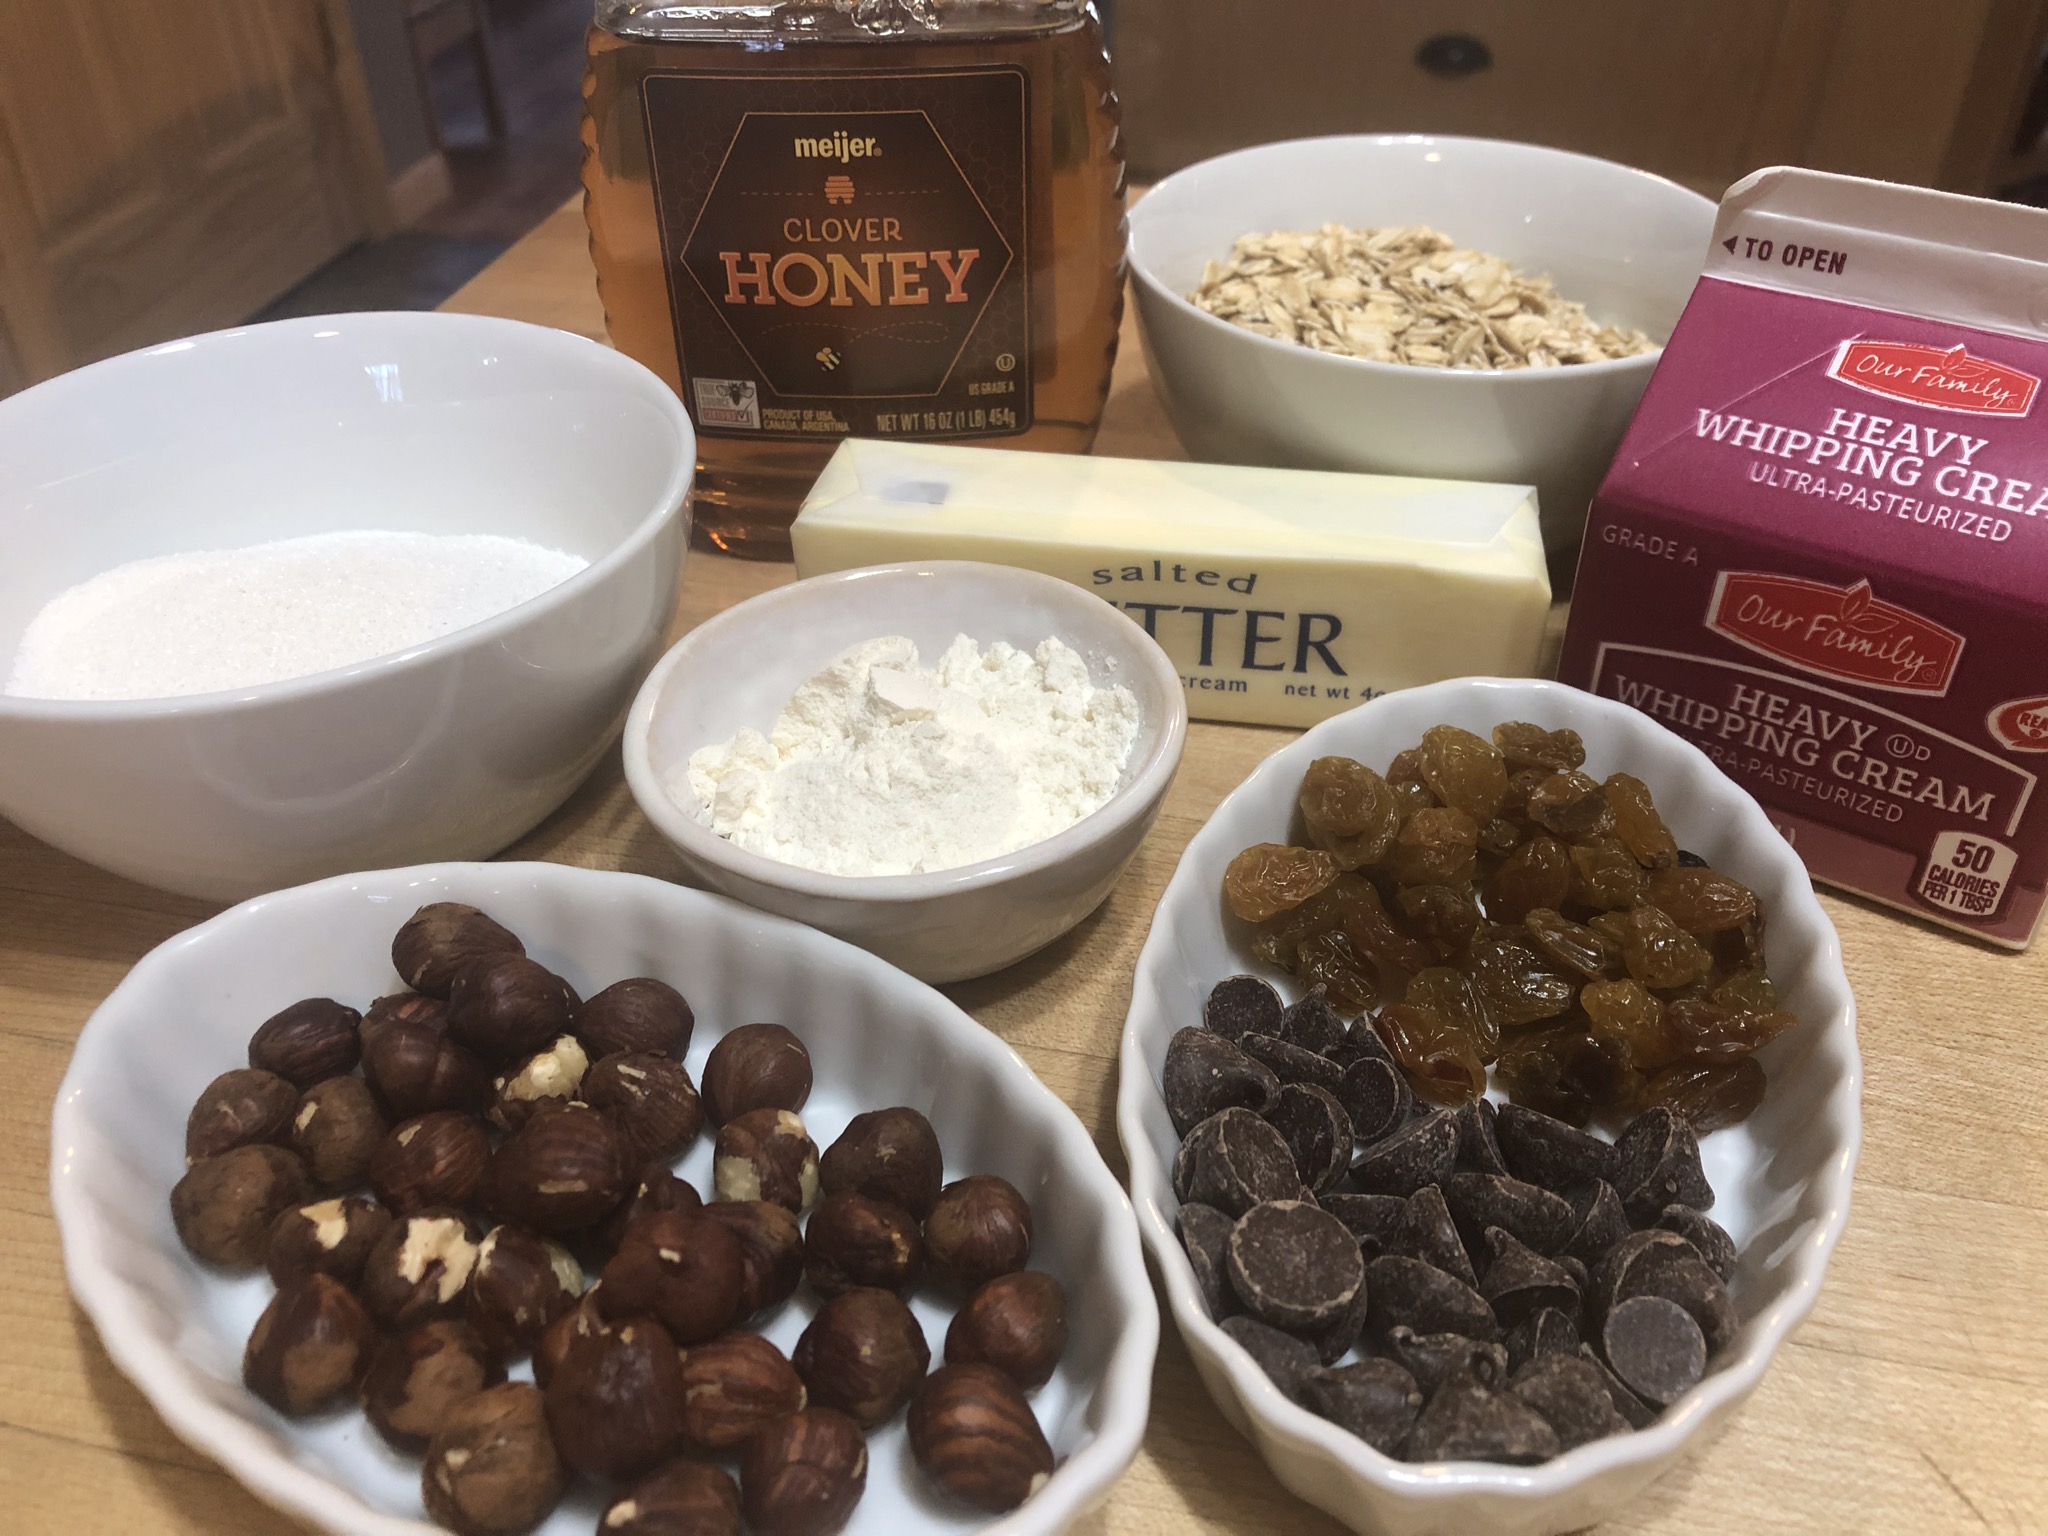
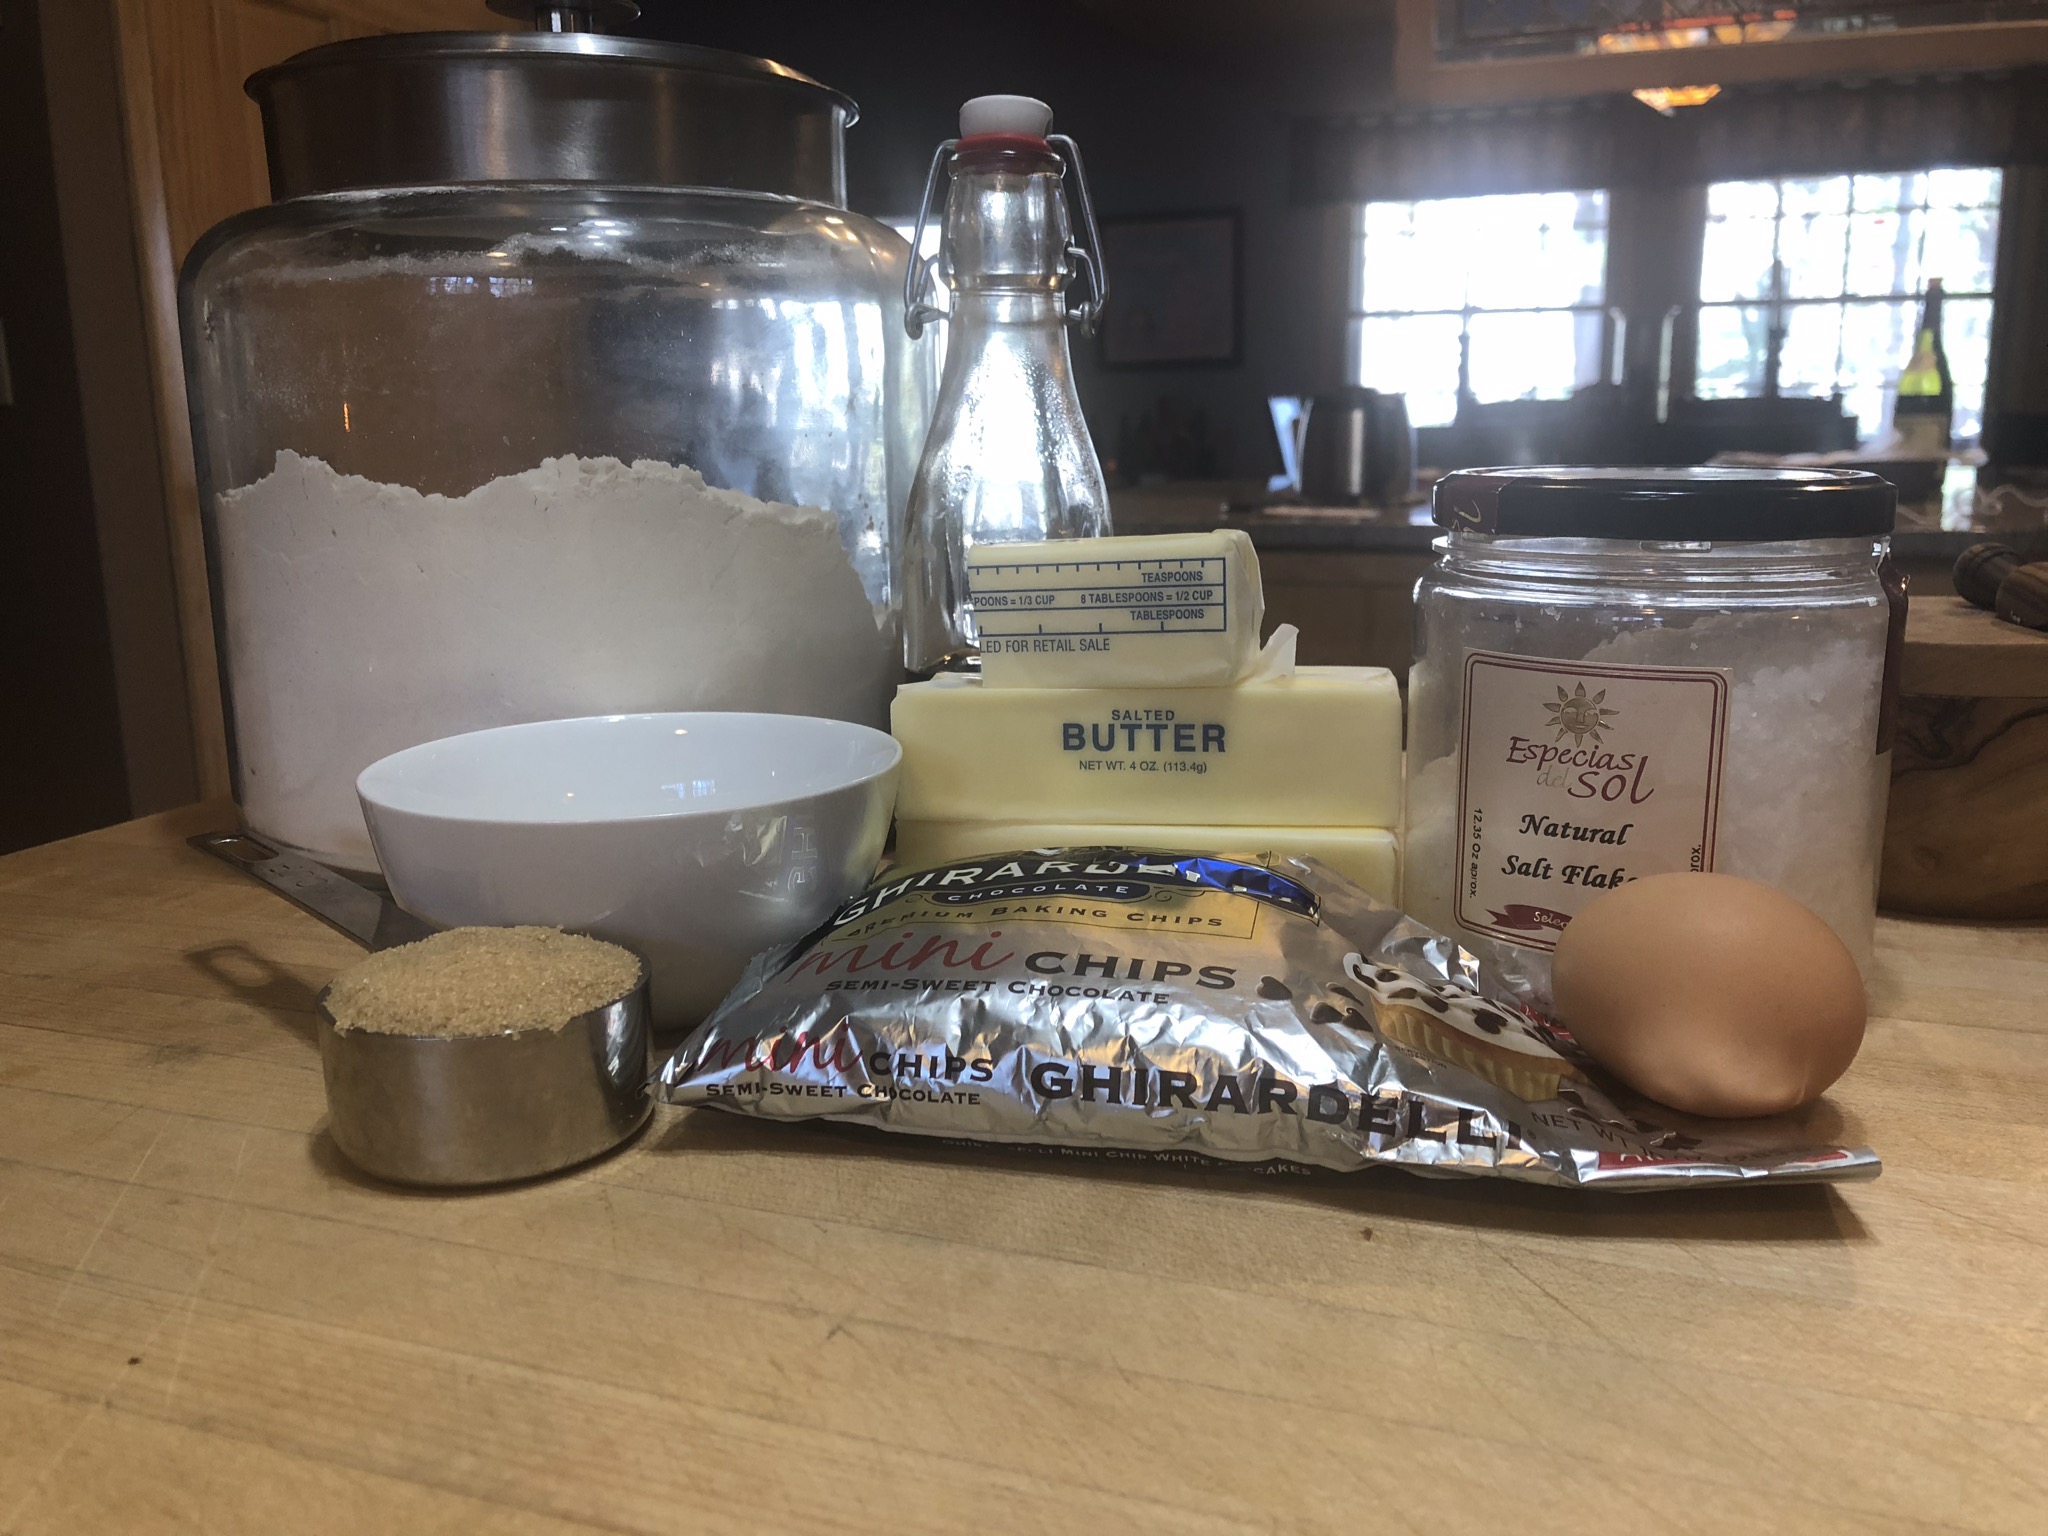
Ingredients:

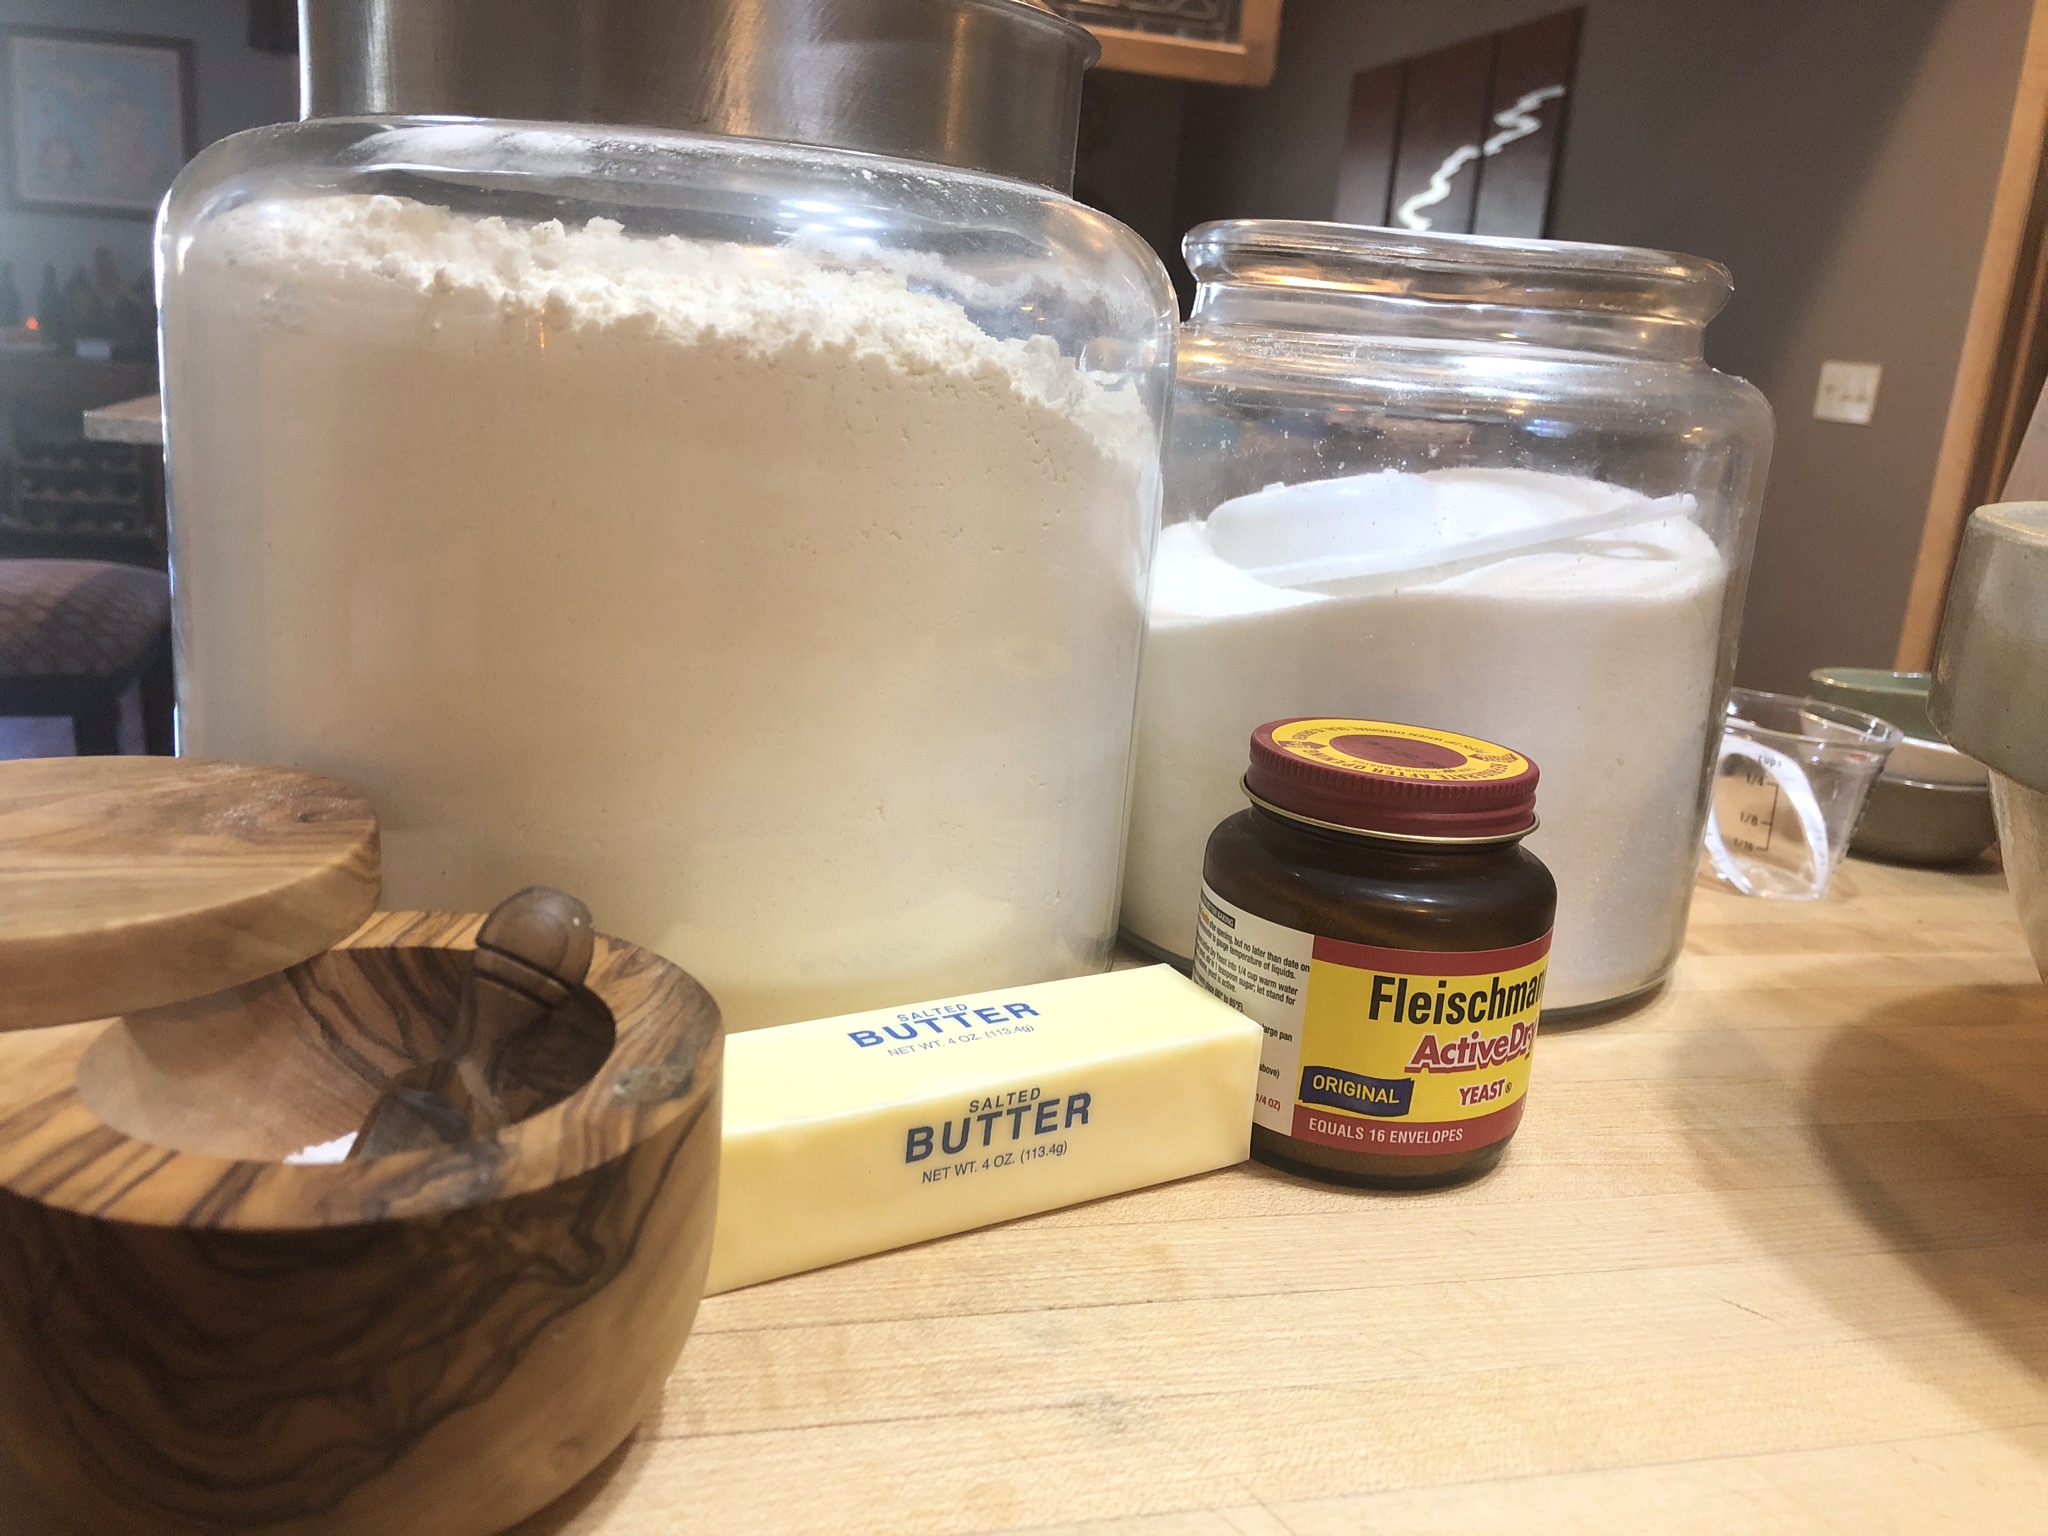
1 stick unsalted butter melted

2 T heavy cream

Drizzle of honey

1/2 cup caster sugar

3/4 cup rolled oats

2 T AP flour

1/4 cup raisins chopped

2 oz dark, bittersweet chocolate chopped

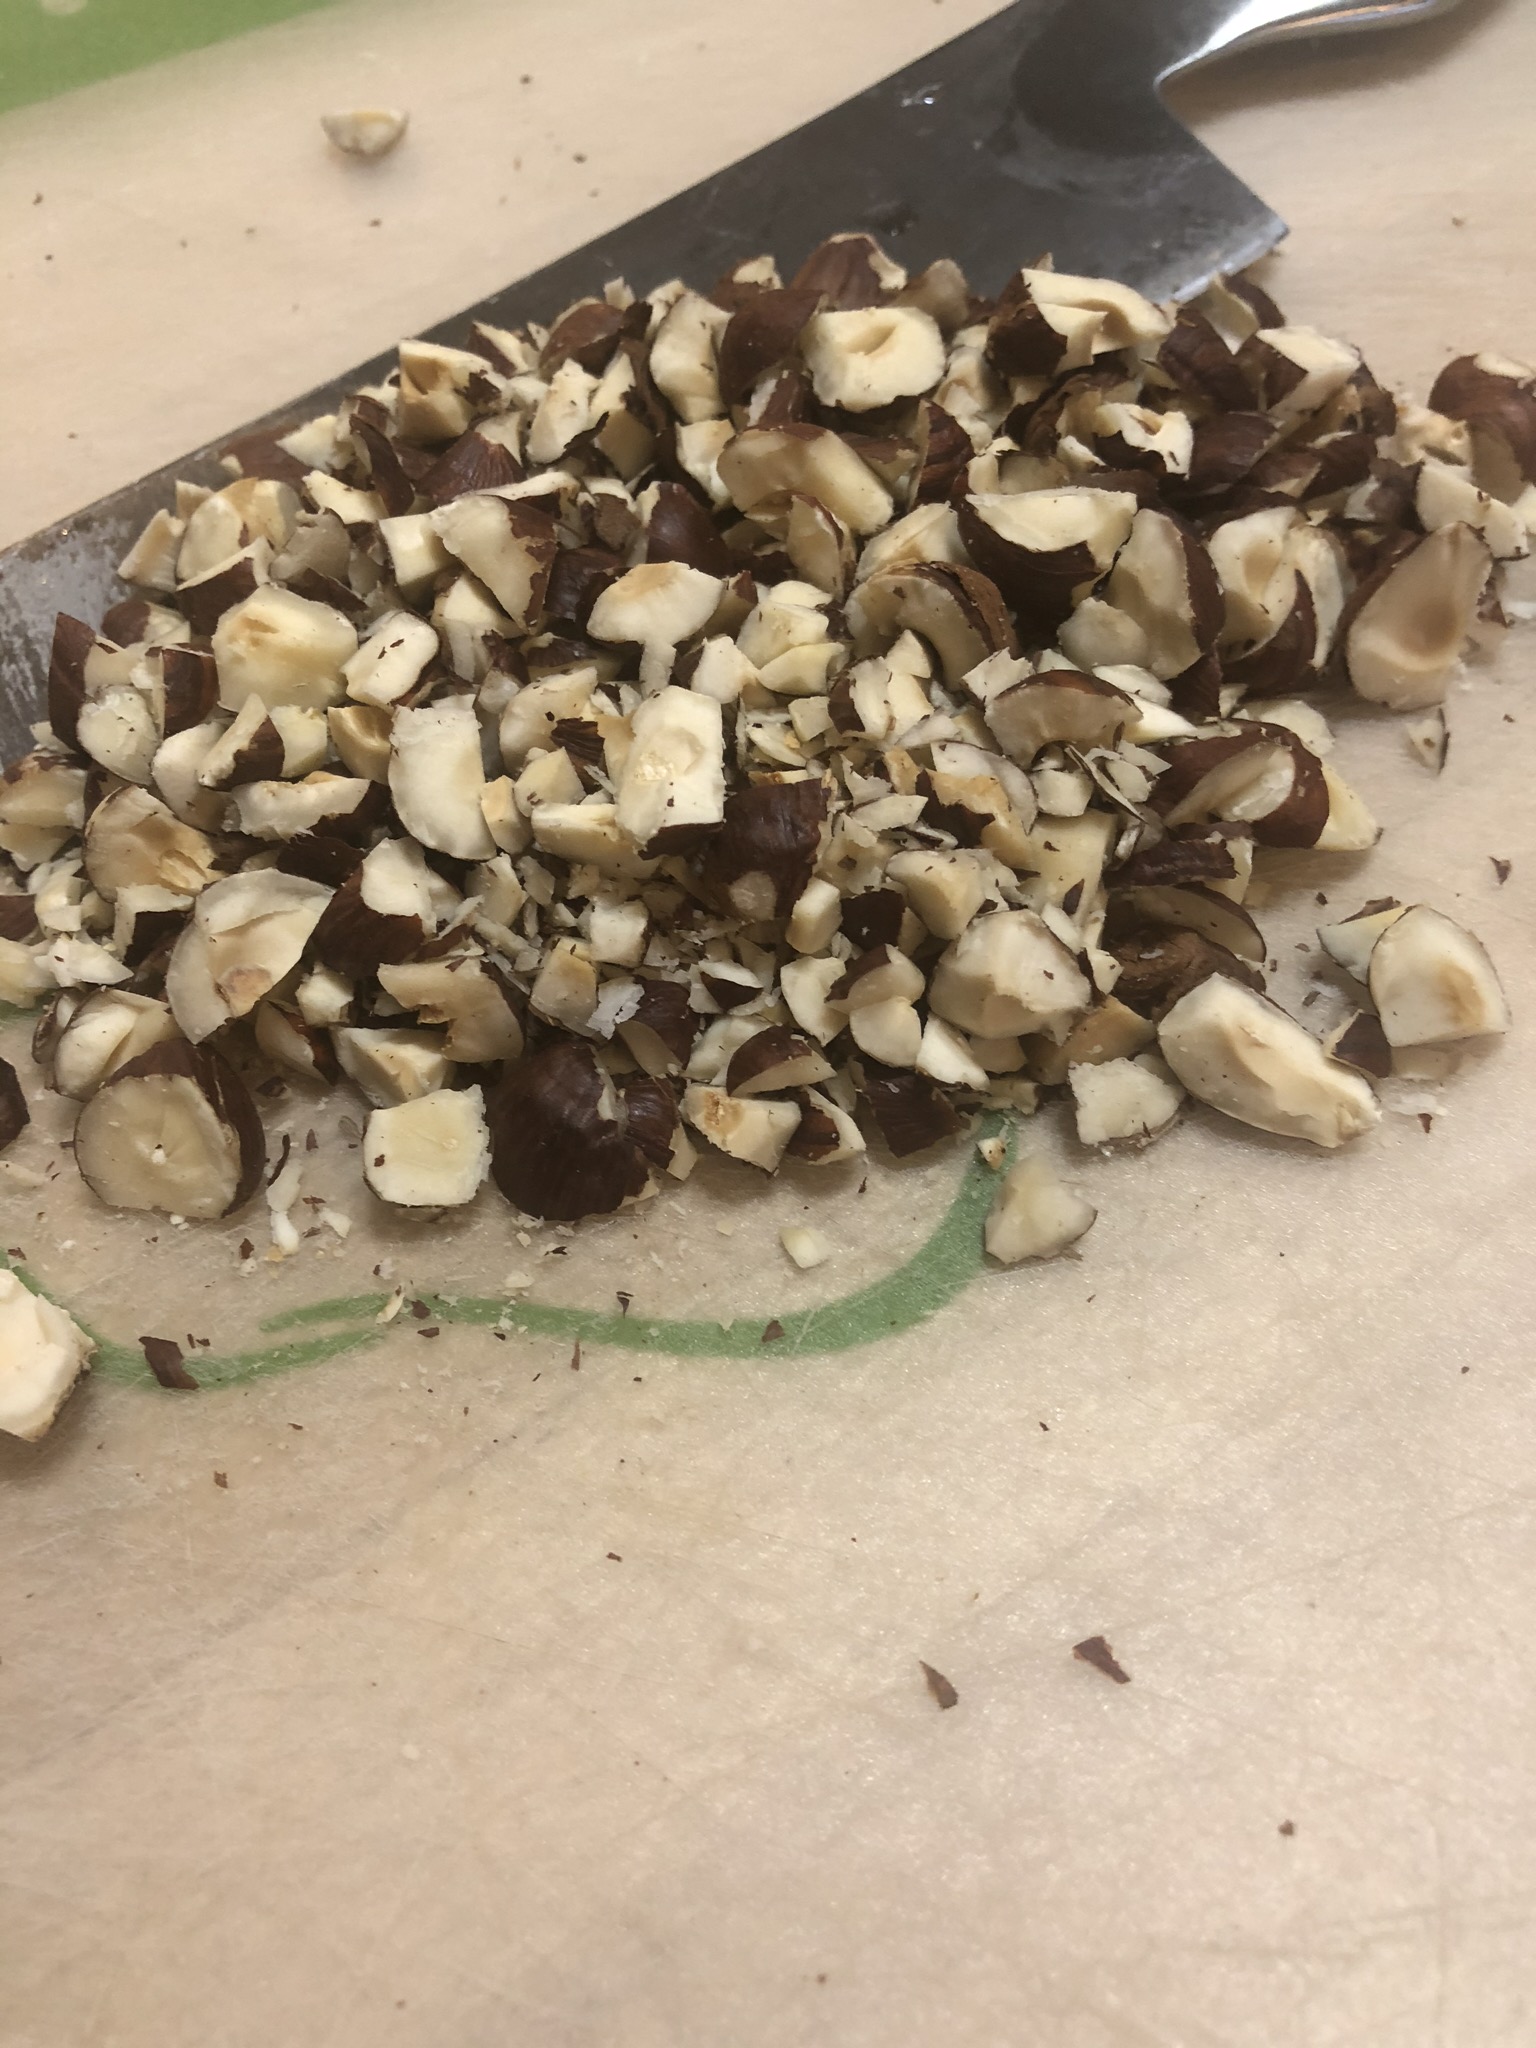
1/2 cup hazelnuts chopped

Reading the ingredients you may ask, “what is caster sugar?”  It is superfine sugar.  I didn’t have any, so I made my own using my coffee grinder.

Preheat your oven to 400 and line a cookie sheet with parchment paper.  Make sure your chocolate, nuts, and raisins are all chopped.

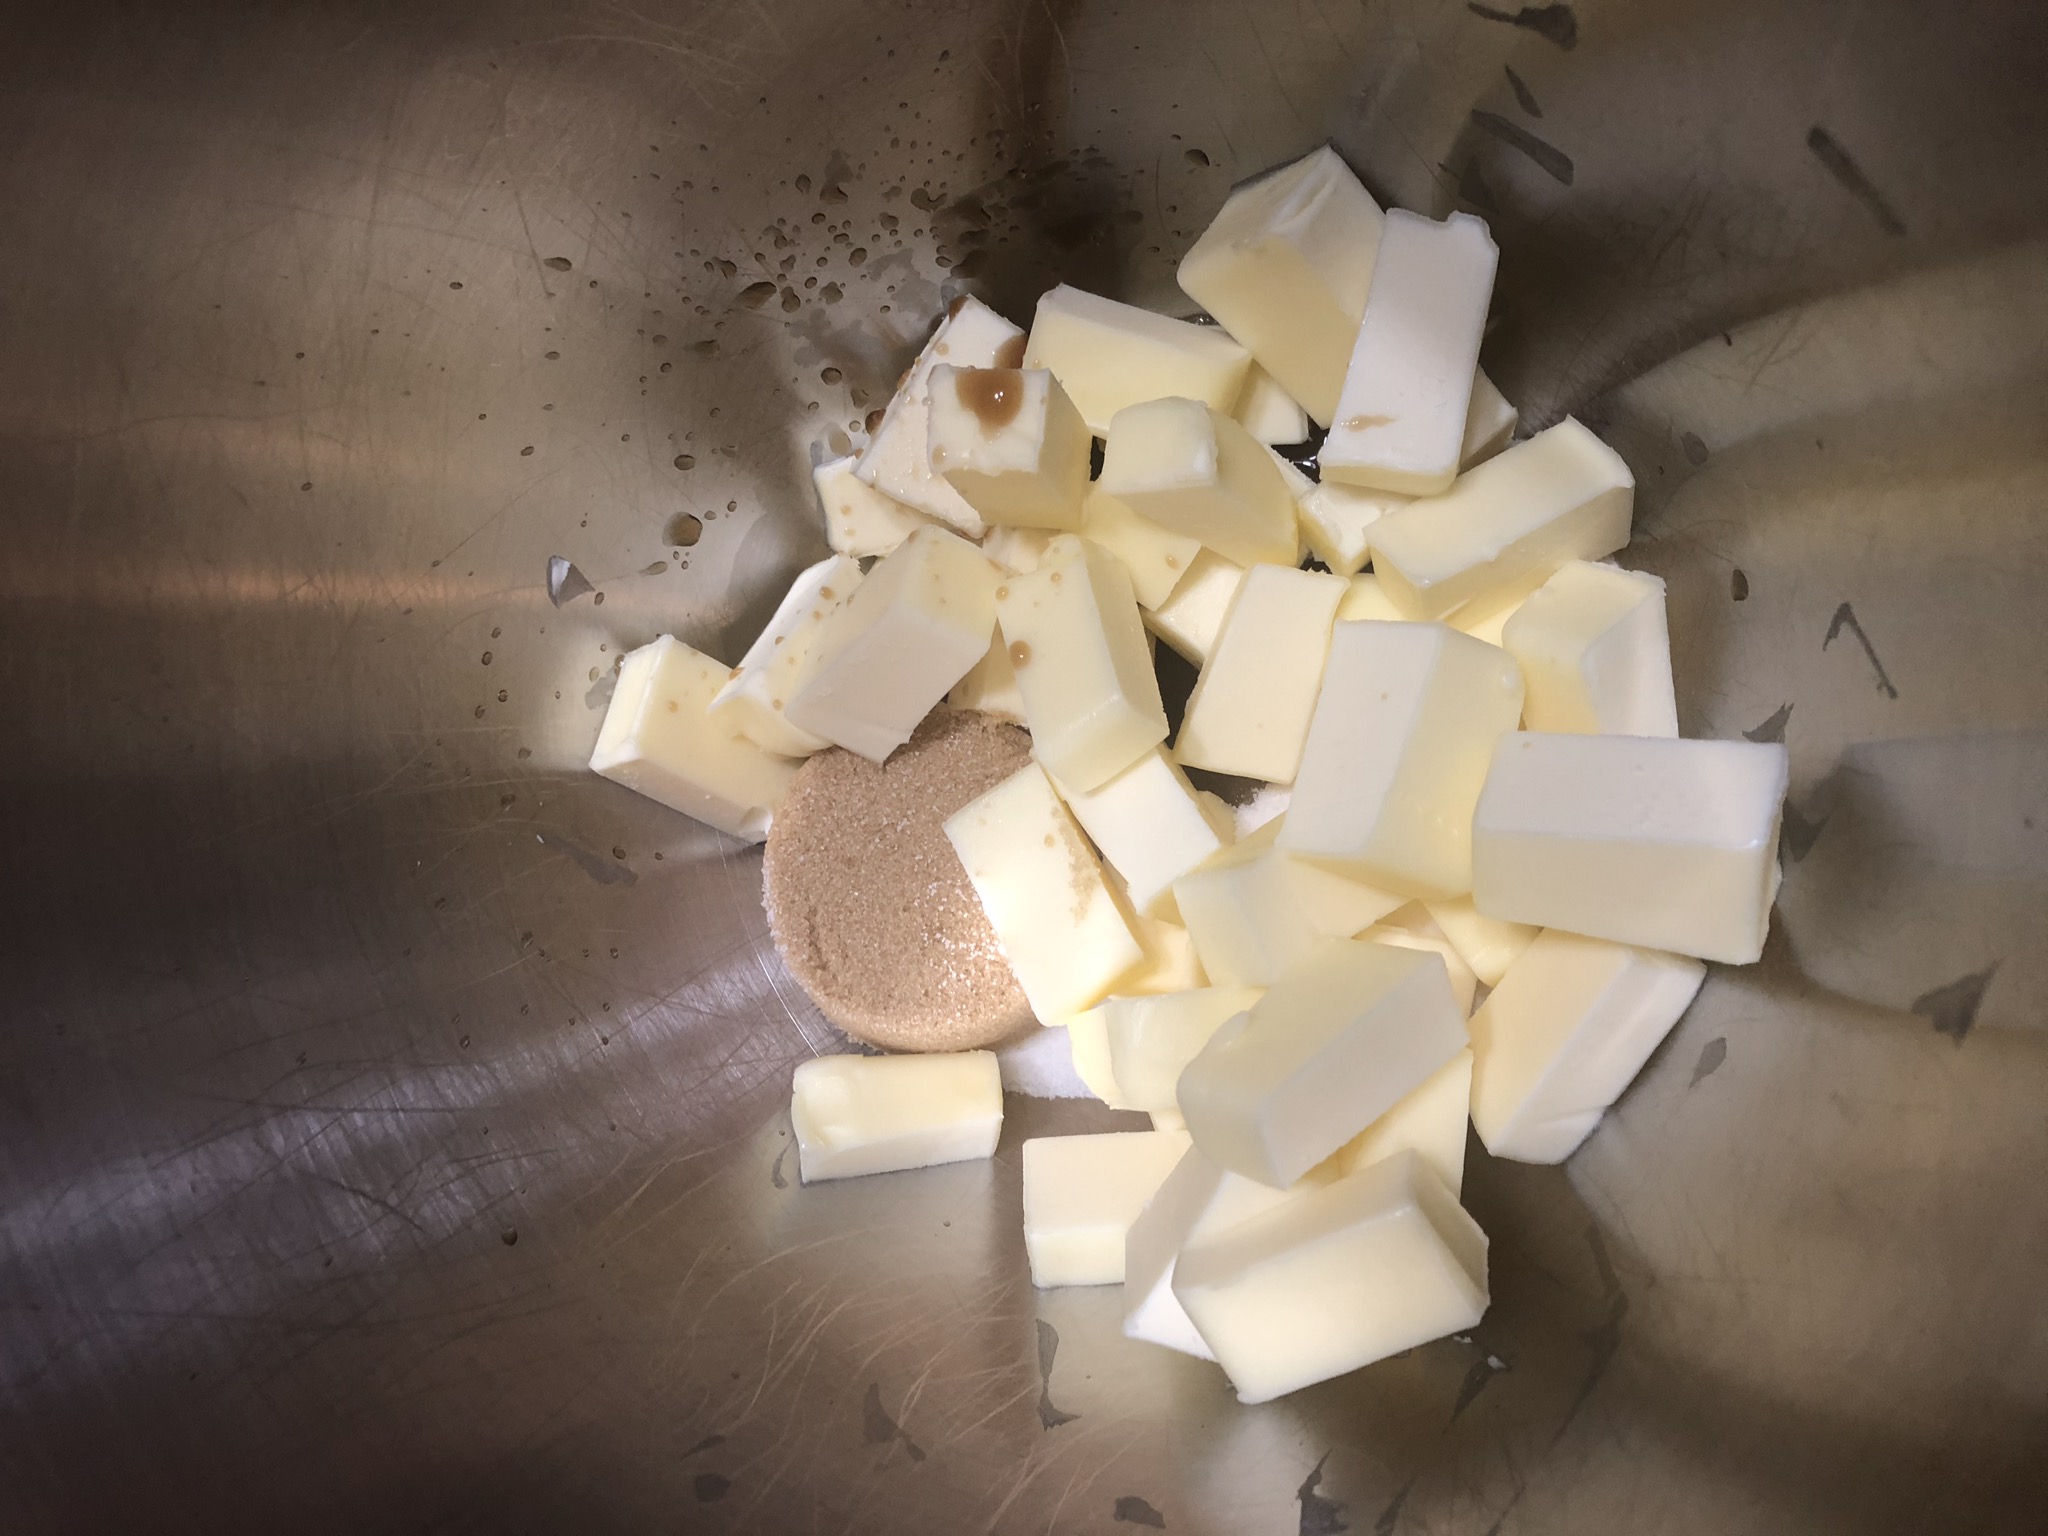
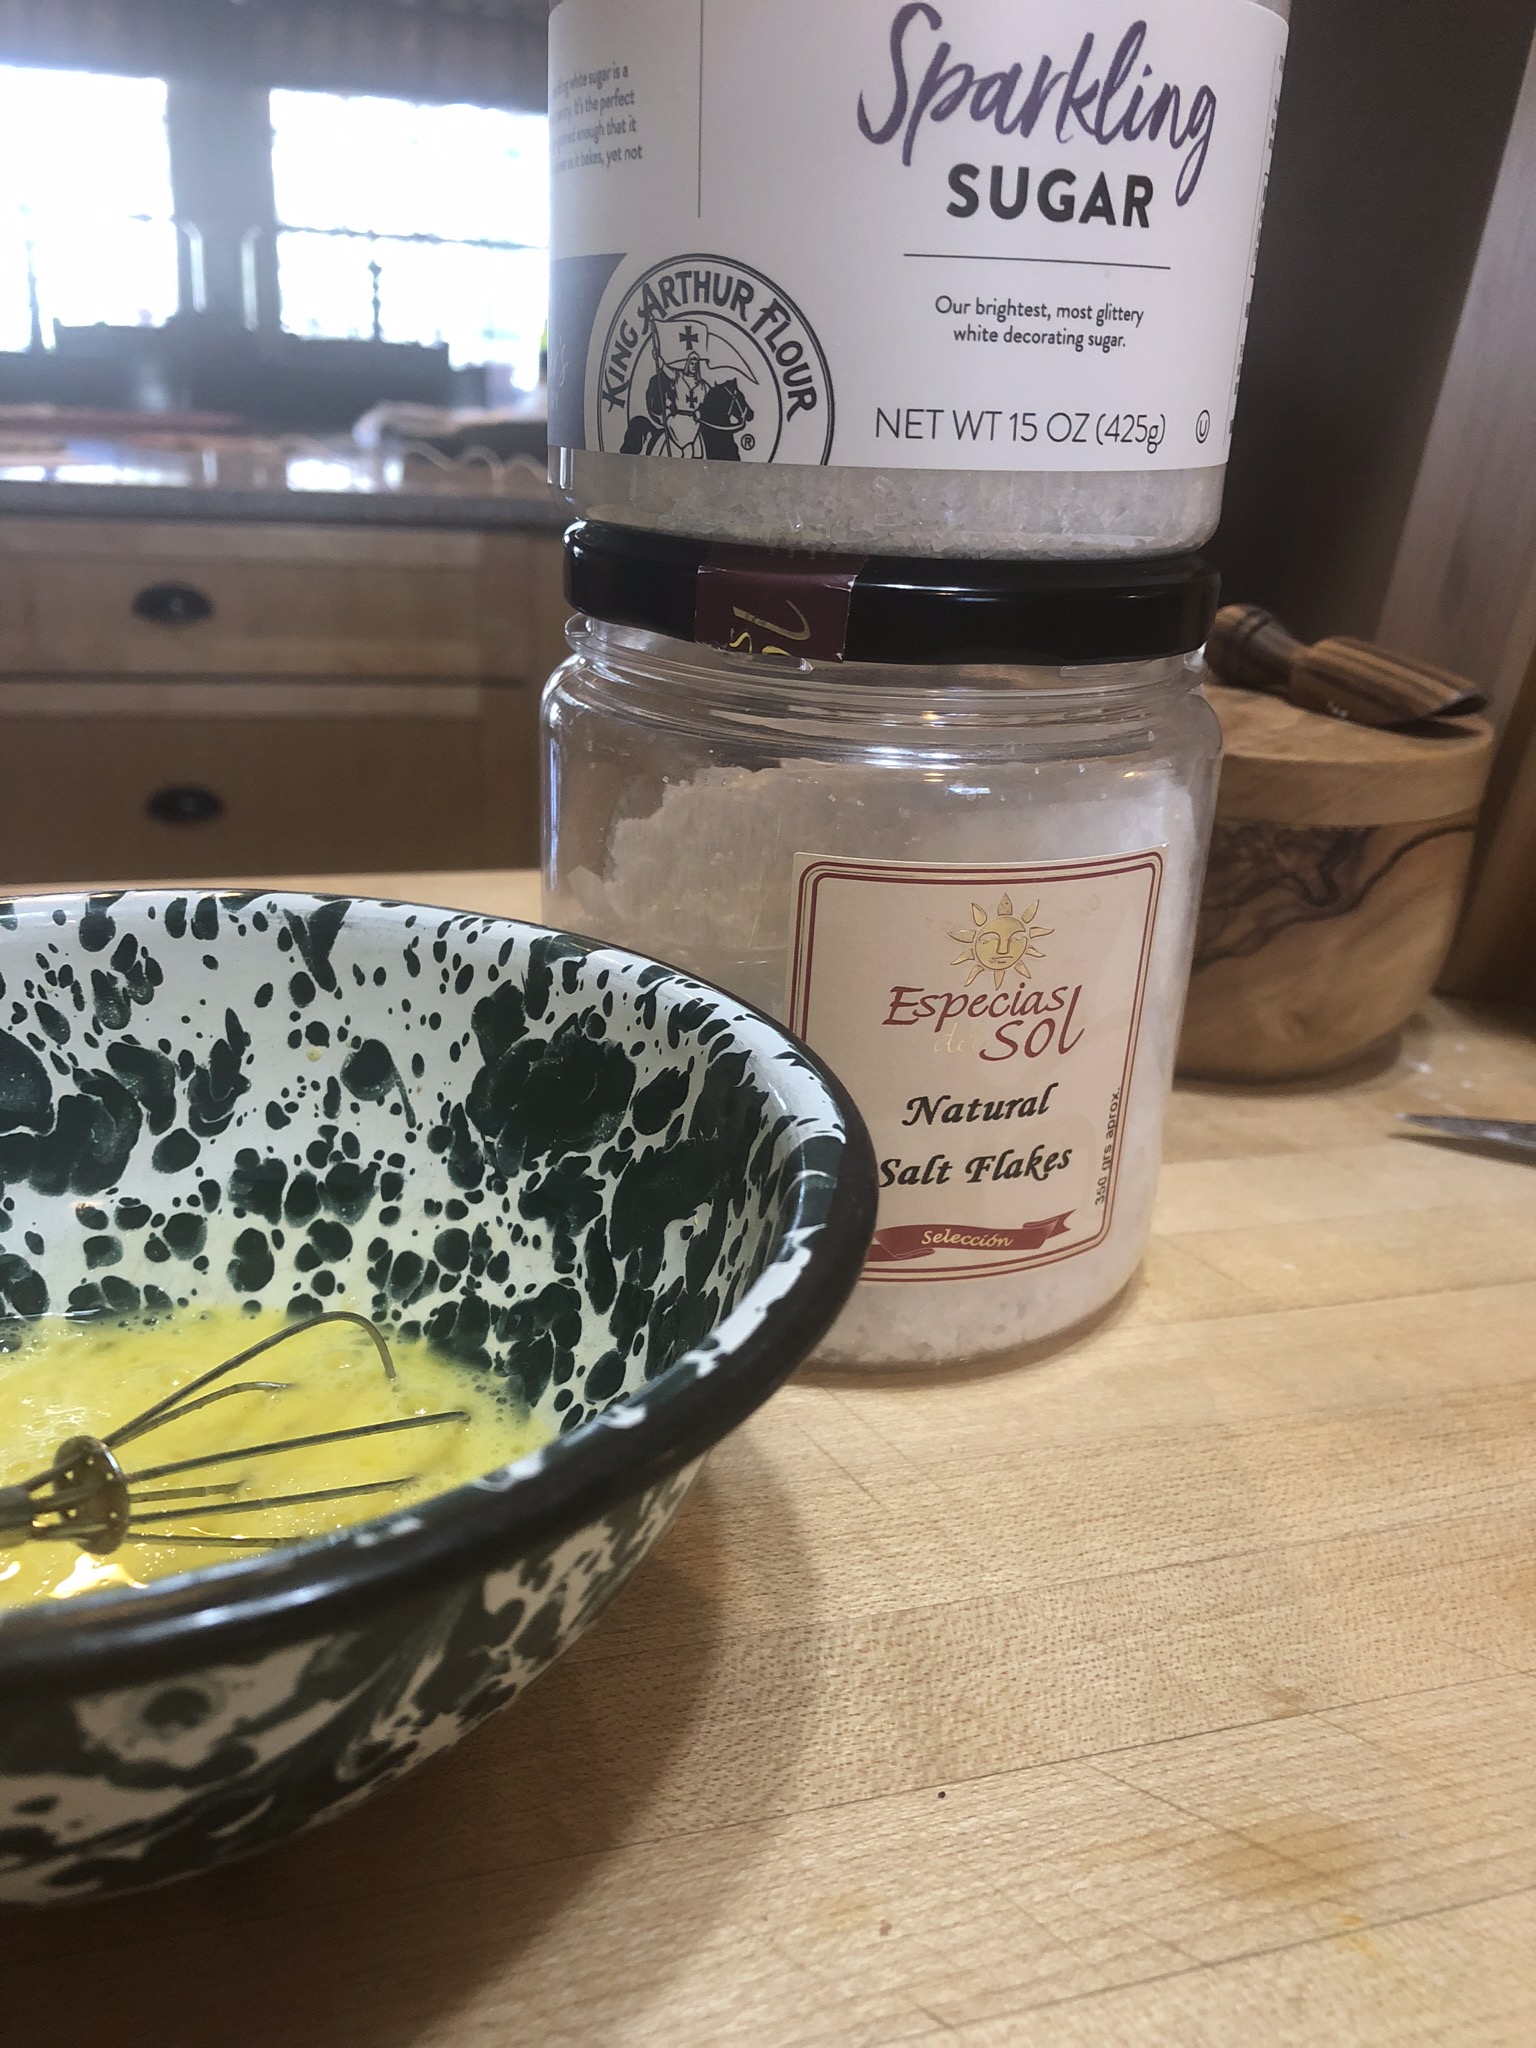
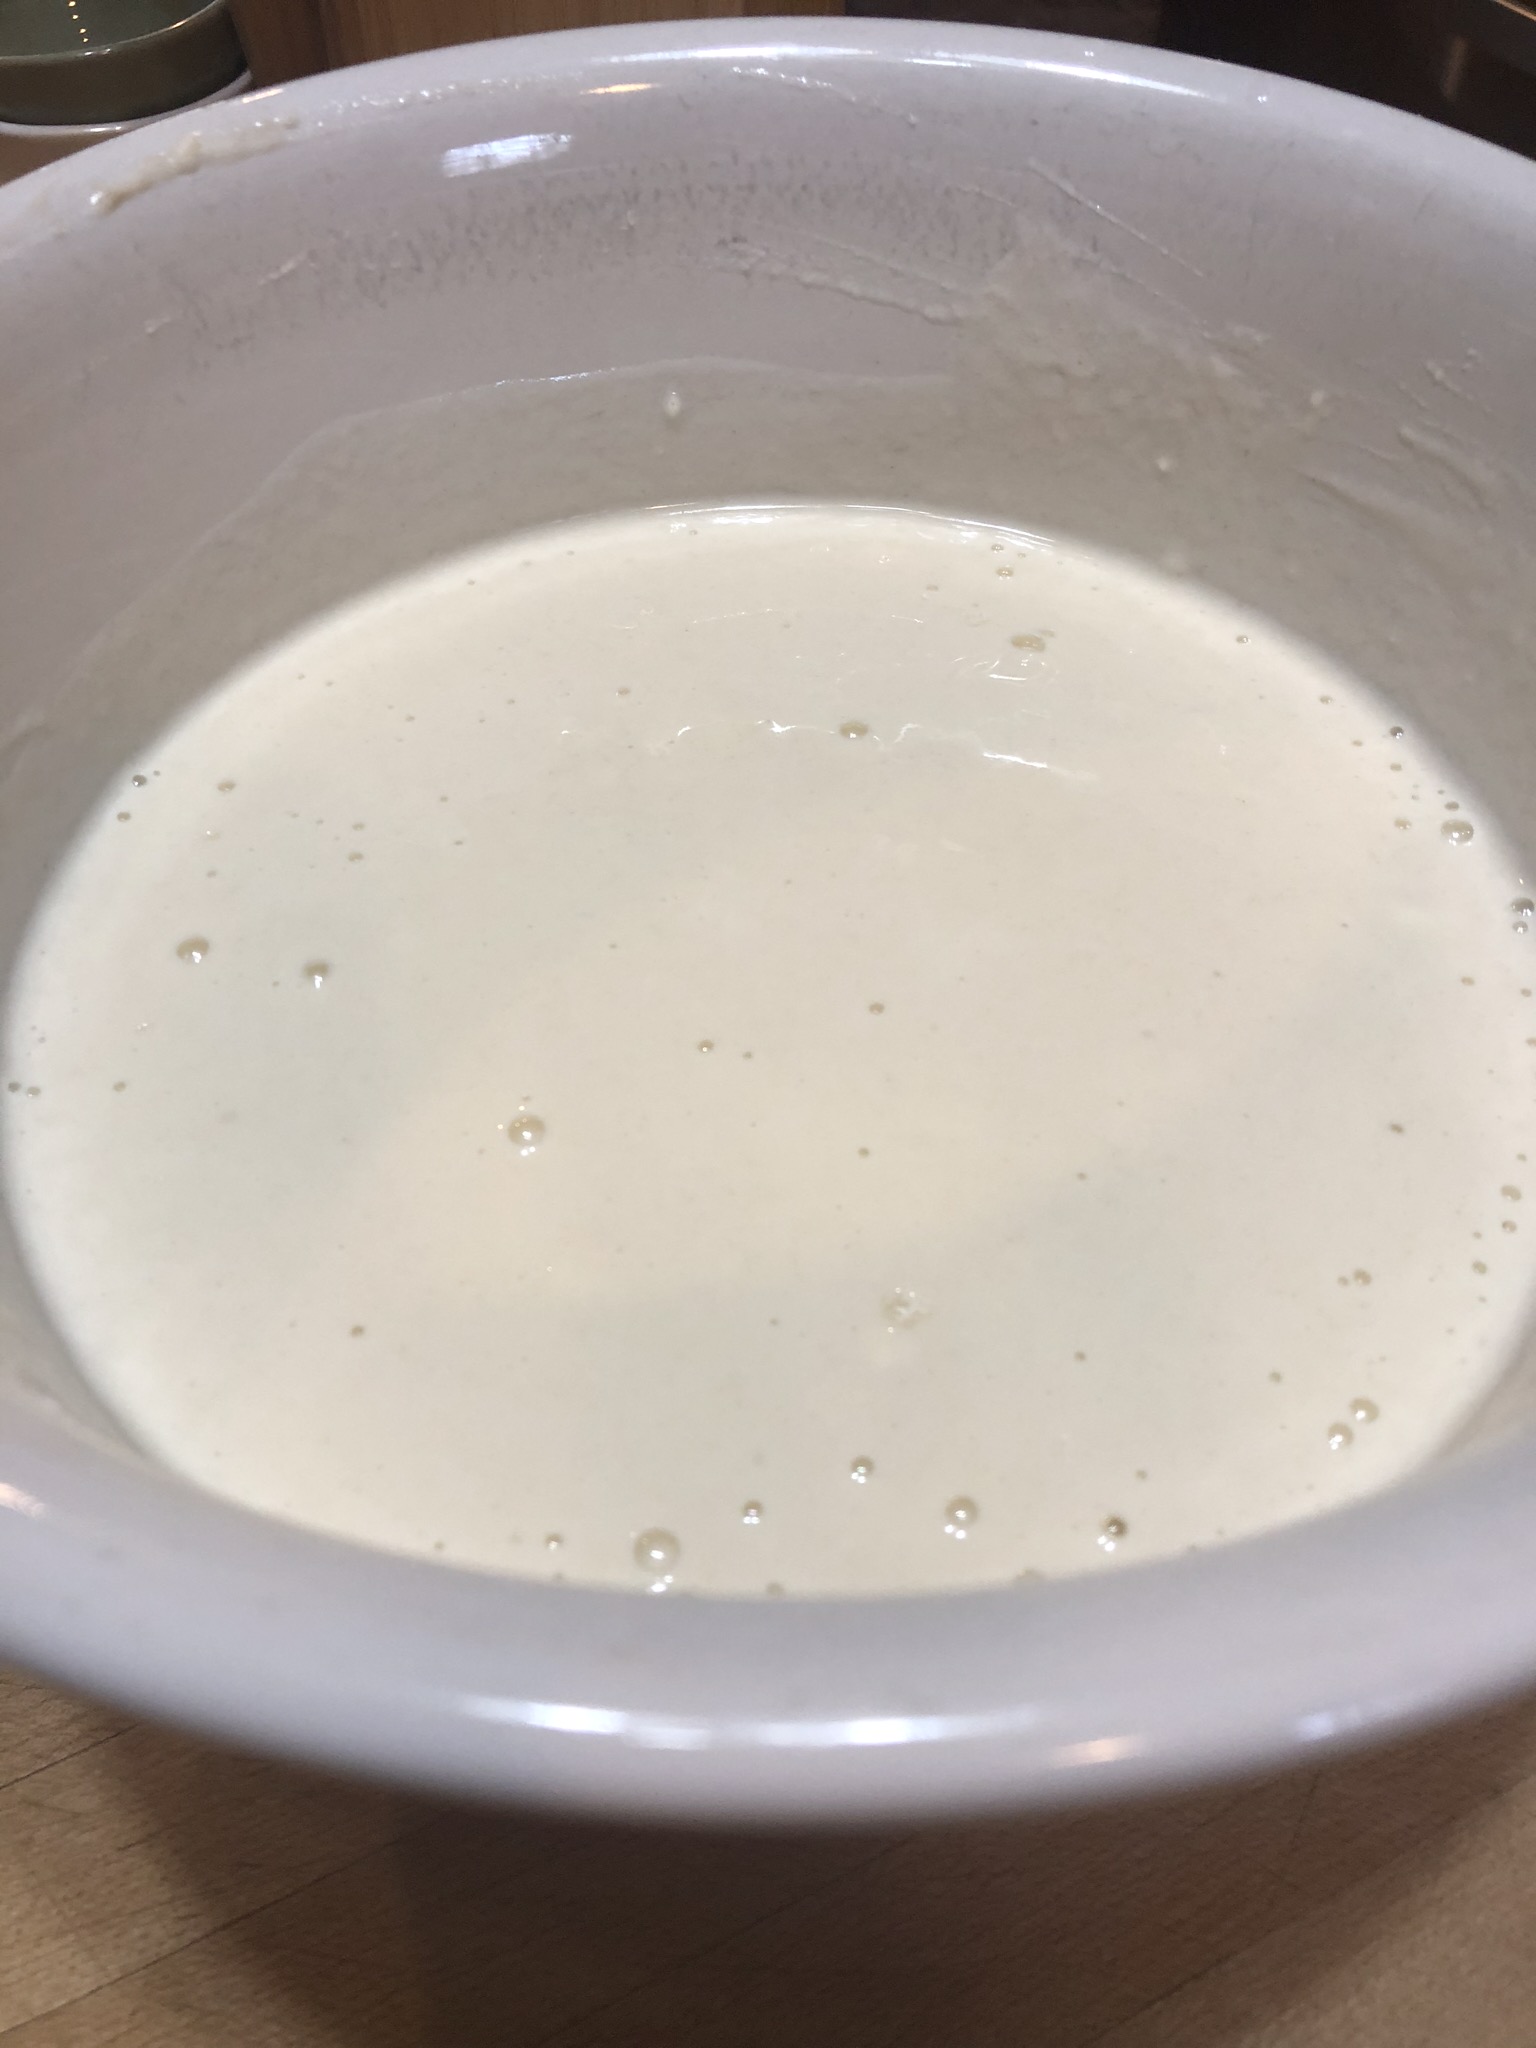
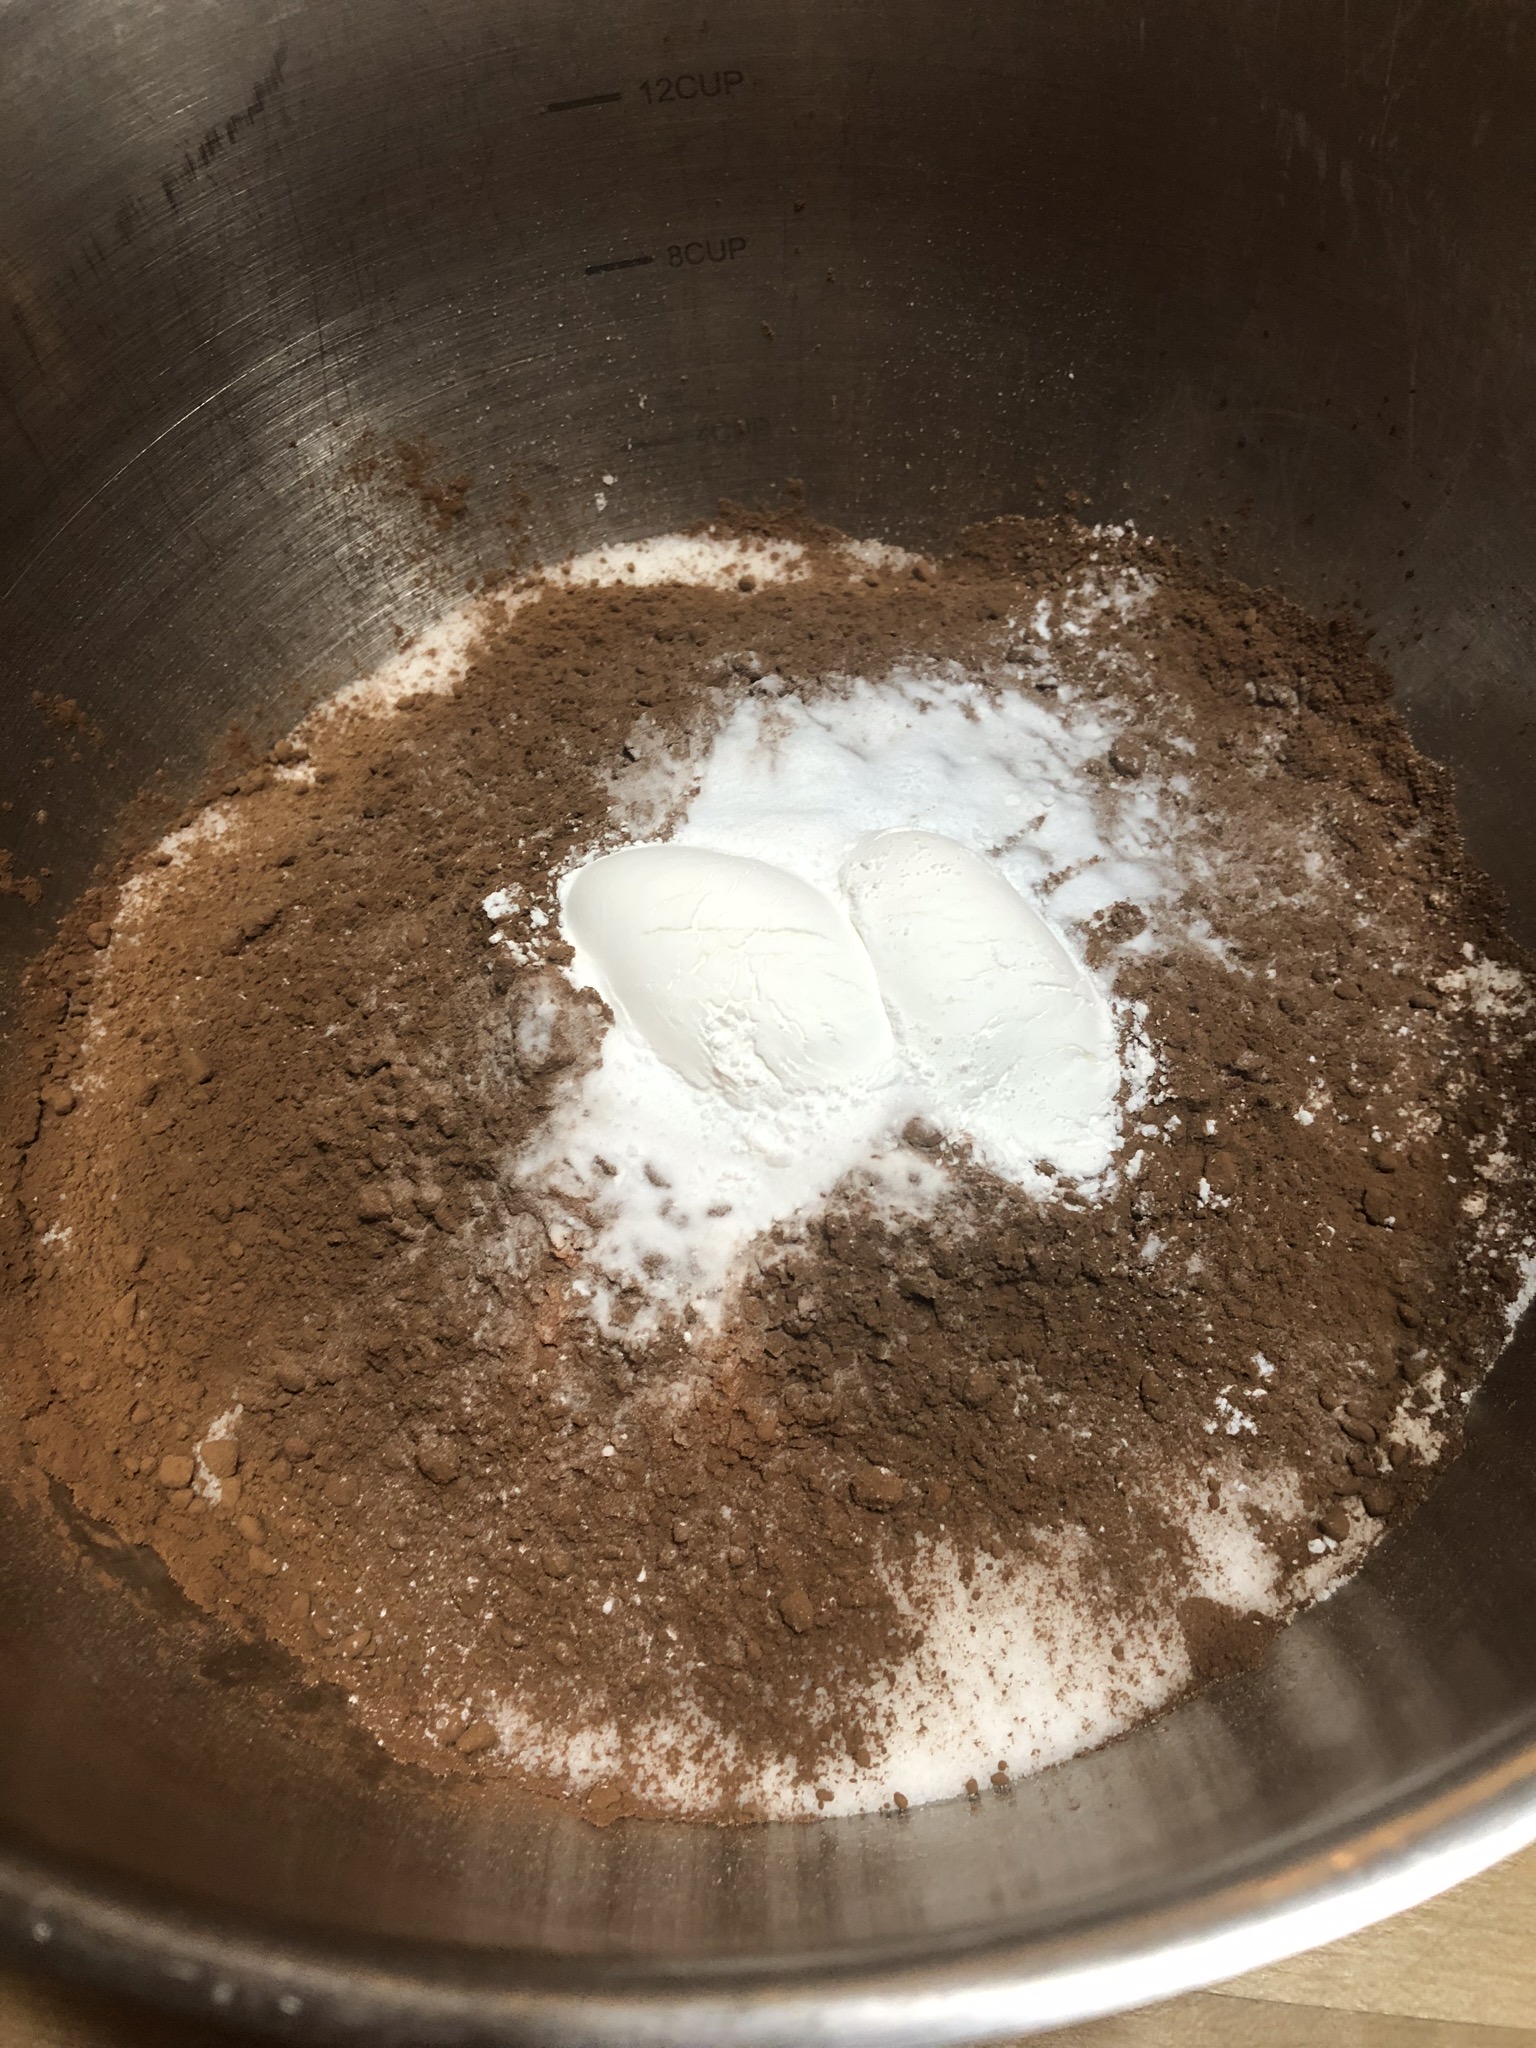
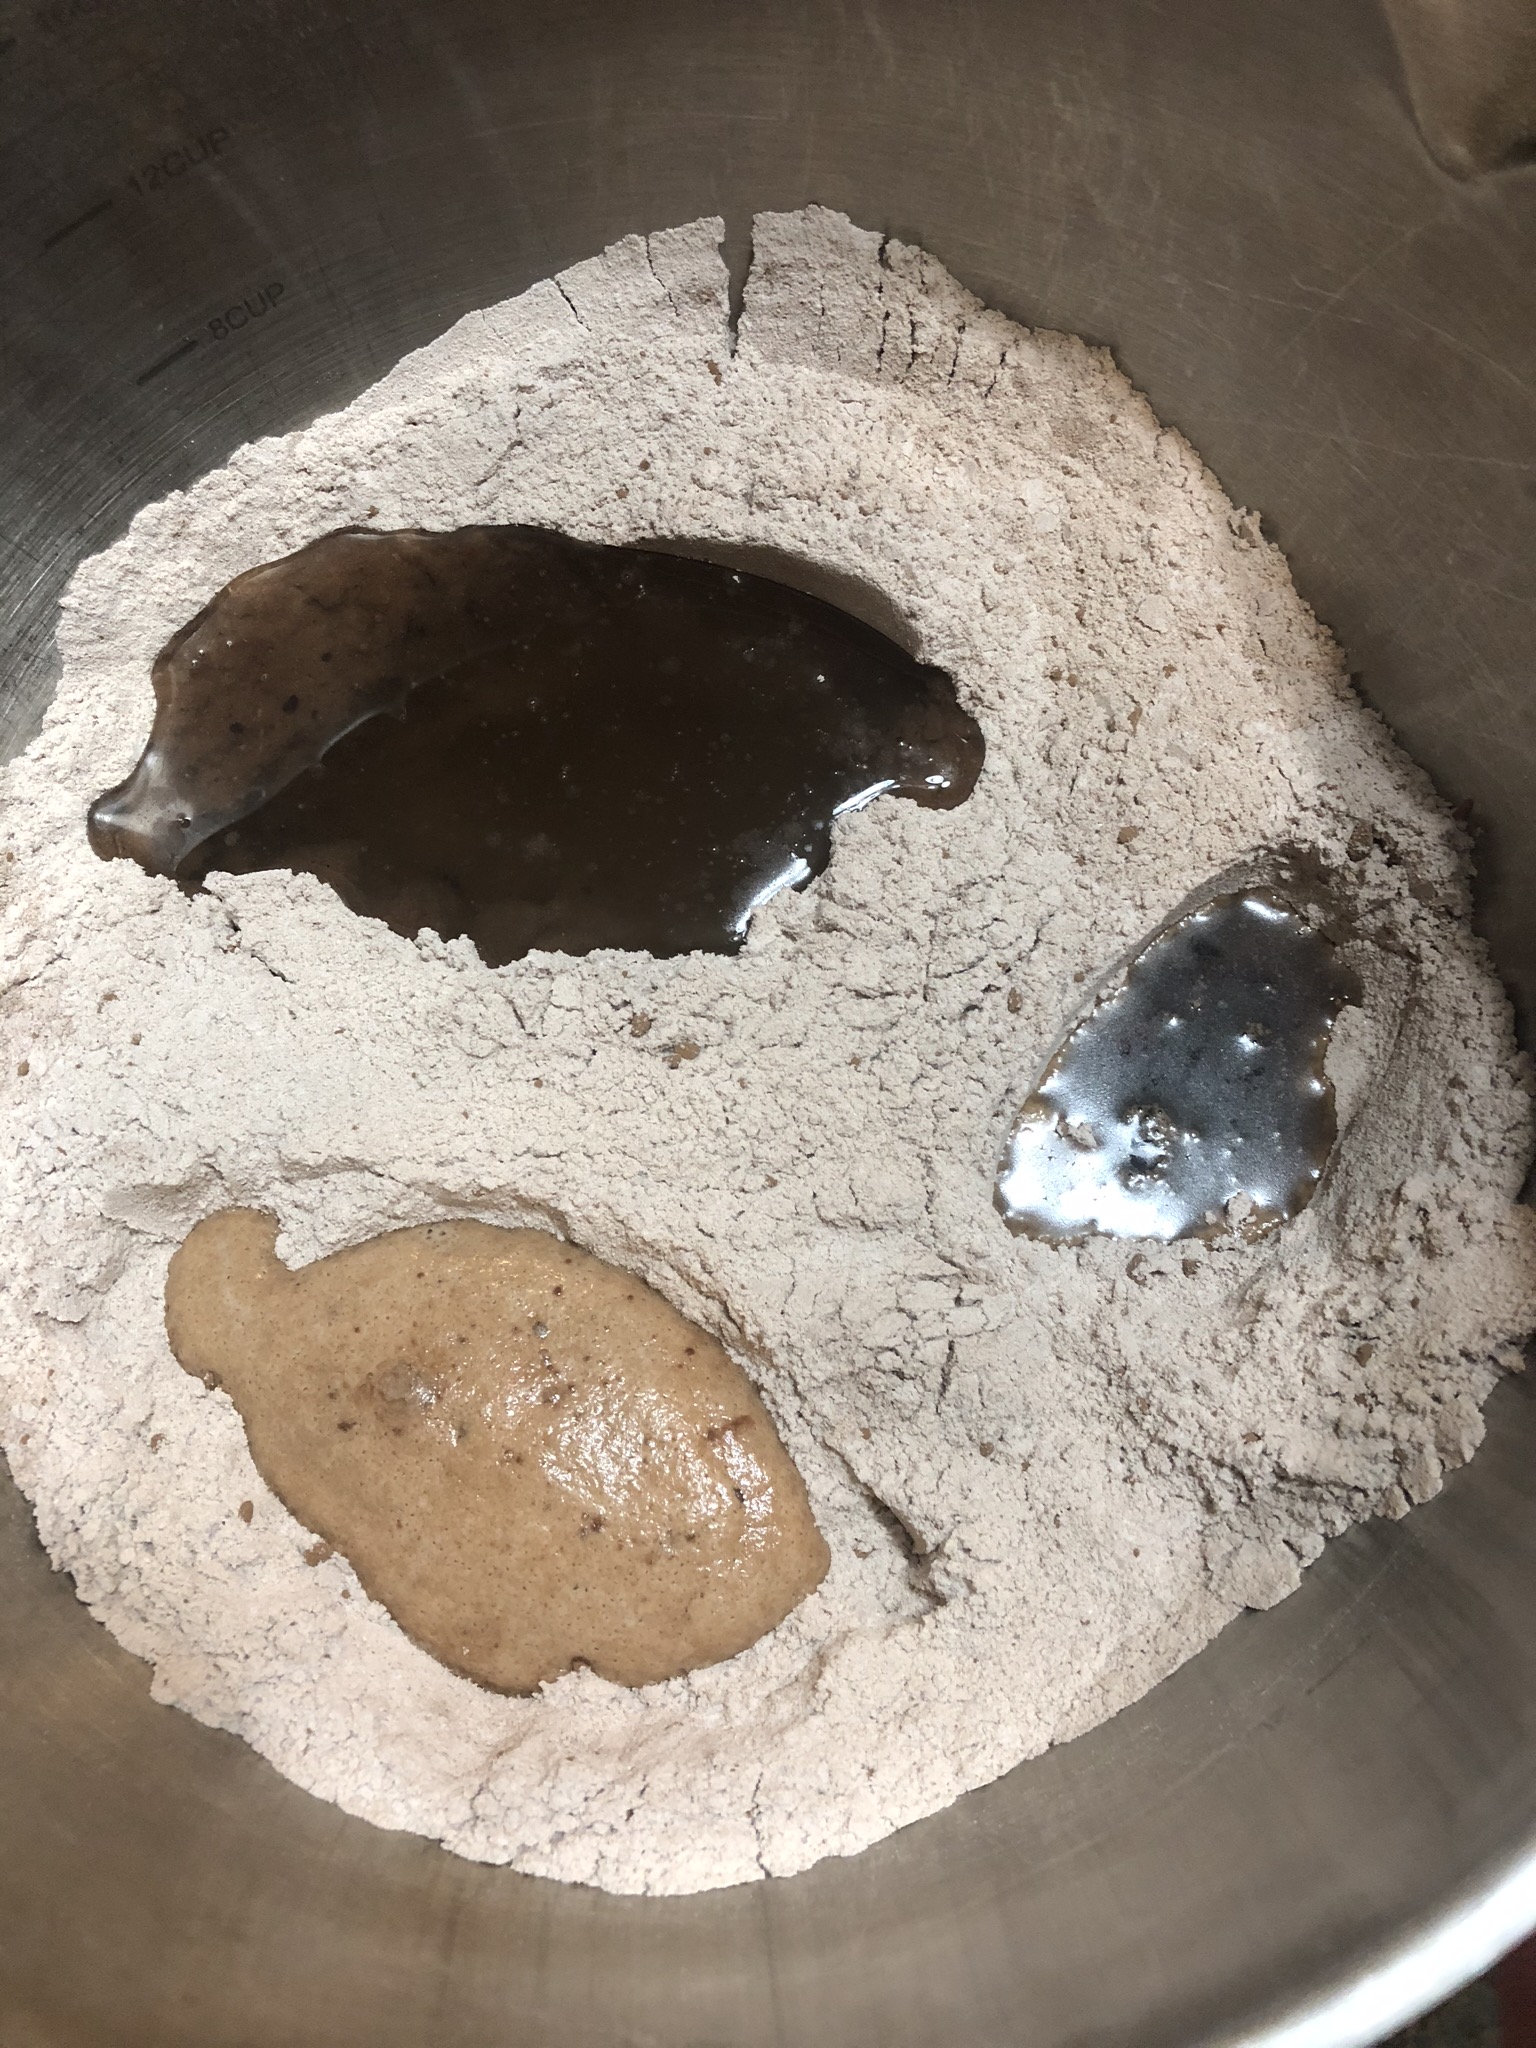
Put the melted butter, cream and honey in a small bowl and mix well.

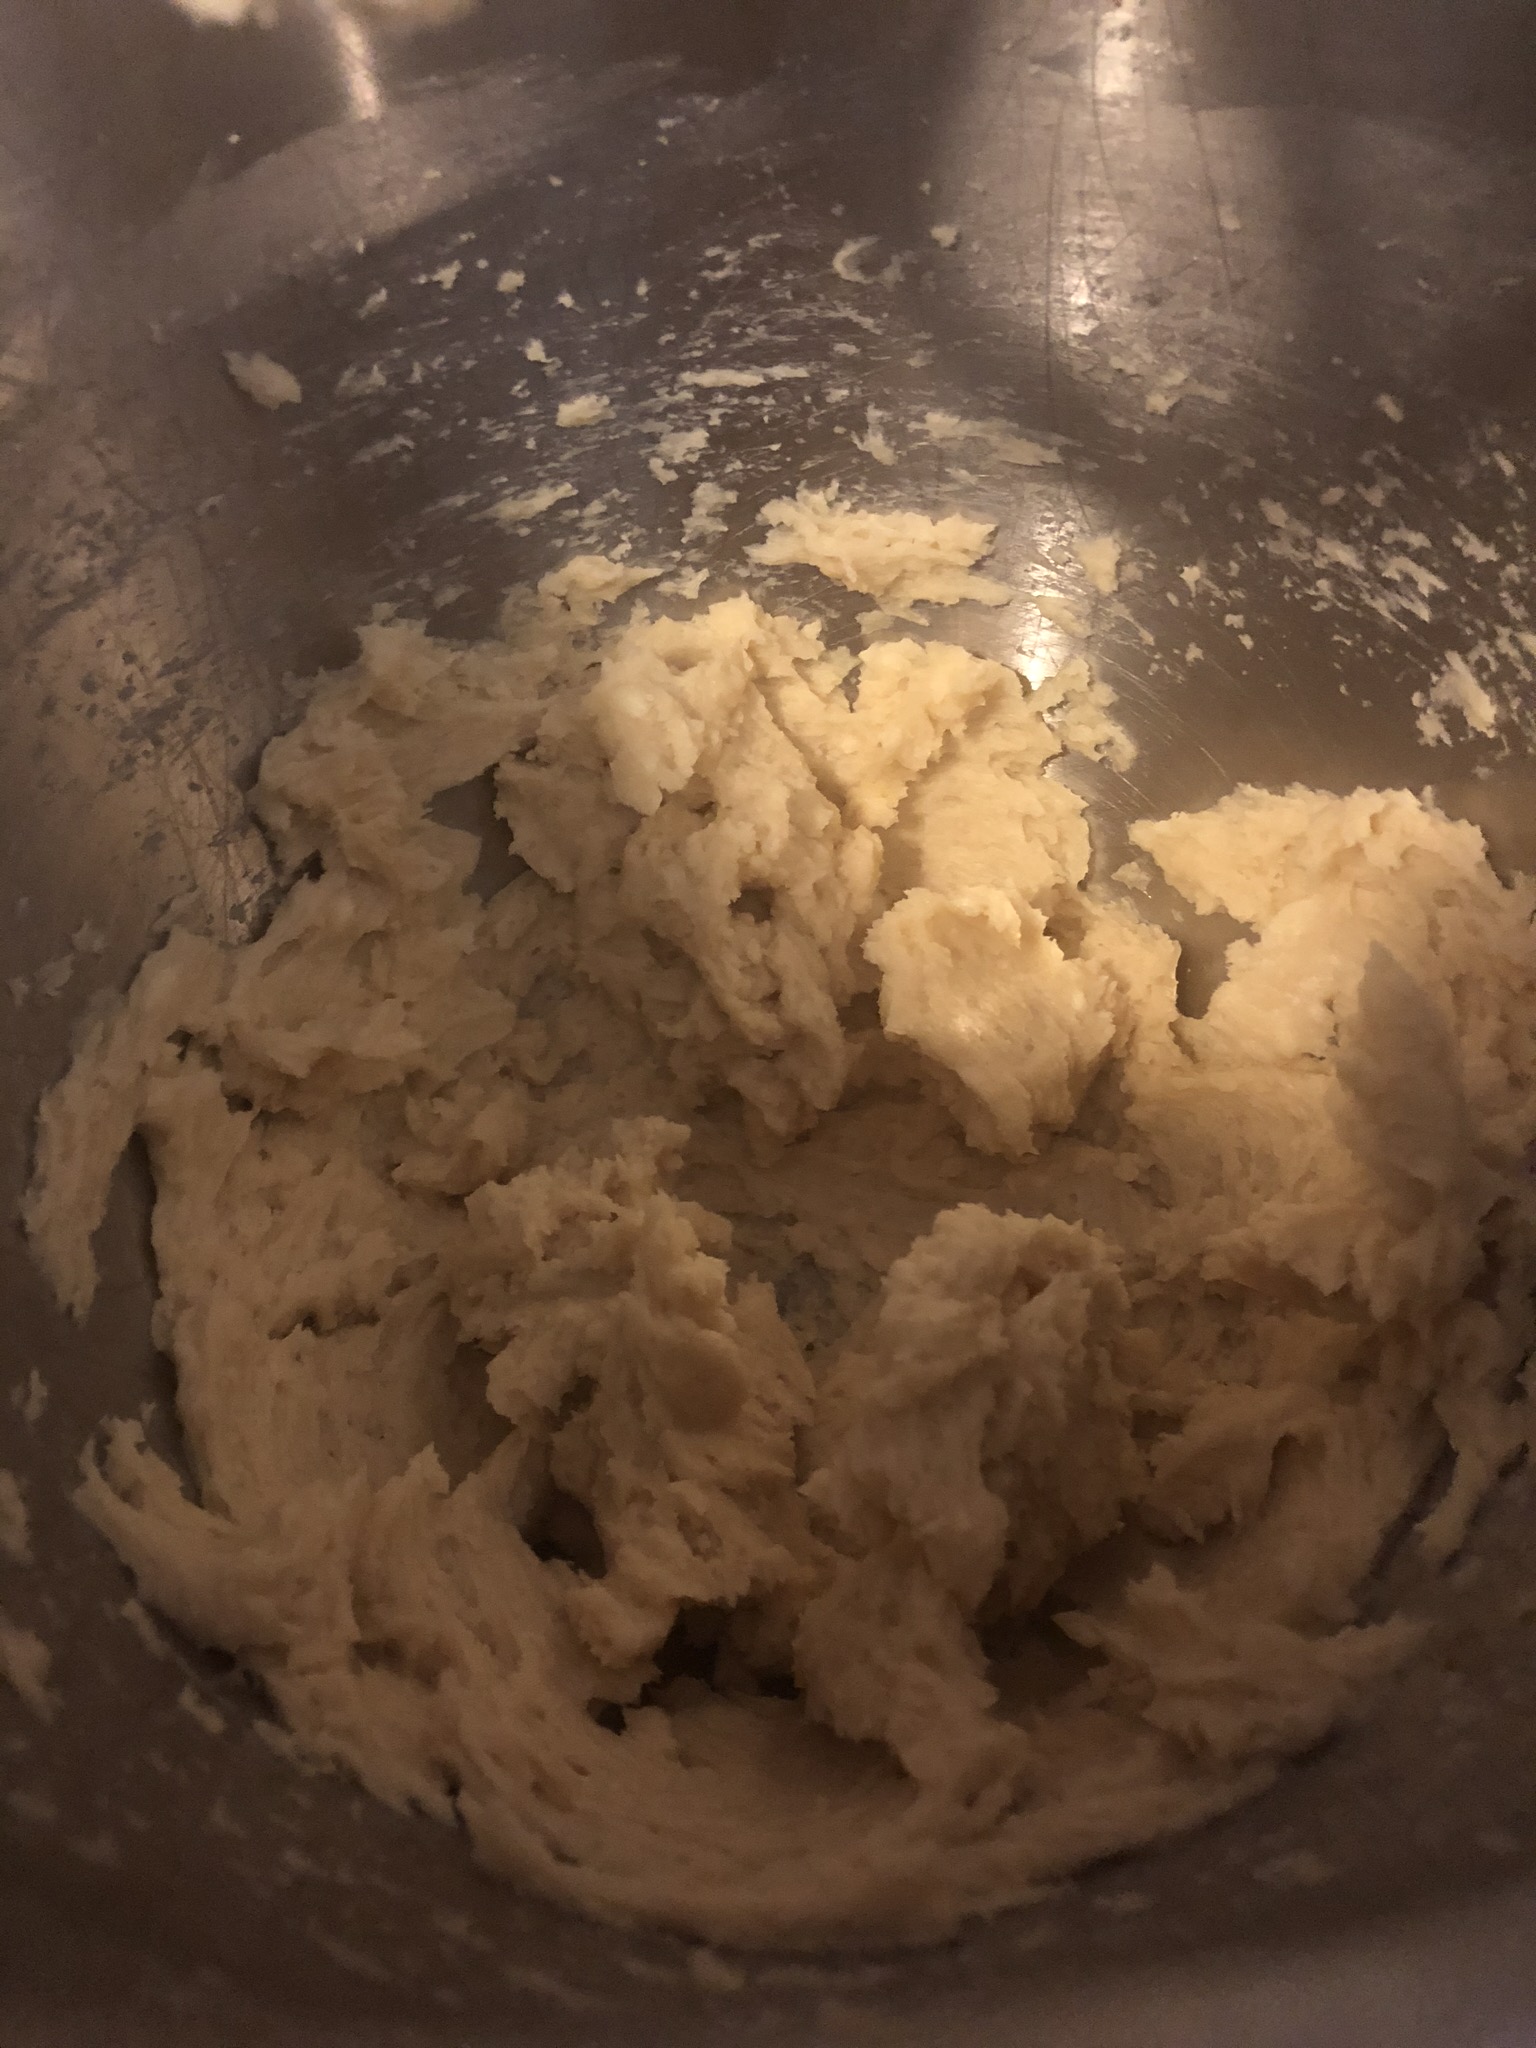
In a larger bowl, mix the remaining ingredients together.  Pour the butter mixture into the bowl and stir well.

Drop one tablespoon of the batter per cookie onto the prepared baking sheet.  The cookies will spread.  I did four cookies per sheet.  Seems silly, I know.  But trust me.  Four cookies per sheet.  Also, flatten them out a bit with a fork before baking.

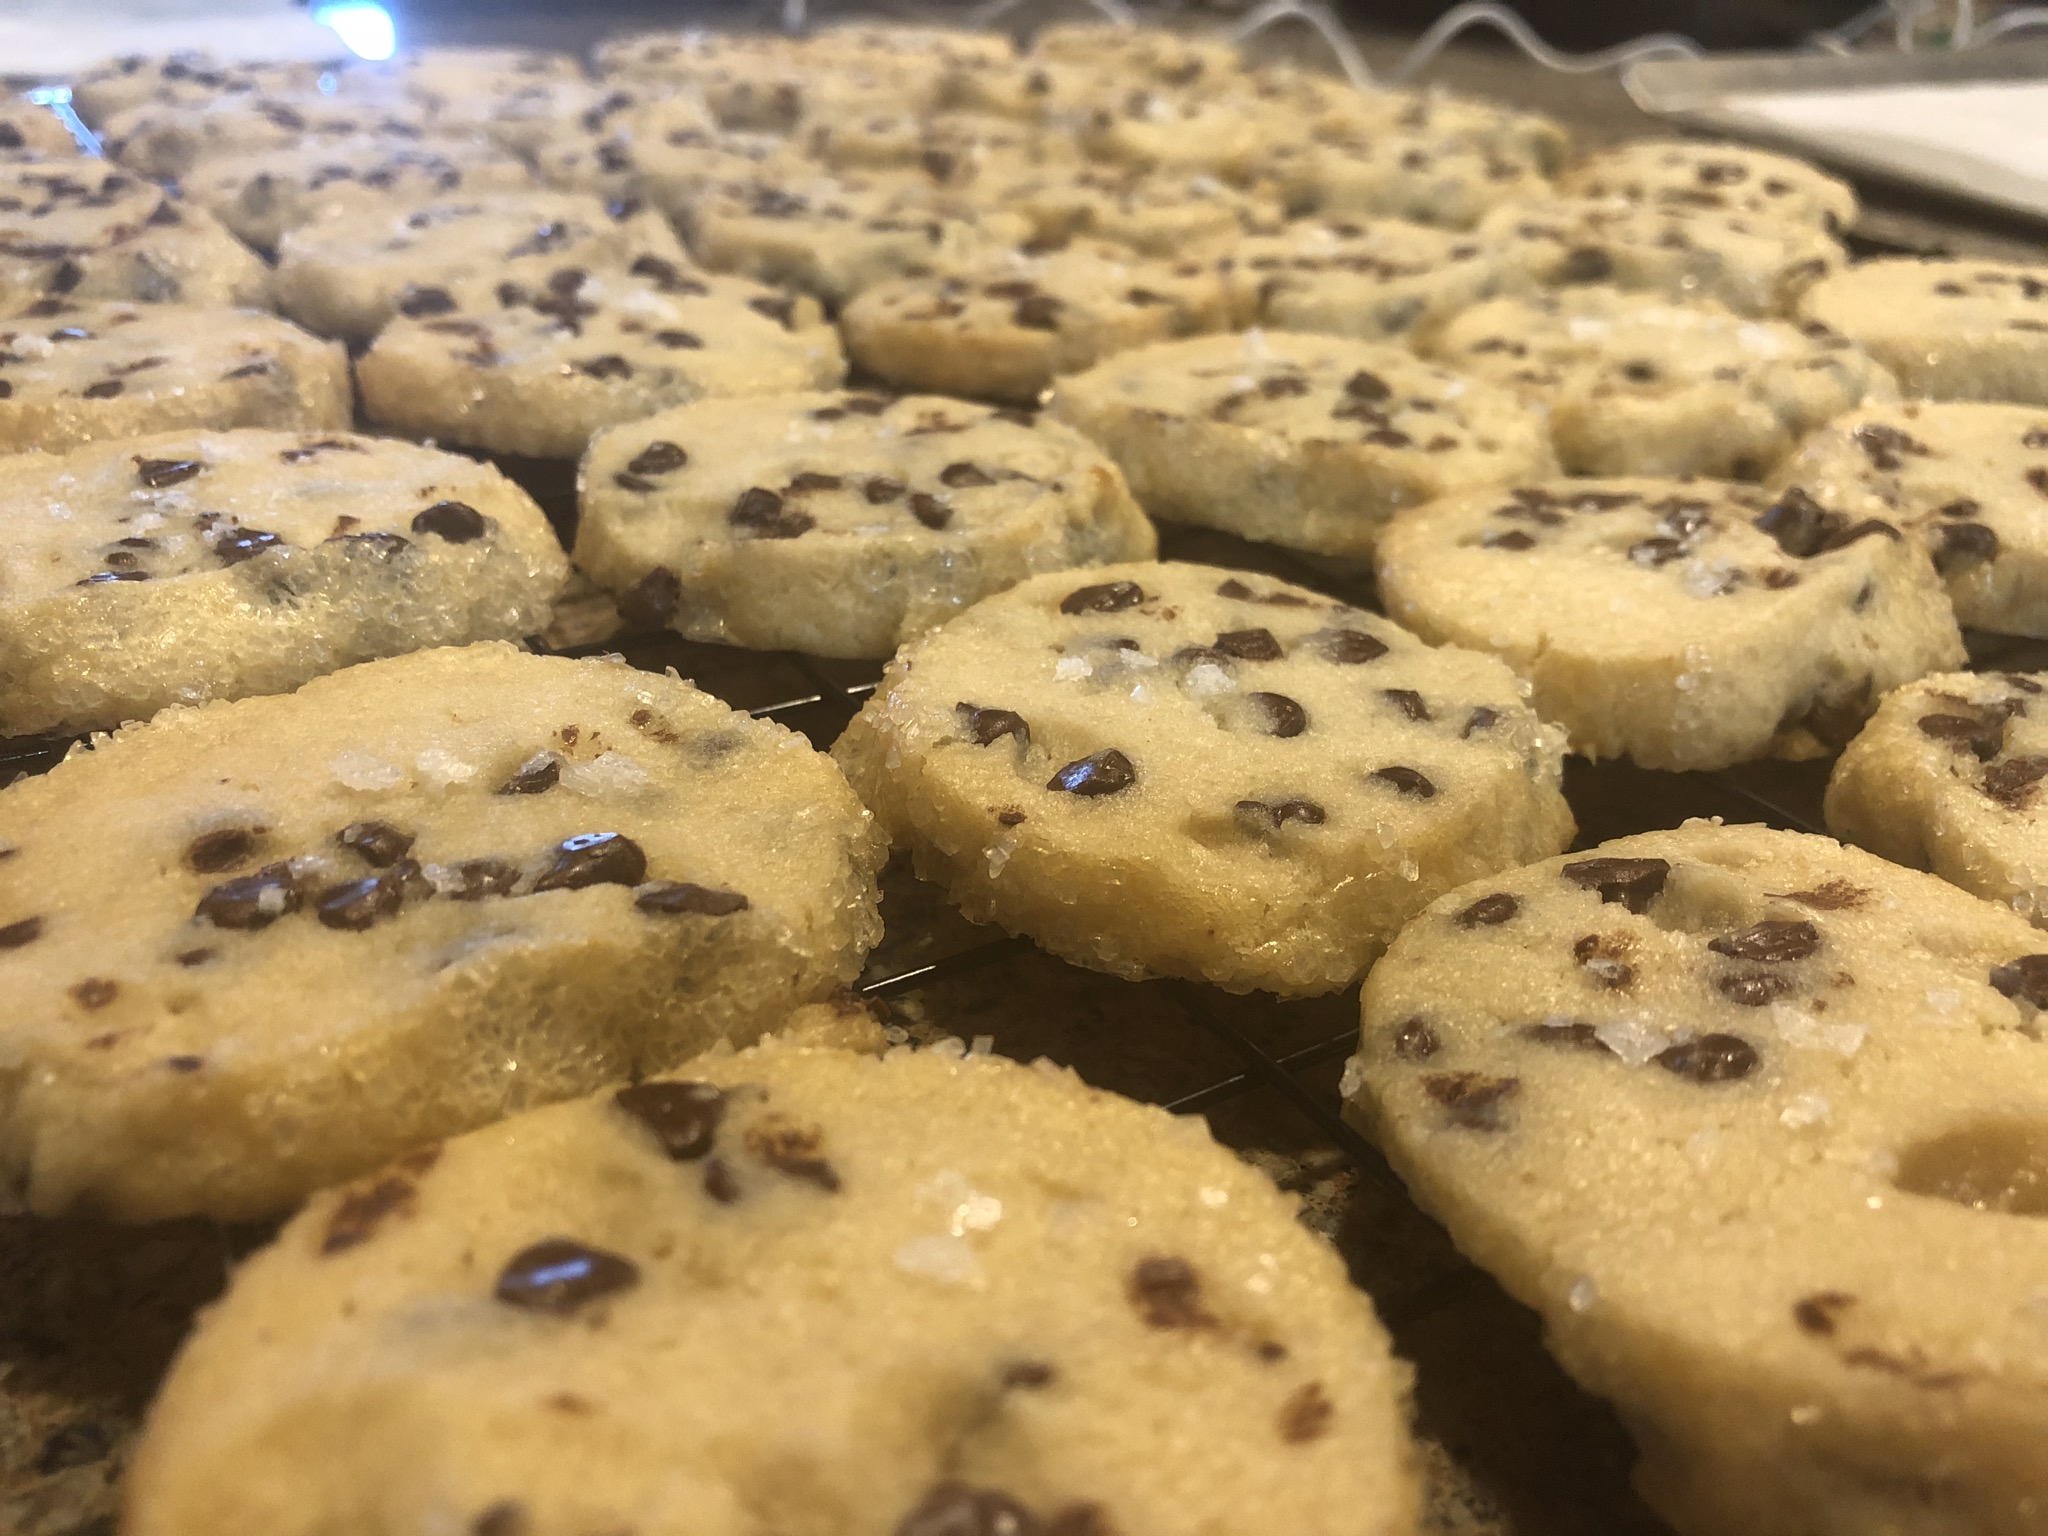
Bake until golden brown, between 5-10 minutes.  Check on them after 5 minutes.  Remove from the oven and allow to cool for at least 15 minutes before removing them from the baking sheet.  This will allow them to set up properly as they cool.

The book suggested creating shapes before the cookies have cooled by laying them over a cup (or small bowl) or draping them over a rolling pin and letting them set up.  I think my inability to shape my cookies was a lack of patience.  I slid the cookies off of the baking sheet and allowed them to cool on a wire rack making it difficult to even get them off the rack intact.  Next time I will be more patient.  The book also suggests storing them in an airtight container with greaseproof paper between each cookie.  Mine remain “stored” on the wire cooling rack and they get munched on as we walk by.

NOTE:  This recipe makes about a dozen cookies.  It also calls for 1 oz of white chocolate and 1 oz of dark chocolate.  I had no white chocolate so I used all dark chocolate.  The next time I make these I will be patient and shape them.  And when I do I will come back here and post more pictures.

Jane’s Shortbread Chocolate Chunk Cookies

More pandemic baking.  I got this recipe from my friend Jane, hence the blog title.  Everyone in my family who has eaten these cookies loves them.  They are a little bit sweet, a little bit salty.  Not too soft, not too crunchy.  I like them better with no chocolate, but I did all chocolate when I baked these.  They’re very easy to make and the dough can be made ahead and refrigerated or frozen until you’re ready to bake.  If you like warm cookies best, just bake a few at a time.  Every house has at least one Cookie Monster and these will be big hit.

Ingredients:

18 T cold, salted butter (2 1/4 sticks)

1/2 cup granulated sugar

1/4 cup packed brown sugar

1 tsp vanilla

2 1/4 cups AP flour

6 oz semi-sweet or bitter-sweet dark chocolate chopped

1 large egg beaten

Demerara sugar for rolling

Salt flakes for topping

Cut the cold butter into 1/2” pieces.  Put the cubed butter, granulated and brown sugar, and vanilla in the bowl of your stand mixer.

Using the paddle attachment beat on medium speed until light and fluffy, 3-5 minutes.  Scrape down the sides of the bowl as needed.

With the mixer on low speed slowly add the flour followed by the chocolate chunks.   Beat just to blend.

I happened to have mini chocolate chips so I used those.  If the only chocolate chips you have are regular size, chop them up a bit.  Or chop a 6 oz block of semi-sweet or bitter-sweet chocolate.  Slicing the cookie dough will be much easier with smaller pieces of chocolate.  Once the dough is mixed divide it in half.  Place each half on a large piece of plastic wrap or wax paper and form the dough into a log about 2” in diameter.  Chill until firm, about 2 hours.

Preheat your oven to 350.  Brush each of the rolls with the egg wash and roll in the Demerara sugar for delicious crispy edges.  Demerara sugar is raw, brown granulated sugar.  I used coarse sparkling sugar because it’s what I had.

Slice into 1/2” thick rounds and place about a half inch apart on a parchment lined cookie sheet.  Sprinkle each cookie with a few salt flakes.  Bake for 12-15 minutes.

Cool the cookies on a wire rack and enjoy!

NOTE:  These are excellent with no chocolate.  At least from my perspective.  I put 4 cookies per zip lock bag and freeze them.  Perfect to pull out when you have a craving for something sweet.  Like I mentioned earlier, the dough can be refrigerated for a few days or frozen.  Make a double batch if you want to do half with chocolate, half without.

Sour Dough Bread

I’ve always enjoyed baking bread and often use the dough hook on my mixer to do the kneading.  But, during this pandemic, I have been doing an awful lot of bread making and kneading by hand.  Punching that dough can be therapeutic plus none of us are able to go to the gym so I’m thinking it also counts as exercise.  As my daughter said, sometimes you just have the need to knead.  Amazingly enough I have never made sour dough bread so this was a first for me.  But you can’t just wake up in the morning and say I’m going to make sour dough bread.  You have to plan ahead and start a starter.  A few days ahead.  But right now we are all on orders to stay at home so I have nothing but time.  My friend Jane gave me her recipes for the sourdough starter and the bread.  This bread recipe is Viola Tibbets’ Sourdough White Bread.  I think the recipe has been around a long, long time.  Step one is make your starter.  You’ll need a good size glass or ceramic bowl.  I have a perfect enameled metal bowl that I was going to use but after I googled it I decided against using a metal bowl.

Starter Ingredients:

1 tsp active dry yeast

1/4 cup warm water

2 T sugar

1 T vinegar

1 tsp salt

2 cups AP flour

2 cups warm water

Dissolve the yeast in 1/4 cup of warm water.  Add the next four ingredients and add the 2 cups of warm water.

Cover the bowl loosely and allow it to stand in a warm place for two or three days to ferment.  I just laid a piece of wax paper over the top.  It will be bubbly and sour when it’s ready.  Actually kind of gross, slimy, and smelly.

Your sourdough starter can be kept alive by replacing the starter you use with the same measurements of flour and water called for in the recipe.  For instance, my recipe called for 1 1/2 cups of starter so I added 1 1/2 cups of flour and 1 1/2 cups of water to the remaining starter.  Your starter can be kept indefinitely but you need to use it at least once a week for it to stay alive, just like the BeeGees song.  You can put the starter in a glass jar and refrigerate.  Just remember to use it or remove some of the starter and feed it once a week.  Now that you have this sour, kind of gross starter ready, you can move on to making your bread.

Bread Ingredients:

1 cup hot tap water

3 T sugar

2 T butter

2 1/4 tsp of dry yeast (or 1 cake of yeast)

1 1/2 cups of starter

4-5 cups of unbleached or AP flour

2 tsp salt

Dissolve your yeast in 2 T of warm water.  Set aside.  Measure your butter and sugar into a large mixing bowl and pour hot water over them.  Stir and allow the mixture to cool to lukewarm.  Once the mixture has cooled add the yeast, starter, two cups of flour and salt.

Using a wooden spoon beat to blend the ingredients.   Stir in the remaining flour to make a firm dough.  The dough will look shaggy.

Turn the dough out on a lightly floured surface and knead for about 10 minutes until you have a nice smooth, elastic dough.

Place the dough into a lightly greased bowl and cover with a clean dish towel.  I never expect anyone to actually use a dirty dish towel, but recipes I read always suggest a clean towel so I’m just following suit.  Put the dough in a cold oven to rise until the dough has doubled in bulk.  My oven has a proof setting, but Viola’s recipe specifically said a cold oven.

Punch the dough down, cover with that same clean towel, and let it rise for another half hour.  Turn the dough out onto a lightly floured surface and allow it to rest for 10 minutes.  Divide the dough into two parts.  I did two round loaves and put them on a parchment lined sheet pan.  If you prefer you can lightly grease two loaf pans and shape the dough accordingly.

Again the towel.  Cover  the loaves and put them back into the cold oven and allow them to rise until double in bulk, about an hour.

Remove the loaves from the oven and preheat to 400 degrees.  Once the oven reaches 400 return the loaves to the hot oven and bake for 35 minutes.

I say 35 minutes but the original recipe said 50 minutes.  I set my timer for 40  because I always like to check on progress early.  Well, 40 minutes was at least 5 too long.  The tops of my loaves were burnt.  Not to a crisp.  But burnt.

So lesson learned.  The bread tastes great minus that top crust. My friend just baked some for 35 minutes.  And you can see what a difference 5 minutes makes!

I fed my starter and put it in a quart jar in the refrigerator for next time.

I will try this again soon but I will be watching my bake time very carefully.  I made avocado toast this morning and it was perfect!

NOTE:  The longer you keep your sour dough starter around the more your bread will have that distinctive flavor.  This starter was only two days old so the flavor is very “white bread”.  Also, unlike this recipe, many sourdough bread recipes use only the starter and no additional active dry or cake yeast.  The starter itself is what makes the dough rise.  There is plenty of information online to help answer your questions about feeding and maintaining a sourdough starter.

Wacky Cake

During this Coronavirus Pandemic we are all spending more time on the internet.  Food has become a preoccupation and, if we aren’t cooking, we’re on line looking for recipes.   A week or so ago I came across a post with this recipe for Wacky Cake.  This particular version is from a cookbook called “Really Cookin” by Carol Ferguson.  Credit where credit is due.  I messaged this recipe to my friend Georgia and asked if this was the same recipe she uses.  She said yes.  She has been making this cake for years and she always doubles the recipe.  It’s one of their family favorites.  The recipe was created as a result of rationing during World War II when milk and eggs were scarce.  If you research the recipe it’s also called Crazy Cake, World War II Cake, and Depression Cake.  One of the few cake recipes I’ve seen that has you use an ungreased pan and actually has you mix the cake right in the pan.  I did make a double batch  so that I could share one pan with our neighbors.  I mixed it in my mixing bowl and divided the batter between two ungreased pans.  But I get the logic of mixing the batter right in the pan…much less cleanup.

Ingredients Doubled:

3 cups AP flour

2 cups sugar

6 T cocoa

2 tsp baking powder

2 tsp baking soda

1 tsp salt

2/3 cup vegetable oil

2 T white vinegar

2 tsp vanilla

2 cups warm water (or coffee…I used coffee)

No mixer.  No bowl.  Simple directions.  Get out one 9×13 pan or 2 8×8 pans.  Or don’t double and just use one 8×8 pan if you want less cake to tempt you.  Preheat your oven to 350.  Combine all of your dry ingredients and mix thoroughly with a whisk or a fork.

Once the dry ingredients have been mixed, level off the top and make three wells.  Pour your oil in one, your vinegar in one and your vanilla in one.

Now pour your warm water or coffee over everything and mix thoroughly with a fork or whisk.

Put your pans in the oven and set your timer for 25 minutes.

Once the cake is done remove from the oven and allow it to cool completely on a wire rack,

When your cake has cooled completely you can dust with powdered sugar or ice with a ganache or a chocolate  buttercream.  I used a chocolate butter cream.

Slice and enjoy.

NOTE:  I can’t eat chocolate but I’m thinking this might also be good with a peanut butter icing or a vanilla butter cream.  I substituted warm leftover coffee for the water because I’m told that coffee brings out the rich chocolate flavors.

Would really have to search to find a cake recipe easier than this one.  And it will be perfect during our Coronavirus Pandemic if you are short of eggs and/or milk.