Eggplant Parmesan has long been one of our favorite meatless meals. This is a recipe I found watching food reels online, and modified based on our personal tastes (and what I had available in my fridge. When we sat down to eat my husband asked me if eggplant was in the squash family. Eggplant is actually a fruit from the nightshade family, is related to tomatoes and peppers, and is botanically classified as a berry! Who knew? Might get some of the veg haters out there to like the eggplant. This “fruit” supports brain health, strengthens bones, and helps control blood sugar. It’s low in calories and high in fiber. In Southern Asia eggplant is widely referred to as the King of Vegetables due to its rich nutrients. At our age maybe eggplant should be a weekly staple!! This recipe was fun and easy to make, and was absolutely delicious with a side of pasta in a tomato sauce.
Ingredients:
2 medium sized eggplants
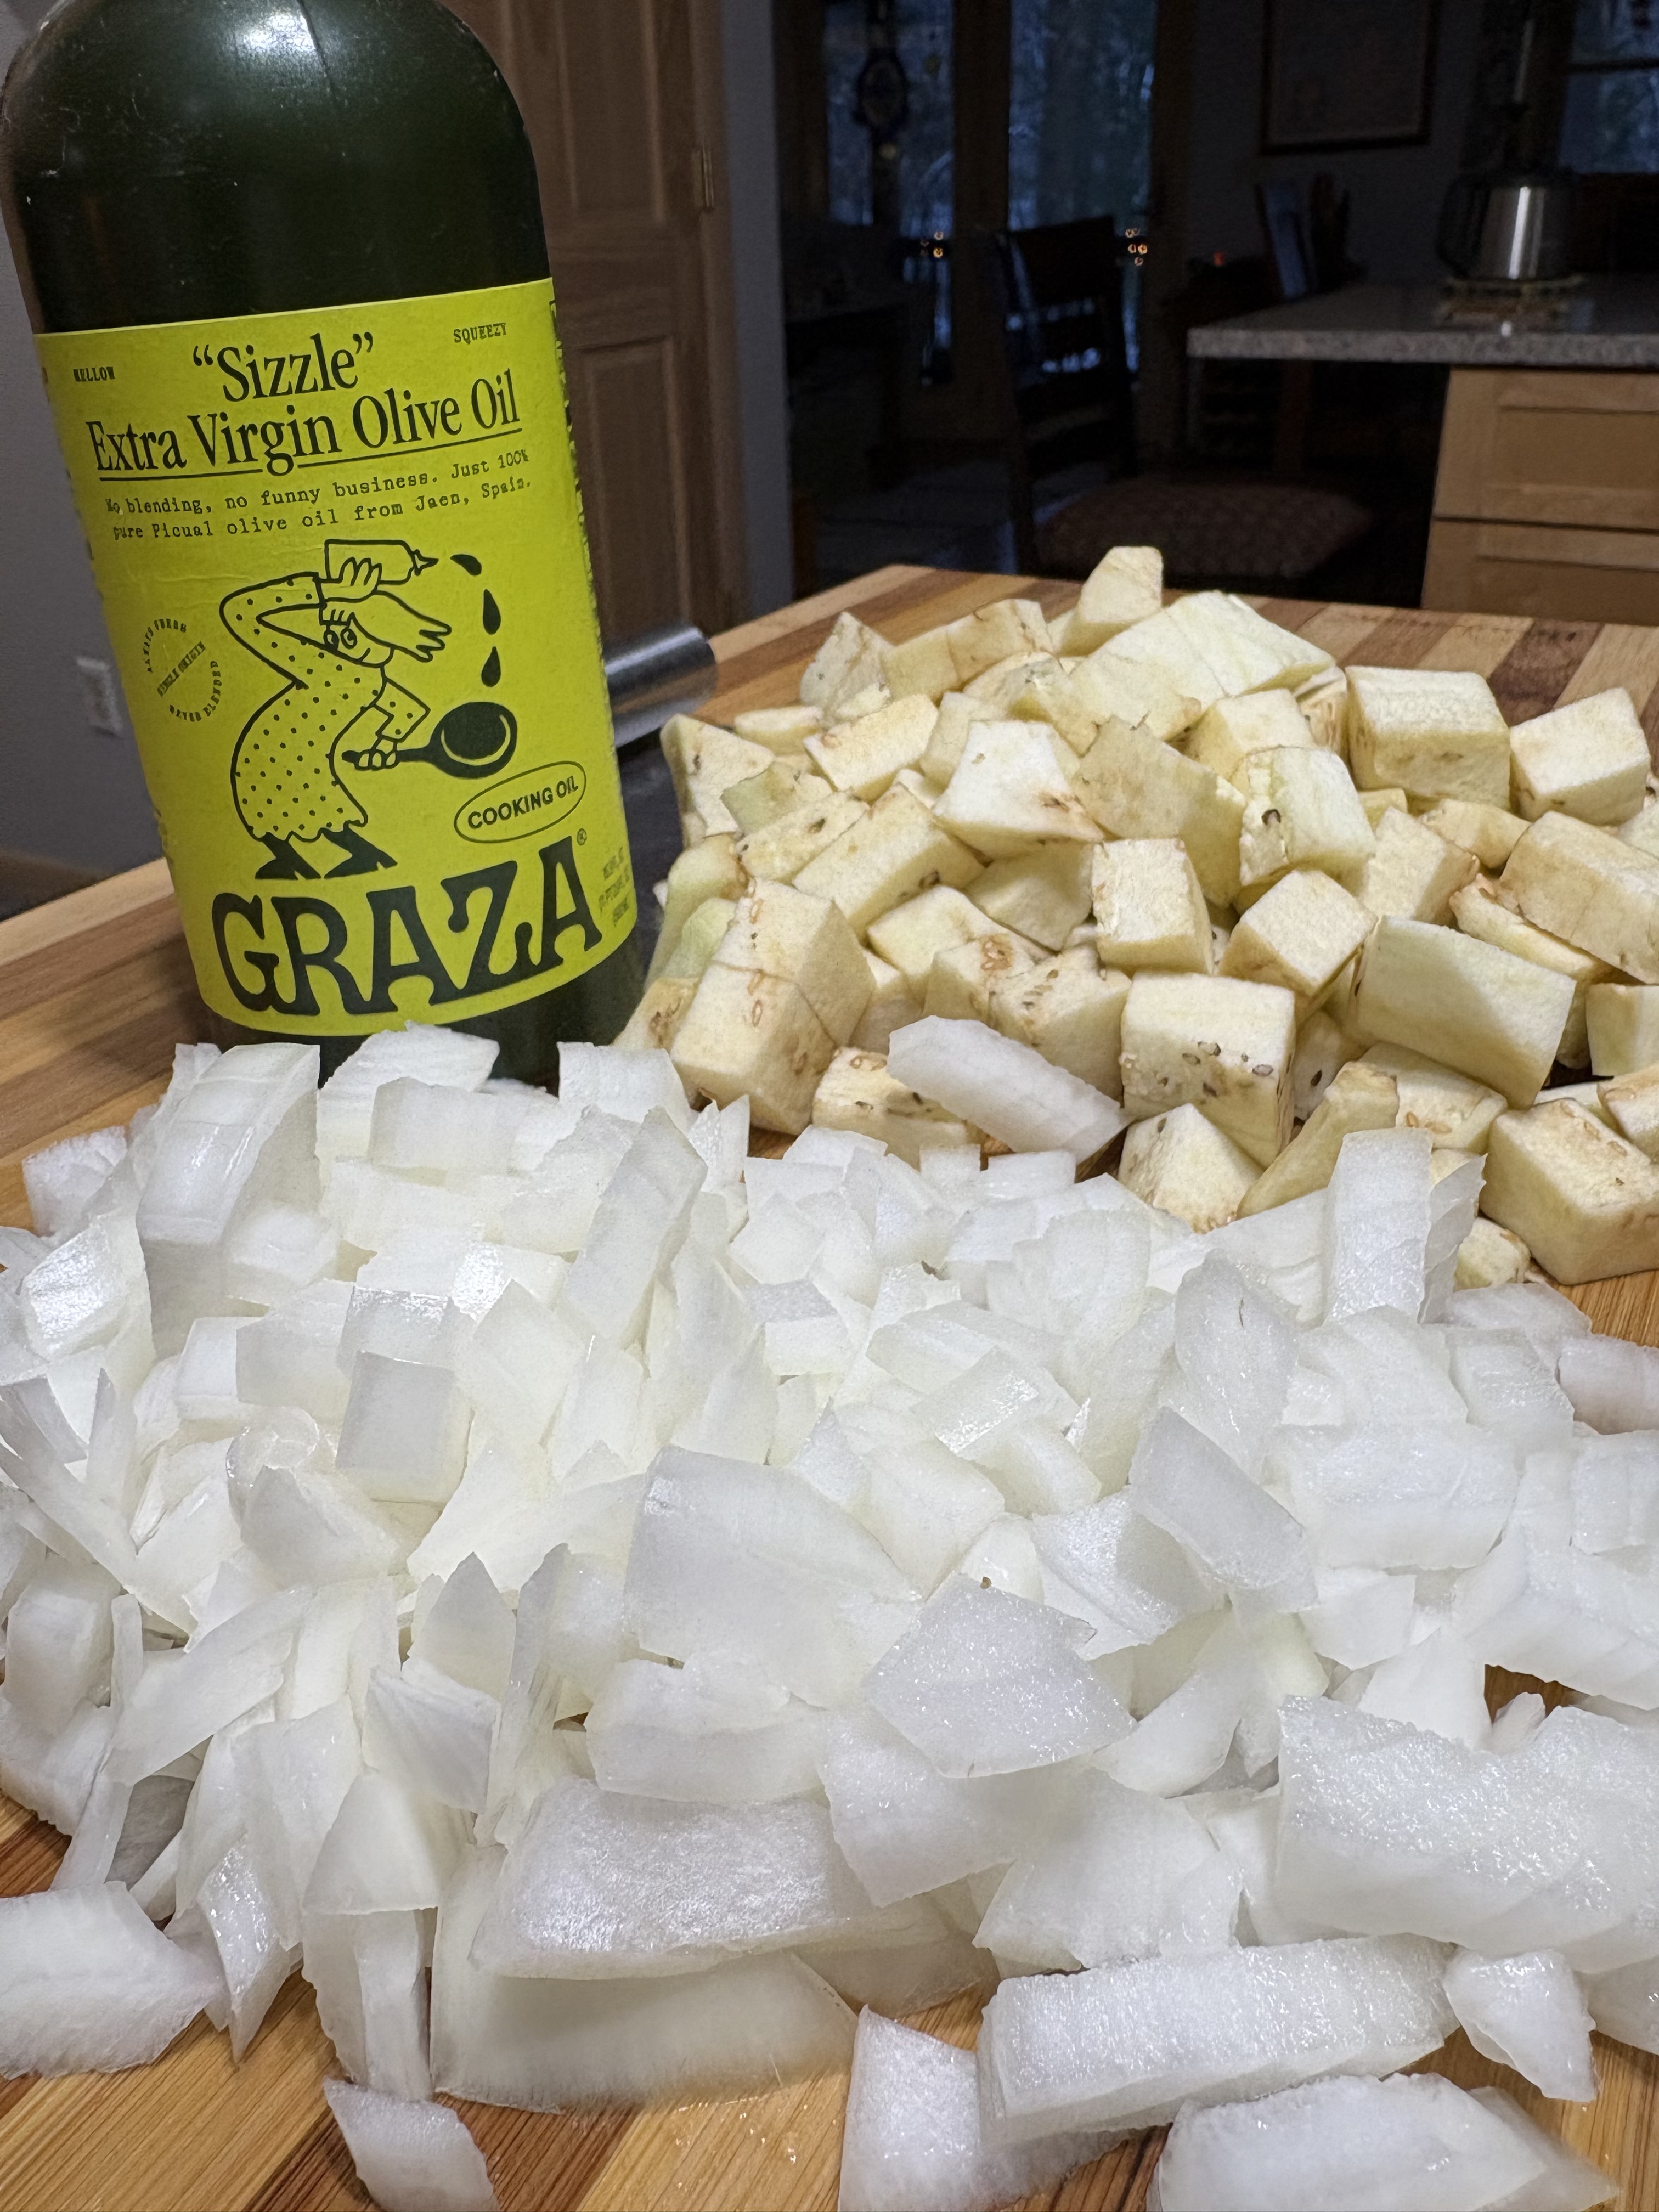
3 T olive oil
1 yellow sweet onion chopped
1 cup of diced mushrooms
8 oz bag fresh baby spinach
2-3 cloves of garlic diced
2 tsp red pepper flakes (optional)
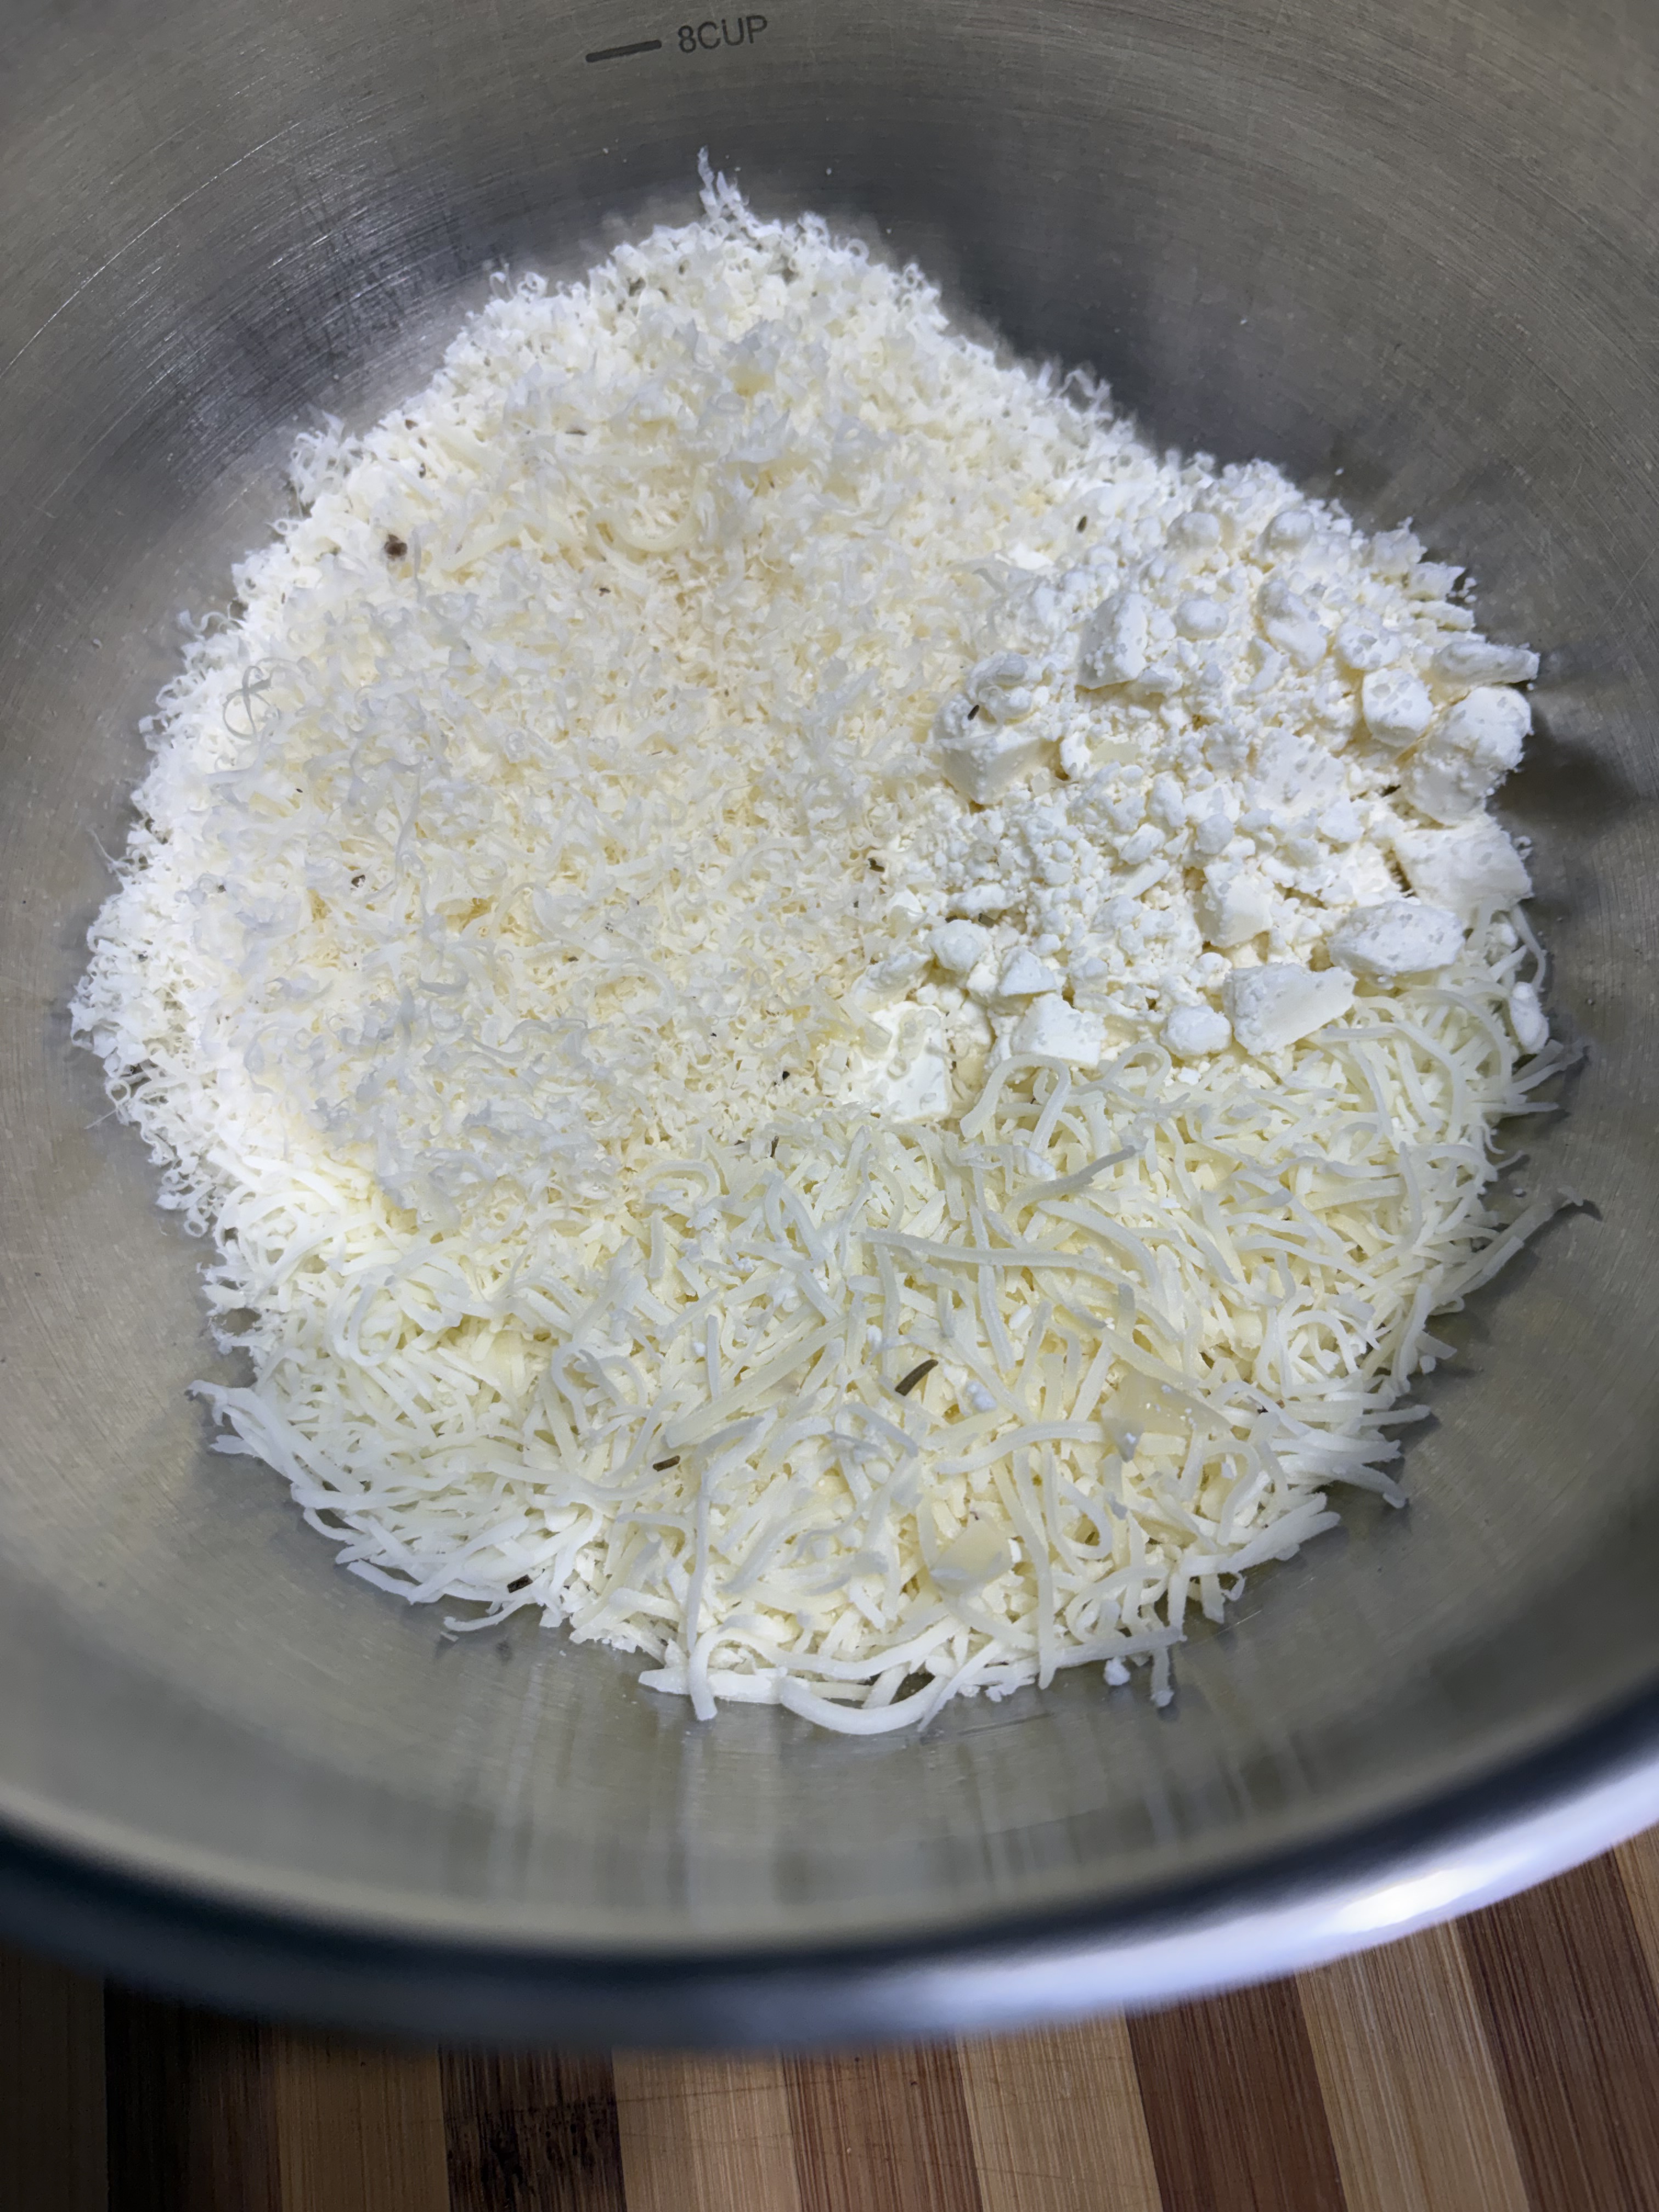
1 cup crumbled feta cheese
1 1/2 cups shredded mozzarella
1 cup shredded Asiago or Parmesan
1 egg
more olive oil for brushing
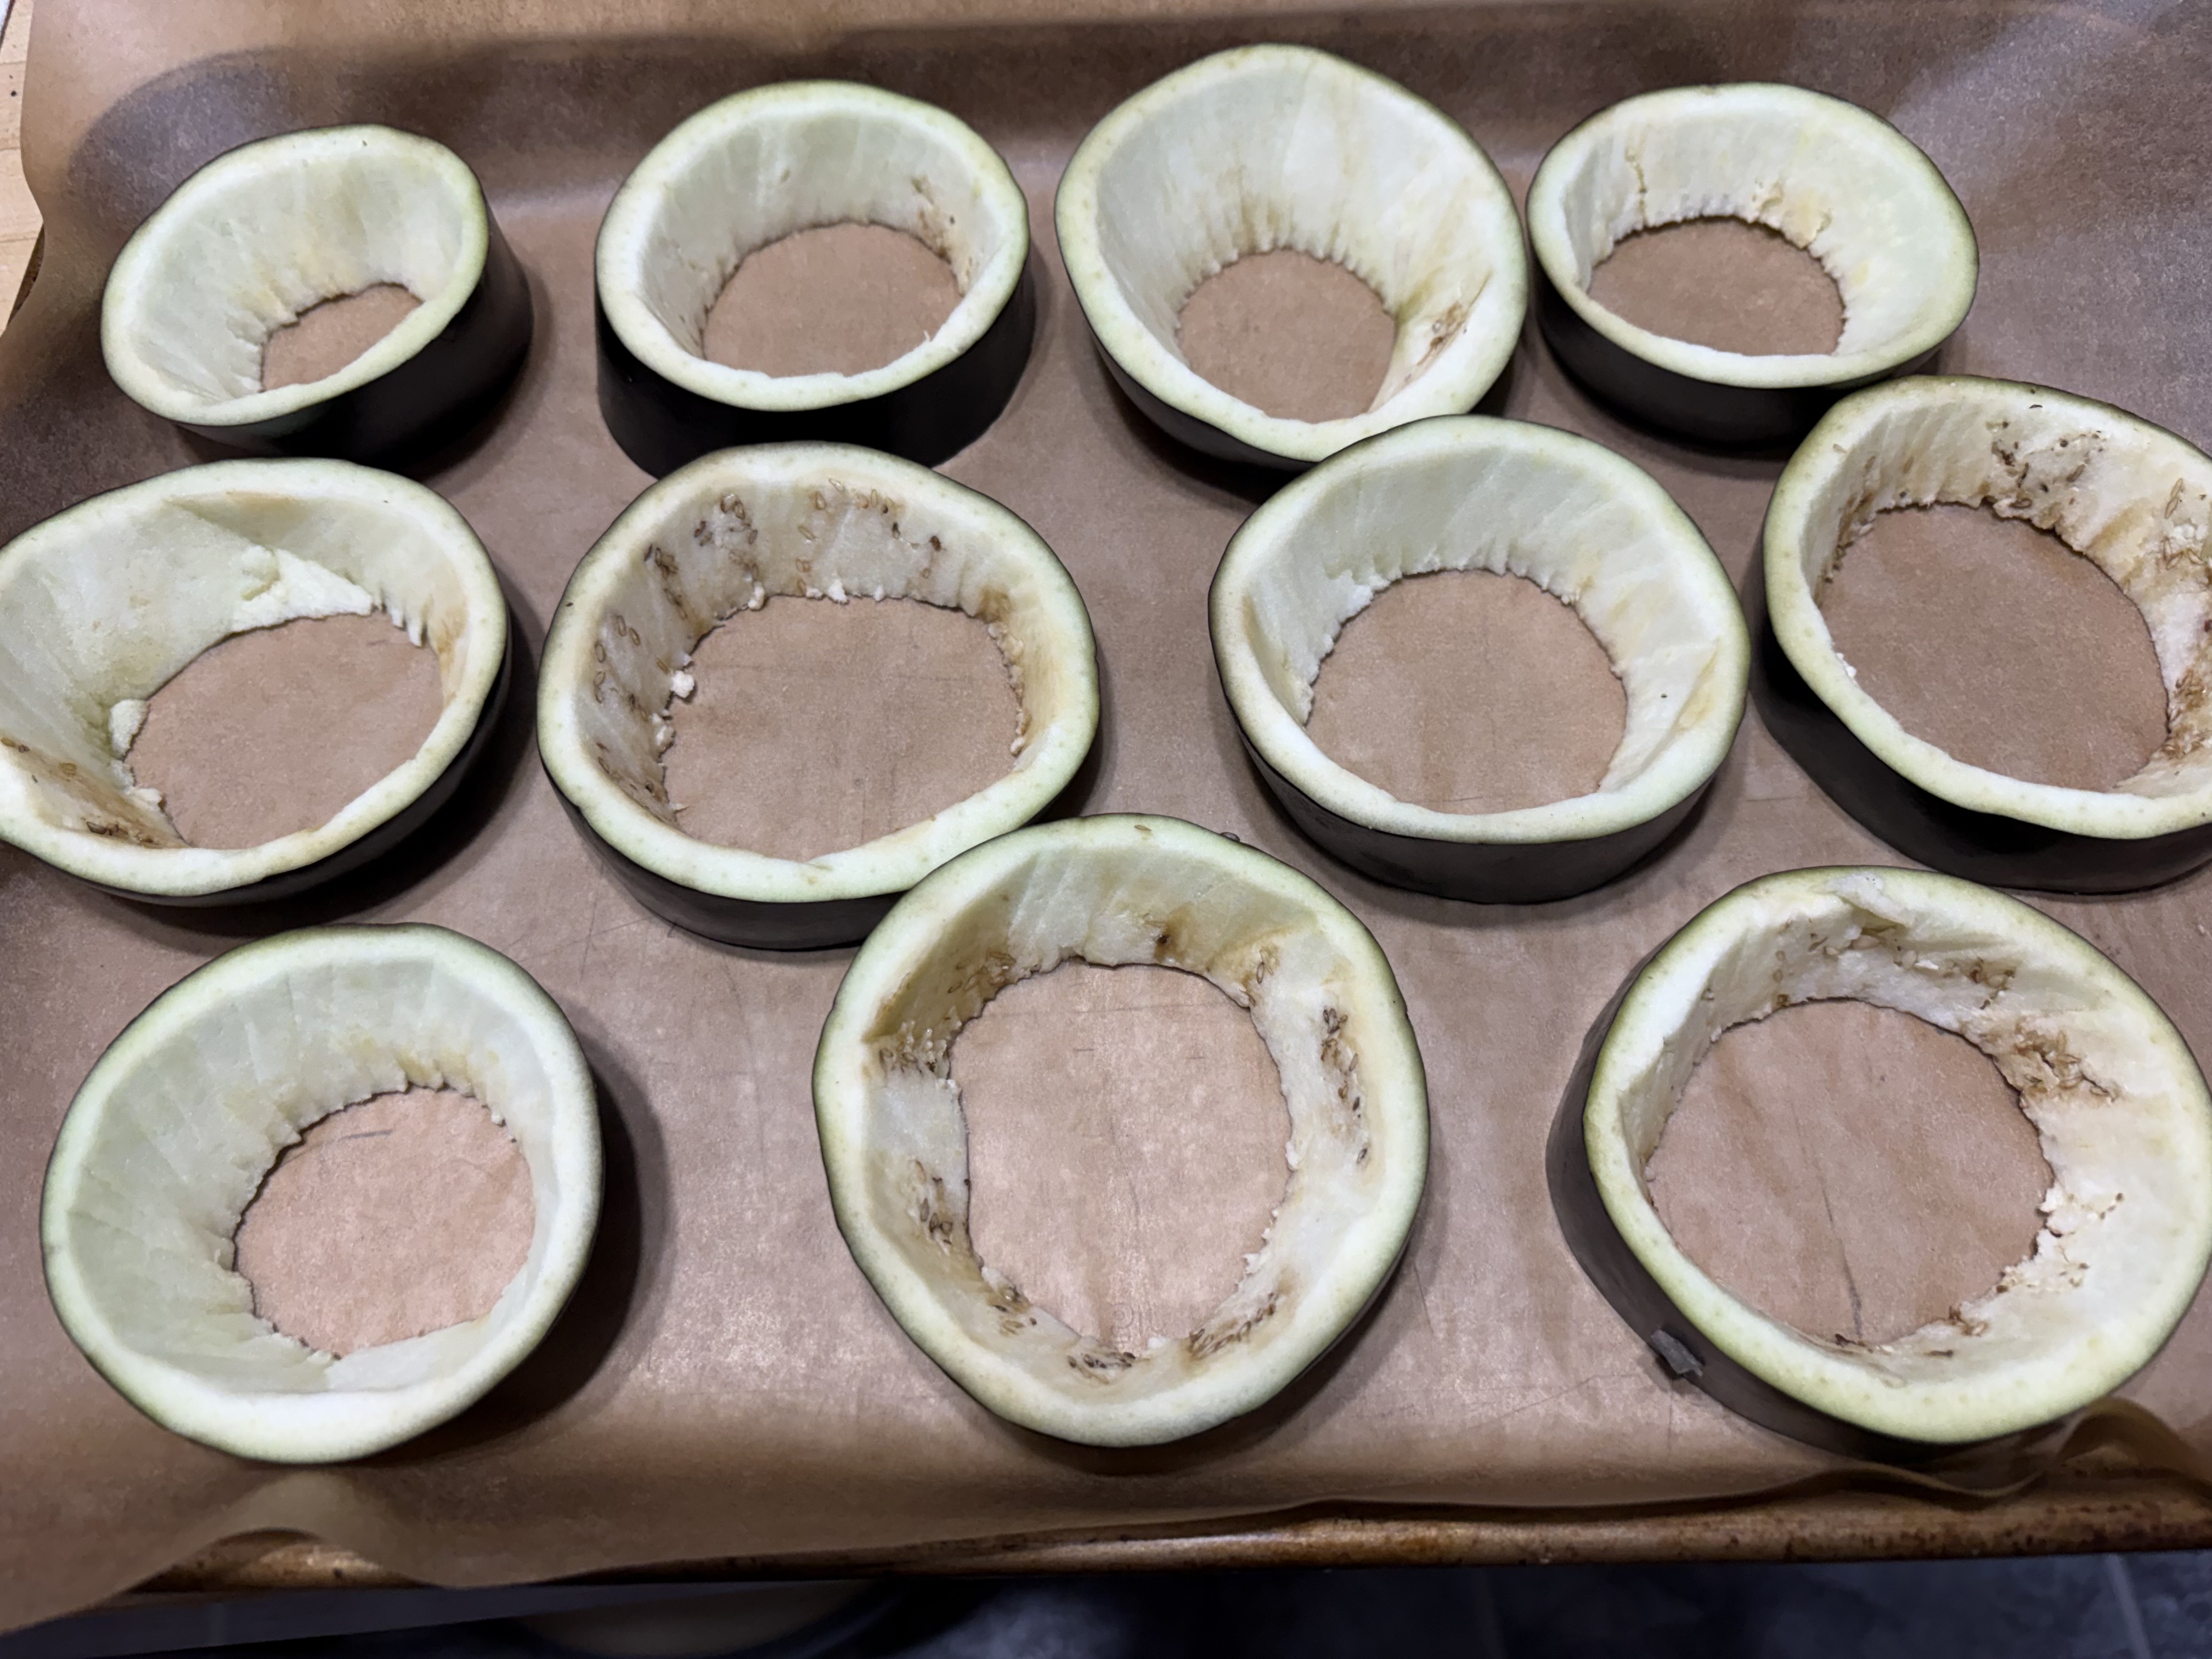
Preheat your oven to 425° and line a jelly roll pan with parchment paper. Start by cutting your eggplants into 3/4 inch thick rounds. Using a paring knife go around the edges leaving about 1/4 inch thickness. Place the rounds on your prepared sheet pan.
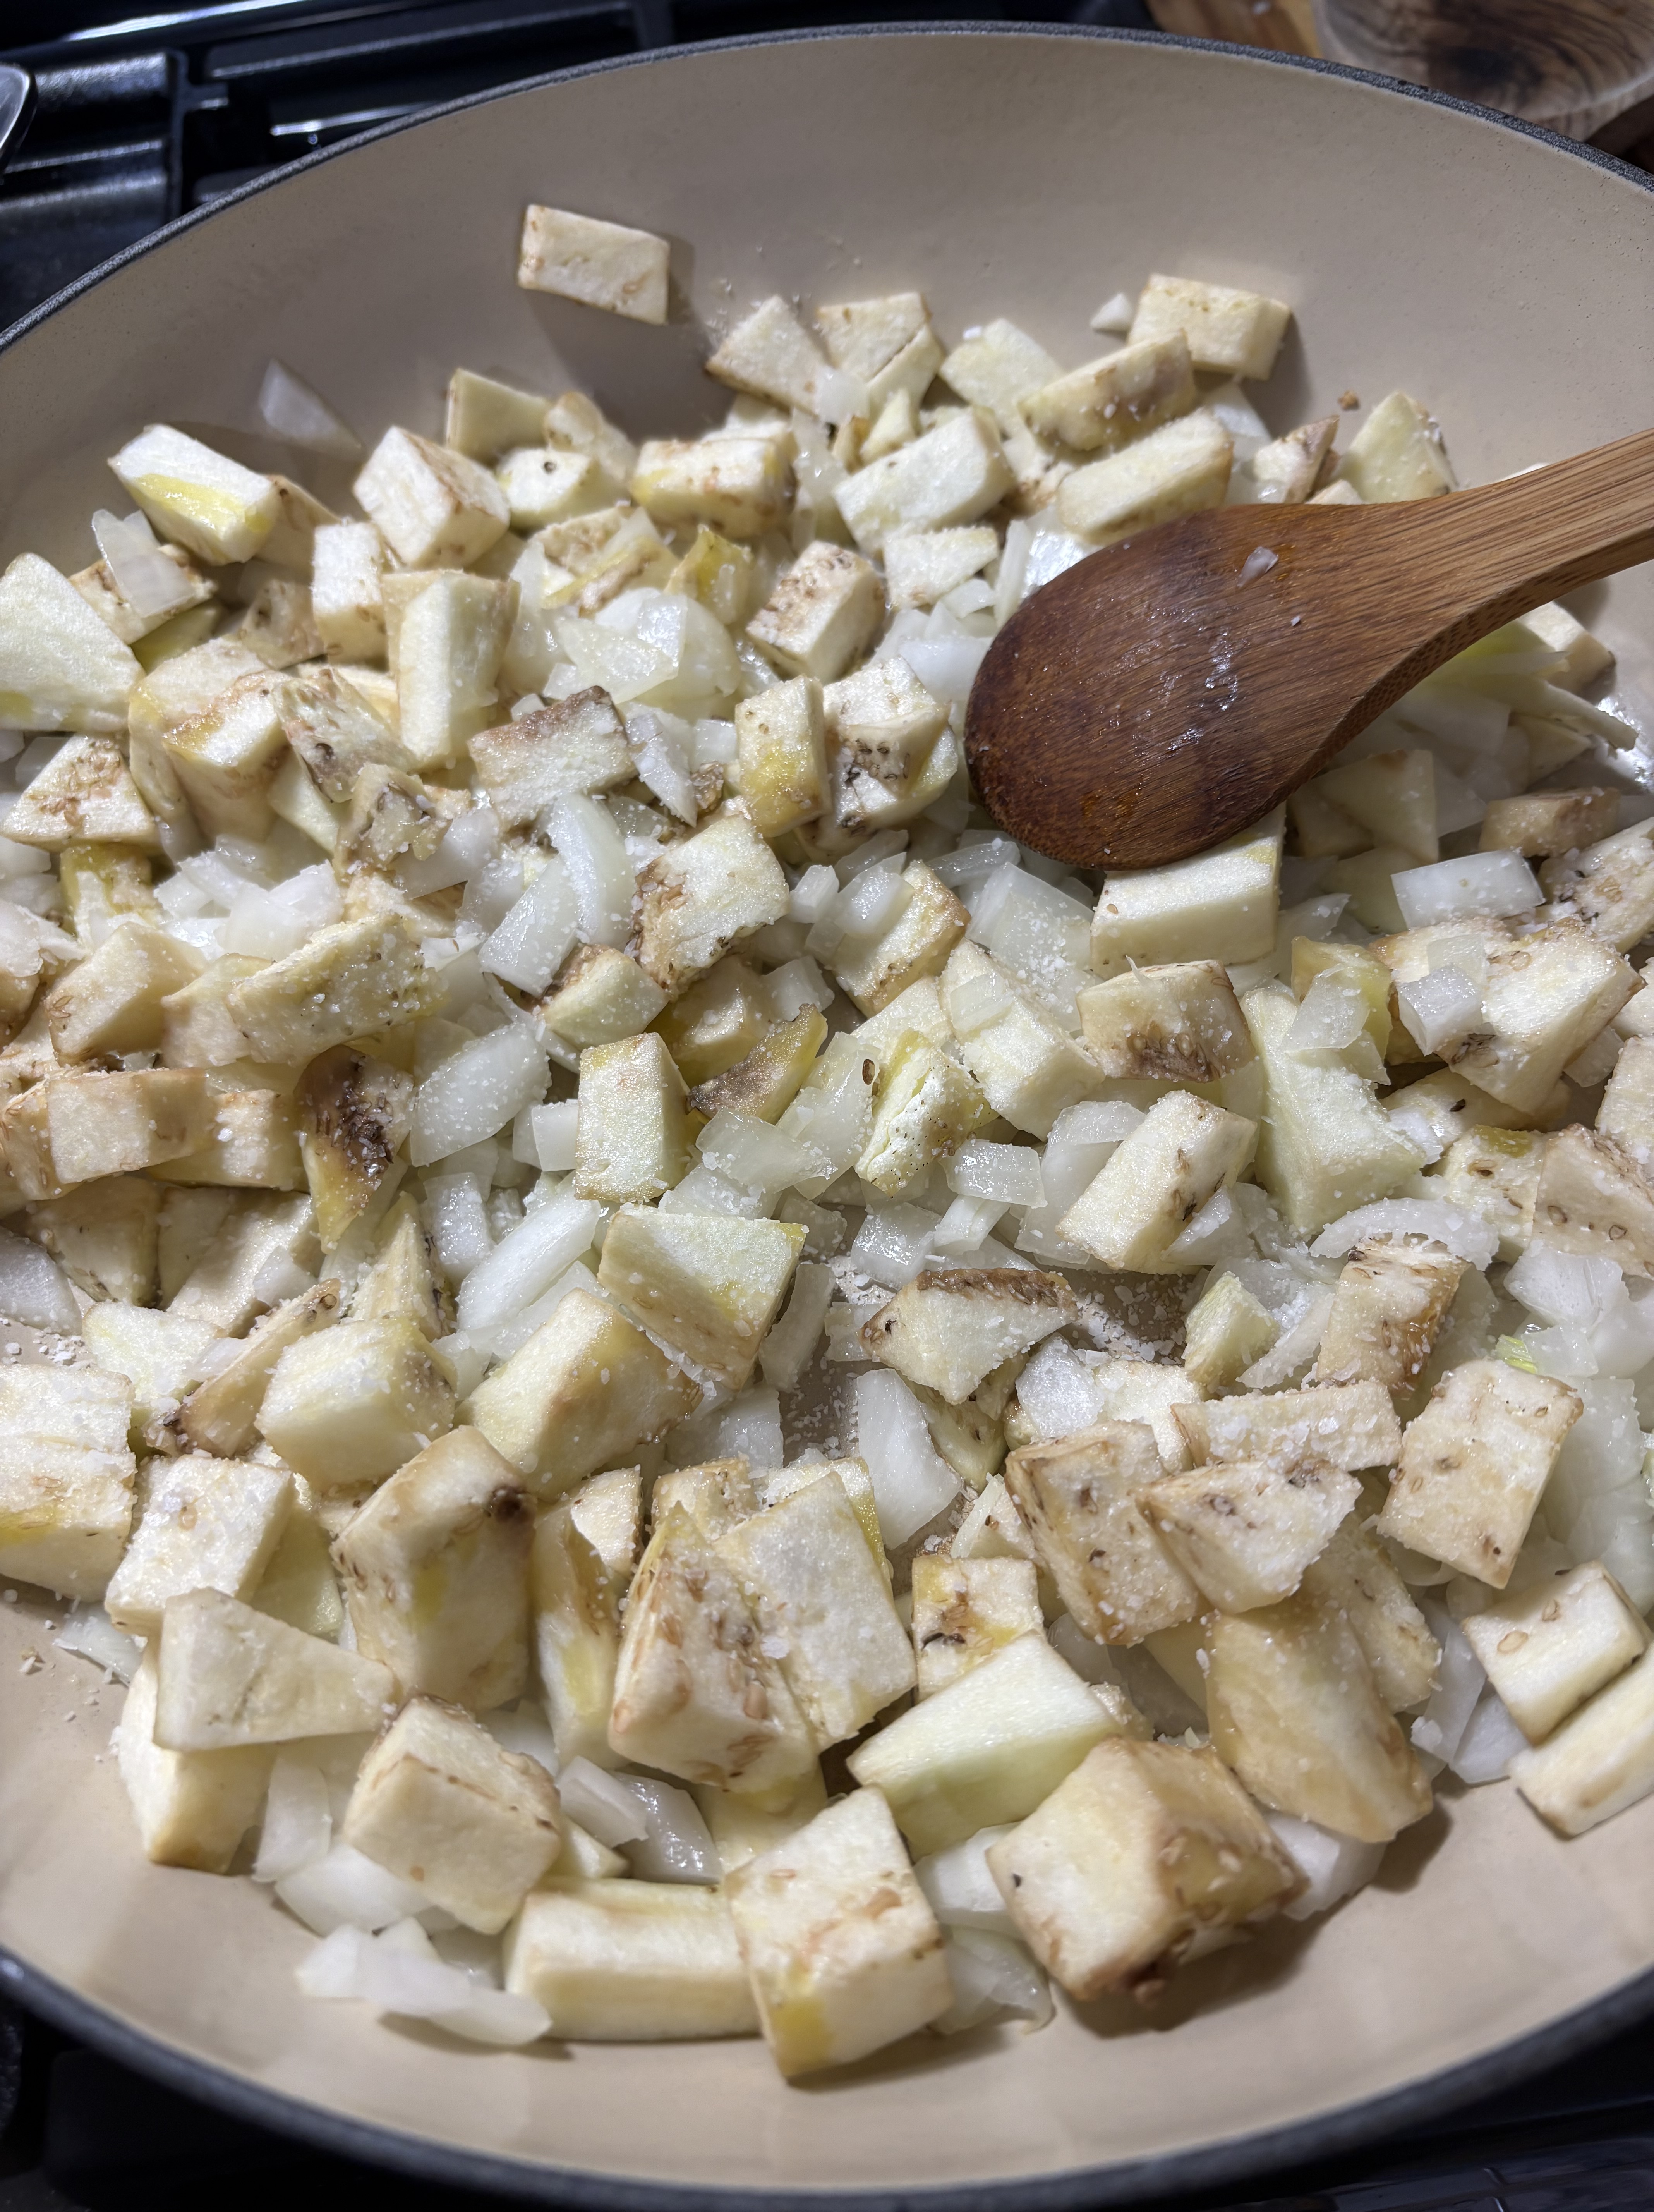
Dice the meat of the eggplant into small cubes. Heat the olive oil in a large skillet and stir in the eggplant cubes, onion, and mushrooms. Season to taste with salt and pepper. Sauté for 4-5 minutes stirring occasionally until vegetables are softened.
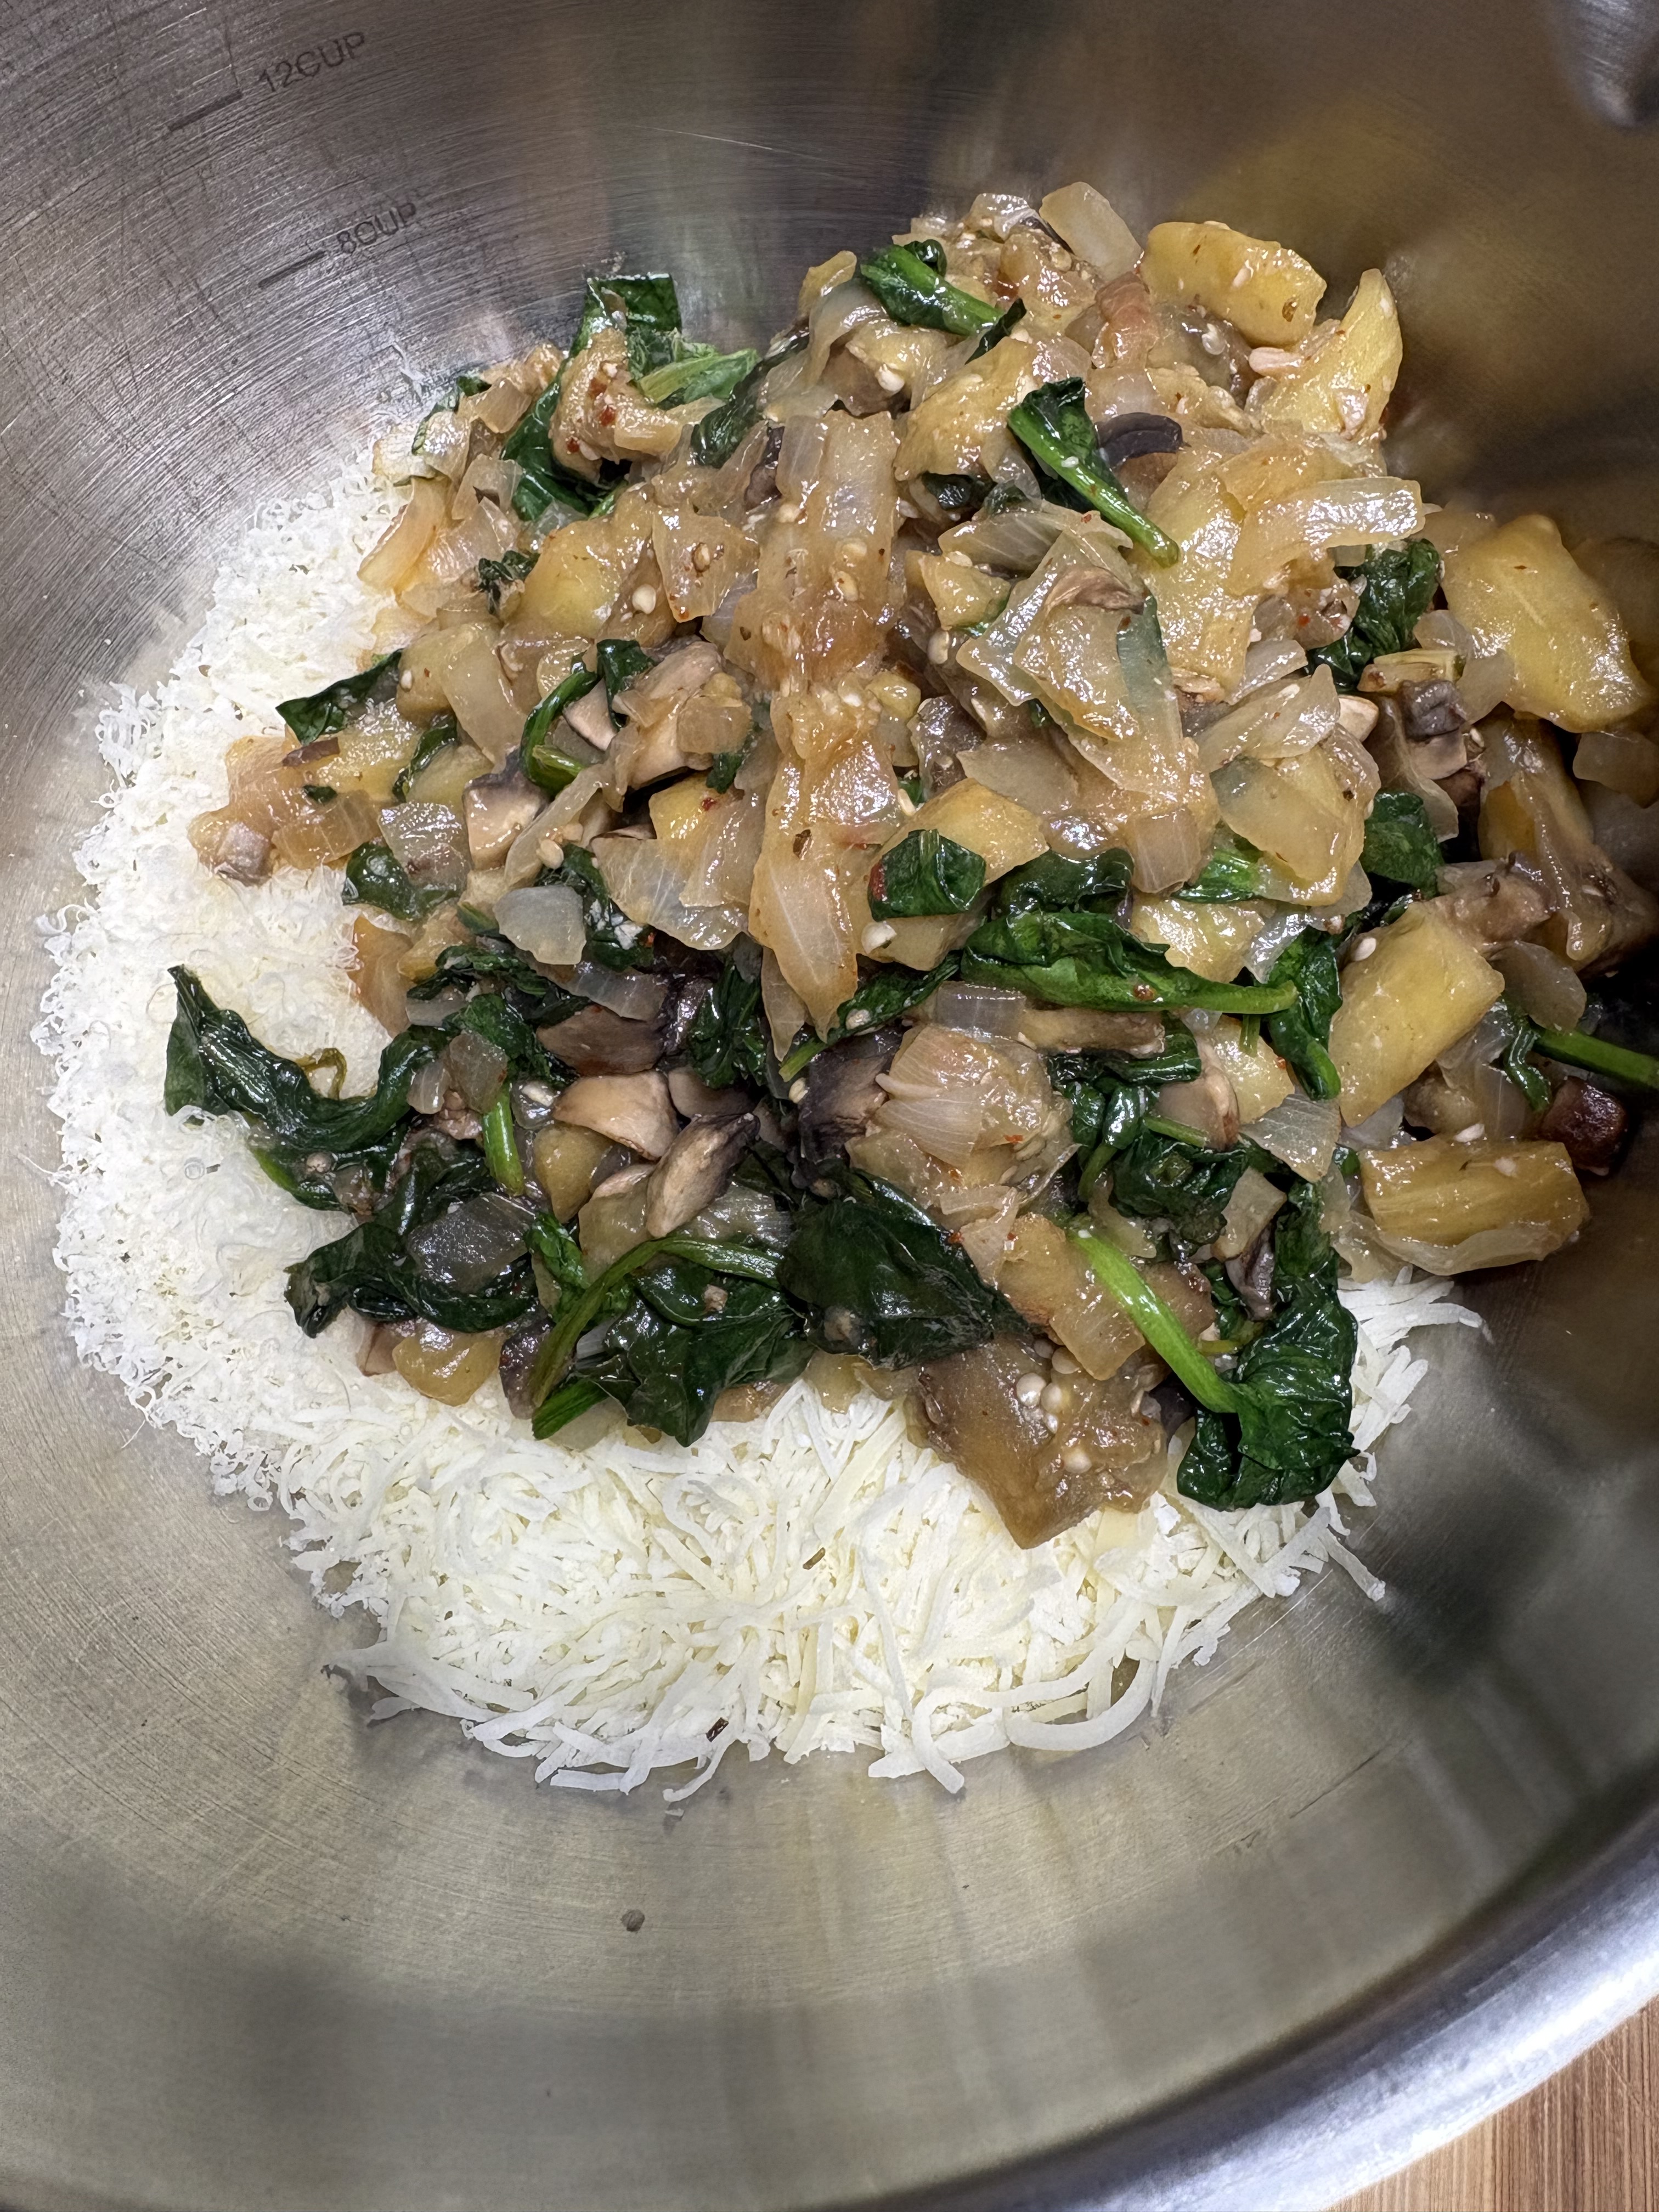
Add the garlic, spinach, and pepper flakes if using. Sauté 1-2 minutes until spinach is wilted. Remove from the heat and set aside to cool a bit. While that is cooling combine your crumbled and shredded cheeses in a large mixing bowl.
Add the cooled vegetables to the cheese and mix well to combine.
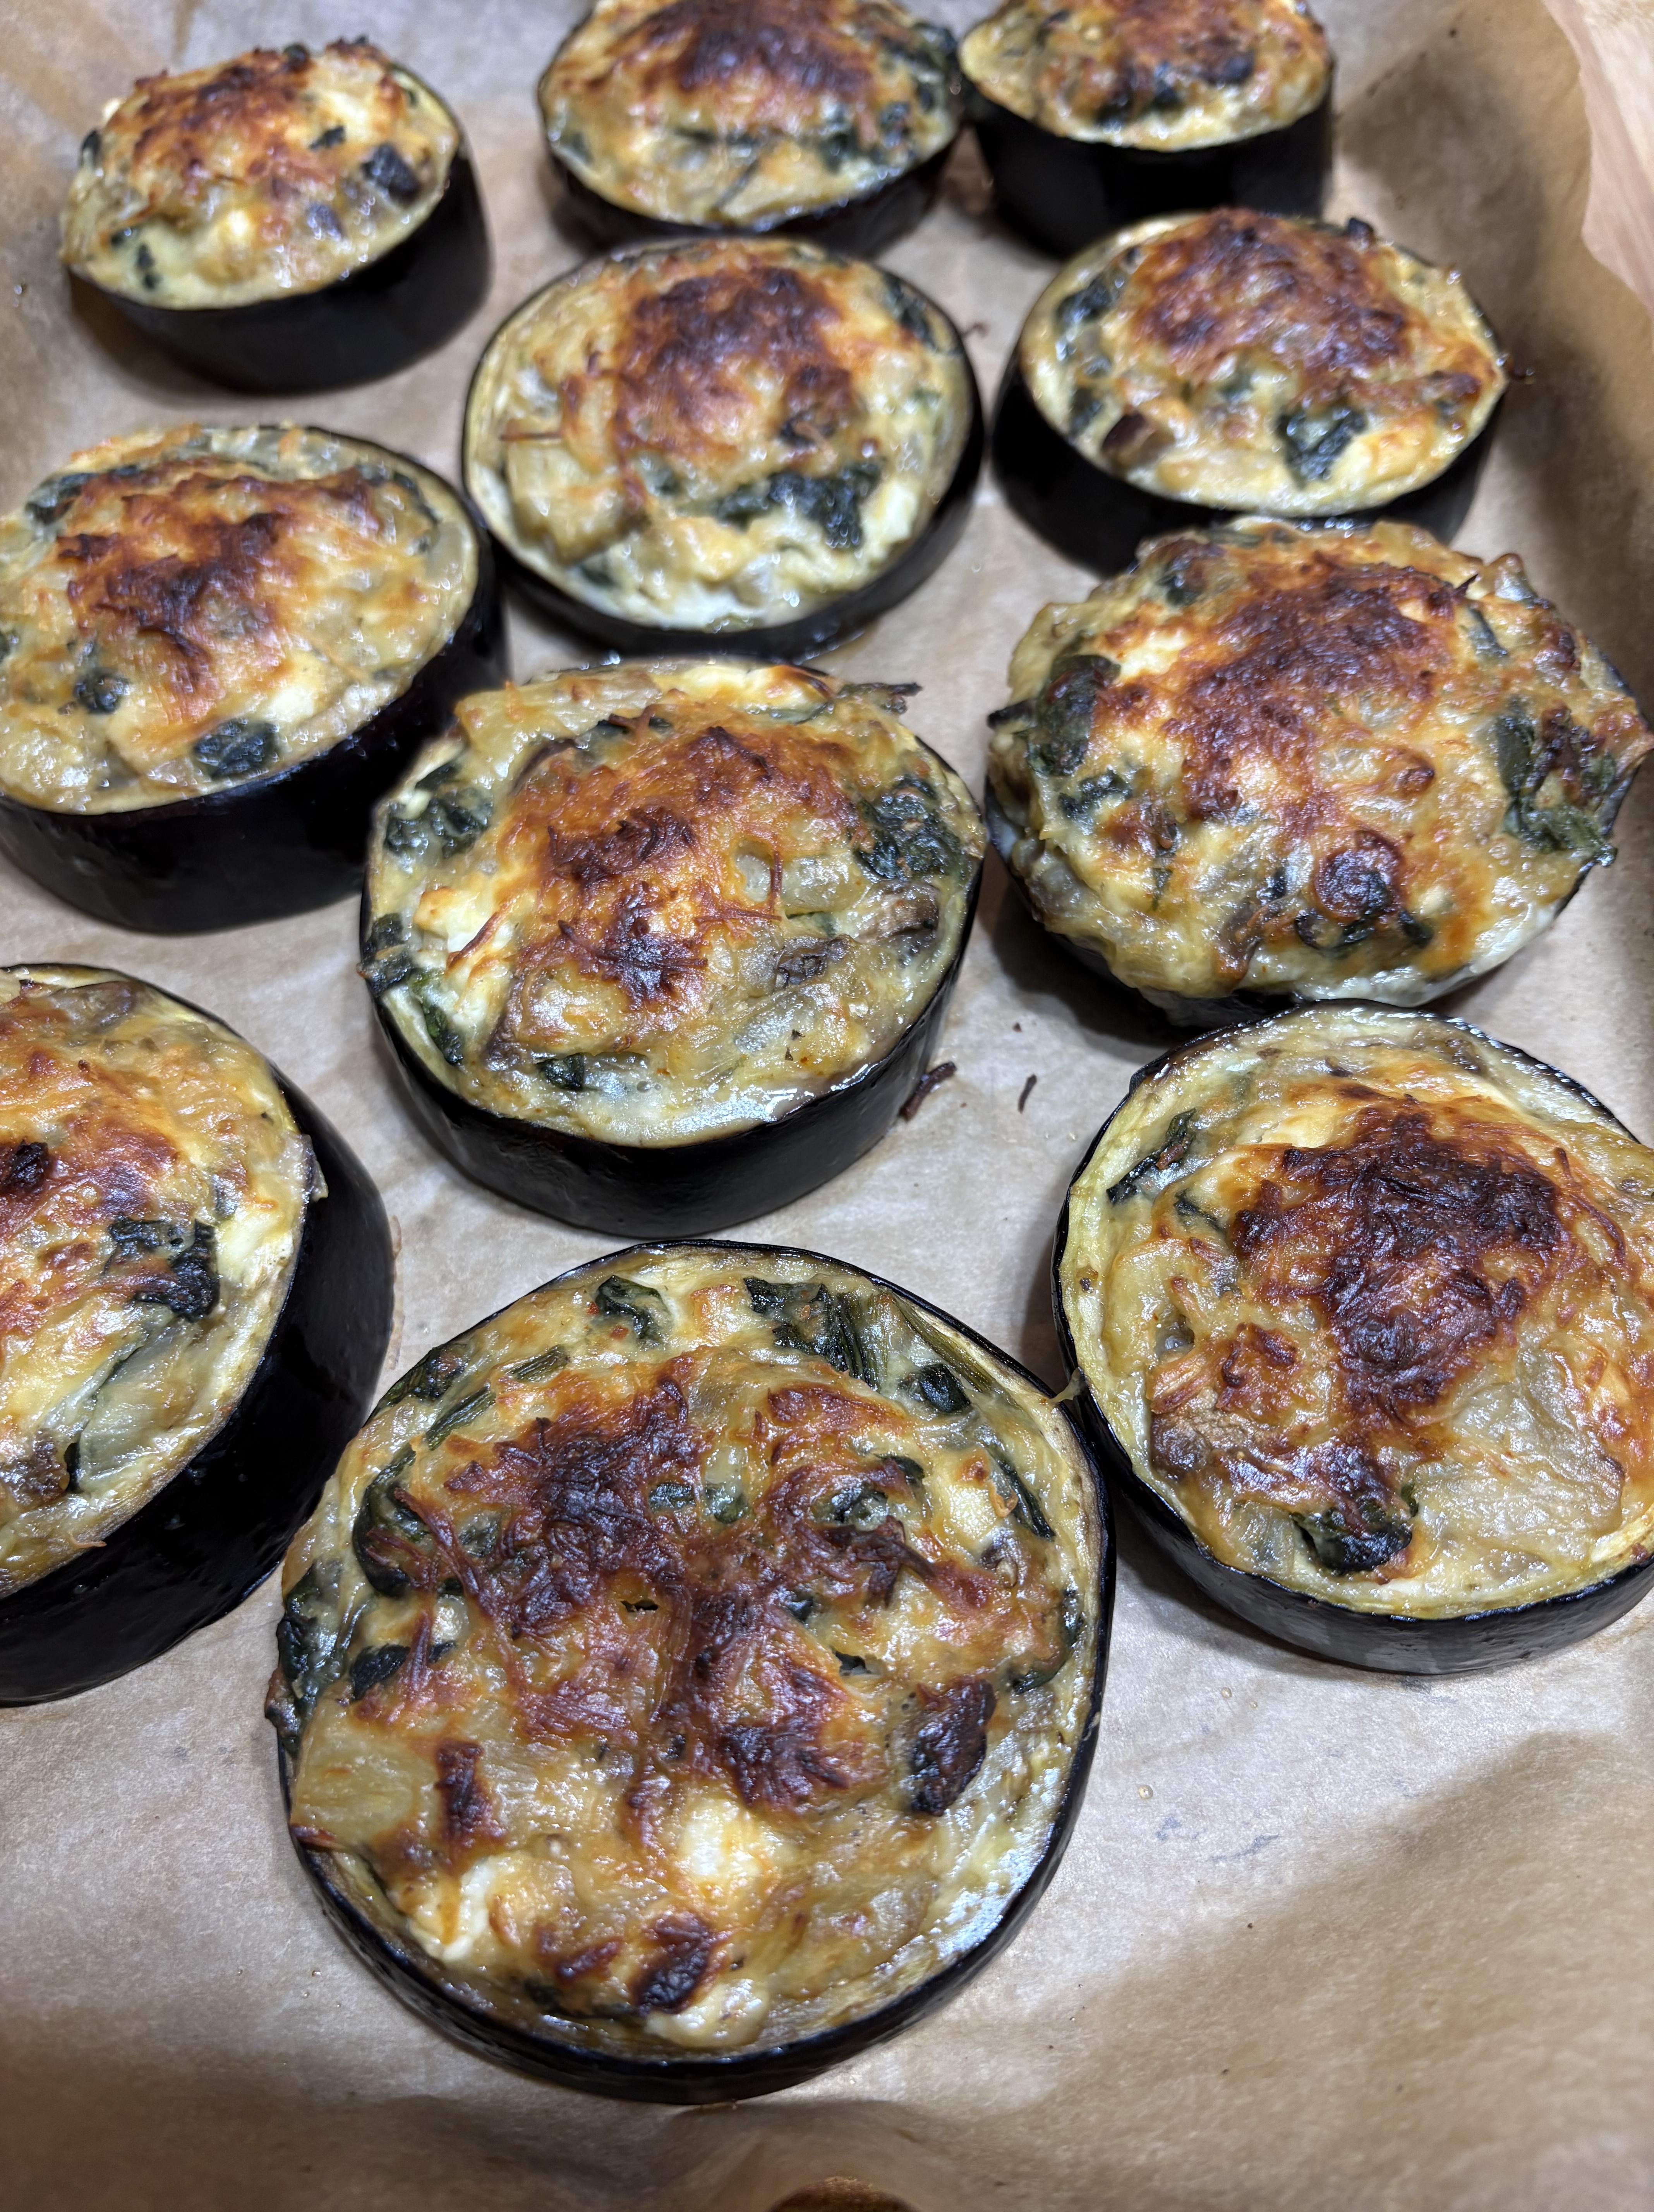
Stir in one lightly beaten egg. Fill the rounds with the veg and cheese mixture making sure the filling goes to the outer edges. Brush the outside edges of the eggplant with a little olive oil, and top with a little shredded parm or mozzarella if you’d like…because how can there be too much cheese!?

Bake until the tops are golden, about 25 minutes.
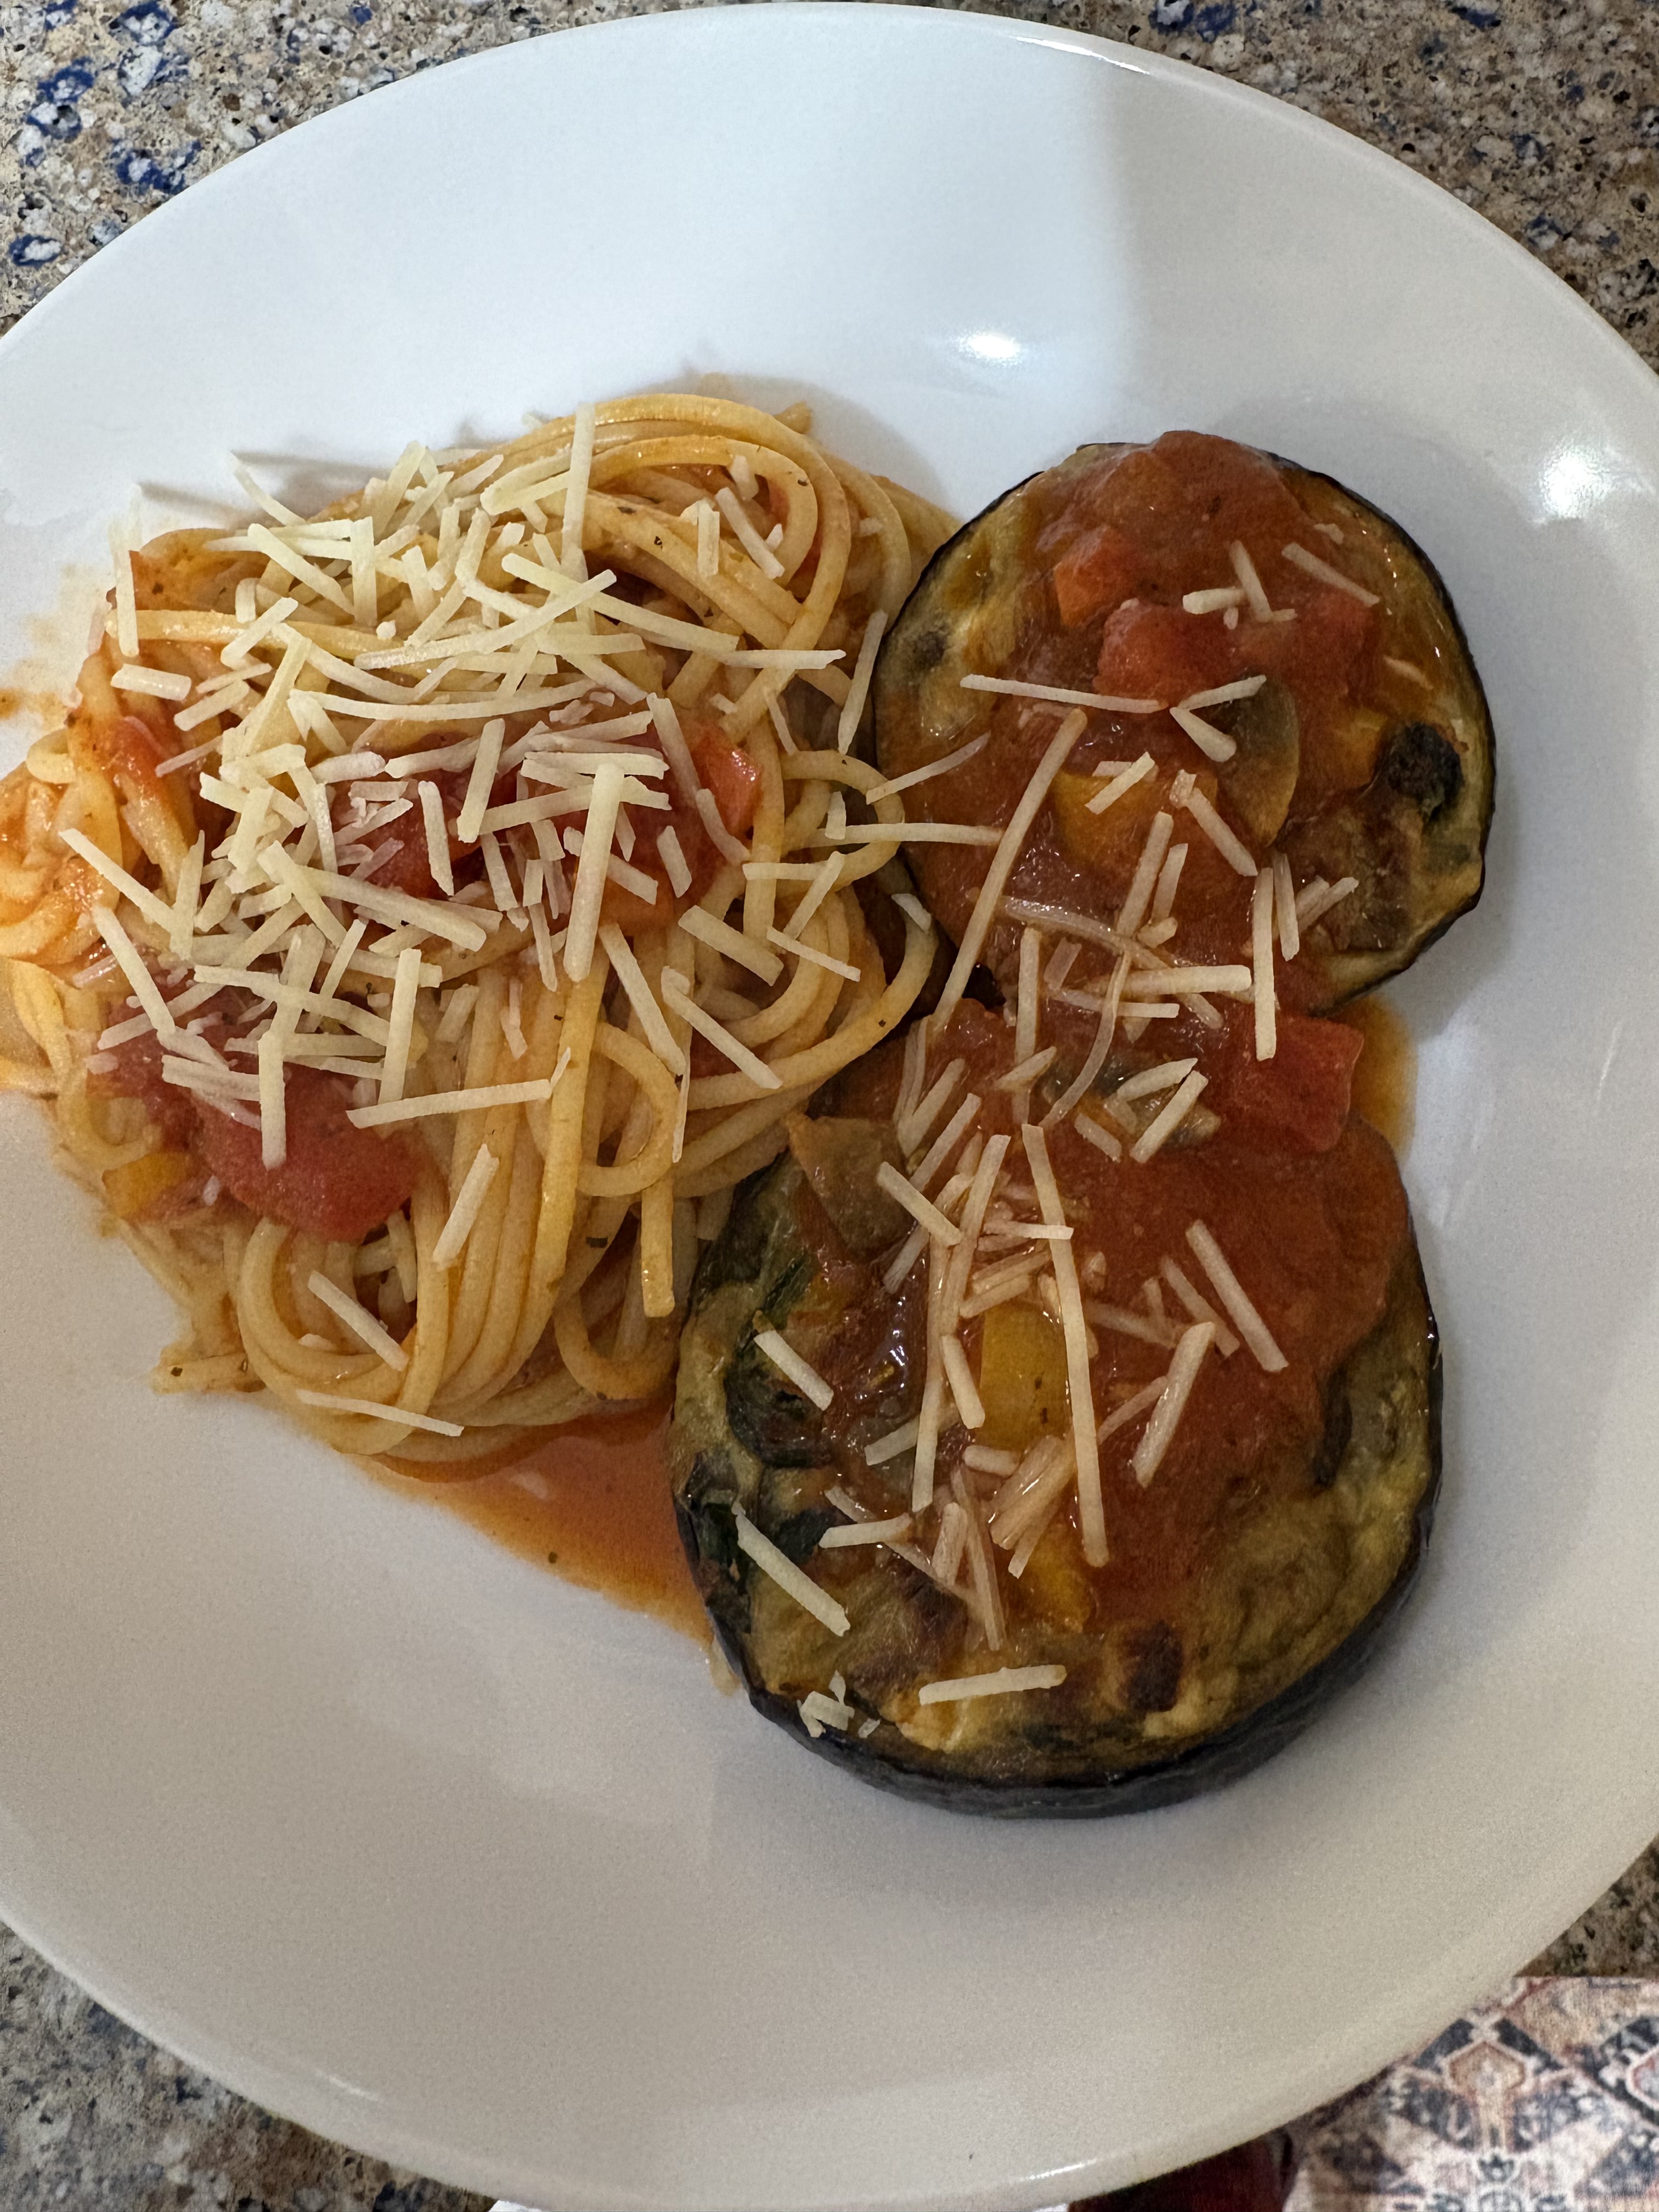
They are just cute little circles of deliciousness. I served ours with a side of pasta in a tomato sauce and splashed some sauciness onto the rounds as well.
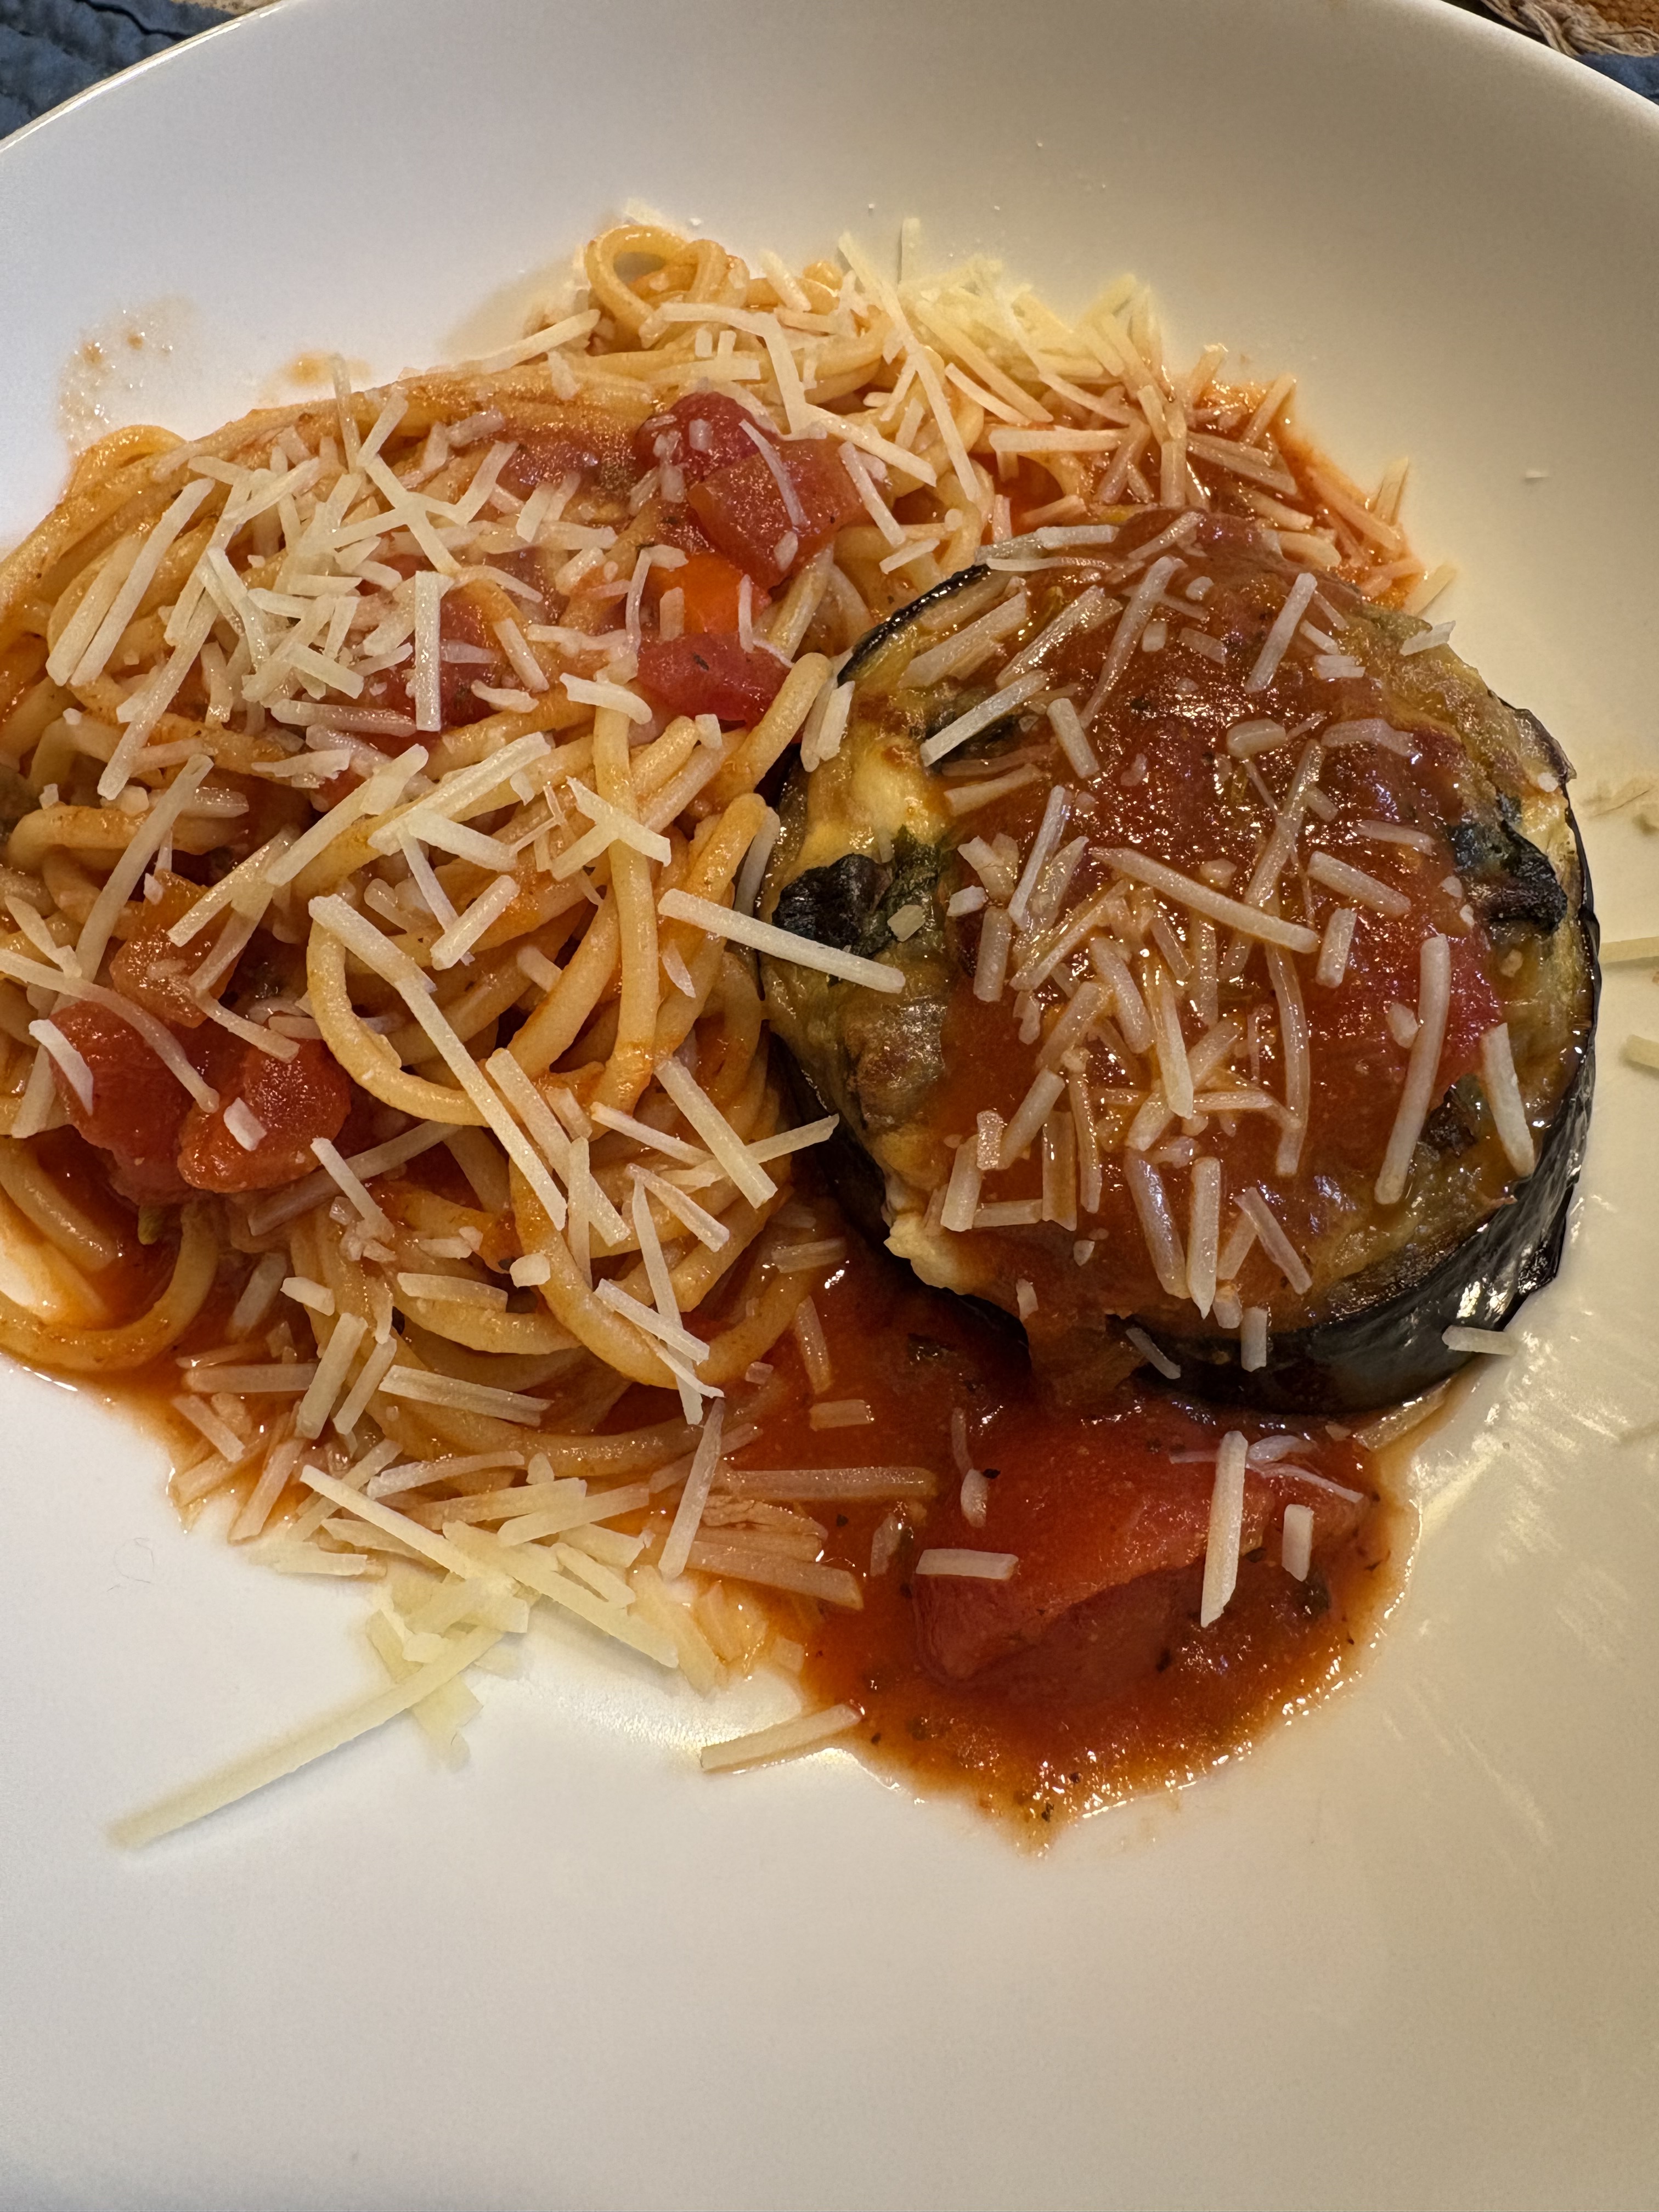
Enjoy! This may be my favorite new way to prepare eggplant!
NOTE: Fresh basil or thyme would be a nice addition. This would also be delicious served with polenta or a risotto.


You must be logged in to post a comment.