Roasted Vegetable and Prosciutto Tart

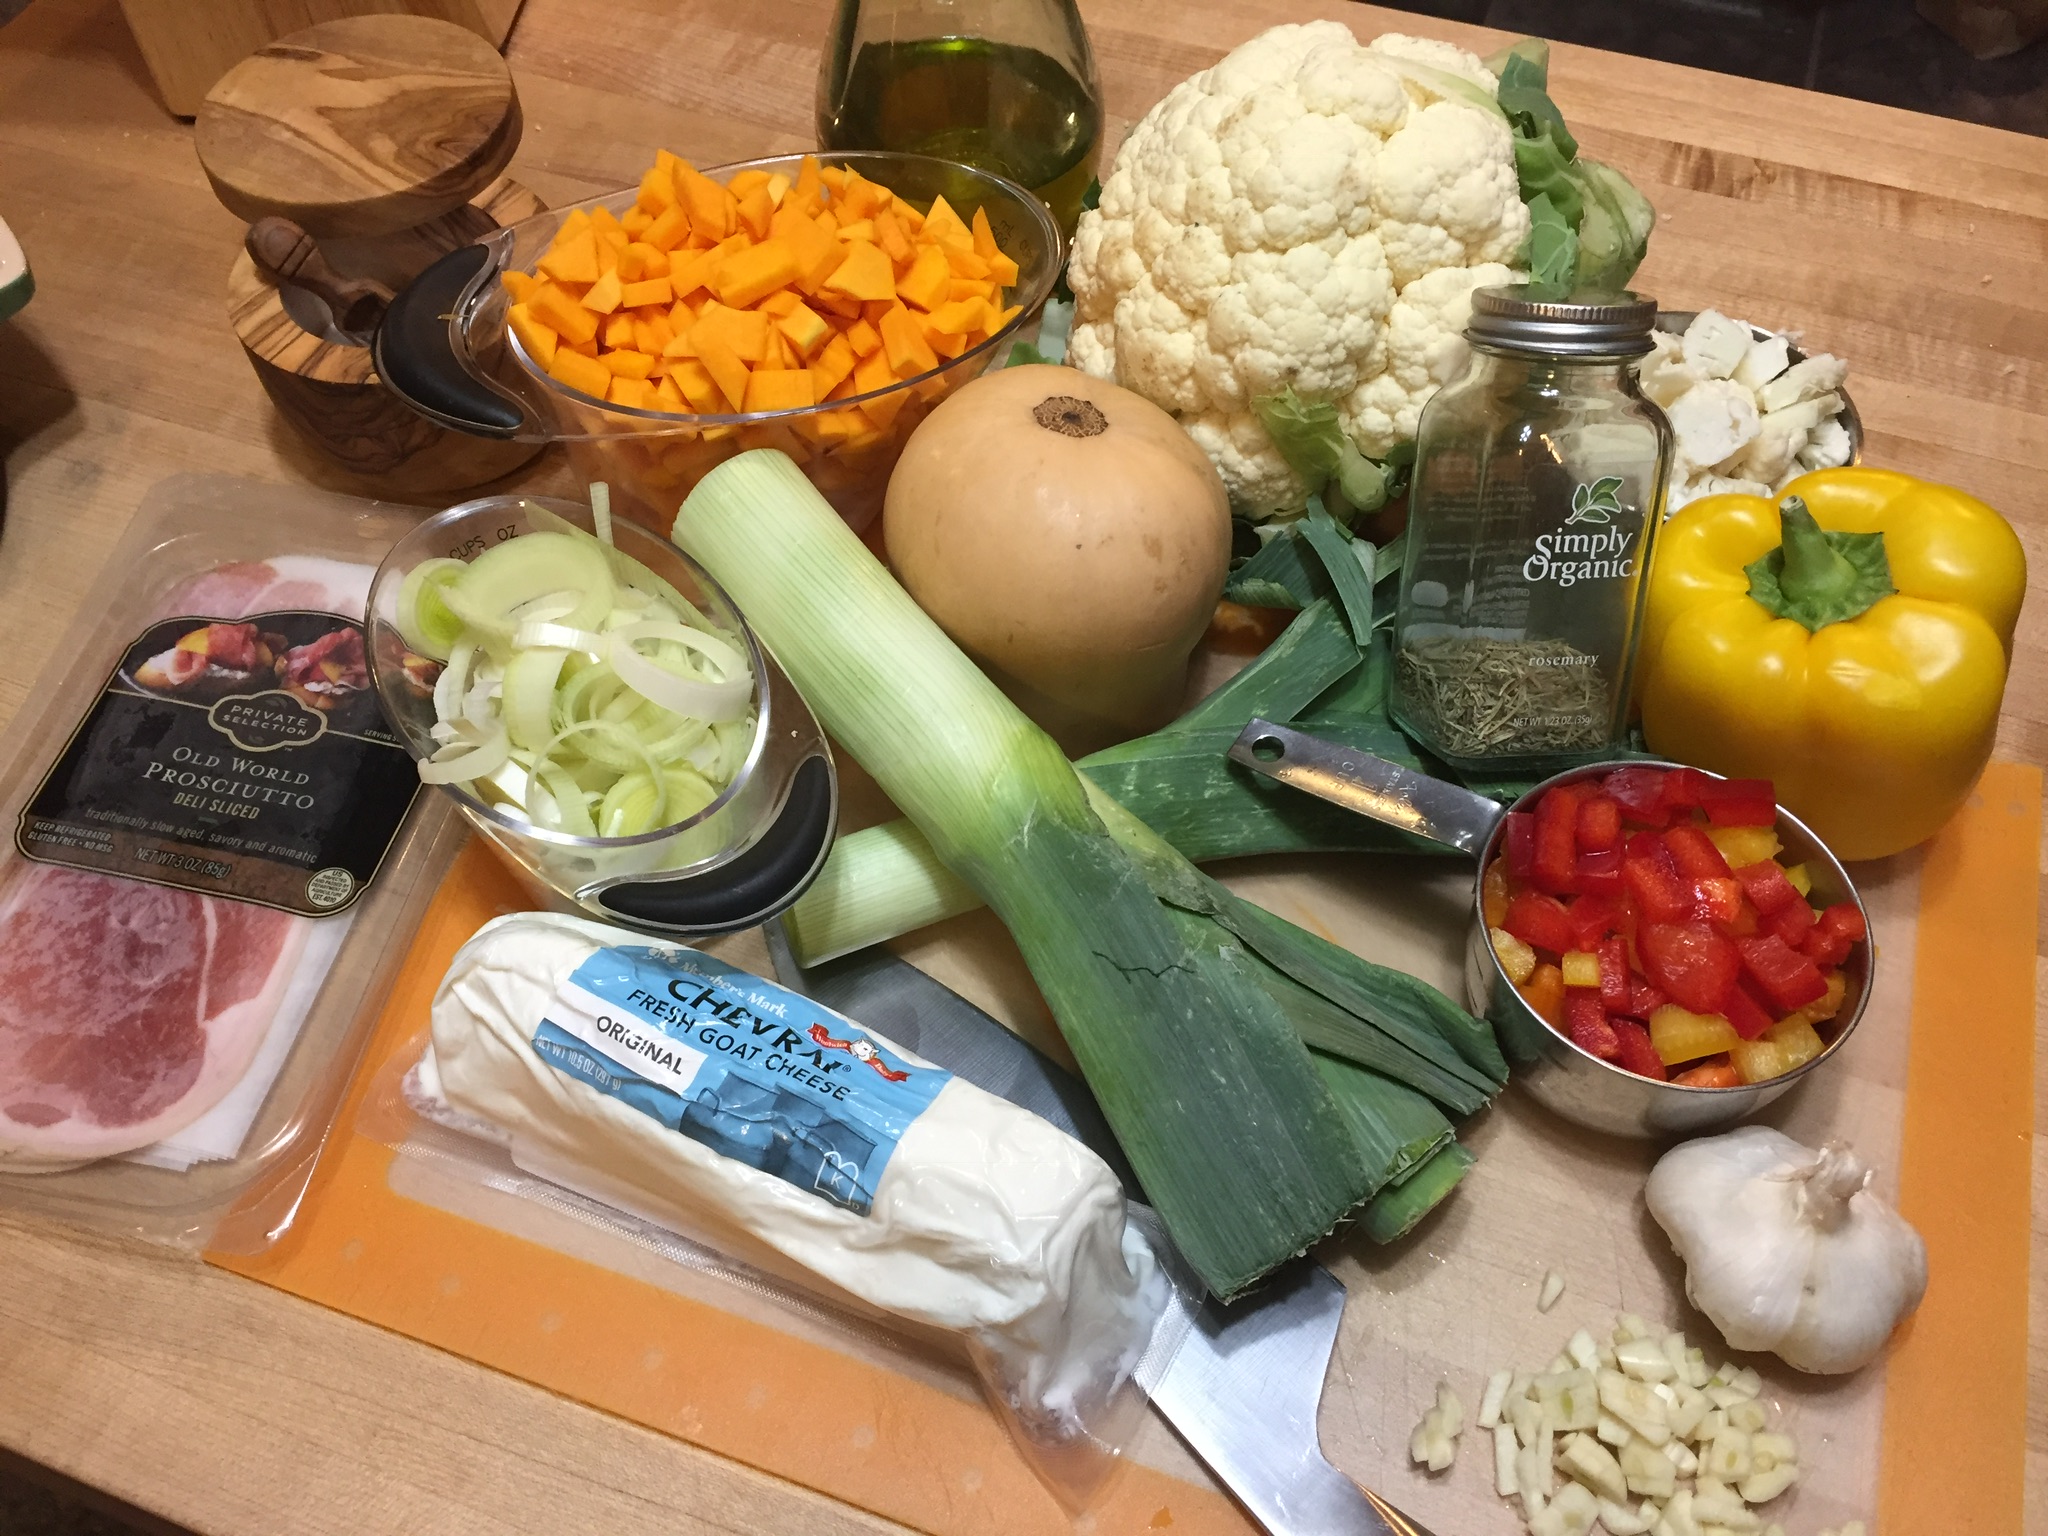
The inspiration for this recipe came from the Fall 2017 issue of Cook Fresh.  When I’m in the supermarket checkout line I’m always looking at the tabloid headlines with the latest movie star gossip and the women’s magazines that have pictures of gorgeous desserts and promises that you can lose 15 pounds in 15 days.  I’m always in the slowest moving lane at the grocery so I have plenty of time to read.  I spotted this Cook Fresh magazine on the very bottom of the rack and it was the only copy left.  The vegetable tart was on the cover so I picked it up and put it in my cart.  Sold.  I modified the recipe somewhat.  The real beauty of this is you can use any vegetables you have on hand or just add or omit based on personal preference.  These are the ingredients and quantities I used.

Ingredients for Filling:

2 cups of cubed butternut squash

1 cup of thin sliced leeks (white and light green parts only)

1 cup of course chopped sweet bell peppers

1 cup of course chopped cauliflower

3-4 cloves of garlic minced

1 T of fresh rosemary minced (I only had dried)

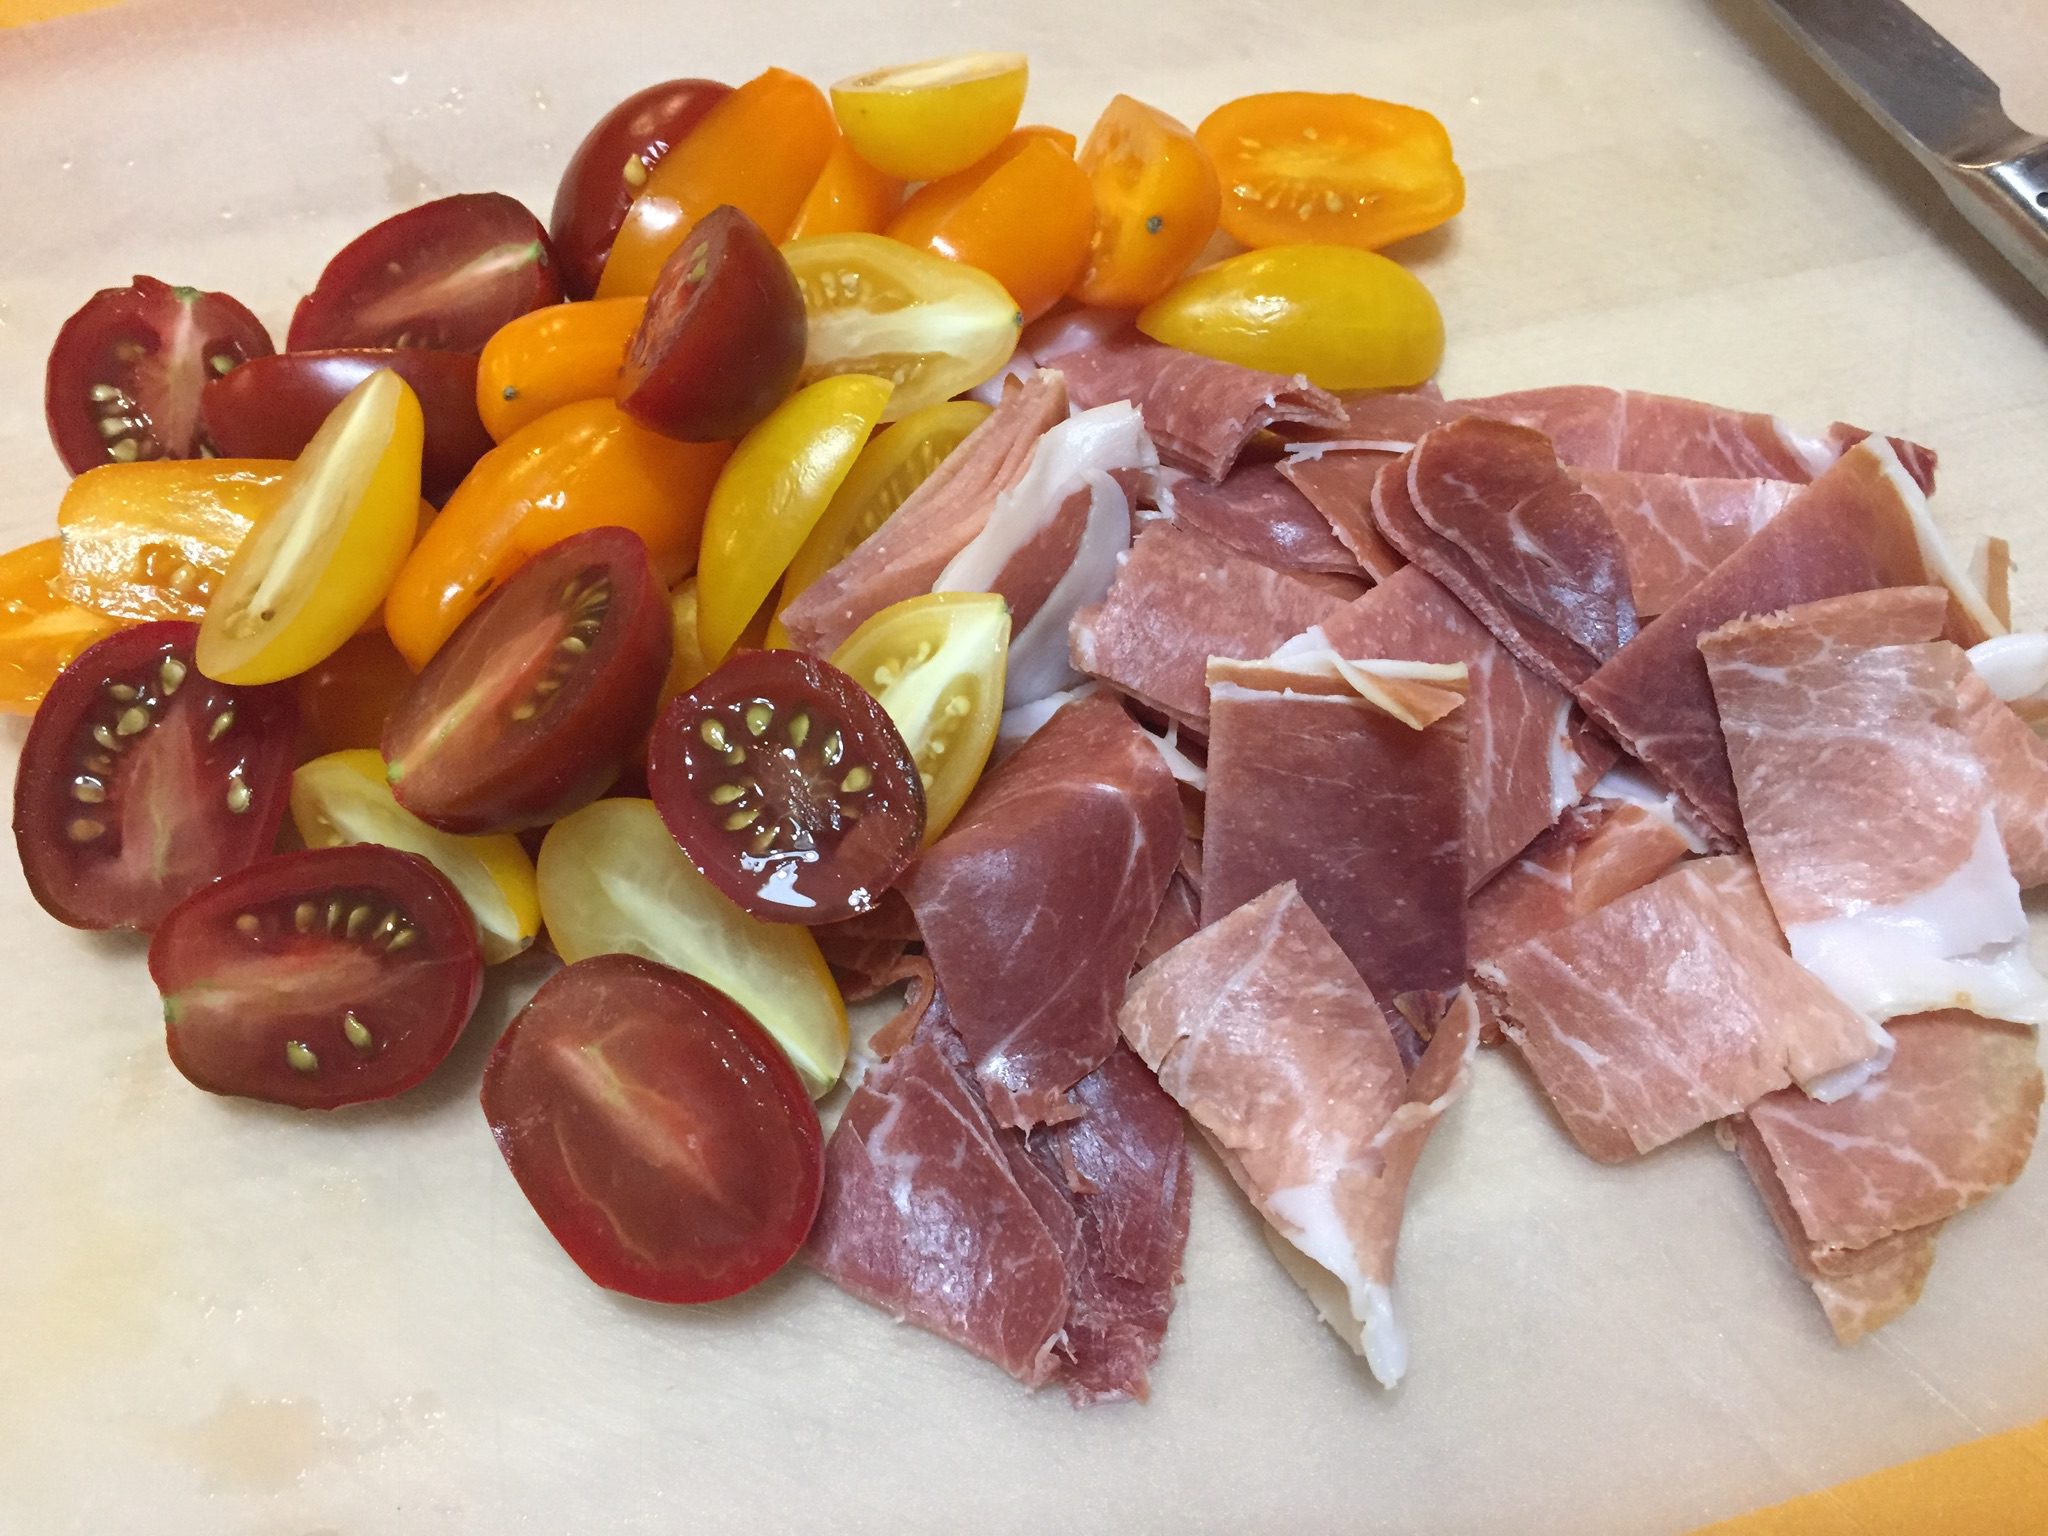
1 cup grape or cherry tomatoes halved

4 oz of prosciutto in bite sized pieces

2 T olive oil

salt and pepper to taste

10 oz goat cheese softened

grated asiago

1 egg

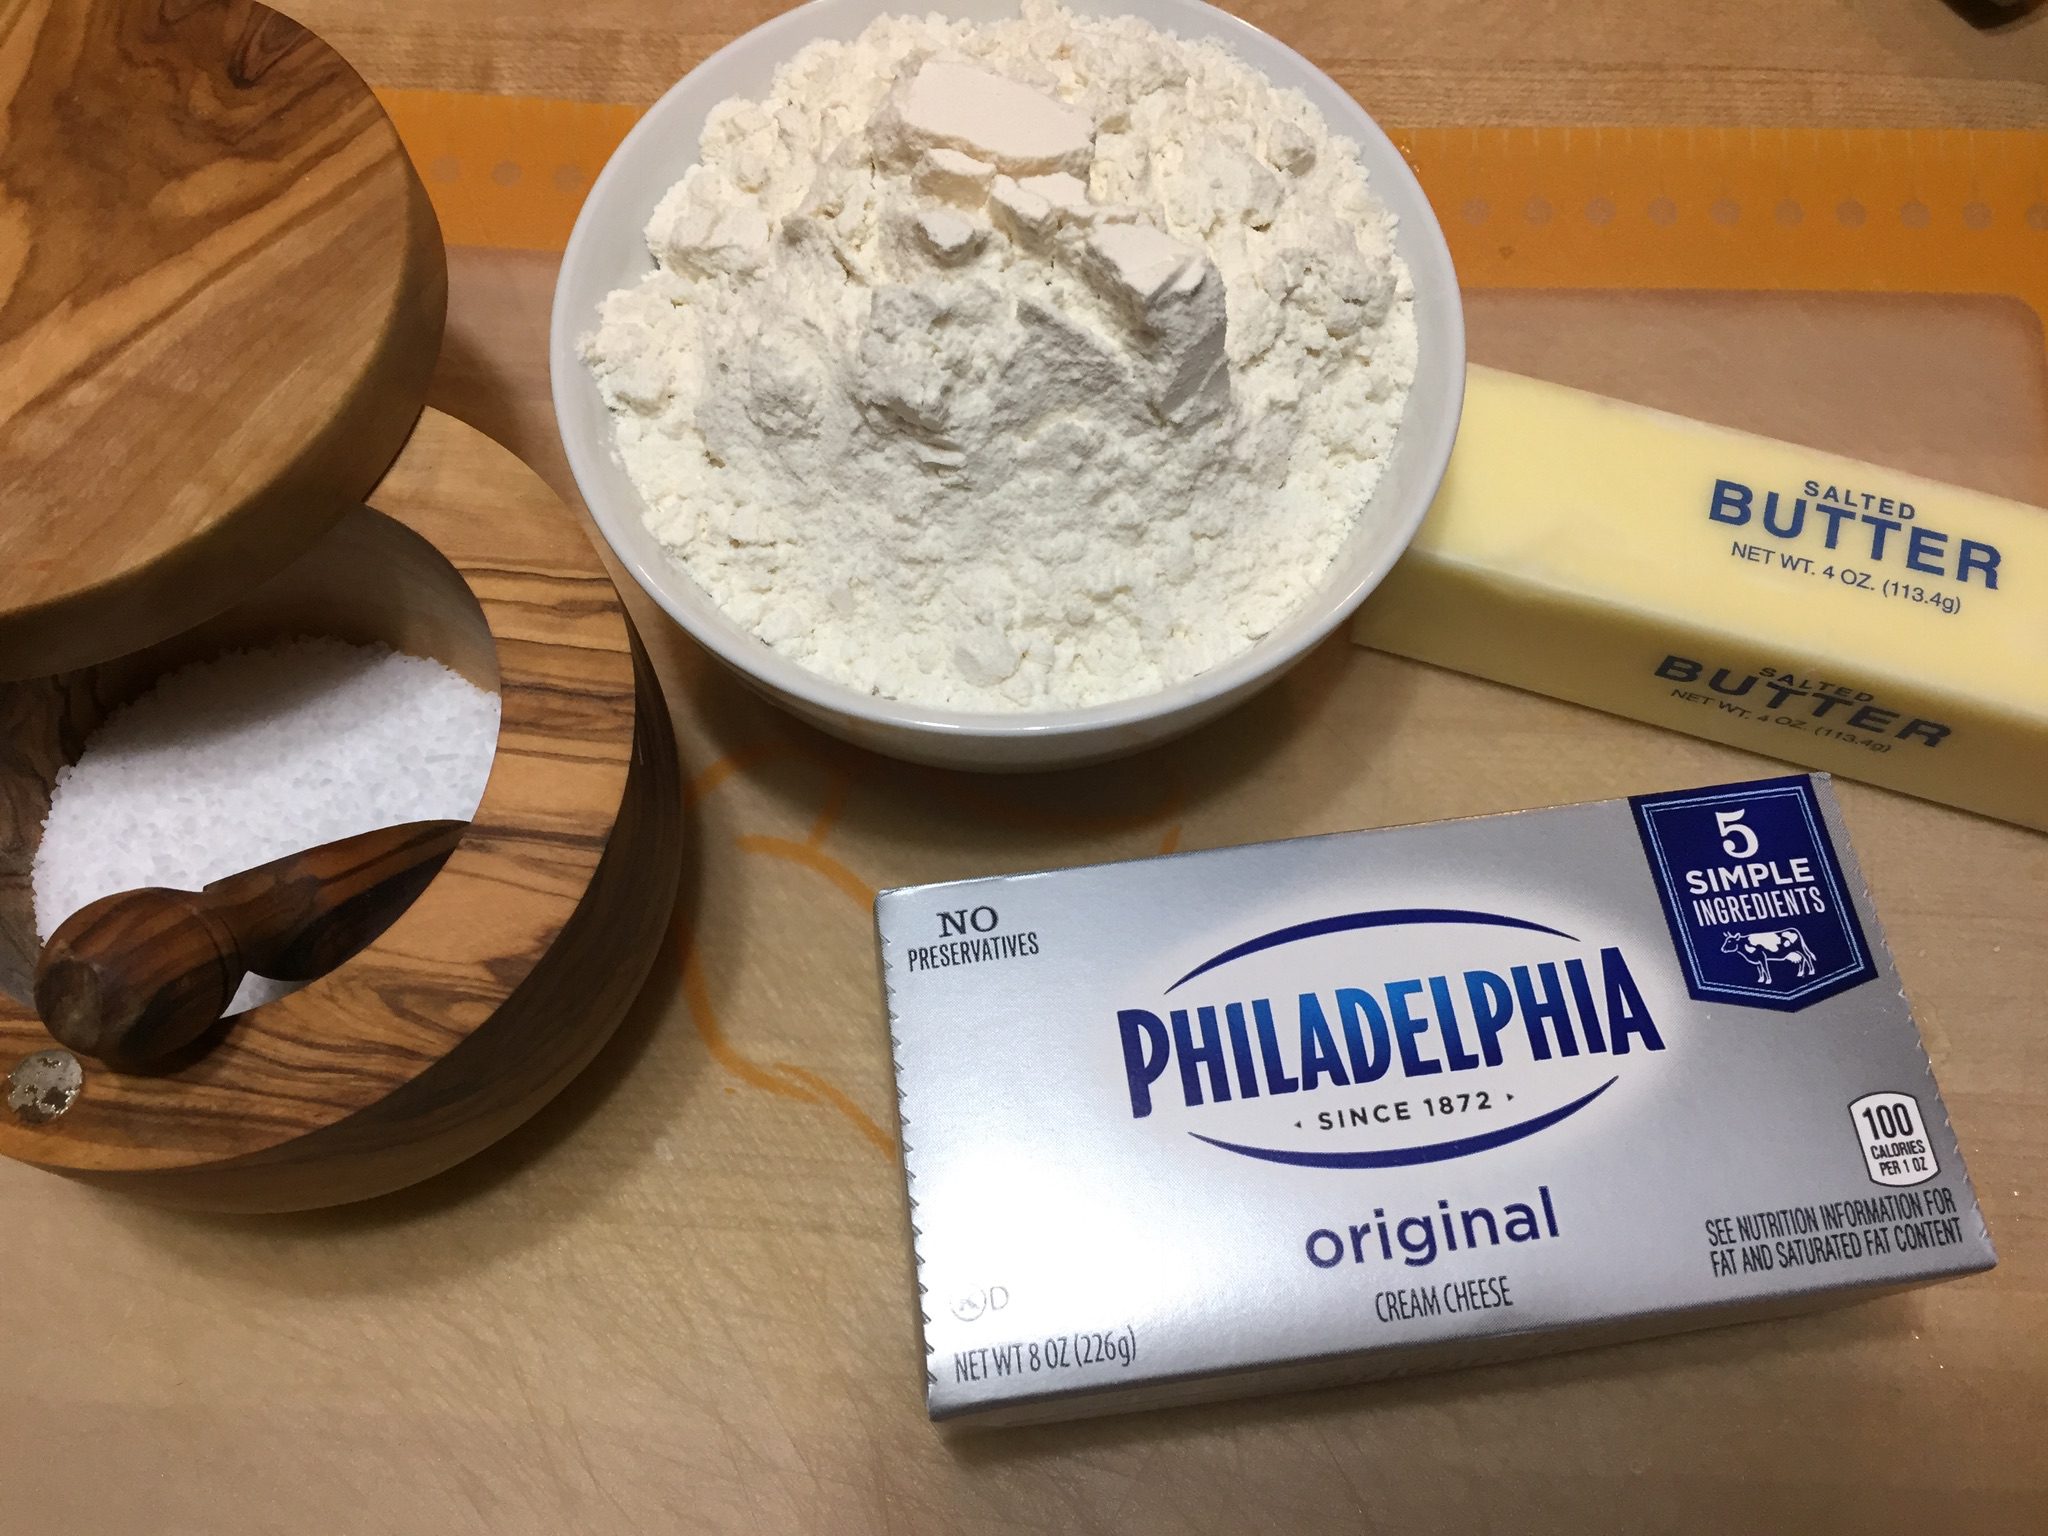
Ingredients for the Crust:

1 1/3 cups AP flour

6 oz of cold unsalted butter cubed

6 oz of cold cream cheese cubed

1 tsp kosher salt

2 T cold water

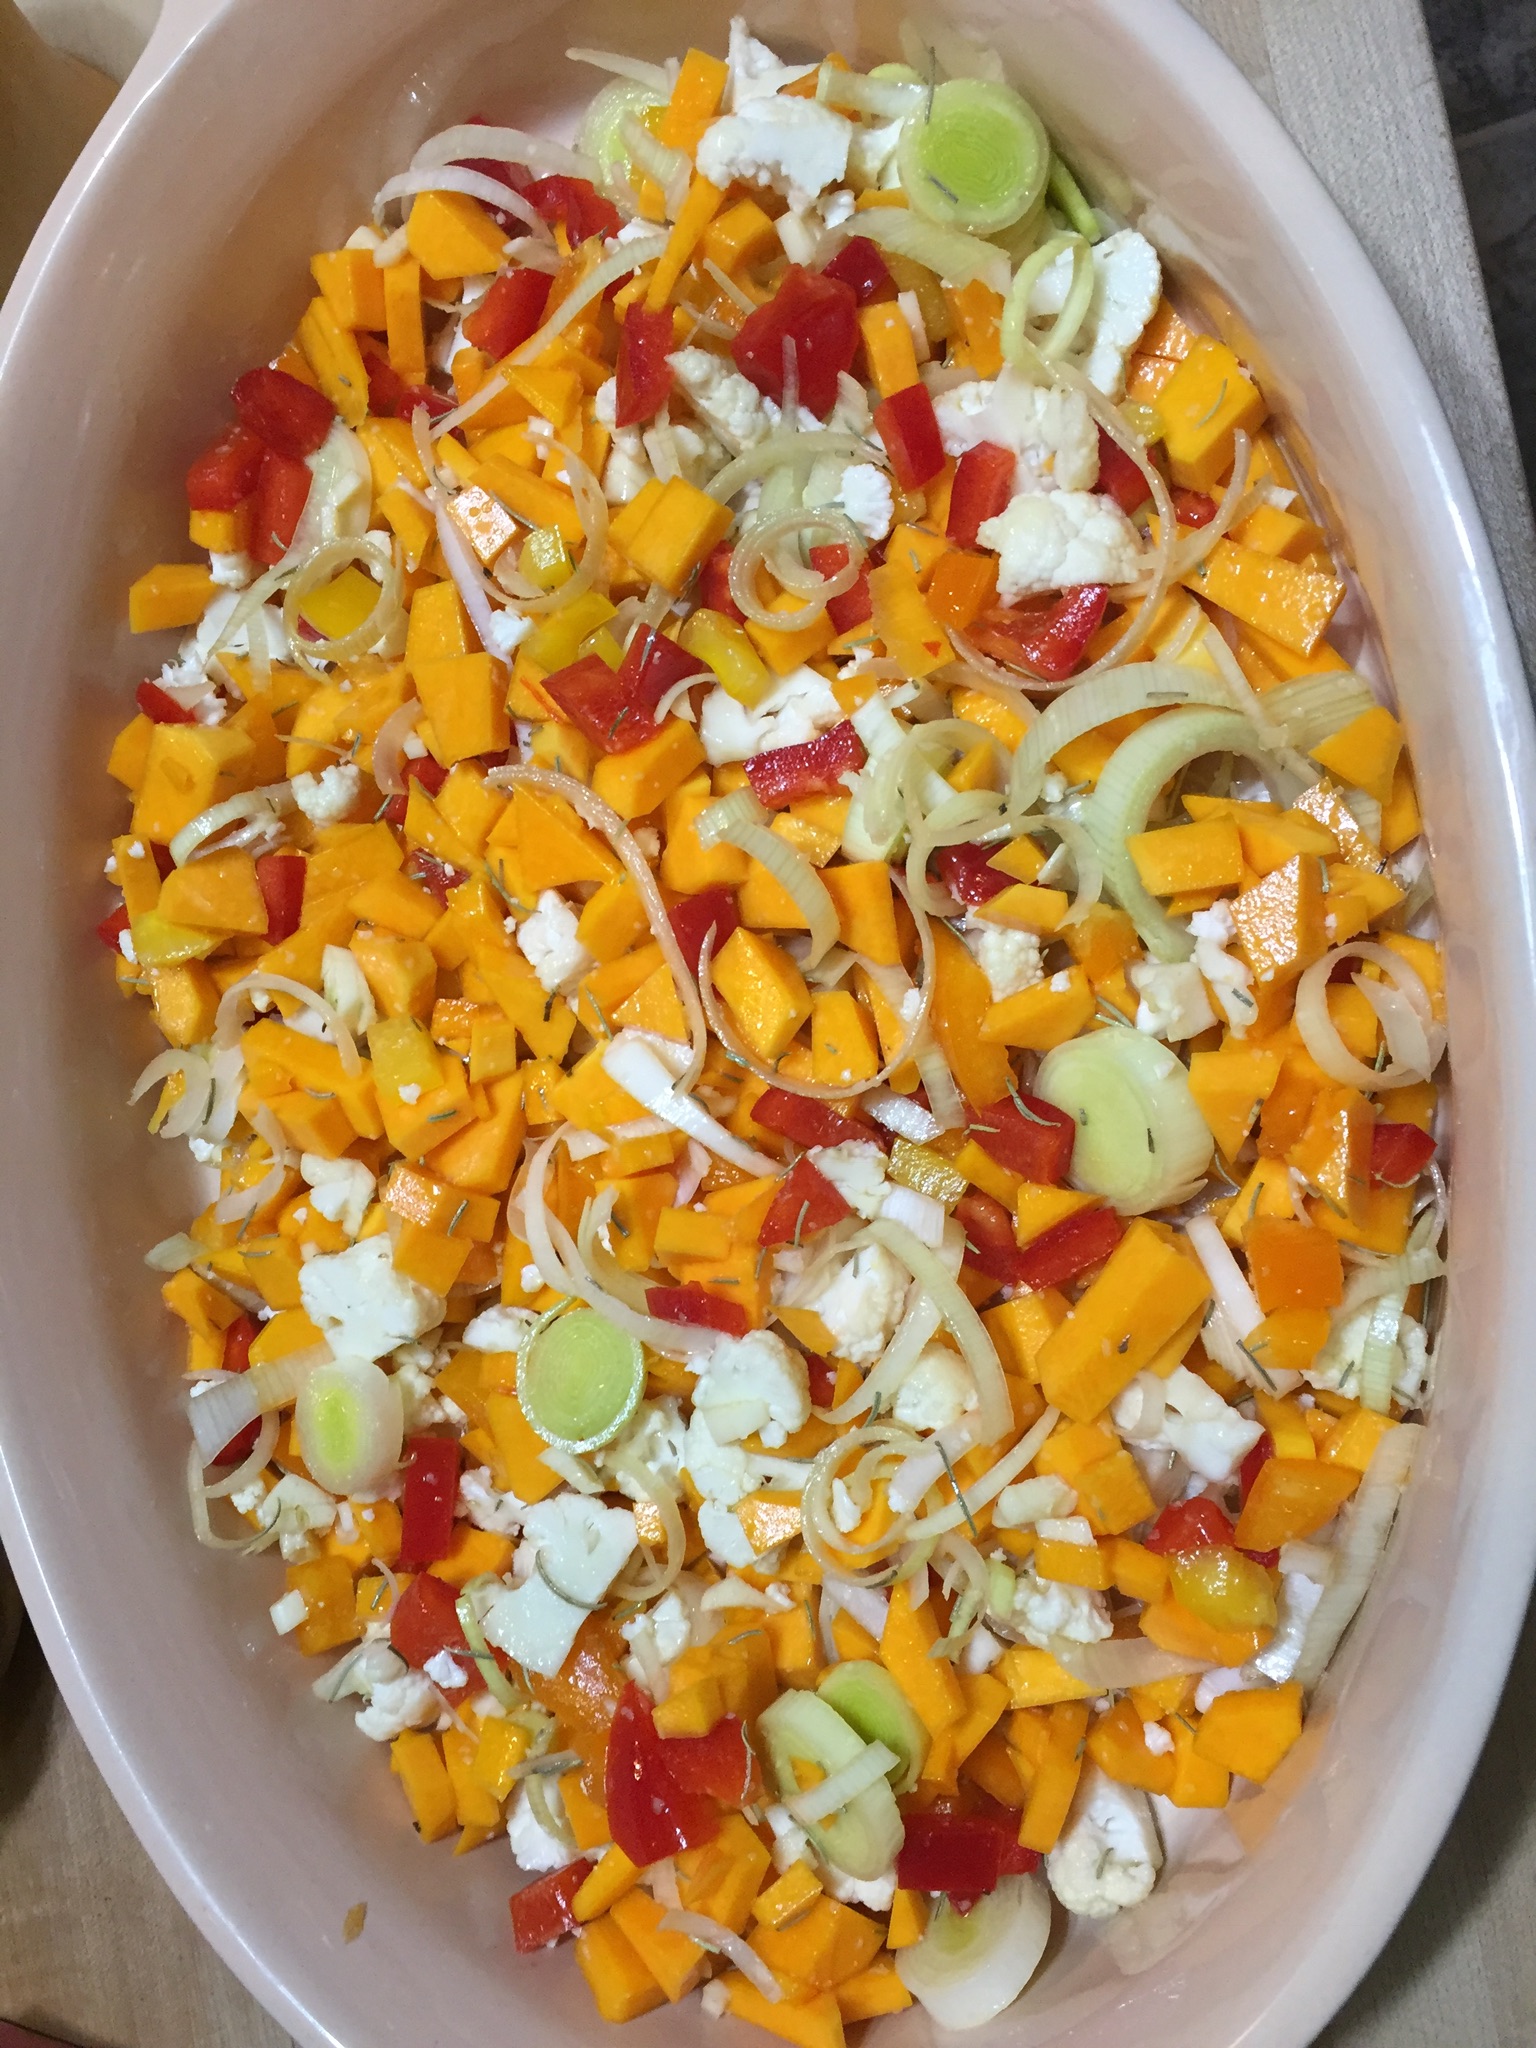
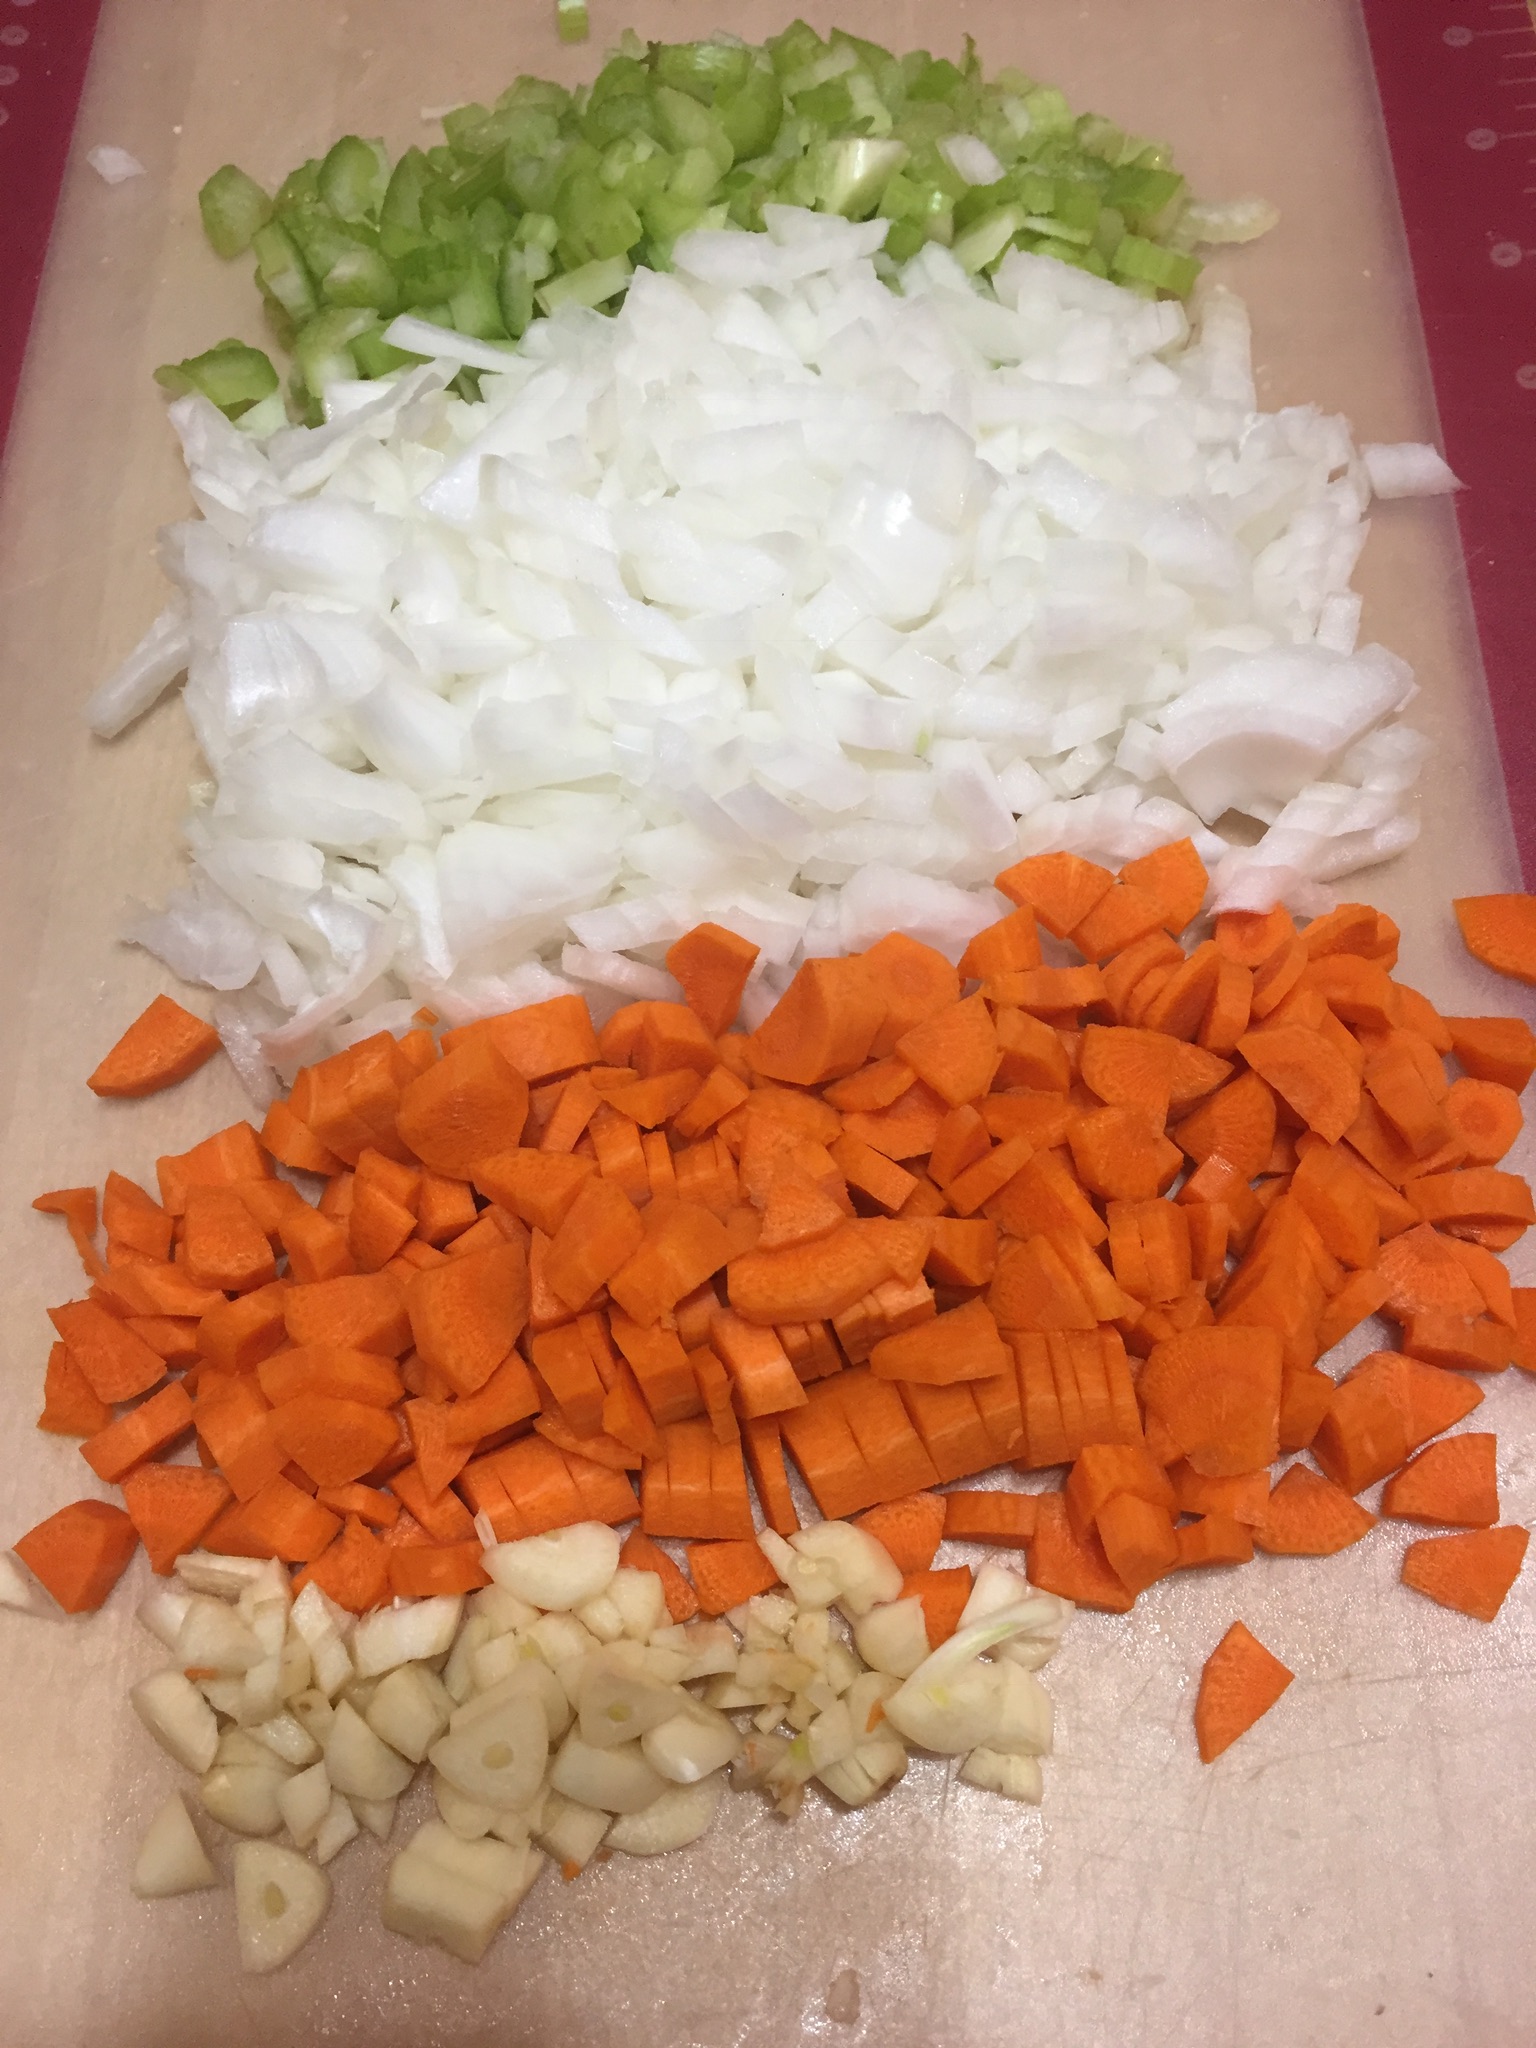
Preheat the oven to 375.  Combine all of the vegetables (except the tomatoes) and toss with the olive oil, rosemary, salt and pepper.

Spread the vegetables out in a baking dish, cover with foil, and bake for 30-40 minutes until the vegetables are tender.  Remove them from the oven and allow them to cool.

While the vegetables are cooking and cooling prepare your crust.  Preheat the oven to 400 once the vegetables are out.    Pulse the flour, salt, cream cheese and butter in the food processor until it starts to come together.

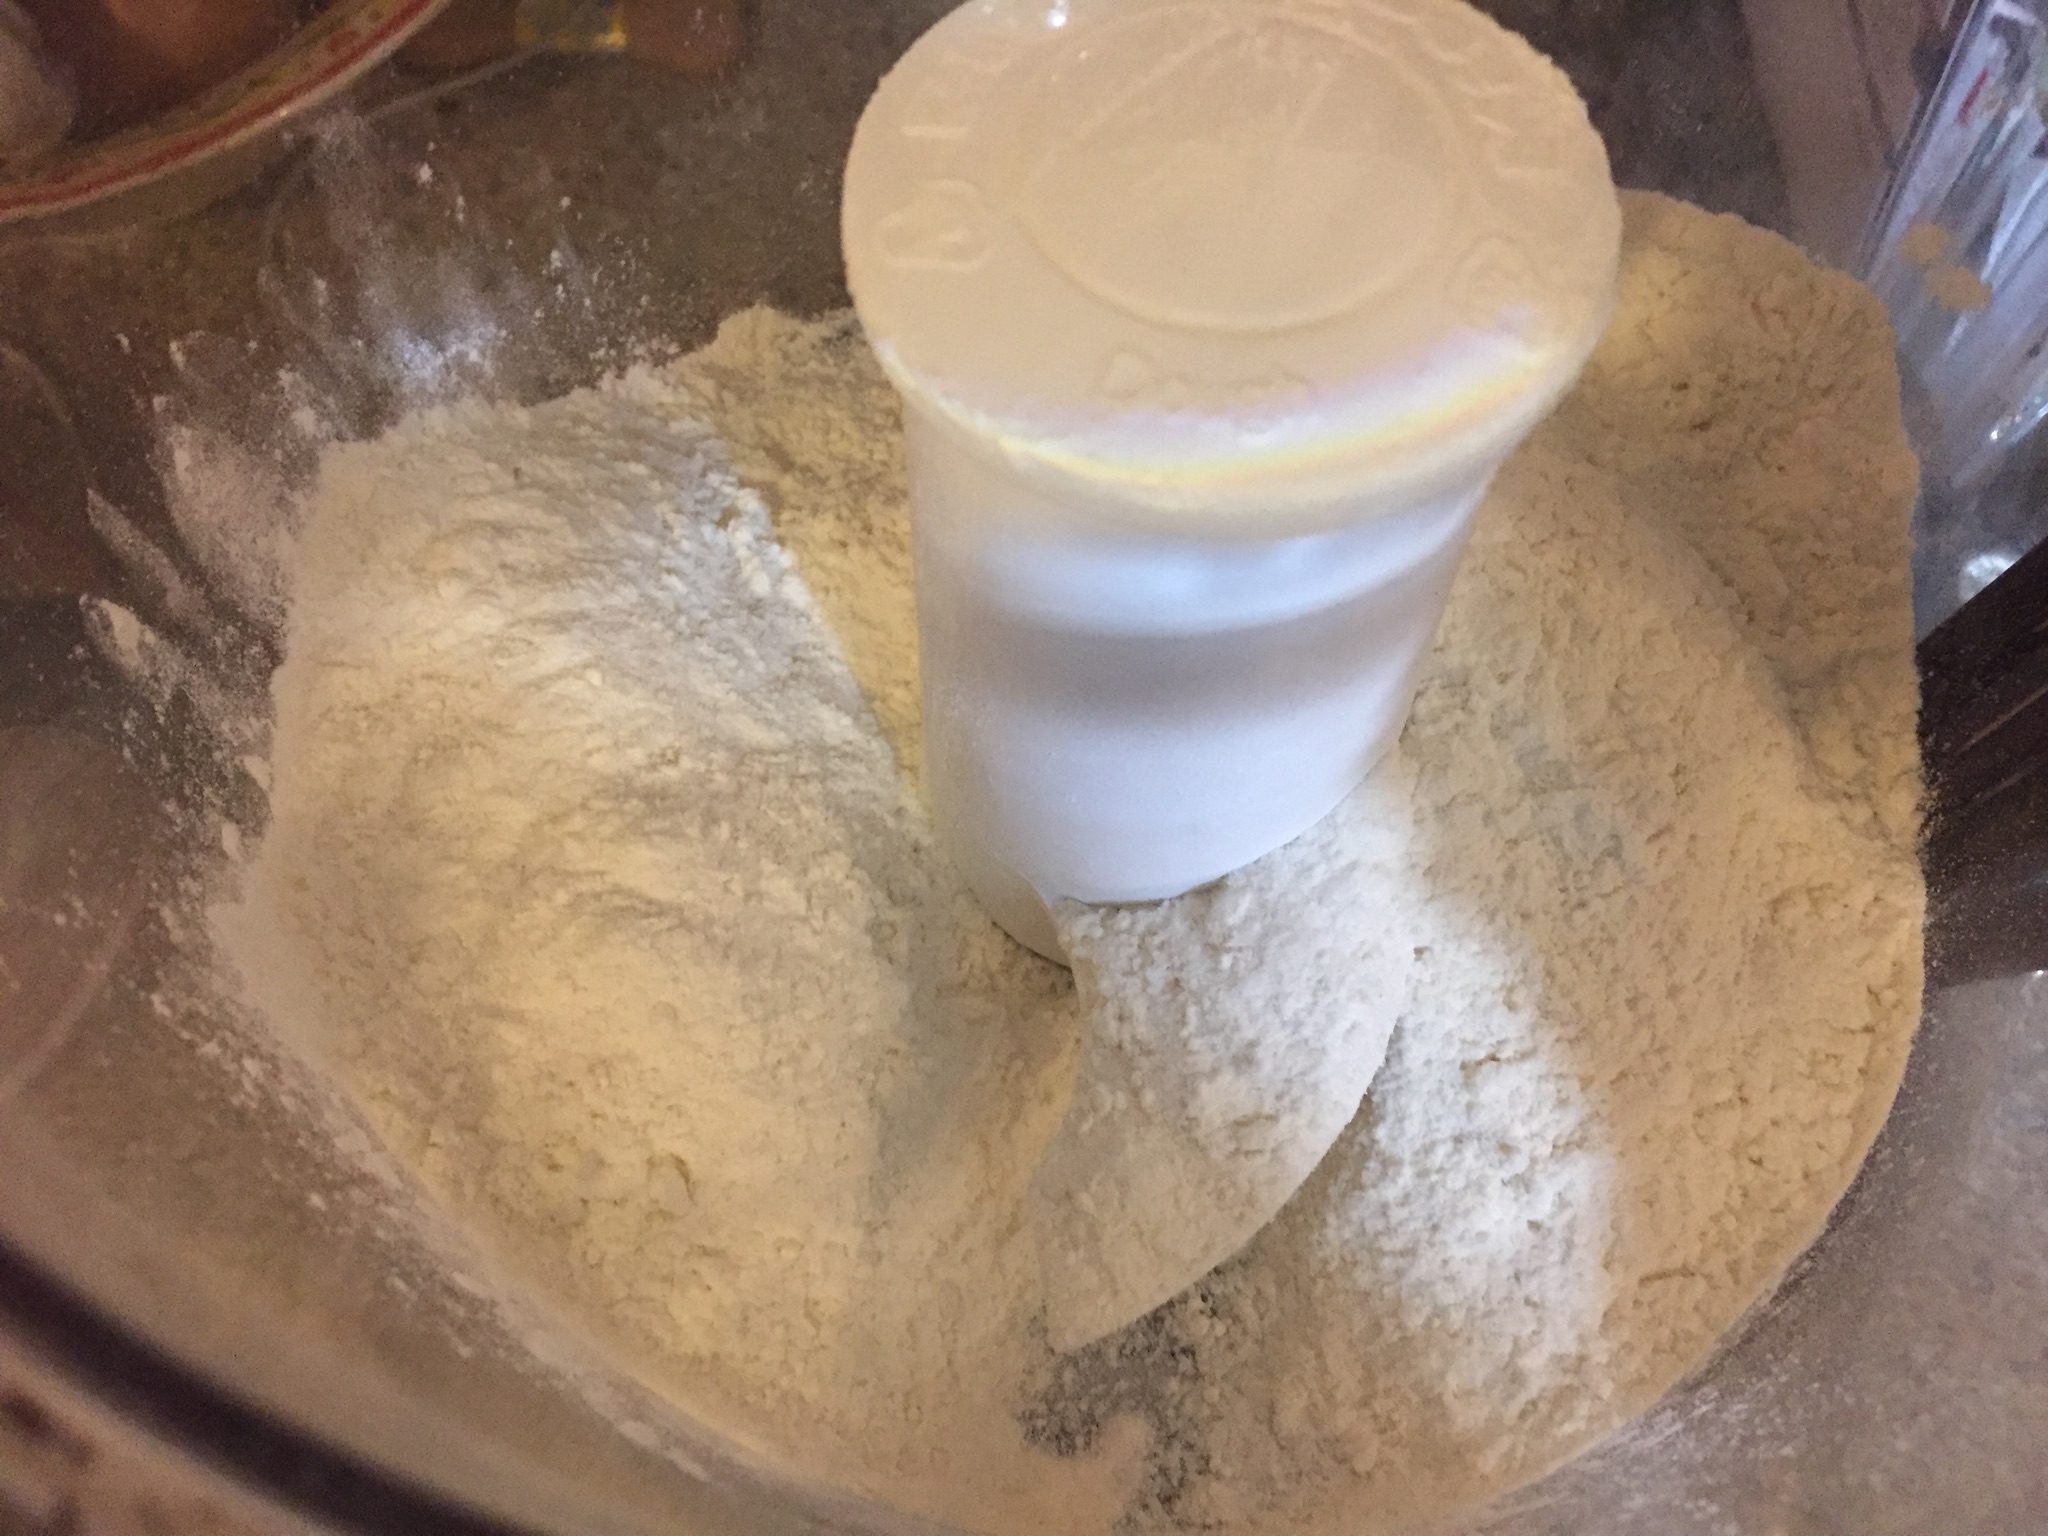
If necessary add a little cold water.  Put the dough on a generously floured service and knead.  Form the dough into a ball.

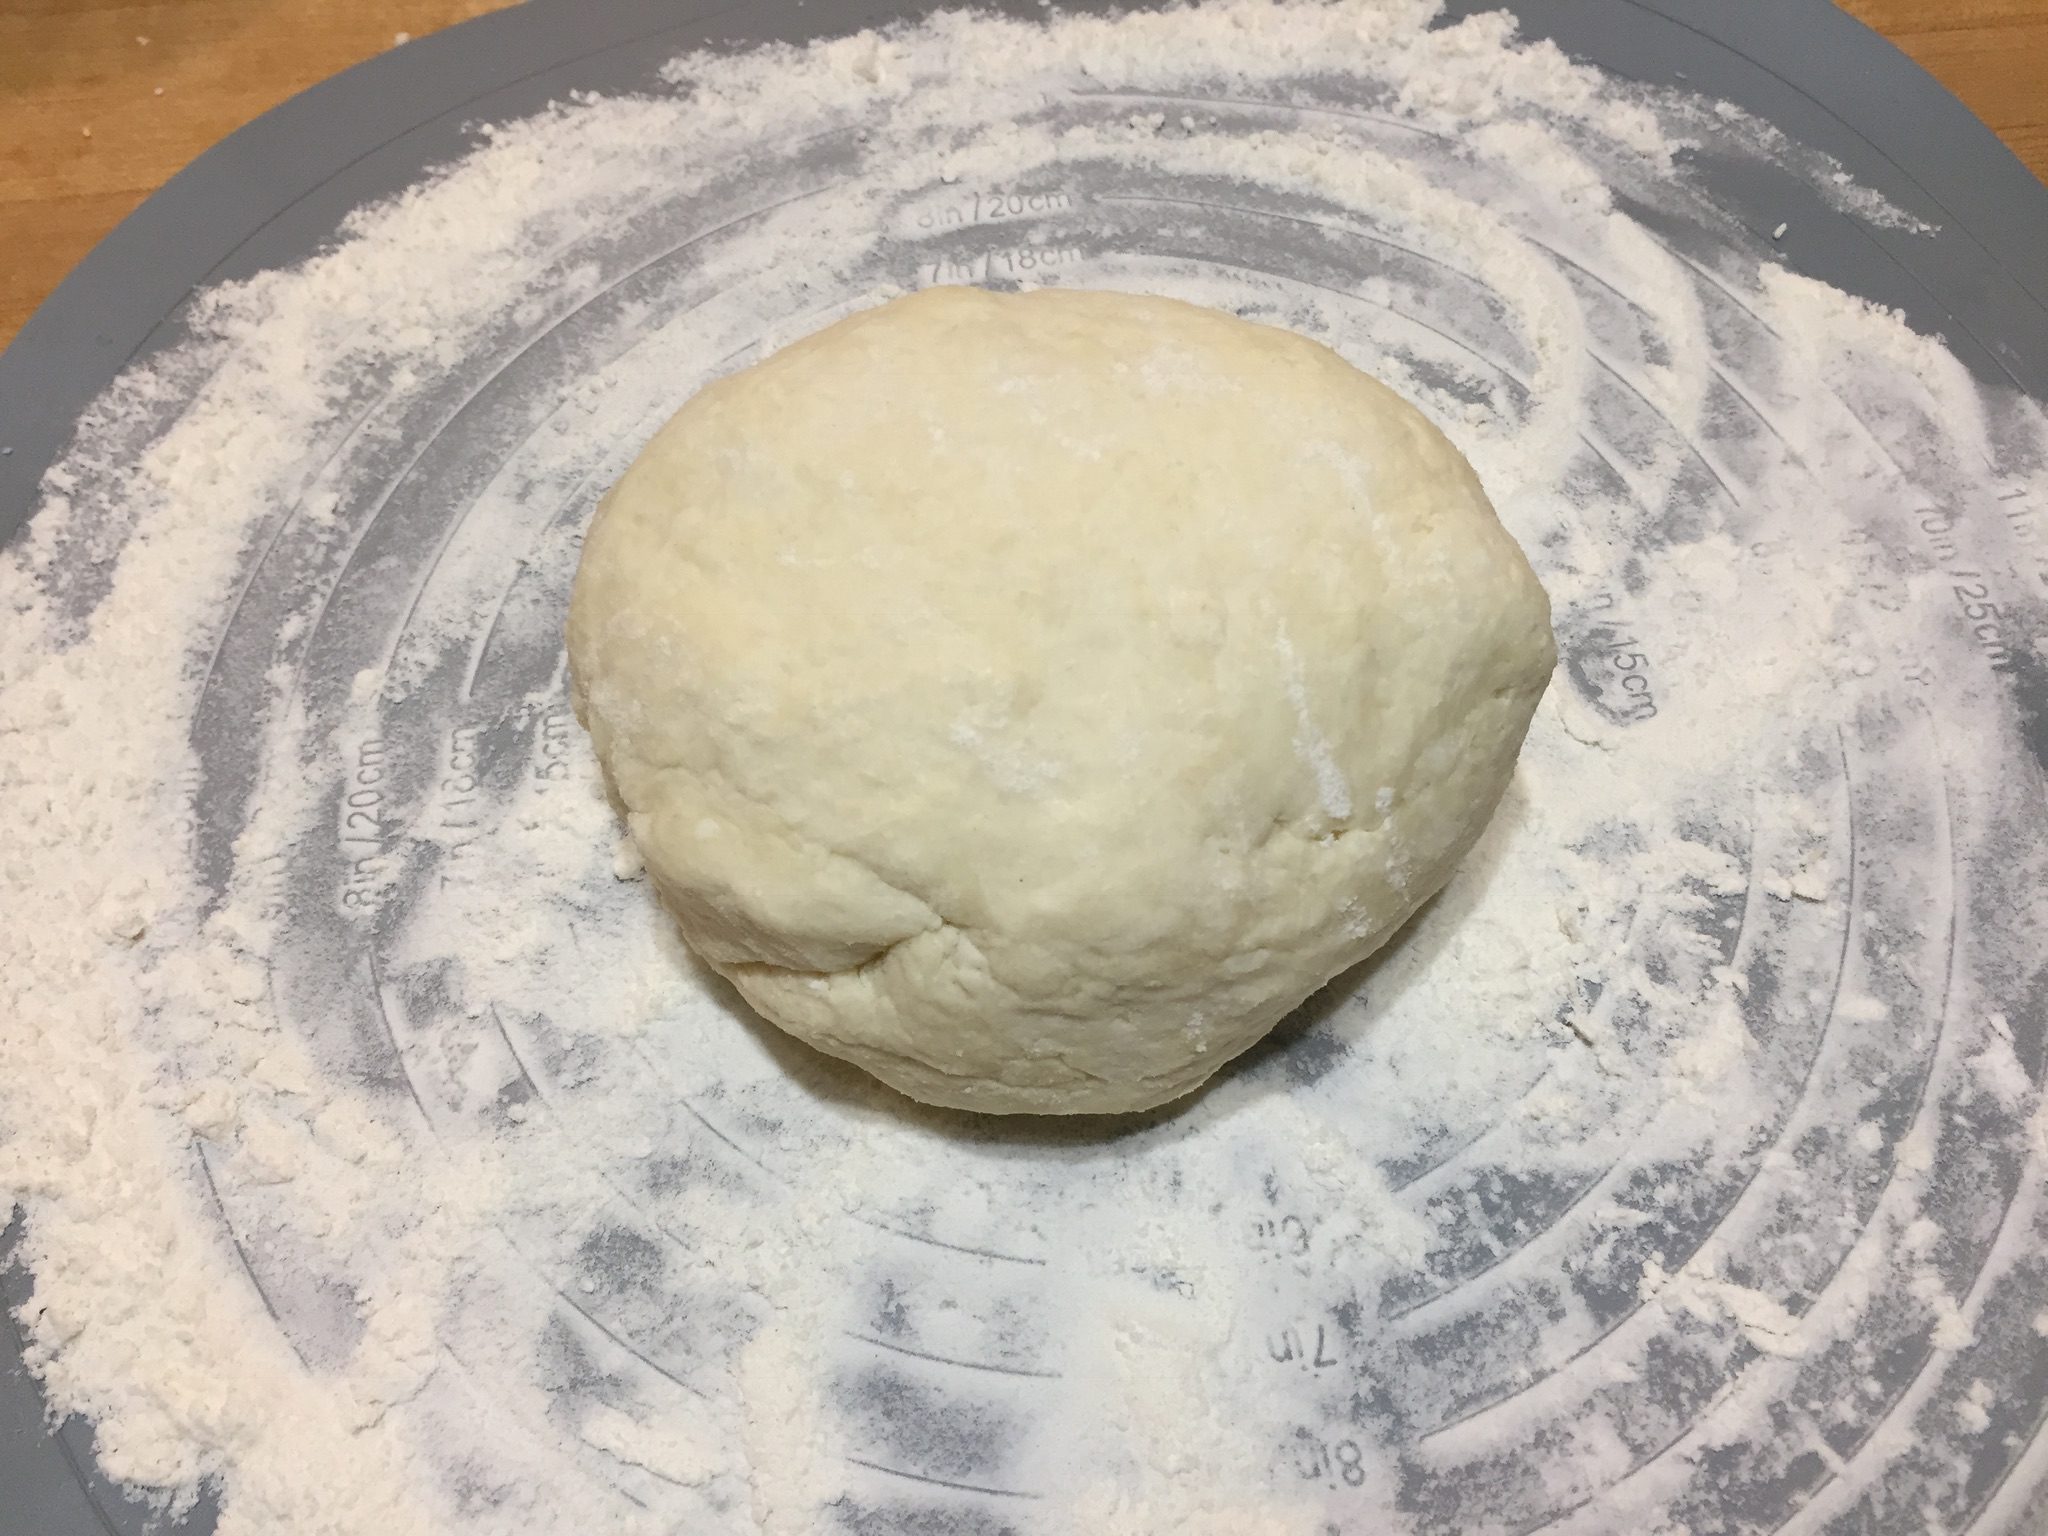
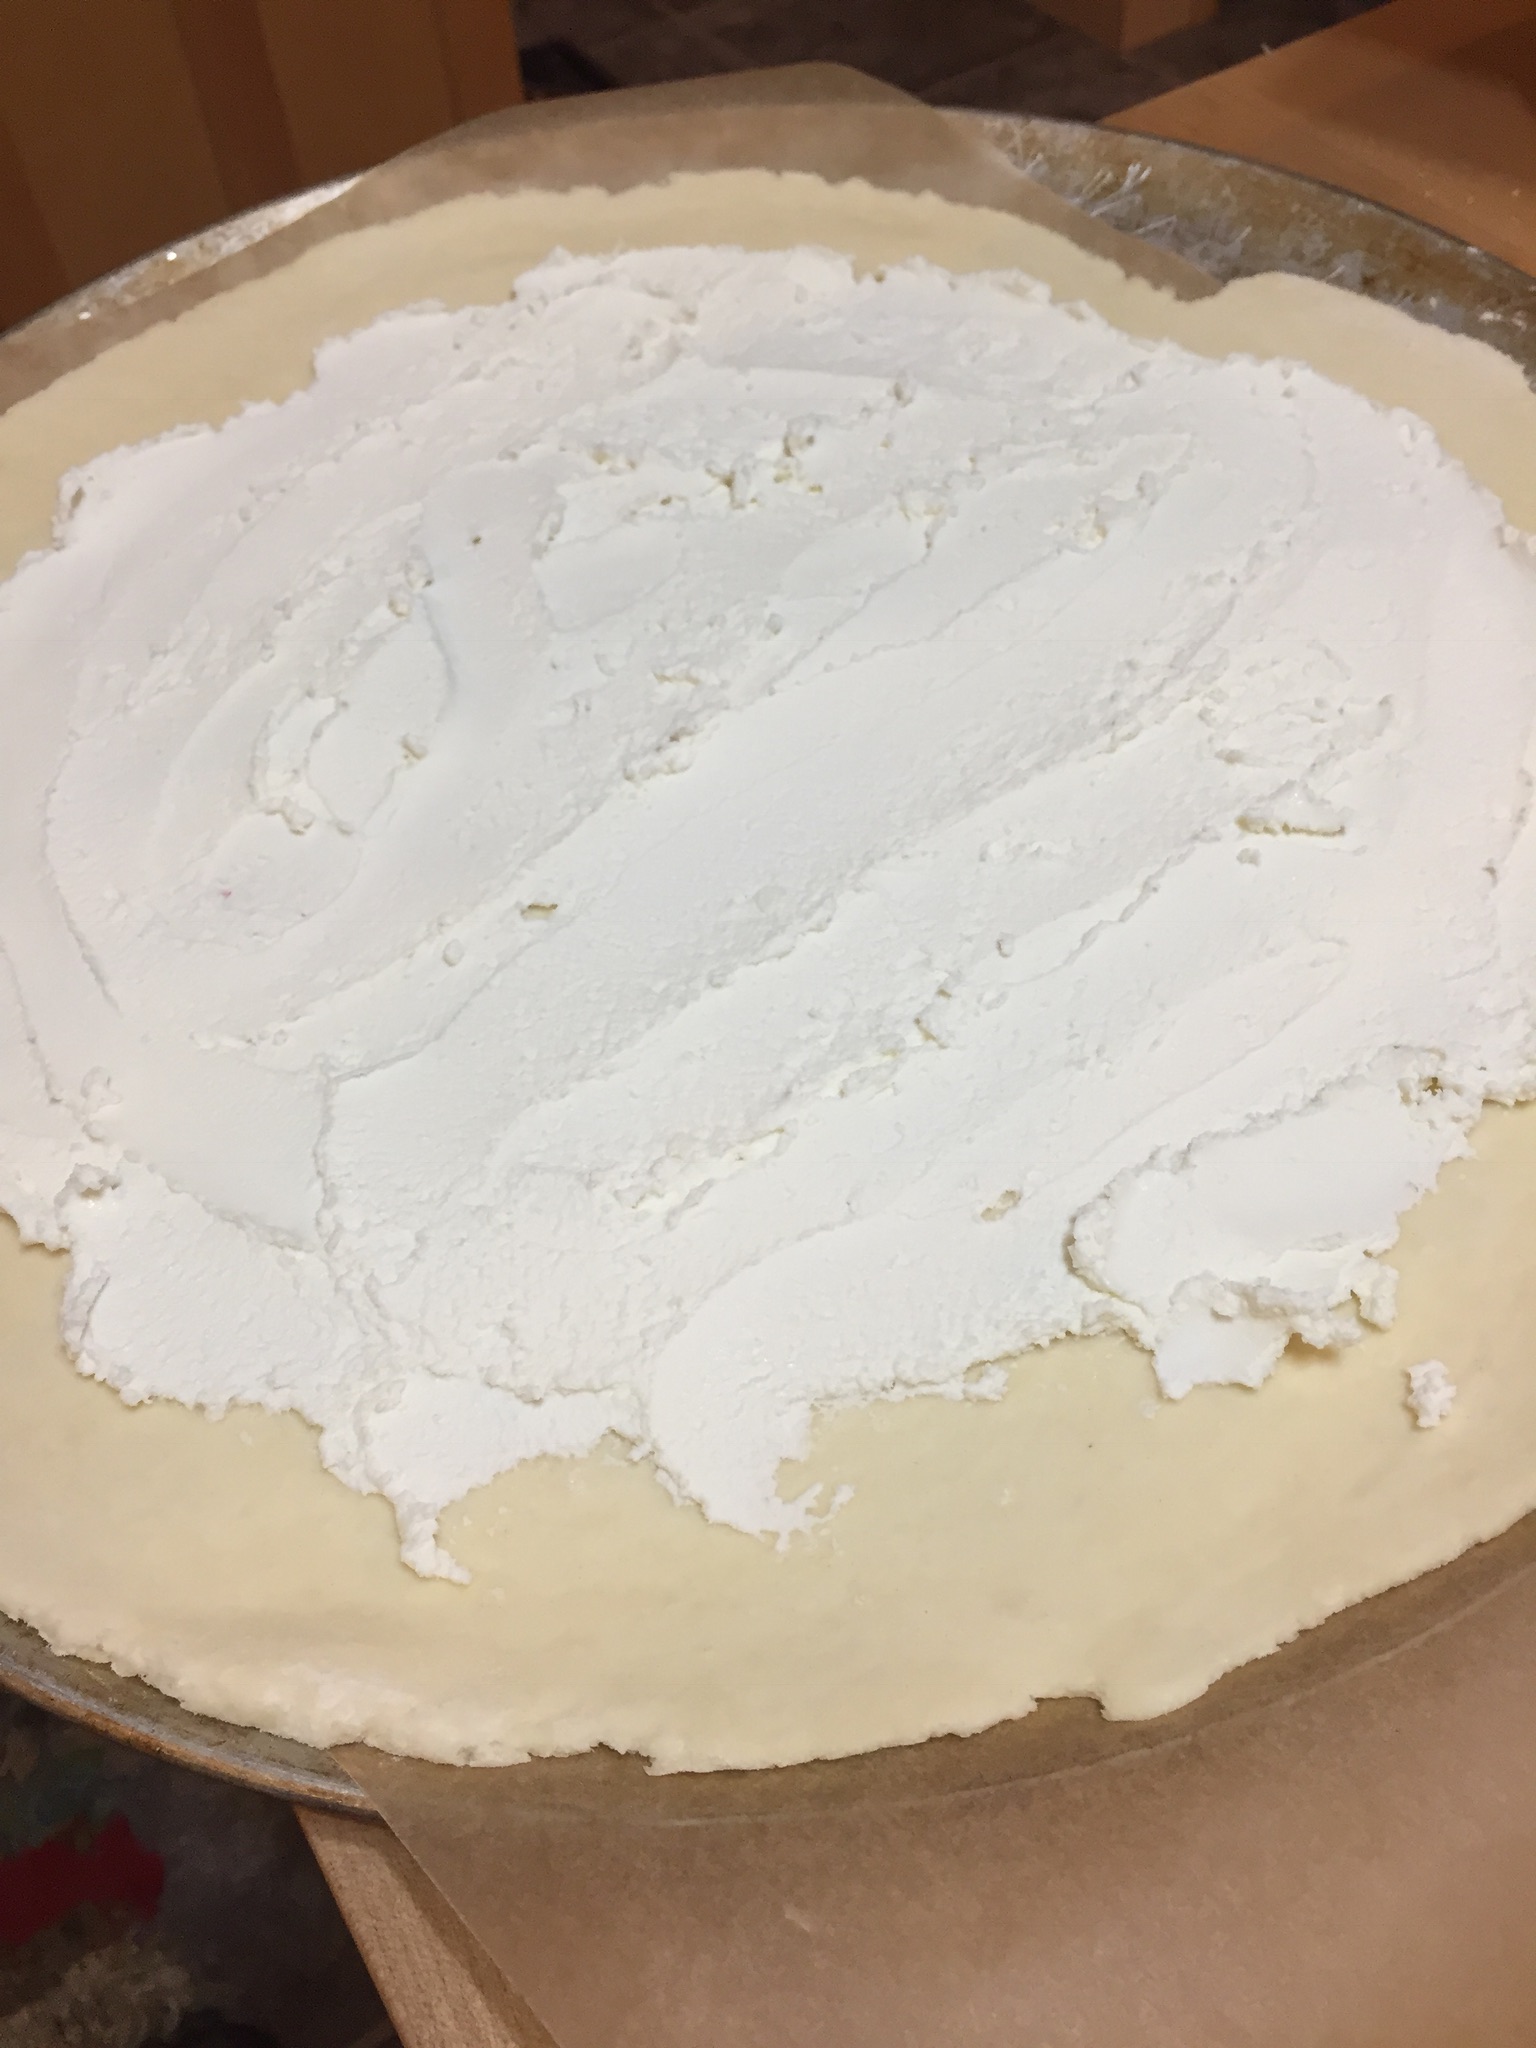
Roll the dough out into a 16 inch round.  Place the round on parchment paper and spread with the softened goat cheese.

Halve the tomatoes and dice the prosciutto.  Toss them with the vegetables.

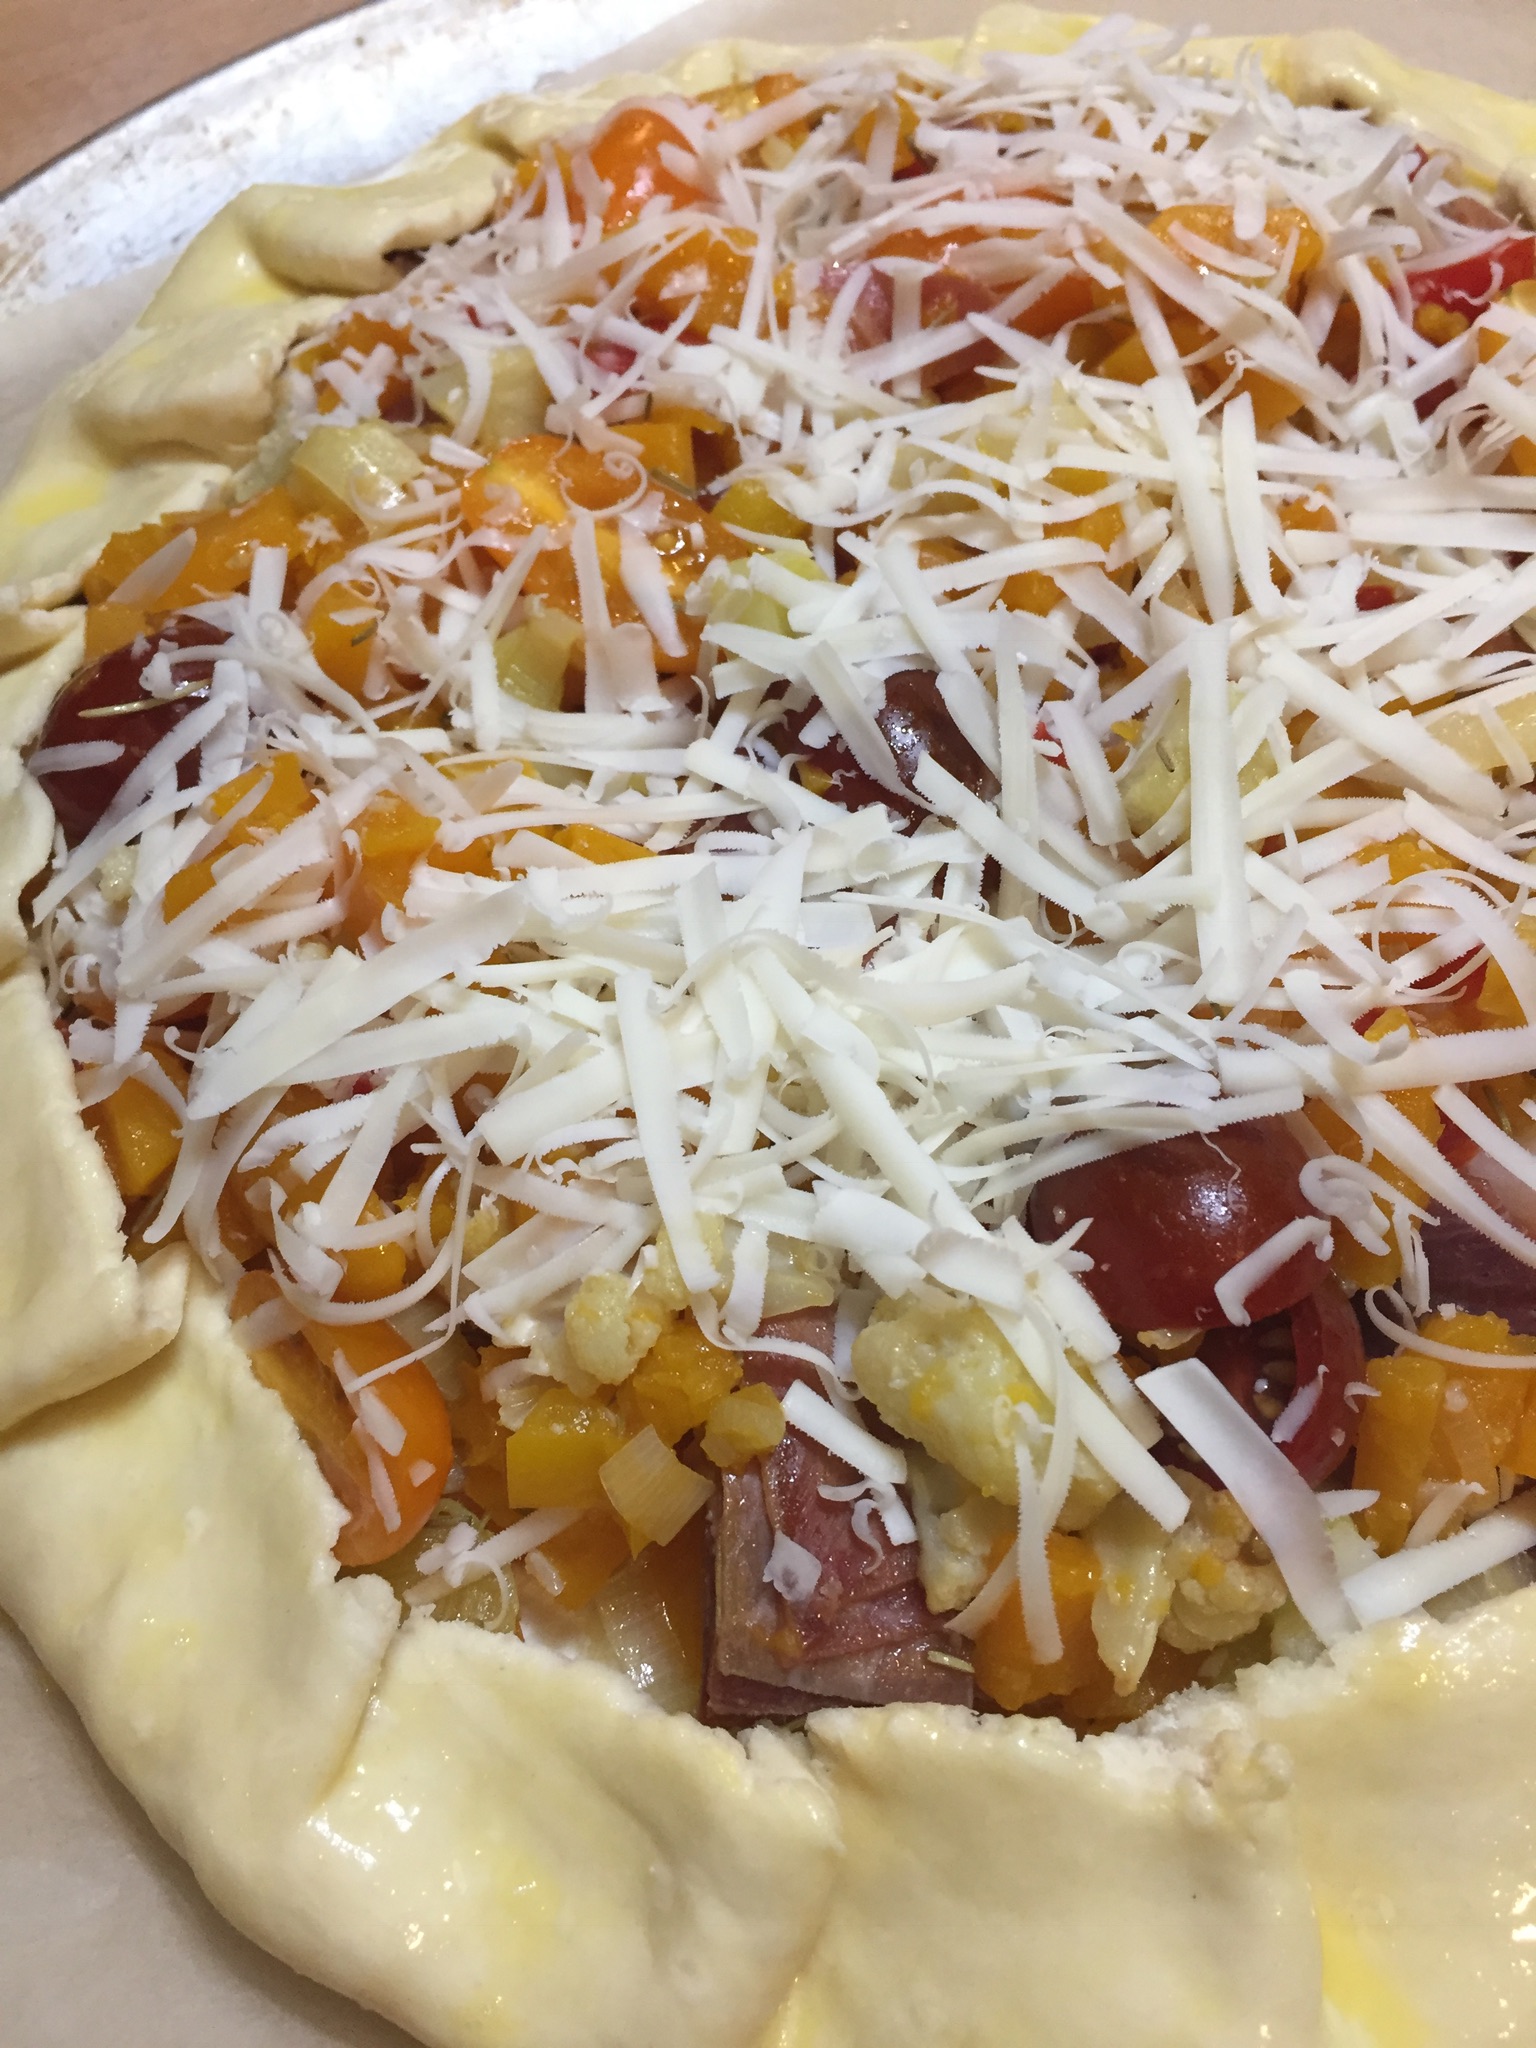
Heap the vegetables and prosciutto on the goat cheese leaving about a two inch border.  Sprinkle with a little shredded asiago cheese.

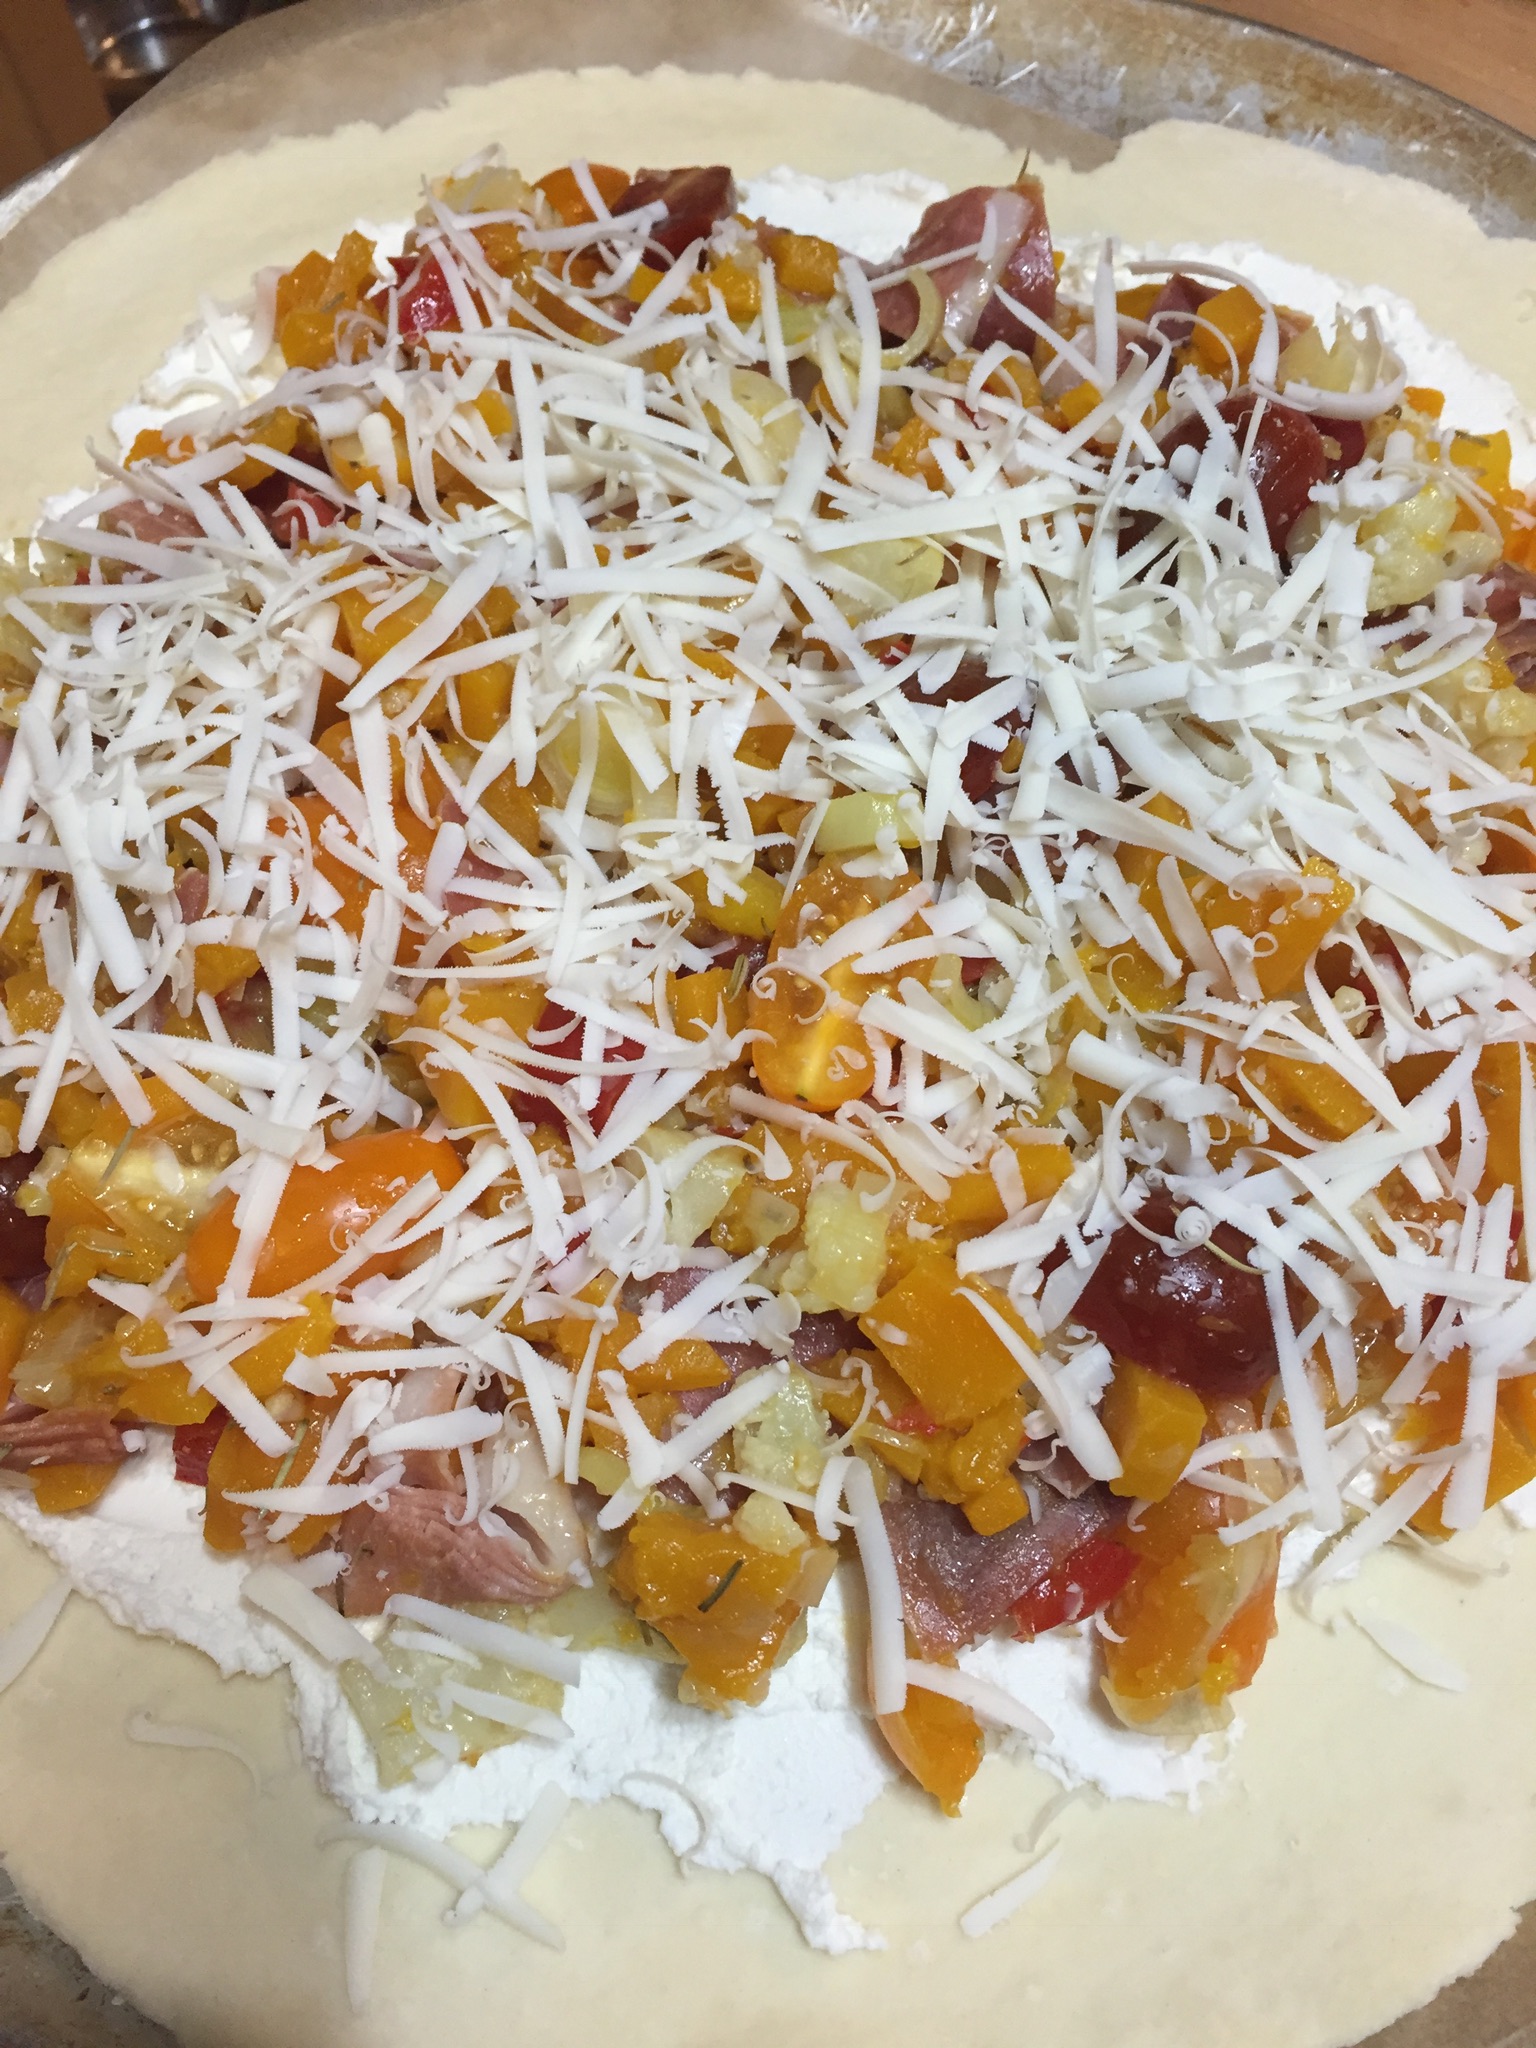
Fold the edges of the dough over the edge of the filling.  Whisk together one egg and a tablespoon of water and brush the edges of the dough with the egg wash.

Bake for 35-45 minutes until the crust is golden brown.  Allow the tart to cool for 10 minutes before serving.

Slice and serve with a fresh fruit cup or salad.  We had ours with a side of applesauce.

NOTE:  I put the goat cheese in the microwave for a few seconds on the defrost setting so that it would spread on the crust more easily.

Any combination of vegetables equaling 5 cups is the perfect proportion (not including the tomatoes).  Brussel sprouts, carrots, golden beets, sweet potato, fennel, broccoli…any of those would work.  I used nearly triple the goat cheese called for in the original recipe and I thought that was perfect.  You can also change up the herbs and use basil, oregano or dill.

The Cook Fresh magazine was a great impulse buy!!!


Pea Soup (Hernerakkaa)

Pea soup.  It’s something you either love or hate.  Pea soup is something you will find in almost every Finnish cookbook.  In The Finnish Cookbook by Beatrice Ojakangas she calls pea soup hernerakkaa.  Interestingly, in Finland it is a traditional Thursday supper followed by baked pancakes with homemade jam for dessert.  Many of the pea soup recipes I read call for adding a couple dollops of whipped cream just before serving.  Finnish pea soup is also served with a side of spicy mustard and that is added at the table based on personal taste.  Some of the Finnish pea soup recipes included meat, others did not.  Pea soup is one of my dad’s favorites and mine as well.  My immediate family eats it but I’m not sure it ranks in their top five soup choices.  I say my immediate family because I’m quite certain none of my brothers would eat it.  My daughter posted a picture of their homemade pea soup a week or so ago and I decided I needed to make a pot.  I had a beautiful, meaty pork hock in the freezer and a bag of Michigan split peas so I was all set.  I decided to make my soup in the pressure cooker but I first cooked my ham shank which was a good decision.

Split peas do not require soaking.  Just put them in a colander and rinse them well.

Ingredients:

Pork hock or ham bone

1 pound of split peas

4 cups of water

4 cups of chicken broth

3 T butter

1 medium onion finely diced

1 cup of finely diced carrots

1 cup of finely diced celery

3 or 4 cloves of garlic minced

1 cup of diced potato (peeled and rinsed)

2 bay leaves

salt and pepper to taste

I used my electric pressure cooker which I think works great for dishes like this.  I put the pork hock in the cooker, added 4 cups of water and set it on high pressure for 20 minutes and allowed the cooker to release naturally.

The meat fell off the bone and I had 4 cups of excellent broth to start my soup.

Heat the 3 tablespoons of butter in the pressure cooker using the saute setting.  Saute the onion, carrots, and celery for 2-3 minutes until tender.  Add the garlic and saute for another minute.

Add the diced meat and potato.

Add the peas that you’ve rinsed well, the bay leaves, the 4 cups of pork broth and 2 cups of the chicken broth.

Set the pressure canner for 20 minutes on high pressure.  Do a quick release.

Scoop out a little for a taste.  Add additional salt and pepper if needed.

I added 2 more cups of chicken broth at this point.  Leave the pressure cooker setting on warm until you’re ready to serve.  Ladle into bowls and serve with homemade croutons or crusty bread.  Maybe the next time I make pea soup I’ll whip up some heavy cream and stir a good size dollop in each bowl.  And put the spicy mustard out for an authentic Finn bite.

NOTE:  Once this sits over night the flavors are even better but it also thickens even more.  You could slice the soup!  Prior to serving the leftovers stir in additional broth or water.  The next time I make this I may use a quarter less peas.

You can make this in a dutch oven on top of the stove if you don’t have a pressure cooker or instant pot.  I would still recommend starting the ham hock first.

Pillow Cases

A couple months ago I went, with my KnitWit friends, to a big quilt show.   I am not a quilter but I love to go and see the works of art that other people create.  And they are truly works of art.  There are always lots of vendors selling everything to do with fabric at these show and I picked up a kit to make two pillow cases.  How hard can that be you ask??  Well.  I am a visual learner and the written instructions were challenging me so my good friend Sydney came over and gave me a tutorial.  Once I watched her I was good to go.  I made the set I purchased at the quilt show and a couple other sets since.

For my beer loving kids.

For my surrogate grandchildren.  One was having some bad dreams and I’m hoping her special pillow case brings only sweet dreams.

For my niece’s daughter (and son) who love monkeys.

A really fun and practical thing to do is to make pillow cases and use them for gift bags for birthdays, Christmas or other special occasions.  My sewing tutor Sydney gets credit for that awesome idea!

Because I’m a visual learner, and maybe you are too, I’m going to include step by step photo instructions.  It’s also in case I don’t make any for awhile and forget how to make them.  These instructions are a combination of two different patterns.

You’ll need 3 pieces of fabric.  And LOTS of pins.

7/8 yard (31.5) inches for the pillowcase body

1/4 yard (9 inches) for the band

3 inches for contrasting band

Fold the 3 inch piece of fabric in half with wrong sides together and press.  Lay the band right side up and pin the contrasting band to the top matching the raw edges.

Place the pillow case fabric, wrong side up, on top of the first two pieces, keeping all of the raw edges even.  Pin all the layers.  (For directional fabric, top of the fabric should match the top raw edges.)

Now you do the roll.  Roll the pillow case fabric up from the bottom to the top, stopping short of the pinned area.

Fold the bottom raw edge of the band to meet the top raw edges and pin all raw edges together.  The pillowcase fabric is now inside the tube.

Sew a 1/4 inch seam backspacing at each end.

Pull the fabric out of the tube.

Press and fold in half with wrong sides together matching raw edges.  Sew a 1/4 inch seam along the side and bottom.  Start at the band to ensure that the seams match.

Turn the pillowcase so that the right side is in and sew a 3/8 inch seam along the side and bottom.  Turn the pillowcase right side out and press.

Voila!!!!  A beautiful French seamed pillowcase.