A couple months ago I went, with my KnitWit friends, to a big quilt show. I am not a quilter but I love to go and see the works of art that other people create. And they are truly works of art. There are always lots of vendors selling everything to do with fabric at these show and I picked up a kit to make two pillow cases. How hard can that be you ask?? Well. I am a visual learner and the written instructions were challenging me so my good friend Sydney came over and gave me a tutorial. Once I watched her I was good to go. I made the set I purchased at the quilt show and a couple other sets since.
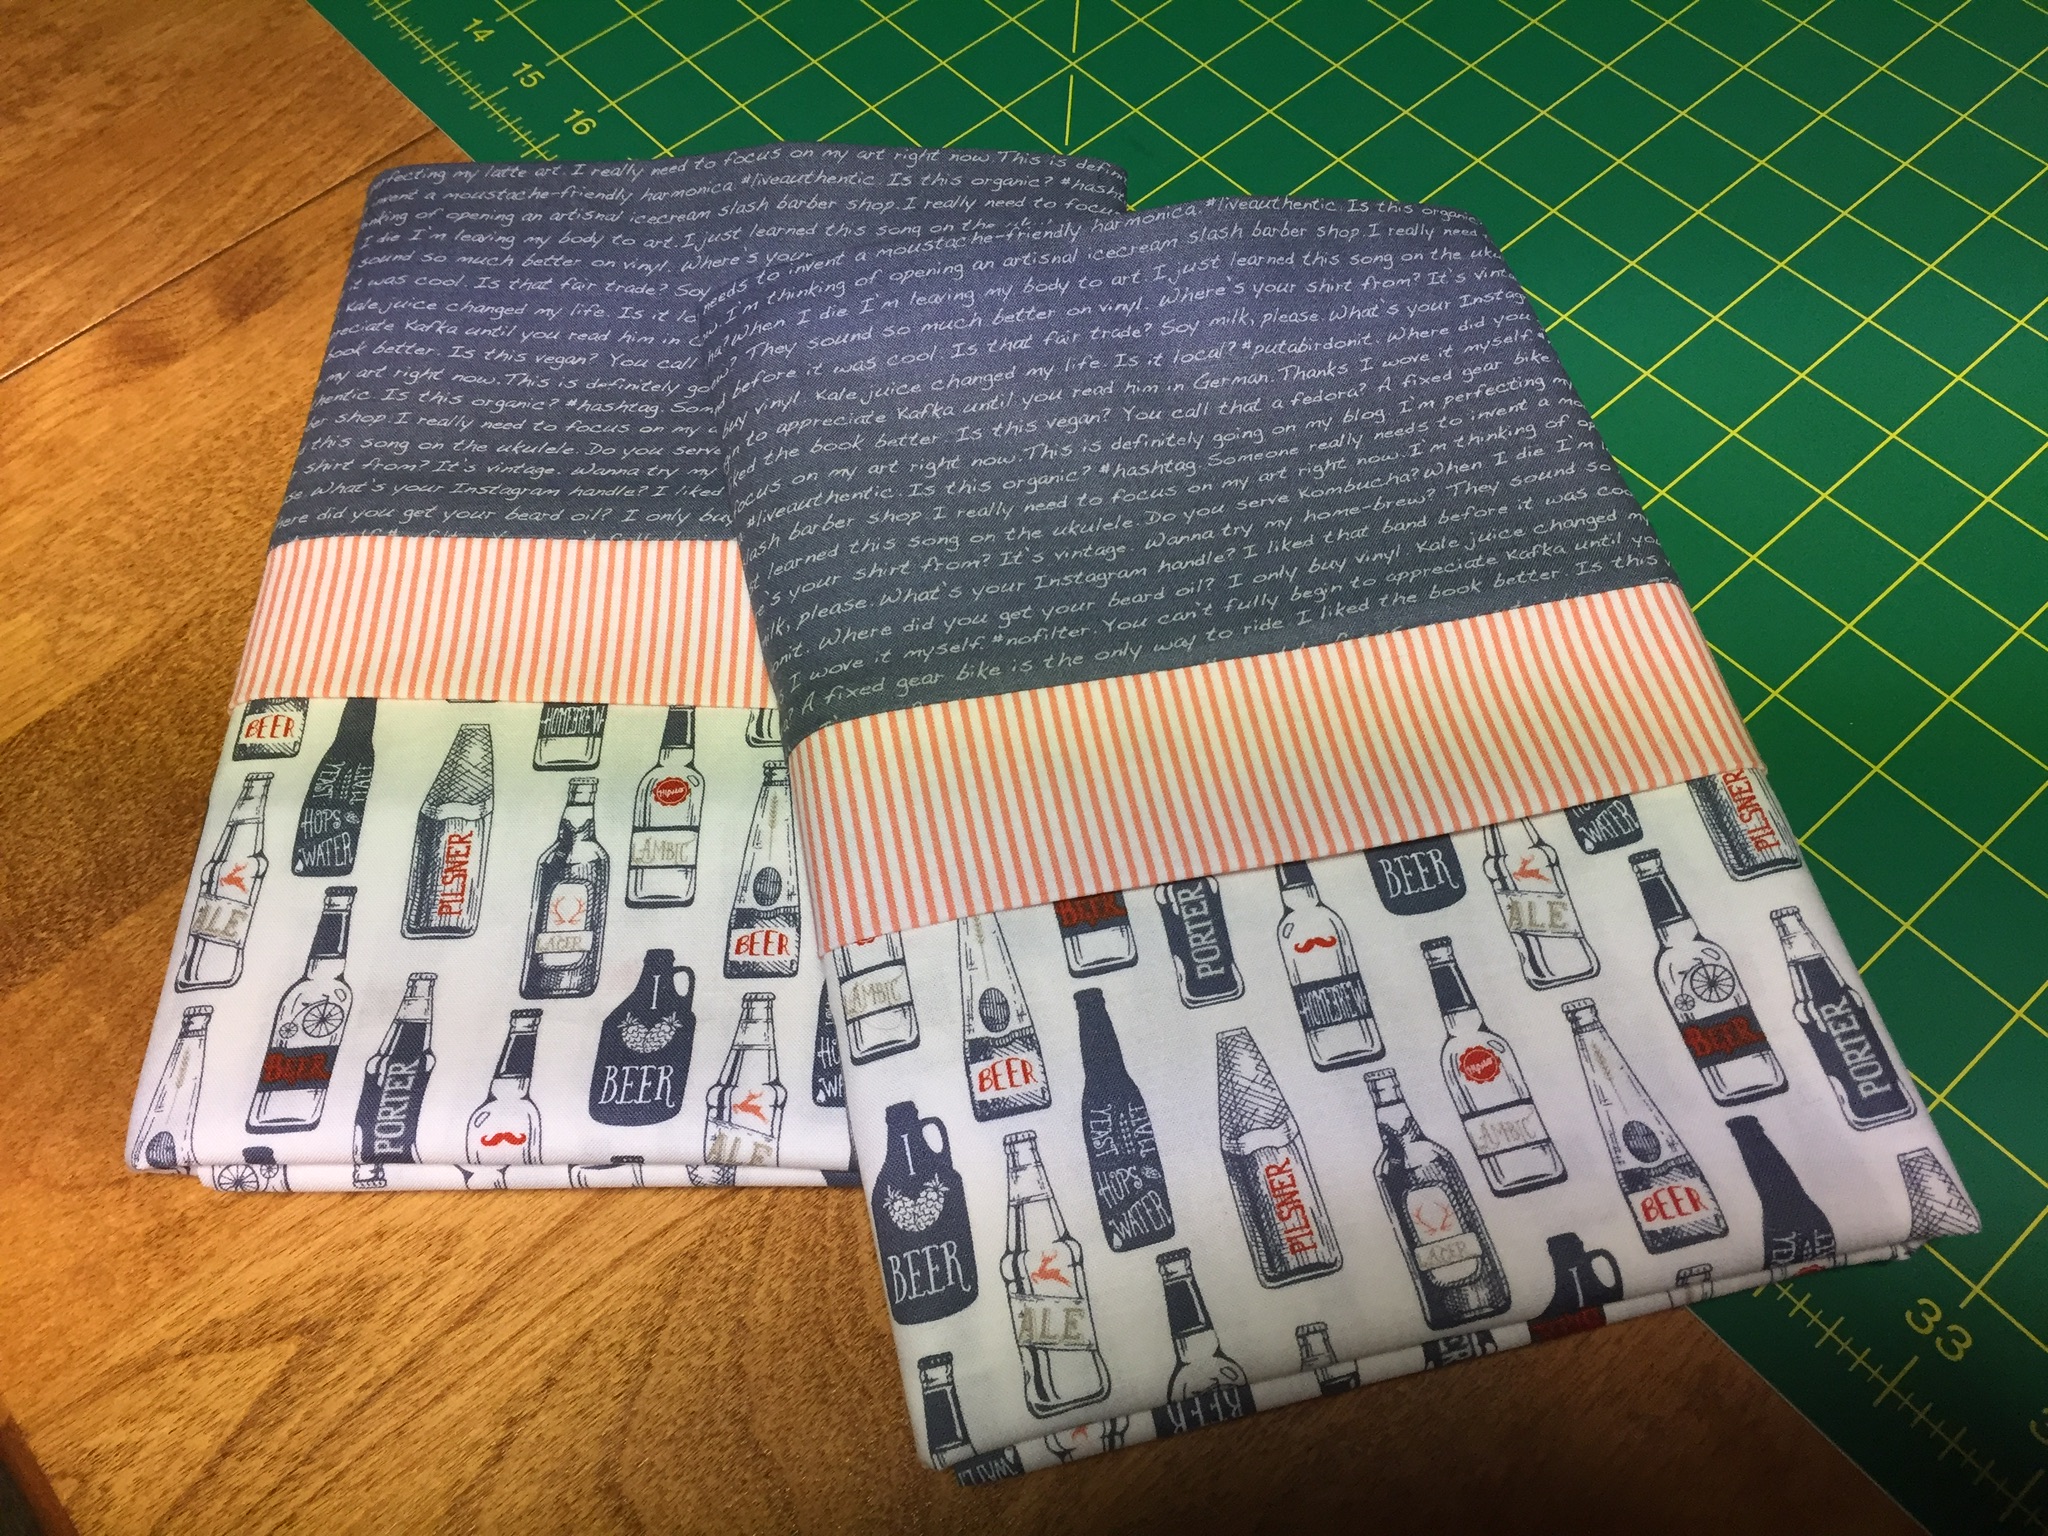
For my beer loving kids.


For my surrogate grandchildren. One was having some bad dreams and I’m hoping her special pillow case brings only sweet dreams.

For my niece’s daughter (and son) who love monkeys.
A really fun and practical thing to do is to make pillow cases and use them for gift bags for birthdays, Christmas or other special occasions. My sewing tutor Sydney gets credit for that awesome idea!
Because I’m a visual learner, and maybe you are too, I’m going to include step by step photo instructions. It’s also in case I don’t make any for awhile and forget how to make them. These instructions are a combination of two different patterns.
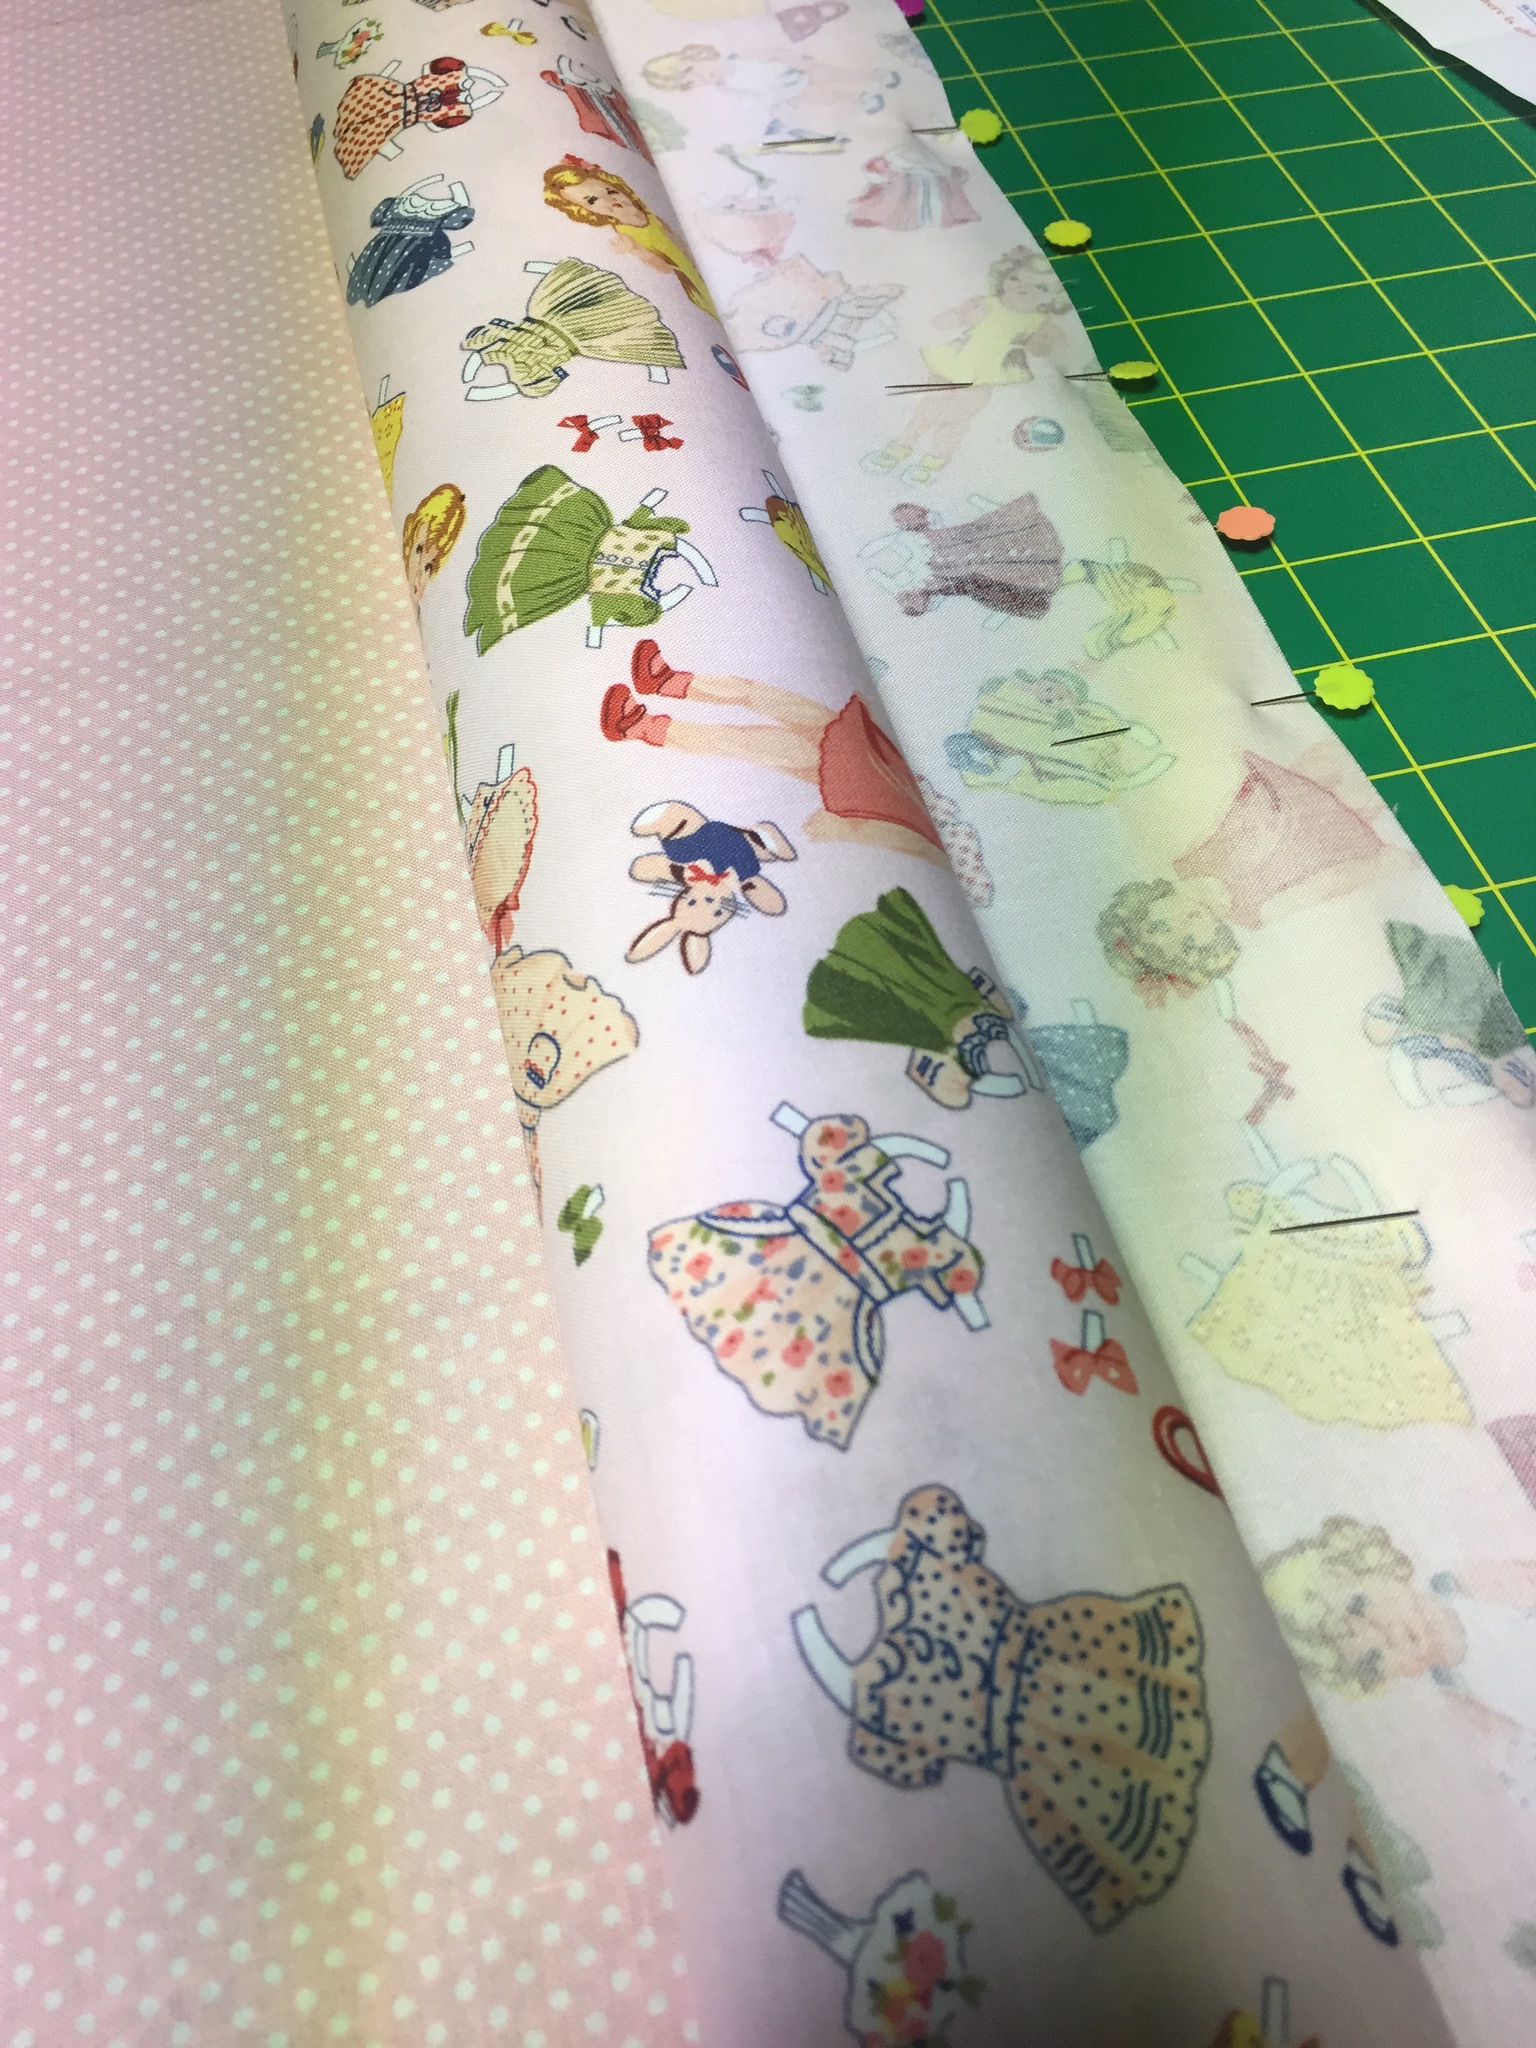
You’ll need 3 pieces of fabric. And LOTS of pins.
7/8 yard (31.5) inches for the pillowcase body
1/4 yard (9 inches) for the band
3 inches for contrasting band
Fold the 3 inch piece of fabric in half with wrong sides together and press. Lay the band right side up and pin the contrasting band to the top matching the raw edges.
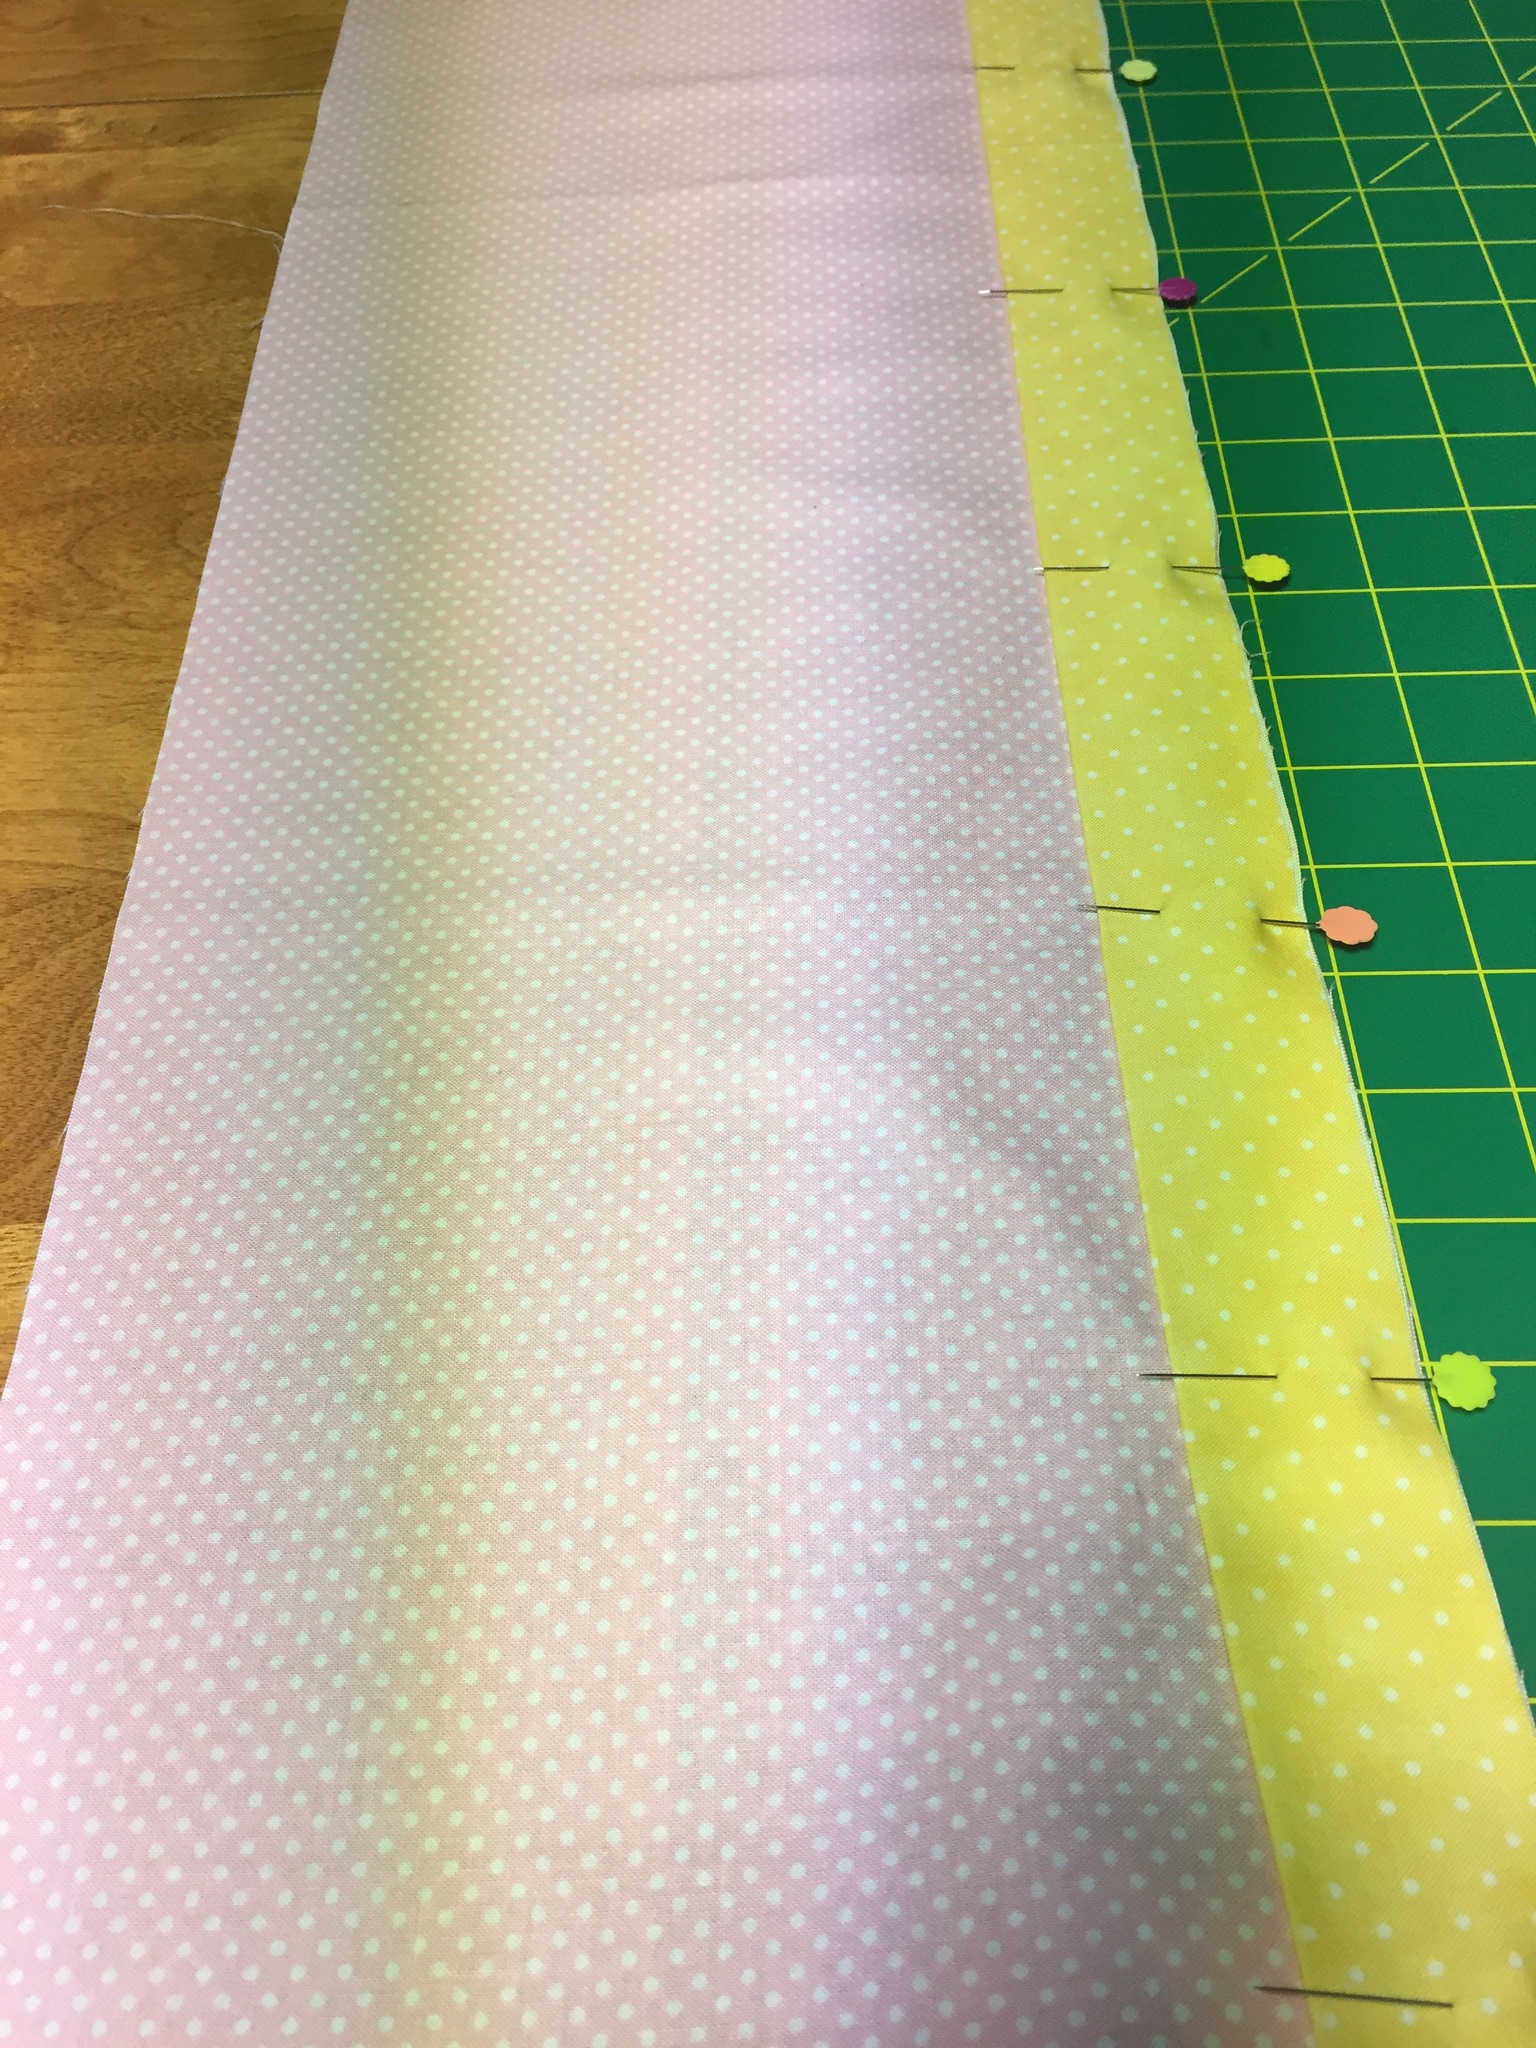
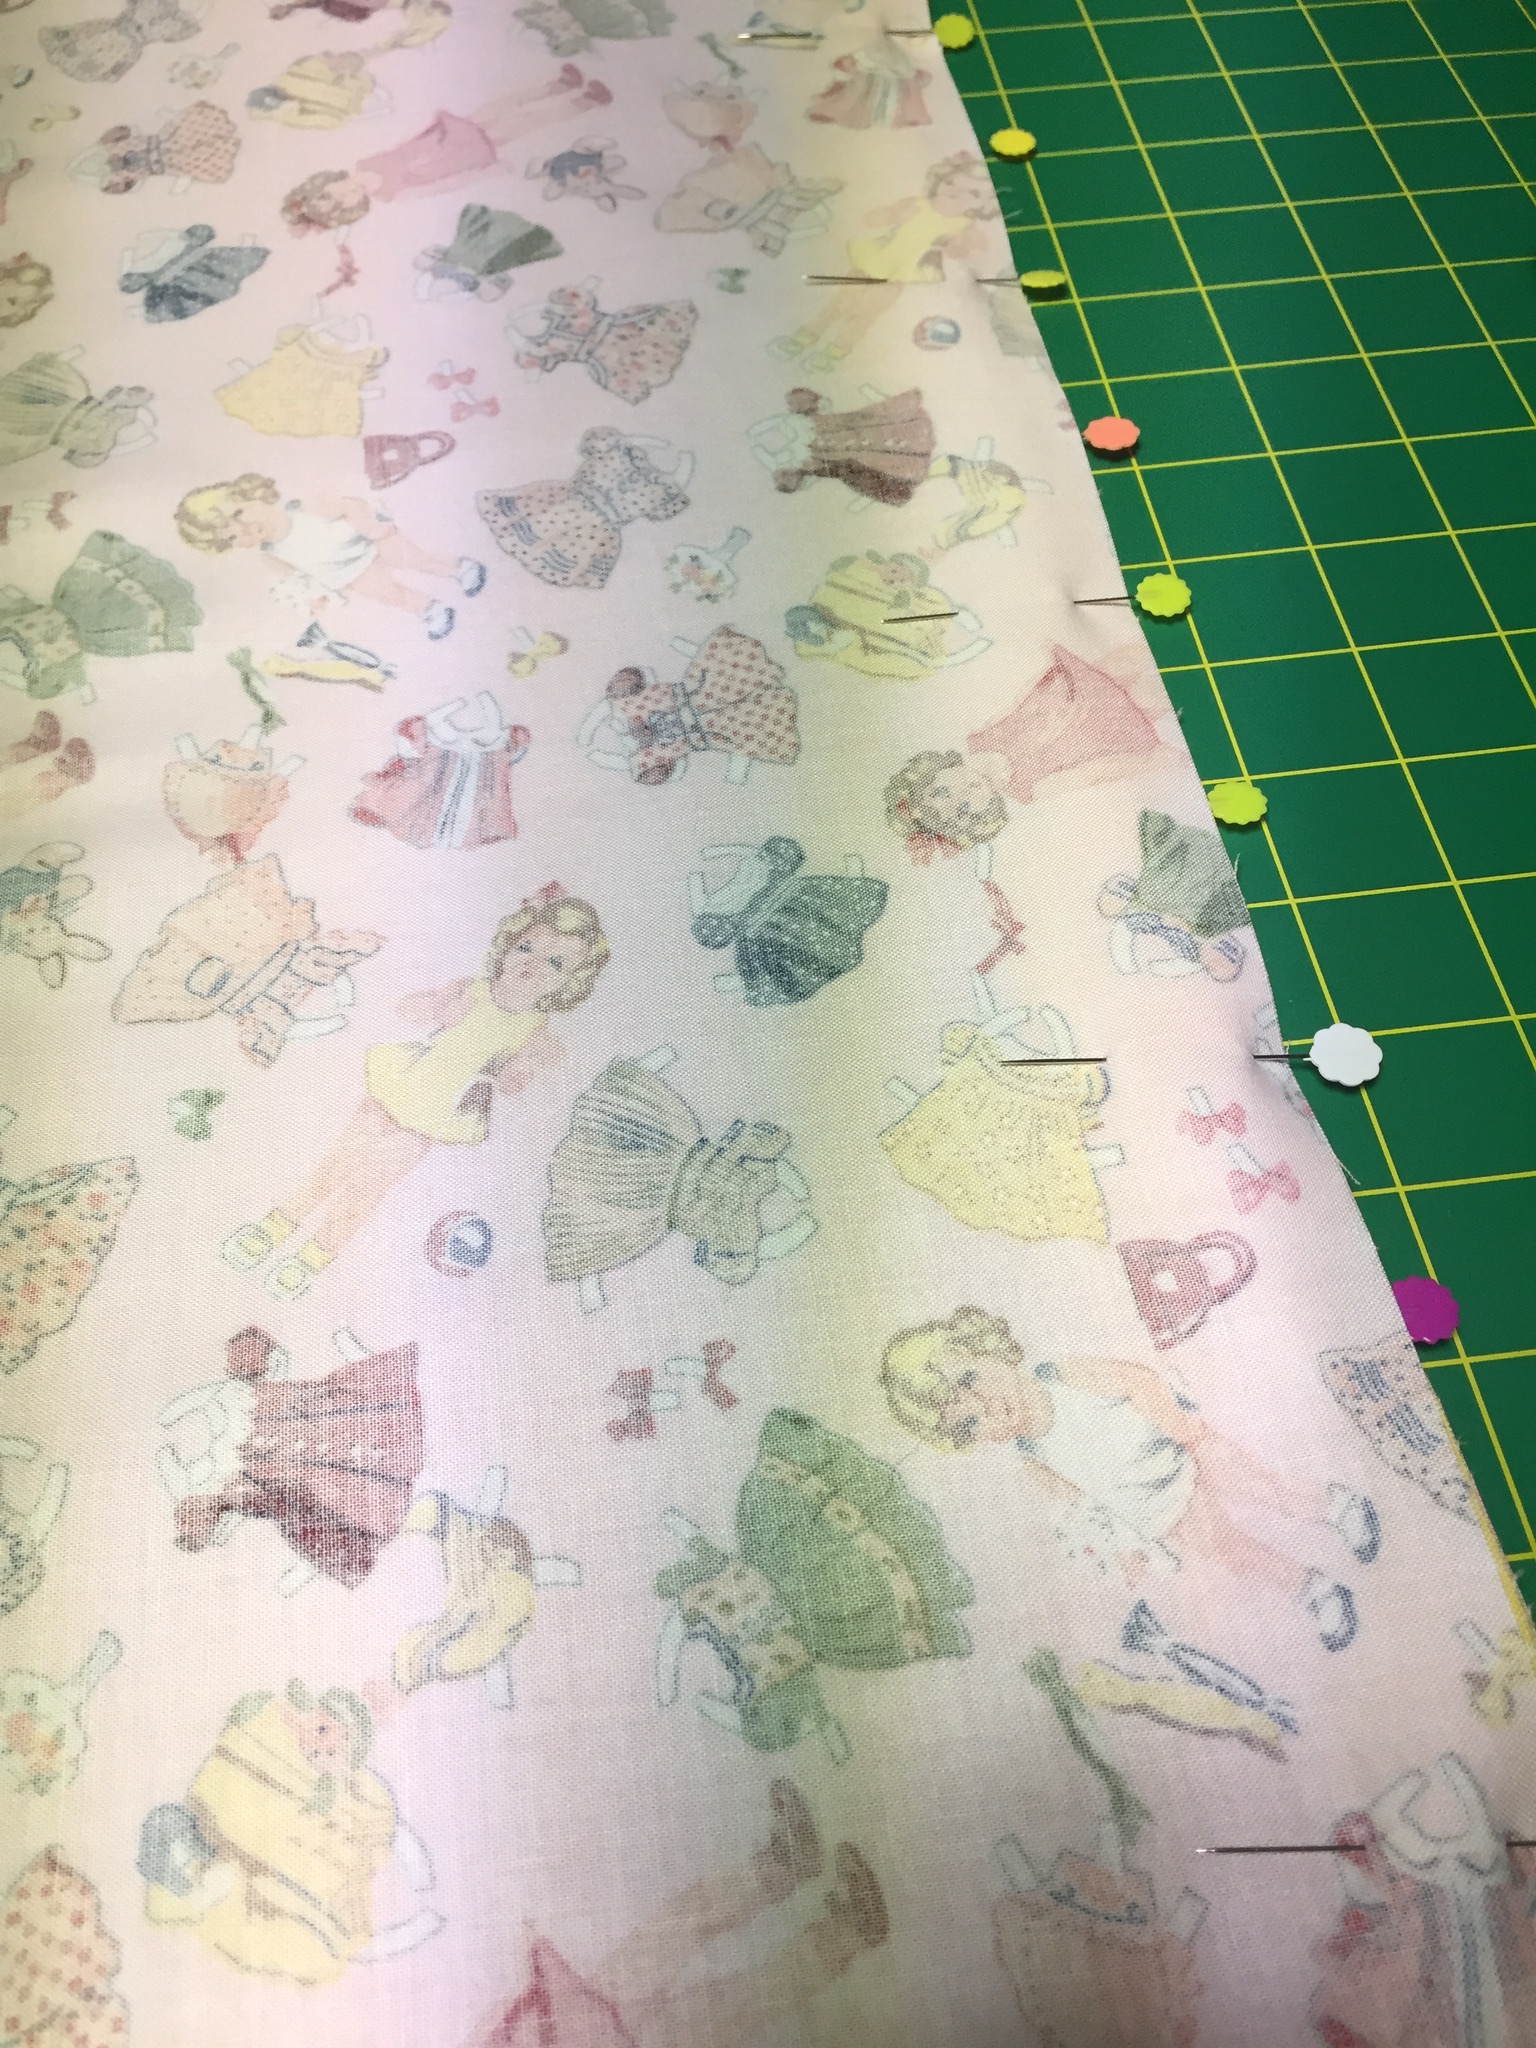
Place the pillow case fabric, wrong side up, on top of the first two pieces, keeping all of the raw edges even. Pin all the layers. (For directional fabric, top of the fabric should match the top raw edges.)
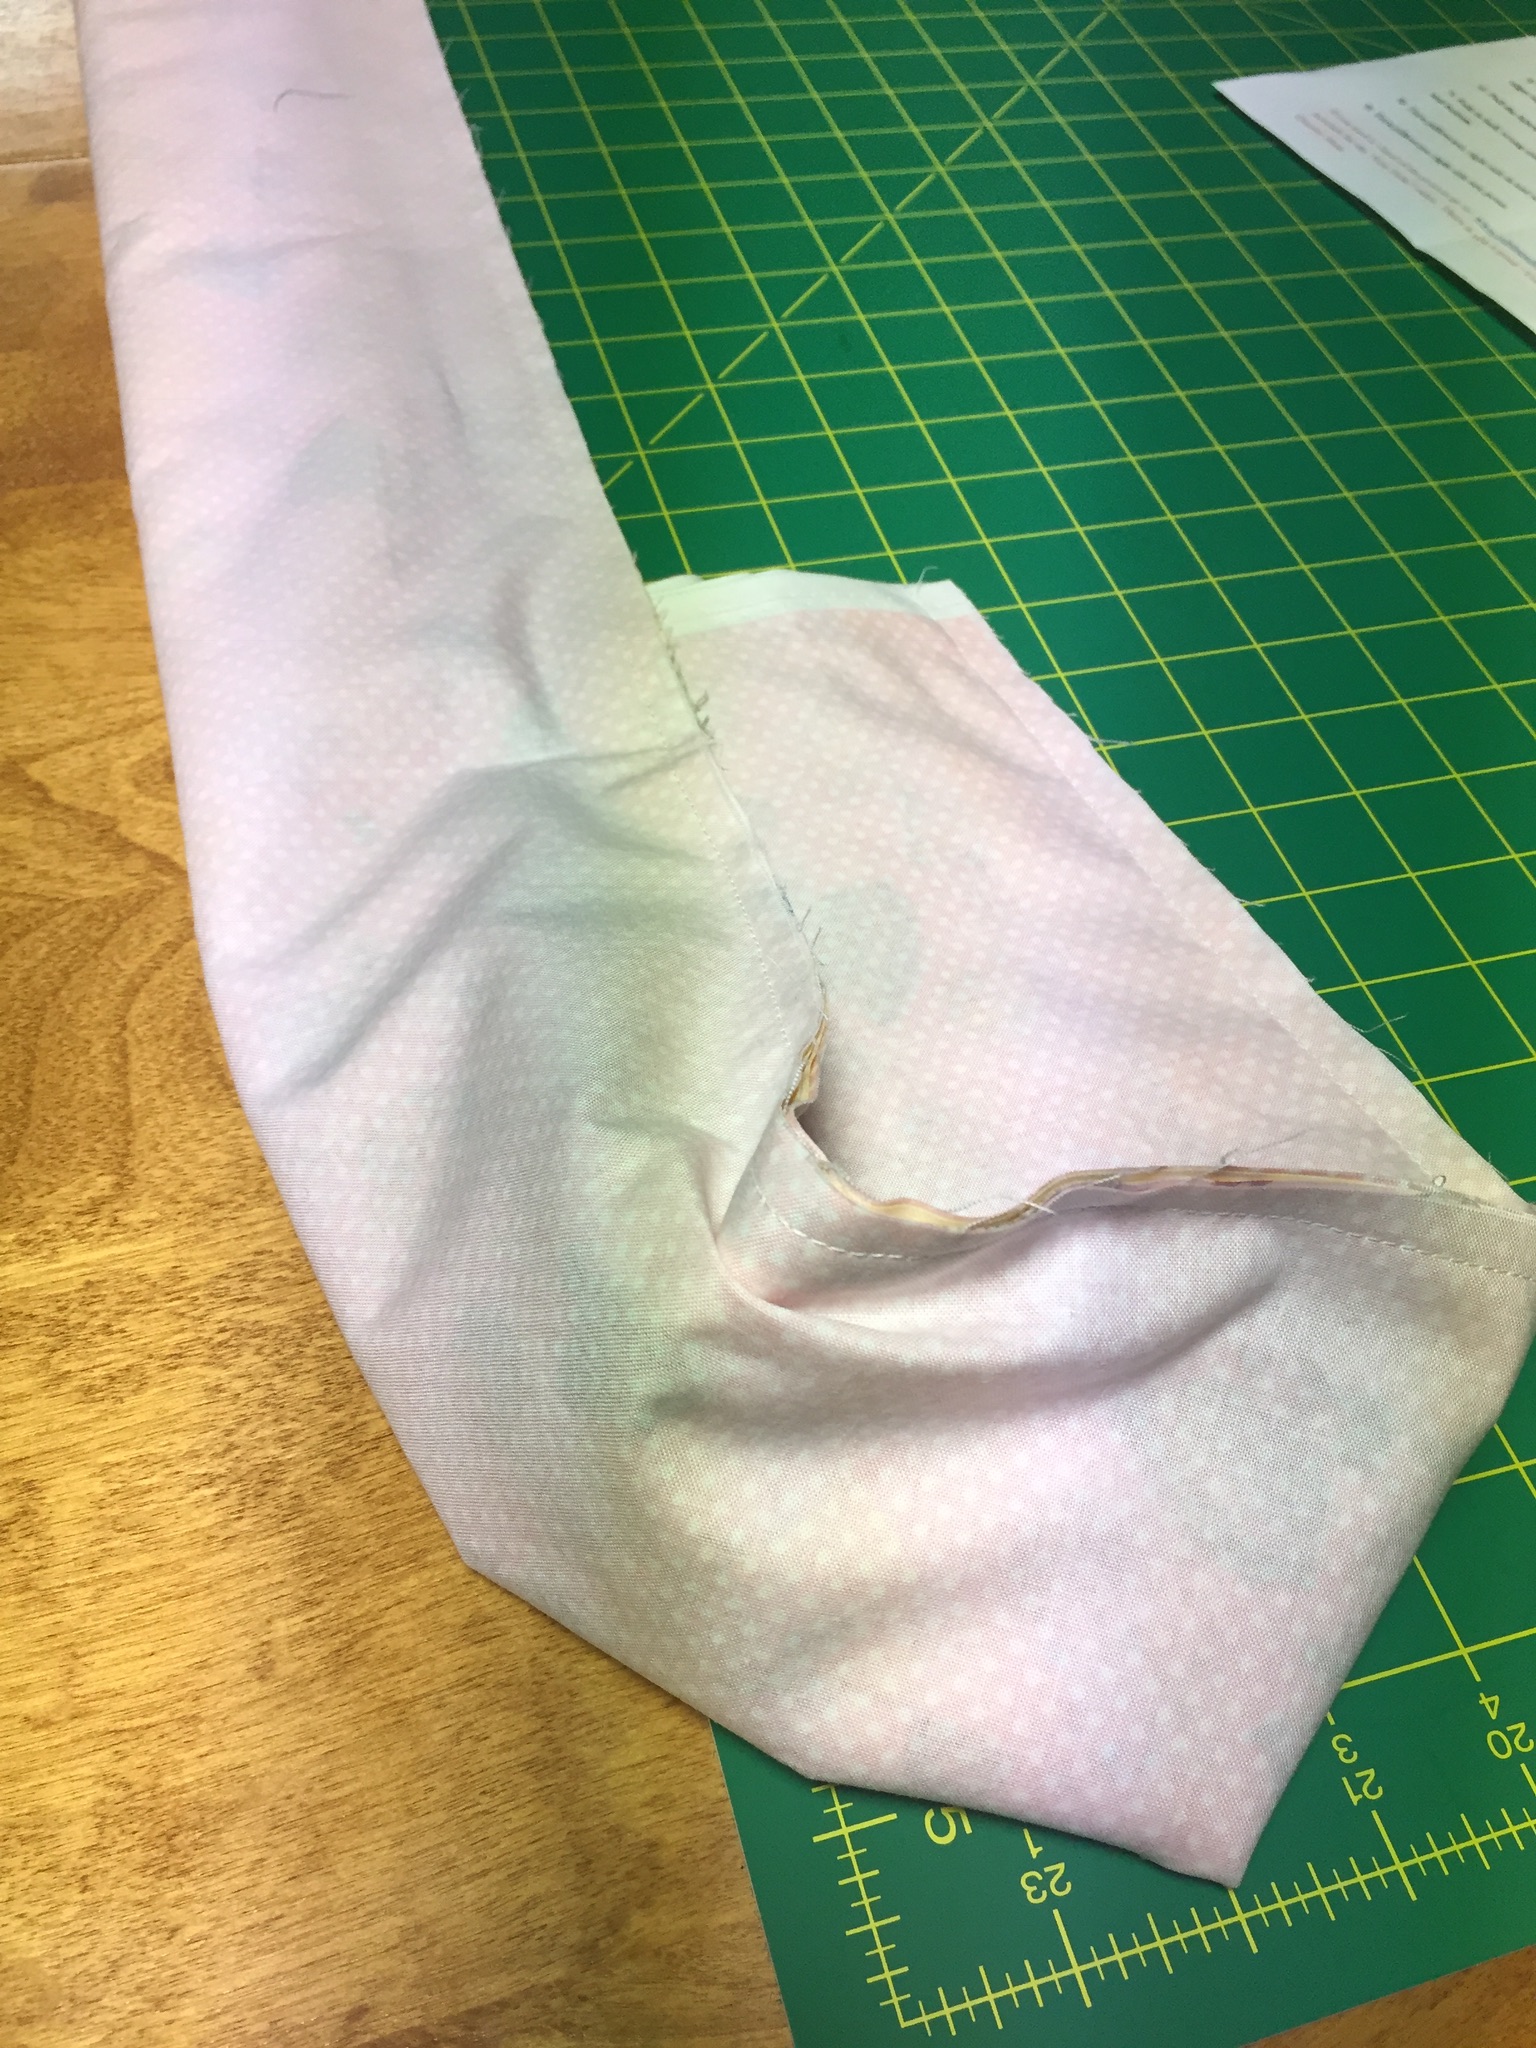
Now you do the roll. Roll the pillow case fabric up from the bottom to the top, stopping short of the pinned area.
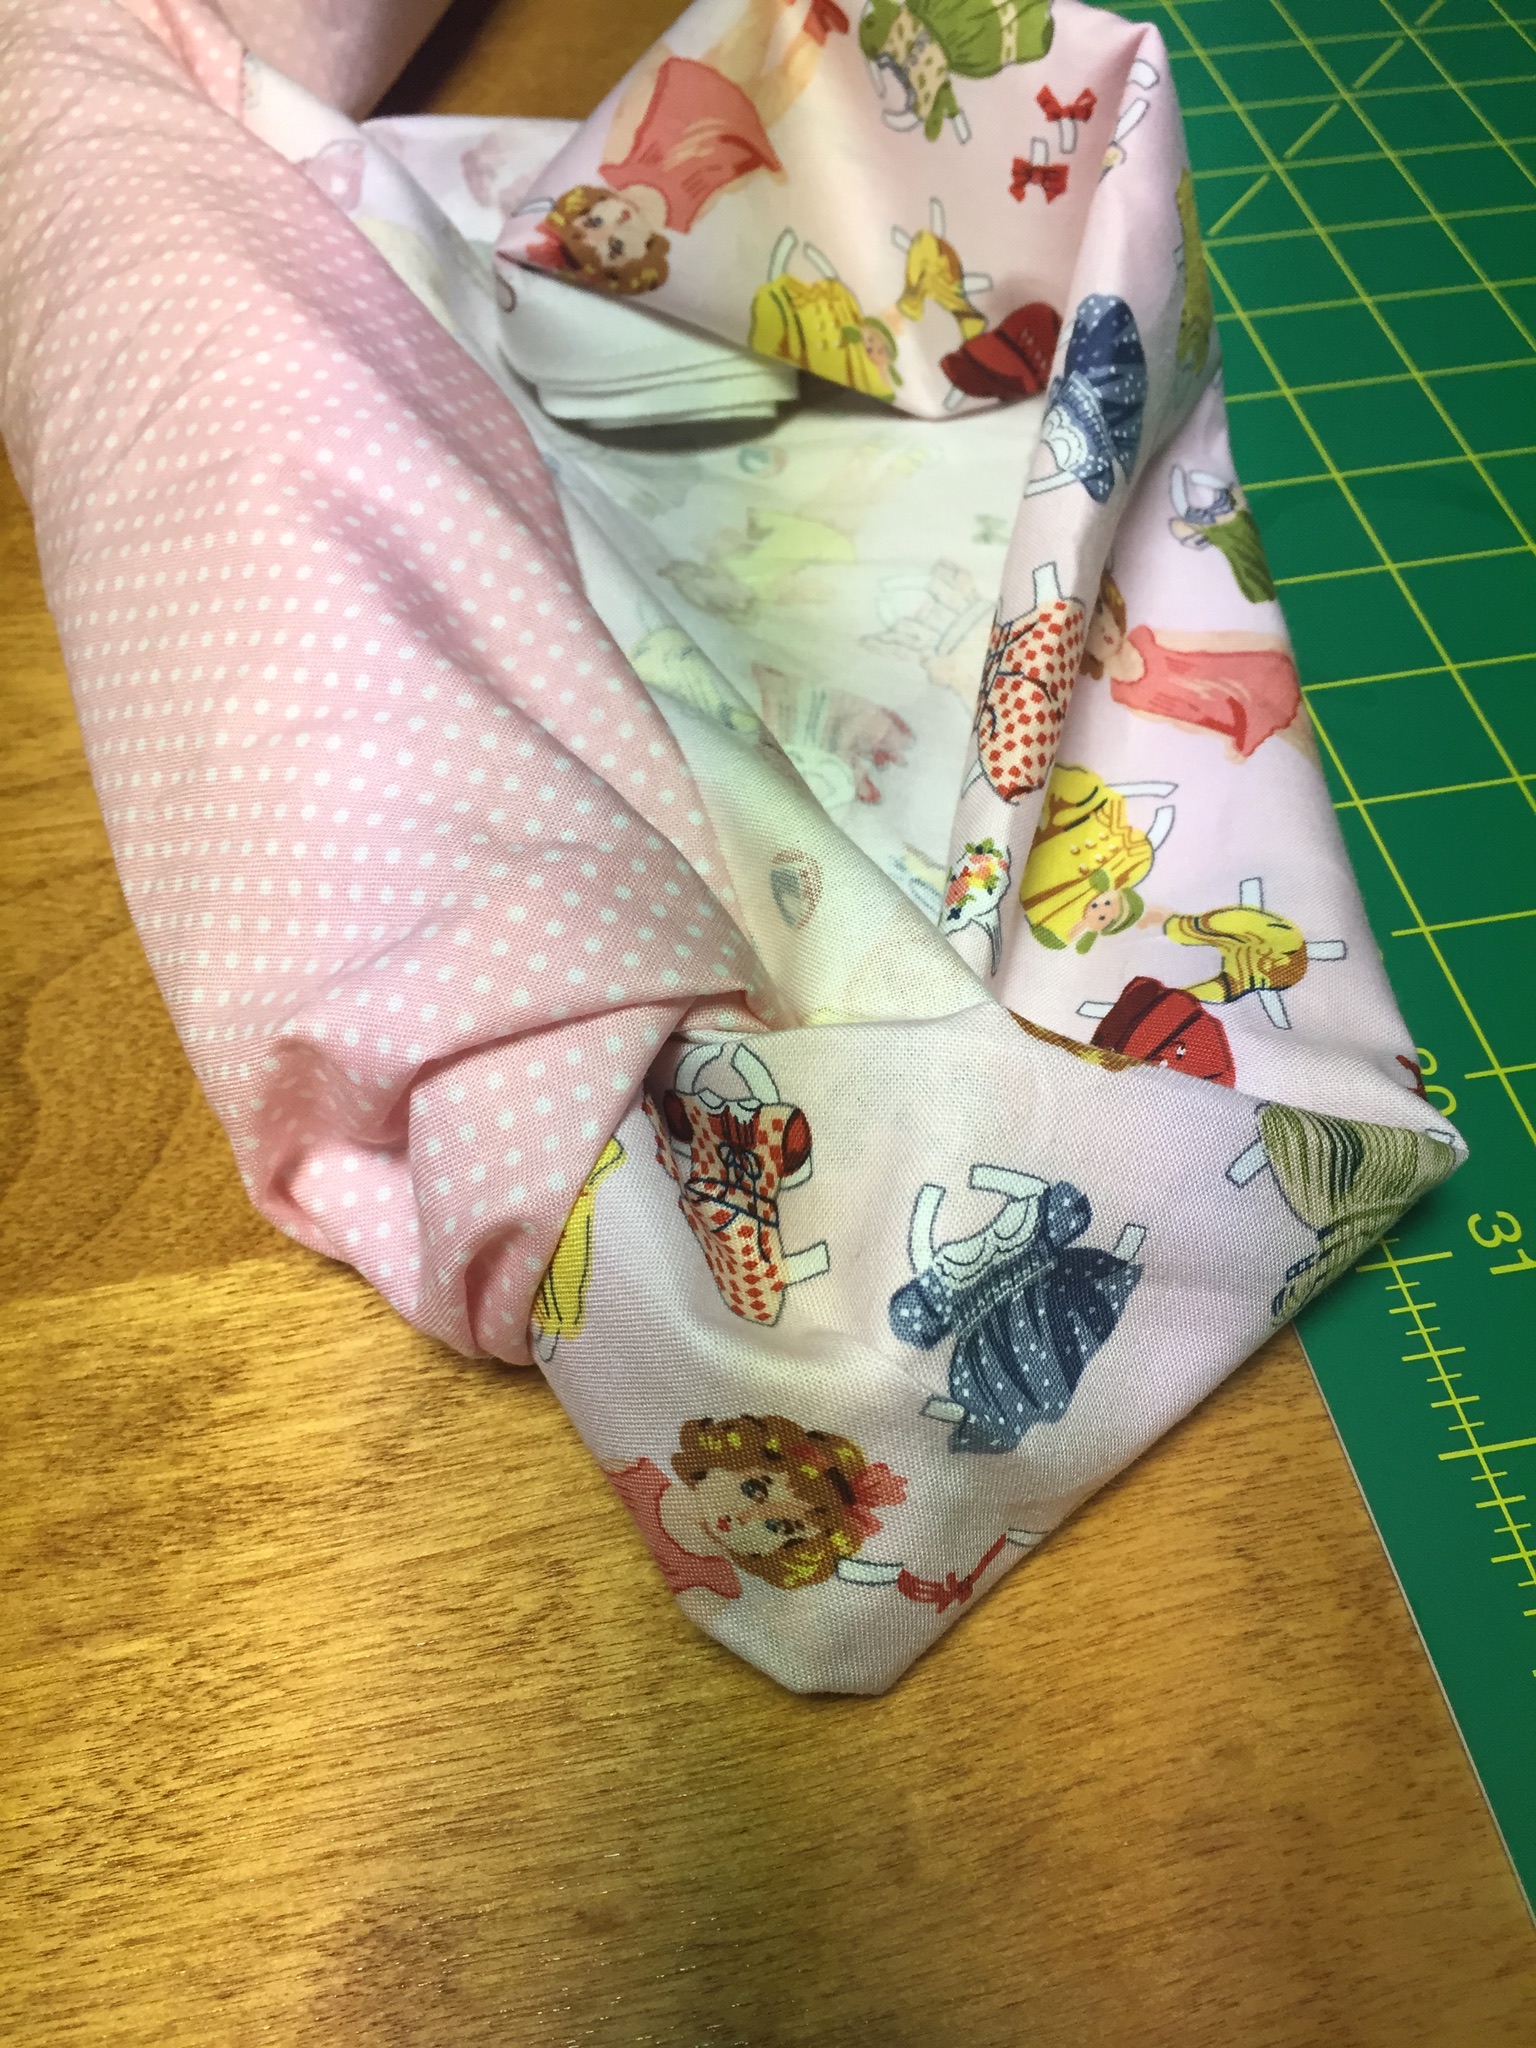
Fold the bottom raw edge of the band to meet the top raw edges and pin all raw edges together. The pillowcase fabric is now inside the tube.

Sew a 1/4 inch seam backspacing at each end.

Pull the fabric out of the tube.
Press and fold in half with wrong sides together matching raw edges. Sew a 1/4 inch seam along the side and bottom. Start at the band to ensure that the seams match.

Turn the pillowcase so that the right side is in and sew a 3/8 inch seam along the side and bottom. Turn the pillowcase right side out and press.
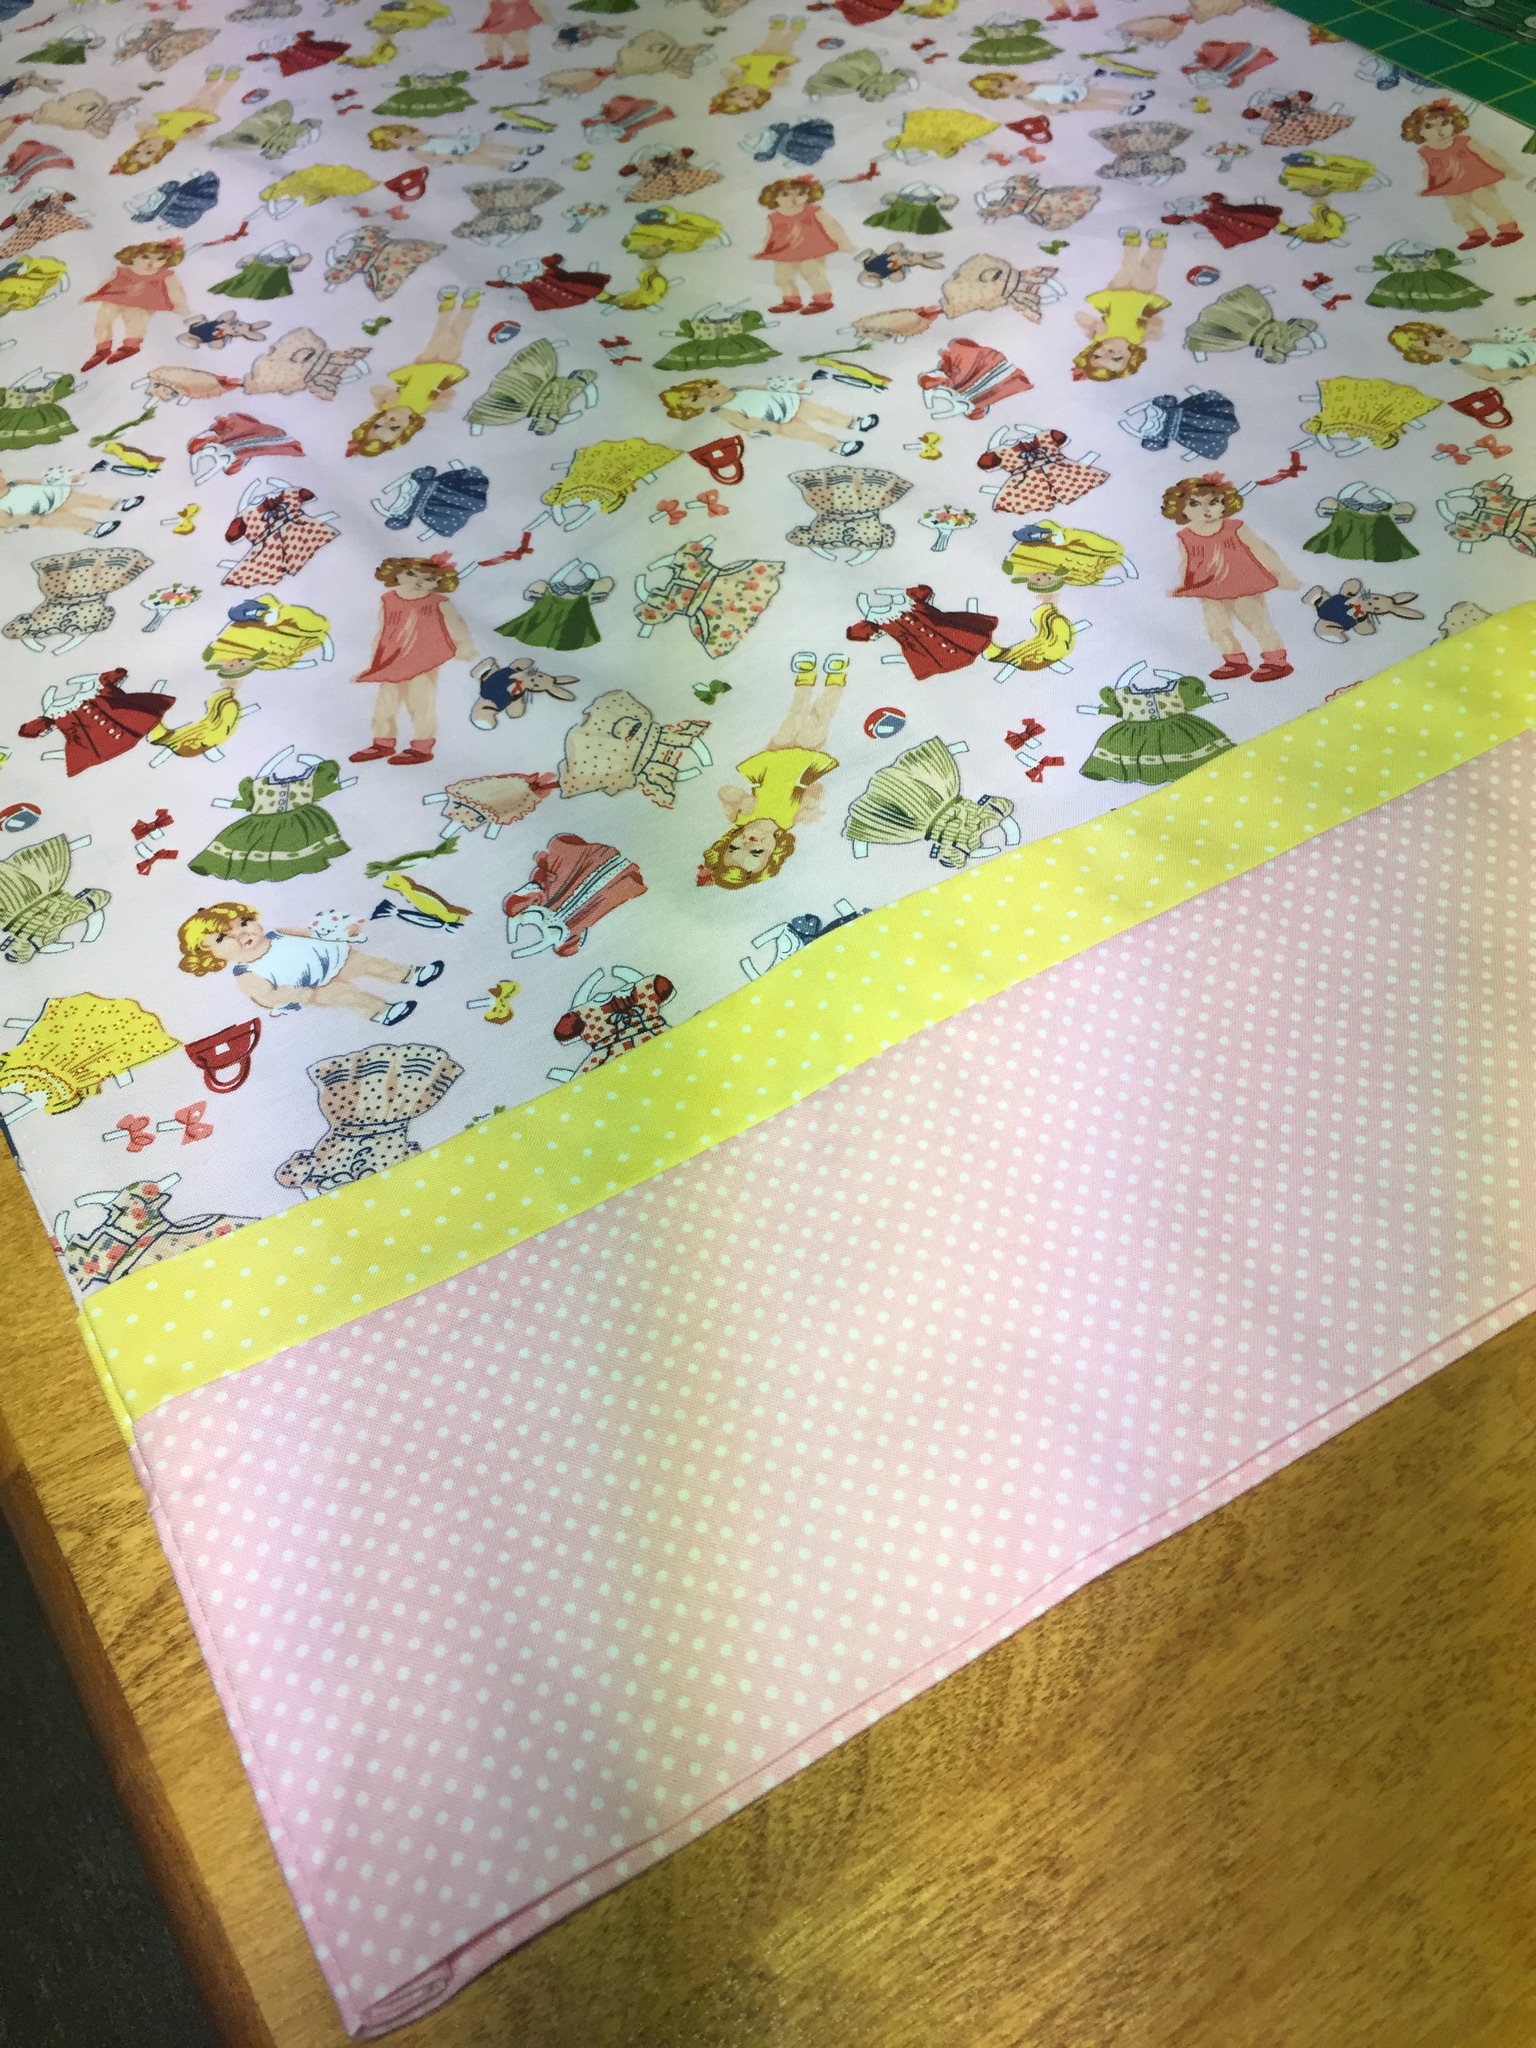
Voila!!!! A beautiful French seamed pillowcase.

You must be logged in to post a comment.