
Some very special neighbors have, on several occasions, given us homemade pierogi which are amazing. They make them around the holidays and freeze them. We have also gotten pierogis and sausage from a Polish Market in Hamtramck, MI that have been excellent. And, of course, there are always frozen pierogis that you can pick up at most grocery stores in the freezer section. Eating the pierogi made by our friends and savoring every bite inspired me to take a stab at making my own. They were actually quite fun to make. The dough is easy to work with. Easier I think than pasta dough. And, like ravioli, the filling possibilities are only limited by your imagination. Sauerkraut, cheese and potato are pretty standard but you can make variations on those as well as stuffing the little dough rounds with fruit or meat. This year for our after Thanksgiving family get-together I decided to go Polish. We had Polish sausage with my homemade sauerkraut, cabbage rolls (golabki), buttery mashed potatoes, applesauce, pickles, and, of course, pierogi. A feast for sure. Nearly every bite was devoured. There were no leftovers to put away. Next year my Dad wants us to do Finnish. So stay tuned.
Dough Ingredients:
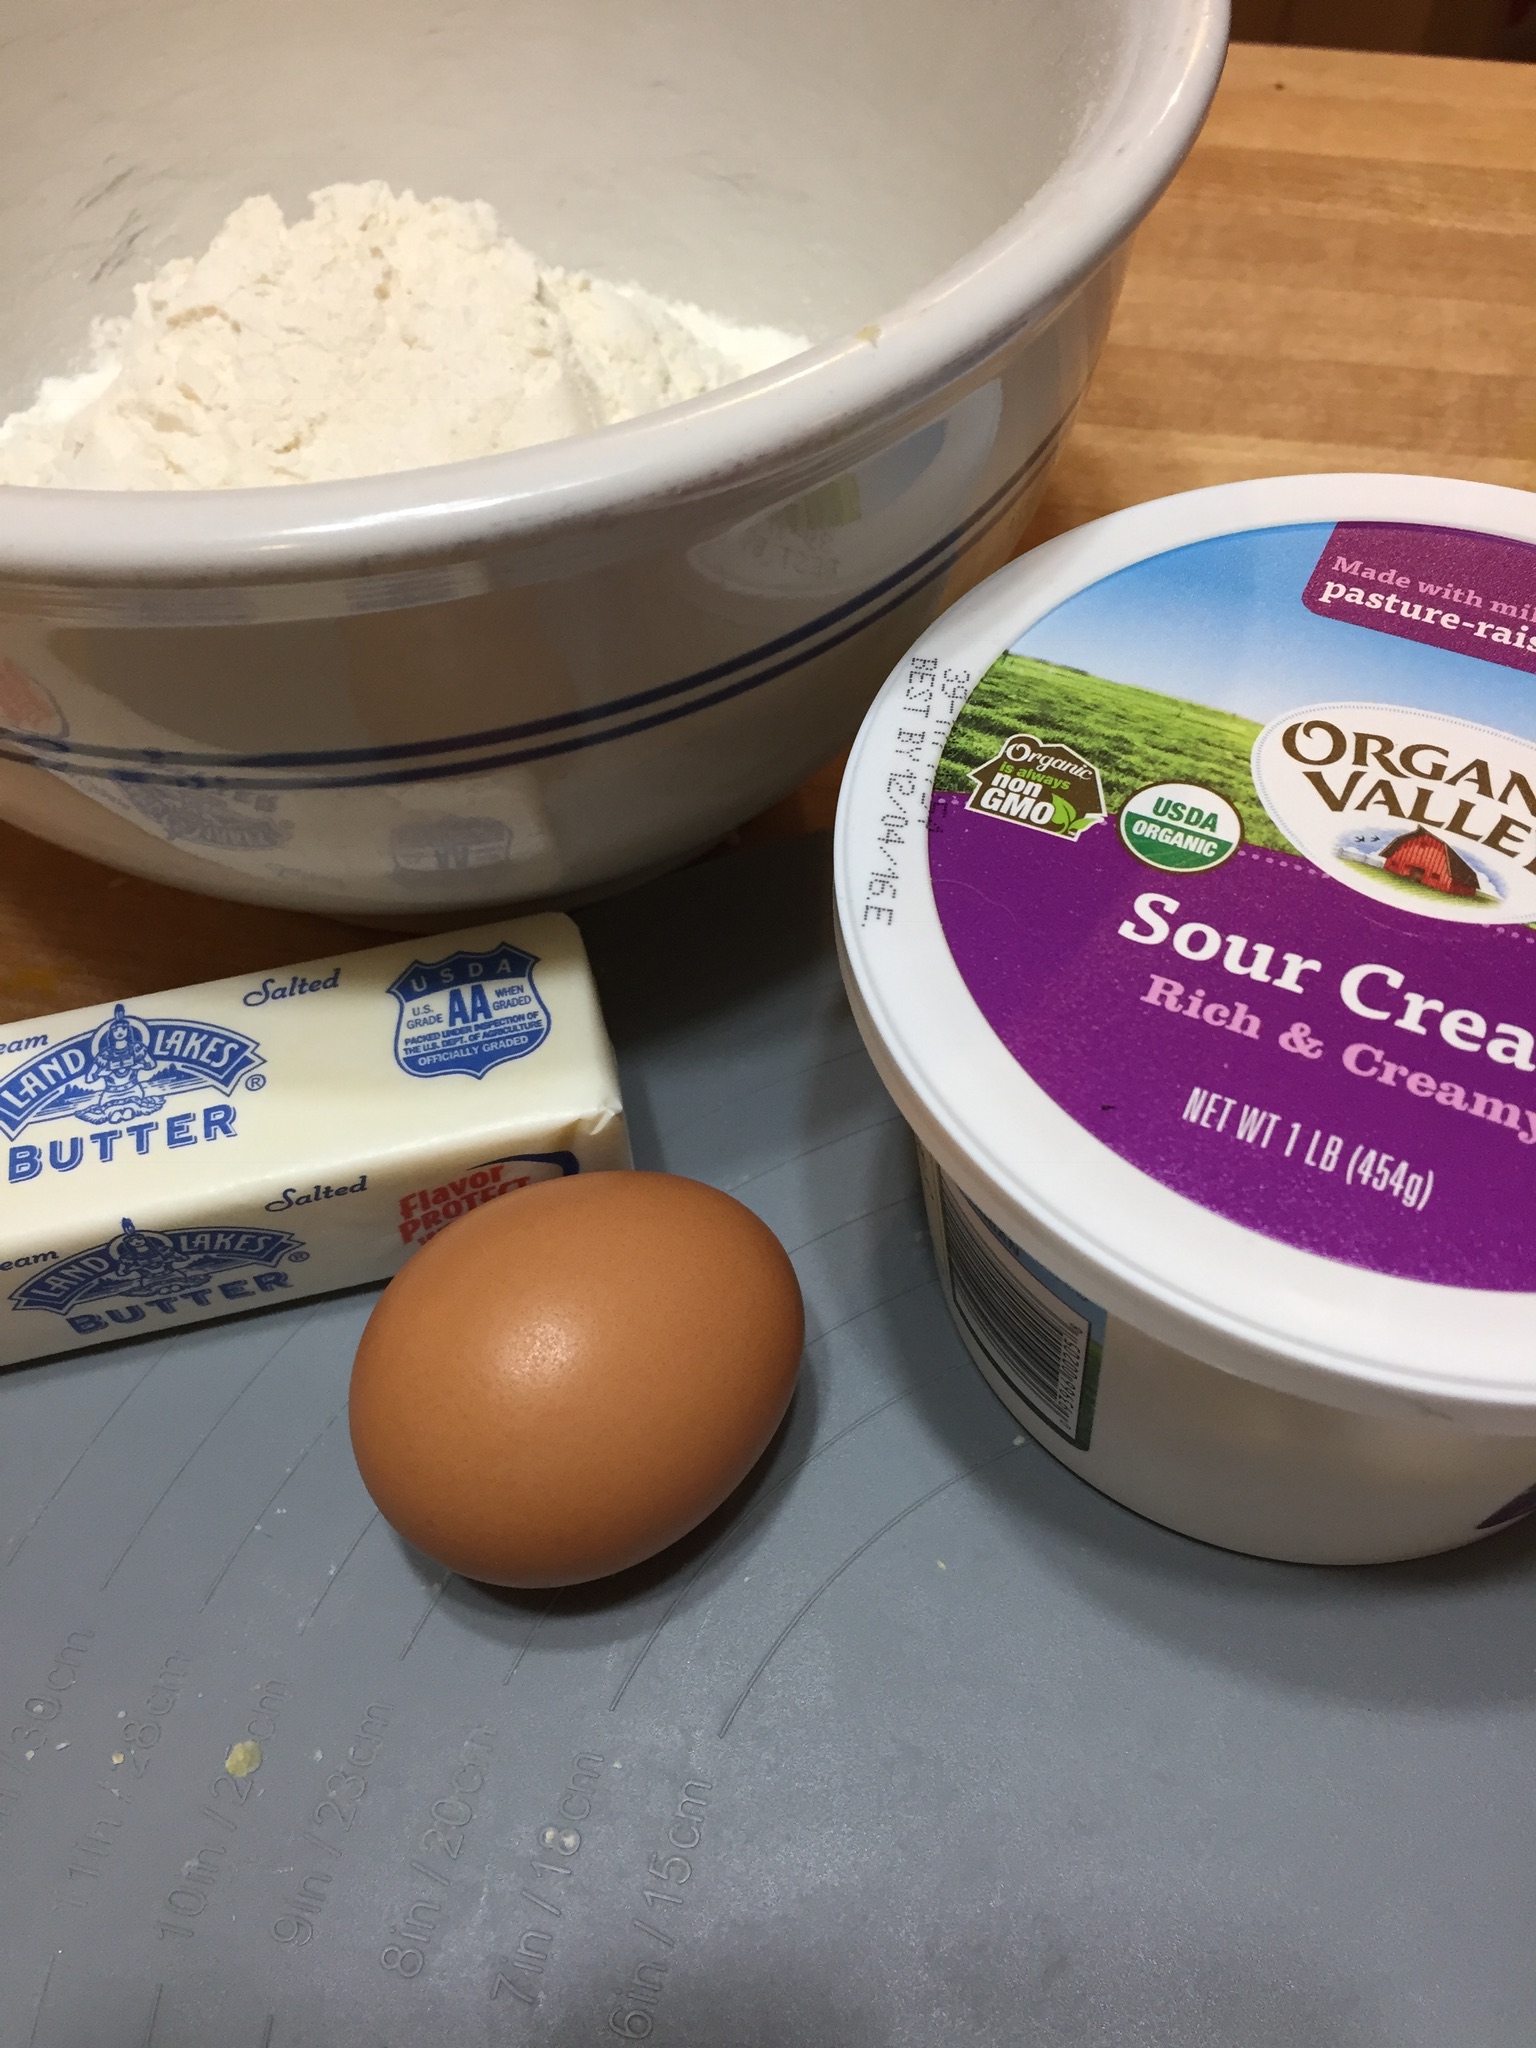
2 cups AP flour
1/2 tsp salt
1 large egg
1/2 cup sour cream
4 T butter at room temperature
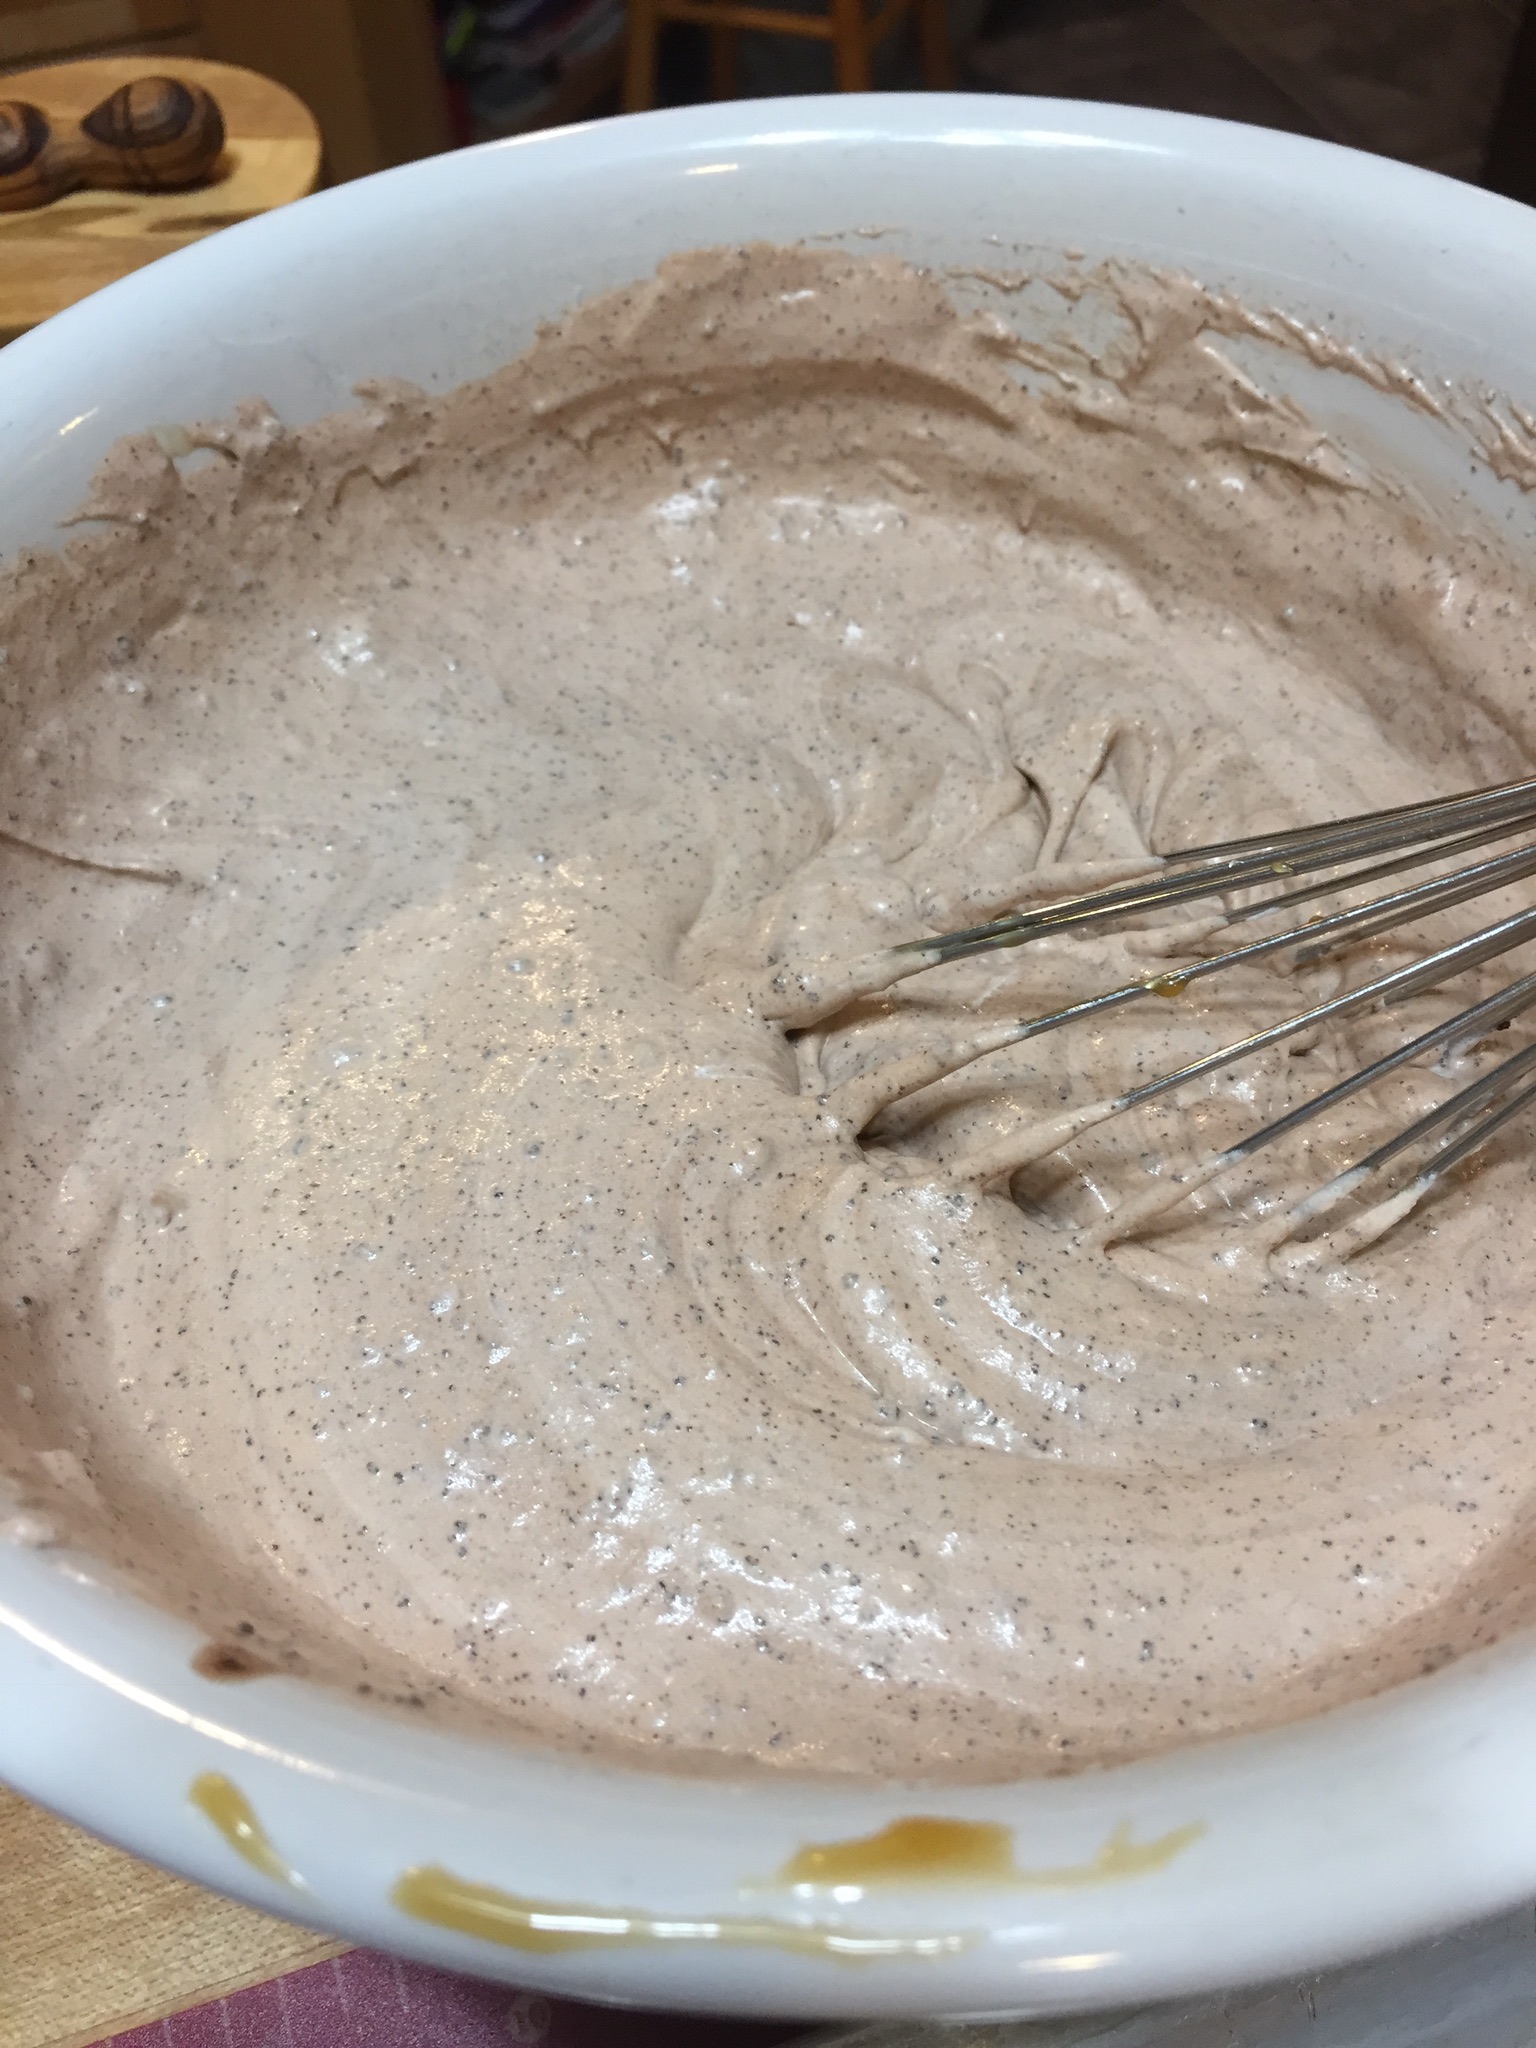
Mix the salt and flour together in a bowl. Add the egg to the flour mixture and stir. The dough will be clumpy. Work in the sour cream and soft butter until the dough comes together in a slightly sticky ball.


Knead and fold the dough without adding additional flour until the dough is less sticky but still moist. Wrap the dough in plastic wrap and refrigerate for 60 minutes or so. While the dough is chilling prepare your filling.
Filling Ingredients:
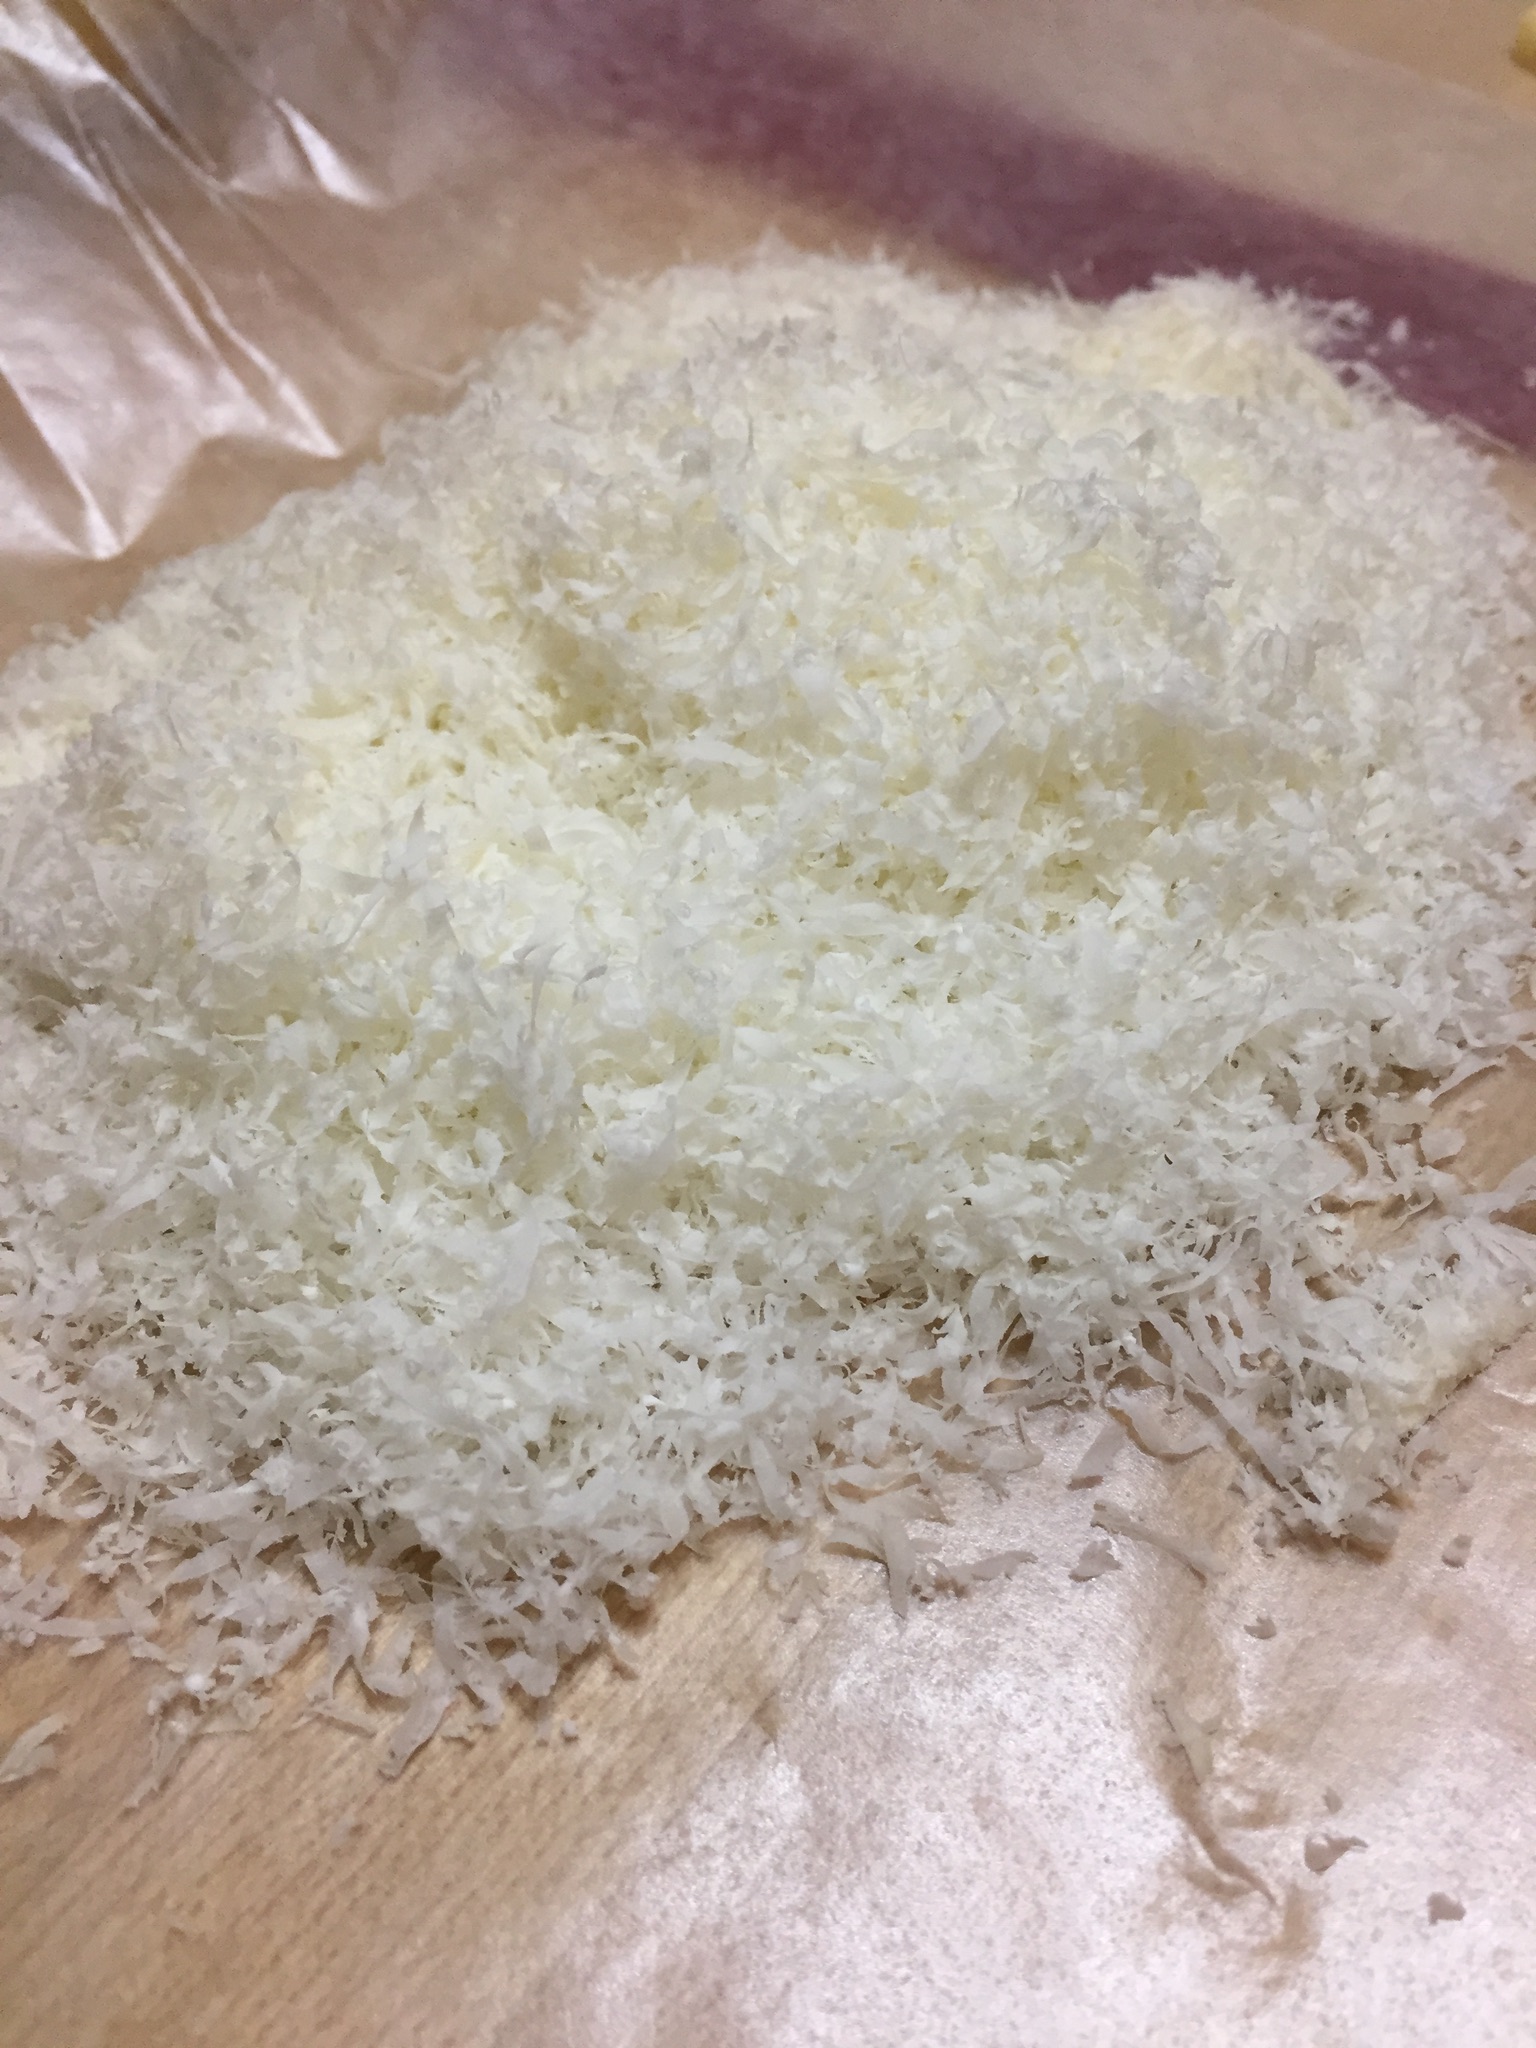
1 cup warm mashed potatoes
1 cup sharp cheddar cheese
Stir the potatoes and cheese together until the cheese melts, season with salt and pepper and set aside until the filling is cool to the touch.
Now it’s time to roll out your dough. Divide the dough ball in half and roll out on a lightly floured surface to about 1/8th inch thickness. Cut rounds using a biscuit cutter or a glass dipped in flour.


Place a couple teaspoons of the potato cheese mixture on each round. Gently fold the dough over to form a pocket around the filling. Pinch the edges to seal and reinforce using the tines of a fork.


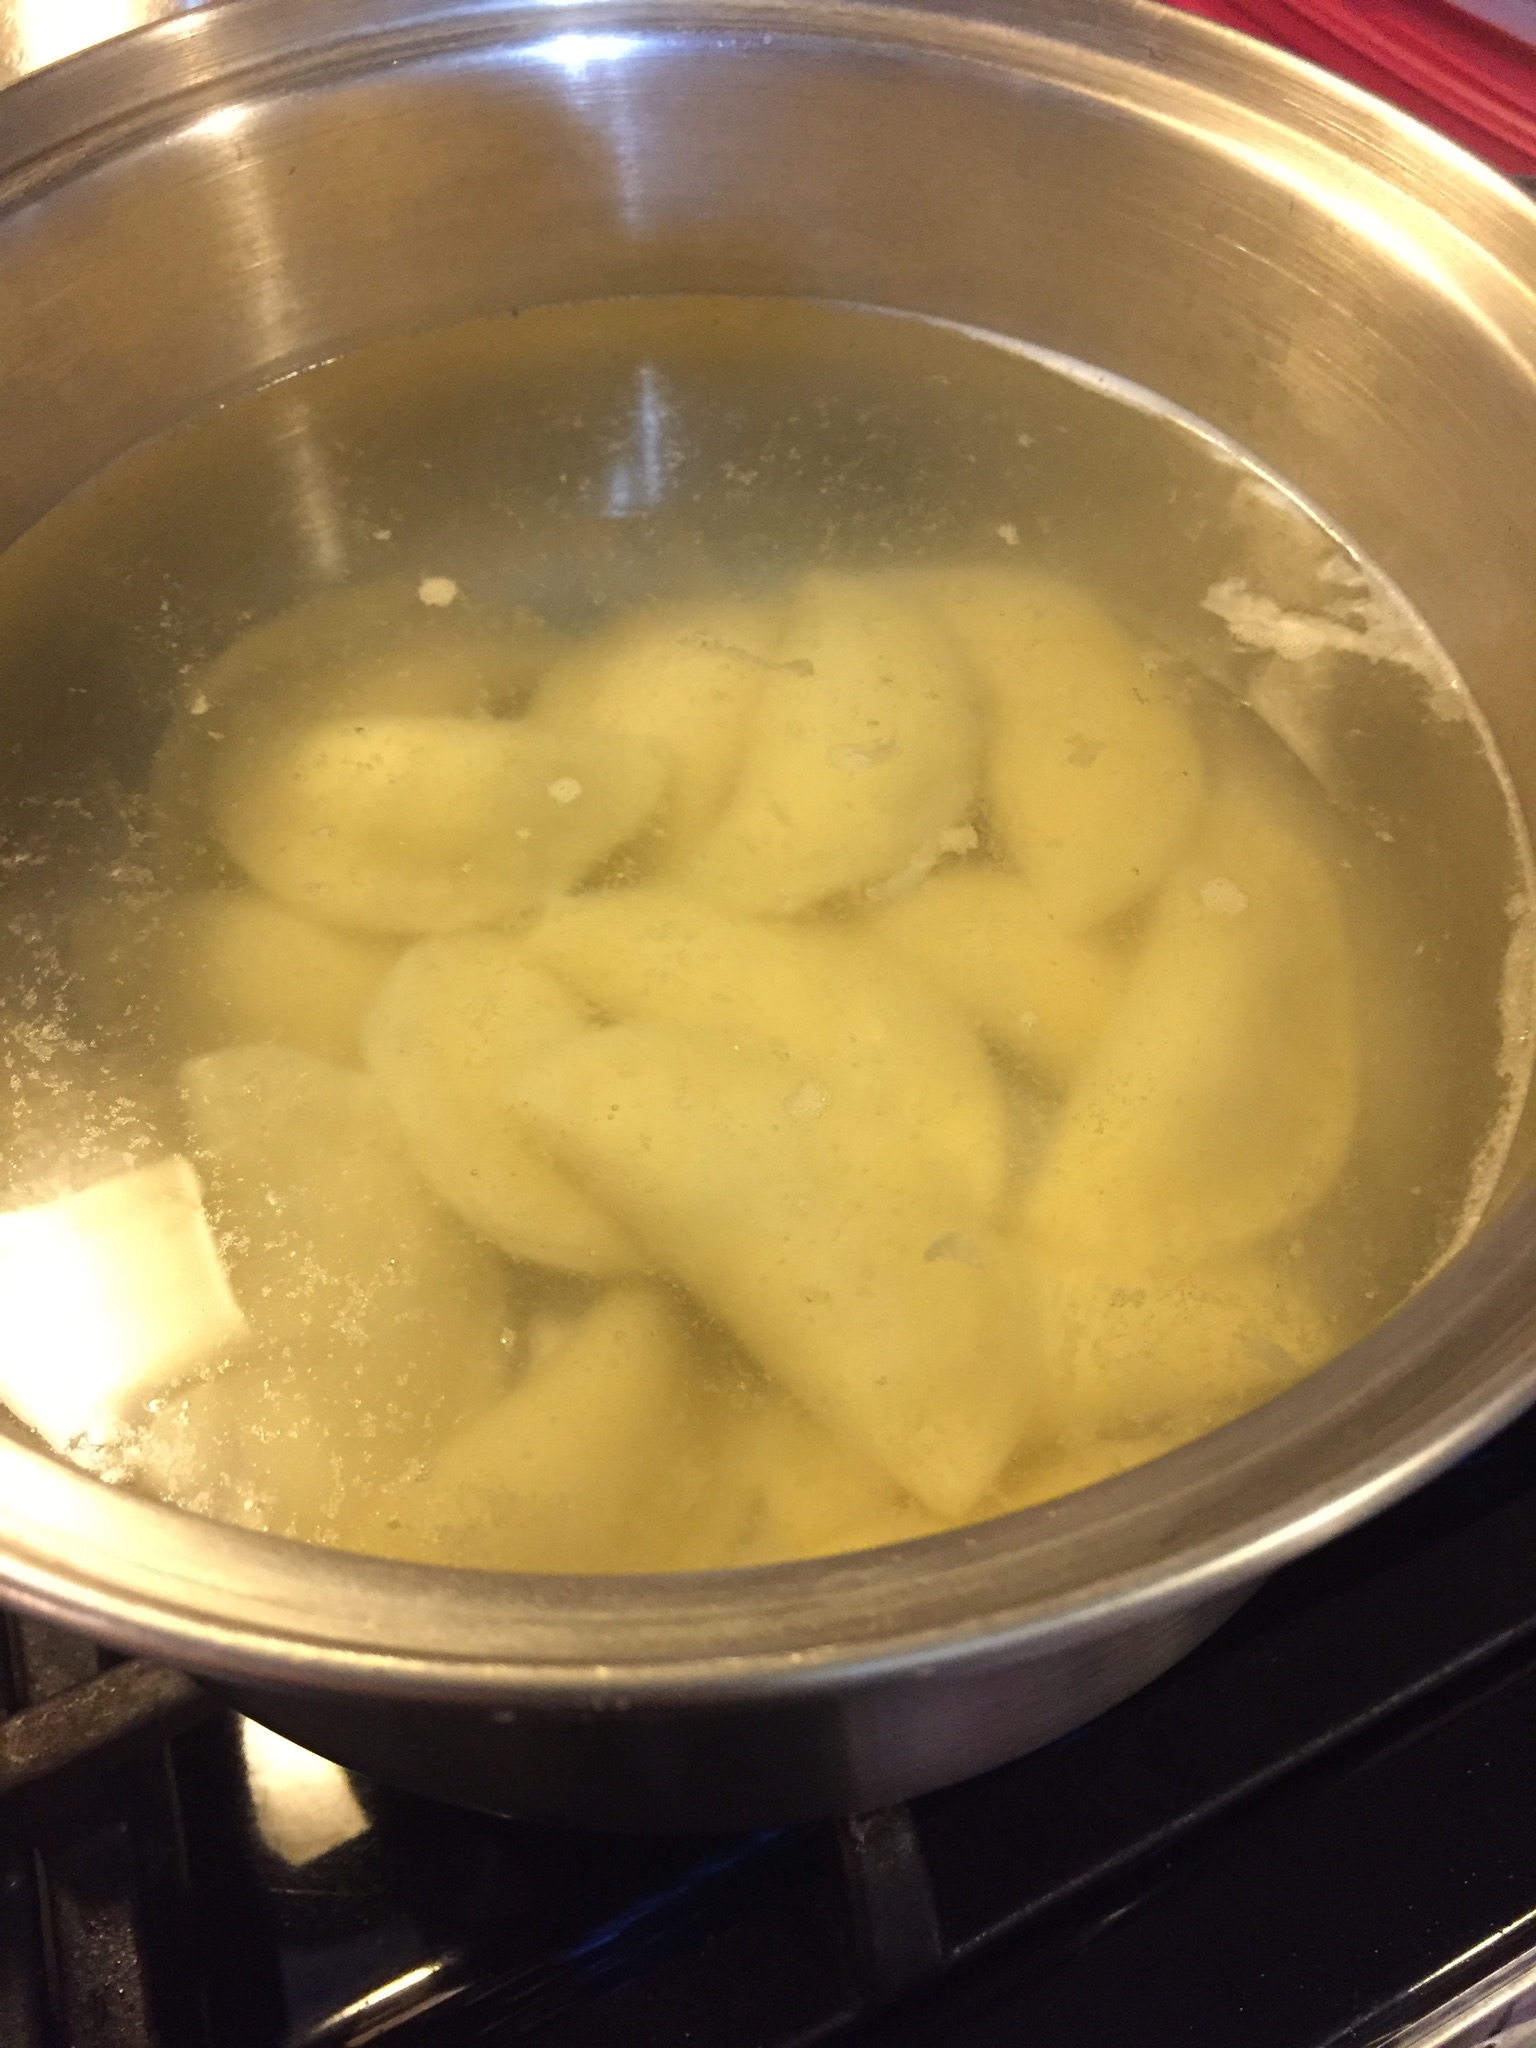
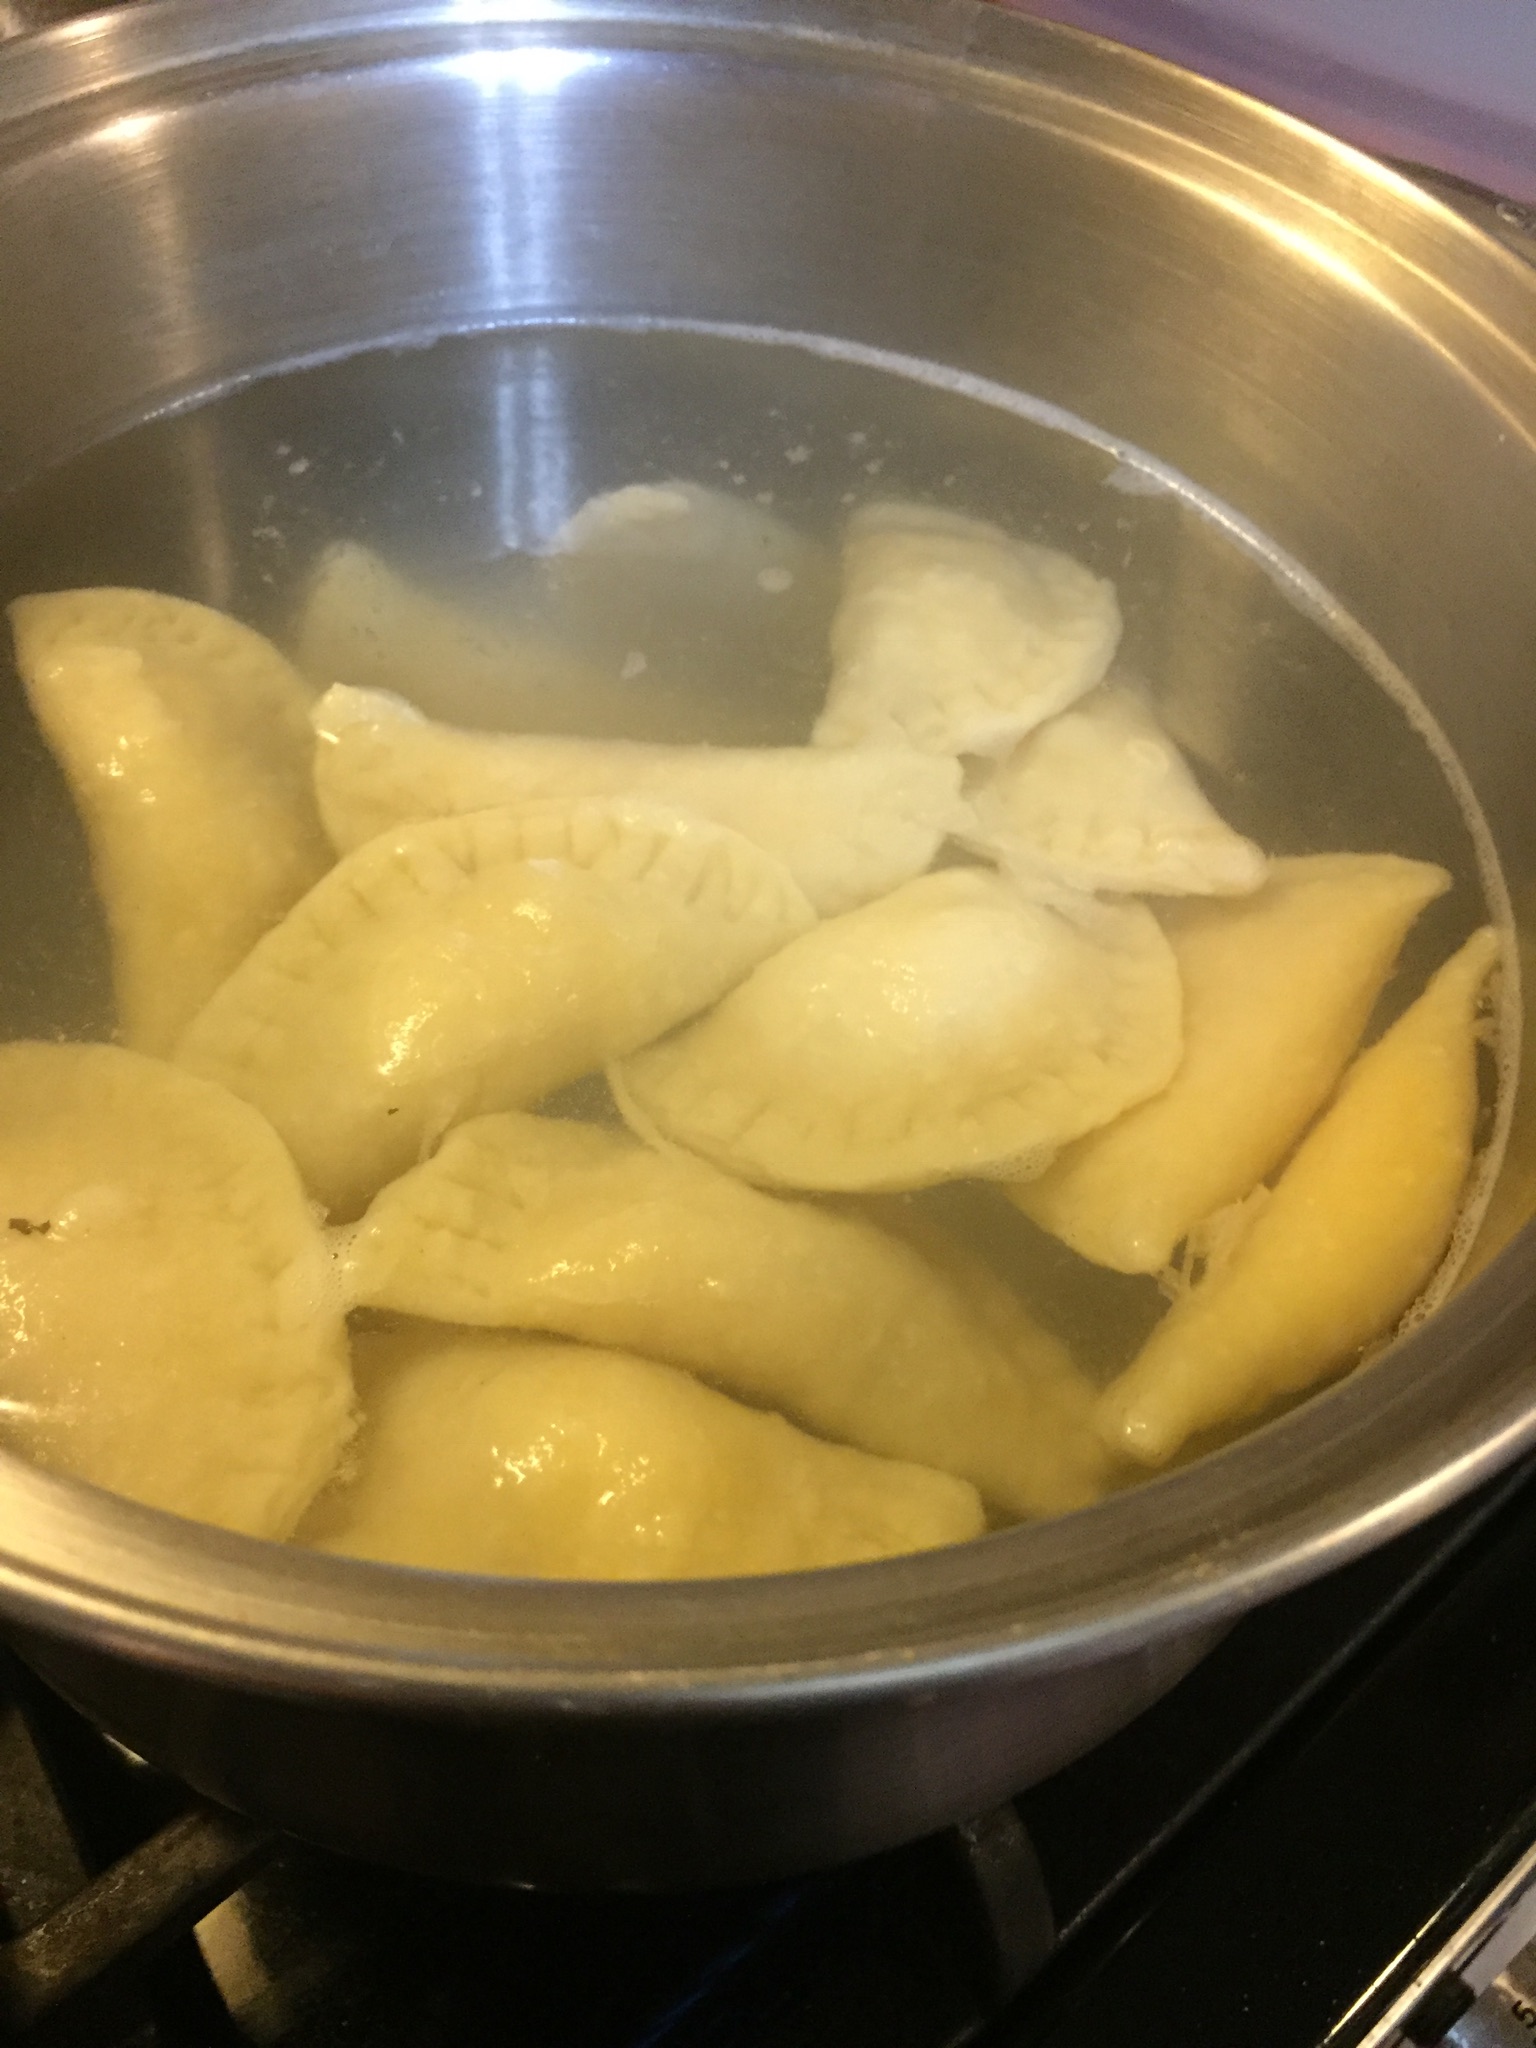
Now you’re ready to either freeze your pierogi or cook them in a large stockpot of boiling salted water. Only cook a few pierogi at a time so they aren’t crowded. When they float to the top they are done, about 10 minutes.
In a large heavy skillet melt a few tablespoons of butter and sauté onion or shallots just until they begin to brown. Add the drained pierogi and cook until they are browned on both sides.
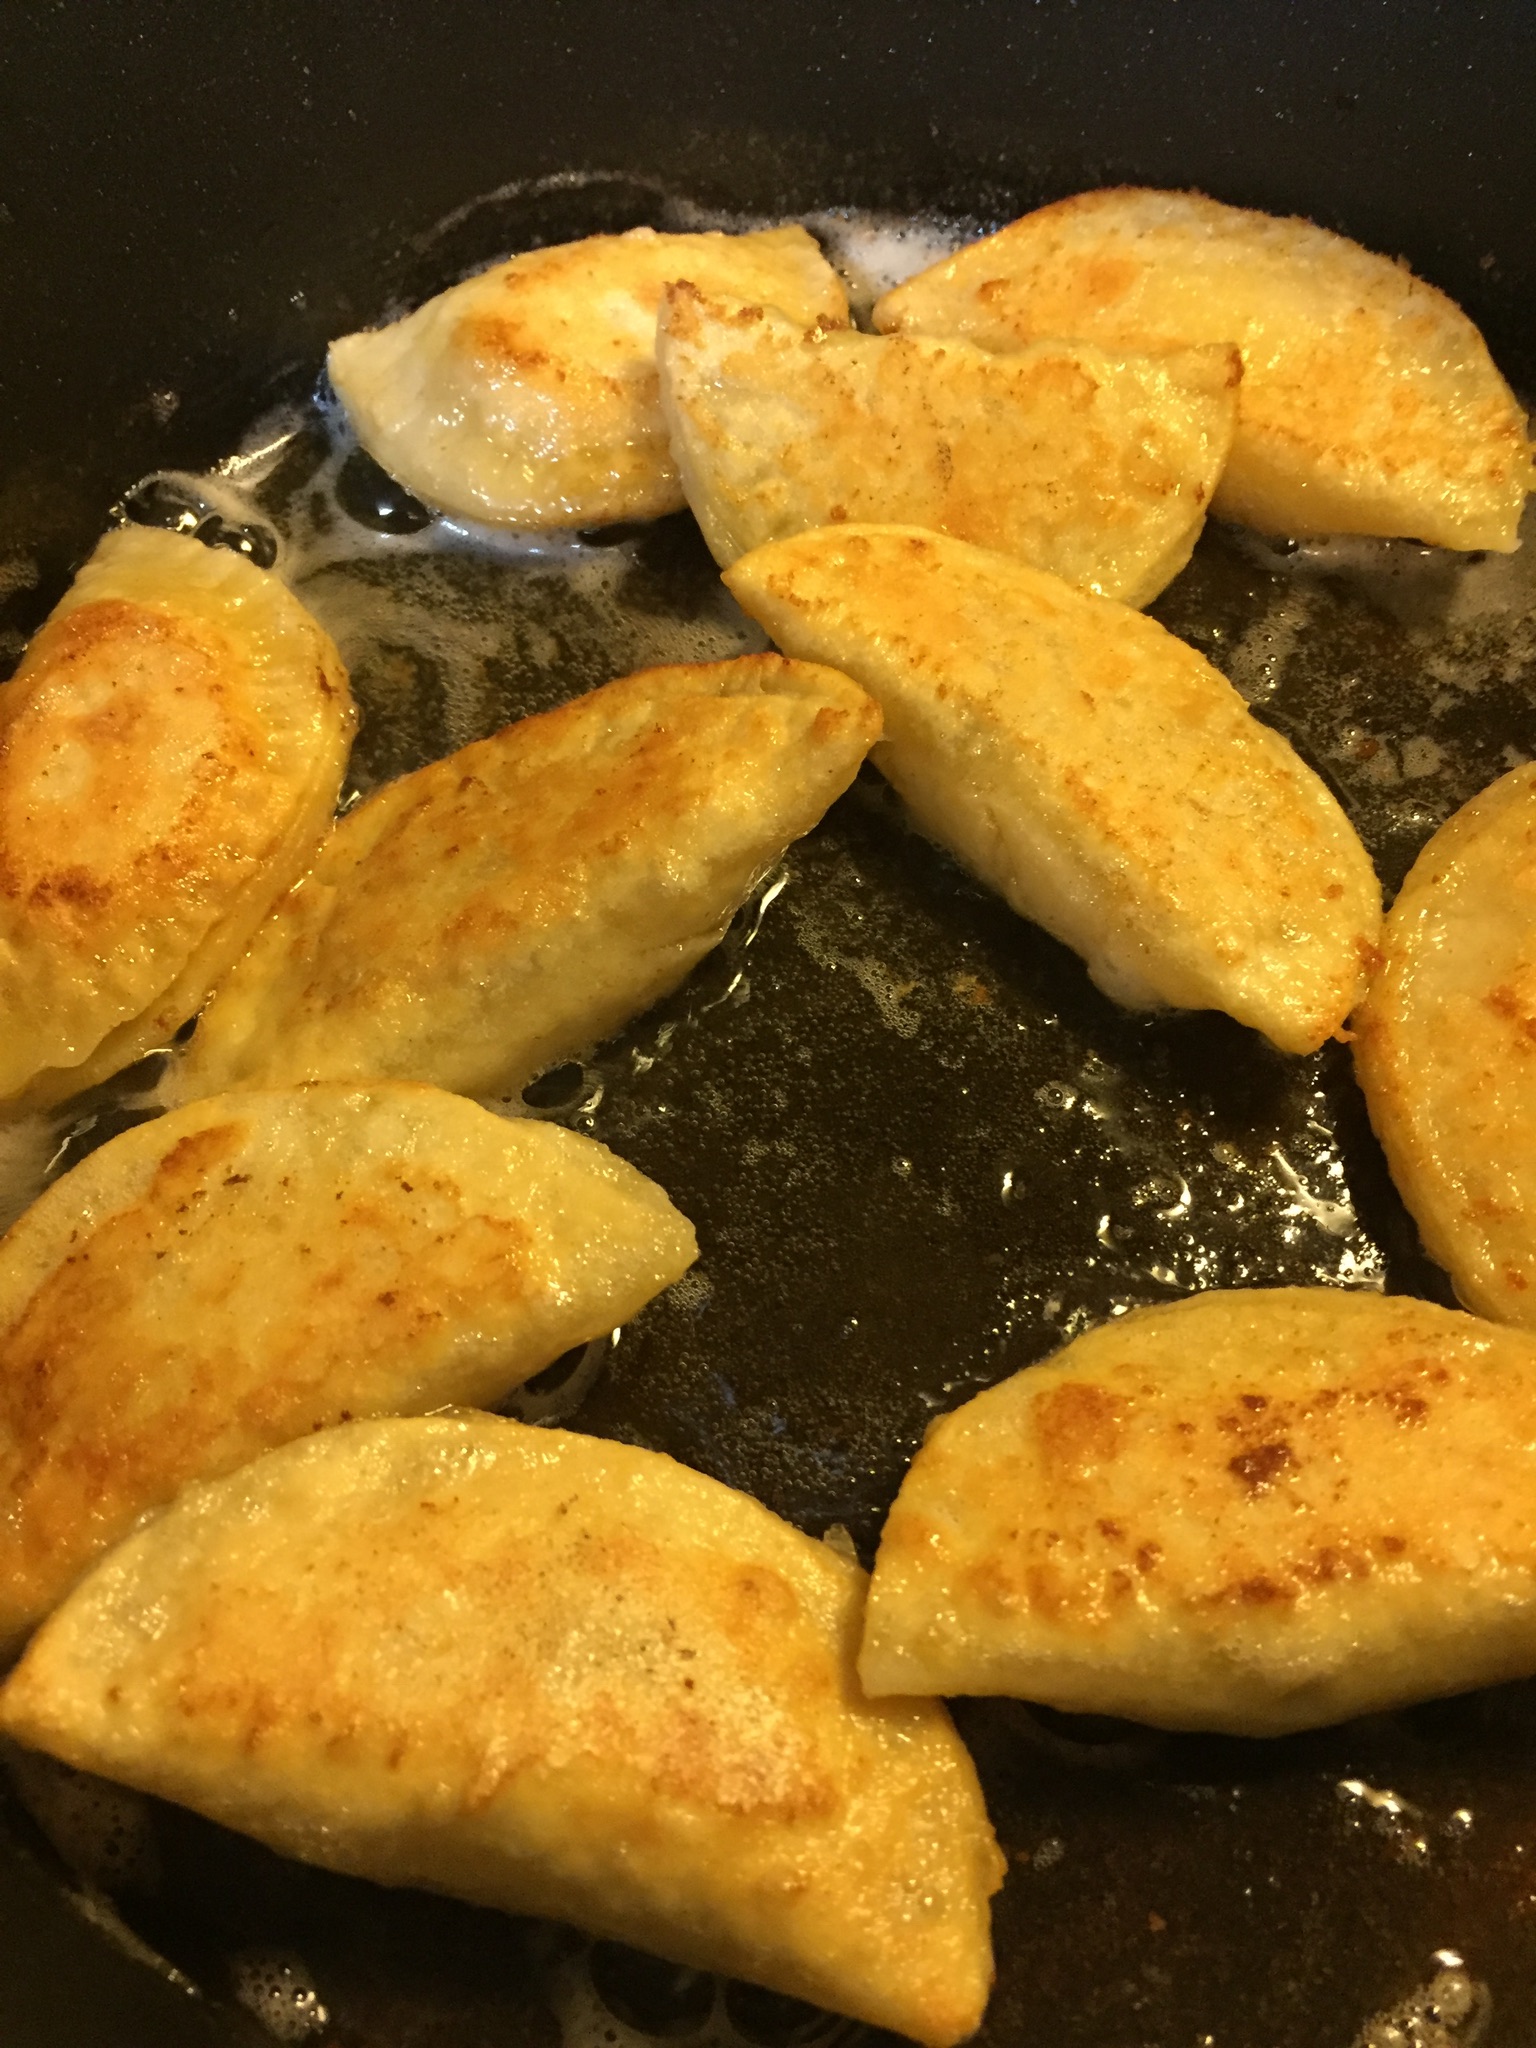
Serve them hot with sour cream or applesauce. Enjoy!
Seriously. How can something made from butter, sour cream and flour, stuffed with cheesy mashed potatoes and fried in more butter possibly be bad????
NOTE: I also filled some with a sauerkraut, mushroom and sour cream mixture. Drain the sauerkraut and saute along with finely diced mushroom in a little butter. Remove from the heat, stir in a little sour cream and season with salt and pepper. Allow the mixture to cool before filling the pierogi.
I’m looking forward to making these again soon.


You must be logged in to post a comment.