Cauliflower Pizza Crust

For quite some time I’ve wanted to experiment with a cauliflower pizza crust.  I was intrigued.  My favorite pizzas have a thin crust.  I’ve never liked a lot of “bread” with my pizza so this is perfect.  And no carbs.  At home I usually make my own flour and yeast crust and I must admit, this took a little more effort.  Perhaps mostly because I’d never made it before.  But I think it was worth the effort and I will definitely make it again in the future.  The flavor was great.  The crust browned nicely on the bottom.  And between my husband and I, we ate the entire pizza!!  So I say that is a positive endorsement.

Ingredients:

1 head of cauliflower

1/2 cup shredded mozzarella cheese

1/4 cup fresh grated Parmesan cheese (not from a can)

1/2 tsp oregano

1/2 tsp basil

1/2 tsp garlic powder

1/2 tsp salt

2 eggs lightly beaten

Remove the core and stems from the cauliflower and cut into medium size pieces.  Process the cauliflower in a food processor until it looks like rice.

Bring a couple inches of water to a boil in a good size pot.  Put the riced cauliflower in a steamer, cover the pot, and steam for 15 minutes.  While the cauliflower is steaming preheat your oven to 400 degrees.  Whisk your eggs and measure out the cheeses and seasonings.

Once your cauliflower has steamed, dump it on a clean dish towel to cool.  Once it has cooled use the towel to wring as much moisture as possible from the cauliflower.

Once the cauliflower has cooled and you’ve wrung as much liquid out as possible add it to a mixing bowl along with the egg, cheeses, and seasonings.  Mix thoroughly.

Line a pizza pan or cookie sheet with parchment paper.  Spread the crust ingredients out with your hands in a circle or square, whatever you prefer.  Spread it pretty thin.  I was worried it was too thin but it was not.

Bake for 20 minutes.  Remove the crust from the oven and add whatever toppings you choose.

I used leftover homemade marinara sauce with additional pizza spices added, sausage that I browned, peppers, tomato, and onion.  Increase the oven temperature to 425.

Bake the dressed pizza crust until the cheese is brown and bubbly, about 15-20 minutes.

Seriously,  Isn’t that a beautiful pizza!!  I make a round pizza and cut it into squares.  Anyway you cut it, enjoy.  With a little less guilt than flour crust.

NOTE:  I have no idea how leftovers would keep as we didn’t have any.  If you have a cauliflower hater in your circle or even a vegetable hater in general, don’t tell them what it is.  They’ll never know.

Eggplant Parmesan and Spaghetti Squash with Marinara – Keto Friendly

Keto Friendly.   The Keto Diet is a very low carb, high fat diet reminiscent of the Atkins diet.  It’s a diet that was first used primarily to treat difficult to control epilepsy in children.  There are also documented benefits for heart health, diabetes, and brain functioning.  It is intuitively obvious that significantly reducing the amount of processed foods, sugar, and carbs we eat will have health benefits.  In an effort to eat healthier and reduce sugar and carbs I’m experimenting with Keto conscious recipes.  Often keto will only require minor modifications to dishes I cook all the time.  This “modification” was very tasty and very satisfying.

Ingredients for Marinara:

1 pint diced tomatoes

1 pint tomato sauce

2 T olive oil

1 medium onion diced

3-4 cloves of garlic sliced

salt to taste

In a heavy saucepan heat the olive oil and saute the onion and garlic until tender; about 3-4 minutes.

Add the diced tomatoes and tomato sauce and allow to simmer until thickened.  Use an immersion blender if you prefer no pieces of tomato in the sauce.  Add salt to taste.

While your sauce is simmering, prepare your spaghetti squash.  Preheat your oven to 375.  I came across this hack for preparing spaghetti squash a few years ago in one of my food magazines.  It is easier to remove the seeds, cooks more evenly and makes longer strands of spaghetti.  Use a mister to coat a foil lined baking dish with olive oil.  Cut the squash into 1to 1 1/2 inch thick slices.  Use a paring knife to go around the inside edges and remove the seeds.  Put the squash in the baking dish, spritz the top with olive oil, and bake for 45-50 minutes.

Once the squash is done allow it to cool so it’s easy to handle.  Push the squash out using your hands and separate the spaghetti stands.

Your spaghetti is done.  Now it’s time to prepare your eggplant.

Ingredients:

1 medium/large eggplant

2 eggs

2 T heavy cream

1 cup fresh grated Parmesan cheese

1 cup almond flour

1 tsp garlic powder

1 tsp oregano

1 tsp basil

1 tsp salt

3-4 T olive oil for frying

1 cup Mozzarella cheese

Slice your eggplant.  Peel or not.  Your choice.  If I buy organic eggplant I do not peel them.  Grate your Parmesan cheese.

Whisk together the eggs and heavy cream.

Combine almond flour, spices and salt.

Heat the olive oil in a heavy skillet.  Dip the eggplant rounds in the egg/cream mixture, then the cheese, then the seasoned flour.  It’s not the usual order of things but it works in this recipe.  Add the eggplant to the skillet and cook until browned on one side, flip to brown the other side, and remove to a platter.

Wipe out the skillet or use another casserole dish.  Return the rounds to the skillet and top with sauce and cheese.

Bake at 350 for 25 minutes.  Put the spaghetti squash in the oven for the last 5 minutes to warm.

Plate the squash and eggplant and ladle sauce on the squash and also on the eggplant if you choose.  Enjoy!

NOTE:  This dish definitely was lighter than my usual eggplant with pasta but very satisfying.  We both had seconds.  If you’d like you can prepare the squash the day before as well as the sauce.  The eggplant is best served immediately.

For the sauce I used home canned diced tomatoes and tomato sauce.  You can use bottled marinara but you want to look for organic sauce with low sugar content and other additives.


Vanilla

Good quality, pure vanilla extract is crucial to good baked goods.  And it is not inexpensive.  A good friend winters in Texas and she brings me awesome vanilla from Mexico.  I use her Mexican vanilla all the time.   When people try to replicate some of my recipes they notice subtle taste differences between what I baked and what they baked.  I’m convinced it is the vanilla.  I recently came across instructions for making your own vanilla on the King Arthur blog.  And decided I would try it.  It’s not complicated at all.

Homemade vanilla consists of vanilla beans and liquor.  You want to make sure your vanilla beans are fresh.  They should be pliable and soft to the touch.  According to King Arthur there are three kinds of vanilla beans that are readily available.  Sharing his descriptions.

“TAHITIAN:  Contains floral notes as well as subtle cherry and almond overtones; pairs well with fruity desserts and has a strong vanilla aroma.

MEXICAN:  Described as woodsy with hints of spice.  This vanilla is exciting, a perfect choice to bring something new to your baking.

MADAGASCAR:  A classic vanilla flavor that’s described as creamy and sweet.  Often used to make vanilla extract; it’s familiar and comforting.”

The vanilla bean descriptions reminded me of the labels on wine bottles!  I chose the “familiar and comforting” beans from Madagascar.

You also choose the kind of liquor you want to use for your base.  Something that has a neutral flavor like vodka or brandy or rum. You want to steer away from spices or smoky flavors that may overpower the vanilla.  No cucumber vodka or Captain Morgan.

Ingredients:

Vanilla beans

Liquor

You want to make sure you have clean bottles/jars with tight fitting lids.  The bottles I used hold 8 ounces.  I used 2 1/2 beans in each jar.  You want to slit your beans to expose the seeds.  If you don’t want to have “flecks” in your vanilla you can scrape out the seeds.  I choose to leave the seeds in for a richer vanilla flavor.  Once you’ve slit the beans put them in the bottles.

Add your liquor of choice to the jars.  I used a funnel because it’s sinful to spill and waste liquor!  I used rum in one jar, vodka in the other.  Make sure your beans are totally submerged.  If they are not, cut the beans into shorter pieces and return to the bottle.

Now you wait.  For at least 3 months.  Store your bottles in a cool, dark place.  King Arthur says the refrigerator is too cold (and it’s light in there when you open the door) so consider the basement or another area of your house that is relatively cool and dark.  Don’t store them in the kitchen which is typically the warmest room in the house.  If you left the seeds in the pods like I did, shake the bottles gently every week or so.  This will help deepen the flavor,

NOTE:  You don’t have to use top shelf liquor.  I used liquor that I serve at home.  You do want to make sure that you have good quality, fresh beans.  Finally, you don’t want to leave this somewhere where someone might pour themselves a shot!

I’m excited for the end result.  Last year a lot of people got homemade laundry soap for Christmas.  This year it may be homemade vanilla.  Worst case scenario, I’ll have to come up with some great vanilla cocktail recipes!


Blueberry Coffee Cake

King Arthur has some really great recipes and this one is no exception.  They called this a Blueberry Breakfast Cake but I think it’s more like a Fruit Danish.  I used blueberries, which the recipe called for, but this would be great with raspberries, apple, peaches…almost any fruit.  Because of the ricotta cheese and sour cream it has a consistency similar to a cream cheese danish.  It is simple to make and not cloying.  Great with a cup of coffee or a glass of milk.

Ingredients:

3 large eggs

heaping 1/2 cup of sugar

6 T melted butter

1 cup small curd cottage cheese or part skim ricotta

1 cup sour cream

1 tsp vanilla extract

3/4 cup AP flour

1/2 tsp salt

1 1/4 tsp baking powder

1 1/2 cups blueberries, fresh or frozen

Preheat the oven to 350.  Lightly grease an 8” round pan that is at least 2” deep.  If your 8” pan is too shallow, use a 9” round pan or an 8” square.  Shape really doesn’t matter.

Beat the eggs and sugar together.  And yes, a HEAPING 1/2 cup of sugar.  First time I’ve seen that in a recipe.

Add the melted butter, cottage or ricotta cheese, sour cream and vanilla.  Beat until well combined.

Whisk together the flour, salt, and baking powder,  add to creamed ingredients, and stir or beat gently until combined.

Pour the batter into your prepared pan and scatter berries over the top.

Bake until a knife inserted in the center comes out moist but with no obvious smears of raw batter.  The edges should be lightly browned.  It should appear set throughout but jiggle a little when you gently shake it.  Baking time is between 45 and 50 minutes.

Once it comes out of the oven generously sprinkle the top with cinnamon sugar.  Let it rest at room temperature for at least 30 minutes to firm.  Cut into wedges or squares, depending on the pan you used, and serve warm.

Enjoy!

NOTE”. I baked mine in a 9” round pan for 45 minutes.  I recommend checking it after 40 minutes.  Much depends on your oven and the size of your pan.  I will try this with  a combination of apple and cranberries next.  A little bit of sweet and tart together.   Also, the cinnamon sugar is optional.  Instead you might want to lightly dust with powdered sugar as you serve it or make a glaze and drizzle a little over the cake.

Goat Cheese Spread with Honey

When you have guests and want to serve adult beverages and a snack, cheese, fruit and crackers are perfect.  I was hoping to find the fresh goat cheese spread that our favorite party store usually carries but they were all out.  I have a few good hard, savory, even stinky cheeses to serve but wanted a milder, spreadable cheese.  Sometimes necessity is the mother of invention.  I put together a real simple, 4 ingredient spread that tastes pretty darn good.  Unlike cream cheese, goat cheese has a little kick or zing.  But if you’re one of those people who dislike goat cheese, cream cheese would work in this recipe.

Ingredients:

10 oz package goat cheese at room temperature

8 oz lemon (or plain) yogurt

zest of one lemon

2 T honey plus a little more to drizzle

Combine all ingredients in a food processor and blend until everything is incorporated.

Use a spatula to transfer the spread to a serving container and refrigerate.

Before you refrigerate, have a sample first.  Because a good cook tastes everything before serving their guests.

Drizzle wth a little more honey before serving.  Enjoy!

NOTE:  Like I mentioned earlier, this would also be good with cream cheese as well…might taste a little like a bite of cheese cake actually.  You can add a little more zest or honey based on your personal tastes.  May also be good with a little fresh mint or thyme mixed in.


Chicken Tagine and Apricots

For my birthday last week I received a TAGINE!  I’ve been looking at them for the last year and even had one saved in my Amazon shopping cart.  My friends know me so well!  Great gift.   A Tagine is a shallow, round, (typically earthenware) pot (mine is cast iron) with a conical lid designed to keep moisture and flavors in.  The cast iron base makes it ideal for using on top of the stove or in the oven.  I seasoned the cast iron a few days ago so I was all set.

I was also gifted a cookbook so I would know where to begin.  The introduction in this cookbook, Tagines & Couscous, by Ghillie Basan, speaks to the fascinating cultures that left their mark on the region and are reflected in Moroccan cooking.   Classic Tangine dishes include lamb, dried prunes or apricots, preserved lemons, green olives, honey, onions, and spices.  Other recipes combine duck and dates, fish with lime, tomatoes and cilantro, or beef with beets and oranges.  The first problem I encountered was finding the right spices available where I live.   One of the spices, rãs-el-hanout, contains 15 different ingredients.  I had 11 of them and had never heard of a couple, so I got online and ordered it.  Ultimately it was less expensive than trying to make up my own.  I did put up some preserved lemons which will be ready in a few weeks.  Several recipes call for smen which is aged (or rancid) butter and is an acquired taste that I think I will pass on acquiring.  I will just use glee or regular unsalted butter.  I still hadn’t found an appropriate piece of lamb to use and I was anxious to experiment so I made a dish with chicken.  I kind of cobbled together a couple different recipes.  I’ll tell you what I did as well as what I would change the next time.

Ingredients:

2 tsp rãs el hanout

1 tsp salt

3 T olive oil

2 chicken breasts cubed

1 T unsalted butter

1 medium red onion halved and thin sliced

4-5 cloves of garlic sliced

1/2 cup chicken broth

1 cup water

2 T honey

1 cinnamon stick

1/2 cup dried apricots

fresh parsley for garnish

Combine 2 T olive oil, rãs el hanout, and 1 tsp salt.  Add chicken and turn well to coat.  Heat 1 T olive oil and 1 T butter in the base of the Tagine over medium heat.  Brown the chicken in batches and transfer to a plate.

Add the onion and a little salt to the Tagine and cook, uncovered, stirring occasionally until soft.  Add the garlic and cook until fragrant.

Add the chicken and the broth along with any juices that have accumulated on the plate into the Tagine.  Reduce the heat and simmer, covered, for 30 minutes.

While the chicken is cooking bring 1 cup water, cinnamon stick, apricots, and honey to a boil in a heavy sauce pan.  Cook until apricots are very tender, adding more liquid if necessary.  Once apricots are tender simmer until the liquid is reduced to a glaze.

About 10 minutes before the chicken is done add the apricots and syrup mixture to the Tagine.  Discard the cinnamon stick.

Cover and finish cooking.  Ladle chicken and apricots and broth into bowls with couscous (or rice if you don’t have couscous) and enjoy.

NOTE:  So I told you exactly what I did.  This is what I would change.  Next time I would increase the amount of spice to a tablespoon of rãs el hanout vs 2 tsp.  I would use chicken thighs instead of beast meat which, without skin and bone, I always find a little dry even in the Tagine.  I would also use cilantro because I think the flavor would be a better compliment than parsley.  And, of course, I need to buy some couscous.  The aroma was wonderful!  I’m excited to try a lamb dish next.

If you don’t have a Tagine you could prepare this same recipe in a heavy skillet with a lid for simmering.

Savory Swirl Buns

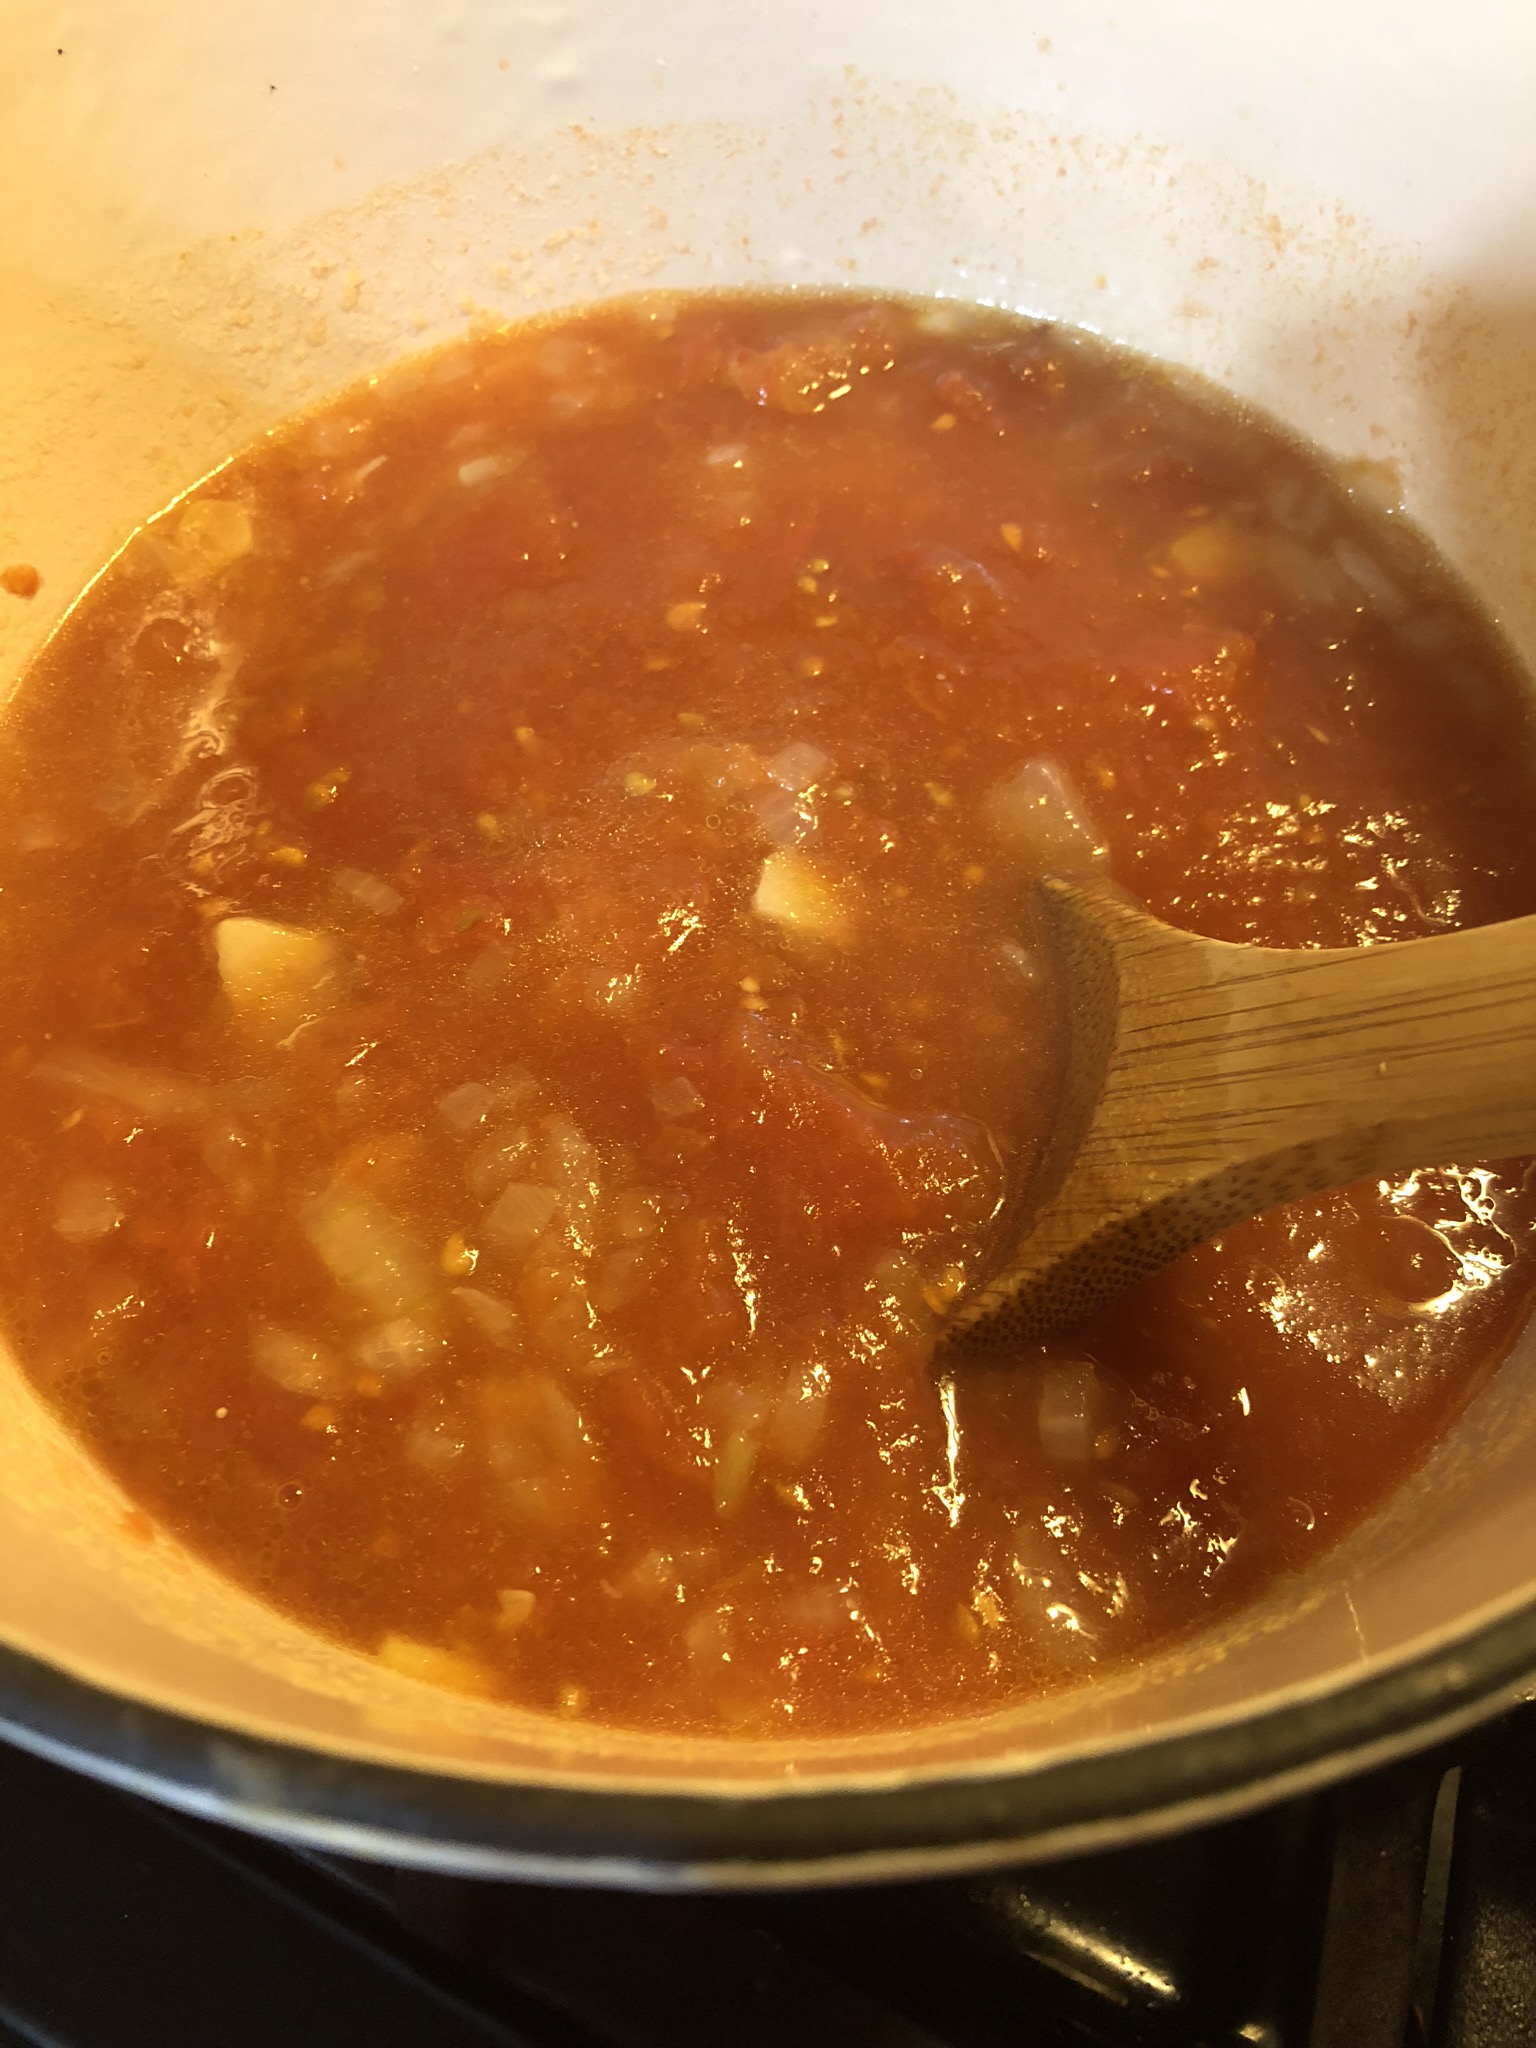
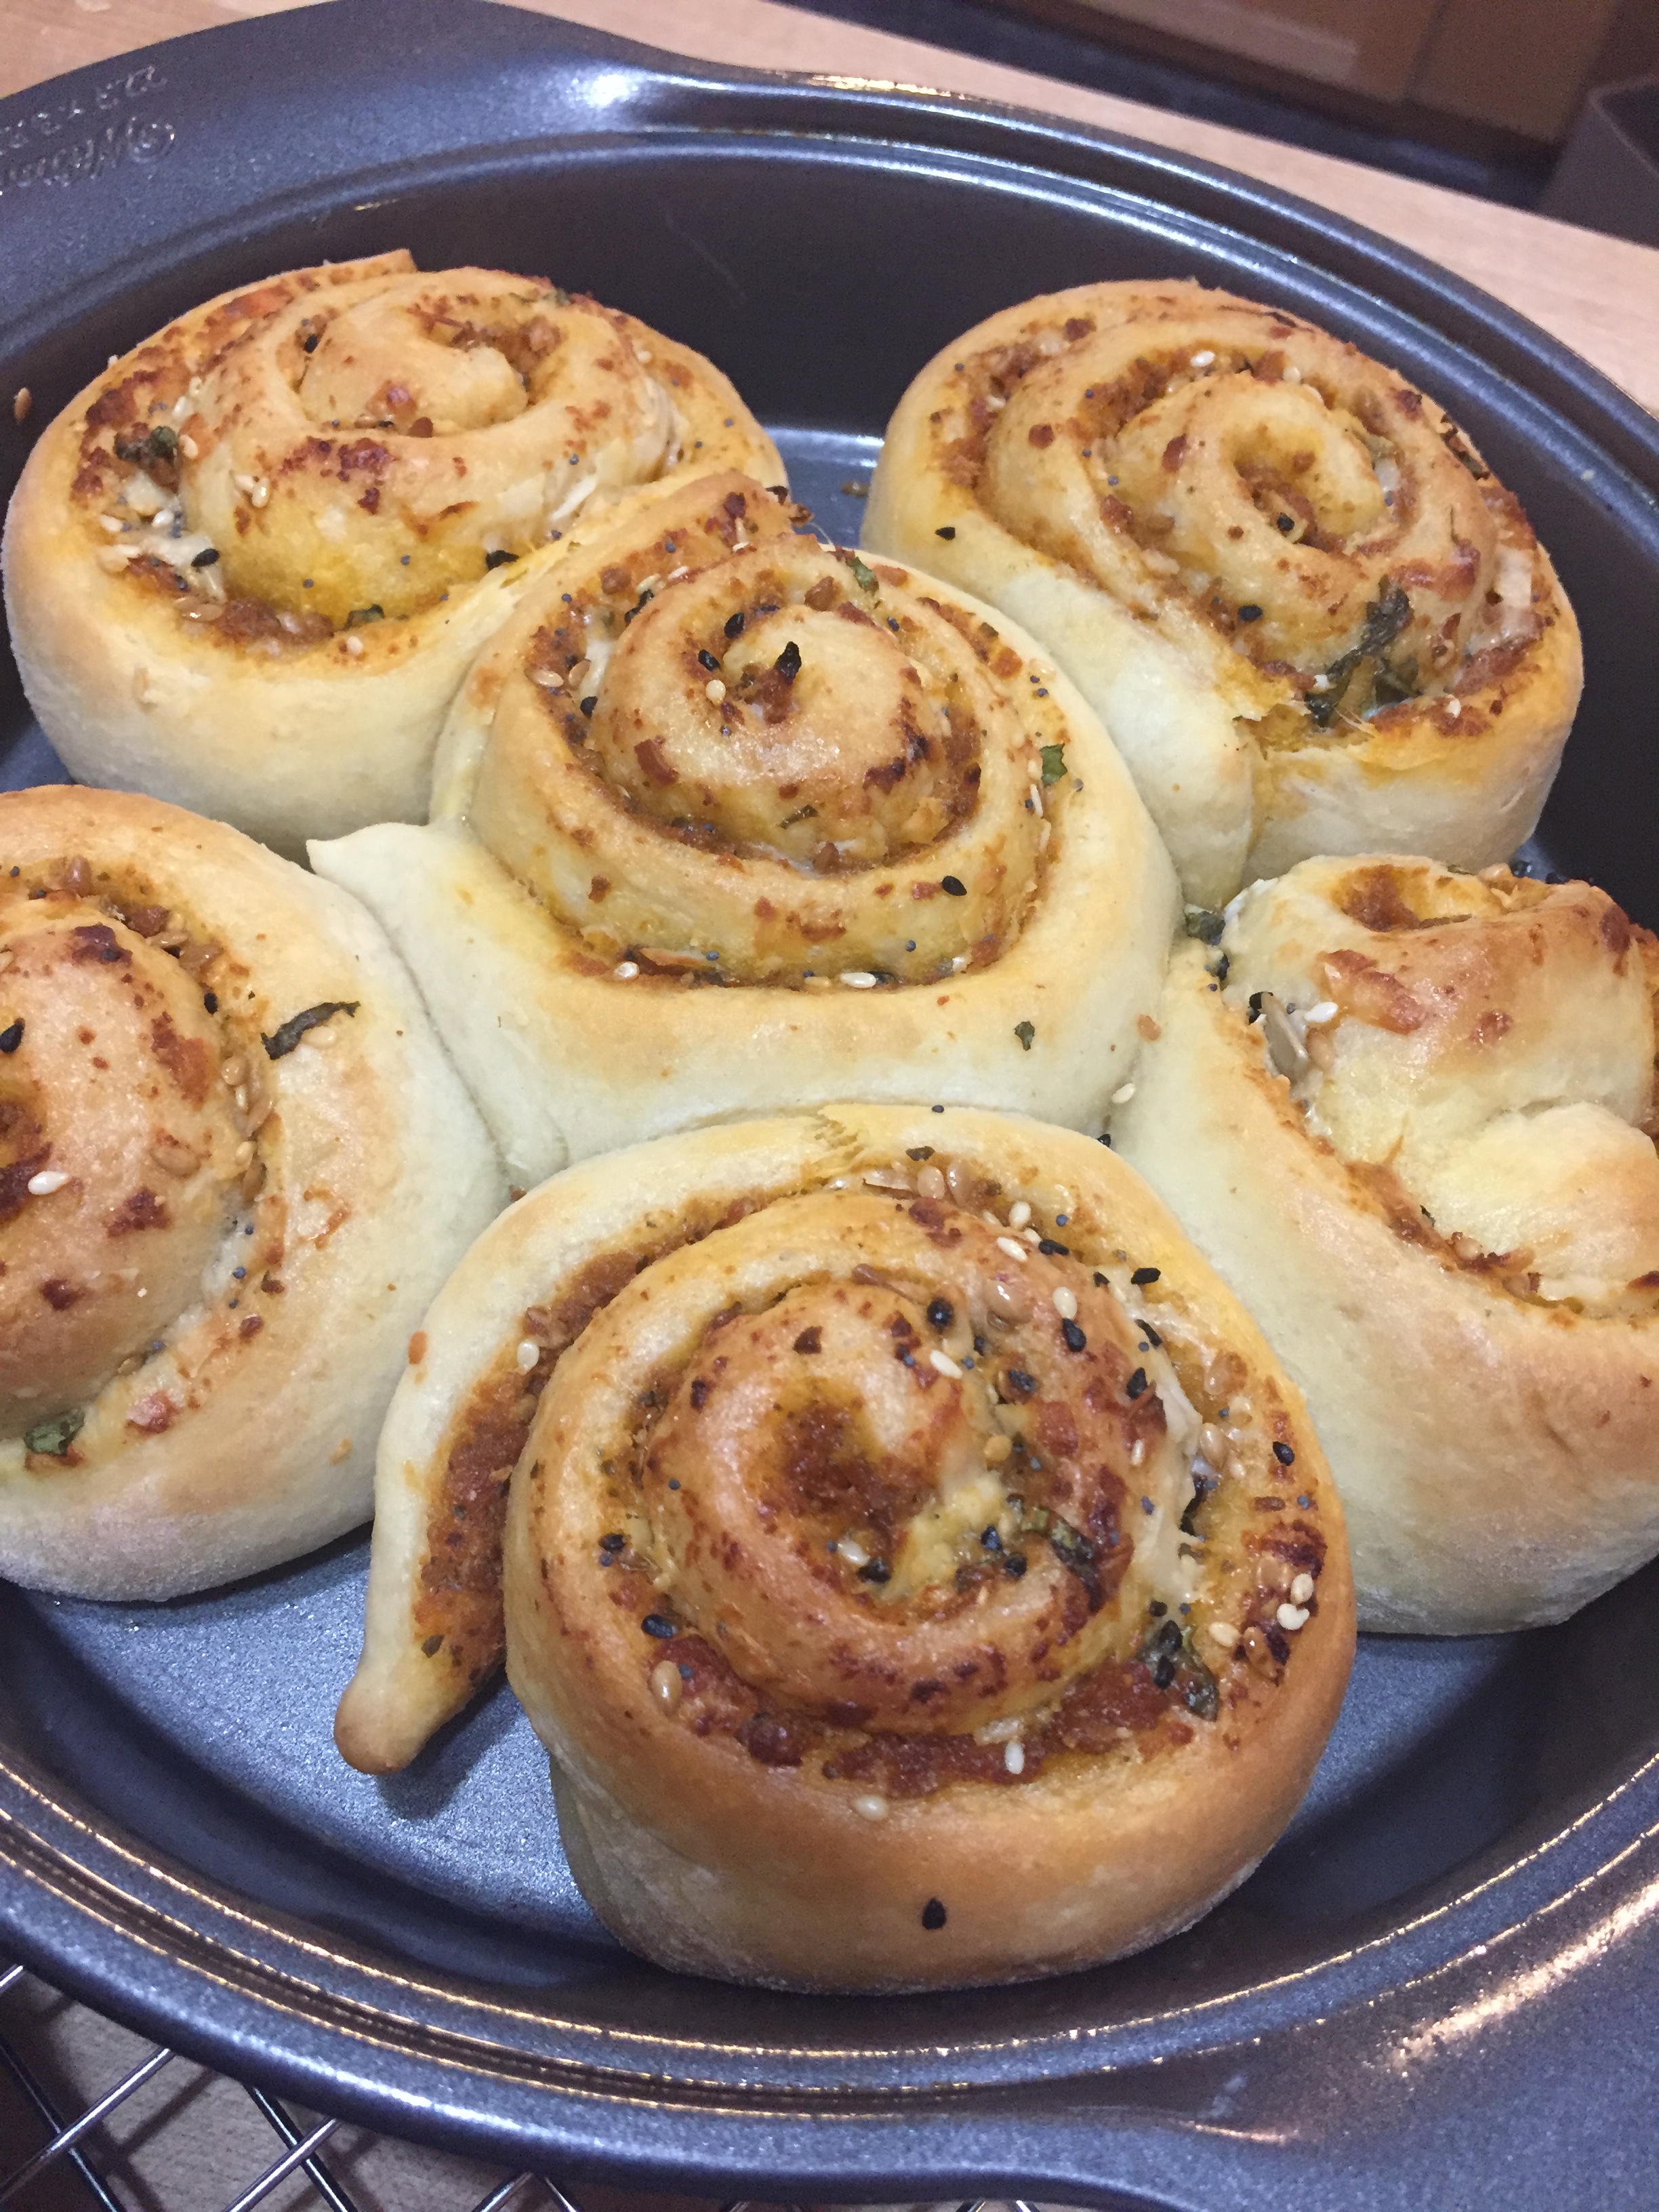
This is a recipe that my daughter found and shared with me.  The recipe was called “herby everything cheddar swirl buns” but I modified the recipe and you may want to modify it as well.  They look like cinnamon rolls, sans icing, but they are a savory, serve with dinner, bun.  They are easy to make and can be changed up to suit almost any palate.   I think they are best eaten warm out of the oven.  I shared half the recipe with a neighbor and a couple buns that were leftover I made into croutons and served them with tomato bisque.

Ingredients:

1 cup warm whole milk (my daughter used buttermilk)

1 packet instant dry yeast

1 T honey

2 eggs, beaten

2 T butter, melted

3 1/2 – 4 cups AP flour

1/2 tsp salt

3 cups (total) shredded Parmesan and asiago cheese

2 T basil leaves chiffonade (a fancy word for slicing basil into thin ribbons…stack, roll, slice)

2 T everything bagel spices

1 tsp crushed red pepper flakes (optional)

1/2 cup roasted tomato pesto

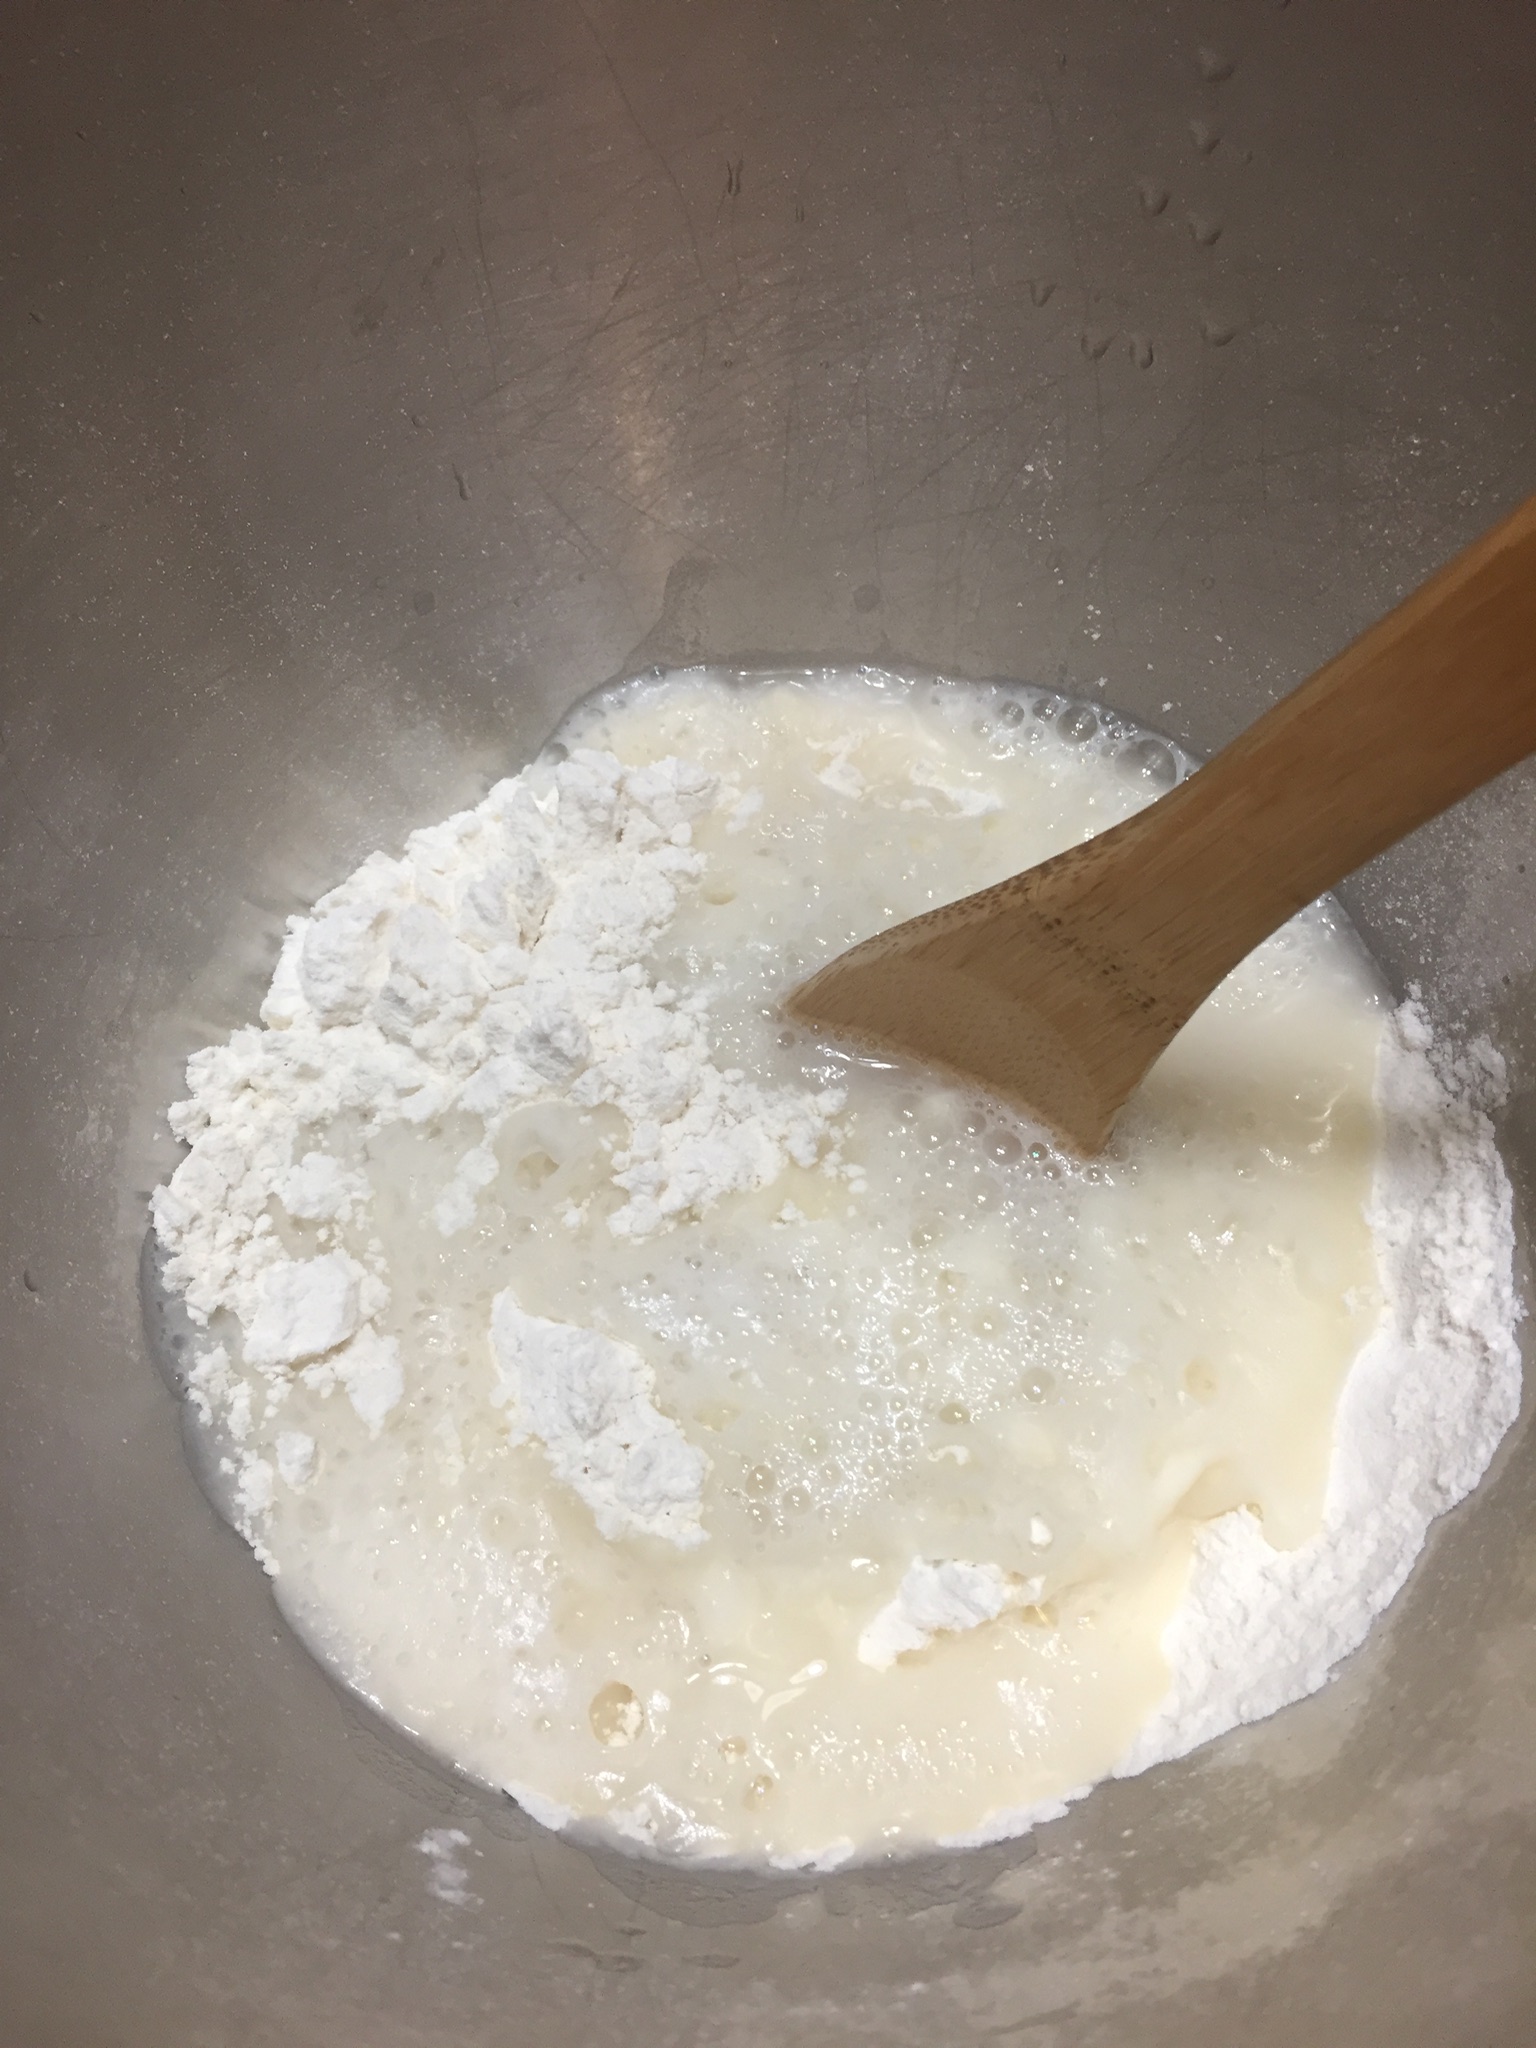
This recipe is so easy when you use a mixer with a dough hook attachment.  Heat your milk (or buttermilk) to between 105 and 110 degrees.   In the bowl of the stand mixer combine the warm milk, yeast, honey, eggs, butter, salt, and 3 1/2 cups of flour.  Using the dough hook, mix until the flour is completely incorporated, about 4-5 minutes.  If the dough seems too sticky add some or all of the remaining 1/2 cup of flour.  Cover the bowl with plastic wrap or a clean towel and let it sit at room temperature for about an hour or until it has doubled in size.

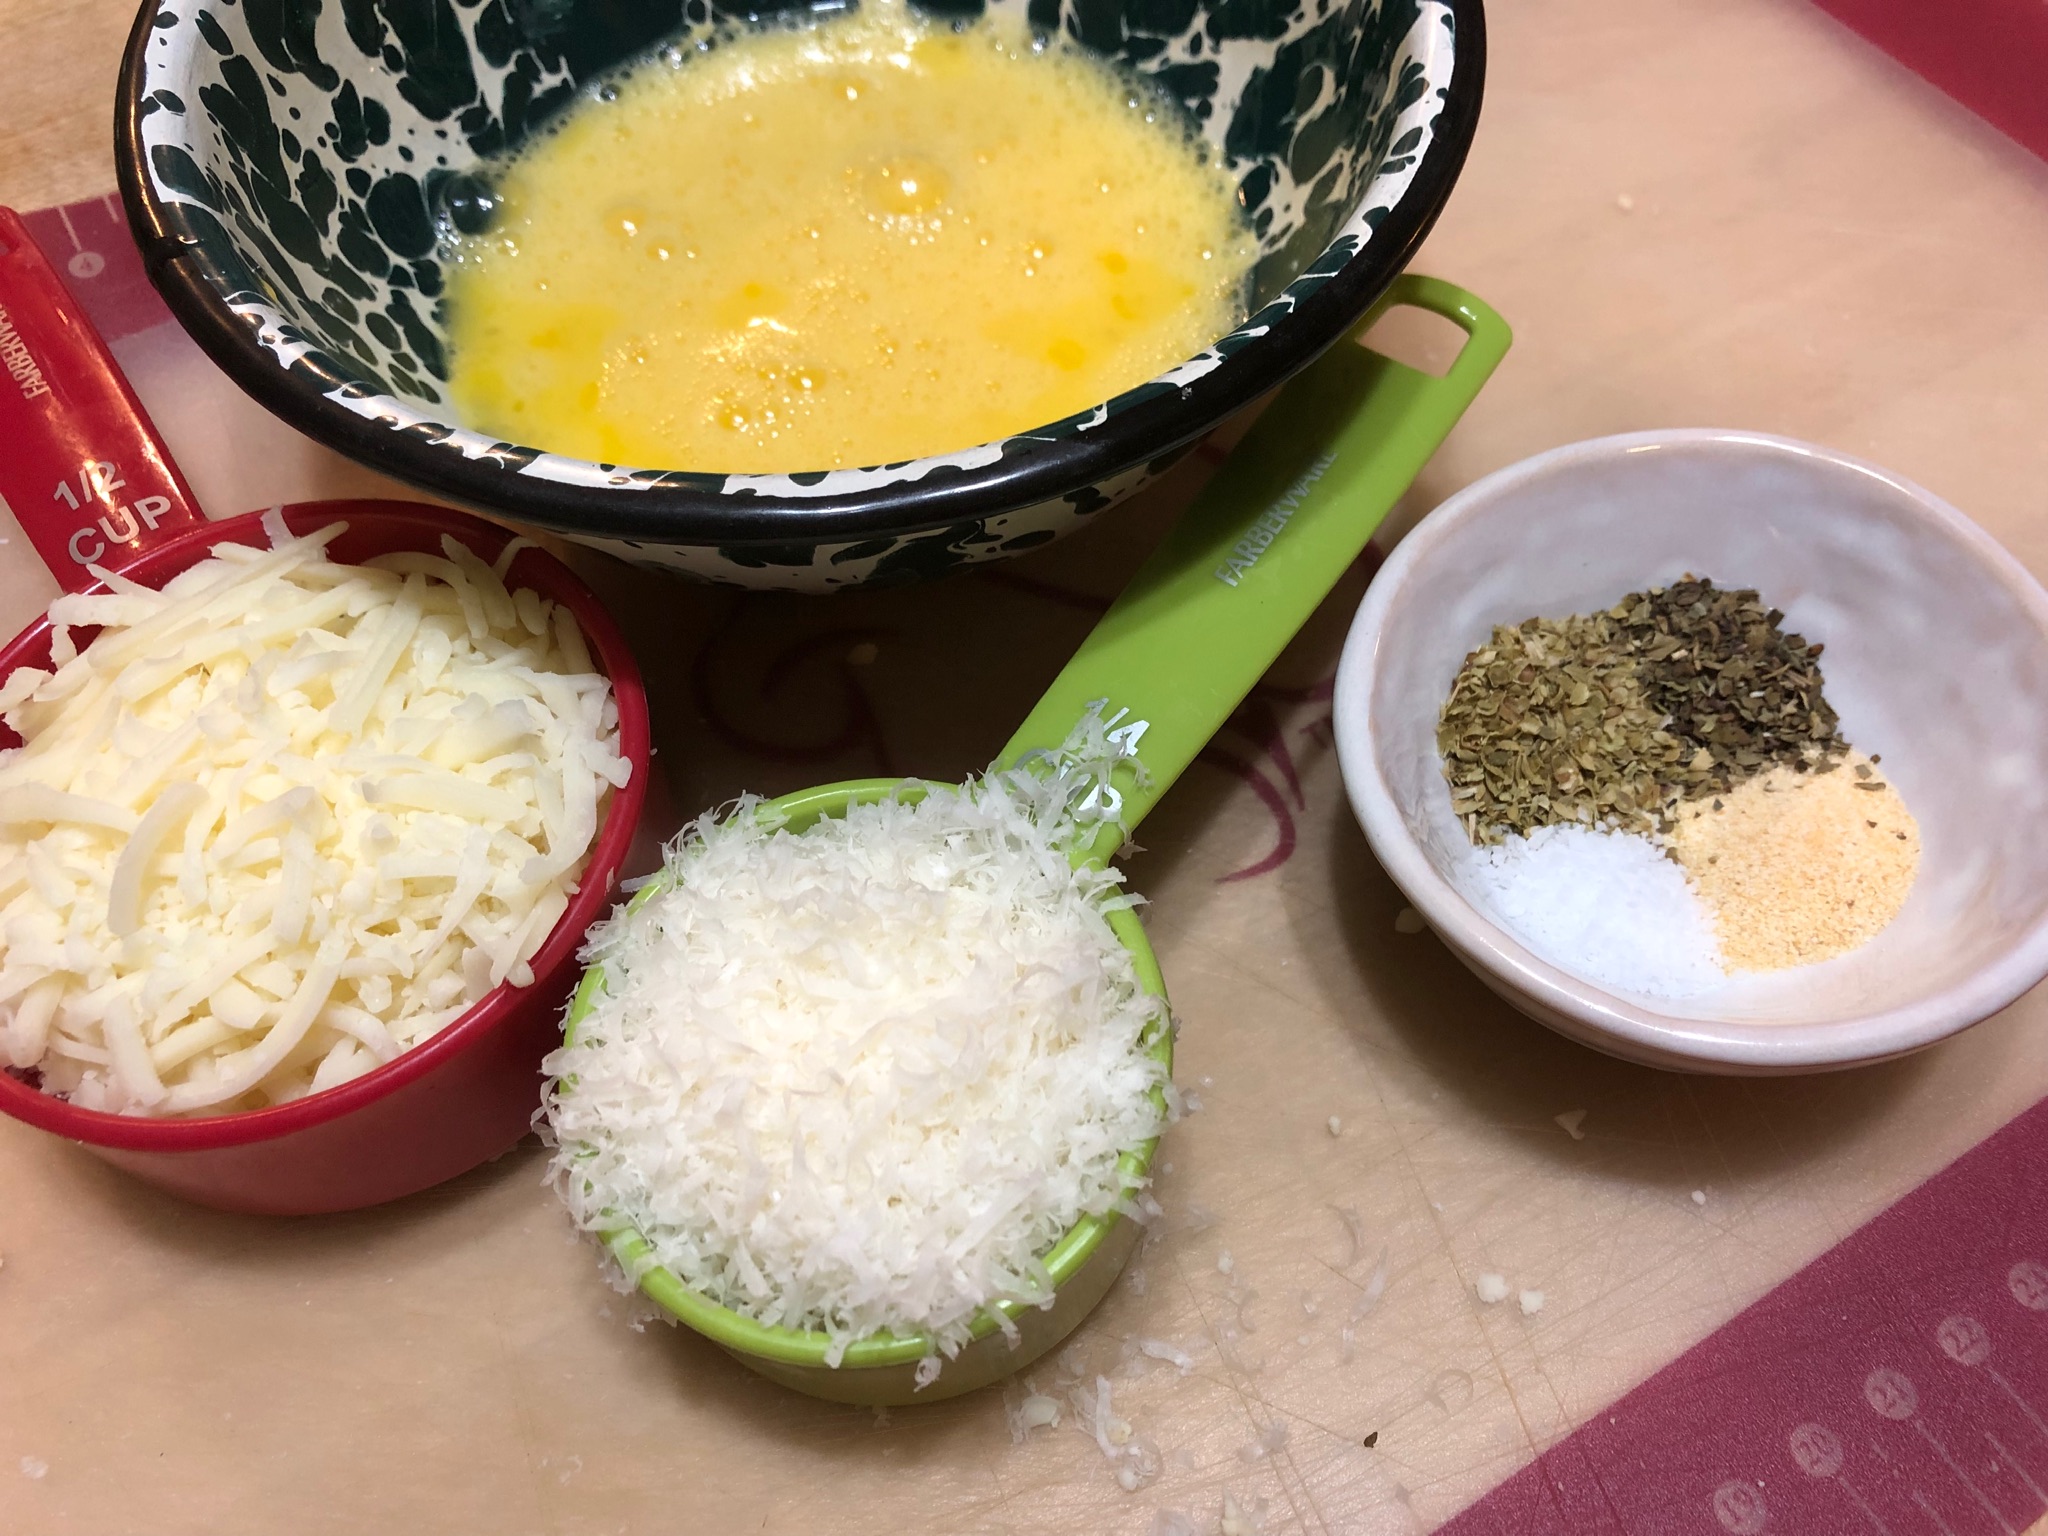
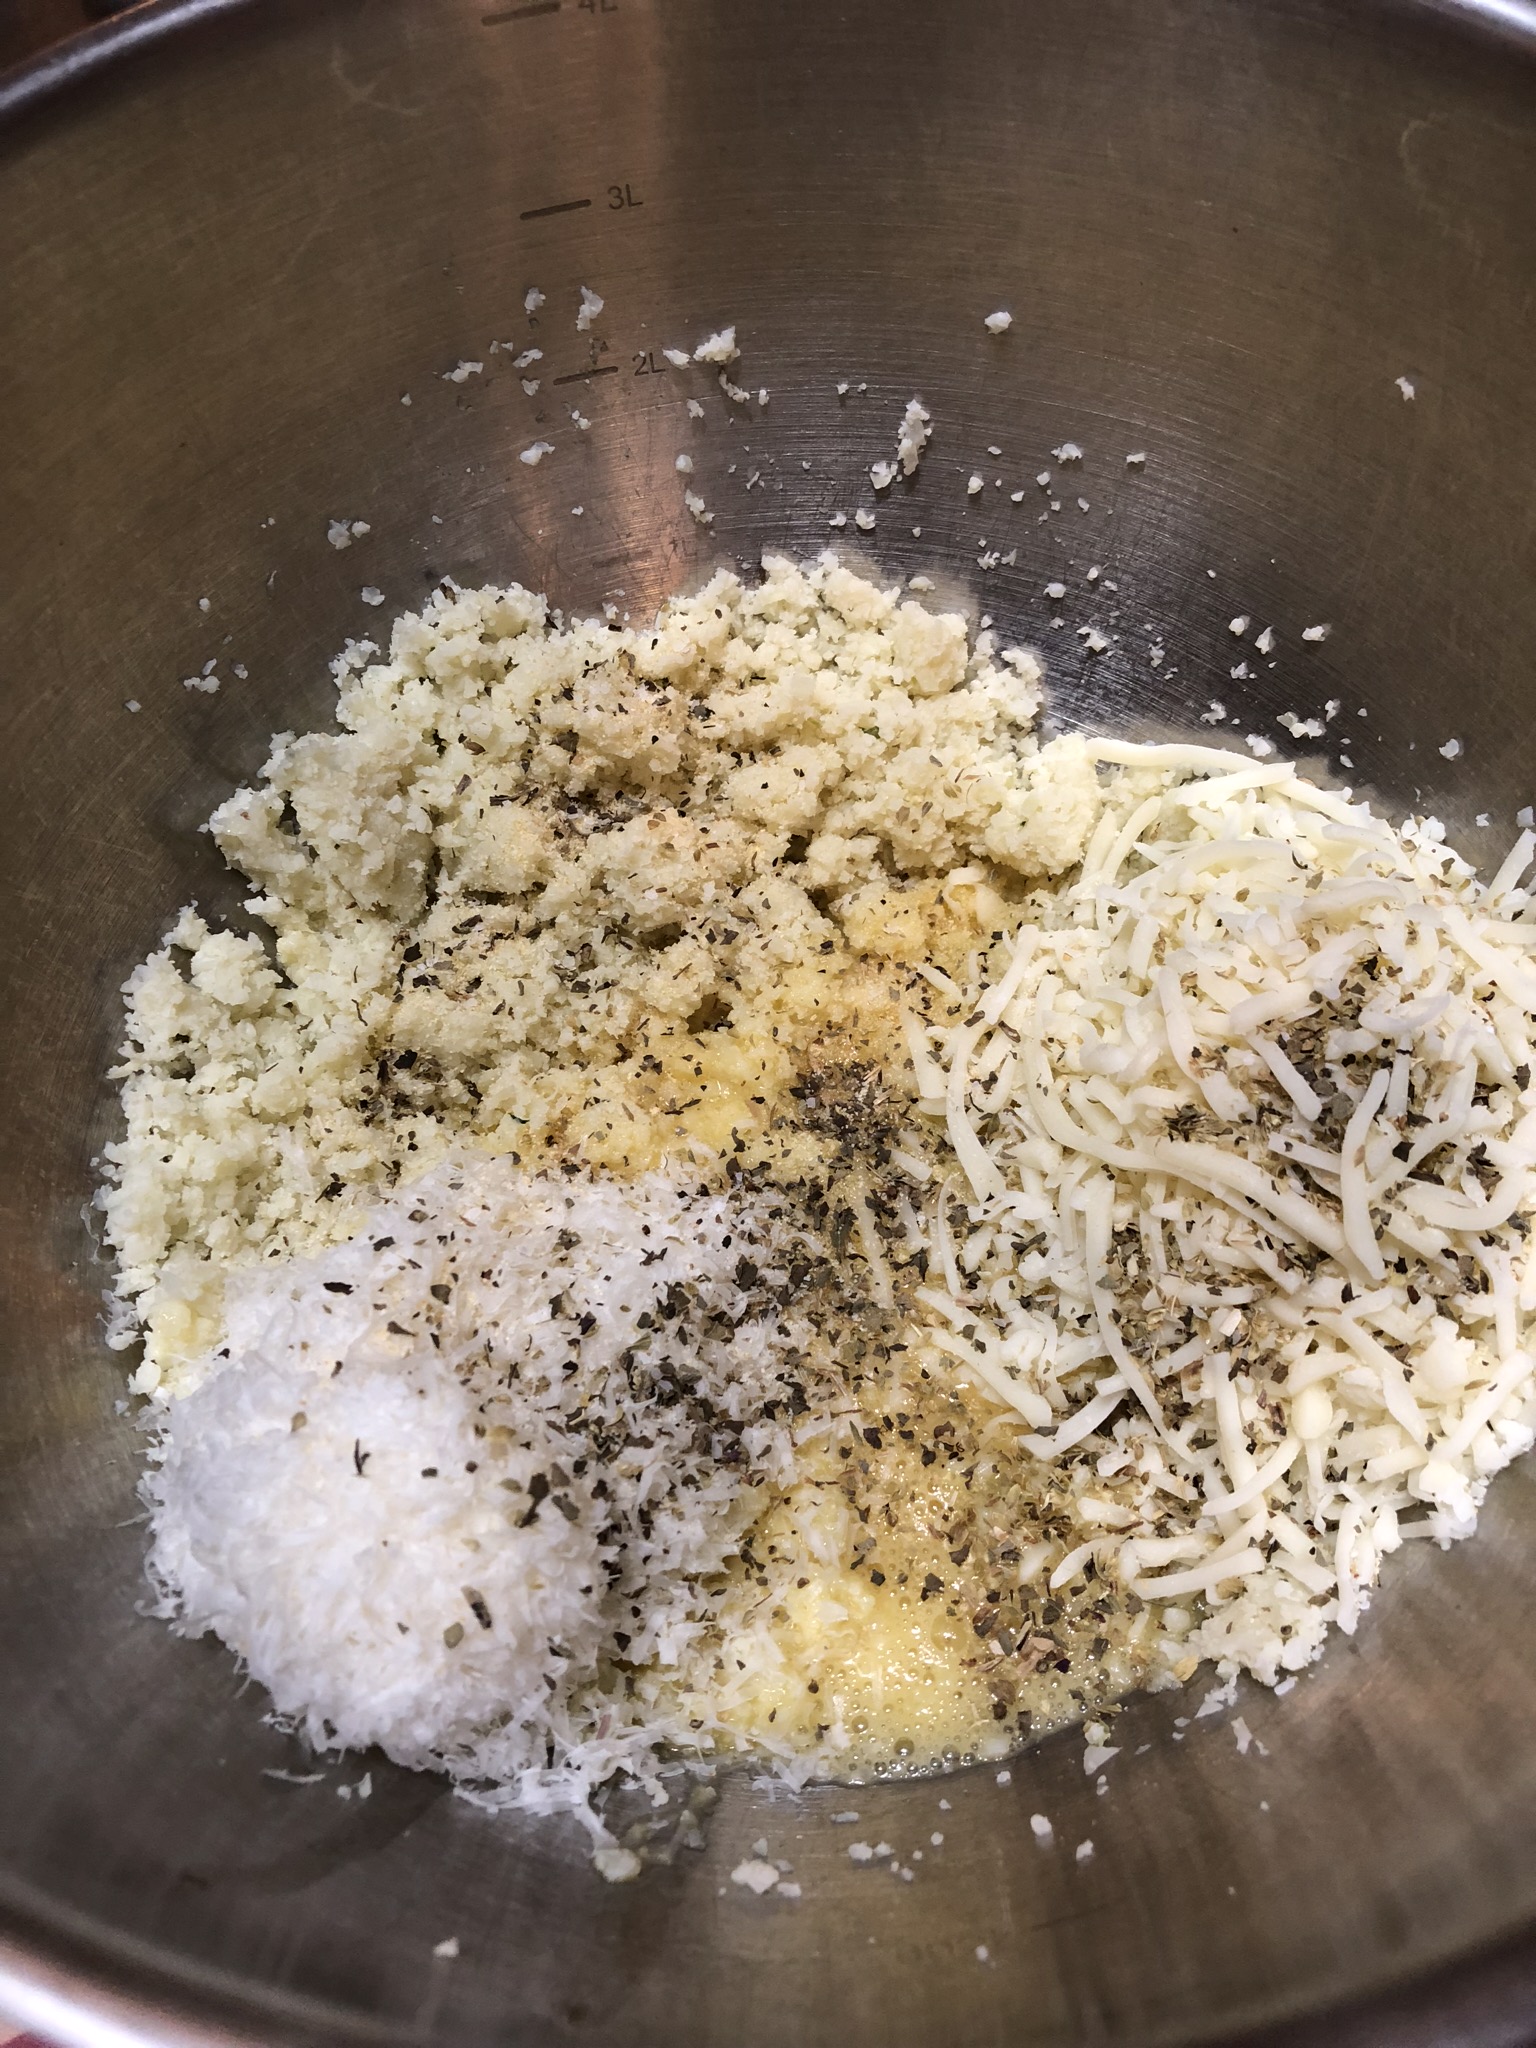
While your dough is rising make your filling.  Grate your cheese and combine the cheese, basil, everything bagel spices, and crushed red pepper.

Preheat the oven to 350.  Line a 9×13 pan or two 8” round pans with parchment paper or spray with cooking spray.

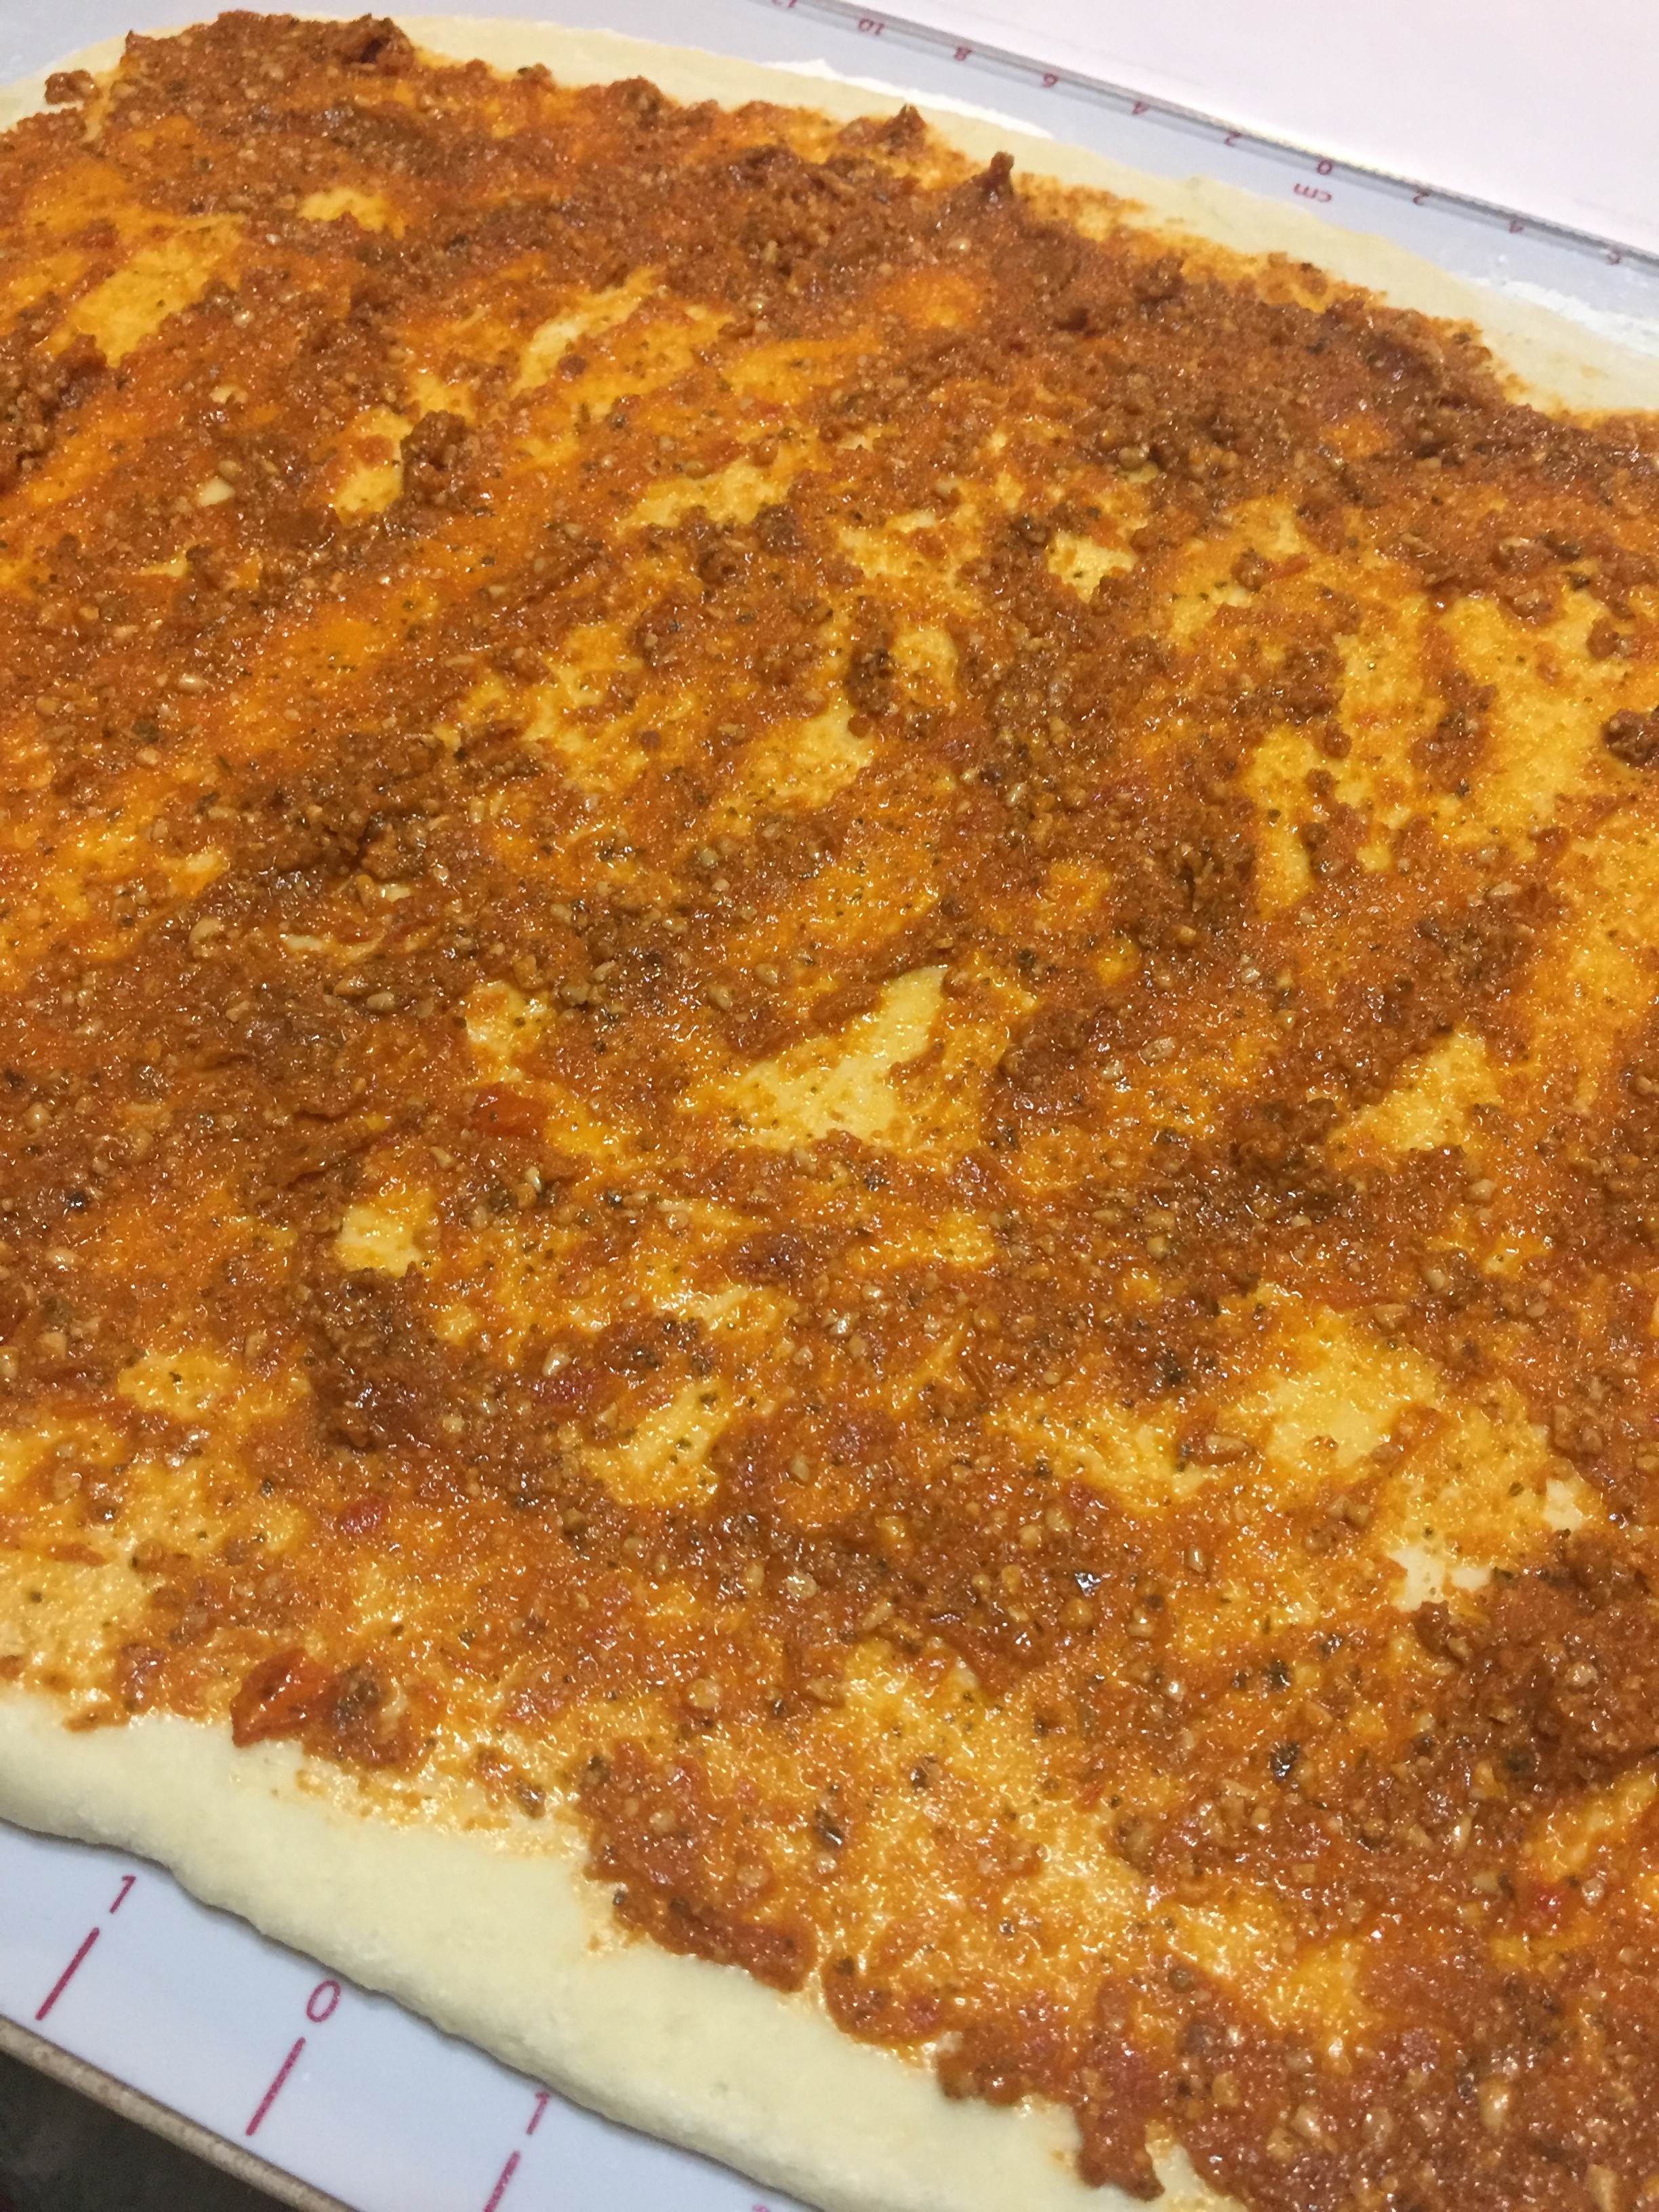
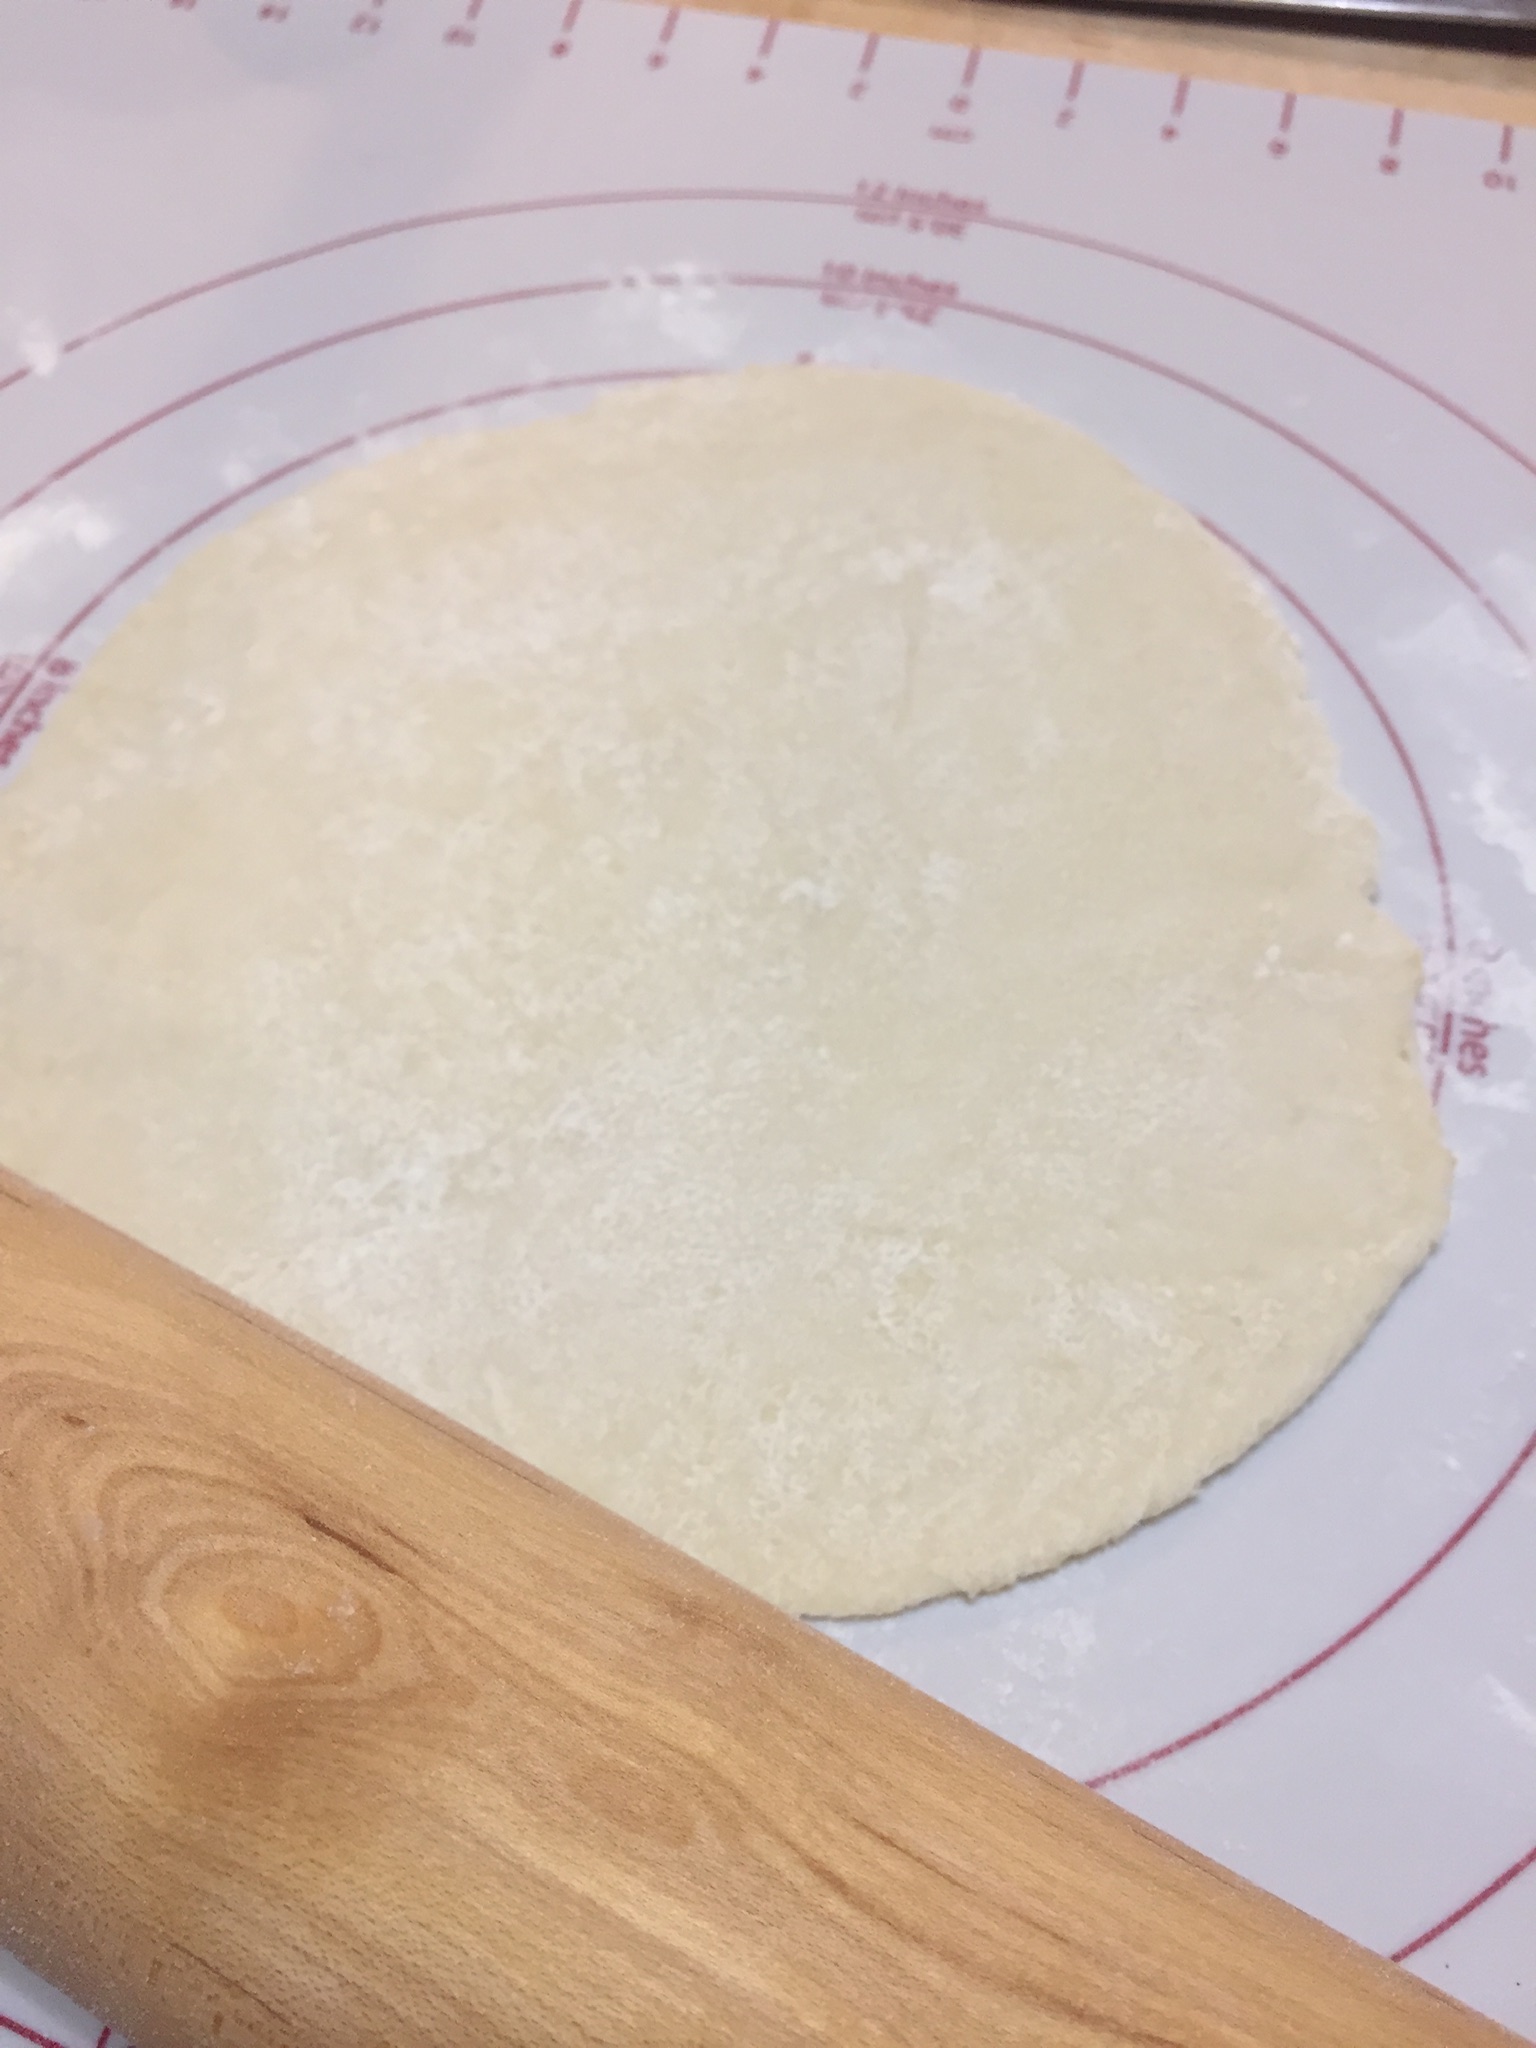
Once the dough has risen, turn the dough out onto a lightly floured surface and roll into a 10×16 rectangle.  Spread the dough with the pesto.

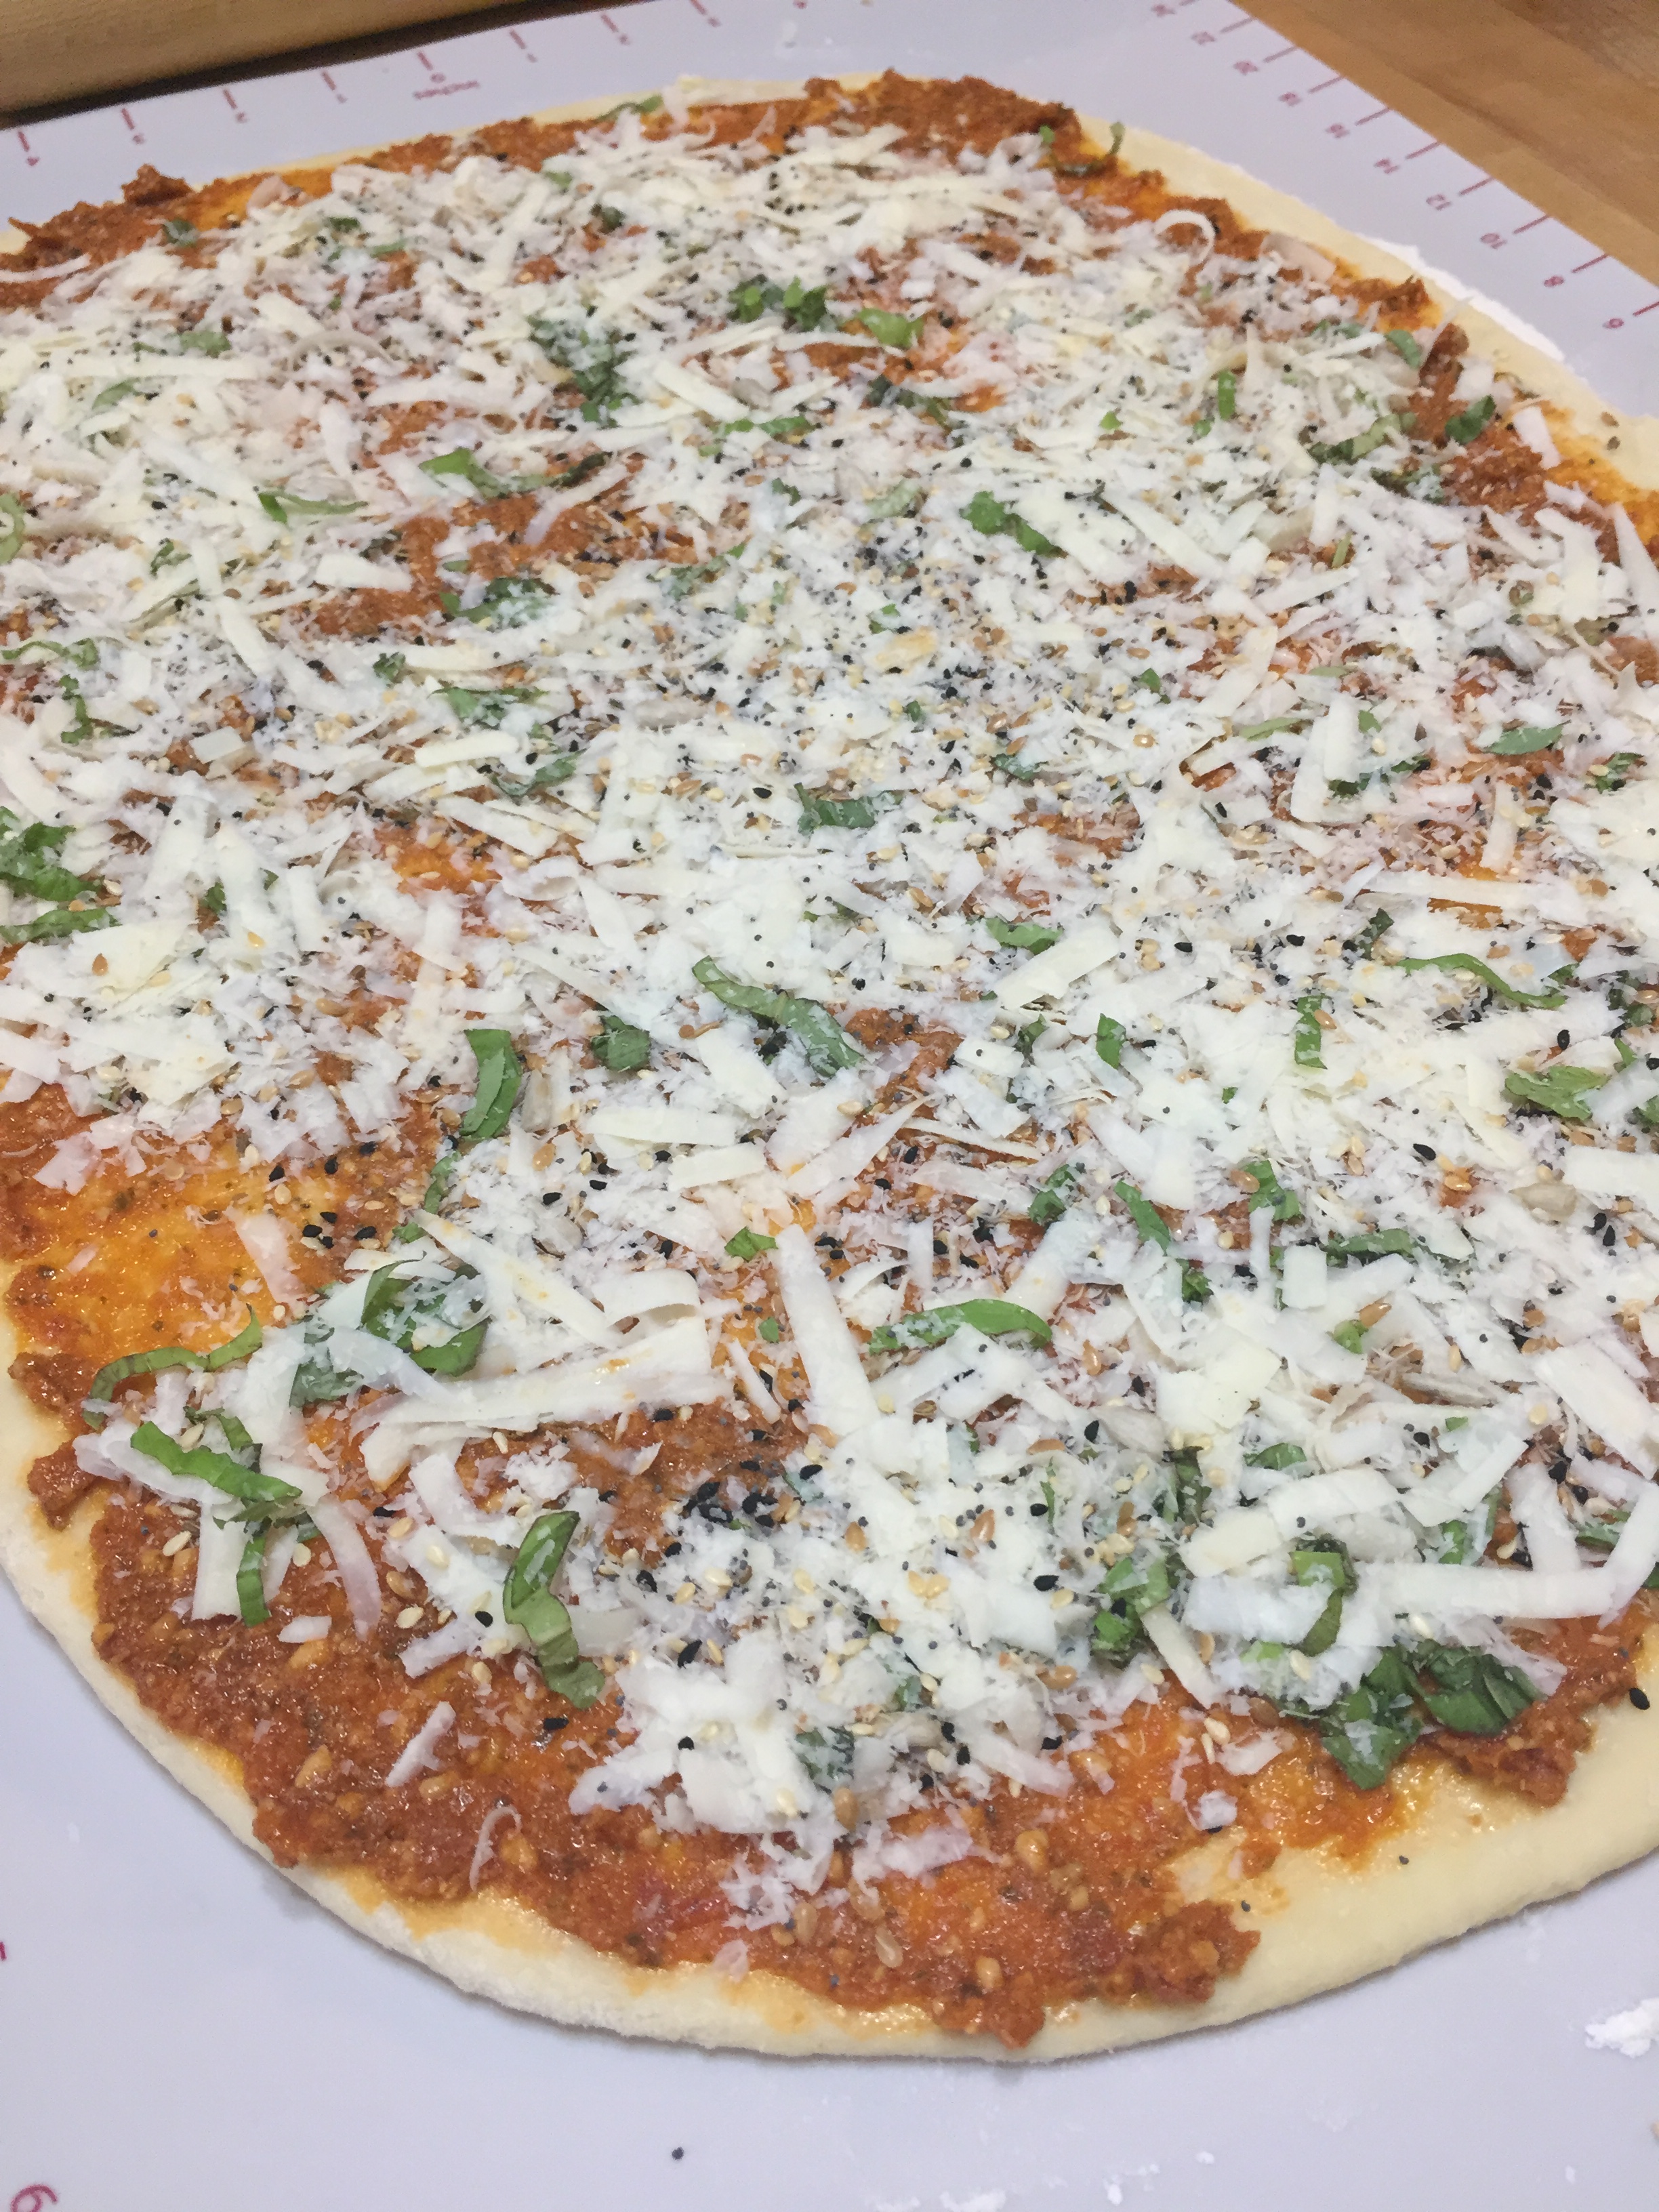
Sprinkle the seasoned cheese mixture over the dough, lightly pushing it into the pesto.

Roll the dough into a log, pinching the edges to seal.  Using a sharp knife (or dental floss) cut into 12 rolls.

Put the rolls into the prepared pan(s) and cover with plastic wrap or the clean kitchen towel.

Allow the rolls to rise for approximately 30 minutes.  Bake for 20-25 minutes until the cheese is bubbly and the buns are golden brown.

Brush the buns with butter when you take them out of the oven.  Enjoy with a nice pasta dish or soup.

NOTE:  The original recipe called for 1/4 cup of basil pesto, 2 cups of cheddar cheese and thyme.  I changed it up to 1/2 cup of sun dried tomato pesto, fresh basil, and 3 cups total of Parmesan and asiago cheese.  More cheese and more pesto.  They can only make these buns better!  This recipe could be made a day ahead and stored in the refrigerator overnight covered with plastic wrap.  Don’t let them rise until you take them out before baking.  They will rise as they come to room temperature.  Any combination of cheese and pesto and herbs that appeal to your tastes or compliment your meal would work just fine.


Soft Flat Bread

Thank you King Arthur for another great bread recipe.  If you like gyros you’ve had bread very similar to this.  If you’ve had naan, you’ve had bread very similar to this.  King Arthur says these flat breads are like a Taco Bell Gordita or a pita bread.  Doesn’t really matter what you call it.  What’s important is how it tastes and how it holds up to what ever you decide to fill it with.  I made this to accompany our Easter dinner of lamb chops, hummus, and tabouli.  It was the perfect vehicle for hummus and tabouli but it is also perfect to use as a sandwich bread.  Any kind of sandwich.  The bread was easy to pull together and seriously only took minutes to “bake”.

Ingredients:

3 to 3 1/4 cups of AP flour

1 1/4 cups boiling water

1/4 cup potato flour or 1/2 cup potato flakes

1 1/4 tsp salt

2 T vegetable oil

1 tsp instant yeast

Place 2 cups of the flour into a bowl.  Pour the boiling water over the flour and stir until smooth.  The boiling water is added to the flour to pre-cook the starch in the flour and to eliminate the possibility of a starchy taste in the finished product.  Cover the bowl with a clean towel and set aside for 30 minutes.

In a smaller bowl whisk together the potato flour or flakes (I used flakes), 1 cup of the remaining flour, salt, yeast and oil.  If you’re using the yeast packets measure out 1 tsp.  The packet is a little over 2 tsps.

After you’ve waited  the requisite 30 minutes add the potato flour/flake mixture to the flour/water mixture.  You can knead by hand or use the dough hook on your mixer.  I used my mixer.  Knead for approximately 5 minutes to form a soft dough.  If you’re kneading by hand King Arthur says to keep your hands and the work surface lightly oiled.  Let the dough rise in a warm spot, covered, for one hour.

Once the dough has risen, divide the dough into 8 pieces, cover, and let rest for 15-30 minutes.

Roll each piece into a 7-8 inch circle.  The dough is easy to roll and I did not need to flour my work surface.

Once you’ve made the rounds, dry fry them (using no oil) about 1 minute per side in a heavy skillet.  They will puff up a bit and be flecked with brown spots.  I think cast iron works the best for the dry frying.  I used my cast iron pizza pan which is one of my favorite pieces of cast iron.  (Thank you Lodge).  I let my pan heat over a medium flame for a few minutes before I started cooking the bread.  Adjust the flame if the bread is cooking too quickly or too slowly.  Too slowly and they will be dry, too quickly and they will be raw inside.  I divided one of my eight balls into two smaller balls, rolled those out, and used them to “test” my griddle temperature.

I was skeptical at first, but it really takes only about 1 minute per side.  Transfer the cooked breads to a wire rack, stacking them to keep them soft.  I stored leftovers in a zip lock bag.

My friend Jane also made these flat breads and used one of hers for an egg salad sandwich.  (Sandwich photo credit goes to Jane.)  Now I want to boil eggs for egg salad!  I will be making these again.  They might even work well for personal pizzas.

NOTE:  King Arthur says this recipe works best with instant yeast because it dissolves during the kneading process.  If you don’t have instant yeast, hold back 1/4 cup of boiling water and dissolve yeast in 1/4 cup of warm water.  Add to the mixture along with the potato flour/flake mixture.


Tabouli

Tabouli (Tabbouleh) is one of my favorite bites because it tastes so fresh and clean and makes me think of spring and summer.  It is of Lebanese origin and it is a dish that you’ll find on the menu of almost any Middle Eastern restaurant.  True tabouli is made with bulgar but I’ve substituted raw cauliflower before (that has been riced) and today I used a bulgar quinoa blend.  My daughter is the one who introduced me to tabouli with cauliflower.  For Easter dinner I made lamb chops, white bean hummus, tabouli, and a soft wrap bread.  It was a perfect combination!  If you’ve never tasted tabouli before I hope you’ll try it.  I cannot imagine anyone not liking it!

Ingredients:

1 1/2 cups minced parsley

3/4 cup minced mint

green onions diced

1 cup finely diced tomatoes

1 English cucumber seeded and diced

1 1/2 cups bulgar quinoa blend

4 T olive oil

4 T fresh squeezed lemon juice

salt and pepper to taste

Prepare the bulgar quinoa according to package instructions.  If you’re substituting cauliflower use a box grater and measure approximately 1 1/2 cups of cauliflower.

Make a fine dice of the cucumber, tomato and green onion.

Chop the parsley and mint.  In a large bowl combine the vegetables and the herbs.

Add the grain.  In a separate bowl whisk together the lemon juice and olive oil.  Add to the vegetable, herb, grain mixture and stir well.  Season to taste with salt and pepper.  Serve chilled.

Not only does tabouli taste wonderful, it looks beautiful on the plate.  Also great on the flat bread along with a little hummus.

NOTE:  Tabouli does not require precise measurements.  If you have a little more or less of mint or parsley it’s ok.  If you have red or yellow onion instead of green onions that’s ok too.  And, as I mentioned, you can substitute another grain or riced cauliflower.  I do, however, think it’s important to use equal amounts of lemon and olive oil.

Blueberry Muffins

A few times a year King Arthur Flour publishes a magazine called Sift.  Every time one comes out my friend Jane and I pick up a copy.  So many wonder recipes!  This muffin recipe is from the Spring 2019 edition.  I made these today to accompany our crab meat quiche for a perfect brunch.

Ingredients:

1/2 cup unsalted butter at room temperature

1/2 cup sugar plus 2 T for sprinkling

2 large eggs

2 tsp baking powder

1/2 tsp salt

1 tsp vanilla extract

2 cups AP flour

1/2 cup milk

2 1/2 cups  fresh blueberries

Preheat the oven to 375.  Line a muffin tin with papers and lightly grease the papers.

In a medium bowl, beat together the butter and 1/2 cup sugar until combined.  Add the eggs, one at a time, scraping the sides and bottom of the bowl and beating well after each addition.

Stir in the baking powder, salt, and vanilla.  Add the flour, alternating with the milk, stirring gently until combined.  Scrape bottom and sides of the bowl.  Mash 1/2 cup of the blueberries and add mashed and whole blueberries to the batter stirring  to combine and distribute.

Scoop the batter into the prepared pan.  I used my ice cream scoop.  Sprinkle tops with the remaining 2 T of sugar.

Bake for 25-30 minutes until light golden brown and a cake tester inserted into the center comes out clean.  Let cool in the pan for 5 minutes.

I served ours with crab quiche but they’re perfect for breakfast on their own with a cup of hot coffee or a glass of milk.

NOTE:  My muffin pans are dark so I reduced my oven temperature to 350.

Thank you King Arthur for your great recipes that inspire!