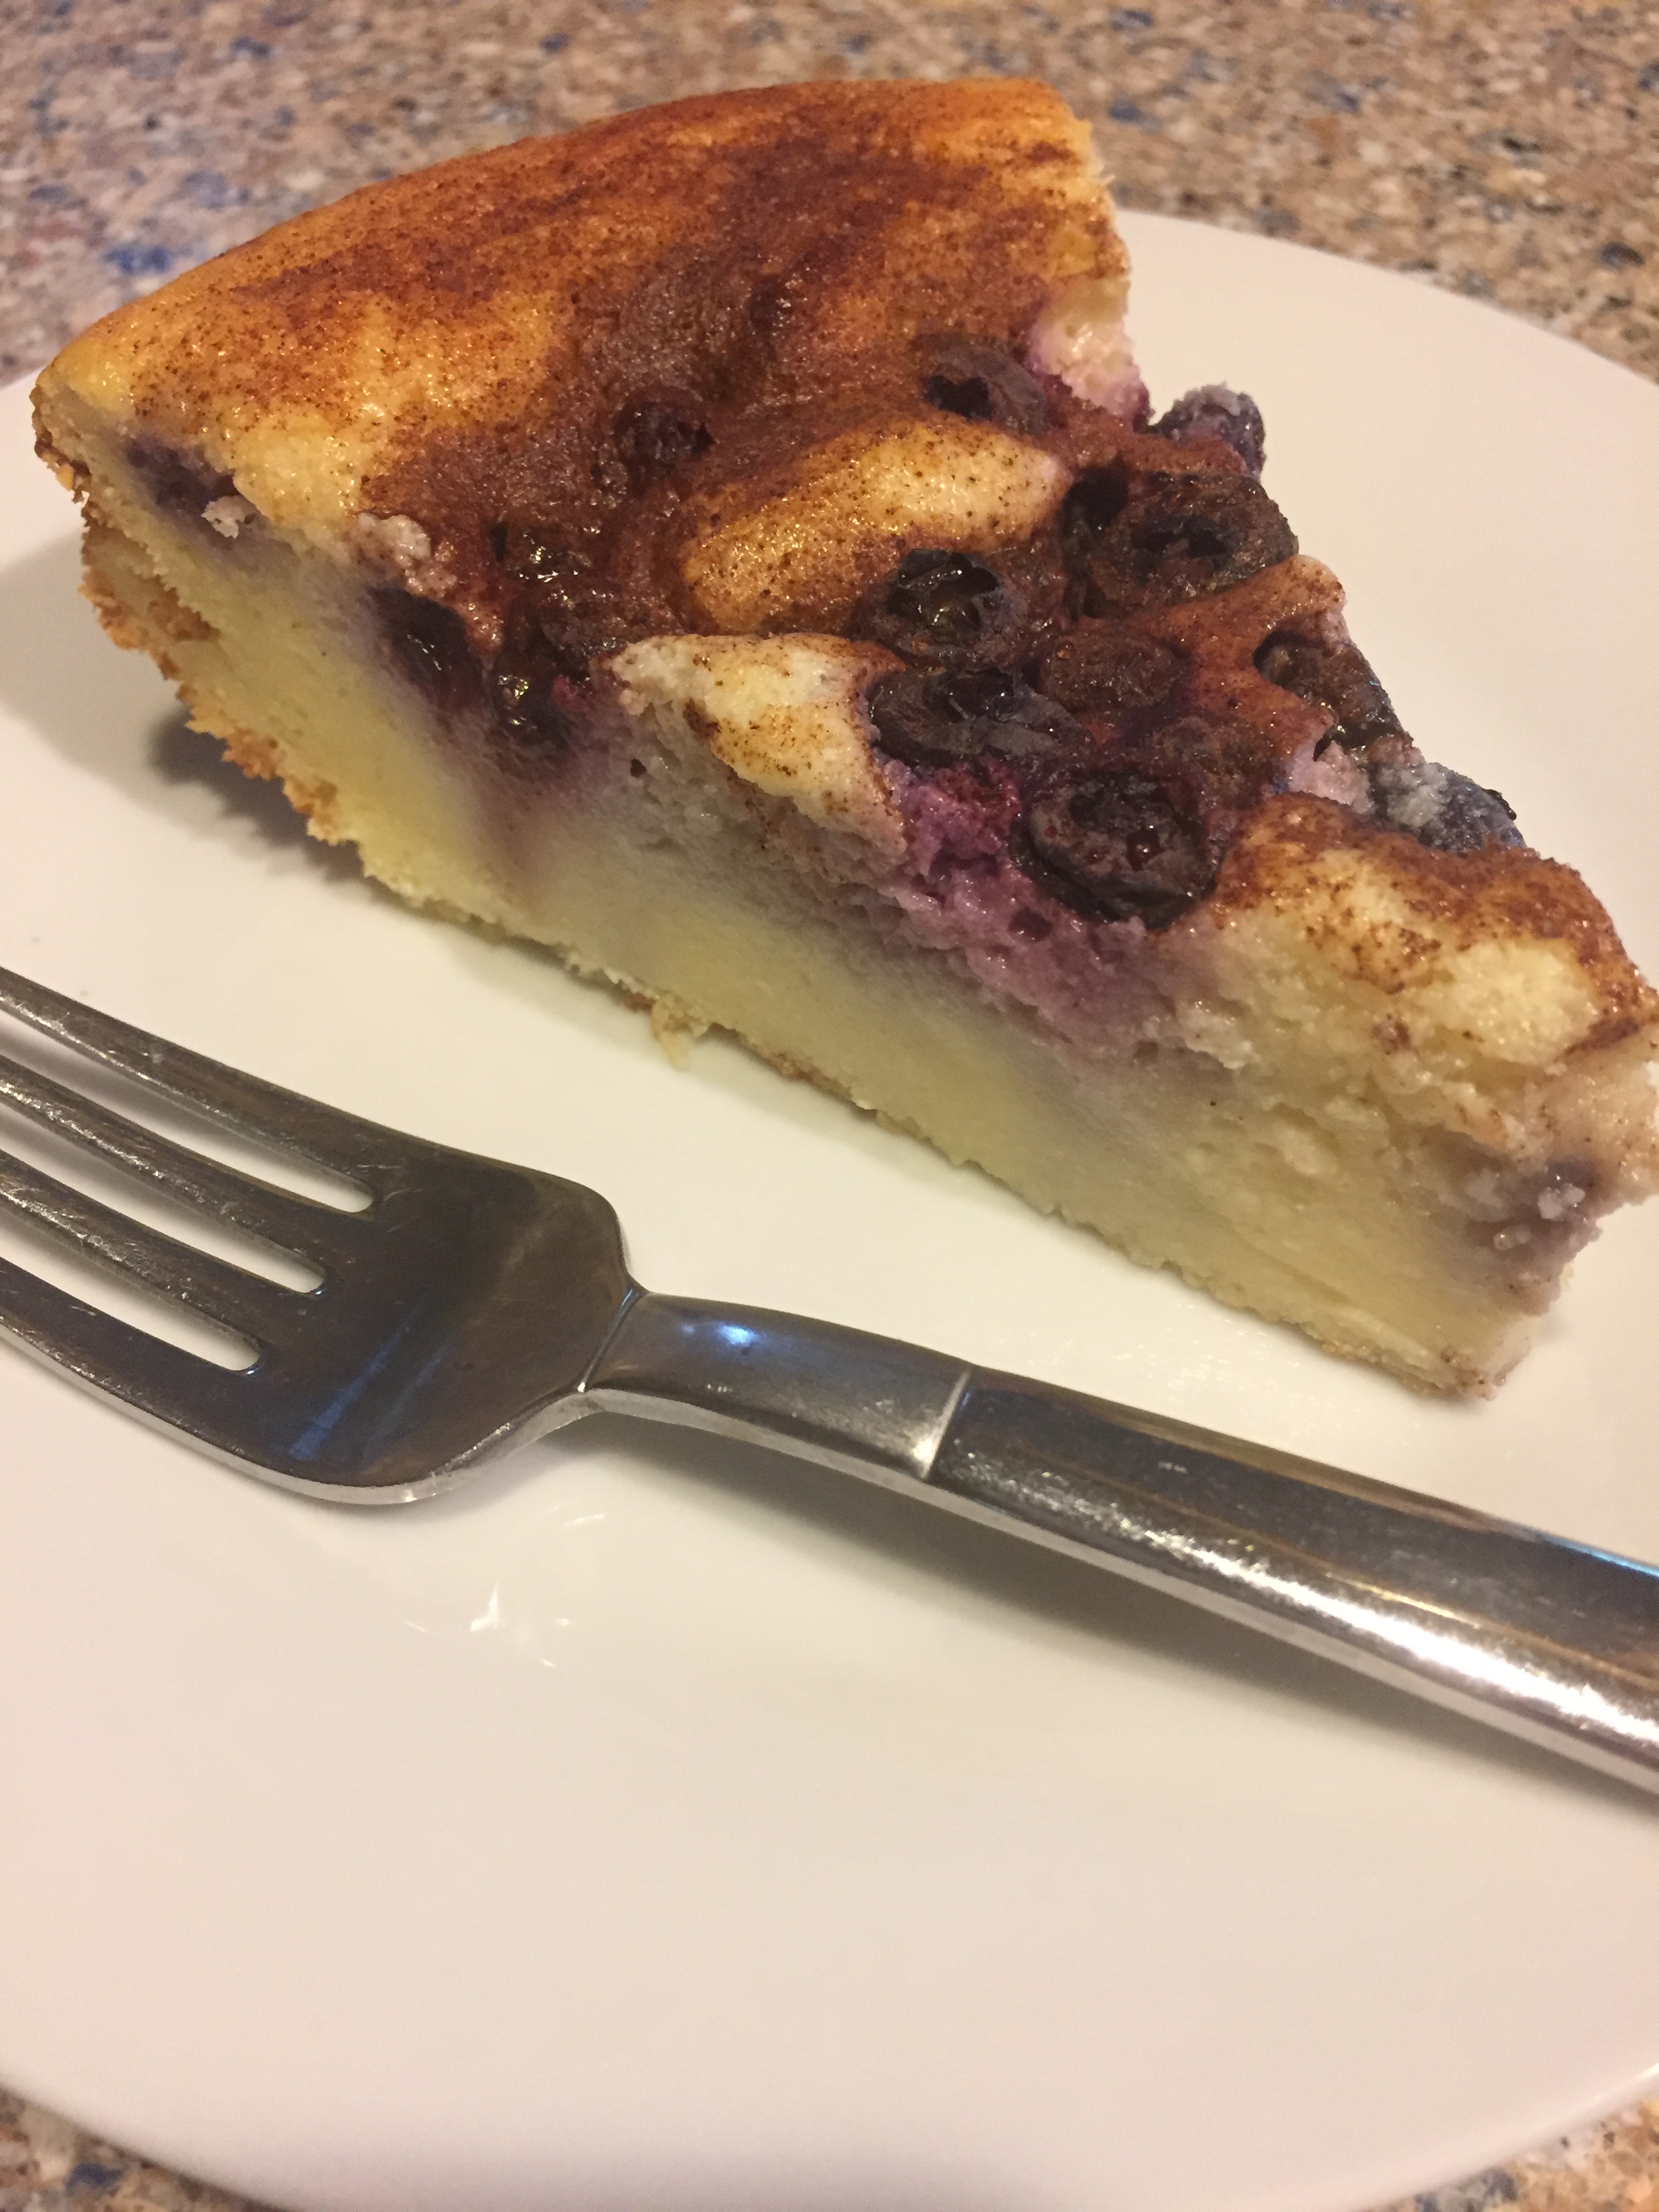
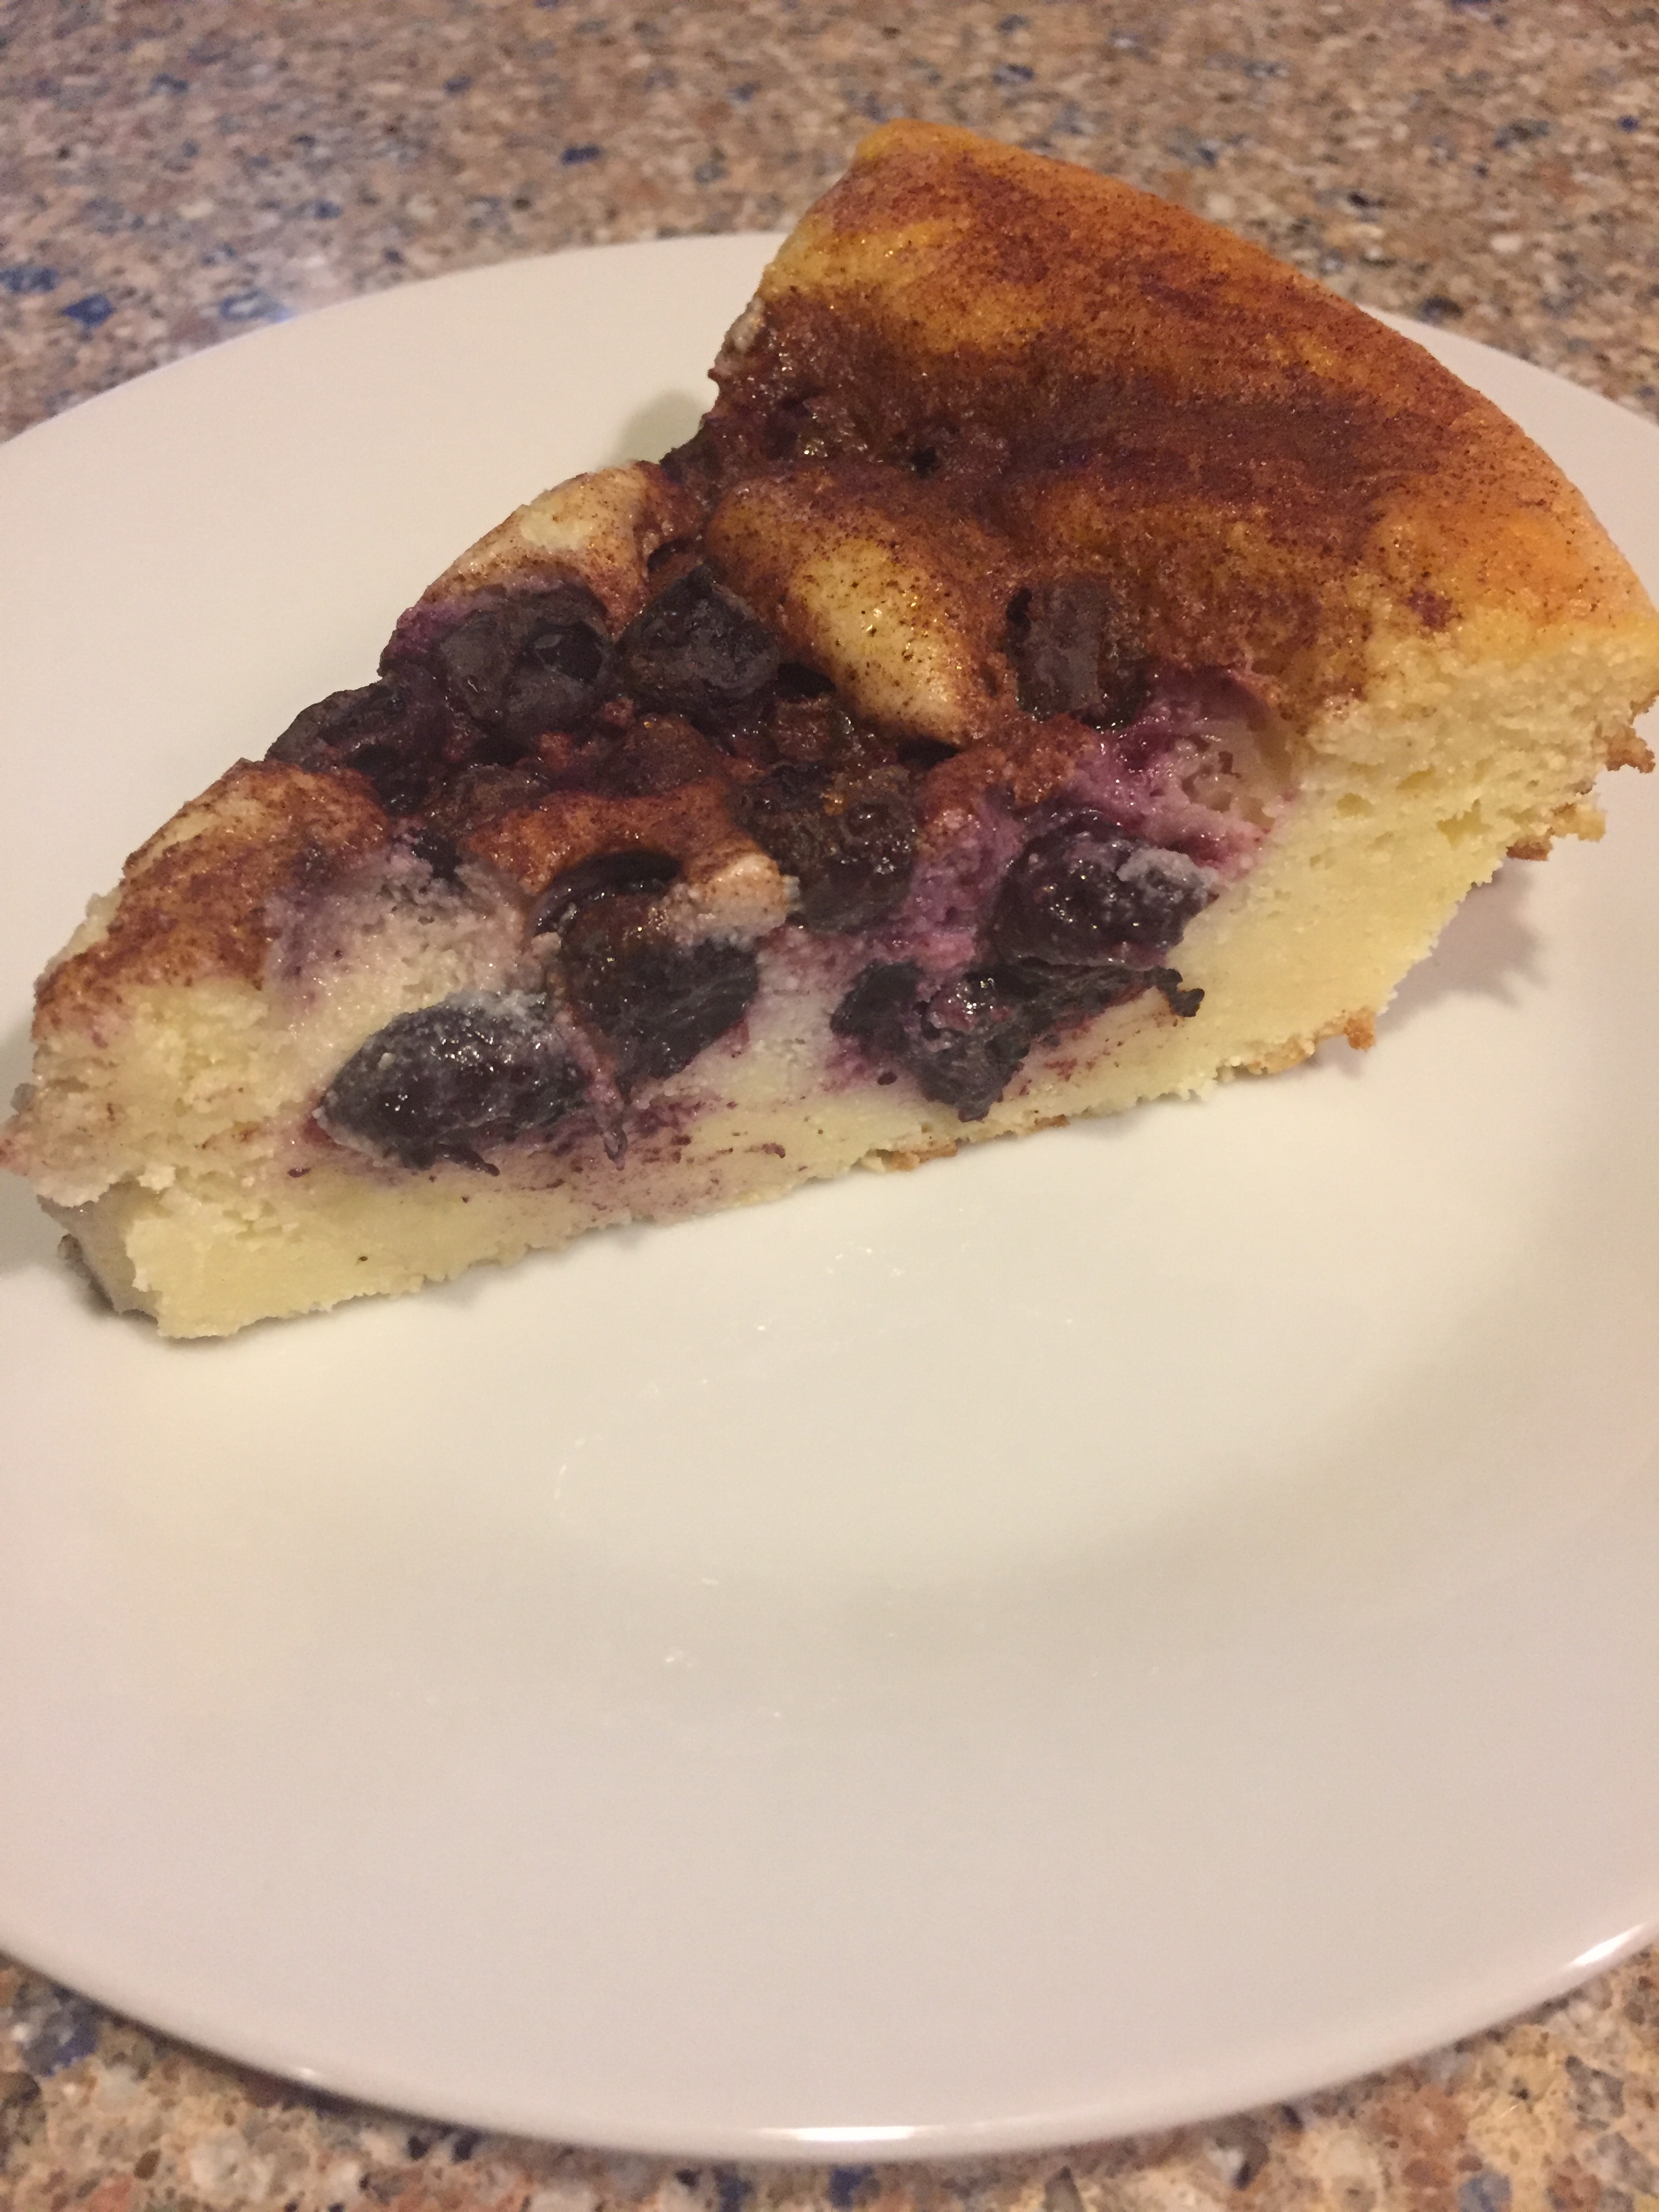
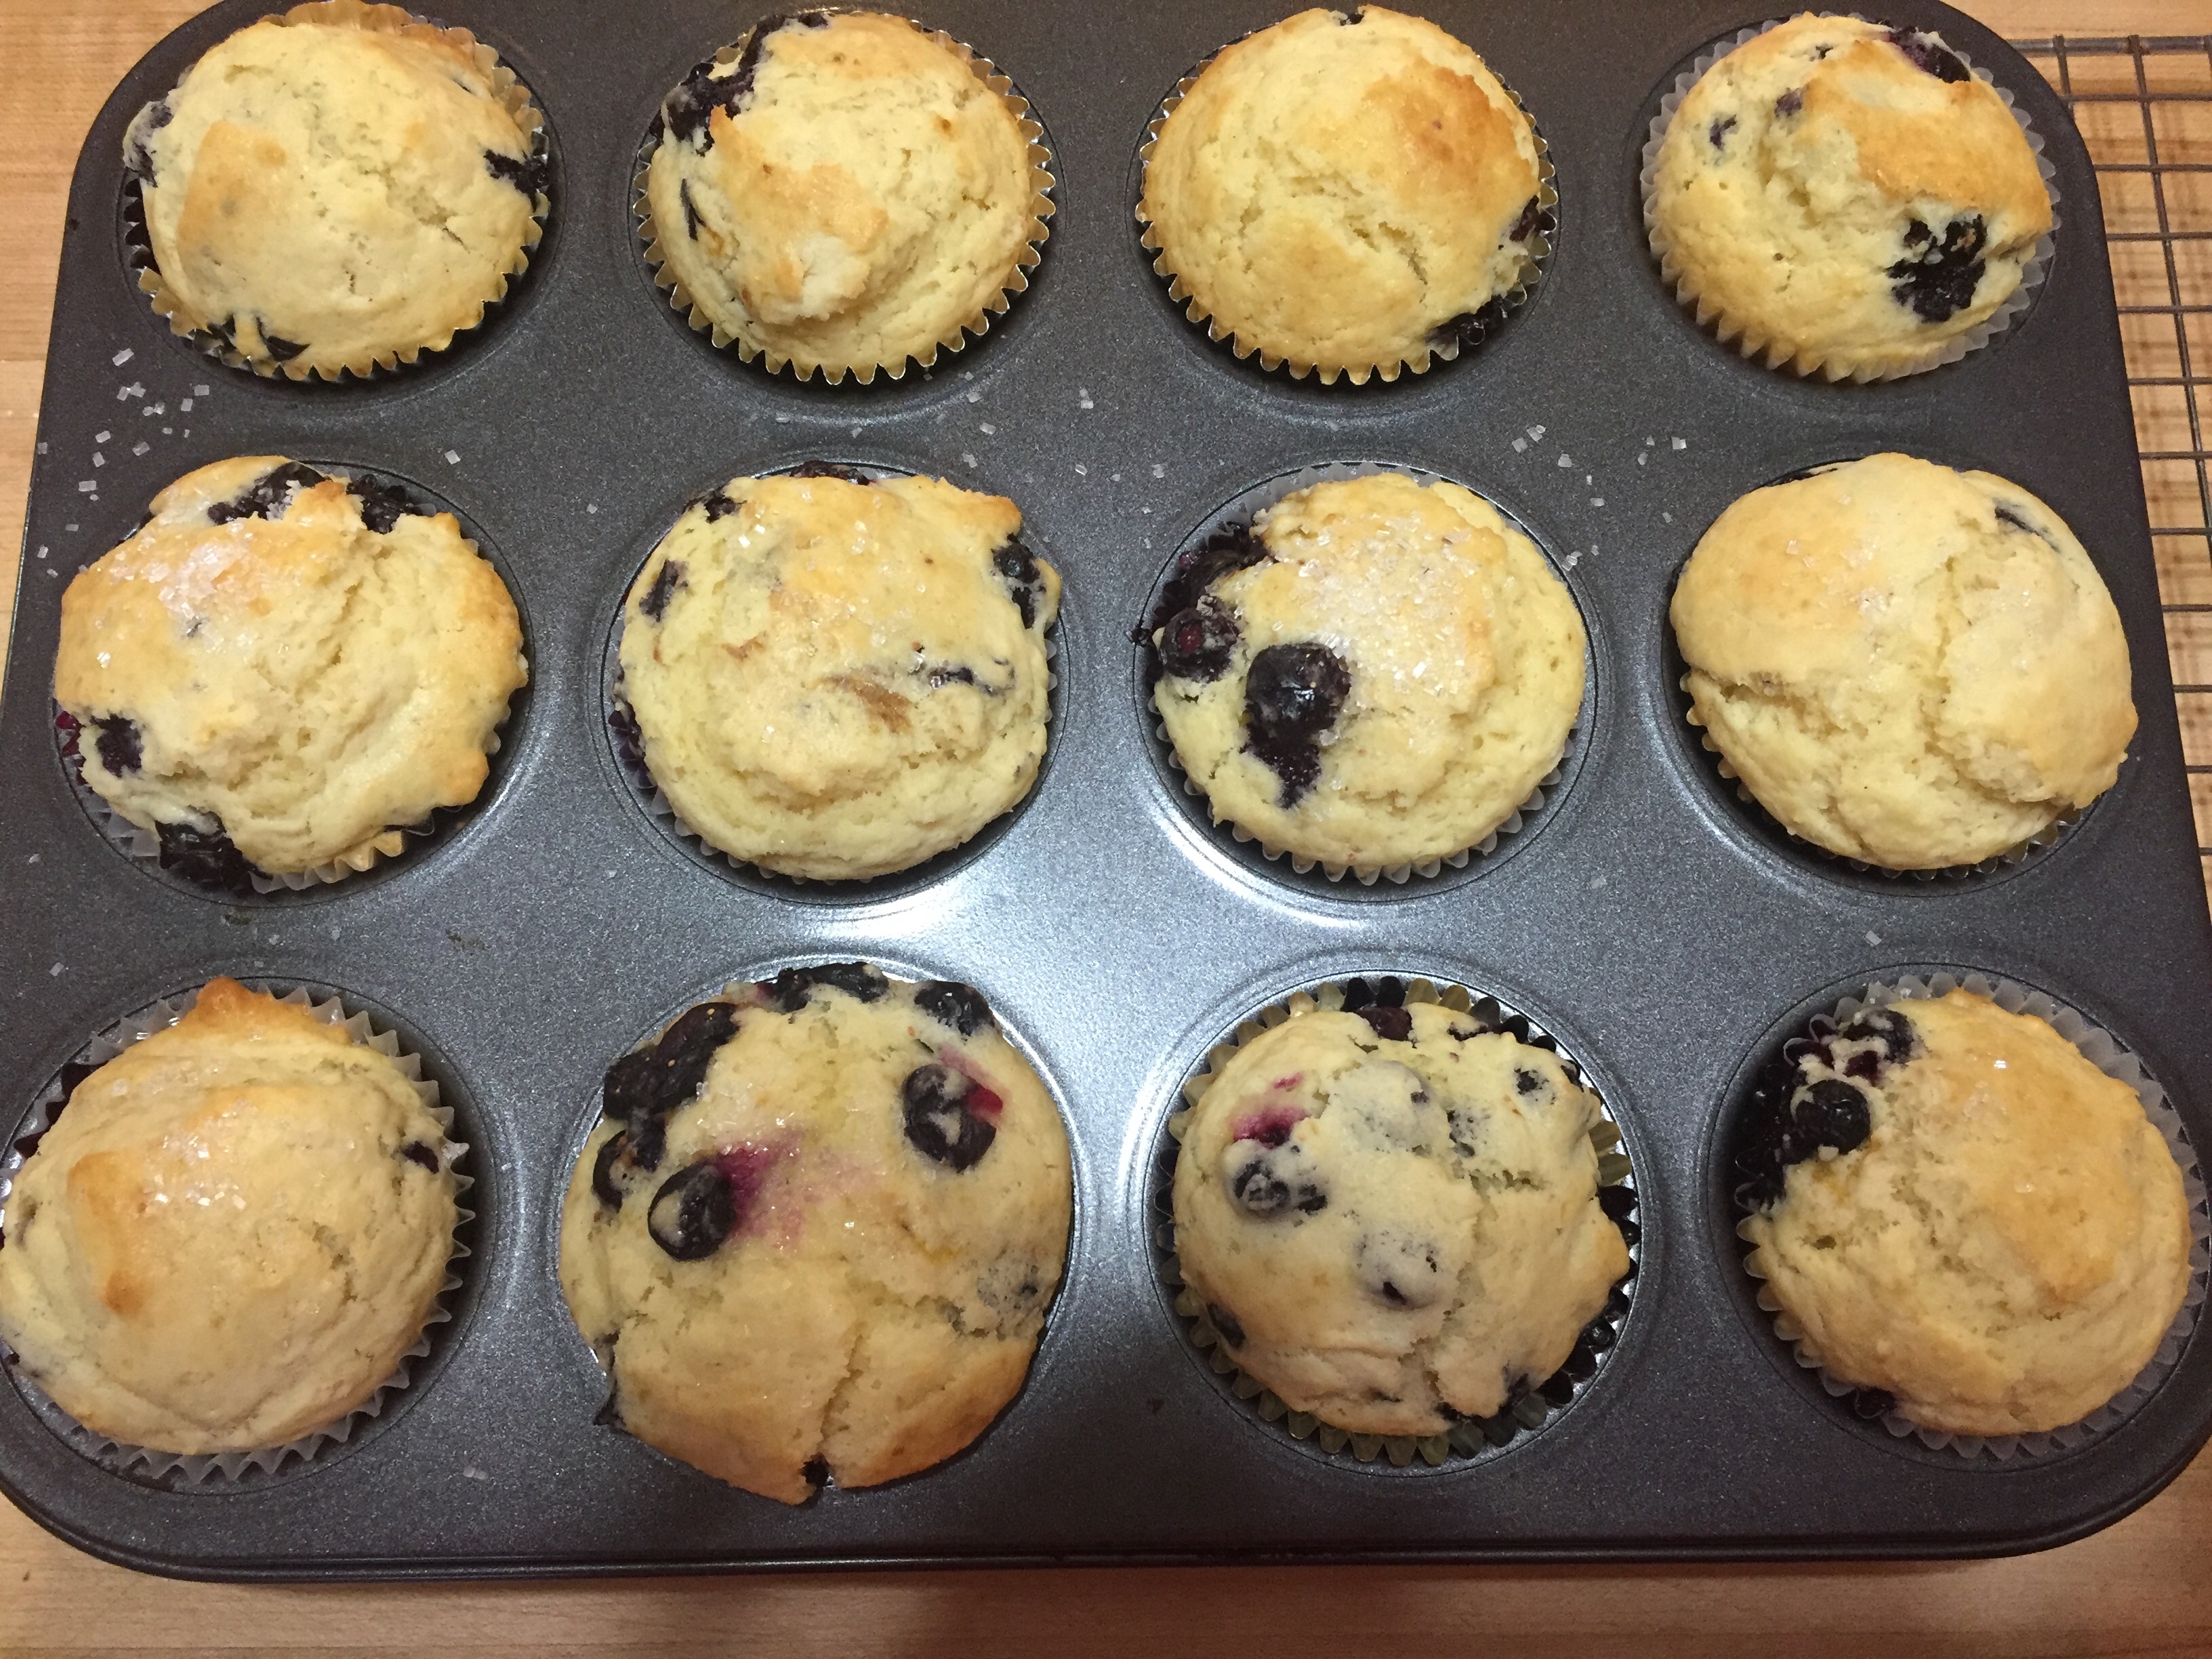
King Arthur has some really great recipes and this one is no exception. They called this a Blueberry Breakfast Cake but I think it’s more like a Fruit Danish. I used blueberries, which the recipe called for, but this would be great with raspberries, apple, peaches…almost any fruit. Because of the ricotta cheese and sour cream it has a consistency similar to a cream cheese danish. It is simple to make and not cloying. Great with a cup of coffee or a glass of milk.
Ingredients:
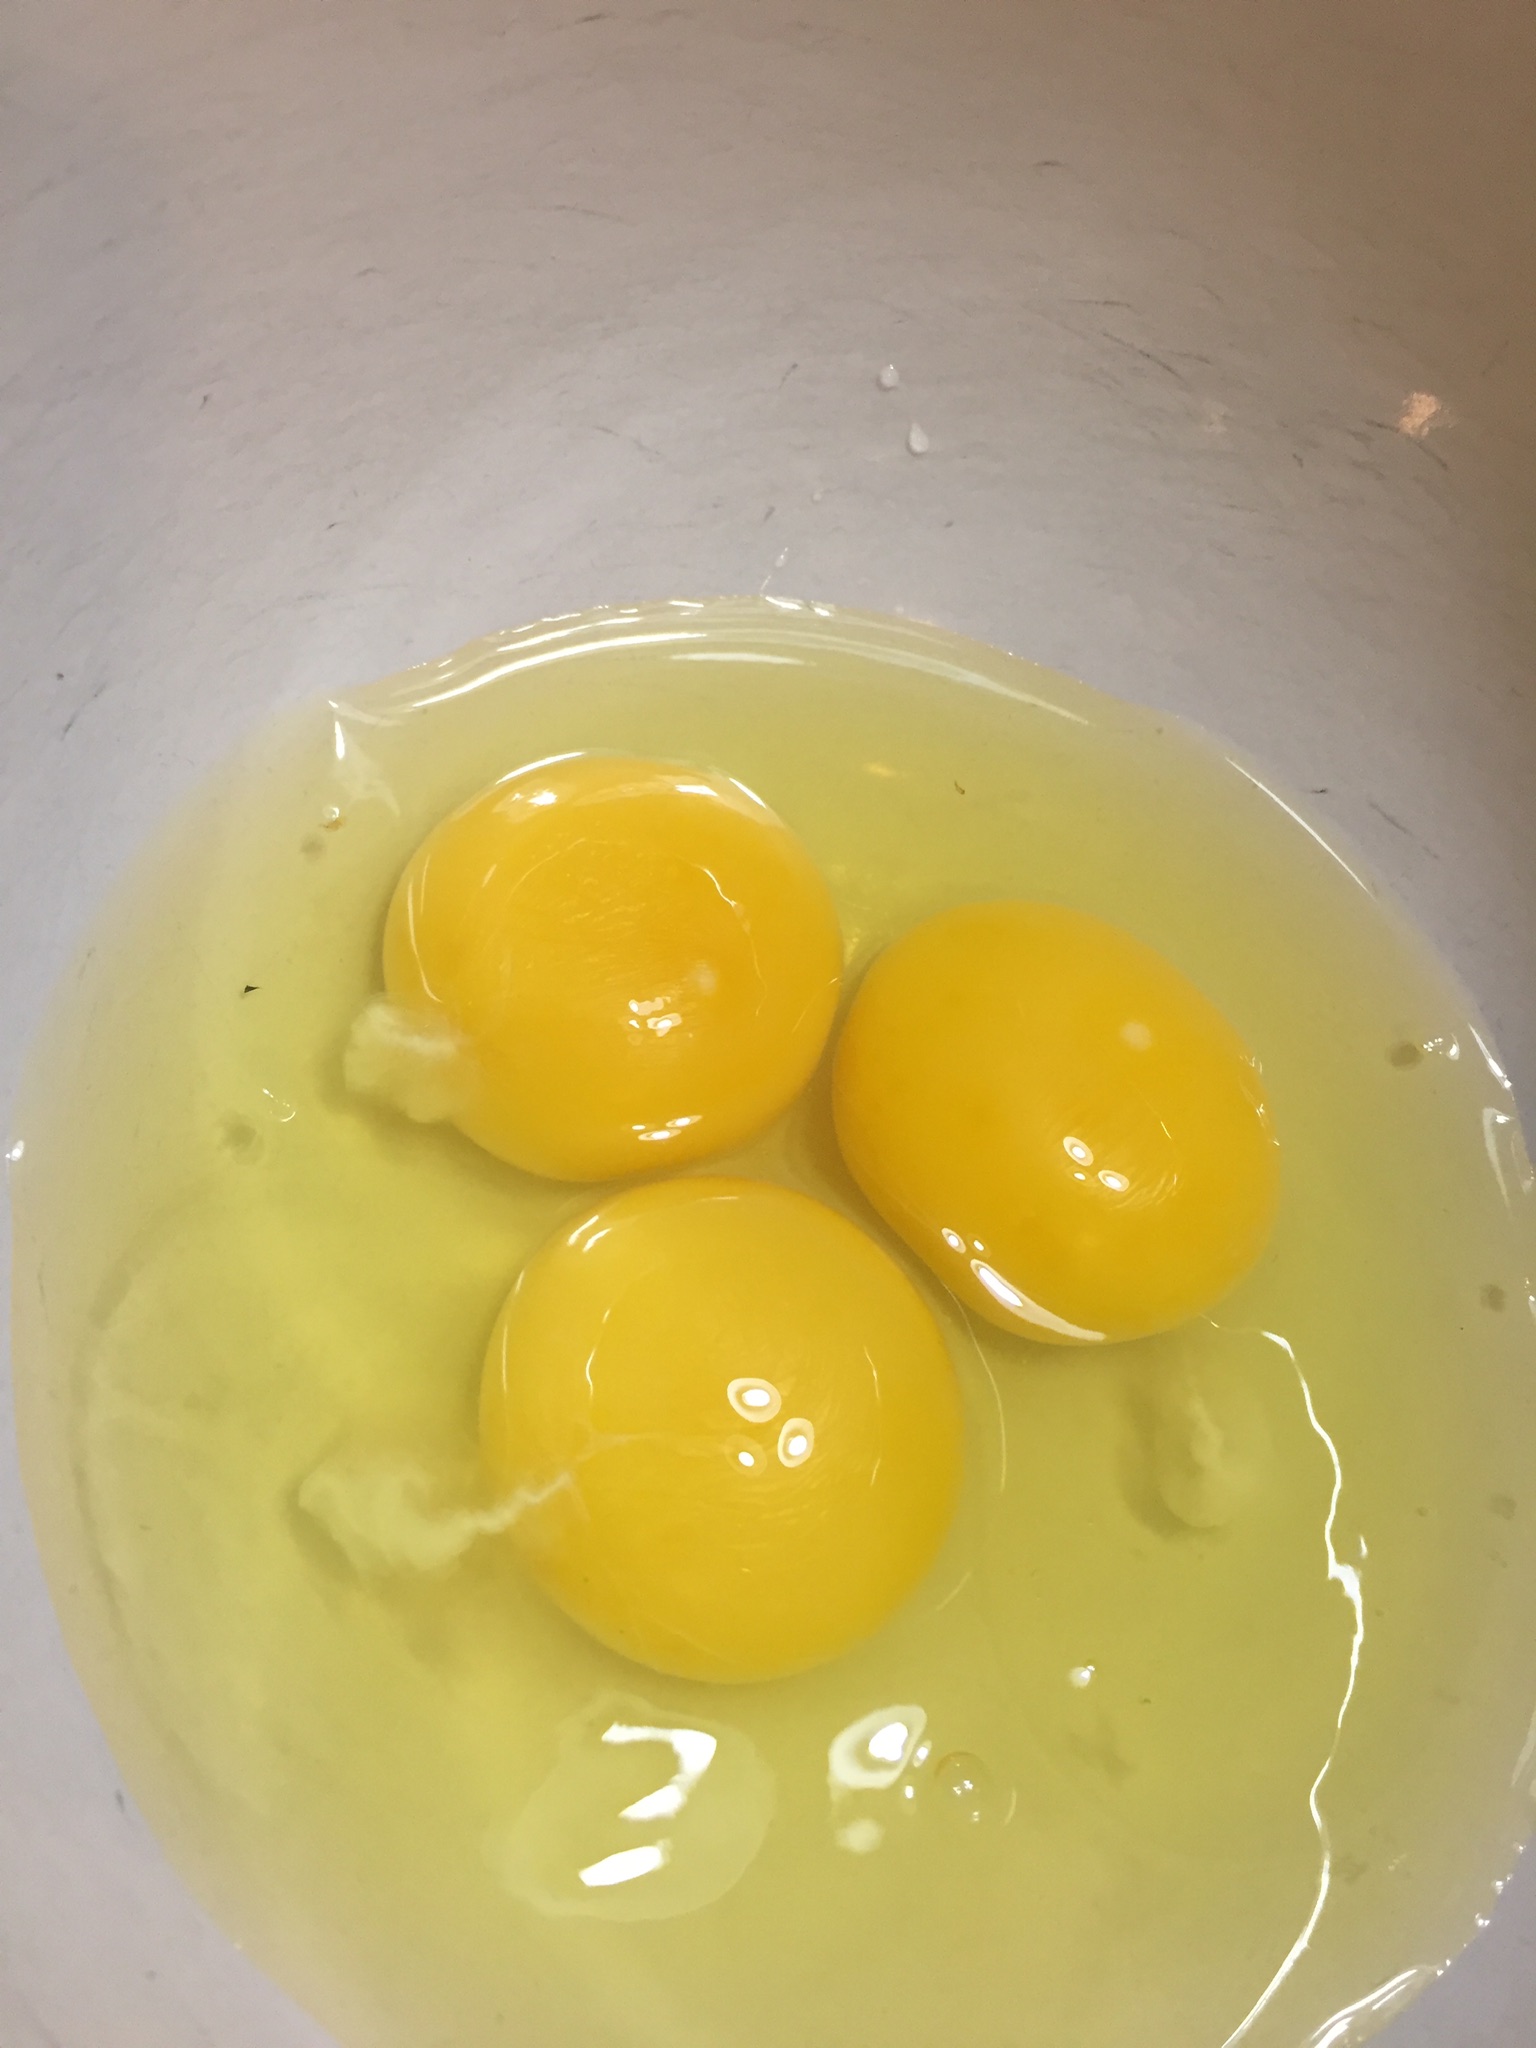
3 large eggs
heaping 1/2 cup of sugar
6 T melted butter
1 cup small curd cottage cheese or part skim ricotta
1 cup sour cream
1 tsp vanilla extract
3/4 cup AP flour
1/2 tsp salt
1 1/4 tsp baking powder
1 1/2 cups blueberries, fresh or frozen

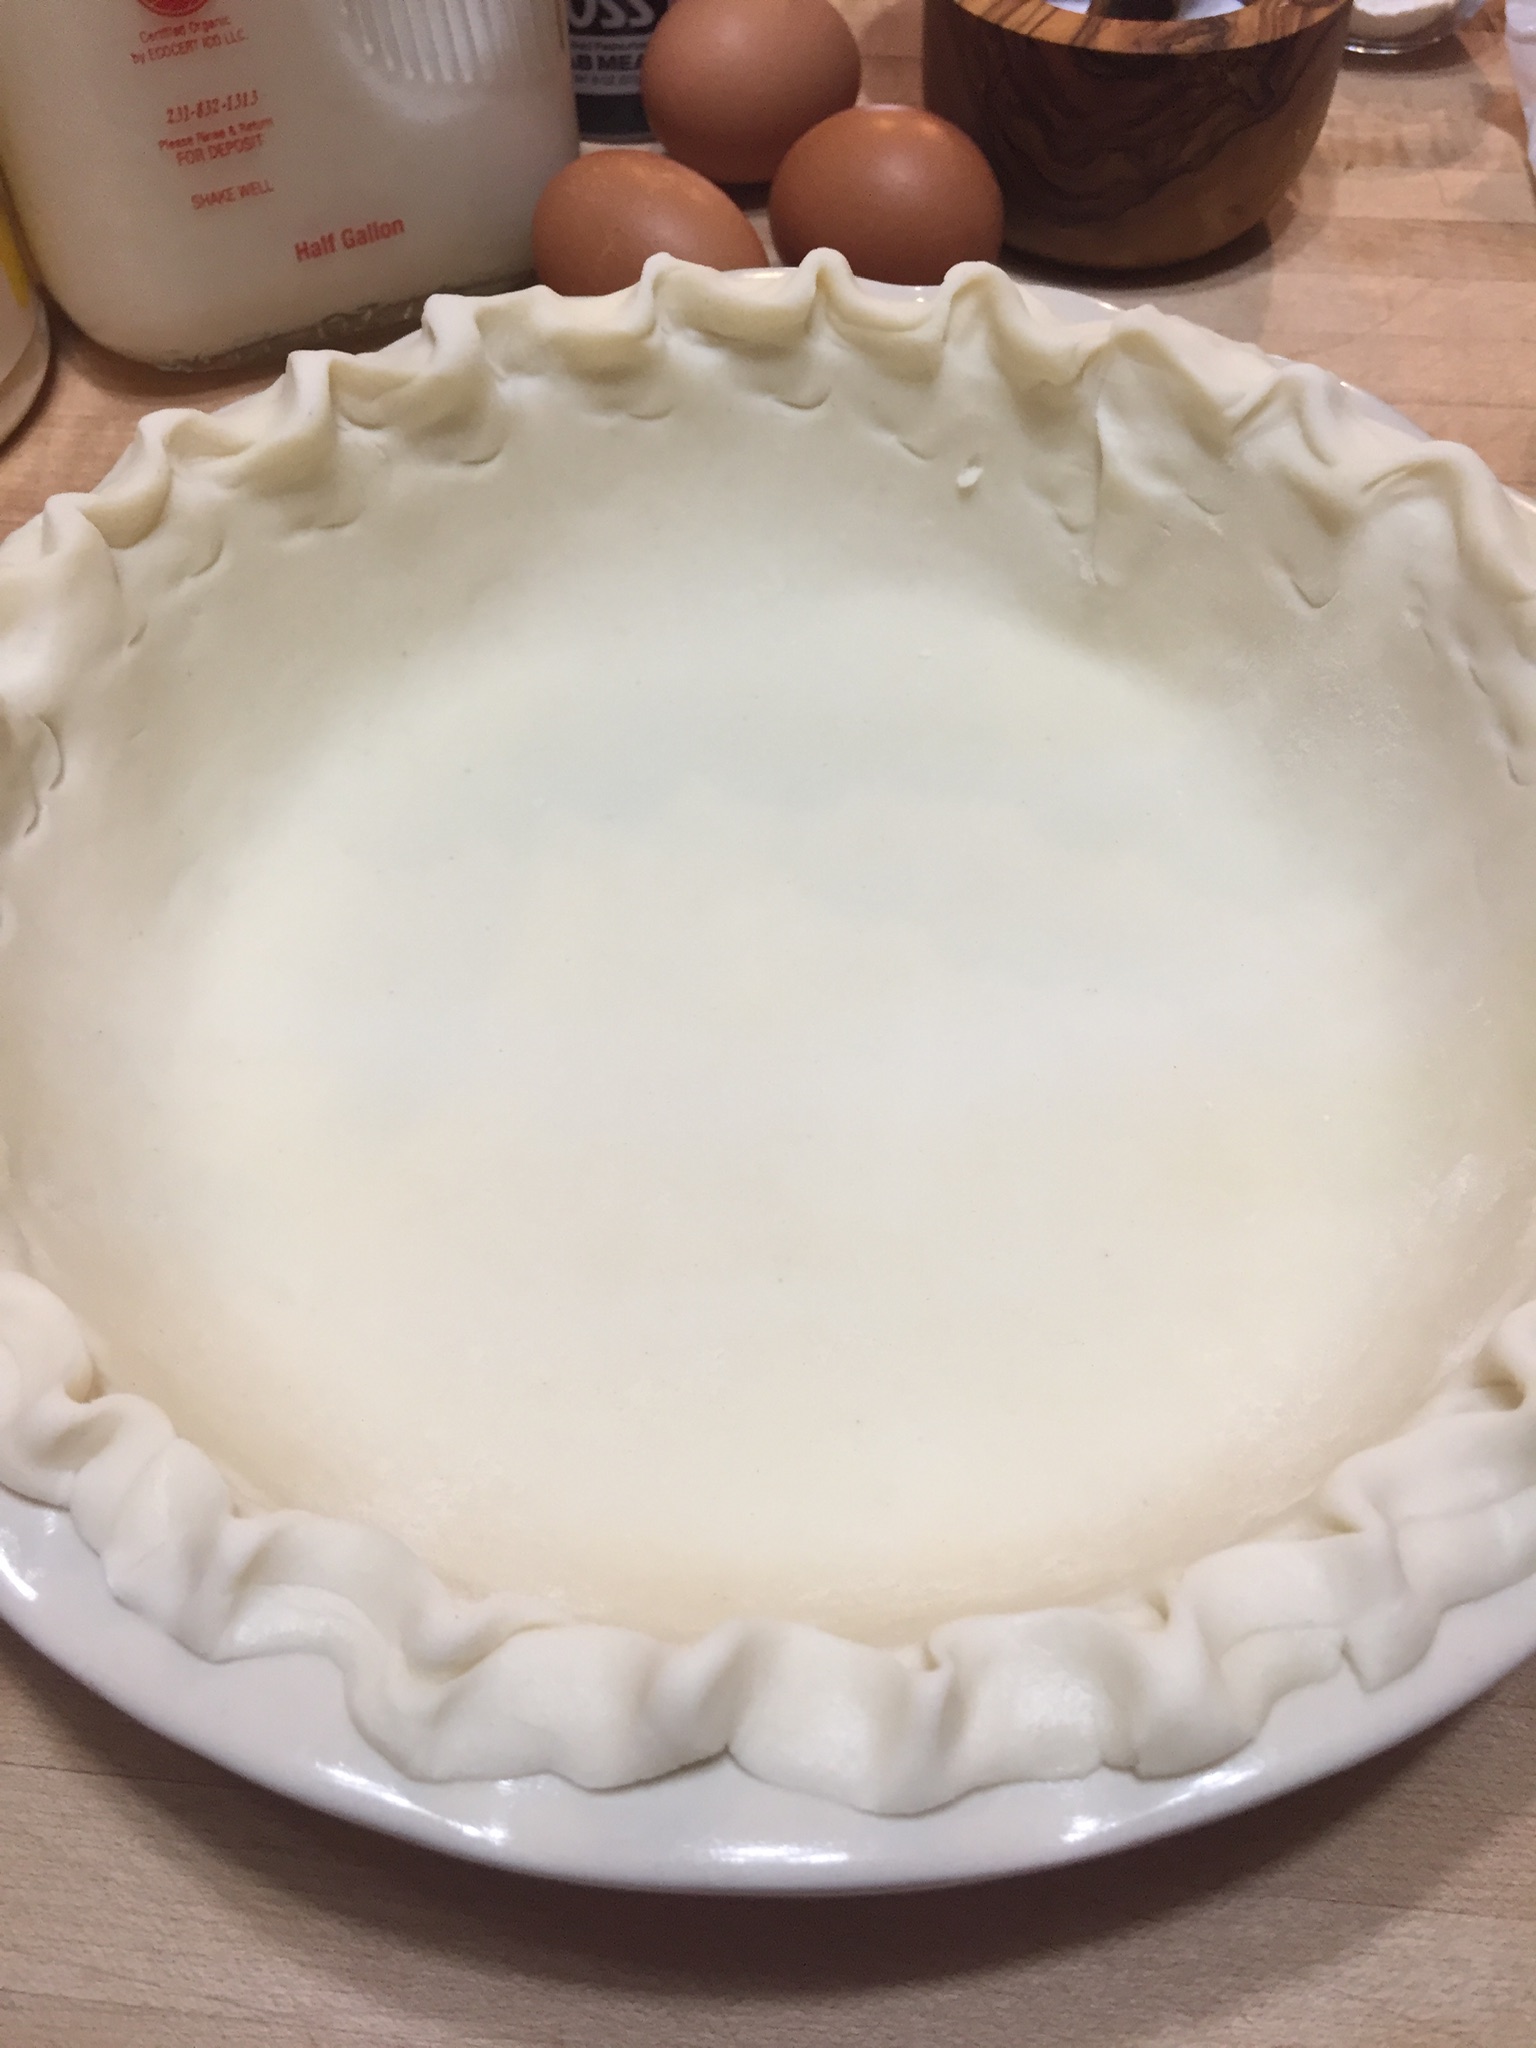
Preheat the oven to 350. Lightly grease an 8” round pan that is at least 2” deep. If your 8” pan is too shallow, use a 9” round pan or an 8” square. Shape really doesn’t matter.
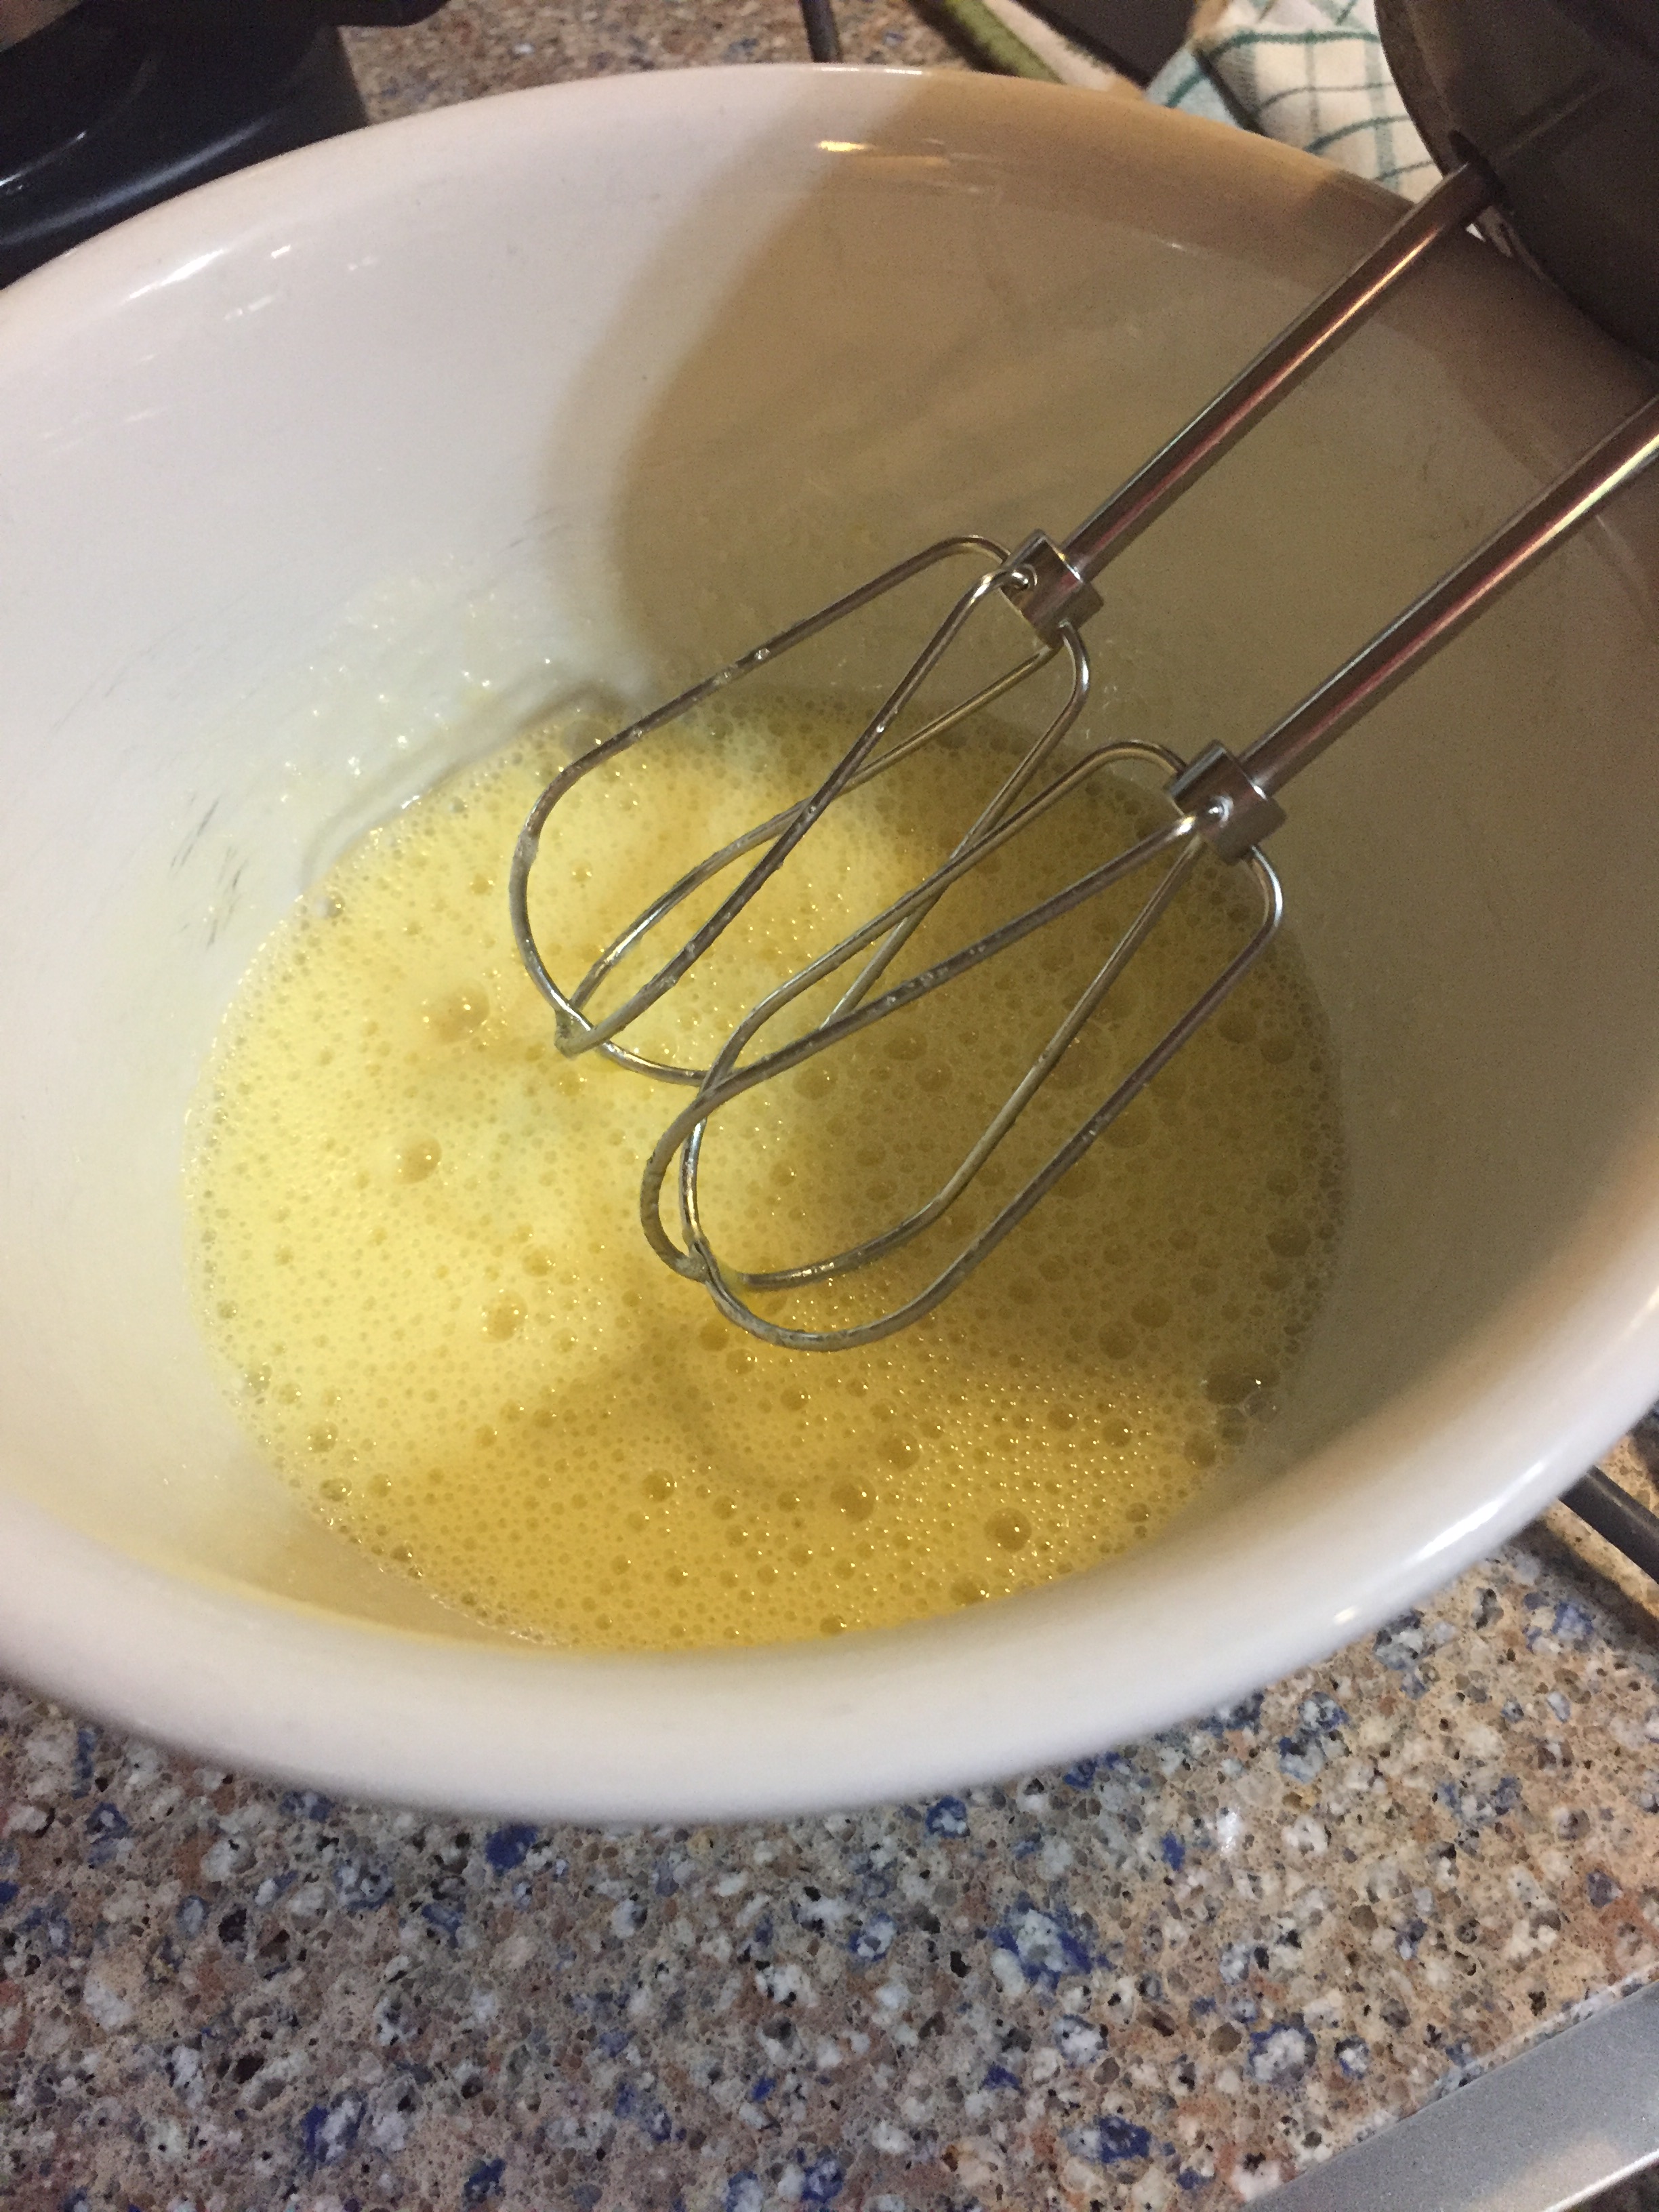
Beat the eggs and sugar together. And yes, a HEAPING 1/2 cup of sugar. First time I’ve seen that in a recipe.
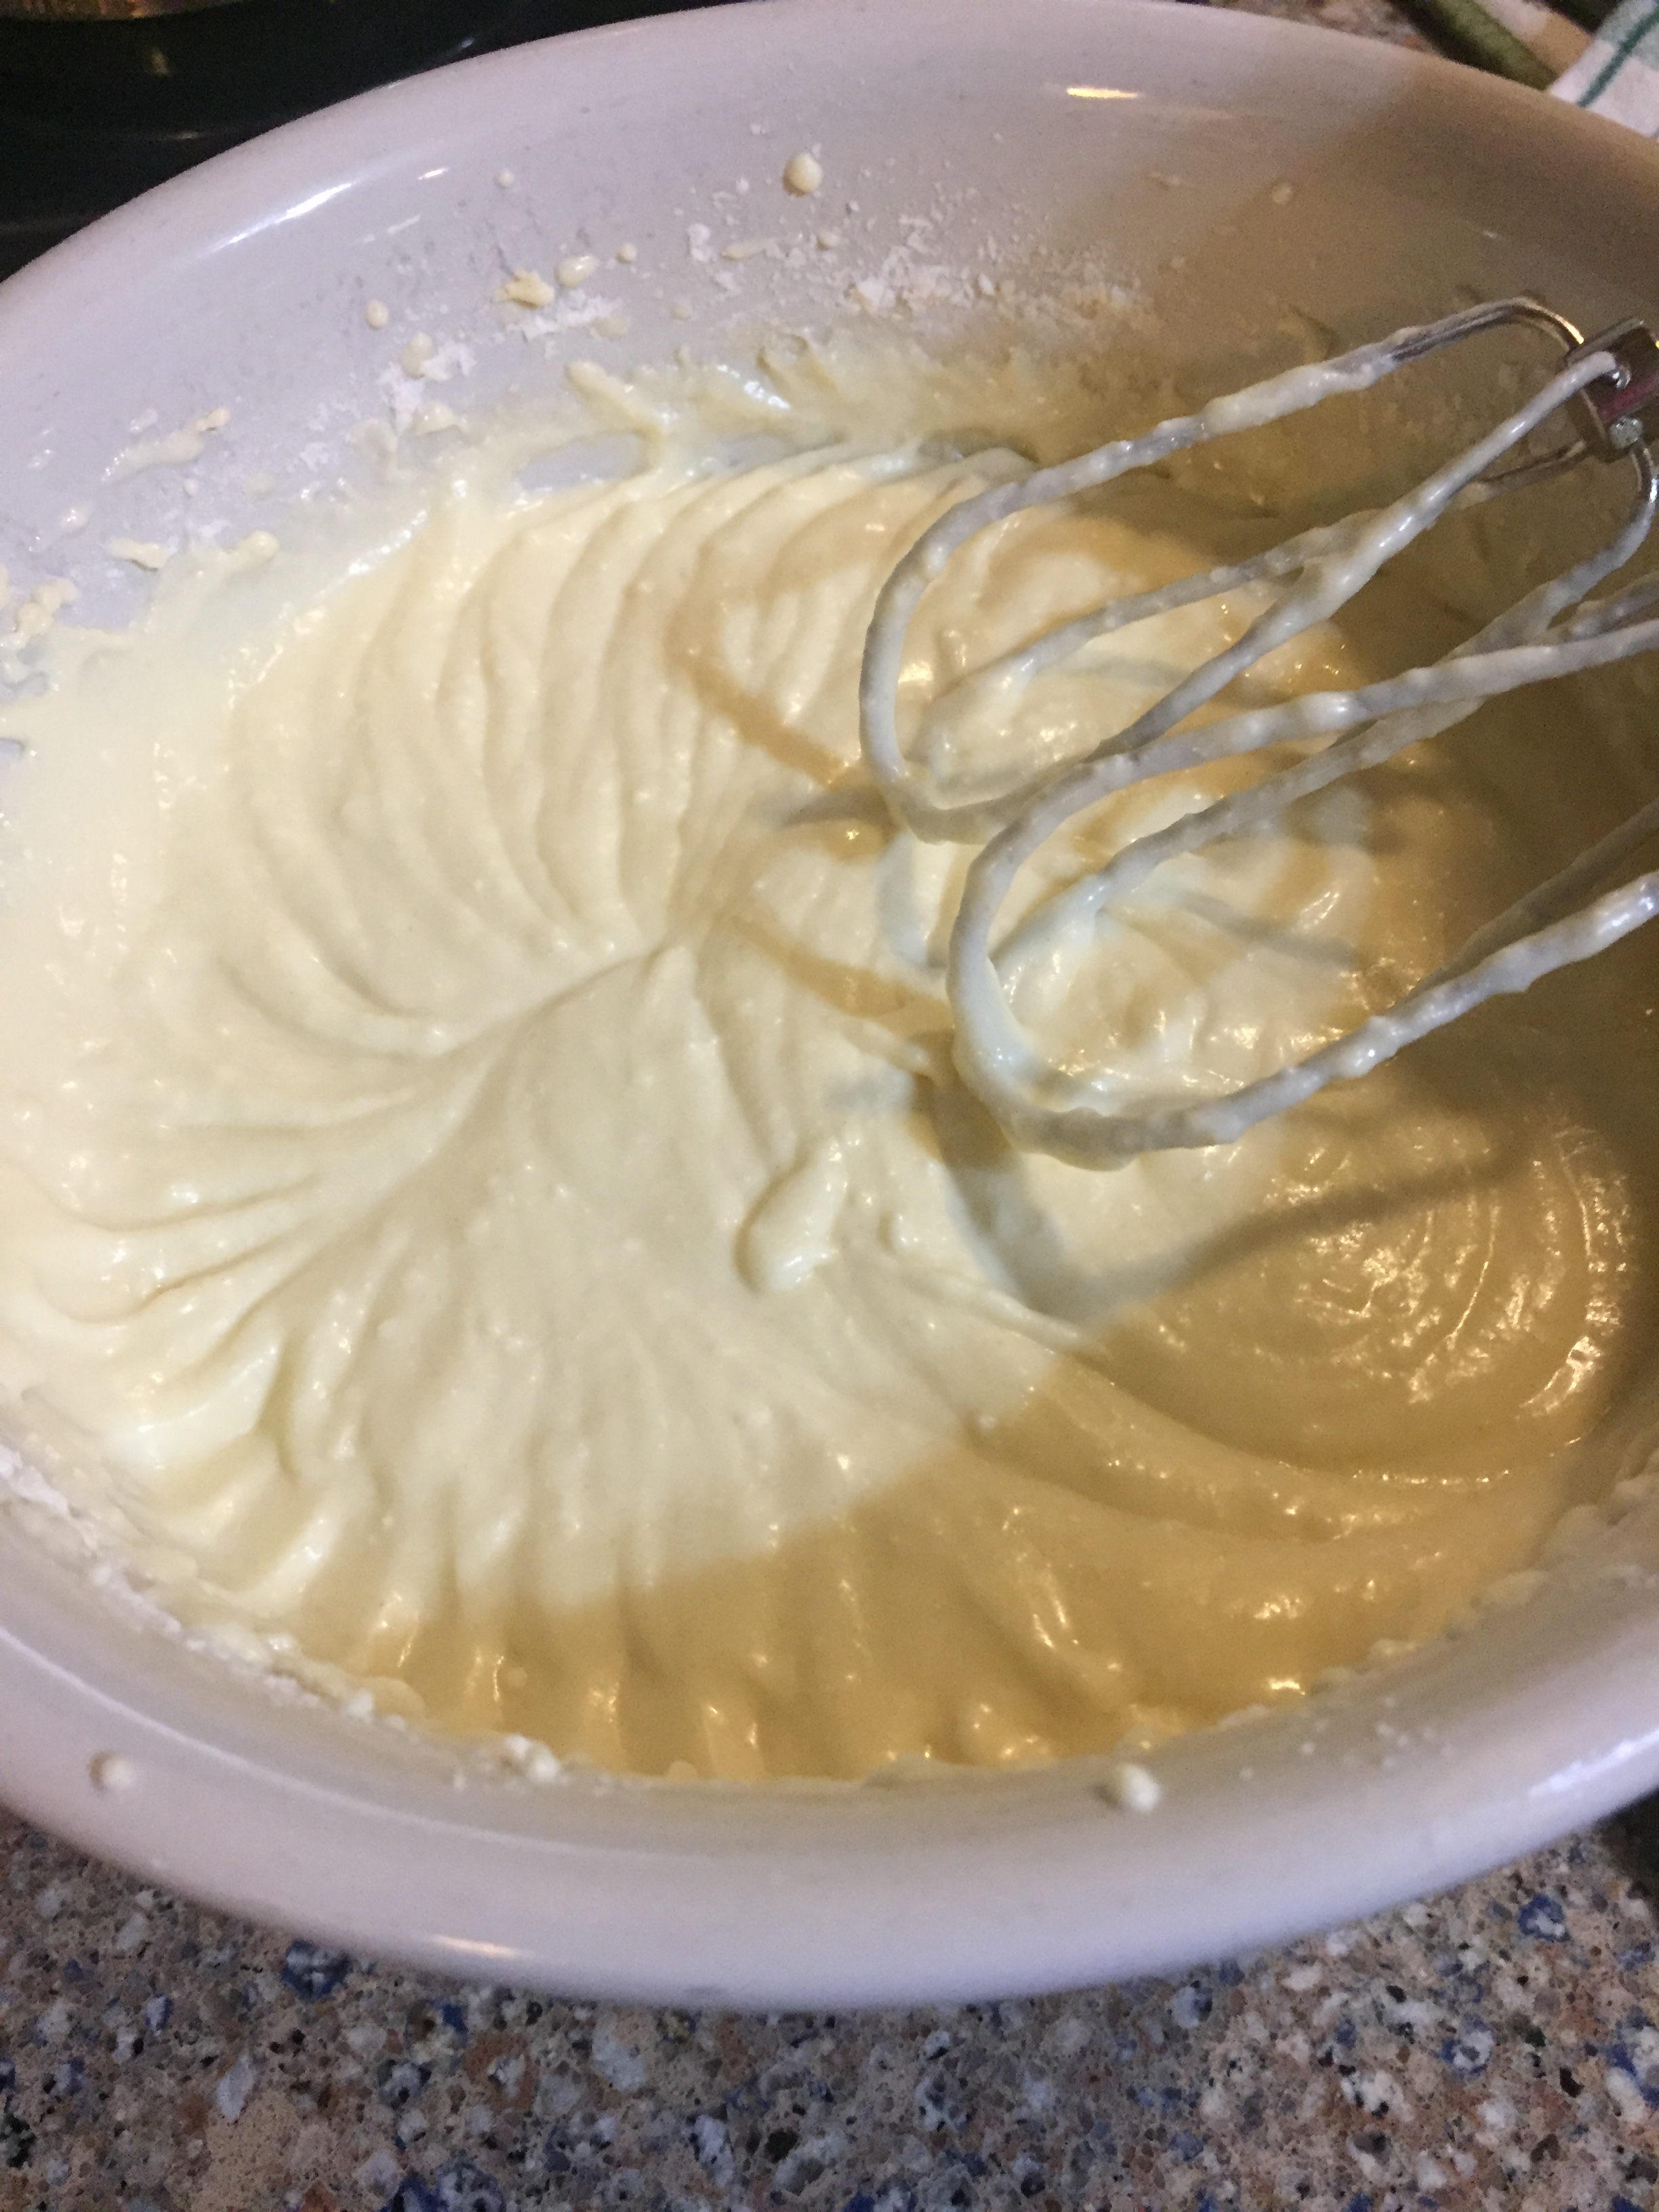
Add the melted butter, cottage or ricotta cheese, sour cream and vanilla. Beat until well combined.

Whisk together the flour, salt, and baking powder, add to creamed ingredients, and stir or beat gently until combined.
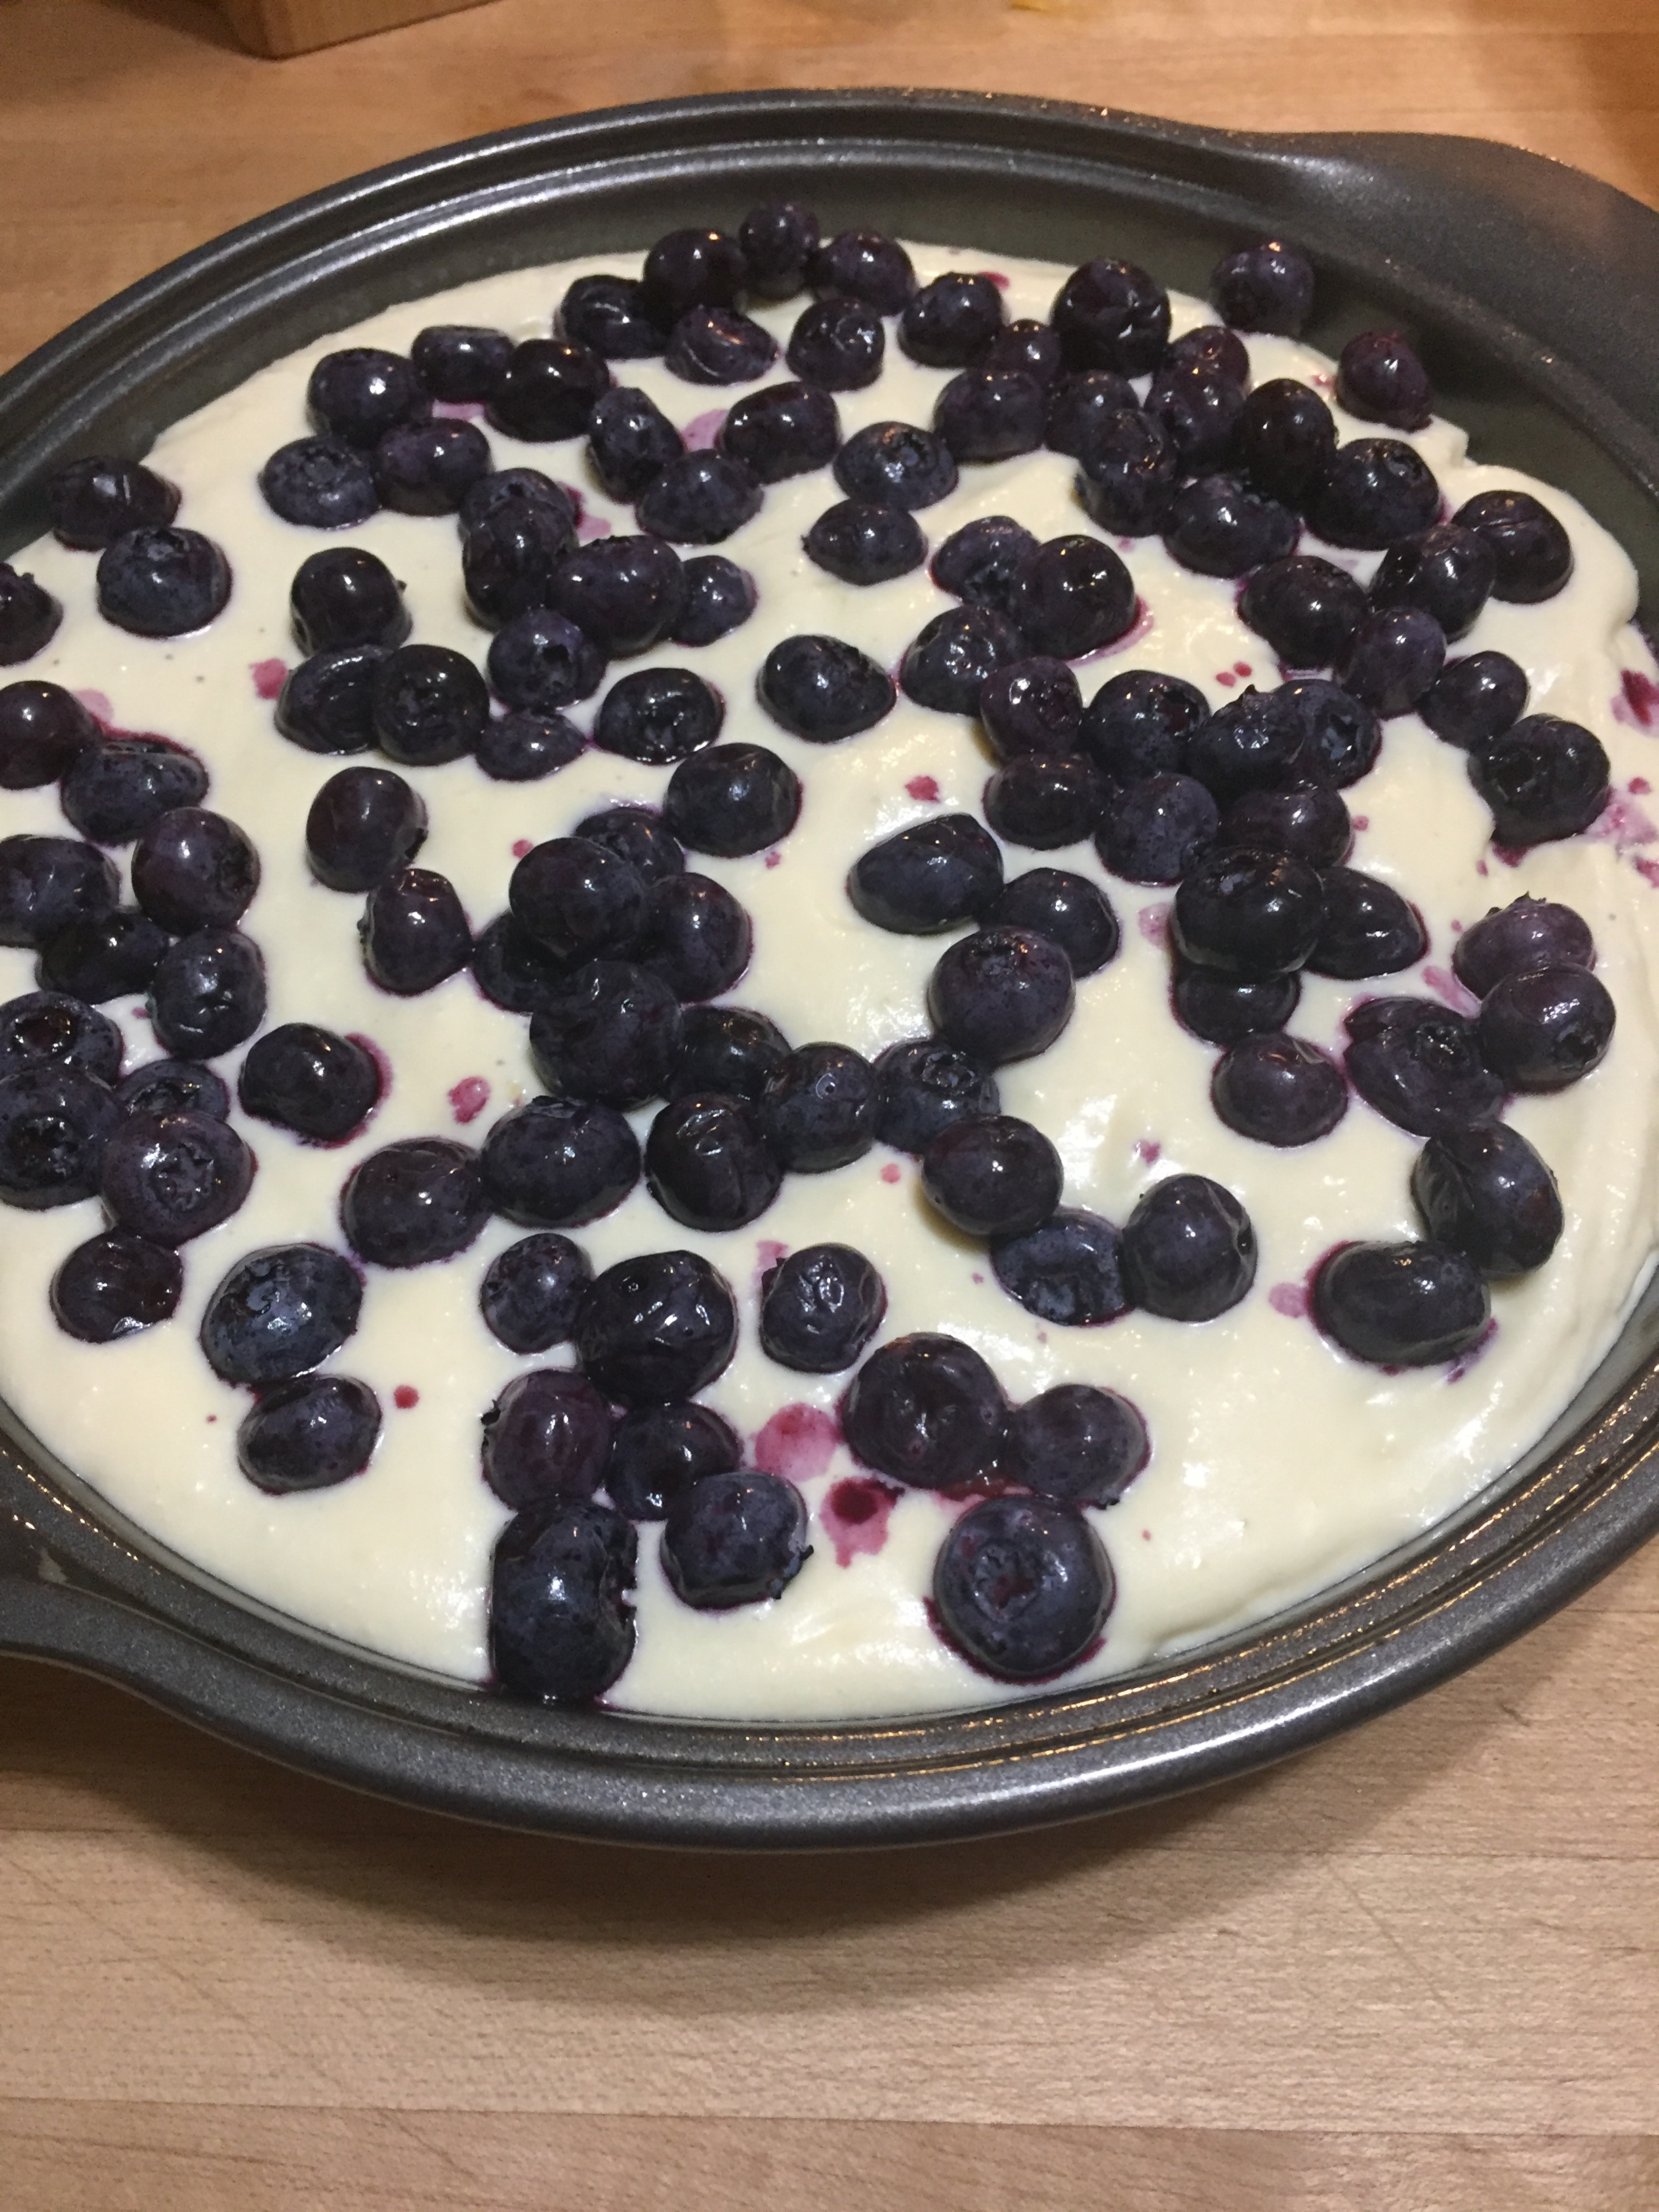
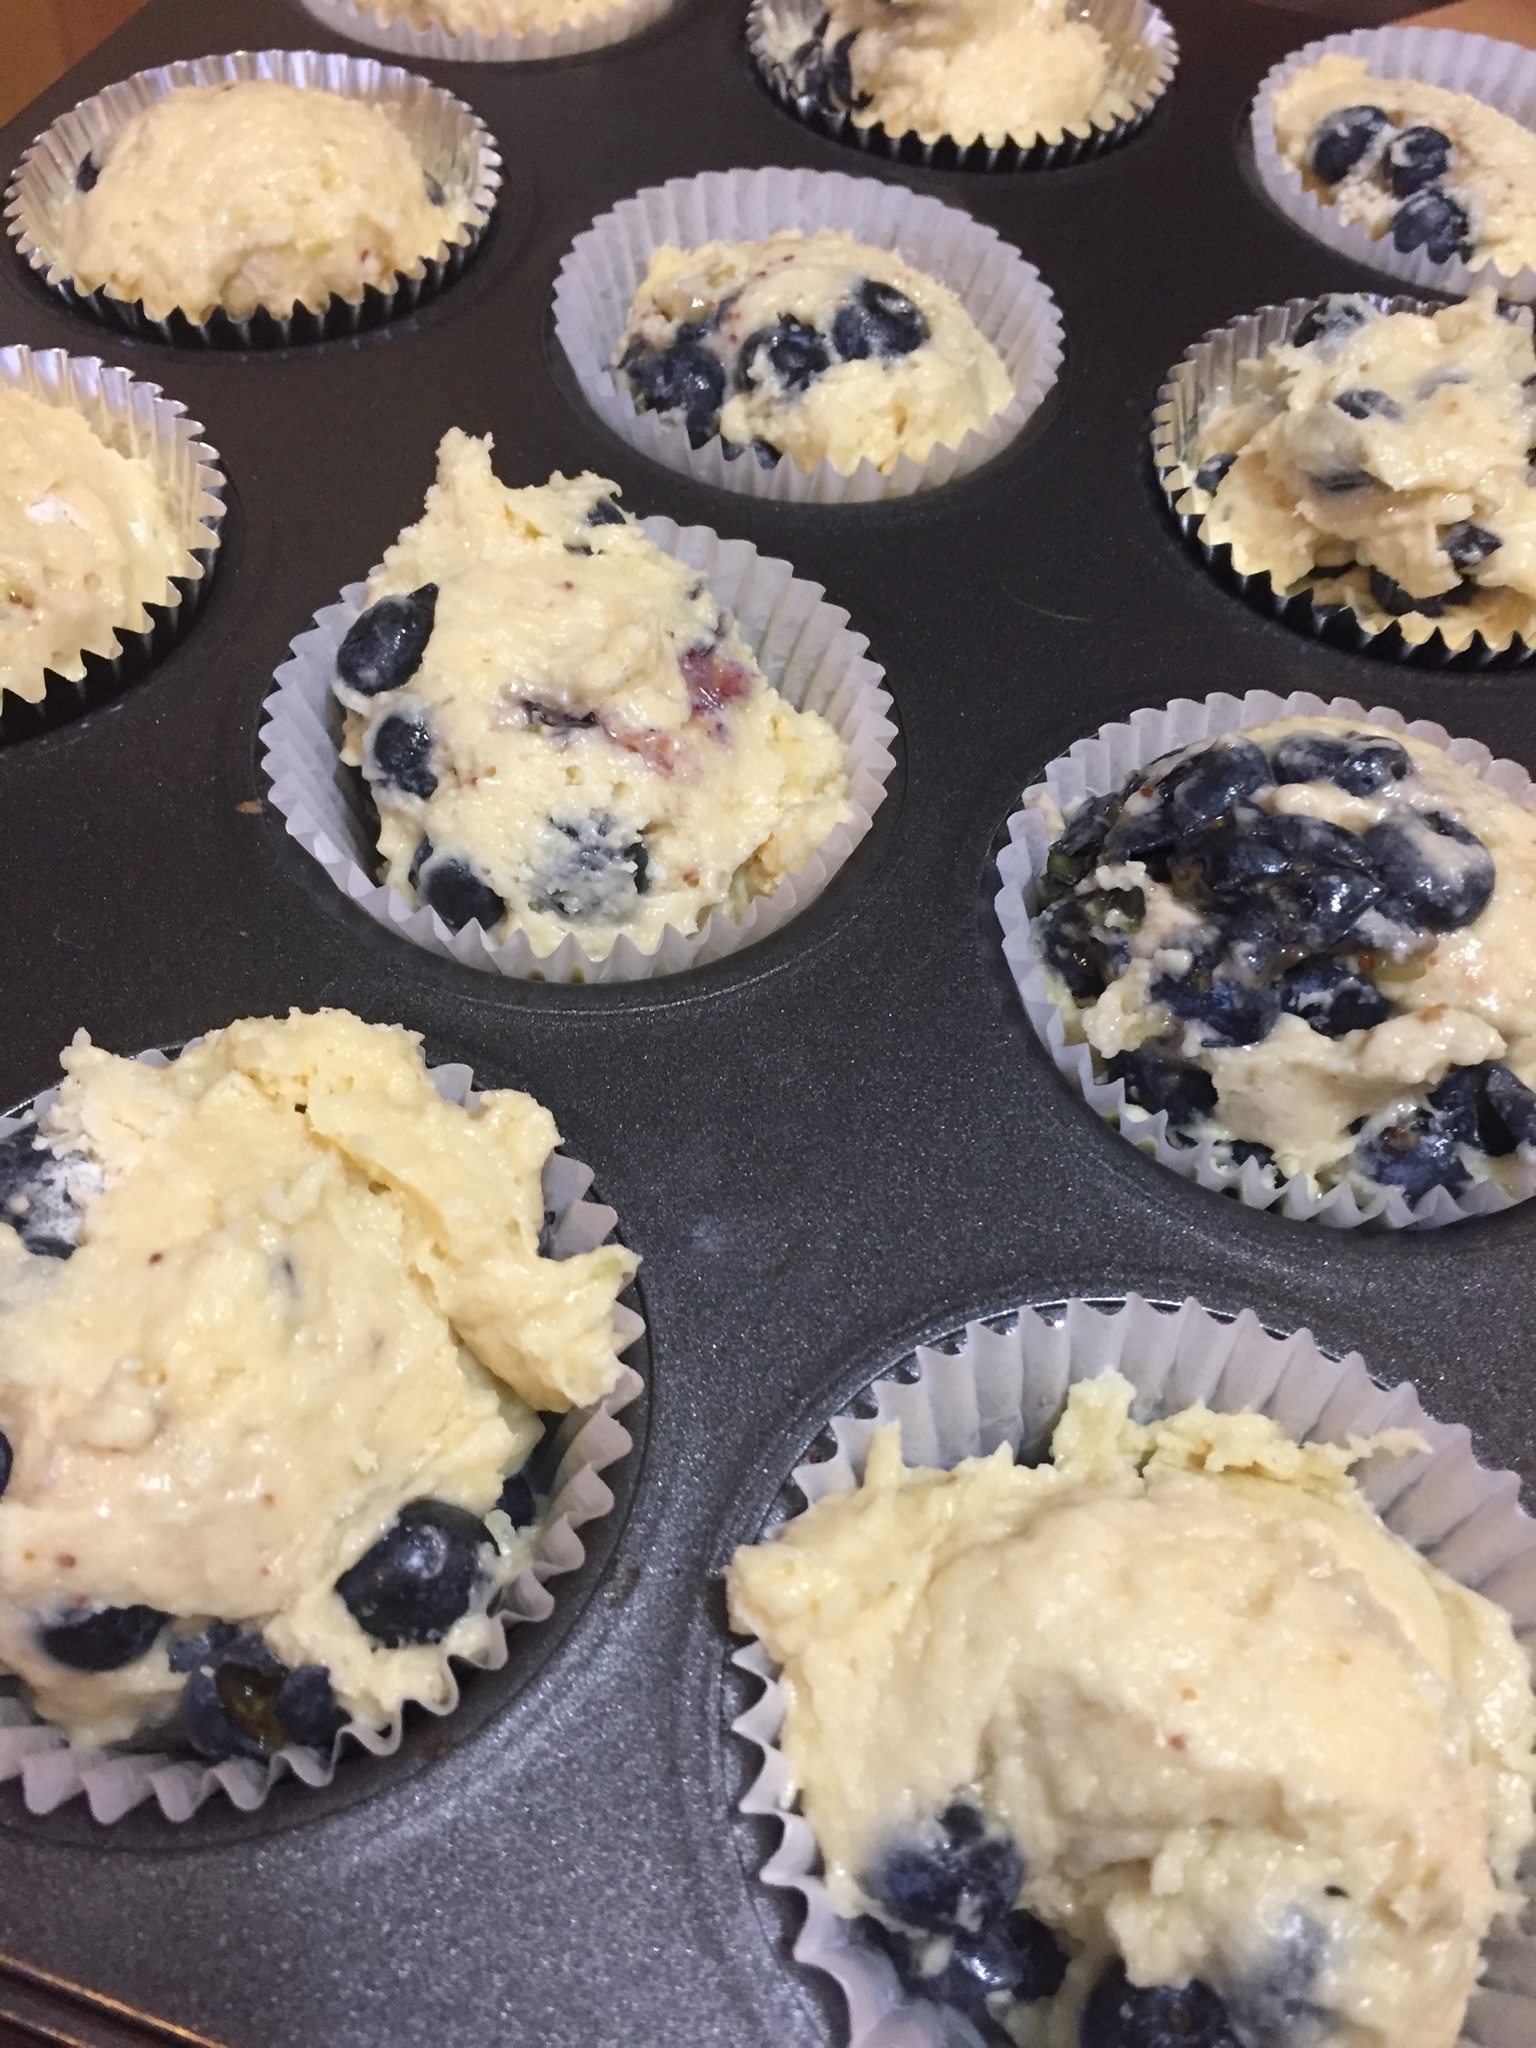
Pour the batter into your prepared pan and scatter berries over the top.
Bake until a knife inserted in the center comes out moist but with no obvious smears of raw batter. The edges should be lightly browned. It should appear set throughout but jiggle a little when you gently shake it. Baking time is between 45 and 50 minutes.

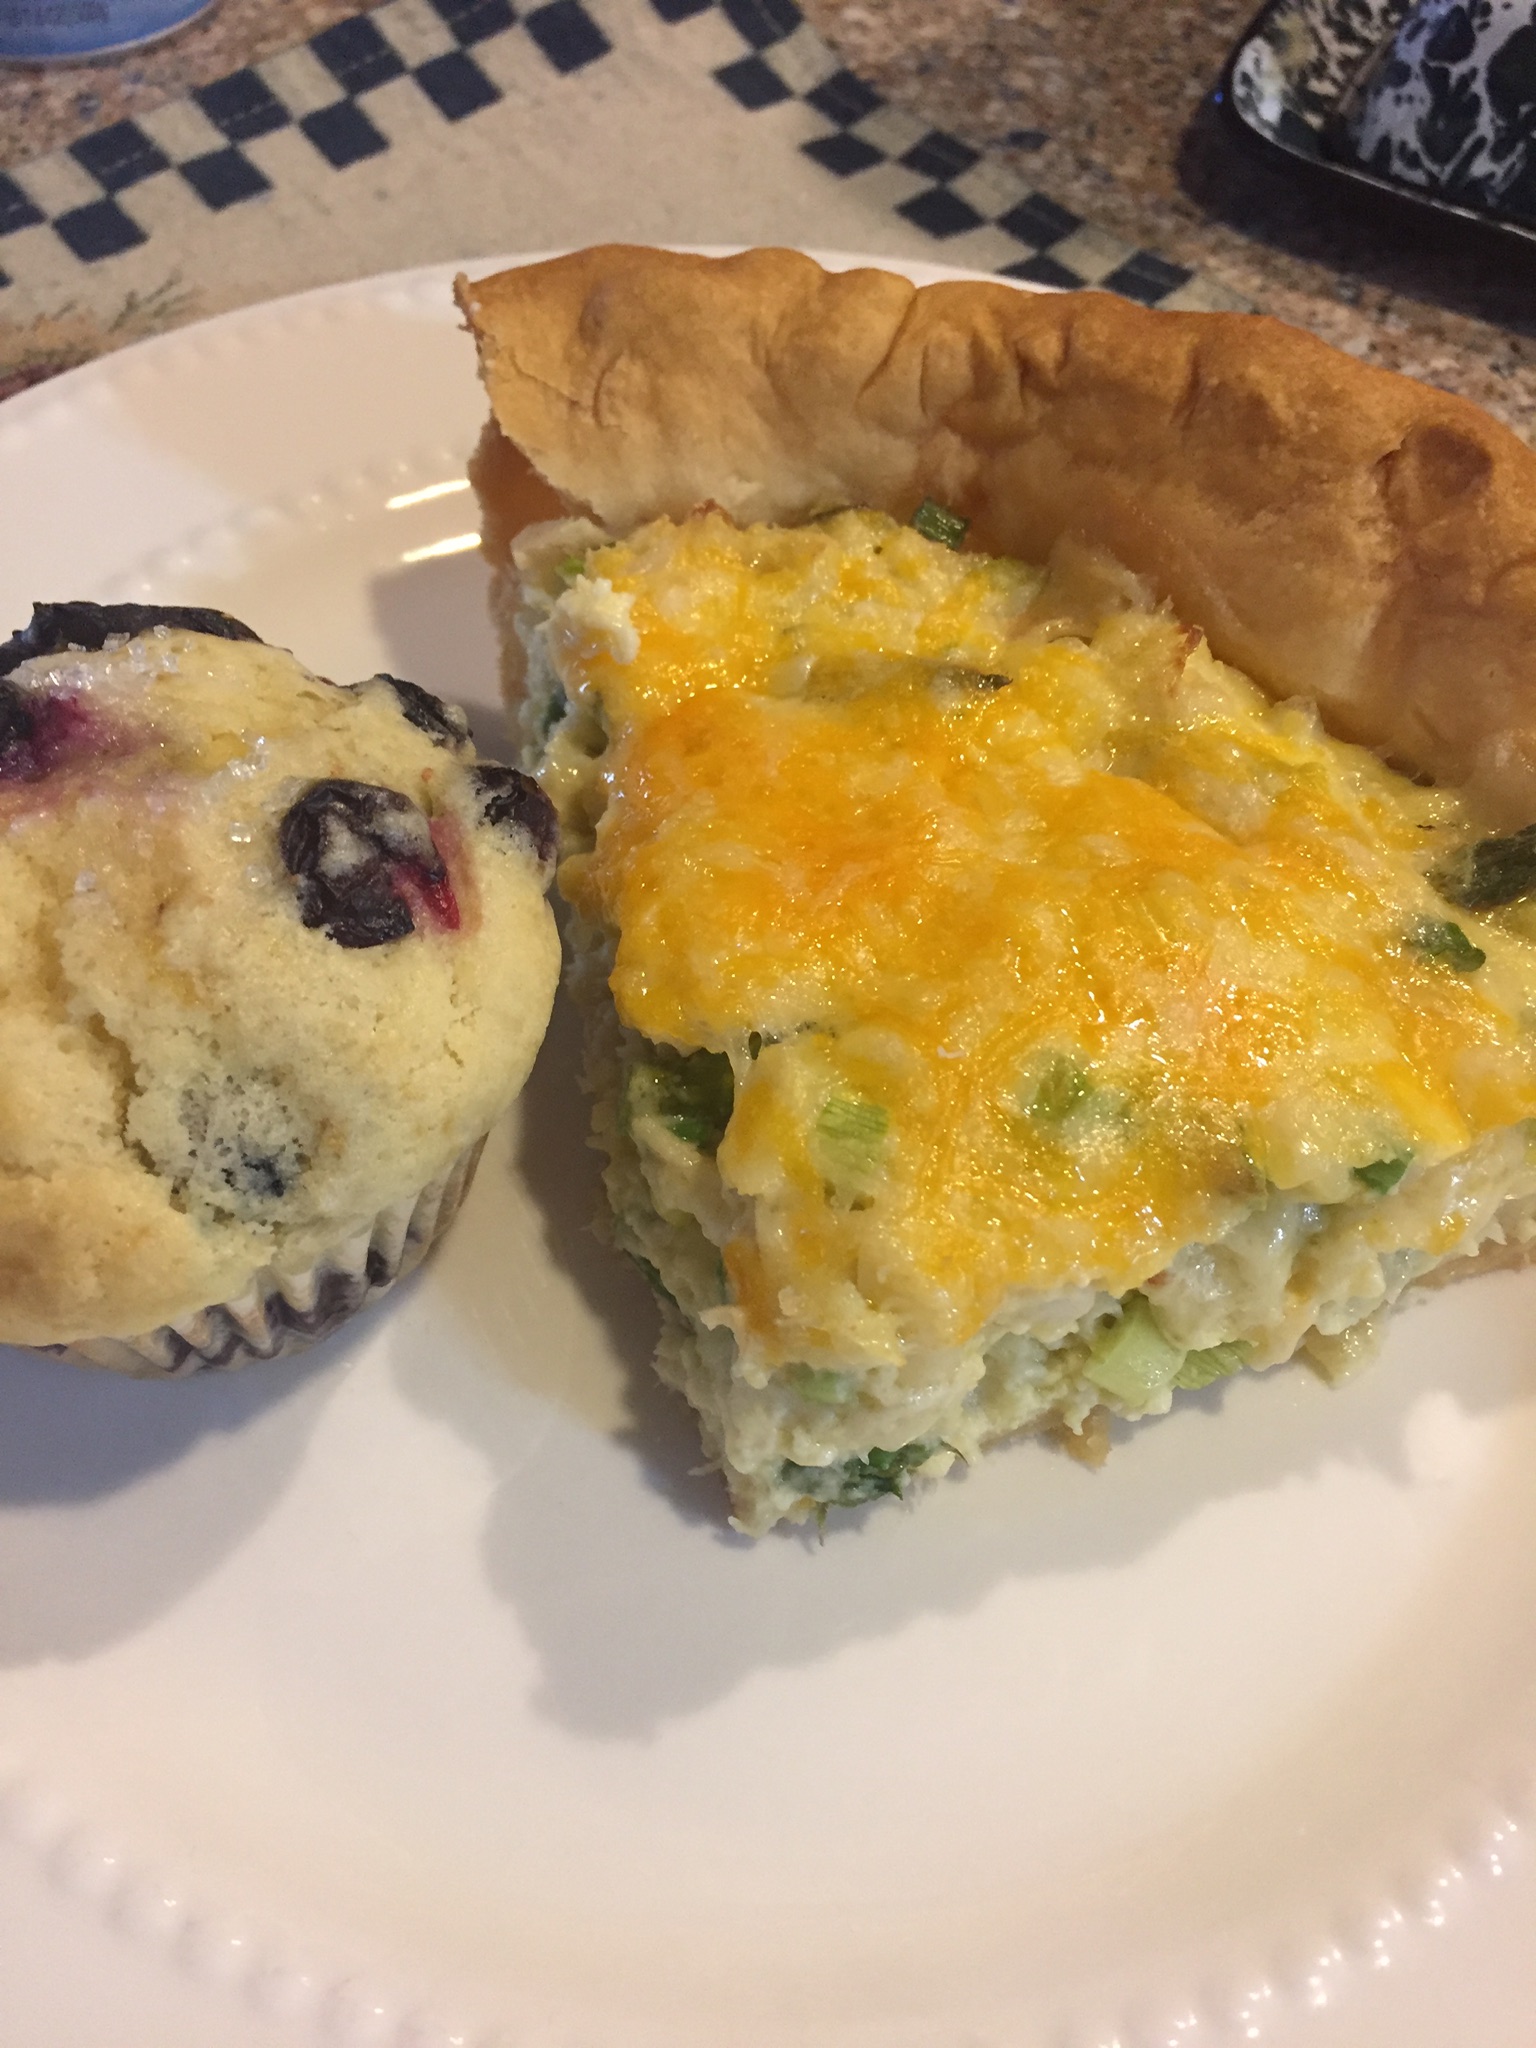
Once it comes out of the oven generously sprinkle the top with cinnamon sugar. Let it rest at room temperature for at least 30 minutes to firm. Cut into wedges or squares, depending on the pan you used, and serve warm.
Enjoy!
NOTE”. I baked mine in a 9” round pan for 45 minutes. I recommend checking it after 40 minutes. Much depends on your oven and the size of your pan. I will try this with a combination of apple and cranberries next. A little bit of sweet and tart together. Also, the cinnamon sugar is optional. Instead you might want to lightly dust with powdered sugar as you serve it or make a glaze and drizzle a little over the cake.


You must be logged in to post a comment.