Stuffed Peppers

image

Stuffed peppers are a perfect winter supper.  A meal in themselves.  Just add a salad and some good crusty bread and serve.   If you look up recipes for stuffed peppers there are all sorts of ethnic variations.  A Spanish stuffed pepper with Manchego cheese, cod and a béchamel sauce. An Indian stuffed pepper with meat, potato, onion, turmeric and coriander.  A Mexican pepper stuffed with cheese, covered in an egg batter and deep fried.  A Finnish stuffed pepper with rice and lamb,  finished with some heavy cream.   The pepper itself is the vehicle and almost any combination of protein, carb, and seasoning can be stuffed inside.  Today I made my peppers with lots of tomato, rice and ground pork.

Ingredients:

5-6 red, yellow or orange peppers

1 pound ground pork (or pork sausage)

2 pints of tomatoes

1 cup beef or chicken broth

2 cups rice (cooked)

1 cup red onion diced

1 cup celery diced

tops of peppers diced

2 T olive oil

4-5 cloves of garlic minced
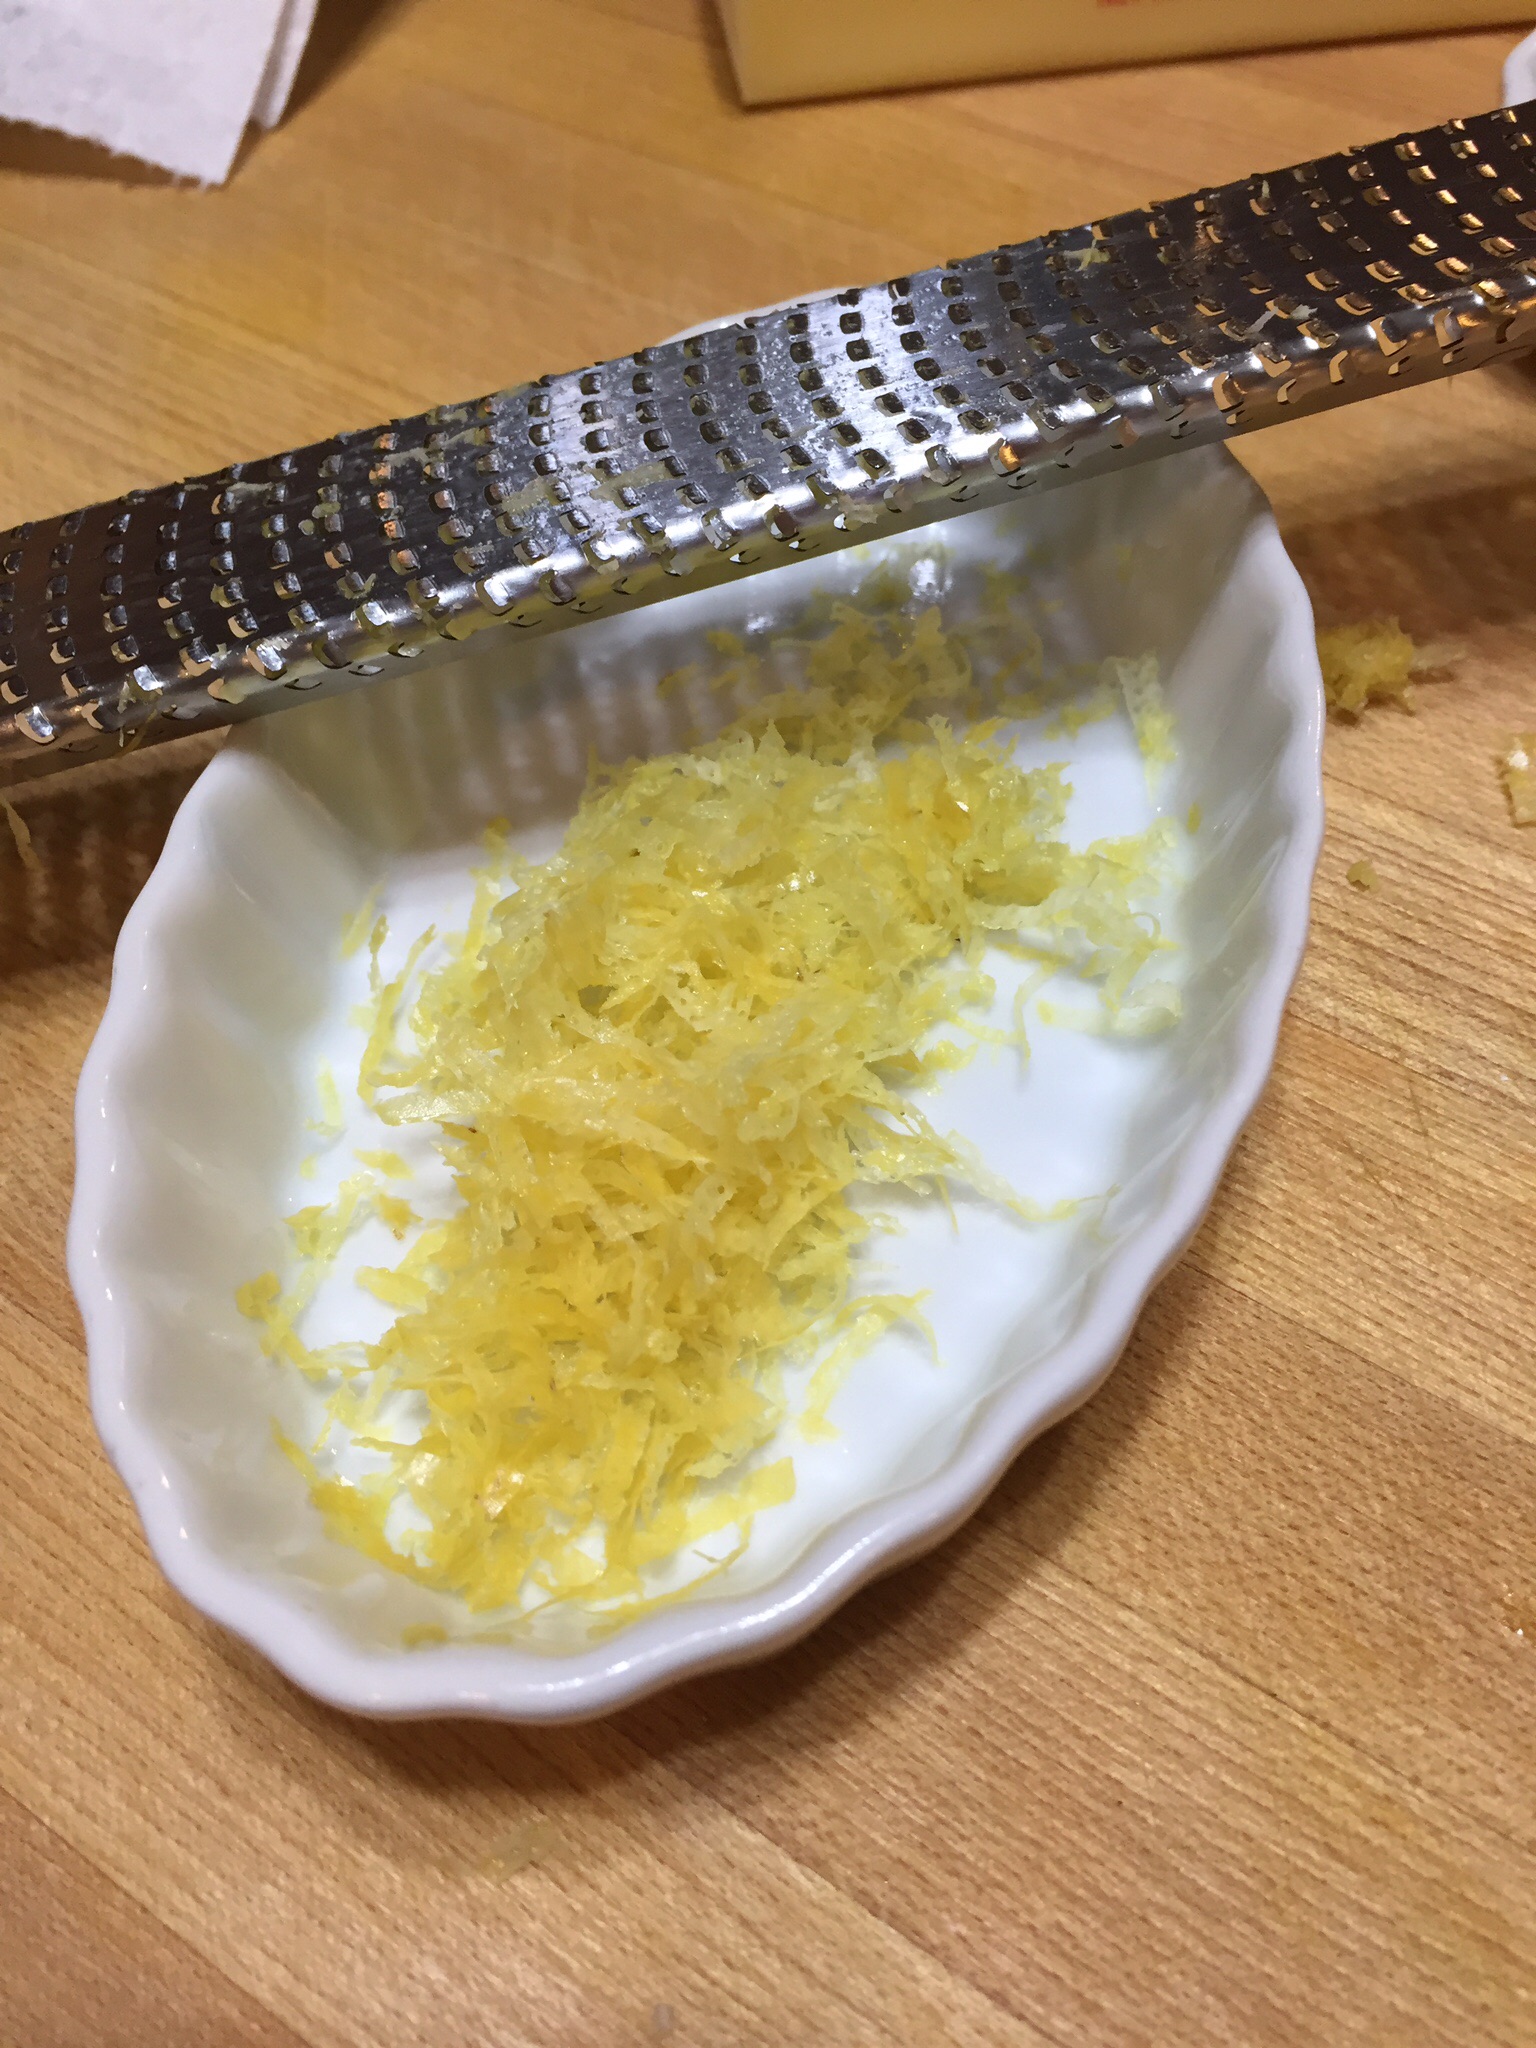
1/2 lemon juiced

1 T oregano

1/2 tsp cayenne pepper (or more to taste)

1 cup grated Parmesan or Asiago cheese

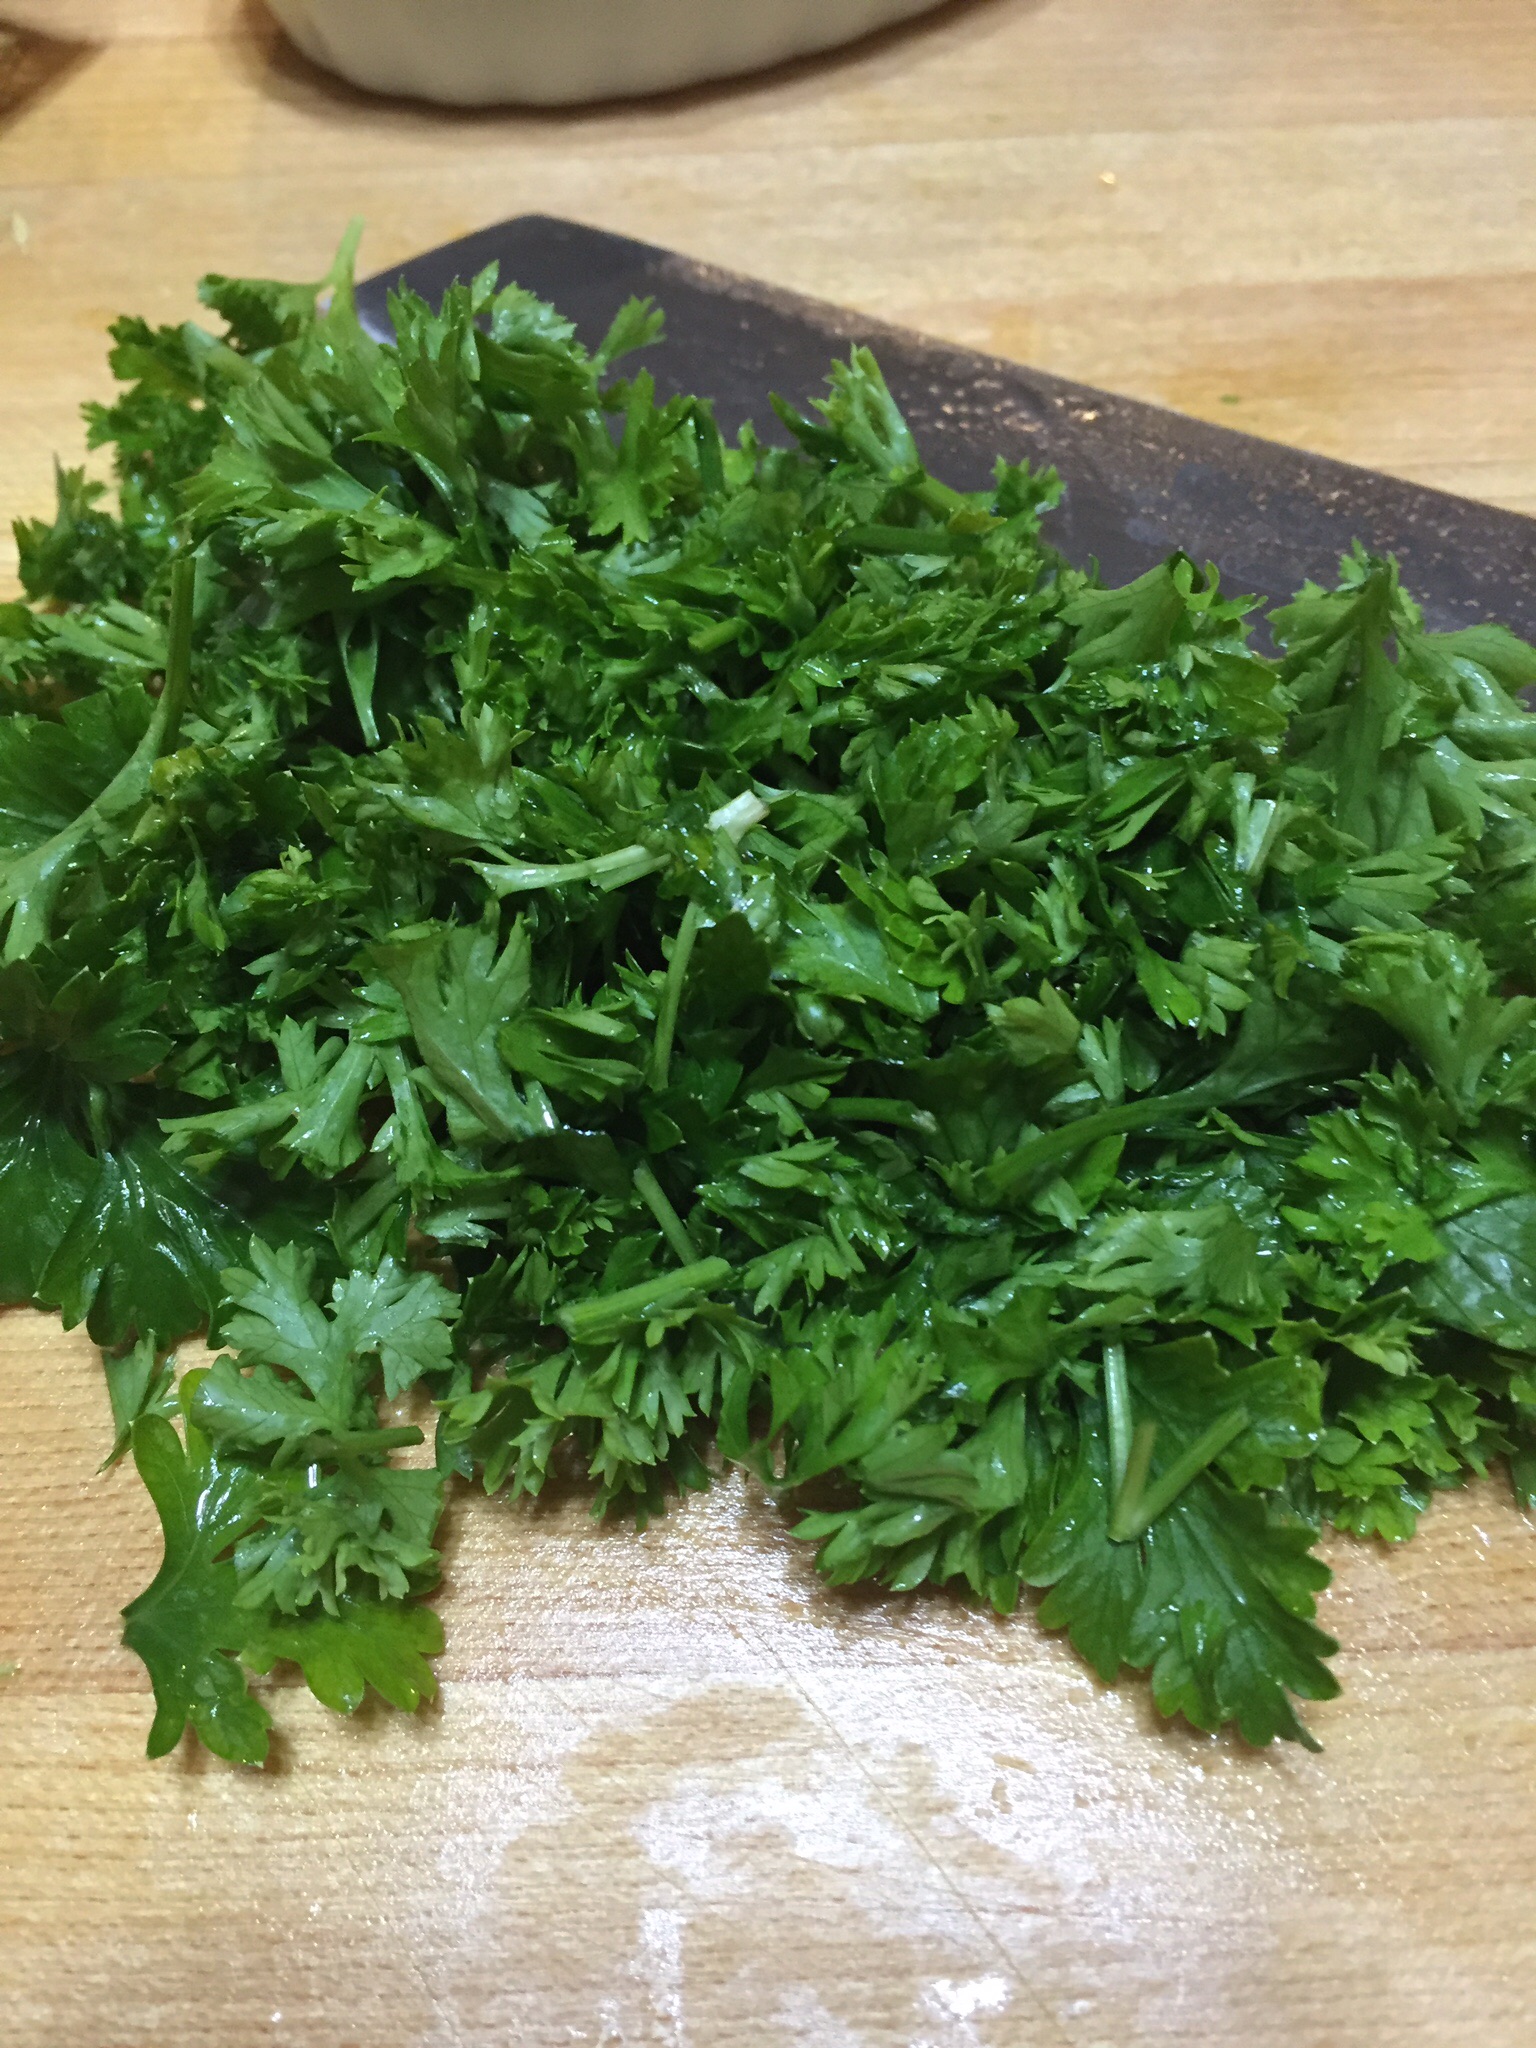
1/2  cup fresh parsley

image

Preheat your oven to 375.

Cut the tops off of the peppers and reserve to use in the filling.  Bring a pot of salted water to a boil and cook the peppers for 5-6 minutes until tender.  Drain on a clean kitchen towel and set aside.

image image


image

Dice the pepper caps, onion, and celery.  Heat 2 T of olive oil in a heavy skillet and sauté the vegetables over medium heat until tender.  Add the garlic and cook another minute.

image image

Set aside 1/2 of the vegetable mixture to use for the sauce.  Add the ground meat to the skillet and cook until the meat is no longer pink.  After the meat has cooked I put it in a strainer to drain off the fat and then return it to the skillet.

image image

Add one pint of tomatoes, 1/2 cup of broth, and oregano and cayenne to the meat mixture.  Add salt and pepper to taste.

image

Transfer the meat mixture to a large bowl.  (Or if you are into less dishes use the kettle you parboiled the peppers in.)  Add the 2 cups of rice, 1 cup of cheese, and parsley and stir to combine.  If you feel the mixture needs more moisture add a little more broth.  Set aside while you make the gravy.

image image

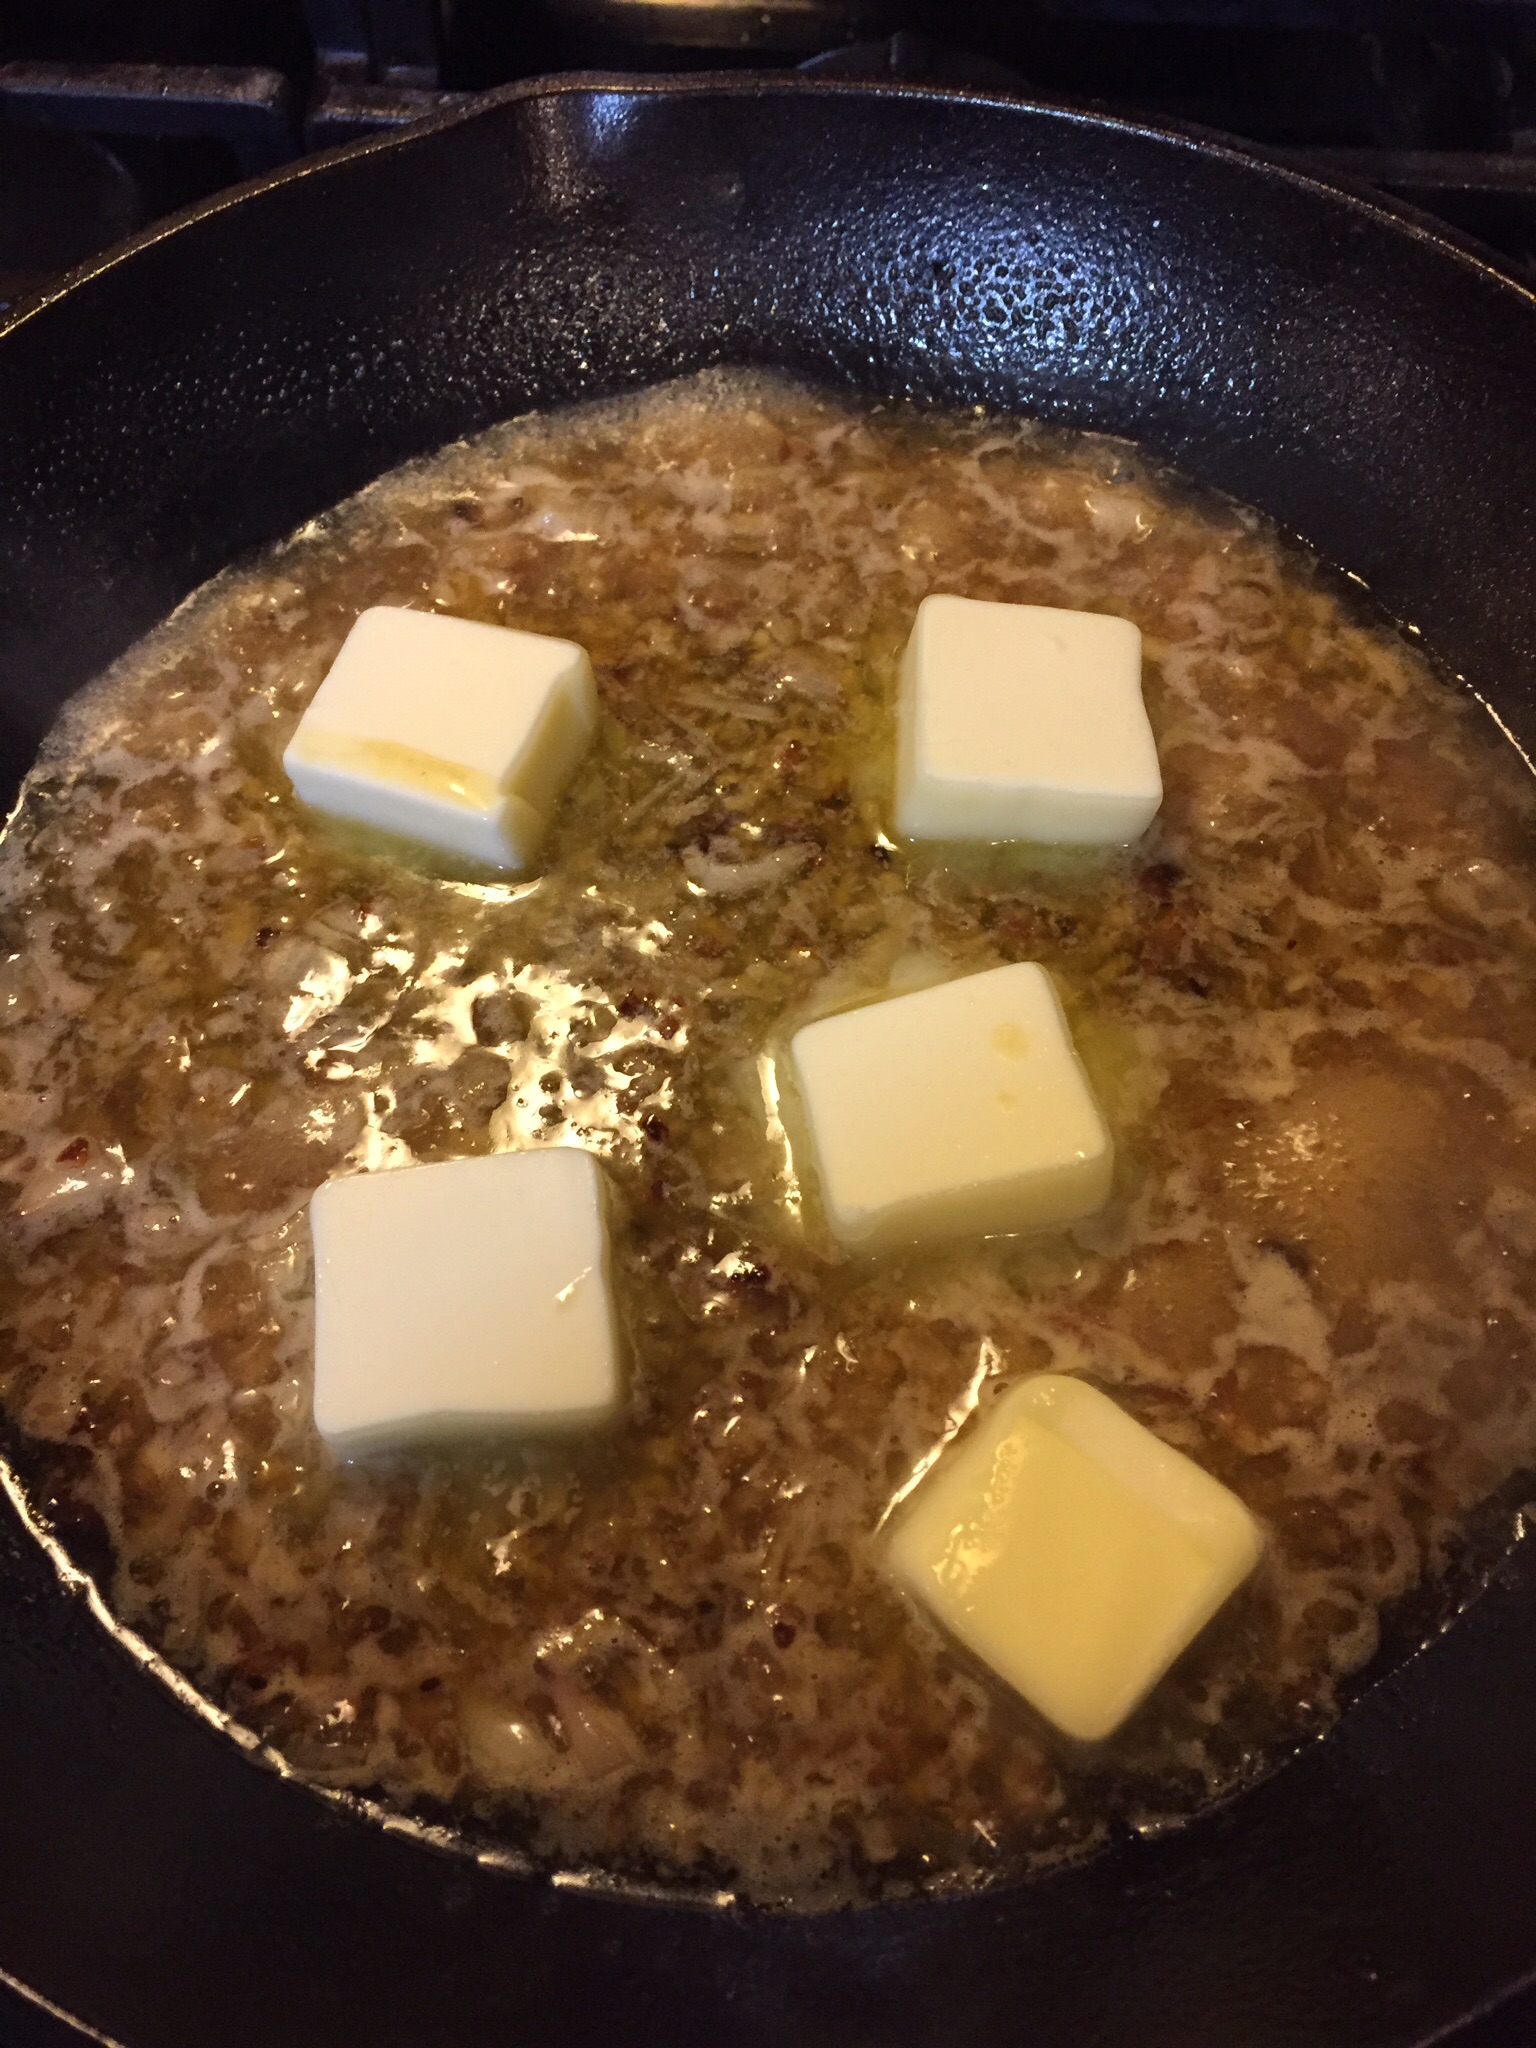
In the skillet combine the reserved vegetables, one pint of tomatoes, 1/2 cup of broth, lemon juice, and salt and pepper to taste.  Bring to a boil and simmer until the sauce is reduced and thickens.  Tranfer the sauce to a food processor or blender and purée.

image image image

Now it’s time to assemble the peppers.  Fill each pepper with the meat and rice mixture and stand up in a casserole dish.  Once you’ve filled the peppers pour the gravy over the top and bake for 45 minutes.

image

Serve with  extra grated cheese and some good bread.  Enjoy!

image image

NOTE:  Cooking is limited only by one’s imagination.  This recipe is a perfect example of an opportunity to substitute ingredients based on your family’s personal tastes.  Beef, lamb, turkey or pork.  Rice, quinoa, potato or orzo.  Parsley, basil, cilantro or mint.


Buttermilk Pancakes

image

Pancakes are one of the ultimate comfort foods.  Everyone loves pancakes.  Crepes.  Swedish pancakes.  Blintzes.  Latkes.  Pannukakku.  Kropsu.  My grandmother made the best oven pancakes (pannukakku).  Sometimes with egg, sometimes potato.  Potato were my favorites.  She made them in metal pans with a design in the bottom.  The pancake would puff way up in the oven.  We would eat them warm with butter and sprinkle a little granulated sugar on top.  We would eat them cold.  My mother made us pancakes with left over mashed potatoes.  She made a regular egg, flour, milk batter and added any leftover mashed potatoes we had.  Sometimes she would make my little brothers pancakes shaped like Mickey Mouse.  We ate her pancakes with maple syrup.  For years I made my mother’s “mashed potato pancakes.”  They were my daughters favorite.  She loved to make  pancake sandwiches with any leftovers.

A couple years ago I got this recipe for buttermilk pancakes from one of my daughter’s friends.  He was making them for his family so I decided to try them.  I’ve been making them ever since.  Occasionally when I have left over mashed potatoes I revert to my mom’s concoction.  But otherwise, these buttermilk cakes are my go to recipe.

Ingredients:

1 cup AP flour

1 tsp baking soda

1/4 tsp salt

1 egg

2 T melted butter plus more for the griddle

1 1/8 cup buttermilk

image

Combine and whisk the dry ingredients together.  Whisk the egg,  Combine the wet ingredients.

image image

Combine the wet and dry ingredients.  Do not over mix.  The batter will look a little thick and lumpy.

image

Heat the griddle and brush with butter.  Use a 1/3 cup measure and scoop batter onto the griddle.  Cook 1-2 minutes per side.

image image

Add fresh or frozen blueberries, chopped pecans, grated Apple, or chocolate chips if you’d like.

image image

Serve with warm maple syrup, sliced banana or strawberries, meat of your choosing, or an egg.

image

NOTE:  This recipe makes approximately 8 pancakes.  If you have guests and want to double or triple the recipe that works.  Keep pancakes warm in the oven until you’re done flipping and you can all enjoy eating together.  I’m sure that this batter can be made into Mickey Mouse cakes as well!  Make a memory with your pancakes!

7 Layer Taco Dip

image

Several years ago we started hosting or going to house parties with a small group of good friends on New Years Eve rather than going to restaurants or bars or large organized galas.   Maybe it’s the iffy Michigan weather that makes us not want to be on the roads.   Maybe it’s because we are getting older.  Whatever the reason, it’s been a good choice.  We all bring appetizers and beverages and enjoy each other’s company, some singing and picking, and all the good food and drink.  It’s the best way to bring in the New Year.  This year I made a 7 Layer Taco dip as my passing dish.  As always we had lots of amazingly good food.

Layer 1

2 15-ounce cans of navy or pinto beans drained and rinsed

1 large sweet onion rough chopped

2-3 cloves of garlic minced

1 cup chicken broth

jalapeños and cilantro to taste

salt to taste

image

Heat a couple tablespoons of canola oil in a heavy saucepan.  Cook the onions over medium heat until they are caramalized.  Add the beans and broth to the skillet and heat through mashing with a potato masher.

imageimage

If necessary add additional broth to get a nice creamy consistency.  Stir in jalapeño and cilantro.  Season with salt to taste.  This is the way I prepare beans for any Mexican dish I serve.

image

Spread the bean mixture out on a large platter or pizza pan.

image

Layer 2

1-2 cup(s) sour cream

Taco seasoning to taste (I used 2 T)

image image

Combine the sour cream and seasoning mixture well and spread over the beans.

image

Layer 3

1 jar of homemade salsa or your favorite store brand

Spread over the sour cream.

image

Layer 4

Pico

1 cup diced tomatoes

1/2 cup diced sweet onion

1-2 jalapeños diced (with or without seeds)

1/2 cup cilantro

1/2 lime juiced

salt to taste

image

Toss the vegetables together.  Squeeze lime juice over the mixture and season to taste with salt.

image

Spread vegetable mixture over salsa.

image

Layer 5

2-3 Avocados peeled and diced

1/2 lime juiced

Salt to taste

image

Squeeze the lime juice over the avocado and season with salt.  I love avocado but everyone does not feel the same.  So I put my diced avocado around the outer edge of my platter.

image

Layer 6

Black olives and/or pickled jalapeño.  I only used the black olives.

Layer 7

Shredded cheese.

image

Garnish with additional cilantro.  Serve with your favorite tortilla chips.  Enjoy!

NOTE:  You can add a meat layer if you choose by cooking ground beef or turkey and adding some tomato paste and seasonings to the meat.


Marilyn’s Party Mix

Marilyn’s party mix has become a holiday tradition.  About eight years ago I quit smoking and decided to learn to knit to keep my hands and mind busy.  I’m sure this is a story I’ve blogged about previously but regardless…It was a great decision for a number of reasons but one of the best outcomes was the amazing band of women that became a very important part of my life.  We call ourselves the Knit Wits.  We meet almost weekly to knit, take road trips, and share stories and recipes (our pot lucks are fabulous).  Our ages and life paths varied pretty significantly but we all quickly grew to love and respect each other and cherish our time together.  Marilyn was the oldest of the Knit Wits.  She was 80, give or take a year, when we first met and we lost her to the ravages of cancer about three years ago. She was funny and spunky, told wonderful stories, was extremely generous and an excellent cook.  She shared recipes that we all still make and think of her every time we do. One of those recipes is her party mix.  I cannot imagine how much of this she made each year.  She would start shopping in the fall for ingredients.  I’m sure she went through no less than 20 pounds of butter or more each year just for her party mix. She could always tell us which grocery had butter on sale.  She gave party mix to friends and family by the gallons.  I always take some to my daughters for Christmas and her friends look forward to noshing on it.  So much so that I mailed some to a friend of hers in Miami who wasn’t able to make it to Chicago this Christmas.

image

Almost everyone has had “Chex Mix.”  Marilyn had her own special version.  She embellished!  Her ingredients included but were not limited to:

Per batch in a LARGE roasting pan…

Snyder’s pretzel mixes (including jalapeño bits) – 1 11oz package

Crispex – 1/2 standard size box

Cheese-Its (different favors) – 1/2 standard size box

Goldfish (different favors) – 2 to 3 cups

Bugles – 1/2 standard size bag

Mixed nuts – 1#

Chex (rice, corn and wheat) – 1/2 standard size box of each

Gardellos rye crisps – 1 8oz bag

Pretzels – 2-3 cups

Adjust ingredients based on your personal tastes.

Marilyn passed away in late August of 2012 and that Christmas we all got together and made Party Mix.  We had large bowls of all the ingredients on an assembly line and added a cup of this, a cup of that until we had filled a large roasting pan.  Then came the buttery, garlicky goodness.

4 sticks of butter

4 T worchestershire sauce

3 1/2 T Lawrey’s seasoning salt

1 T Lawrey’s garlic salt

1 T garlic powder

Peheat your oven to 250.  Melt 3 sticks of butter and add all of the spices.  Stir well.  Pour 5 T of the seasoned butter over the roasting pan full of mix and stir carefully to coat.  Bake for 20 minutes and repeat.  Do this three times until an hour has passed.  Melt and add the fourth stick of butter to the mix and repeat at 20 minute intervals for another hour.  After two hours pour the mix out onto freezer or parchment paper on your counter and allow it to cool completely before packaging it in zip lock bags or other containers.  Marilyn always saved coffe cans and the large containers nuts and other ingredients came in to package her party mix.  Your house will smell like garlic.

It’s addicting.  You will have garlic coming out of your pores and still go back for a little more.  RIP Marilyn.   I will think of you every year when I make this and I know that you are smiling.


Applesauce

image

It’s apple season and this  weekend was applesauce Sunday.  I like cranberry sauce with most of my chicken or turkey dishes and applesauce with pork dishes and now I’m stocked up for the winter.  Applesauce also makes a nice addition to a bowl of oatmeal or just as a snack.  One of my sister-in-laws thinks my applesauce is the best and she wanted my secret recipe.  There is no secret recipe.  No secret ingredients.  No sugar.  No spice.  My applesauce is just apples.  A variety of apples.  The variety is the only secret and there is no hard and fast rule.  Just combine some tart, some sweet.  Some that cook down more quickly, some that remain firmer.

image

Peel, core, and slice the apples.  A peeler, corer, slicer machine is very handy.  A friend with two extra hands to peel, core, and slice and keep you company while they work is great too.

image

Put the prepared apples into a large, heavy kettle and add about 1 cup of water.  Cover and cook over medium heat opening the lid and stirring occasionally.  Once the apples cook down a bit, uncover, and use your wooden spoon or a potato masher to get the apples to the consistency you prefer.  We like chunky applesauce.  Once it’s reached the desired “chunkiness” turn the heat to low,

image

image

Sterilize your jars and lids in a hot water bath.  Put the hot applesauce into the hot jars leaving about 1/2 inch of headspace. Wipe the rim of the jar with a clean cloth to make sure there is nothing to interfer with the seal.  Put the lid and ring on the jar.

image

Process the jars in a hot water bath for 15 minutes.  Remove the jars and place on a heavy towel and allow them to cool completely.

image

Store the jars in a cool place.  Remove the rings from the jars before storing them.  Making applesauce is a little time consuming but simple process.  This winter you’ll  be happy you did it.

NOTE:  One bushel of apples made 35 pints of sauce with a little extra left for dinner that night.  Last year I added 20-25 red hot candies to a couple of my batches of sauce.  It gave the sauce a nice pink tint and added a little cinnamon flavor.


Fruit Tarts aka Individual Fruit Pizzas

image

I have made “fruit pizza” for  desserts for years.  It gives one the illusion or delusion of a “healthy” dessert, it looks pretty, and it’s easy to make.   And, for me, it brings back fond memories of a dear friend who made this dessert for us with white peaches and blueberries.  I decided this time around to make individual tarts rather than making the dessert in a pizza or jelly roll pan.  The dessert has a sugar cookie base.  You can make your own sugar cookie dough and cut out shapes or you can buy already prepared Pillsbury sugar cookie dough which is what I did.  I baked the cookies the night before and baked them a little longer than recommended to help crisp them up so they wouldn’t get soggy.  If you’re using a pizza or jelly roll pan, pat the dough (an 18 oz tube of sugar cookie dough) evenly into an ungreased pan and bake at 350 for 10-12 minutes.  Allow it to cool completely before moving on to the next step.

You can use whatever fruits you choose.  I would recommend using fresh rather than previously frozen fruit.  I used blackberries, raspberries, blueberries, grapes, and mandarine oranges.  Or you can use white peaches and blueberries like my friend did.  I liked the combination to be colorful.

image

Once the base has been baked and cooled prepare the next layer.

Ingredients:

8 oz package of cream cheese at room temperature

8 oz container of mascarpone cheese at room temperature

1 cup powdered sugar

8 oz container of coolwhip

1 tsp vanilla extract

image

Combine all of the ingredients, cream together, and spread a generous spoonful on each cookie or distribute over the cookie base.

image image

Next wash and pat your fruit dry.  My blackberries and grapes were rather large so I cut those in half.   Place the fruit on the cream filling.

image

Lastly I add a fruit juice glaze.

Ingredients:

1 cup sugar

3 T cornstarch

1 cup orange juice (I used orange mango)

1/4 cup pineapple juice

image

Whisk the sugar and cornstarch together in a small sauce pan.  Add the juices and cook over medium heat until mixture comes to a boil and begins to thicken.  Remove the glaze from the heat and allow it to cool completely before brushing it on the fruit.  I use a little pastry brush.  There you have it.  A beautiful little sweet treat that you’d be proud to serve your guests.

image image

The individual fruit tarts were a first for me but I think I will continue to make them this way in the future.  While it’s a little fussier and more time consuming I think the presentation is best!

NOTE:  If you are starting with 24 cookies half the cream filling and glaze are sufficient.  You might just want to cut both recipes in half.


Edible Acorns

image

This is the Fall of acorns.  It’s almost dangerous walking outdoors!  The squirrels and chipmunks and deer are enjoying the bounty. There are a few real acorns in this picture but mostly they are edible chocolate and nutter butter treats.  A little something that is easy and adorable to put out for guests this Fall.  All you need is a bag of Hersey Kisses (pick your favorite flavor), a bag of Nutter Butters, chocolate chips and a few extra chips to melt for “glue.”

image image

Dab a little melted chocolate onto one side of the nutter butter and glue on a kiss.

image image

I set them on a wax paper lined tray (actually a pizza pan) and let the chocolate set. Once the chocolate has hardened, using more chocolate glue, attach a chocolate chip to the other side.  Voila!  Edible acorns.

image

Enjoy!

NOTE:  Depending on how many acorns you want to make you may need two bags of nutter butters for one bag of kisses.  If you’re a perfectionist you’ll find Nutter Butter needs a little more quality control.  Lots of lopsided or upside-down cookies.

Country Style Pork Ribs and Cabbage

image

I think this is kind of a comfort dish.  Something your mom or grandma would have fixed for supper.  My grandmother (Mummu) used to make a boiled dinner which was very similar in taste except she would add potatoes and carrots.  There is definitely  nothing gourmet or exotic about boiled dinner but it’s a hearty meal.   I generally make country ribs with some kind of barbeque sauce and I might serve them with some boiled, buttered cabbage and red skin potatoes.  But I decided to use my slow cooker aka crockpot and let this go all day.  A slow cooker going always makes the house smell good to me, especially when I have sauerkraut or cabbage cooking.

Ingredients:

2 pounds or so of pork country ribs

1 medium head green cabbage

1 large white onion

1 or 2 tart, firm apples (I used honey crisp but granny smith is best)

1/2 cup cider vinegar

2 T brown sugar

1 cup chicken broth

olive oil for sautéing onions and searing ribs

garlic powder

salt and coarse black pepper

image

Core and slice  the cabbage and slice the onion.

image image

Peel, core and slice your apple(s).

image

Heat some olive oil, about a tablespoon, in a heavy skillet and saute the onions until they are tender and golden.

image image

While the onions are cooking put the cabbage and apple in the slow cooker.

image

Generously season both sides of the ribs with salt, pepper and garlic powder.  Add the onion to the slow cooker and sear both sides of the seasoned ribs in the same skillet.  Add a little more olive oil if necessary.

image image

Put the ribs in the slow cooker atop the cabbage, apples and onions.

image

Deglaze your skillet with the cider vinegar scraping up any browned bits.  Add the brown sugar and broth to the skillet.  Remove from the heat and pour over the ribs in the slow cooker.  Set the slow cooker on low and let it do the rest of the work for you.  I let it cook for approximately 8 hours.  The pork was fall off the bones tender and the cabbage was perfect.

I served it with sweet potatoes whipped up with a little cream cheese, brown sugar and a shake of cinnamon.

image

I loved it!  My husband got out the bottle of steak sauce.  He likes things a little more kicked up.  So next time I think I’ll go back to saucing the ribs and boiling the cabbage.

NOTE:  You could also add carrots and potatoes to the slow cooker and have your entire supper in one pot.  More like my grandmother’s boiled dinner.  The slow cooker will look like it’s too full but the cabbage cooks down significantly.

Shrimp Scampi with Homemade Fettuccine

image

Sunday my friend and I had a great time making homemade pasta together.  Tonight I used some of the pasta and made shrimp scampi for dinner.  Lots of garlic, oil and butter.  Probably not high on the healthy, low calorie meal pyramid.  Definitely not a dish I grew up eating.  As I think about it, I don’t recall ever eating shrimp or other shellfish as a child.  We ate a lot of fresh water fish but no shellfish or ocean fish except an occasional cod filet at a Friday fish fry.  I remember one time when my parents went out to dinner for what must have been a special occasion.  One of them had ordered lobster for dinner and they brought home the lobster shell to show us.  I remember being fascinated and a little repulsed and wondered how someone could possibly eat that creature!

Scampi is an easy dish to prepare and it doesn’t take a lot of time.  Even if you didn’t make your own pasta I hope you’ll try this.

Ingredients:

1 pound of uncooked shrimp, peeled and deveined

1/4 cup olive oil

5 T unsalted butter

4 cloves of garlic, pressed or minced

2 shallots finedly diced

juice and zest of one lemon

1/4 cup of minced parsley

1/2 cup white wine (or chicken broth)

red pepper flakes

salt to taste

pasta of your choosing

fresh grated asiago or parmesan cheese for serving

imageimage

This dish comes together pretty quickly so prepping all the ingredients before hand is important.  Press or mince the garlic and dice the shallots.

image image

Juice and zest the lemon.  Mince the parsley.

imageimage

Put a pot of salted water on the stove and bring it to a boil for cooking your pasta.  Heat the olive oil in a heavy skillet over medium high heat.  When the oil starts to shimmer cook your shrimp.   Cook in batches to avoid crowding them in your pan.  Cook the shrimp until they start to turn pink, then turn them.  Once cooked, they only take a minute, set them aside on a plate.

image image

image

Add the garlic, shallots, and red pepper flake to the oil.  Cook for 1 minute.  Stir in the white wine or broth.  Simmer for 2 minutes.

image image

Add the butter until it melts into the garlic and shallot oil.

image

Once the butter has melted stir in the parsley, lemon juice and zest, and return the shrimp to the skillet.  Remove from the heat and set aside until the pasta has finished cooking.

image

Cook the pasta until it is al dente.  Reserve some of the pasta water before draining in a colander.

image

Return the pasta to the kettle or put it into a large serving bowl.  Add the shrimp scampi to the pasta and gently toss.  If additional liquid is necessary add in some of the reserved pasta water.  Serve immediately with some fresh grated cheese.

image

Serve with a salad and a nice glass of wine.  If you’d prefer skip the pasta and serve the scampi with a baked potato and a vegetable.

NOTE:  I cooked the shrimp in a cast iron pan and there was a lot of oil splatter on my stove.  I’m not a big fan of cleaning greasy messes so next time I will do the scampi in my dutch oven.  A deeper dish will help to minimize the splatter.  It’s also important to pat the shrimp dry with paper towel before frying.

Pasta Dough

image

It was a Sunday of dueling pasta machines!  My dear friend Jane and I decided to make homemade pasta.  We both have pasta machines but are both seriously amateur pasta makers.  We made three different pasta dough recipes and decided on a favorite.  They all tasted great.  One was just a little easier to work with.  It’s a messy job for sure and you have to be patient.  We had flour everywhere and little bits of pasta all over the floor but toward the end of the day we were feeling a real sense of mastery!  We made ravioli and had them for dinner.  It was amazing if I say so myself.

I’ll share a couple of the recipes.  The one we used for our ravioli and the one that was our favorite.  The two main ingredients in every recipe are flour and eggs.

image image

Ravoili Pasta Ingredients:

2 cups AP flour

1 tsp salt

3 large eggs plus 1 egg for egg wash

2 T olive oil

We used a mixer with a dough hook for this recipe.  Mix the flour and the salt.  With the mixer running add the eggs, one at a time.  Slowly add 1 T of the olive oil and continue to combine until the dough forms a ball.  Knead the dough on a floured surface until it becomes smooth and elastic.  About ten minues.  Divide into two balls and brush the surface of each ball with the remaining 1 T of olive oil.  Wrap in plastic wrap and allow the dough to rest for at least thirty minutes.

Once the dough has rested start working your pasta machine.  The dough has to be run through nearly a dozen times.  Until it is nearly paper thin.

image image

Filling Ingredients:

1/2 cup spinach wilted in a little olive oil over medium heat

1/2 cup ricotta cheese

1/2 cup fresh grated parmigiano reggiano cheese

lemon zest

image

Allow the spinach to cool.  Blend the ingredients together in a food processor.  Put heaping teaspoons of filling about two inches apart on half a sheet of dough that has been brushed with an egg wash.  Fold the second half of the dough over like a blanket.  Using a pie crimper and a fork (it’s all we had) cut and seal each ravioli.  Put the completed ravioli on a baking sheet covered in parchment and lightly dusted with flour.  Set aside and allow them to dry slightly before cooking.

imageimage

Bring a pot of salted water to a slow boil.  Cook the ravioli for a couple minutes after they float to the top.  If you have to cook in batches to prevent overcrowding keep the first batch warm.  Drizzle with a little olive oil and serve with the sauce of your choice.

image image

We served ours with a red sauce with spinach and sweet Italian sausage.  It was amazing.

image image

The second pasta dough recipe called for cake flour.  Interesting.  We made fettuccine and spaghetti noodles with this dough.  It was the easiest dough to work with.  It had more elasticity and went through the pasta machine with less difficulty.  Or maybe we were just getting a little better at the whole process.

Ingredients:

2 1/2 cups AP flour

1/2 cup cake flour

1 tsp salt

5 eggs

1 T olive oil

We prepared this dough in the food processor.

Pulse the dry ingredients together to combine.  Whisk the eggs and olive oil together.  While the processor is running slowly add the eggs to the dry ingredients and continue running until the dough forms a ball.  Remove the dough to a floured surface and knead it for about 10 minutes until smooth and elastic.  Divide the dough into quarters and wrap each in plastic wrap.  Allow the dough to rest at least 15 minutes before running it through the pasta maker.

image

Run the dough through the pasta maker 10-12 times dusting the dough with flour and folding each time.  Adjust the thickness down every couple of passes.  We decided to make spaghetti and fettuccine so after allowing the sheets to rest for 30 minutes we ran them through the cutting attachment.  Hang the pasta on a drying rack or cook immediately.  We had already enjoyed a dinner of ravioli so we dried our pasta.  That drying rack in the laundry room now has a second function!

image image

Pasta making 101.  We learned a lot!  And we had an absolutely wonderful time doing it.  We are no longer amateurs.  We are now pasta mavens!