
It’s tomato season in Michigan. The time of year when, instead of being an ornamental addition to a salad or sandwich, tomatoes actually have flavor. Even better when eaten right out of the garden. Unfortunately we live in a heavily wooded area with inadequate sun for gardening so I have to rely on friends and farmers markets for fresh tomatoes. My friend Jane has a small raised garden, and she shared some of her bounty with me. It’s what I used to make this delicious roasted tomato soup. I had also visited a local farm the morning I made the soup, and I bought Roma tomatoes for canning, some gorgeous onions, and garlic. I used one of the very large, sweet onions and an entire head of garlic for the soup. The soup is easy to make, comes together in no time, and is easily modified based on personal preference. A great way to not only enjoy something delicious, but also to get your Vitamin C, potassium, and antioxidants in. And your kitchen will smell great!
Ingredients:
20-25 Roma tomatoes halved
4 T olive oil divided
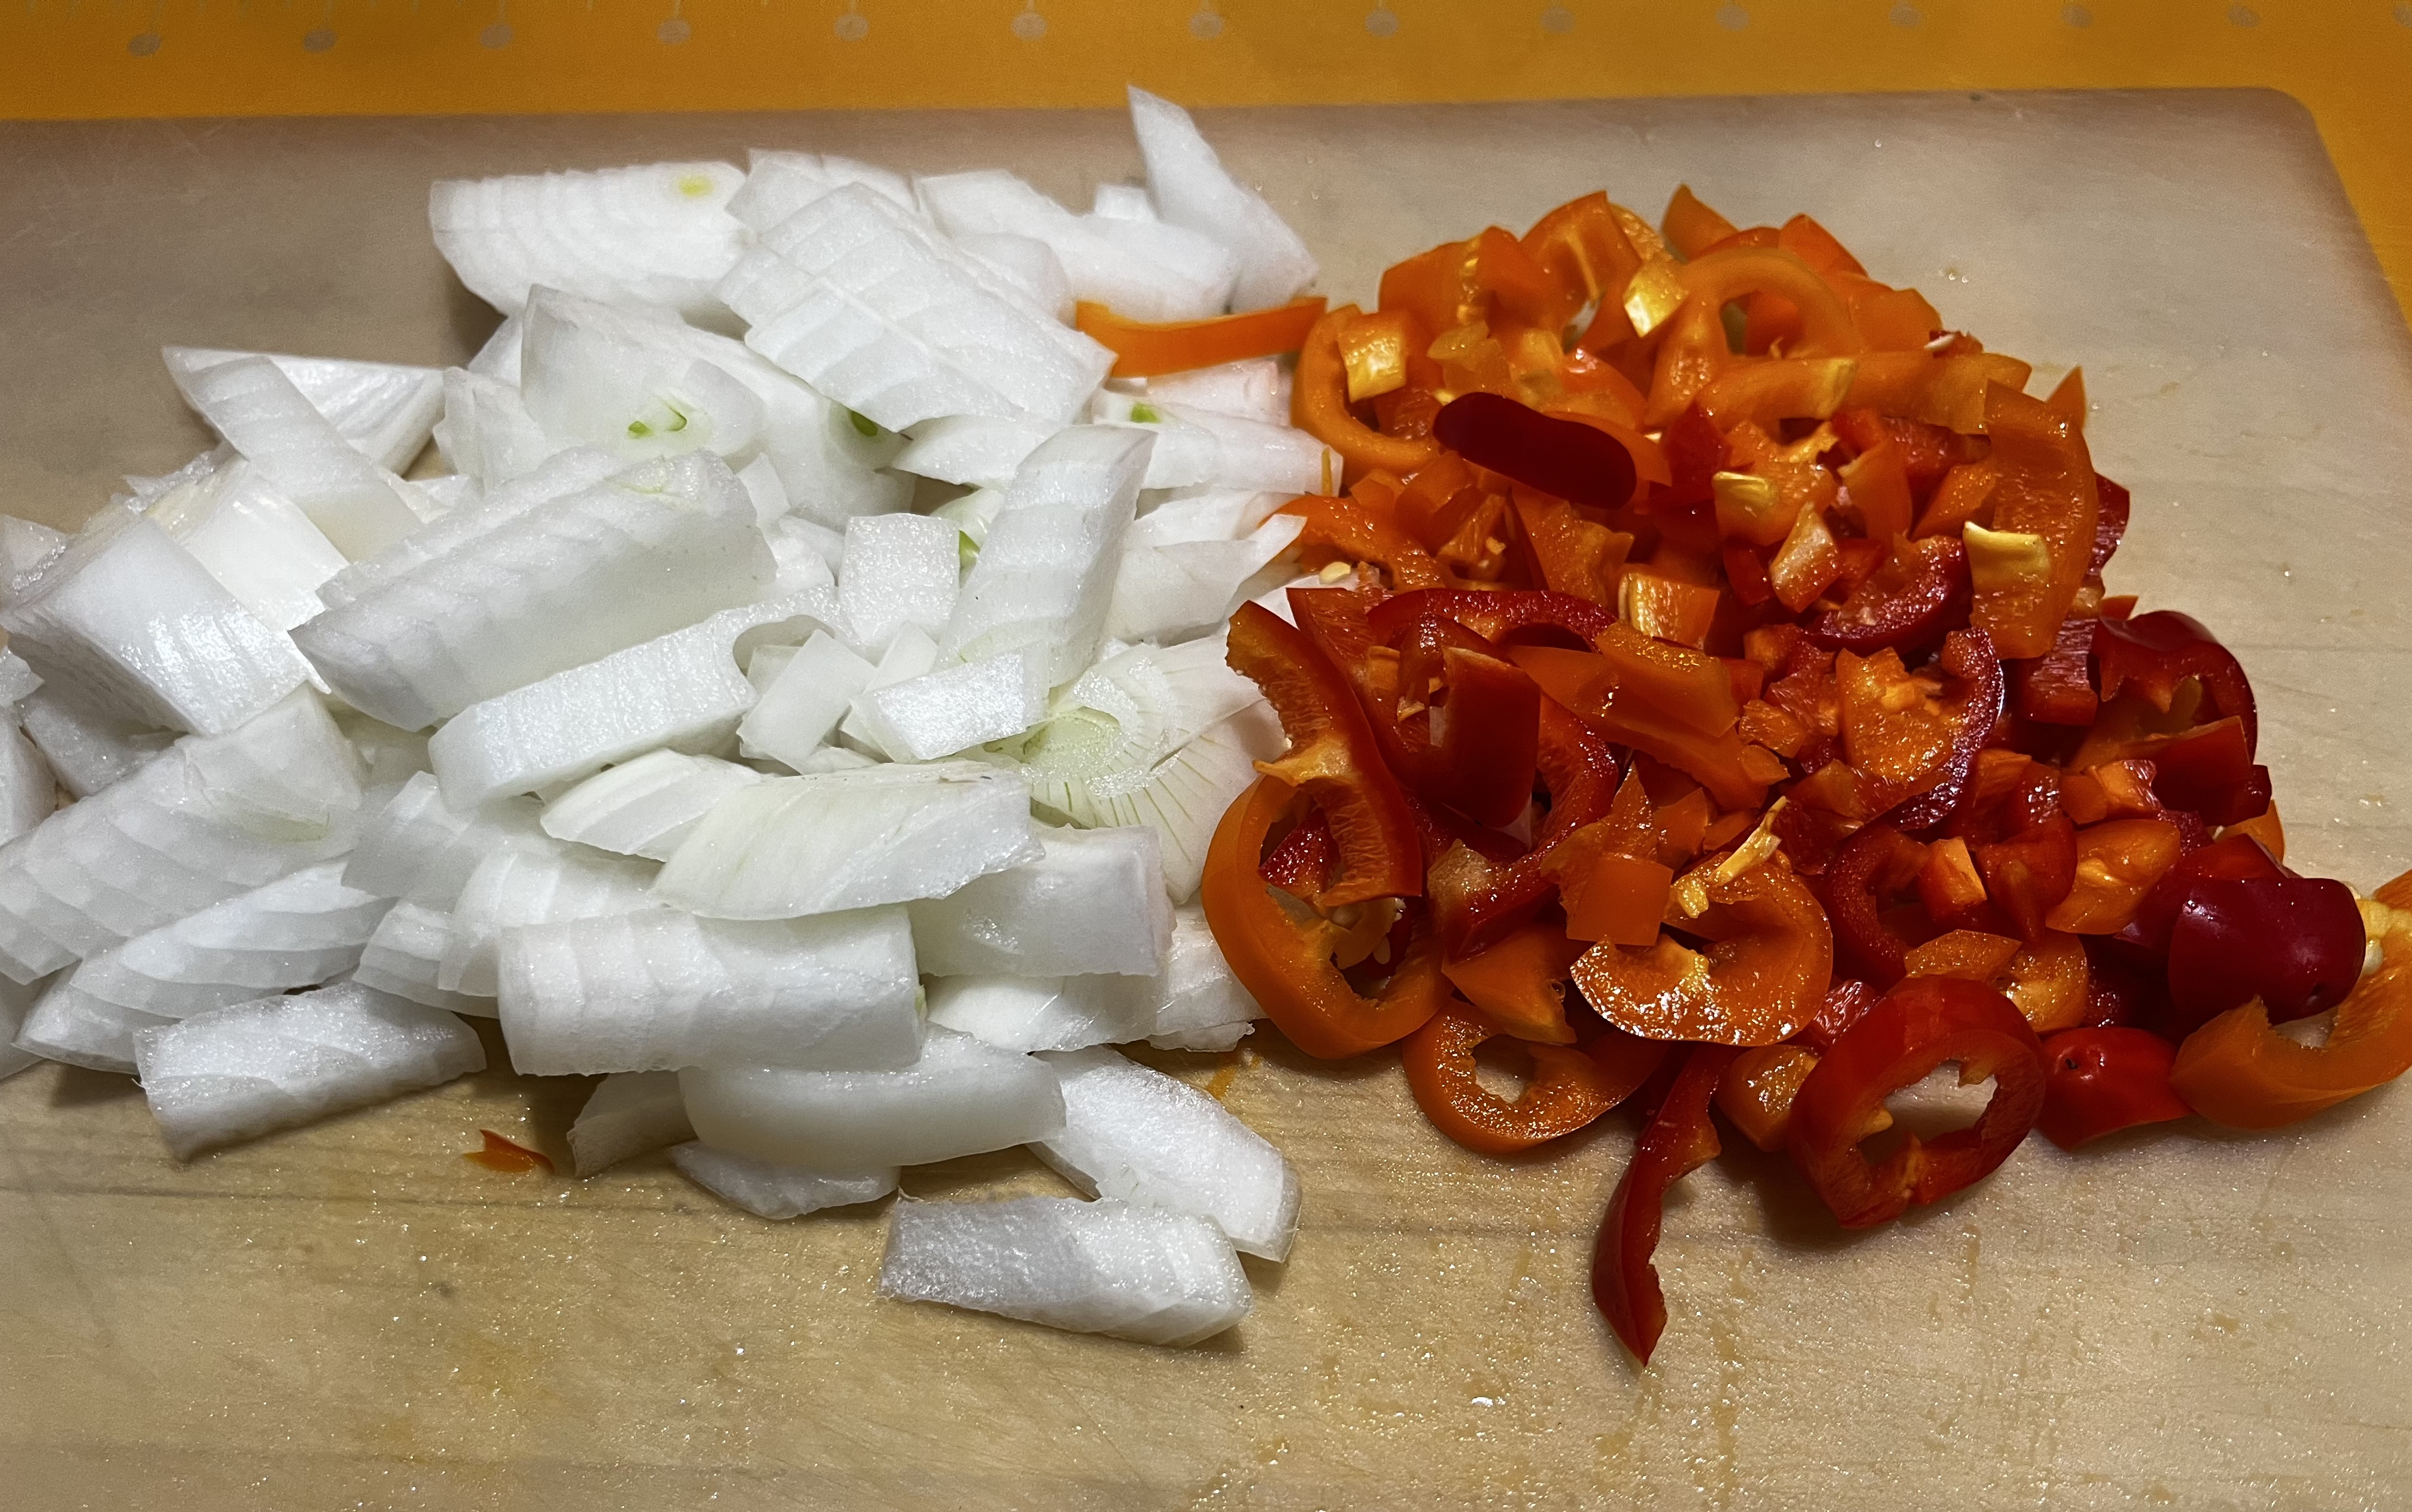
1 large onion chopped (1 to 1 1/2 cups)
1 head of garlic unpeeled but separated into cloves
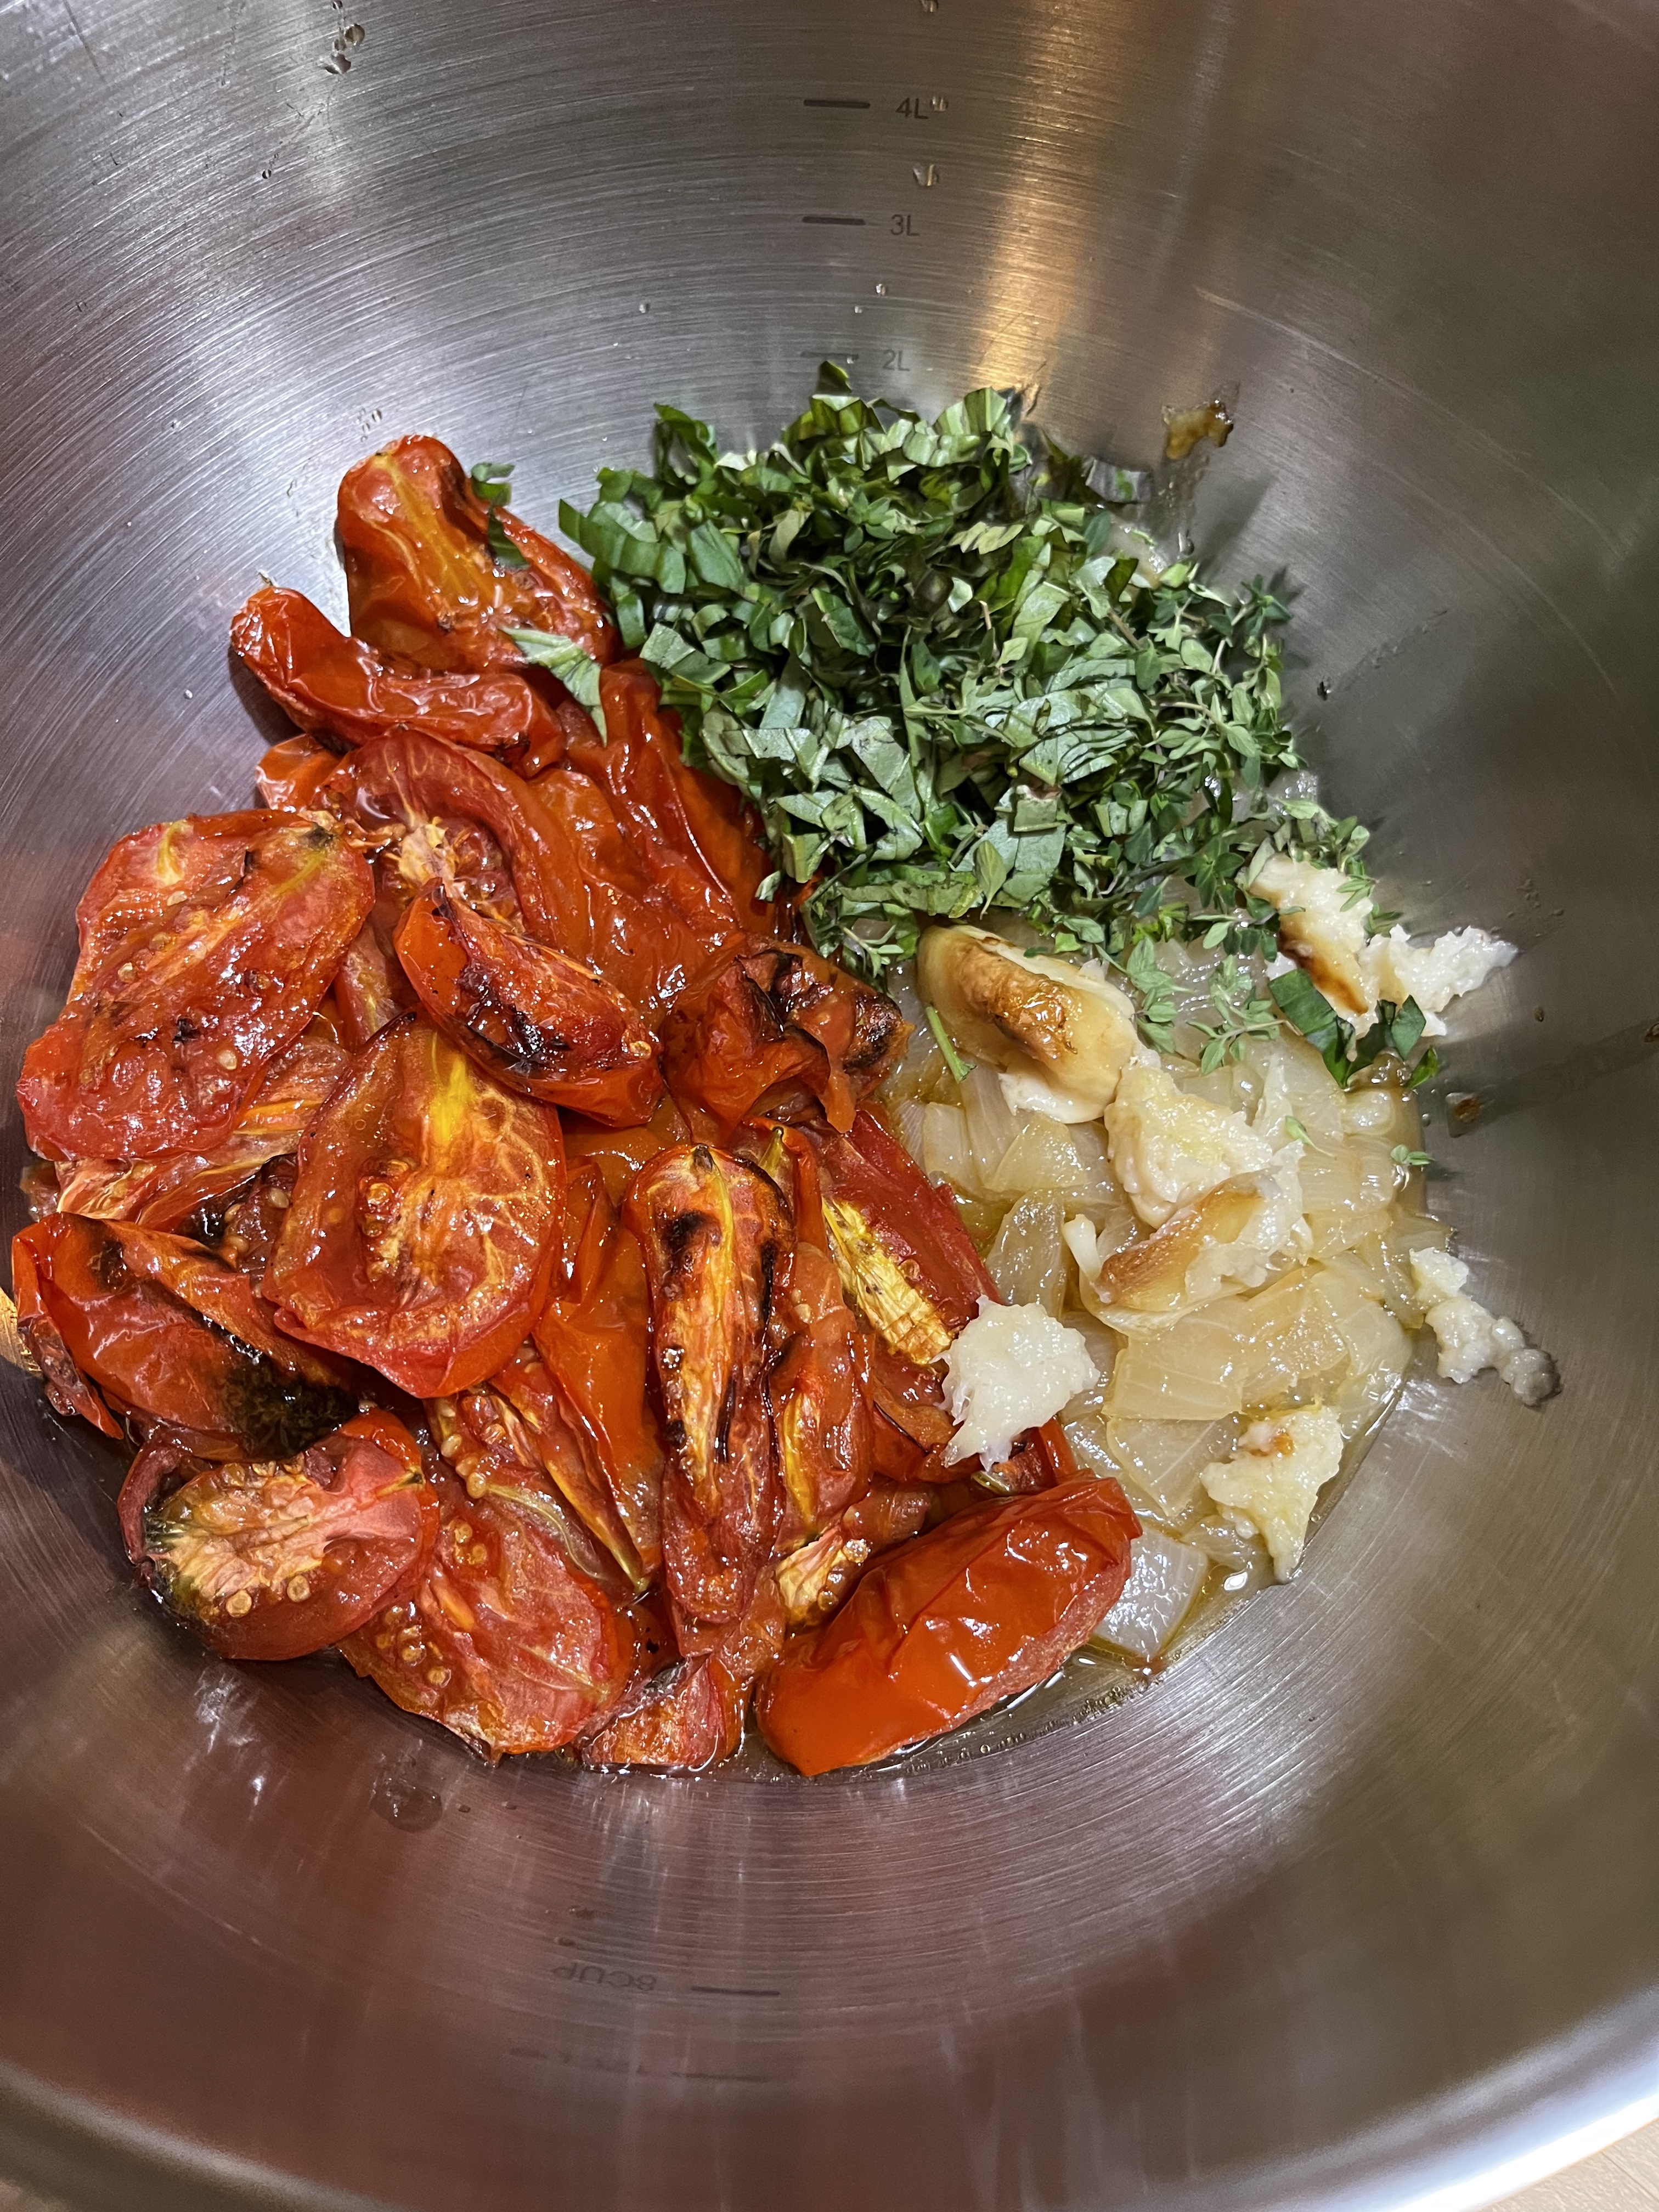
1/2 cup packed fresh basil
2 T fresh thyme
2 cups vegetable or chicken broth (I use Better than Boullion)
1/2 cup half-n-half (optional, but a nice addition)
1 cup fresh shredded Parmesan cheese
salt and pepper to taste

Instructions:
Preheat your oven to 400 and line a sheet pan with parchment paper. Place the tomatoes, cut side up, on the baking sheet and nestle the garlic cloves in among the tomatoes. Drizzle with 2 T of olive oil.
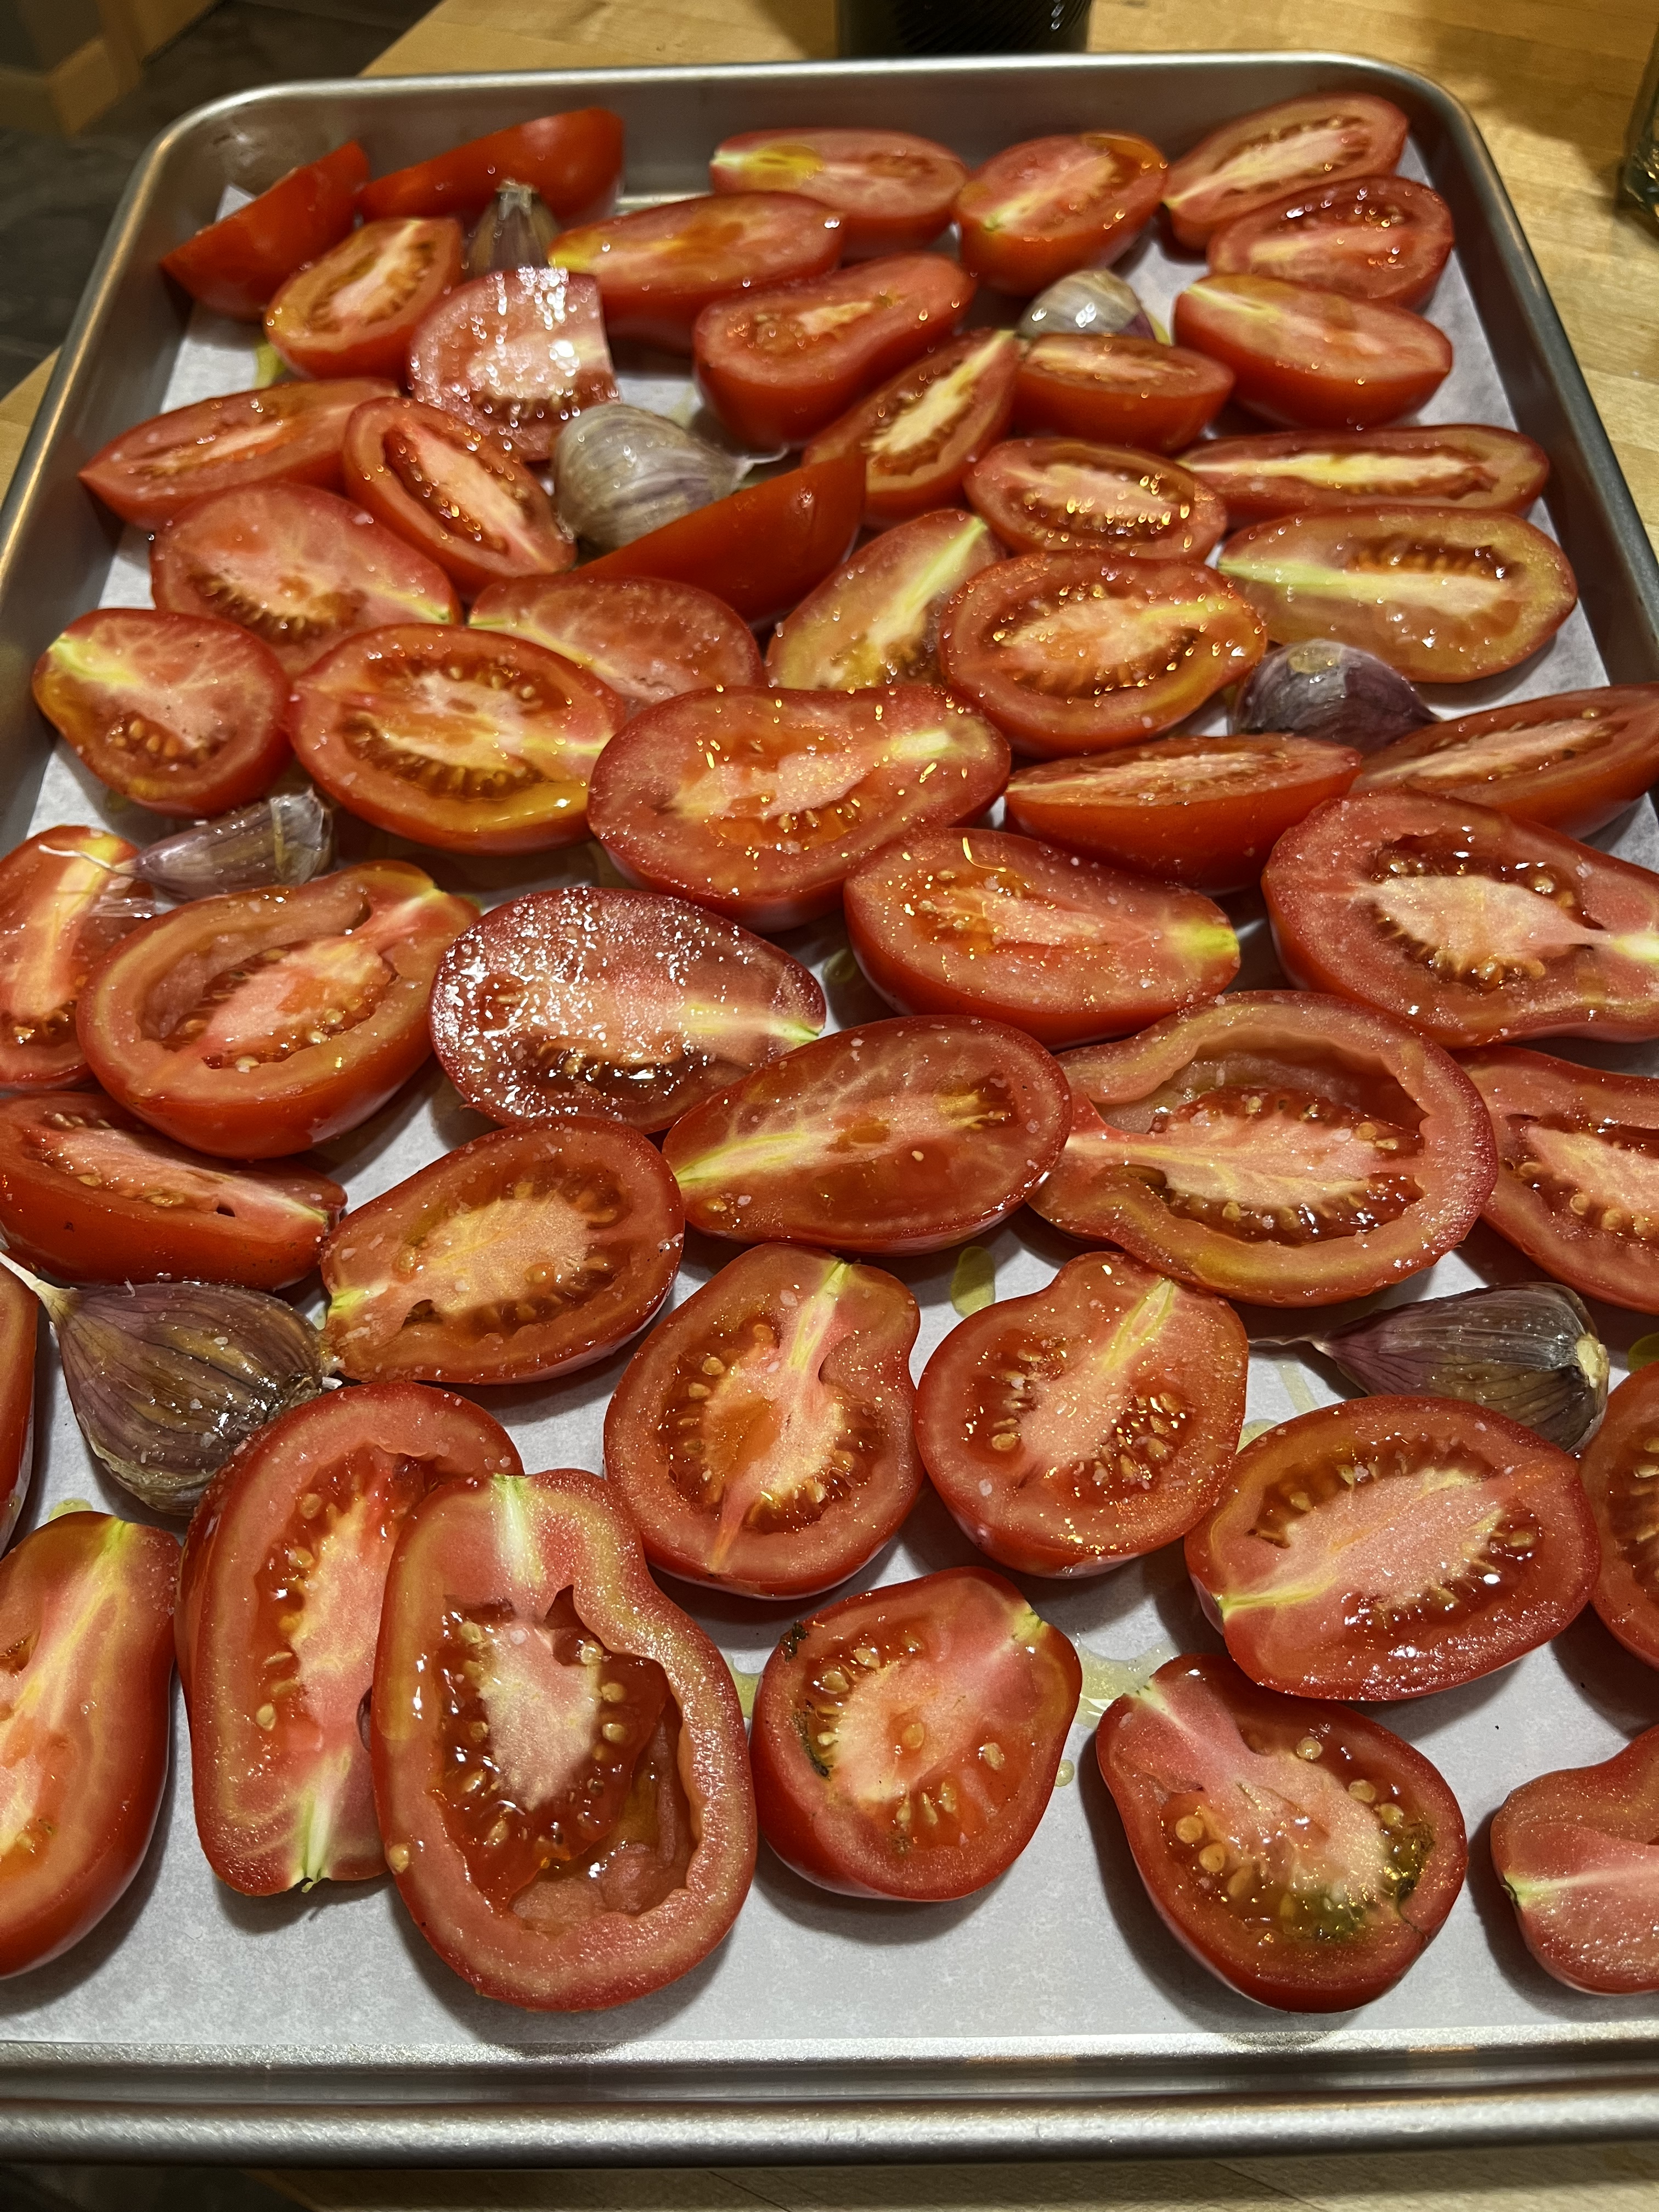
Sprinkle with a little salt and roast for 45-50 minutes. While the tomatoes are roasting caramelize the chopped onion in 2 T of olive oil on your stovetop over medium heat, low and slow until they are tender and a light golden brown.

Once the onions have caramelized and the tomatoes are roasted, combine them in a large bowl or Dutch oven. Squeeze the garlic from the cloves and add the basil and thyme to the tomatoes and onions.
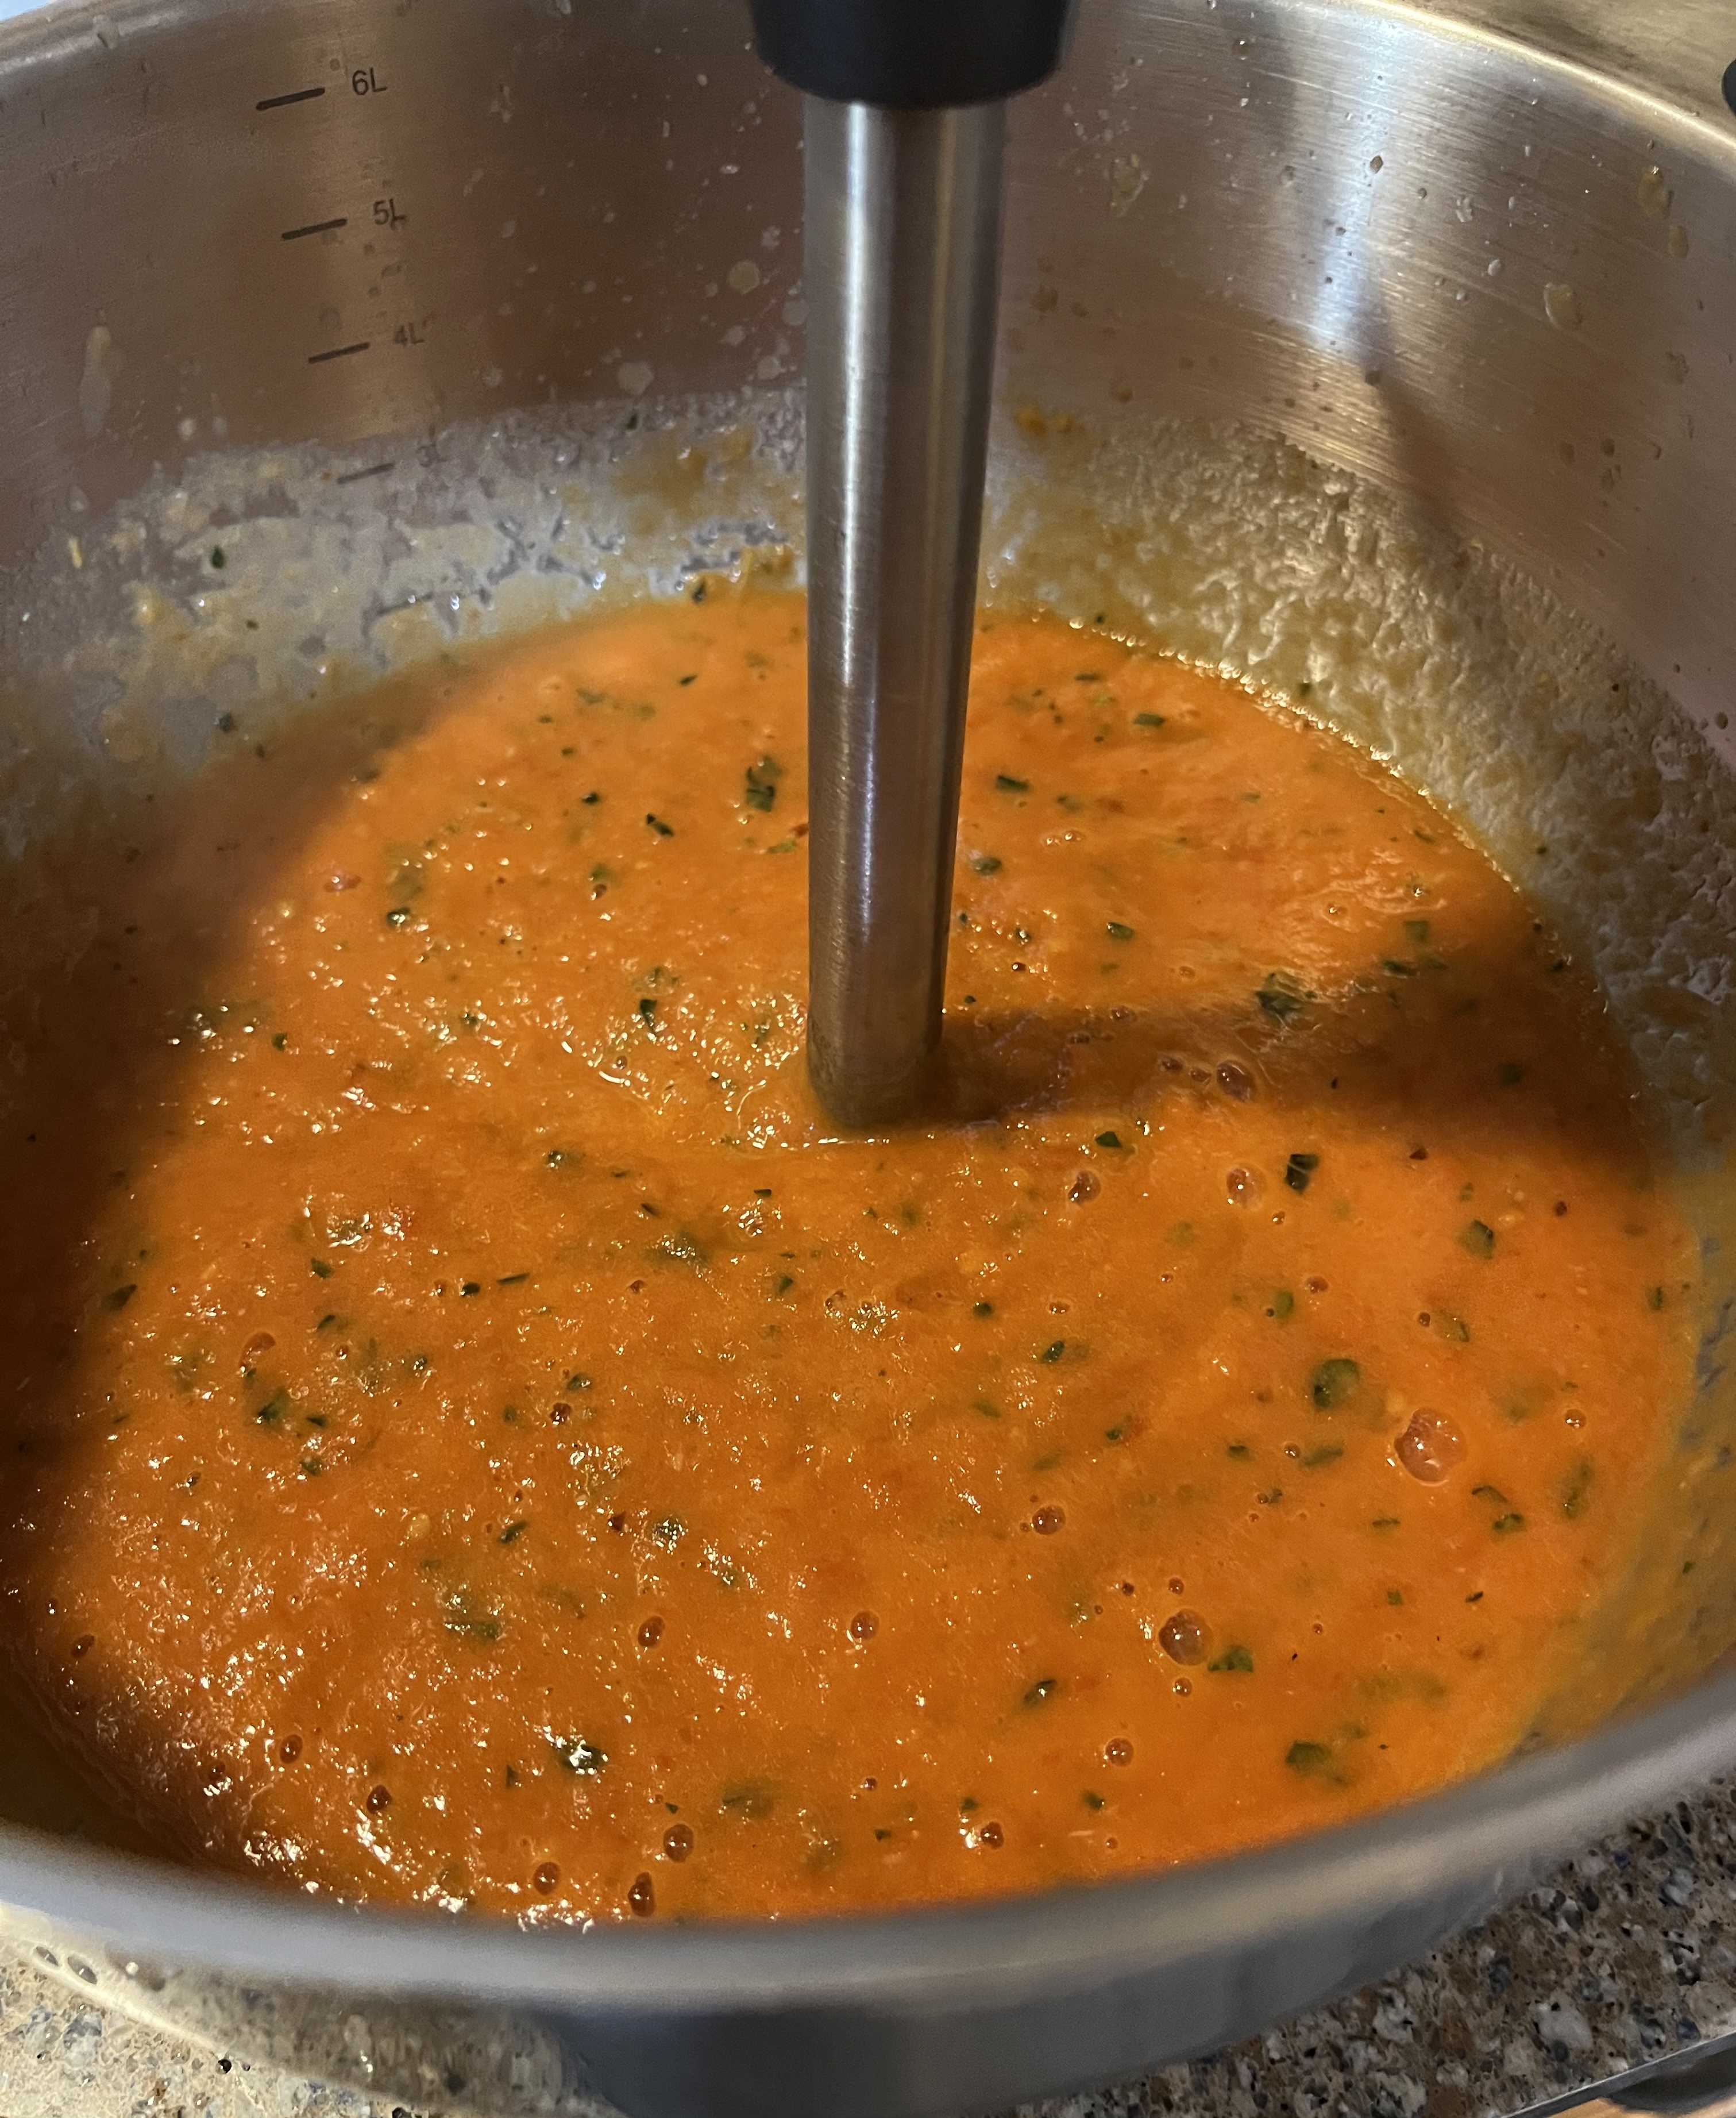
Using an immersion blender purée until you have a nice smooth consistency. Add the broth and return to the stove over medium heat. Stir in the Parmesan cheese (and half-n-half if using).
Time for a little sample. Season to taste with salt and pepper. Lunch is ready.

I garnished ours with additional Parmesan cheese and croutons for crunch. Enjoy!
NOTES: I used Romas, but any kind of tomato would work. The amount of onion and garlic is based on personal taste.
Garnishes can include a dollop of pesto or crème fraiche, toasted pumpkin seeds, and cheddar cheese if you’re not a fan of parm.
The soup freezes well and can also serve as a sauce over vegetable crepes or baked chicken. Happy tomato season.


You must be logged in to post a comment.