German Sweet and Sour Cabbage

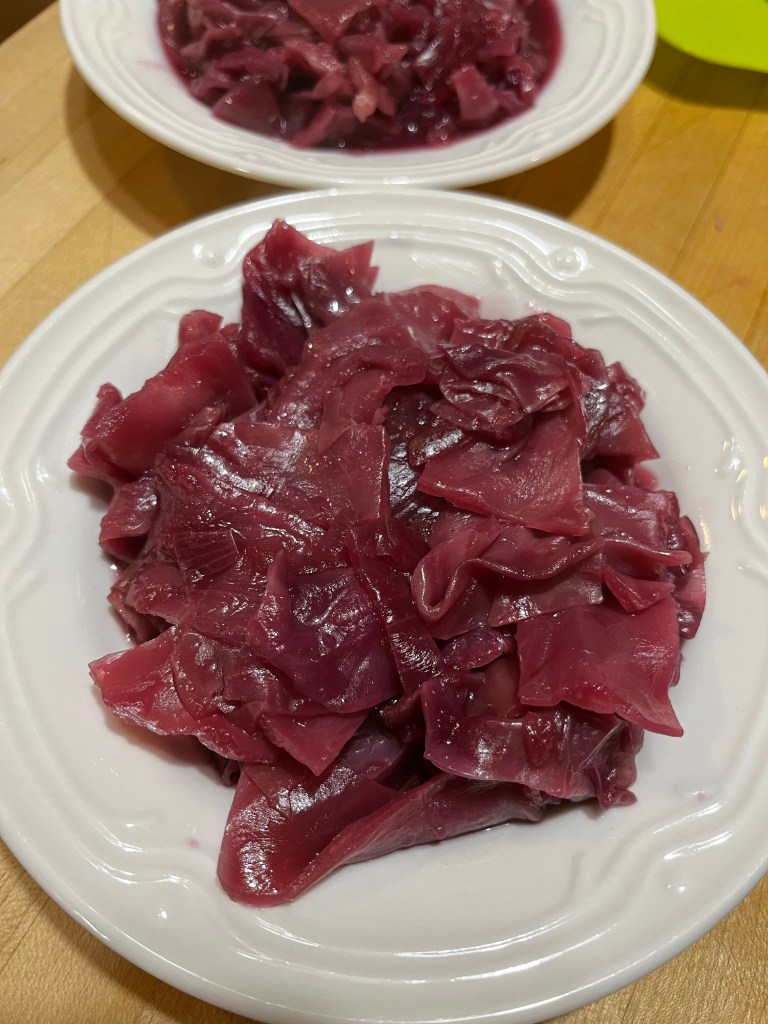
I’ve been making this cabbage dish for years. It’s a perfect fall/winter dish, and I think it pairs especially well with pork. A friend gave me a large head of red cabbage, picked fresh from the garden, and I immediately decided what was for dinner. It’s an easy chop, chop, all in one pot dish, that makes your kitchen smell wonderful.

People usually think of the more common green cabbage, and dishes like boiled dinner, cabbage rolls, sauerkraut, and, of course, coleslaw. Cabbage, broccoli, cauliflower, and Brussels sprouts are all vegetable cousins. Cabbage was considered a table luxury in the Roman Empire, and European sailors ate cabbage on long voyages to prevent scurvy. Apparently they knew it was high in Vitamin C and K, and red cabbage contains 10X more vitamins and cancer fighting flavonoids than it’s green cousin. Love when something that tastes this good is also good for us.

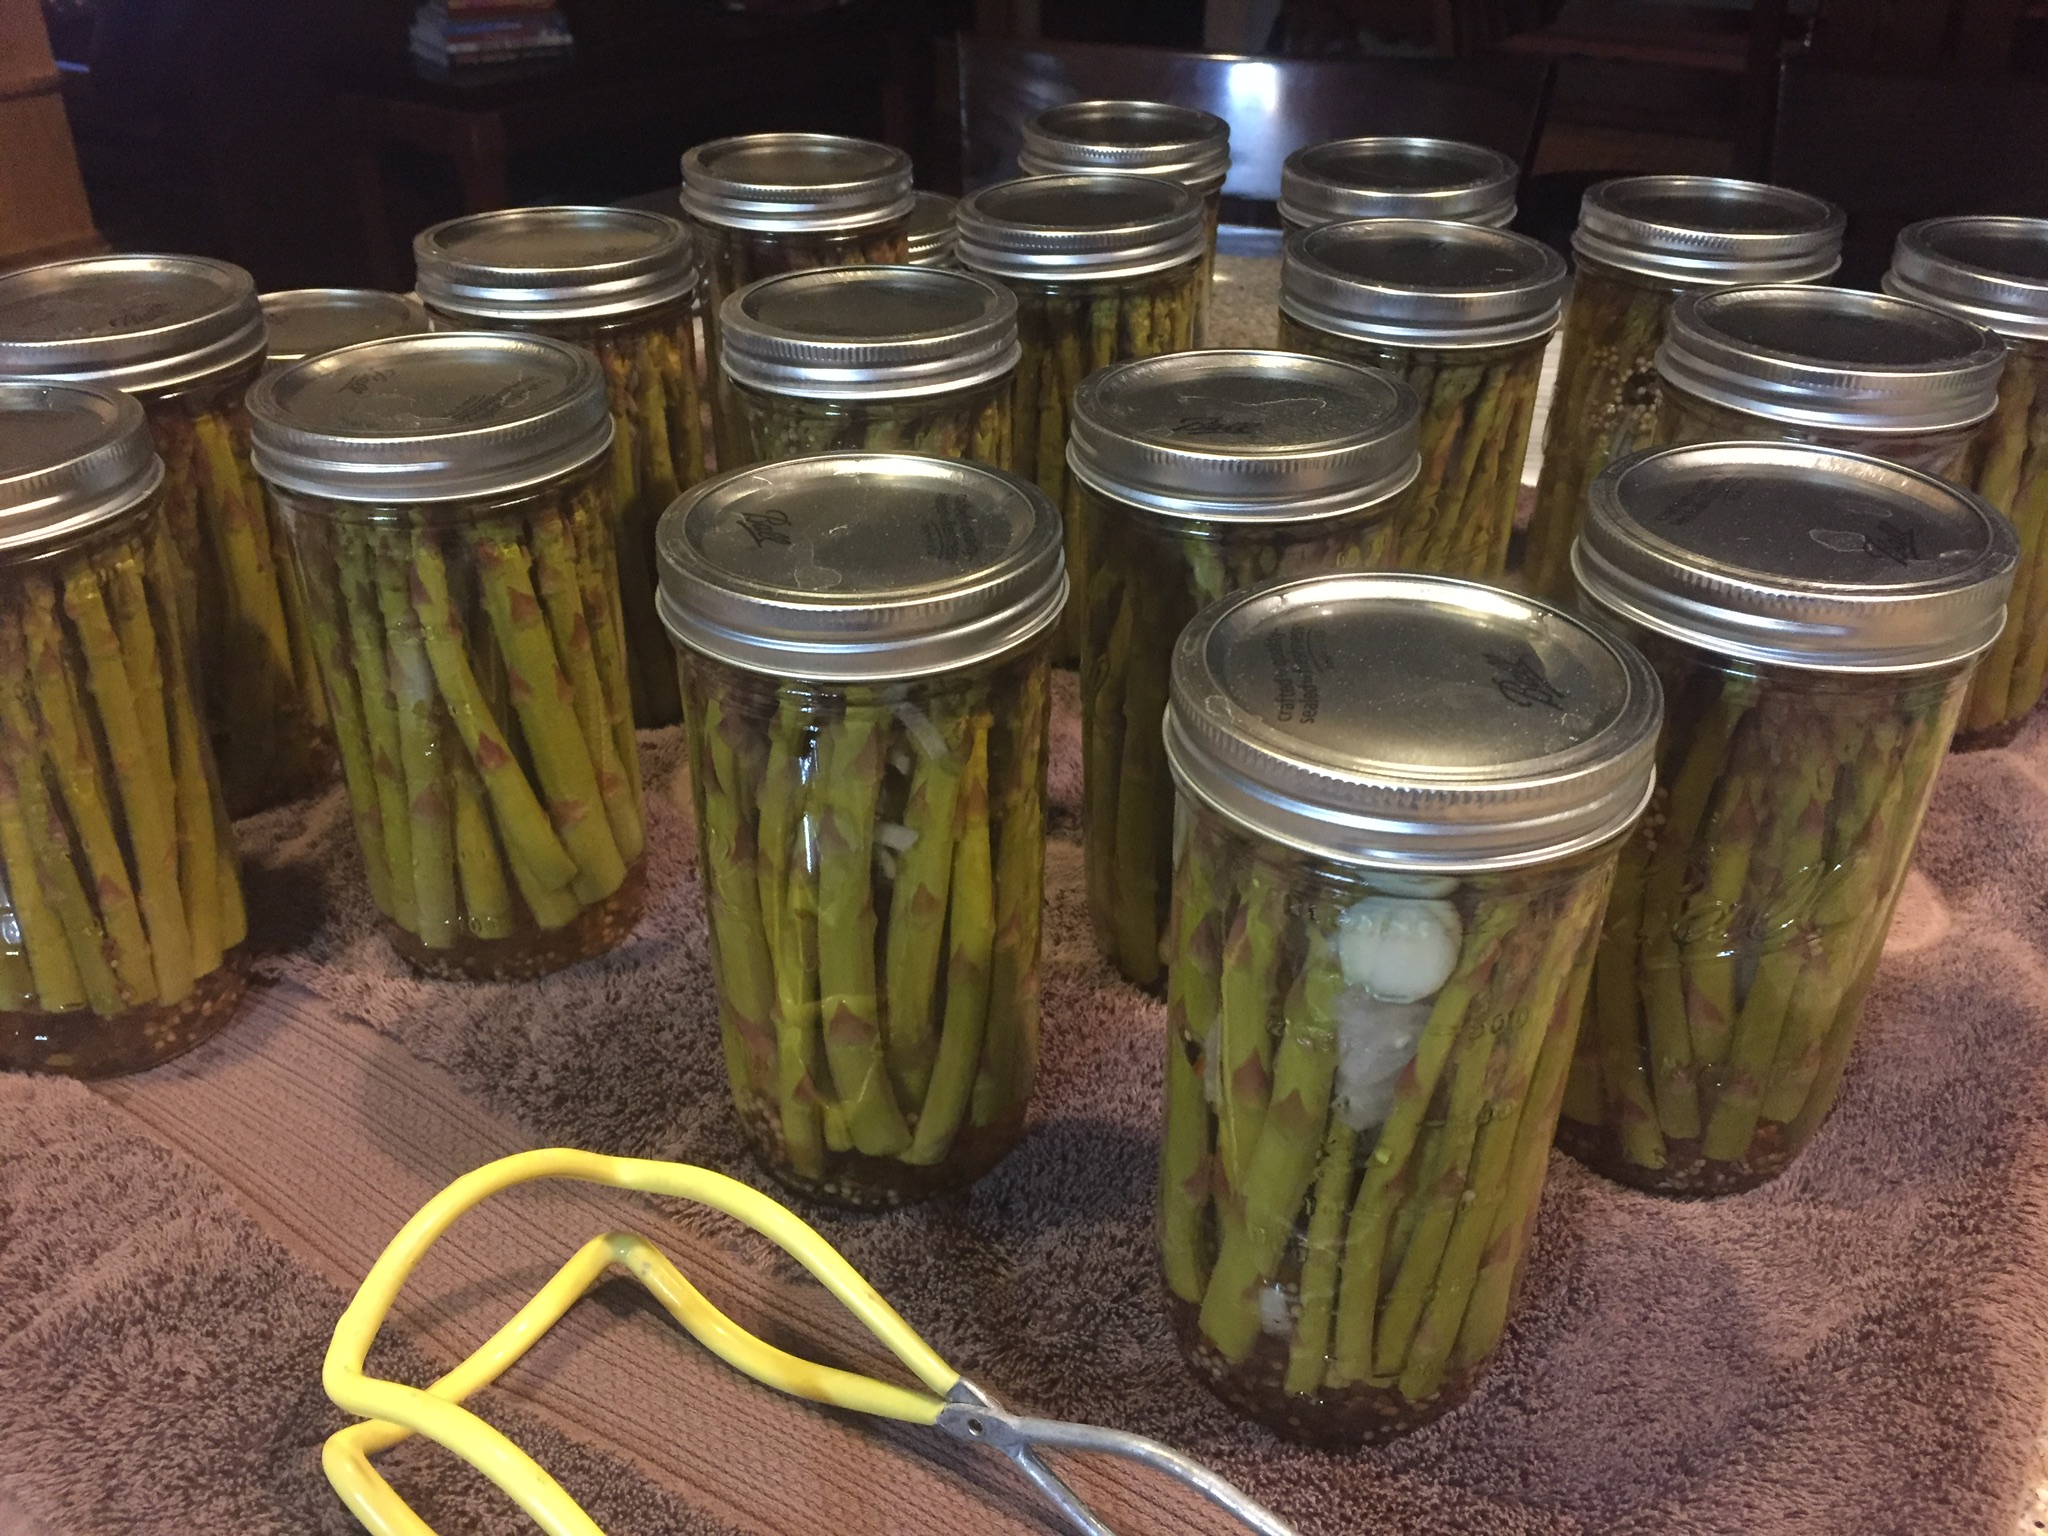
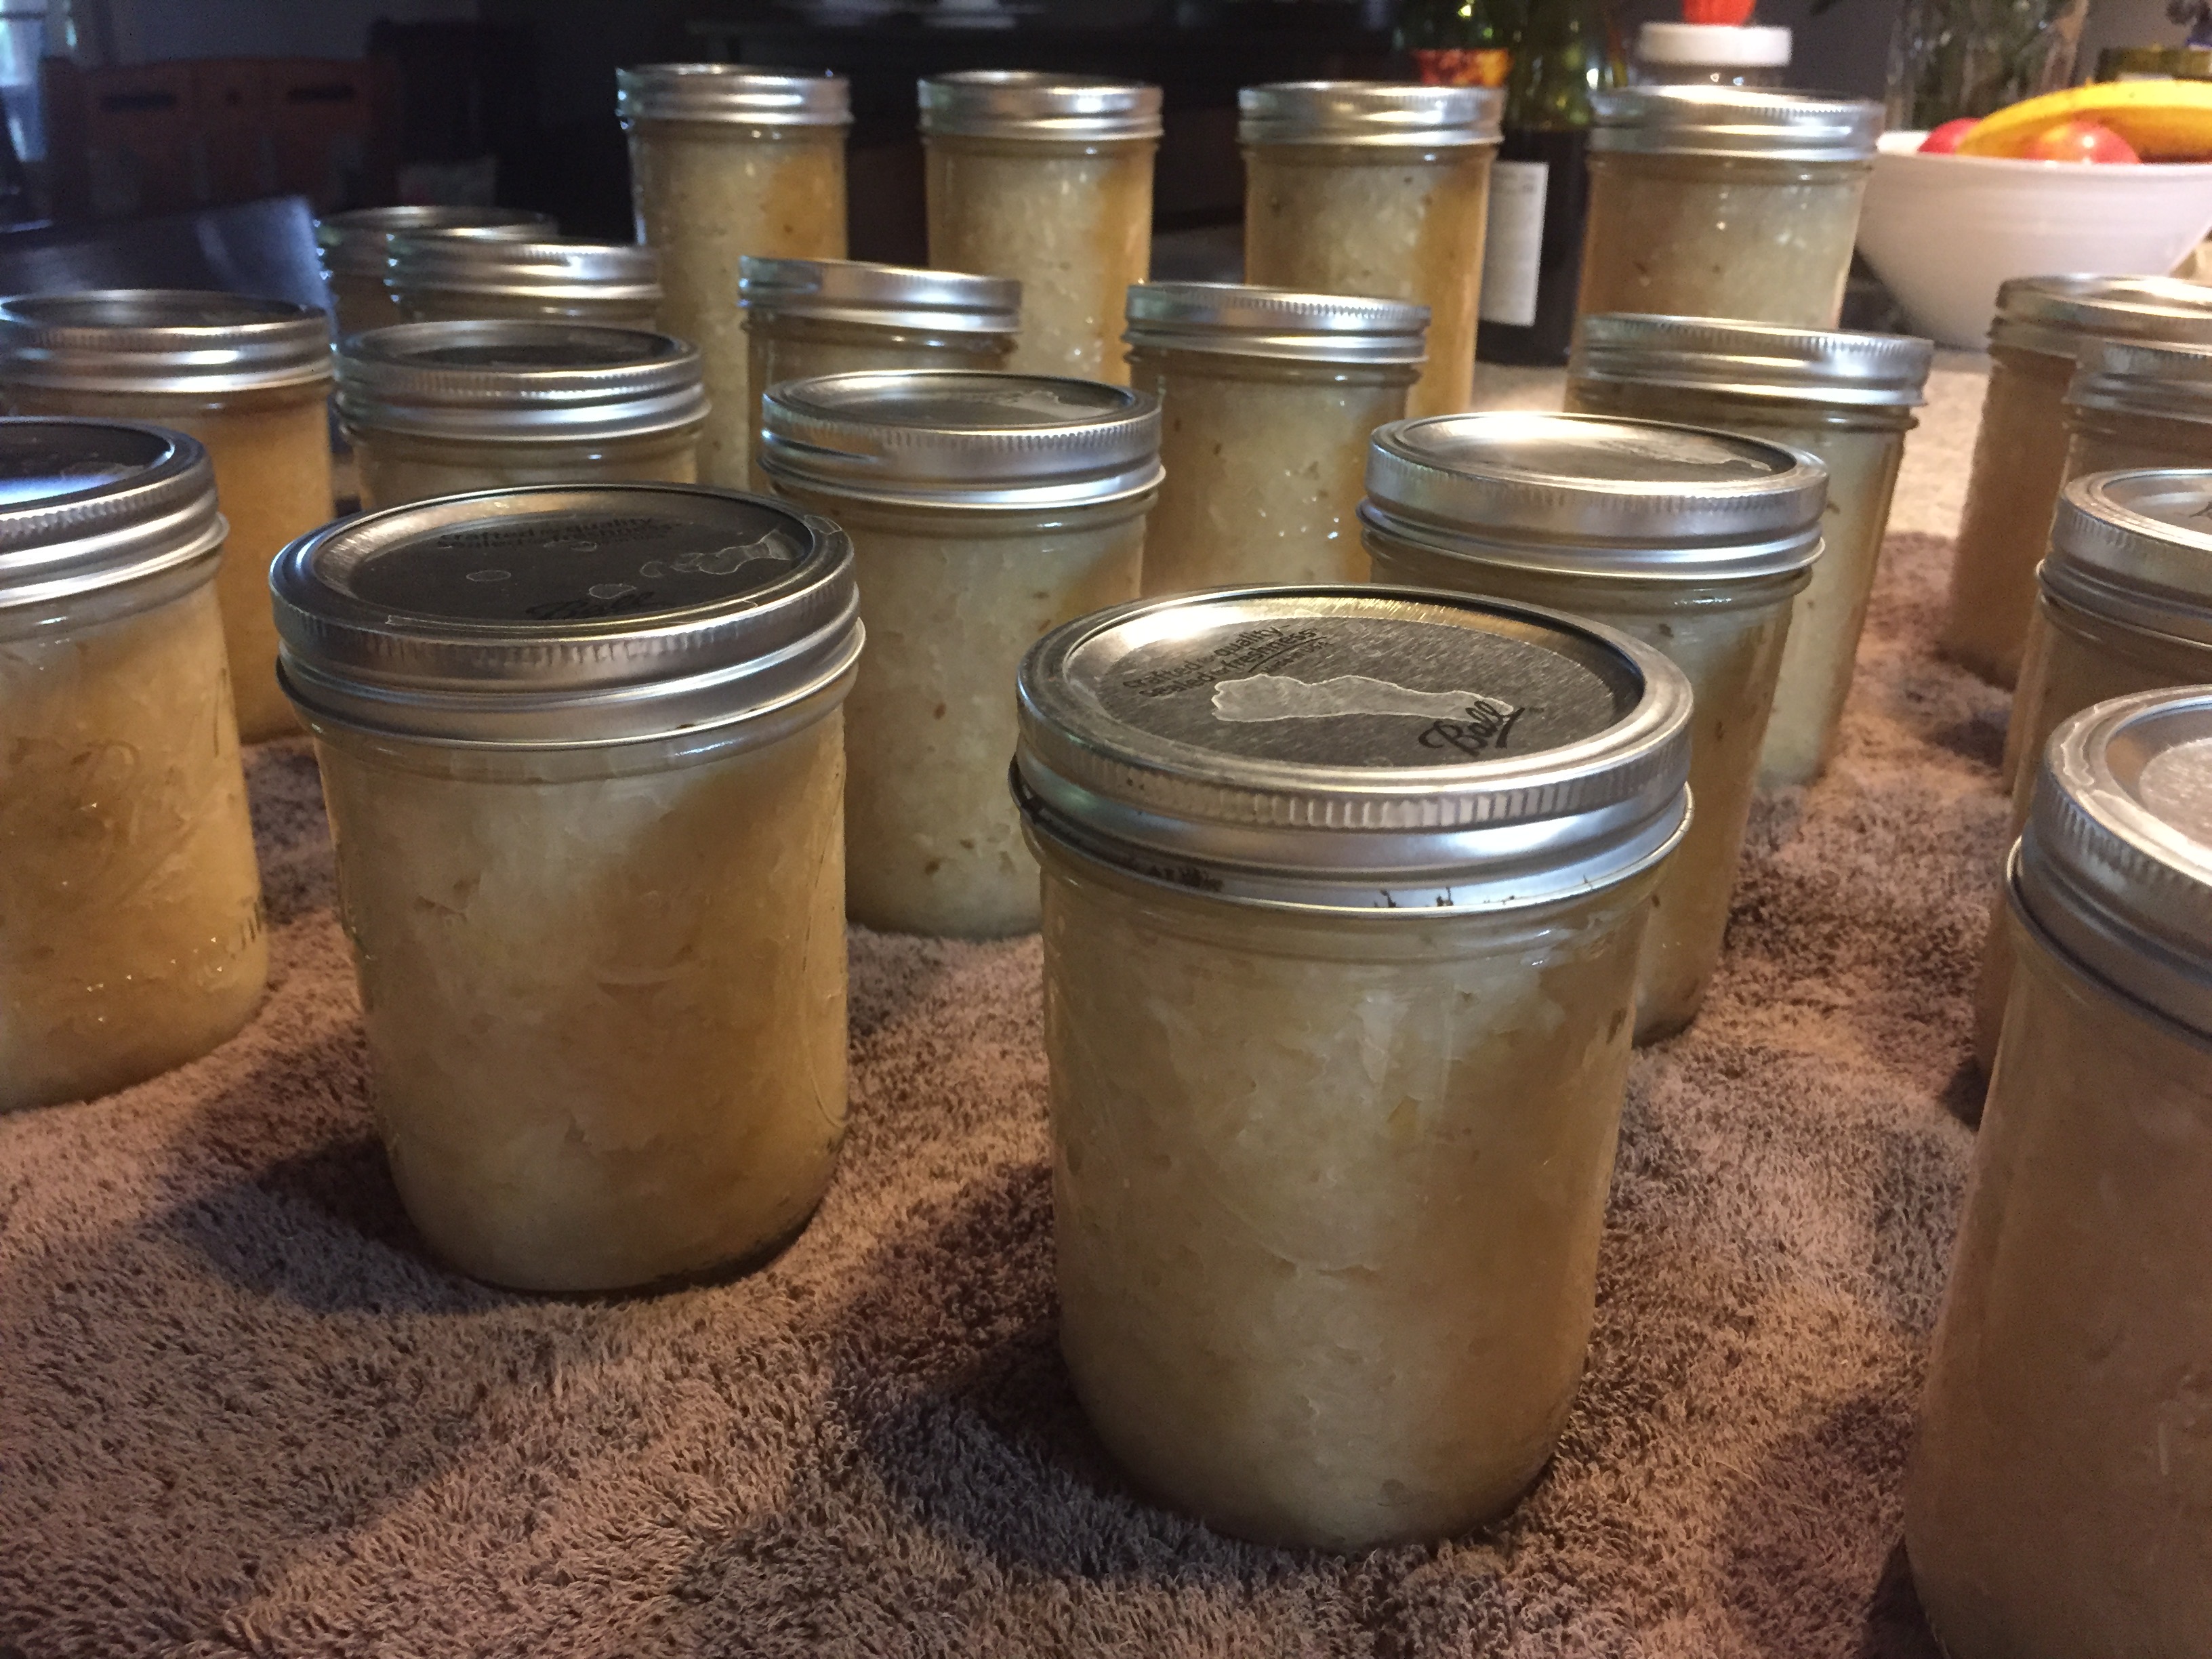
The ingredients are very basic, things you probably have on hand. If you see a nice head of red cabbage in the grocery or farm market I encourage you to try this. Aunt Nellie sells jars of sweet and sour cabbage in the vegetable aisle of the grocery, but homemade is so much better! And more economical. I’m on a mission to find a recipe for canning this.

Ingredients:

1 medium head of red cabbage, cored and sliced

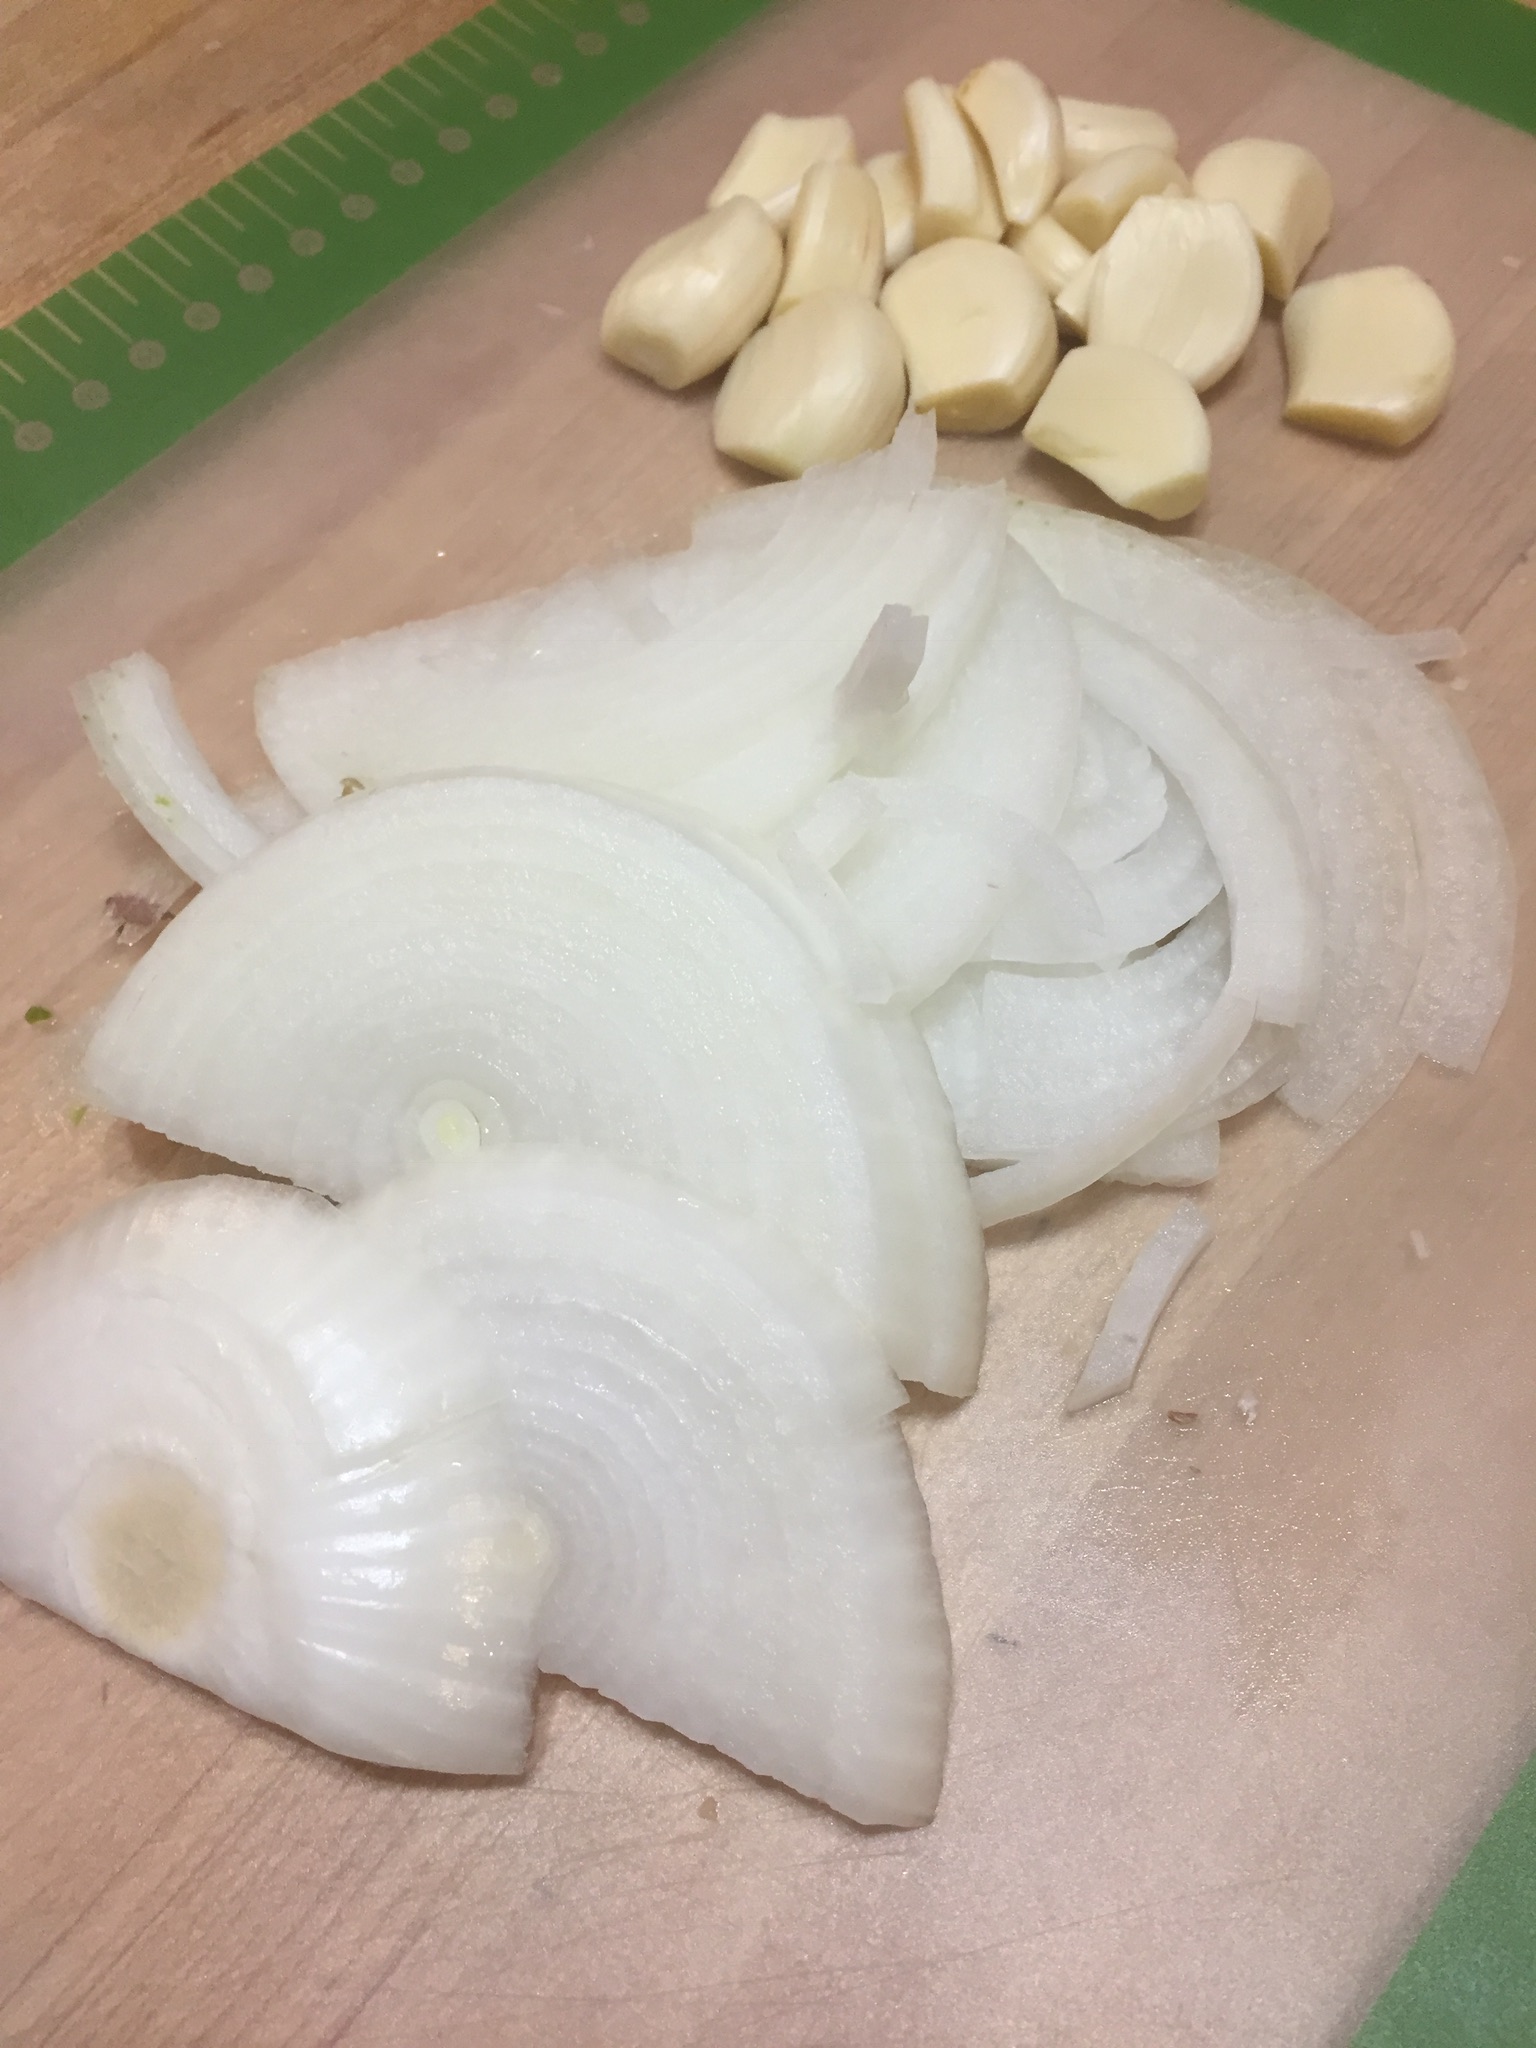
1 medium sweet red onion sliced

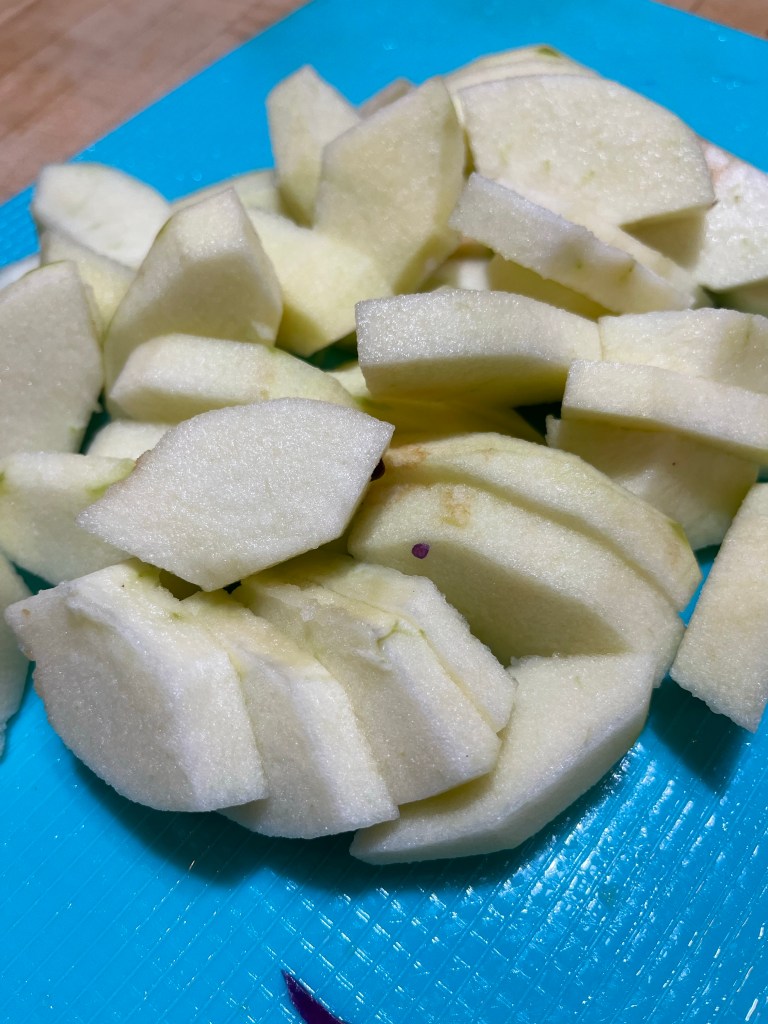
2 large apples peeled, cored, and sliced

1 T butter

1/2 cup sugar

1 cup apple cider vinegar

1 1/2 cups water

2 bay leaves

3-4 whole allspice

3-4 whole cloves

7-10 pepper corns

2 T of cornstarch for finishing

Get out a large Dutch oven or heavy kettle. Remove outside leaves, cut, core, and slice the cabbage.

Slice the red onion and peel, core, and slice the apples. I used Granny Smith but any good, firm apple will do.

Put your cabbage, onion, and apple in the Dutch oven. Add the sugar, butter, cider vinegar, water, and spices. Everything but the cornstarch goes into the pot.

Your kettle will be very full and it may be difficult to stir. Bring the pot to a boil and reduce heat to a simmer. Keep the cover on your pot. Simmer for one hour and forty minutes. Occasionally remove the lid and stir the cabbage. The cabbage cooks down making it easier to stir.

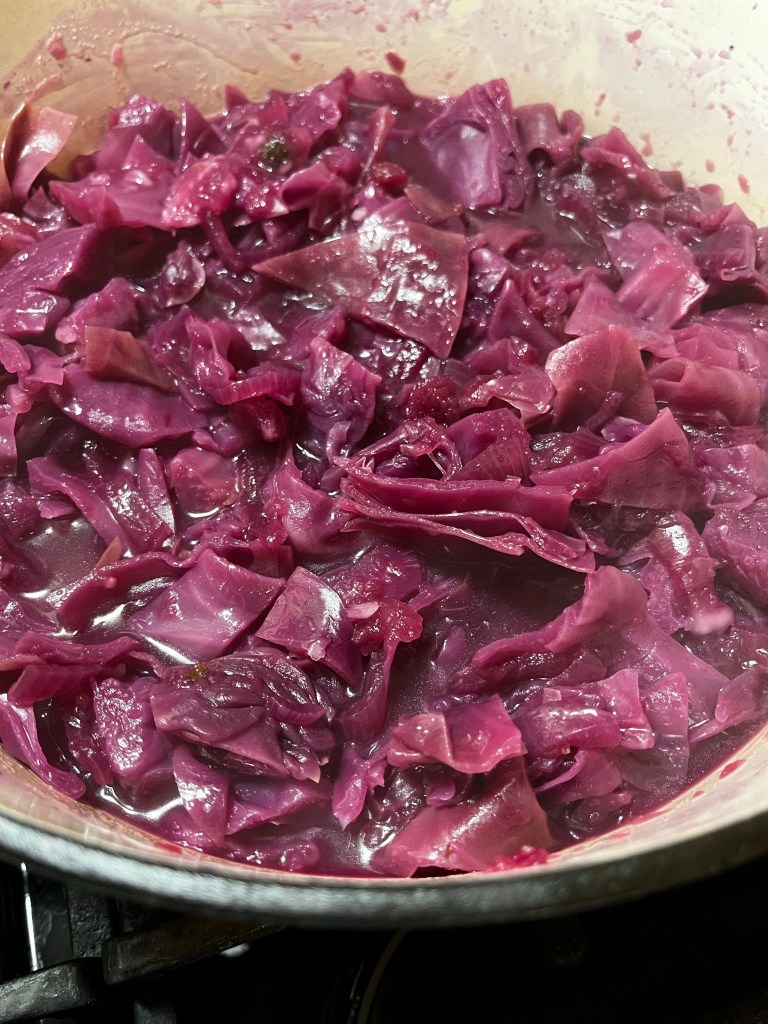
Once the cabbage has finished cooking combine 2 T corn cornstarch with a little cold water. Whisk together and add to the cabbage. Simmer until the juices have thickened.

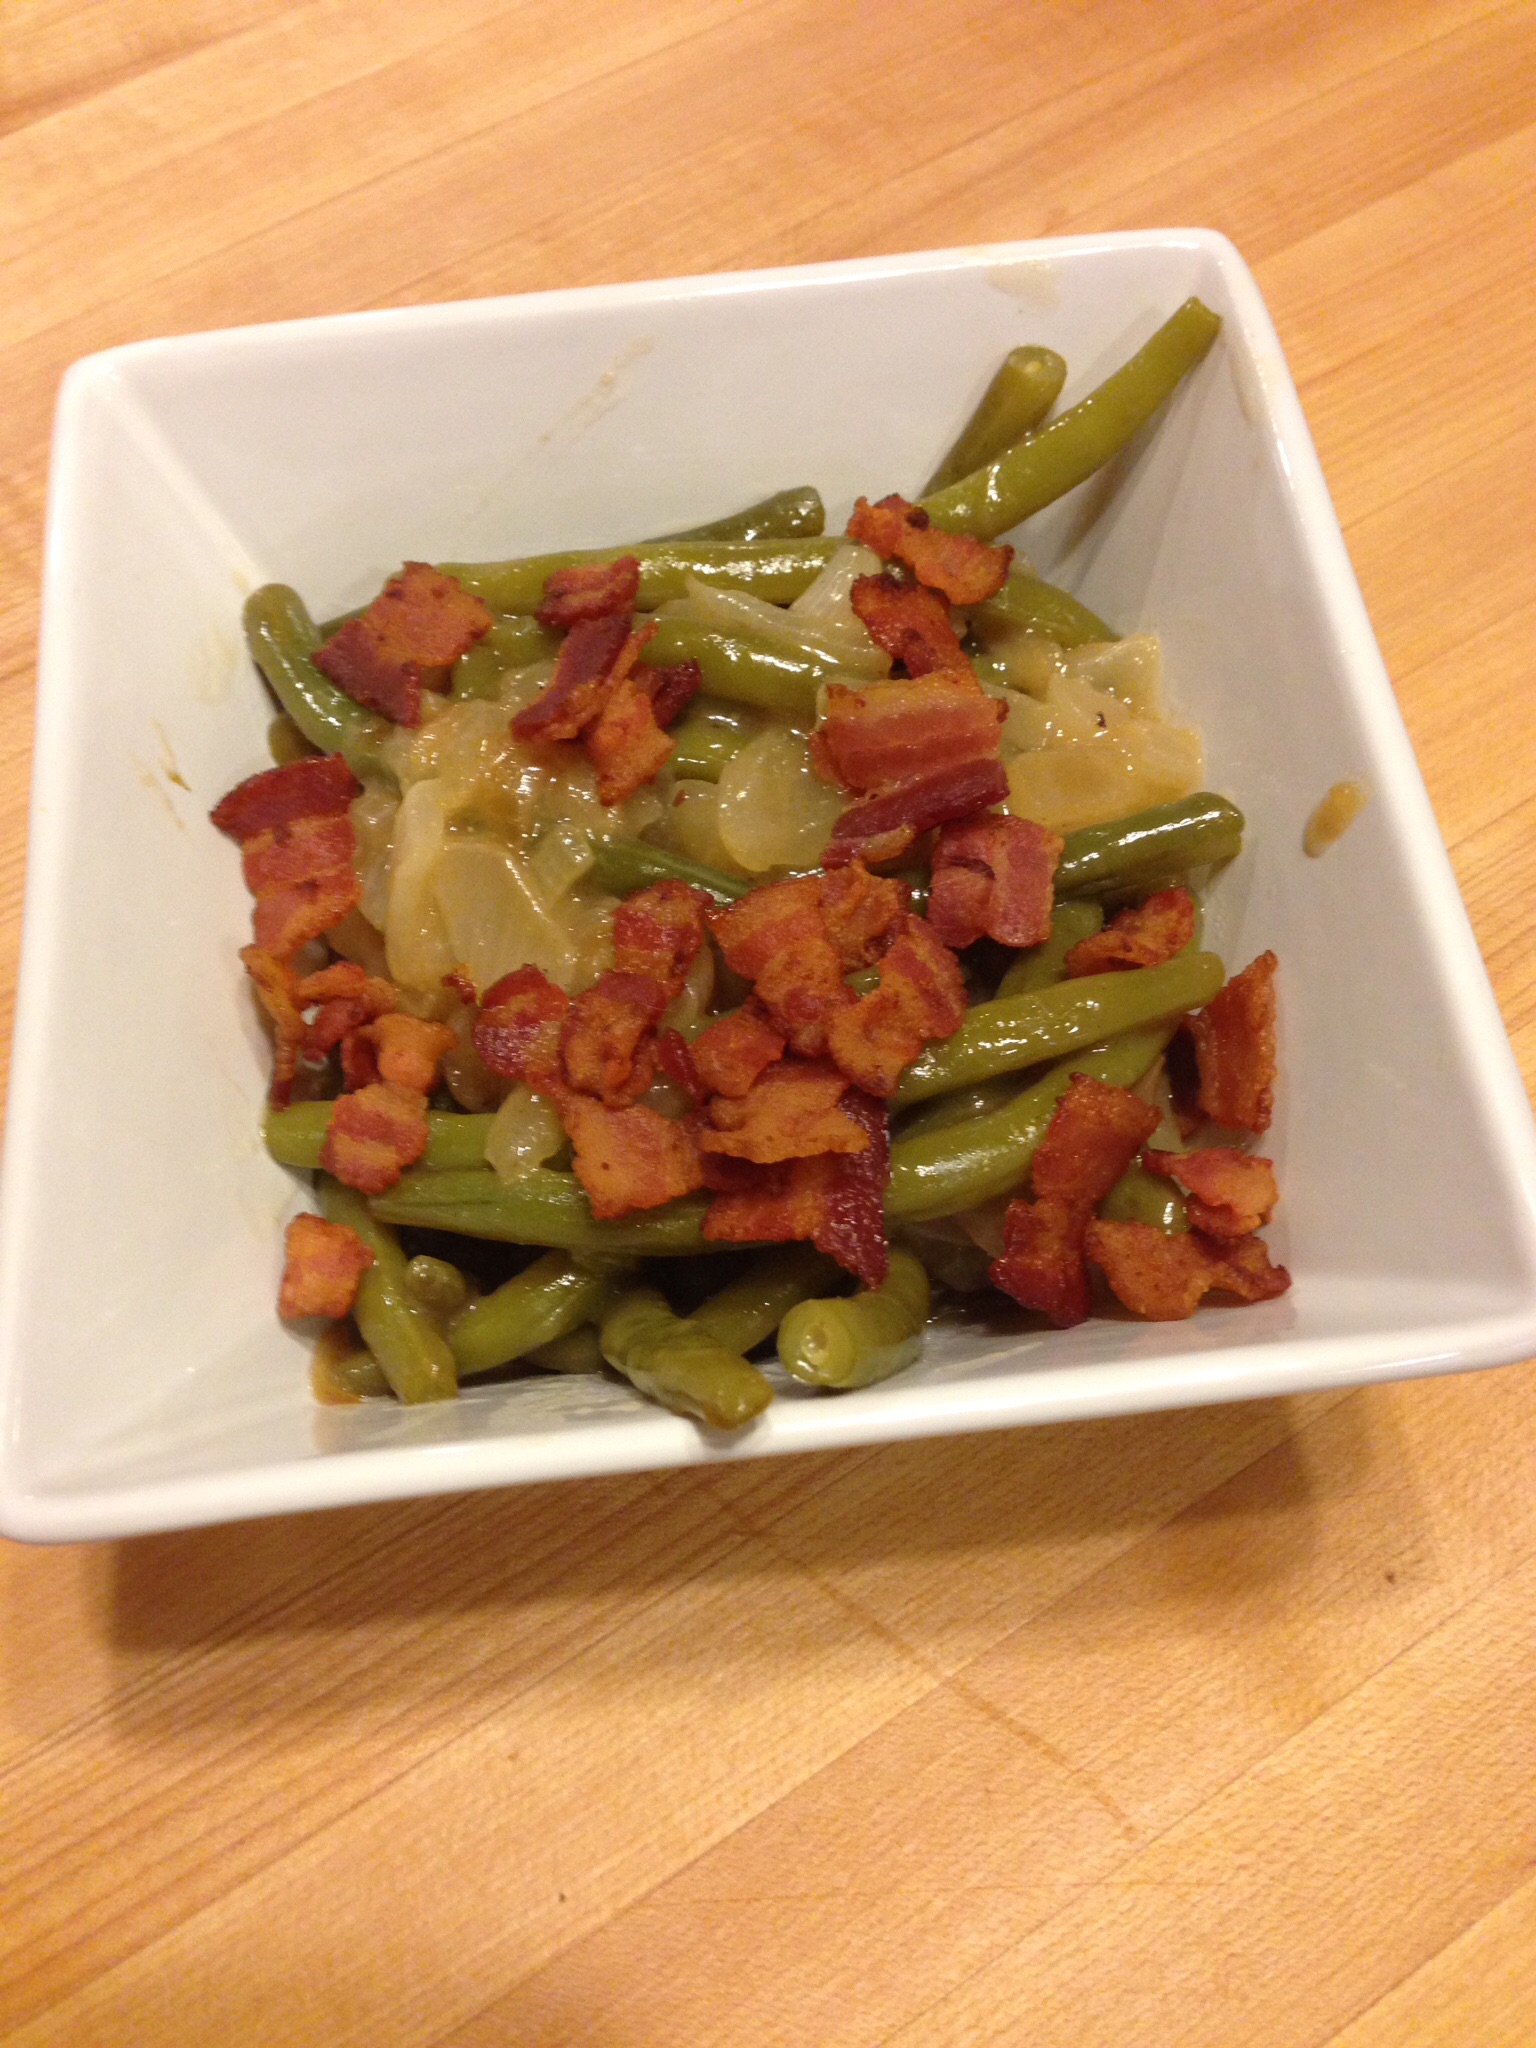
I served up the cabbage as a side with sliced pork loin and corn on the cob.
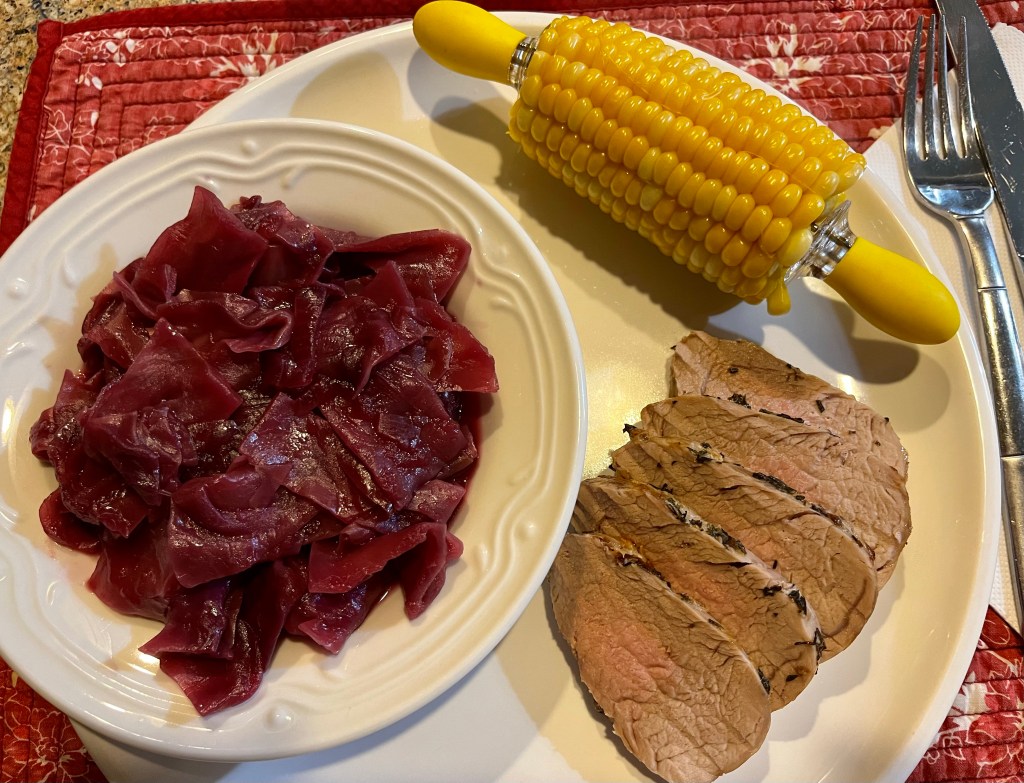
Delicious!

NOTE: This sweet and sour cabbage is good hot, at room temperature, or even cold.

Red cabbage is great combined with green cabbage for coleslaw or just sautéed in butter until tender and seasoned with a little vinegar. Cabbage is plentiful this time of year. I’ll be back to share if I come across instructions for canning this dish!

Cheesy Cabbage Gratin

One of the food magazines that I subscribe to is Cuisine at Home. It’s a magazine that has consistently good recipes, easy to follow instructions, and great pictures. The latest issue is full of “comfort foods.” We love cabbage and the September/October issue has several cabbage recipes including a chocolate cake with cabbage and this cheesy cabbage gratin. I haven’t tried the chocolate cake with cabbage but I’ve made this gratin recipe twice since this magazine came in the mail. The first time I made it we had it with polish sausage. Most recently we made it a vegetarian meal with sliced tomatoes and corn on the cob.

There is red, white and green cabbage. Cabbage is closely related to broccoli, cauliflower, and Brussels sprouts. Generally a head of cabbage is between one to two pounds. The perfect size for this recipe. I have a crock full of shredded cabbage right now that is working it’s way to sauerkraut. Each of the heads of cabbage I shredded for the kraut weighed between ten and twelve pounds. In the heat of summer cabbages can grow quite large…the largest recorded weighed in at a little over 138 pounds. You could make a lot of cabbage gratin with that!! Cabbage is a good source of dietary fiber and Vitamin K and C. It is economical and there are countless ways to prepare cabbage…stewing, frying, braising, pickling, fermenting. There are lots of great soup recipes that call for cabbage. If you like cabbage and bacon and cheese you will thoroughly enjoy this dish regardless of what you serve up on the side.

Ingredients:

1 head of green cabbage

2 T olive oil

Salt and pepper

6 strips of bacon diced

1 cup sliced leeks

1 T minced garlic

1 T AP flour

1 3/4 cups heavy cream

1/2 cup chicken broth

1 cup shredded gruyere cheese

1/4 cup shredded parmesan cheese

2 T lemon juice

2 T chopped fresh thyme

Ingredients for the Topping

1 T olive oil

3/4 cups fresh bread crumbs

1/2 cup shredded gruyere

1/4 cup grated parmesan

1 tsp minced lemon zest

Preheat your oven to 375 degrees. Line a rimmed baking sheet with parchment paper or foil. Peel off the tough outer layers of cabbage and cut the cabbage into eight wedges. The instructions recommended leaving the core intact to help the wedges hold together while roasting. I removed the core before roasting and had no problem. Place the wedges on the baking sheet, drizzle with the oil and season with salt and pepper.

Roast for 40-45 minutes until the cabbage is tender and the edges are golden.

While your cabbage is roasting cook your diced bacon in a heavy skillet over medium heat until the bacon is crisp. Remove the bacon to a plate lined with paper towel.

Add the leeks to the skillet with the bacon drippings and cook over medium heat until they are softened. Stir in the garlic and the flour and cook, stirring constantly, for one minute.

Stir in the cream and broth and bring to a simmer. Cook until the mixture begins to thicken, 6-8 minutes.

Off heat, stir in the bacon, gruyere, parmesan and lemon juice.

Set the cheese sauce aside and prepare the bread crumb topping. Heat 1 T olive oil in a skillet over medium heat. Cook the bread crumbs until they begin to toast up and transfer them to a bowl to cool for about 5 minutes.

Once the bread crumbs have cooled, stir in the cheeses and lemon zest.

Now you’re ready to assemble the gratin. Spray a 9×13 baking dish with nonstick spray. Arrange the cabbage in the dish, cut side down. Pour the cheese sauce over the cabbage wedges and sprinkle with the bread crumb topping.

Bake uncovered for 20-25 minutes until bubbly and the crumb topping has browned.

Serve hot as side dish to pork loin, chops or sausage or as the main dish. Maybe even as a Thanksgiving side dish. Enjoy!

NOTE: I save crusts and odds and ends of stale bread In the refrigerator, grind them in my food processor and freeze them in zip lock bags. The bread doesn’t go to waste and they’re perfect for recipes like this one.

Spicy Pickled Beets

Pickled beets are one of my favorites but for some reason I had a lot of trouble finding good beets this year.  You want to have beets with one or two inches of tops and a root.

Having the tops and roots in tact  keep your beets from bleeding out, results in the best flavor and preserves the nutritional value.  And maybe it’s just me, but I think they are easier to peel.  Every farm market I stopped at either didn’t have beets or they had been cut to the quick.  A friend picked a bushel up for me from an Amish farm in the area.  Now I know exactly where to shop for my beets.

Beets are kind of messy, especially when you start peeling  and slicing or dicing.  I diced.  Bite size dices.

Cook your beets  in a big, heavy pot, simmering until they are just tender.  Then I dump them into my sink and start peeling.  I wore gloves through the entire process so my hands wouldn’t be  “beet red” and so that I could easily handle the hot beets.  Be careful in your kitchen as well because beet juice can permanently stain.  If you’re not wearing gloves, allow the beets to cool down before attempting to peel them.

Pickling Brine Ingredients:  (For about 5 pounds of beets)

2 1/2 cups white vinegar (5% acidity)

1 1/2 cups water

2 cups sugar

3 cinnamon sticks broken up (use a hammer and a towel)

1 T whole allspice

1 T whole cloves

1 T mustard seed

1 T pickling salt

Combine all of the brine ingredients.  Cook over medium heat stirring frequently to make sure all of the sugar is dissolved.  I made a double batch.

Once the beets have been cooked, peeled, and sliced or diced fill hot jars with the beets.  Ladle the hot pickling brine over the beets leaving 1/2 inch of headspace.  Make sure to wipe the jar rims clean.  Center the lids and adjust the bands.  Place your jars in the rack elevated over simmering water in water bath canner, repeating until all jars are filled.  Process pint jars in the water bath for 30 minutes.  Turn off the heat and let jars cool for 5 minutes.  Remove jars to cool on a heavy towel or wire racks for 12 hours.

You frequently see pickled beets on salad bars and they are particularly good on a Greek salad.   They’re a beautiful addition to a relish tray.

NOTE:  I remember my mother saving the brine from the pickled beets and pouring it over hard boiled eggs.  They would sit in the refrigerator for days and when you sliced them they were pink through to the yolk and had a great pickled flavor.  Beet juice is used as a natural red food coloring in everything from candy, to ice cream, to tomato sauces.  Even some breakfast cereals.  Beets are one of the world’s healthiest foods.  They are said to provide antioxidant, anti-inflammatory and detoxification support.  So eat your beets!

One more interesting factoid.  10-15% of adults experience beeturia (red urine) after eating beets.

Asparagus Pickled and Asparagus Soup

Roadside stands and farm markets selling fresh asparagus is a sure sign of Spring in Michigan.  At our house we love asparagus roasted, in risotto, in quiche and, of course, pickled.  Anyway it’s served!  The pickled spears make perfect Bloody Mary swizzlers, make a relish tray look fancy and are just great for munching.  Several people were joking about asparagus and smelly pee so I decided to do a little research to see what causes the smell.  Asparagus, they say, contains asparagusic acid…not a very creative name…which breaks down into sulfur containing compounds when ingested.  Apparently everyone’s urine is pungent after eating asparagus however not everyone has the special gene that allows them to smell it.  Interesting.  In my research I came across a quote by French novelist Marcel Proust from the early 1900s.  He wrote  “asparagus transforms my chamber pot into a flask of perfume”.  I can tell you I do not have the “flask of perfume” gene.  In my reading I also learned that to cultivate white asparagus the shoots are covered with soil as they grow.  No exposure to sunlight causes them to remain white.  White or green, asparagus is very low in calories (about 3 calories a spear) and high in vitamins and fiber.  So enjoy guilt free!!

I bought about 25 pounds of asparagus and turned the majority of it into pickled spears…20 pint and a half jars.  I used taller jars allowing for longer spears but you still trim off several inches.  So as not to let that all go to waste I made asparagus soup.  Recipe follows.

Pickled Asparagus Ingredients:

7-8 pounds of asparagus trimmed to the appropriate length

2 quarts of water

1 quart of white vinegar

1 cup of granulated sugar

2 tsp mustard seed

1 T dill seed

1 tsp red pepper flakes

1 T black pepper corns

1 T kosher salt

14 cloves of garlic peeled

1 onion sliced

Trim the spears to approximately 6″ and wash them thoroughly.  Sterilize the jars in a water bath.  In a heavy kettle combine the water, vinegar, sugar and spices and bring to a boil.  Reduce the heat and maintain the brine at a simmer.

In the meantime clean the garlic cloves and thin slice the onion.

Once the asparagus is trimmed, brine is simmering and onions and garlic are ready begin filling your jars.  I find it easiest to lay a sterilized jar on it’s side to fill it with spears adding some onion slices and a couple cloves of garlic to each jar.  Once the jar is filled top off with hot brine leaving 1/4 inch of head space.  Seal the jars.

Once all of the jars have been filled process them in a hot water bath for 10 minutes.  Remove the jars and allow them to cool completely.  As with all other canned goods I store them in a cool dry place,  Make sure the jars have sealed before stowing them away.  If a jar did not seal put it in the refrigerator and enjoy within a few weeks.  The quantities above made 7 pint and a half jars.

Allow the jars to sit for a couple of weeks prior to sampling.  That allows the brine to permeate the asparagus spears.

NOTE:  If you like your spears kicked up, add some sliced fresh jalapeño  to each jar or increase the red pepper flakes.


All of these yummy pieces of asparagus (and more) were left behind after my pickling and I did not want them to go to waste so they became soup.


Cream of Asparagus Soup Ingredients

2 pounds of asparagus pieces

1 medium onion rough diced

2-3 cloves of garlic

2 T butter

24 oz chicken broth

2 medium potatoes peeled and rough chopped

3 ribs of celery rough chopped

1 tsp of thyme

lemon juiced (approximately 1/4 cup)

12 oz half n half

Salt and Pepper to taste

In a Dutch oven heat the butter and saute the onion and garlic for 2-3 minutes.

Stir in the asparagus, potato and celery.  Saute for 2-3 more minutes.

Add the broth and bring to a boil.  Reduce the heat, cover and simmer for approximately 20 minutes until all of the vegetables are tender.

Add the thyme and using an immersion blender blend until smooth.  Stir in the lemon juice.

Stir in the half n half and season to taste with salt and pepper.  Bring the soup back to a simmer.

While the soup is warming blanch some asparagus tips and pieces and set aside to add to the soup.

Ladle the soup into bowls.  Add some asparagus pieces and garnish with Parmesan cheese.  Serve with homemade croutons or crusty bread.

NOTE:  Discard the thick tough stalks and wash and cut the tender left over stalks into 1-2 inch pieces.  Blanch, bag and freeze.  They can be used in soup, quiche, or other recipes.

Corn Pudding

img_4633

Growing up we had very basic meals.  Meat and potatoes.  Fish.  Homemade bread.  Baked beans.  Simple food.  Most of the vegetables we grew up eating came out of a can.  Canned peas, green beans, corn.  Creamed corn.  This recipe is a little sophisticated creamed corn nostalgia.  I came across this recipe some time ago and recently bought the ingredients to give it a try.

Ingredients:

1 can creamed corn

1 can corn, drained

1 box jiffy cornbread mix

2 large eggs

1 stick of butter melted

3 cups shredded sharp cheddar cheese

1 cup sour cream

img_4625

These ingredients reminded me a bit of making cheesy potatoes which everyone loves.  Cheese, butter, sour cream.  Sound familiar?  I also noticed when I took my Jiffy Mix out of the pantry that is was “vegetarian” corn muffin mix.  What’s in the non-vegetarian corn muffin mix I wonder??

Preheat the oven to 350.

In a large bowl whisk the eggs.  Stir in the two cans of corn and the melted butter.

img_4626 img_4627

Stir in the sour cream and the Jiffy Mix.  Stir in 2 cups of the cheese.

img_4628 img_4629

Grease a casserole dish and pour in the corn pudding.

img_4630

Bake for 40 minutes.  Remove from the oven and sprinkle with the remaining cup of cheese. Return it to the oven and bake for another 5-10 minutes.

img_4631 img_4632

I served this as a side with marinated flank steak and haricot vert.  Haricot vert is a French name for slender, sweeter green beans with small seeds.

img_4634

Its a really good thing that my husband liked the corn pudding because the steak was flavorful but extremely “chewy” and, as far as he’s concern, a green bean by any other name is still a green bean.

I have another recipe, which I’ll also include here, that I got from an aquaintence over 40 years ago.  I have not made this recipe in years but I prefer it because it is less sweet, more savory.  But you can try both and judge for yourself.

Scalloped Corn

Ingredients:

1 can creamed corn

1 cup crushed saltine crackers

1/2 cup diced celery

1/4 cup diced onion

1 cup sharp cheddar cheese

1 tsp salt

2 beaten eggs

2 T melted butter

1 cup whole milk

Combine all ingredients, pour into a greased casserole dish and bake at 325 for 40 minutes.

You must admit, this recipe sounds marginally healthier.

This will probably be my one and only creamed corn post.  If any of your are feeling a little nostalgic try one of these recipes.

Sauerkraut For Canning

img_3869

For the first time ever I turned cabbage into sauerkraut!  I’ve wanted to do this for a long time but was apprehensive about safely fermenting anything.  I must admit I was actually afraid.  Like I was the first time I used my pressure cooker.  This fermenting isn’t for the faint of heart.  I have a bit of a weak stomach and every day, once the cabbage starts to ferment, you need to skim the scum from the top.  I bought myself a special scum skimmer from Amazon to do the skimming.

image

Once during the fermentation process I was out of town for five days.  I kept thinking about the I Love Lucy episode where Lucy puts too much detergent into the washing machine and it is overflowing everywhere.  I had visions of scum and bubbles running over the sides of the crock and onto my kitchen floor.  That did not happen.   But fermenting cabbage was the first thing I smelled when I walked in the door.  No doubt about what the smell was.  I had to put Vicks under my nose and put on my heavy rubber gloves to do the skimming that day.  But the longer the cabbage worked the less it smelled until finally, after nearly five weeks, there was no scum and virtually no smell at all.  Today I took the towel off the top of the crock, removed the weight and the plate, and removed the cheesecloth.  My five heads of cabbage have turned into a crock full of beautiful, perfect sauerkraut!

Making your own sauerkraut does not require any special skills,  The only ingredients you need are cabbage and salt.  The only tools you need are a very sharp knife or mandolin, a large glass or ceramic crock of some sort, a scale to weigh the cabbage to get the salt to cabbage ratio correct, and a scum skimmer.  You have to be patient.  And it’s probably easier if you don’t have a really weak stomach.

Ingredients:

Cabbage – the large heads you get at the end of the growing season

Kosher or Pickling salt

img_0117 img_0118

I used 5 large firm heads of cabbage.  Peel and discard the outer leaves.  Cut the cabbage in half and then into quarters and remove the core.

img_0120

Using a sharp knife and or a mandolin shred the cabbage to about the thickness of a dime.  Weigh out 5 pounds of shredded cabbage and, in a large bowl, add 3 T of salt to the cabbage.  Let it stand until it starts to wilt and then pack it into the crock.  While you’re waiting for the first 5 pounds to wilt continue shredding.

img_0119 img_0121 img_0122

Continue shredding and salting until all of the cabbage is in the pickling container.  Allow for 3-4 inches of headspace in your crock.  Use your hands to press down on the cabbage until the juices flow and start to come to the top.  If the juices don’t cover the cabbage make up a brine using 1 1/2 T of salt to a quart of water.  Bring the salt water mixture to a boil.  Allow it to cool completely before adding it to the cabbage.

Cover the cabbage in the crock with cheesecloth tucking the edges down alongside the cabbage.  Put a plate on top of the cheesecloth and weigh it down to ensure that the cabbage remains immersed in the liquid.  I used an 8 pound medicine ball (an exercise weight) but you can use a brick wrapped in foil or inside a zip lock bag.

img_0123

Now the fun begins.  Cover the crock with a towel,  It’s best kept at 70-75 degrees.  My house is never that warm but i kept it in the kitchen which is usually the warmest place and also most convenient for skimming.  Every day I lifted the towel to see what was happening.  It took several days but bubbles and scum began to form.  Each day after that I removed the weight, skimmed the scum, washed off and returned the weight, recovered the crock and waited for another day.  It took a couple days less than five weeks for the gas bubbles to stop forming.  Interestingly a salty crust formed on the outside of the crock.  It’s apparently very normal so don’t let it worry you.

img_0125

Once the fermentation process is completed remove the sauerkraut to a large stainless steel pot or dutch oven.  Heat the sauerkraut just to a simmer.  Do not boil.  Ladle the sauerkraut into hot jars leaving about 1/2 inch of headspace and process in a water bath of 15 minutes for pints, 20 minutes for quarts.

img_0124

My 5 heads of cabbage made 23 pints of sauerkraut.  I added caraway seeds to one batch.

img_4048

Looking forward to some Reuben  sandwiches, polish sausages or pork chops with homemade sauerkraut this winter.  Or just a dish of kraut to satisfy a salt craving.

img_3871

A friend told me that his grandad used to make sauerkraut and when they were kids they would sneak a sip or two from the kraut crock.  I wouldn’t recommend that.


Zucchini Fritters

img_3789

A fritter is a batter containing meat, fruits or vegetables that has been fried.  So it has to be good, right?  It’s fried!  A friend gave me a recipe for zucchini fritters a few days ago and I decided to give them a try.  When you don’t plan your menu ahead of time you frequently have to improvise ingredients.  And sometimes the improvision is a great success.  That was the case here.  These fritters were an excellent side.  Even someone who doesn’t like vegetables will like these.

Ingredients:

2 medium size zucchini shredded

2 garlic cloves minced

2 shallots minced (about 1/4 cup)

1/4 chopped fresh parsley

zest of one lemon

1/2 cup Parmesan cheese shredded

1/2 cup flour

1 egg whisked

1/4 tsp cayenne pepper

salt and pepper to taste

img_3780

Grate the zucchini and put it in a colander to drain for 10-15 minutes.

img_3781

Dice the scallions, garlic cloves, and parsley.  Zest the lemon.

img_3782

Grate the Parmesan cheese.

img_3783

In a medium bowl combine the zucchini, flour, cayenne and salt and pepper.  Stir to combine.  Stir in the garlic, shallots, parsley and lemon zest.

img_3784 img_3785

Stir in the cheese and the whisked egg.  Season with salt and pepper.

img_3786 img_3787

Heat a tablespoon or so of canola oil on a griddle or fry pan over medium high heat.  Drop heaping tablespoons of the batter onto the hot griddle and cook 3-4 minutes per side until the fritters are golden brown.

img_3790 img_3792

Serve with a dollop of sour cream and some applesauce.  I served them as a side with a pork loin and asparagus.

img_3797

NOTE:  After draining the shredded zucchini you may still need to squeeze out any remaining liquid.  You can do this with your hands or wrap the zucchini in a clean cotton dish towel  and squeeze.

Zucchini is a very mild squash so feel free to experiment with different kinds of herbs like dill or cilantro or basil instead of parsley.


Fried Green Tomatoes

image

Most people think of Fried Green Tomatoes as a southern dish.  When you google fried green tomatoes it says “people also searched for pimento cheese, grits, shrimp and grits, po’boy, tomatillo, hushpuppy, tomato pie.”  Most of those are pretty southern.  Years ago there was a movie called “Fried Green Tomatoes” starring Kathy Bates, Cicely Tyson, and Jessica Tandy.  Our neighbor said he never thought he’d like fried green tomatoes until he saw the movie.  He ate mine and loved them.  The guy at the farm stand told me that the green tomatoes sell as soon as he puts them out.  Apparently a lot of people like them.  We didn’t have a garden this year but a friend did and gave me some to fry up.

Ingredients:

Oil for deep frying (I used peanut oil)

Green tomatoes sliced about 1/4 inch thick

1 cup flour

3-4 eggs beaten

2 cups panko breadcrumbs

kosher salt

1/2 tsp cayenne pepper

1 tsp paprika

image image

Slice the tomatoes and spread them out on a paper towel lined dish.  Salt them on both sides and allow them to sit for at least 10 minutes.

image

Find 3 bowls suitable for dipping.  Put the flour, paprika and cayenne in one, beaten eggs in another and panko in the third.

Heat the oil in your deep fryer or dutch oven to 350 degrees.

Dredge the tomato slices first in the seasoned flour, then the egg, and lastly the panko shaking off any excess before putting it in the hot oil.  Cook two or three slices at a time taking care not to crowd them.  Cook until golden brown and crisp, about 5 minutes.  Remove to a paper towel lined plate.  Hold in a warm oven until you’re ready to serve.

I made the same Chilpotle Lime Dip that I used for my homemade potato chips (see April 11, 2015 post) to serve with the tomatoes.  You could also serve them with a good ranch dressing or even catsup.

Ingredients:

1 cup sour cream

1/2 cup mayonnaise

3 T chilpotle peppers in adobo chopped well

Juice and zest of one lime

image

Probably not the healthiest way to eat your vegetables…well technically tomatoes are a fruit…but occasionally they taste awful good.  How can anything deep fried taste bad??

Maybe we should all watch the movie again.


Southern Style Green Beans

image

Might not be the healthiest green beans but they are really yummy.  Good things happen when you add bacon to things.  My daughter always says, evereything is better with butter and bacon.  I think I agree.  I got this recipe from an old friend who no longer speaks to me.  Glad she shared the recipe before she stopped talking to  me.  There are loads of fresh green beans available right now and this makes a perfect side to almost any main dish.

Ingredients:

1 pound fresh green beans cut into 2-3 inch pieces

4 slices of bacon diced

1 medium sweet onion diced

1 T reserved bacon drippings

2 tsp cornstarch

1/2 tsp salt

1/2 tsp dry mustard

1/2 cup water

1 T brown sugar

1 T cider vinegar

image

Steam green beans just until tender.  If you have someone in your family who likes their green beans overcooked, keep steaming until you consider them done.  Cook the bacon over medium heat until crisp.  Drain and reserve about 1 T of bacon drippings.

image image

Cook diced onion in the reserved drippings until tender but not browned.

image

Whisk together cornstarch, salt, mustard and water.  Stir into the onions and simmer until thickened.  Happens quickly.

image image

Stir in brown sugar and vinegar.

image

Add the steamed green beans and heat thoroughly.

image

Top with bacon bits and serve immediately.

image

I served the green beans with lightly breaded and baked lake trout but these would be excellent with pork chops, meat loaf, fried chicken.

NOTE:  My mother always saved bacon drippings in a metal container that said
“GREASE” on it.  She kept it in the cupboard, unrefrigerated.  It had a kind of basting brush in the container and she would brush the top of fresh baked bread with it, grease baking casseroles, etc.  All of the savory dishes we use PAM for she used her container of bacon grease.  And we all lived to tell about it.  I still save bacon drippings and use them frequently to saute onions and other veggies.  However, I keep my bacon drippings in the refrigerator.


Salsa

image

I’ve been doing a lot of canning this last month.  I did a bushel of beets (now pickled) and a bushel of cucumbers (now bread and butter and dill pickles).  image

image

I put up 2 1/2 bushels of tomatoes.  Some just plain diced tomatoes, some stewed tomatoes, and, this year, salsa.  Nothing is better than a winter of making chili or tomatoe sauce or soup with tomatoes that you canned yourself.  And we enjoy a lot of tomato dishes.  Salsa was a new experiment this year and, if I say so myself, it turned out quite well.

Ingredients:

15 cups diced tomatoes

1 each red, yellow and orange pepper small diced

1/2 each of a red, white, and sweet yellow onion small diced

3 jalapeno peppers seeded and small diced (use the seeds if you like a spicier salsa)

2 serrano peppers seeded and small diced

2 anaheim peppers seeded and small diced

1 1/4 cup cider vinegar

1 T salt

imageimage

Core the tomatoes, put them in boiling water for 2-3 minutes to split and loosen the skin and transfer them to an ice water bath.

imageimage

Peel and dice the tomatoes.

image image

Wash, core and dice the peppers and peel and dice the onions.

image

Combine the tomatoes and onion and pepper mix in a heavy, non-aluminum kettle.  Add the salt and vinegar and bring to a boil.  Reduce the heat and simmer for 15 minutes stirring occastionlly.

image

Put the salsa in sterilized pint jars leaving 1/2 inch of headspace.  Wipe the rim of the jar with a clean cloth.  Put the a lid on each jar and process in a hot water bath canner for 25 minutes.

image image

Remove jars from the water bath, place on a heavy towel and allow to cool.  Wait 24 hours and test each jar to be sure it has sealed by pressing down on the lid.

image

The “heat” level may increase over time.  I like medium salsa.  If you like yours hotter don’t seed the peppers and/or add additional hot peppers.  We ate some of the salsa while it was still warm on tortilla chips and later on tacos.  It was great!  I haven’t tried this yet but I’m thinking a jar of this salsa would be a perfect addition to a pot of chili.