Spring Rolls

Spring Rolls were this weeks foodie project. I like to try new things to keep work in the kitchen interesting, and I’d never attempted spring rolls until now. There are a large variety of appetizers referred to as spring rolls. Wrappers differ as do fillings and cooking techniques. The spring rolls I made were filled with raw vegetables, a little mango, rice noodles, and herbs. They were wrapped in rice paper, and were not cooked. They were served at room temperature with dipping sauce. Ingredients and preparation vary from one Asian culture to another. After a little research, the preparation I used seems to me to most closely resemble Vietnamese salad rolls known as goi cuon. They can also be made to include cooked pork or shrimp. While these are not difficult at all to make the preparation is a bit fussy and tedious. All of the veggies need to be match sticked and that takes patience and a good sharp knife. Apparently you can buy the vegetables already prepared, but where is the fun in that?? You can easily personalize these and fill with ingredients of your choosing. This is what I used.

Vegetables:

Baby butter lettuce

Red cabbage

English cucumber

Carrot

Sweet red pepper

And a mango

Rice Noodles

I used 2 to 3 oz of Bifun. Most of the recipes I found called for rice vermicelli, but this is what I had. Prepare the noodles according to the directions on the package. Once they are cooked shock them in ice water to stop the cooking, drain, and return to the pan. Toss with one or two tsp of toasted sesame oil and set aside.

Herbs

1/4 cup finely sliced green onion

1/4 cup cilantro

1/4 cup thai basil

1/4 cup mint

Tear or chop all of the herbs, combine, and set aside.

Once all of your preparation is done, set up what I referred to as my rolling station. You want all of your ingredients in one place and within reach.

Fill a pie pan with about an inch of room temperature water. Put a wooden cutting board next to the pie pan. Put one piece of rice paper in the water for 10-20 seconds and remove to your cutting board.

On the bottom third of the moisten wrapper, leaving about a one inch boarder, start piling on your veggies. I started with the baby butter lettuce, then the cucumber, carrots, peppers, cabbage, and mango. Next I added the rice noodles and finished it off with the herbs. Then you want to fold the bottom up over the filling, fold the sides in, and continue rolling like you would a burrito. Try to roll them tight. I set them on a parchment lined sheet pan. Once you get the hang of it this part goes quickly.

Now you can prepare your dipping sauce.

Peanut Sauce:

1/3 cup natural peanut butter (no sugar added)

2 T rice vinegar

2 T tamari (or soy sauce)

2 T honey

1 T toasted sesame oil

2 cloves of garlic grated

2-3 T water

Soy Dipping Sauce

1/3 cup soy sauce

2 T honey

2 T rice vinegar

2 T water

1 T toasted sesame oil

2 cloves of garlic grated

1/2 tsp red pepper flakes

Bring all of the ingredients to a boil. Reduce heat and simmer until slightly reduced and thickened, about 10 minutes. Pour into a bowl and cool. (I made a double batch of this sauce.)

Plate and enjoy.

NOTE: Zucchini or yellow squash, dykon radish, or other peppers would be delicious additions. You might also want to include cooked shrimp or thinly sliced pork if you prefer to add a protein.

Information I read regarding rice paper suggests not refrigerating the rolls because the paper may become chewy. Prep can be done ahead of time but the rolls should be made the same day as you plan to serve them. Keep them covered with a barely moist towel.

Chicago Style Giardiniera

This is still the Finnish Dish, but this is definitely not a Finnish recipe.  Giardiniera means “from the garden” in Italian.  It is a very common condiment in Chicago, thanks to the communities of Italian immigrants that made it popular.  Pickling and marinating is a good way of preserving produce.  In Italy, Giardiniera is considered an appetizer, and the vegetables are cut in bite size chunks.  I have made that style before and just stored it in jars in the refrigerator.  The olive oil solidifies in the fridge so you need to take it out and allow it to come to room temperature before serving.  Chicago style requires a fine dice on the vegetables and the Giardiniera is used as a topping on pizza, salads, sausages, brats, nachos, sub sandwiches and the famous Chicago style Italian beef sandwich. The version I made today would most certainly be considered the “hot” version.  The Serrano peppers are what kicks up the heat level.  I did use half Serranos and half jalapeños, and I seeded the jalapeños, so my heat level should be a little lower than if I’d followed the recipe exactly and used all Serranos.  According to the internet, in excess of a million pounds of Giardiniera are sold in Chicago annually.

The recipe I used was one my friend John shared with me.  He had just made a batch and that inspired me to do the same.    Some of the recipes I read used a different ratio of spices and vegetables but in the end they were all pretty similar.  If you want to use your Giardiniera as an appetizer vs a topping you could follow the same recipe and cut the vegetables in larger, bite size pieces.

Day One Ingredients:

1 pound Serrano peppers sliced in quarter inch thick rounds

1 pound jalapeños seeded and diced small

1 pound sweet red peppers seeded and diced small

1 pound cauliflower chopped into small pieces

1/2 pound white onion diced small

1/2 pound carrots peeled and diced small

1/2 pound celery diced small

1 cup of salt

Now it’s time to chop, chop, chop.  And remember to wear gloves when you’re working with the Serrano and jalapeño peppers.  Get out a large glass or stainless steel bowl to put the diced vegetables in.  I weighed all of the veggies as I chopped them.

Now that you’re done with the hot stuff you can take your gloves off.

White onion.

Carrots.

Sweet red bell pepper.

Cauliflower.

Combine all of the vegetables in your bowl and add the salt.  Stir well to mix.  Cover with Saran Wrap and refrigerate overnight.

The colors are beautiful!

Day Two Ingredients:

12 oz of sliced green olives with pimentos

1 cup of reserved liquid from the olives

2 T minced garlic

2 tsp cracked black pepper

3 T dried oregano

5 cups white wine vinegar

3 1/2 cups grape seed oil

Get your canning jars ready.  If you’re using pint jars expect to fill between 10 and 12 jars.  I used jelly jars (1 cup) and finished with 24 jars.  Wash your jars well and keep them in a 200 degree oven, on a sheet pan lined with a towel, until you are ready to use them.  Fill your water bath and turn the burner on because Day 2 is much faster than Day 1.

Pull your vegetable mixture from the refrigerator and drain off as much liquid as possible.  I used a plate to push down on the vegetables while I poured off the liquid.  Now, more chopping.  Reserve 1 cup of liquid from the jarred olives and slice the olives.

Add the olives, olive brine and all of the remaining ingredients to the chopped vegetable mix.  Stir well to combine.  Now you’re ready to bottle your Giardiniera and process the jars.

Based on the advice John gave me, fill the jars just to where the rim begins.  You don’t want the jars leaking oil while they are in the water bath.  Be sure to wipe the rim of the jar well before putting the lid on and screwing it in place.  Process your jars in the water bath for 20 minutes.   Remove your jars to a towel or rack and allow them to cool down for at least 12 hours before storing them. Check all of the jars to make sure that they have sealed properly.  If you have a jar that did not seal put it in the refrigerator.

NOTE;  Like I mentioned earlier, if you want to use the Giardiniera for an appetizer, cut the vegetables into bite size pieces.  If you want to make a much milder version scale the hot peppers WAY back and add more sweet peppers, cauliflower and carrots.  You can leave the olives whole.

I have a beef brisket in my freezer.  I think I’ll cook up that brisket and try to replicate a Chicago style Italian beef sandwich.


Empanadas


It occurred to me, as I was making the empanadas today, the last couple of weeks have been an ethnic diversity palooza in my kitchen.  I made a Moroccan chicken tagine with apricots and olives, Asian inspired sticky ginger sesame chicken meatballs, Mexican tostadas with my friend’s pickled pigs feet sauce, a Vietnamese shrimp spring roll bowl with sweet chili mango sauce, Italian chicken parmesan with linguine and marinara, Polish pierogis with polish sausage and cabbage, and Jewish penicillin, chicken soup with matzo balls.  It’s all been good.  A couple recipes were better than others.  But good just the same.  It makes cooking and mealtime much more interesting when you experiment and try new dishes.  A couple weeks ago I got new kitchen gadgets that made pierogis and empanadas more fun to make…a crimper and a roller that cuts the dough into perfectly sized discs to fit the crimper.  The gadgets are the real reason I was inspired to make the empanadas today.  I have a few packages of pierogis in my freezer.  Now I will have a few bags of empanadas in my freezer.  The recipe for the empanadas comes from America’s Test Kitchen, special collector’s edition, The Best Mexican Recipes.  There are a lot of great recipes in that magazine.

Dough ingredients:

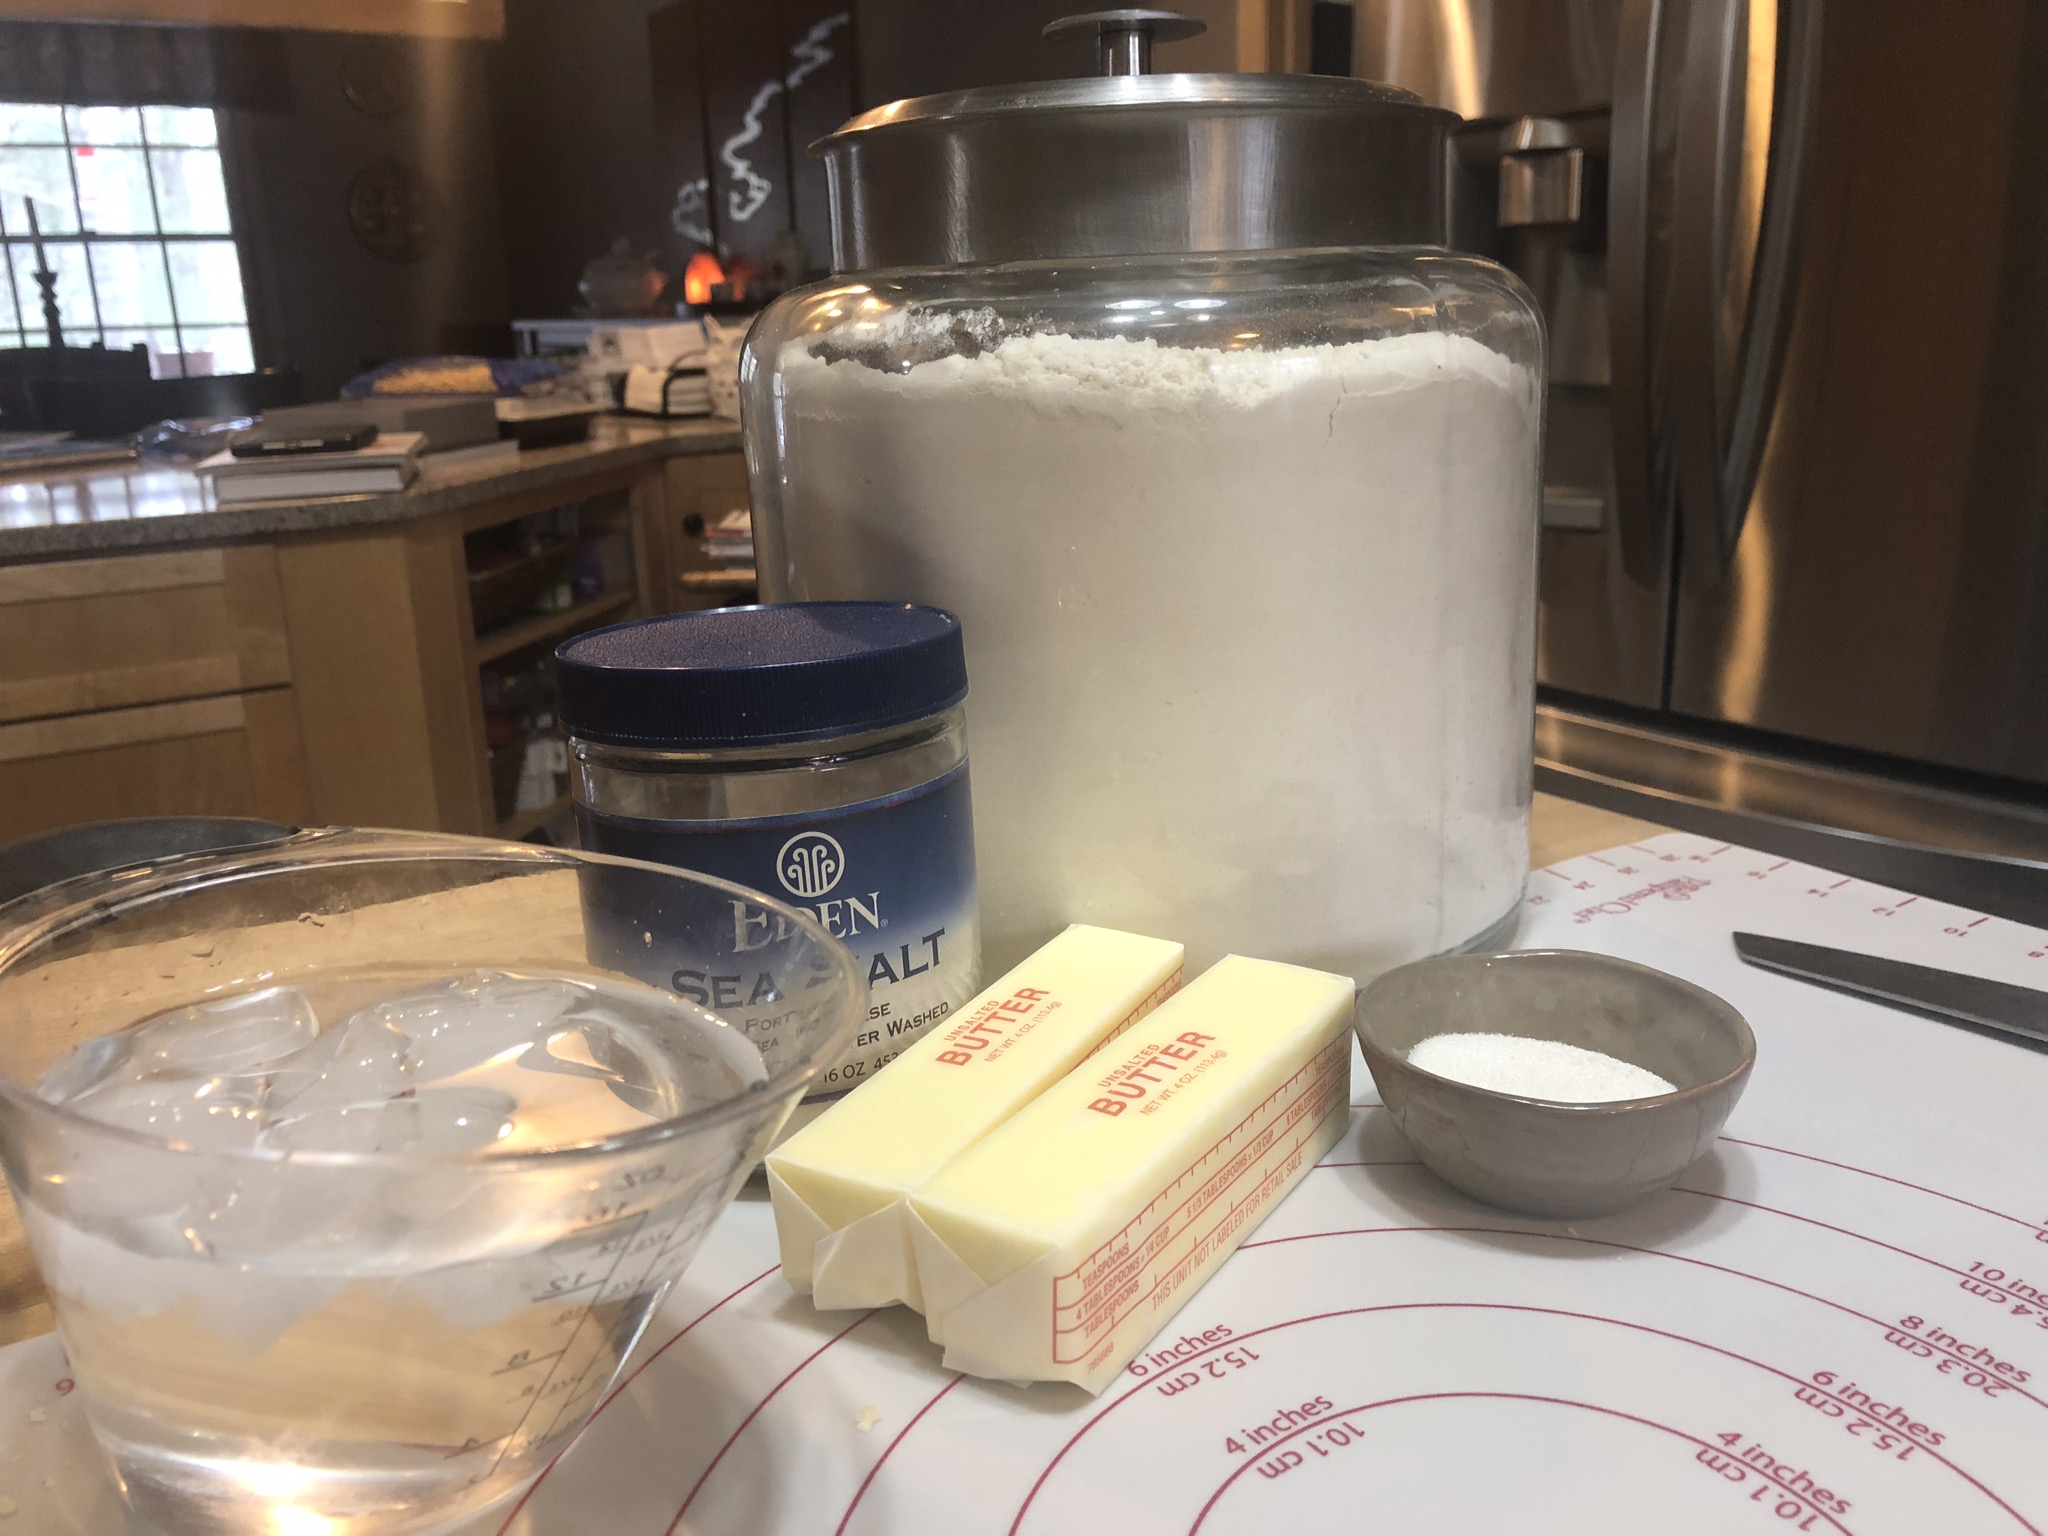
3 3/4 cups AP flour (18 3/4 oz.)

1 T sugar

1 1/2 tsp salt

12 T unsalted, chilled butter cut into 1/2 inch pieces

1 1/4 cups ice water

2 T olive oil

Process the flour, sugar, and salt in a food processor until combined.  Scatter the butter in the processor over the flour mixture and pulse until the mixture resembles coarse cornmeal. Transfer the mixture to a large mixing bowl.  Add 1/4 cup of water at a time, stirring after each addition.  You may not need to use all of the water.  Once the dough sticks together, turn out onto a clean, dry work surface and gently press into a cohesive ball.  Divide the dough into two discs, wrap tightly in plastic wrap, and refrigerate for one hour.  Let the chilled dough sit out on the counter for a few minutes before rolling.

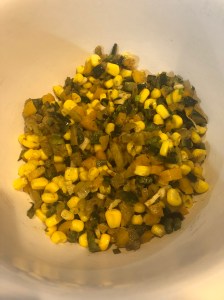
While the dough is chilling, prepare the filling.  I made a vegetarian filling with corn, peppers, and cheese.

Filling Ingredients:

2 T unsalted butter

1 poblano pepper, stemmed, seeded and chopped fine

3 whole canned mild green chilis chopped fine

3 green onions, whites minced and greens sliced thin

1 small mild orange pepper, stemmed, seeded and chopped fine

2 cloves of garlic minced

1/2 tsp dried oregano

1 tsp ground cumin

1 tsp ground coriander

salt and pepper

3/4 cup frozen corn thawed

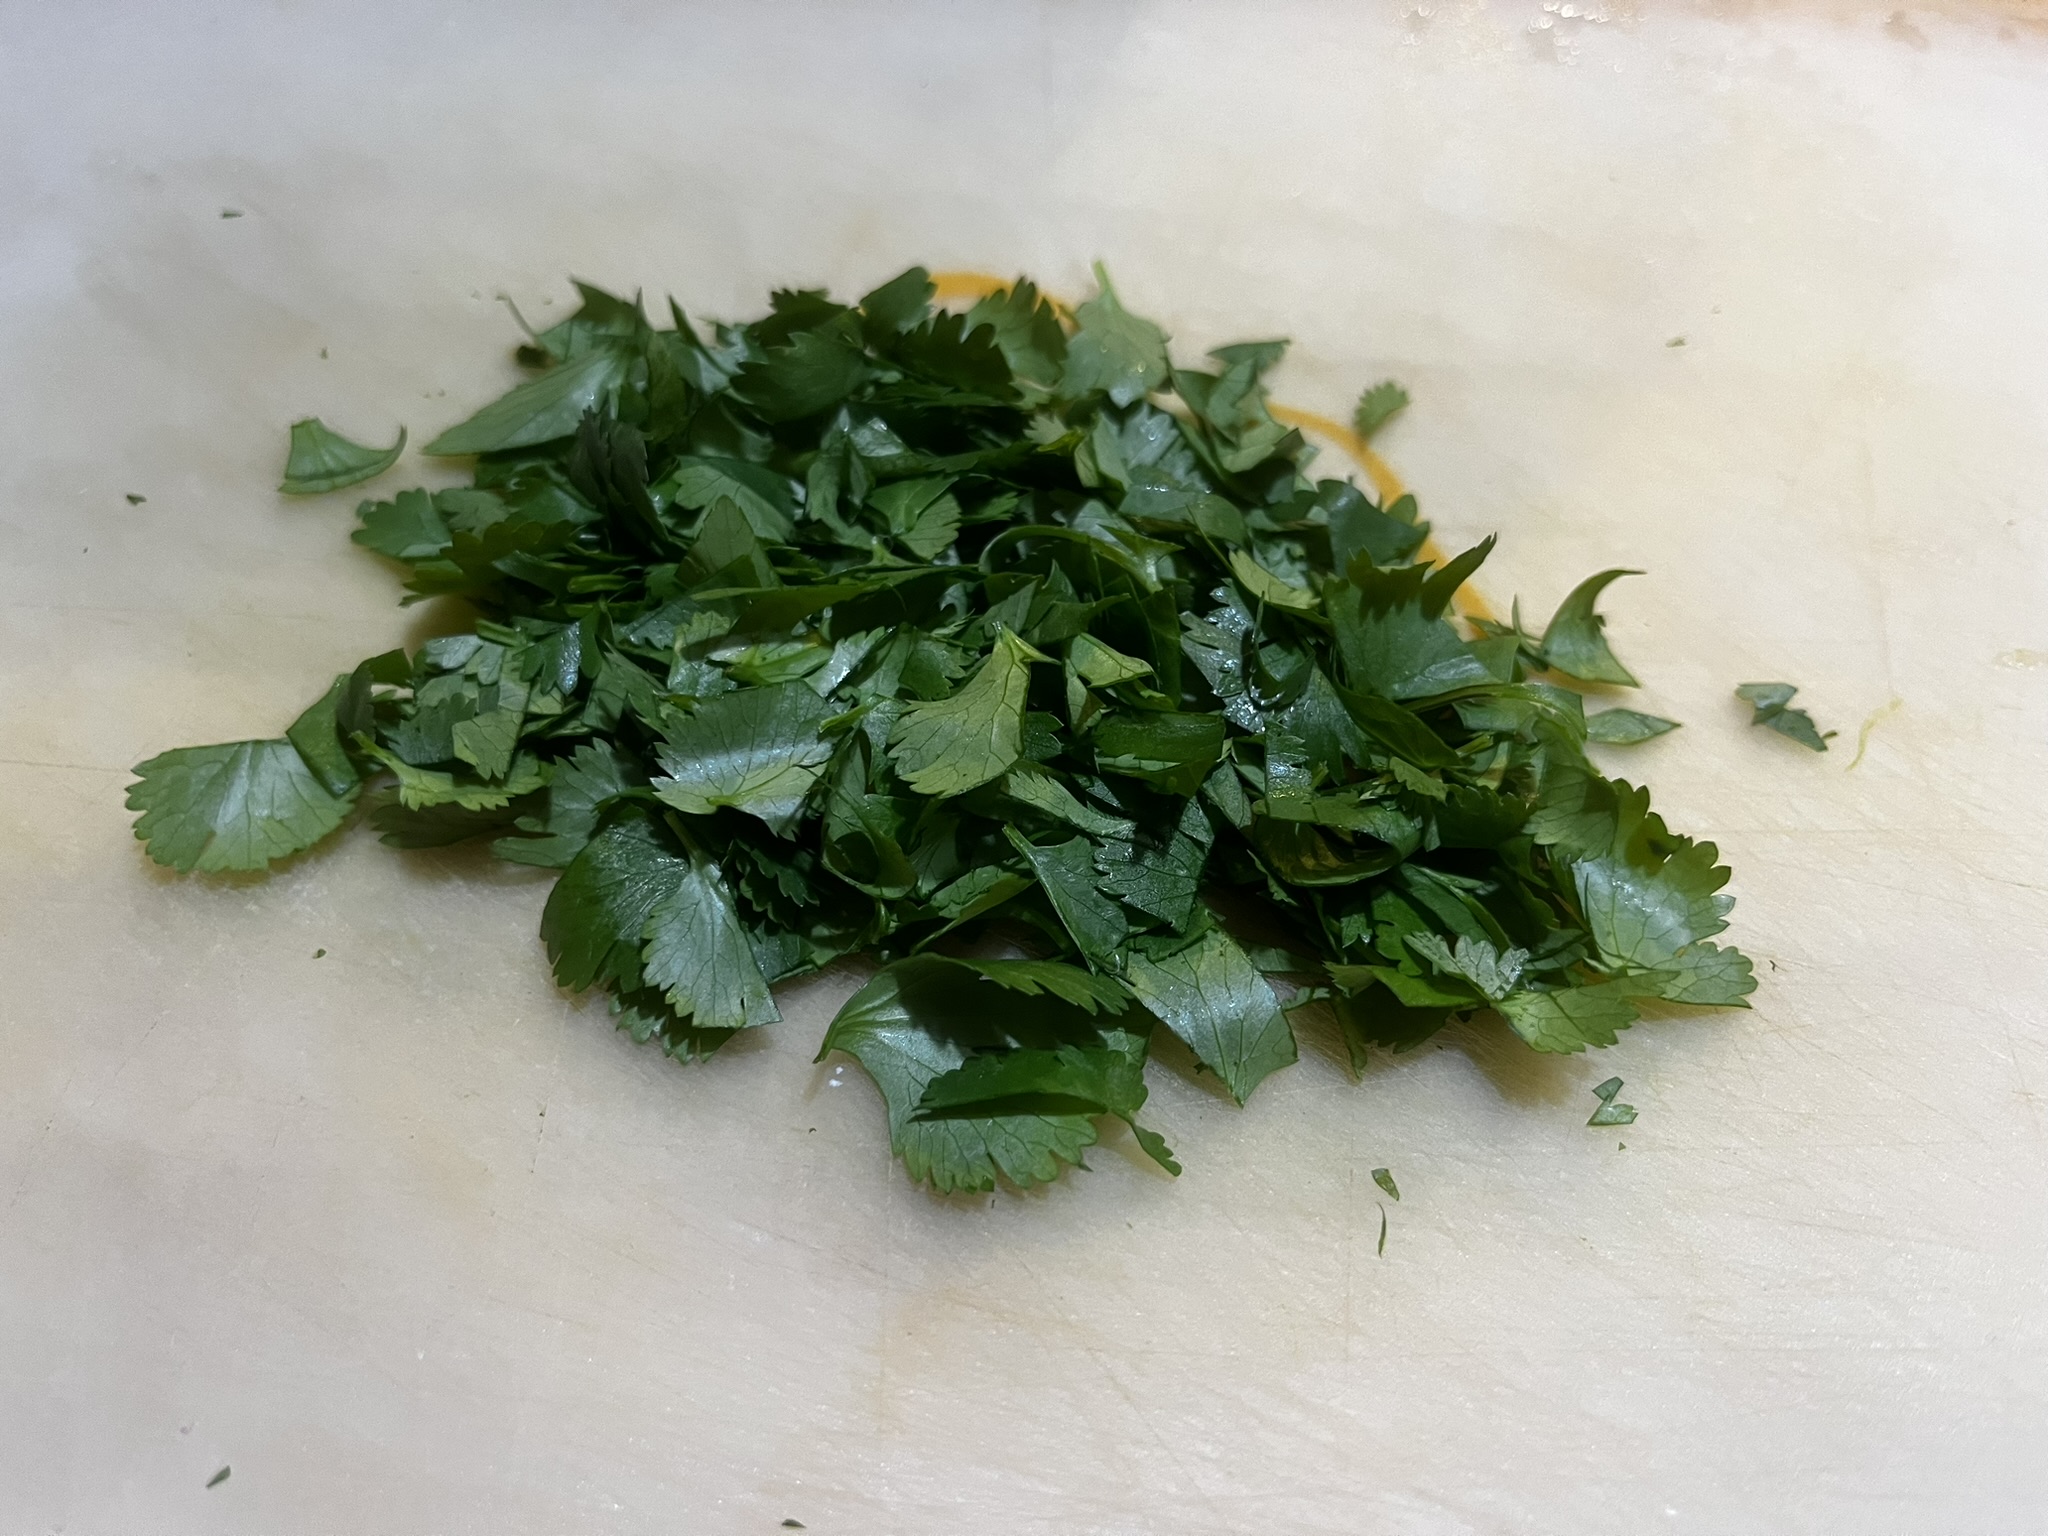
1/2 cup fresh cilantro chopped

6 oz shredded Jack cheese

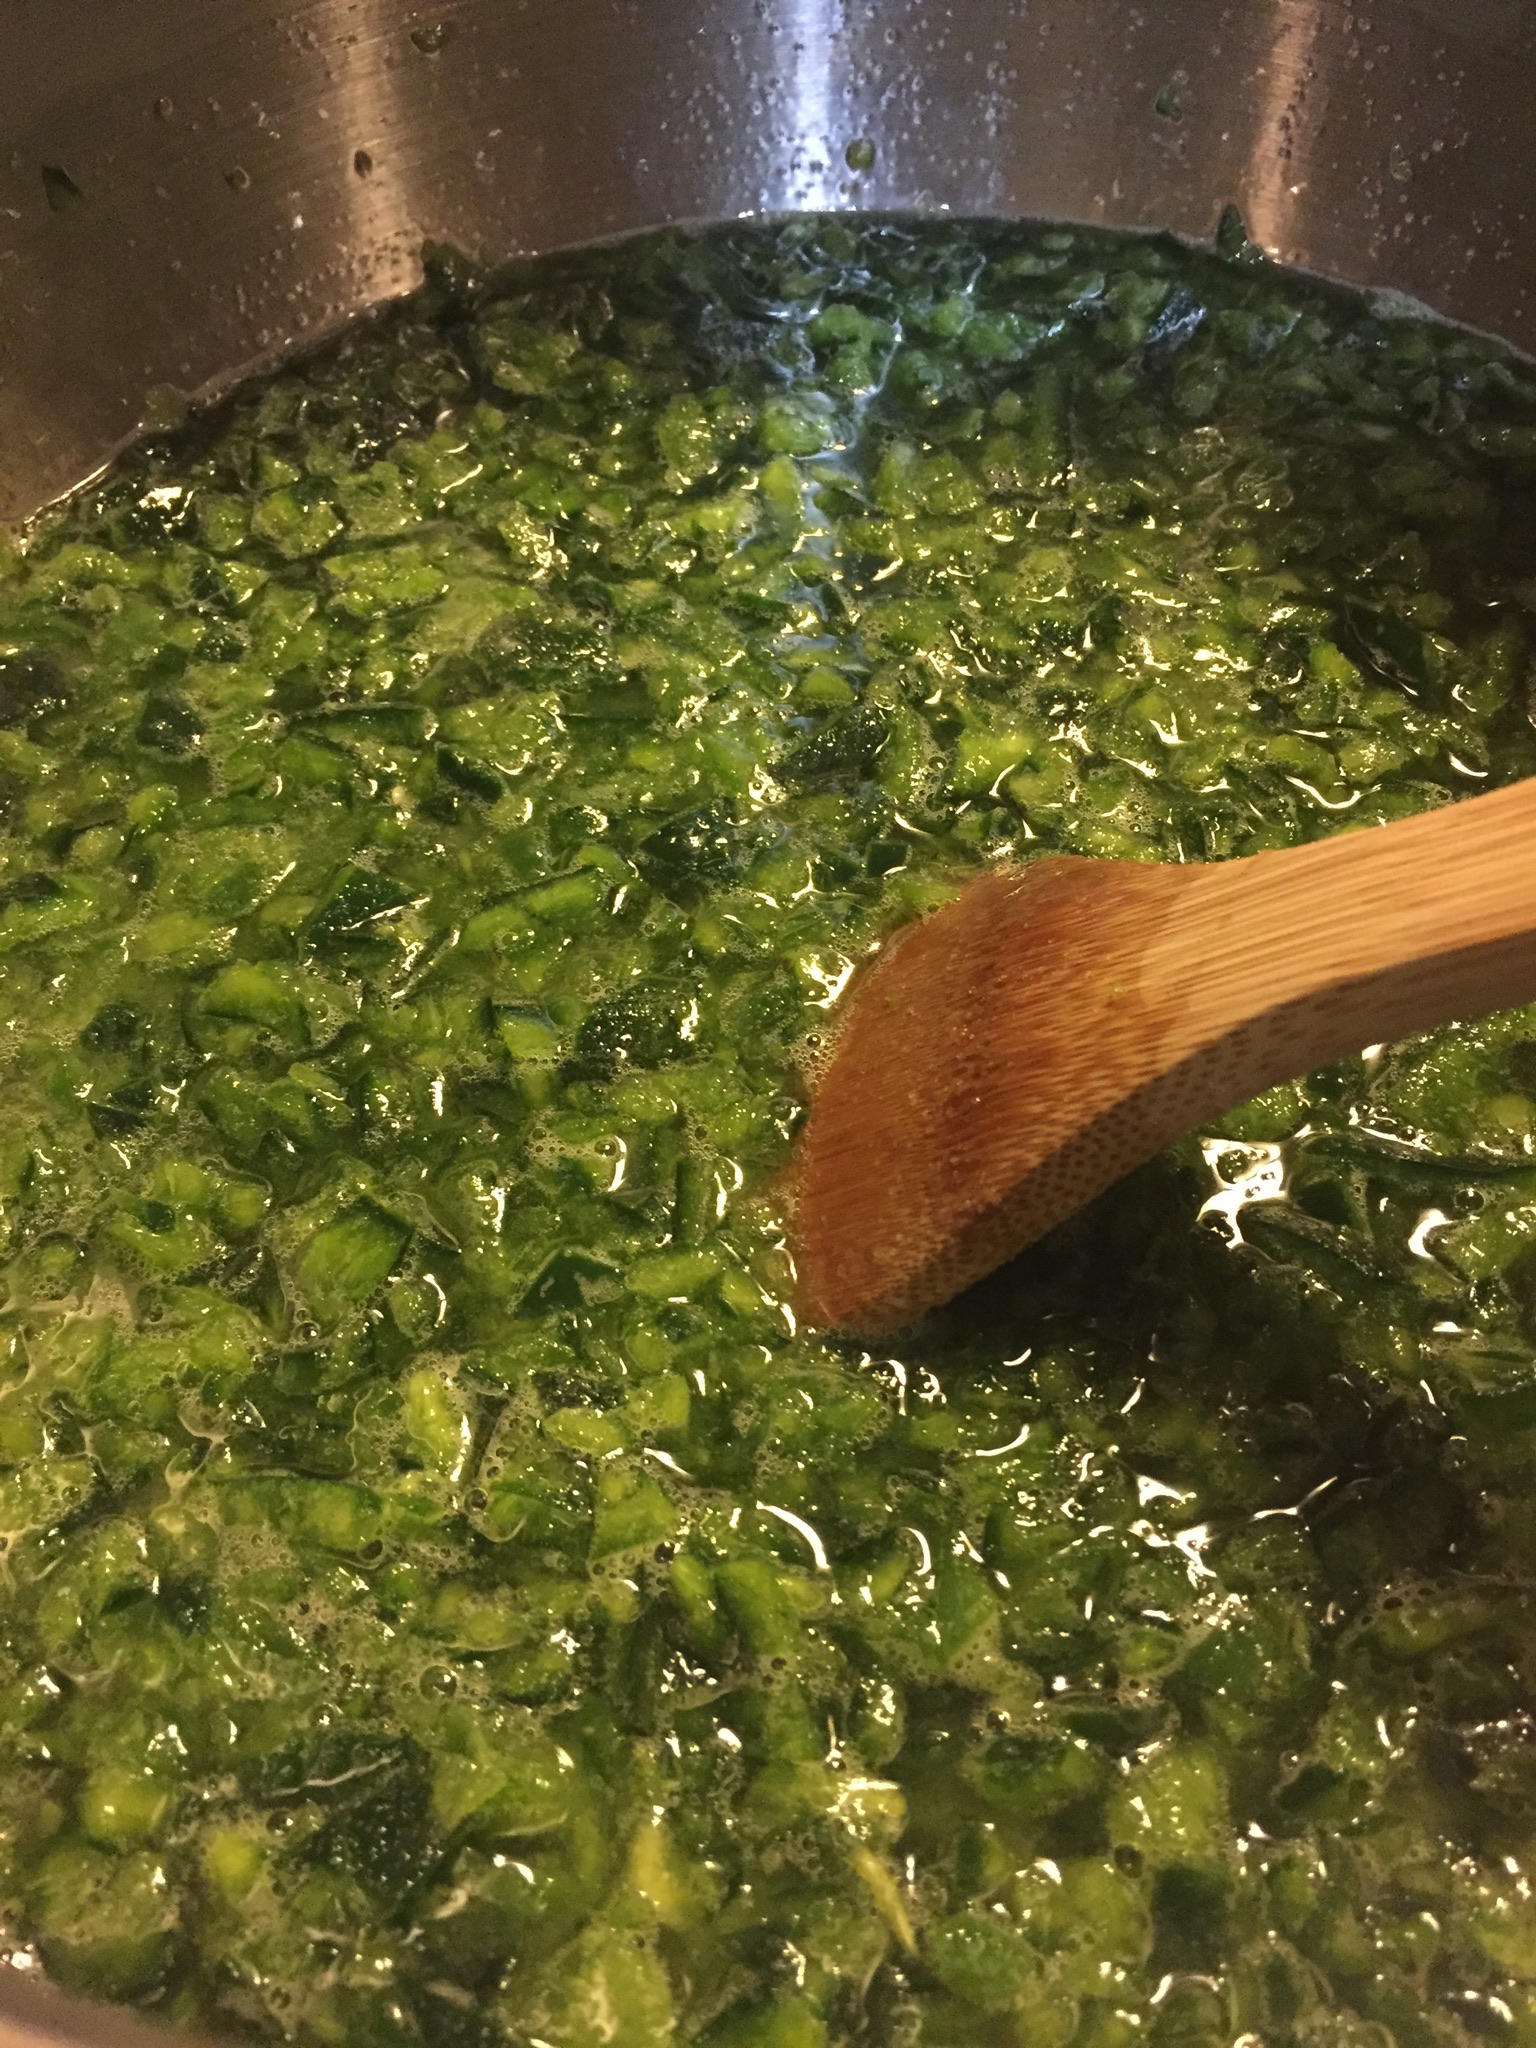
Melt the butter in a skillet over medium heat and cook the peppers and scallion whites until softened and lightly browned.

Stir in the garlic and the spices and cook another 30 seconds until fragrant.

Stir in the corn and remove from the heat.  Put the corn, pepper mixture in a bowl and refrigerate until completely cool.

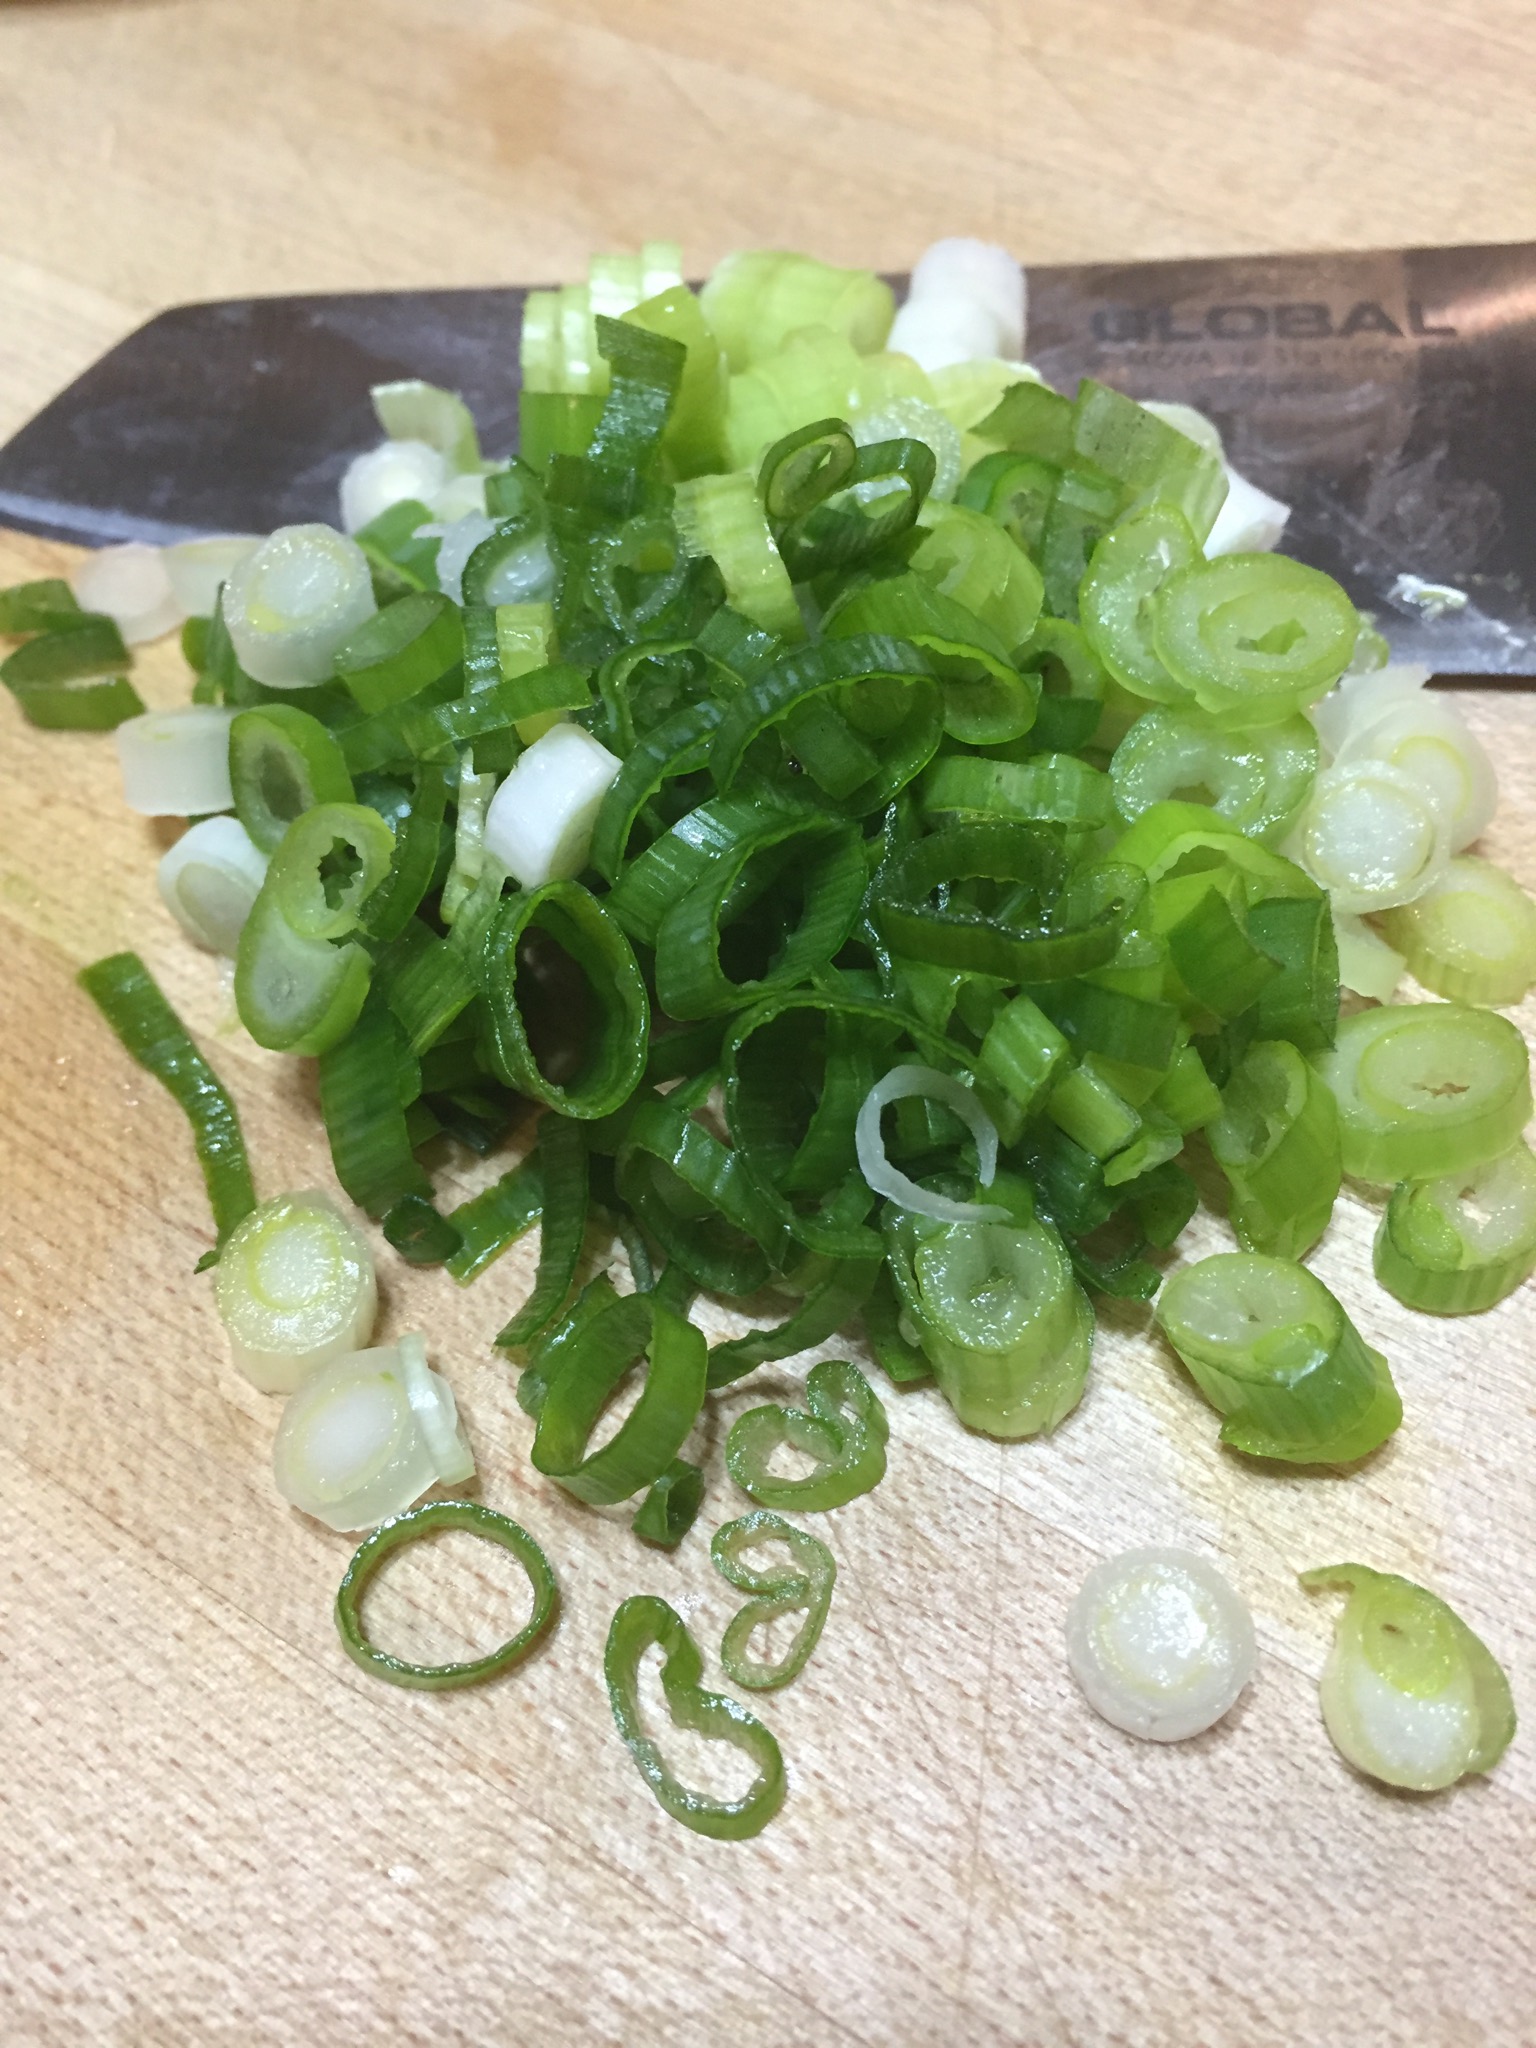
While that’s chilling, slice the scallion greens, cilantro, and grate the Jack cheese.  Once cool, mix all of the ingredients together and now you’re ready to start rolling your dough.

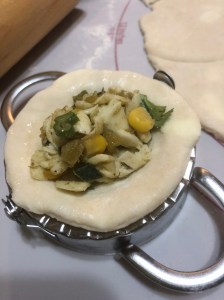
Preheat the oven to 425 degrees.  Roll the dough on a lightly floured surface and cut discs with a biscuit cutter, a glass, or, if you’re fortunate enough to have one of these rollers, roll on.

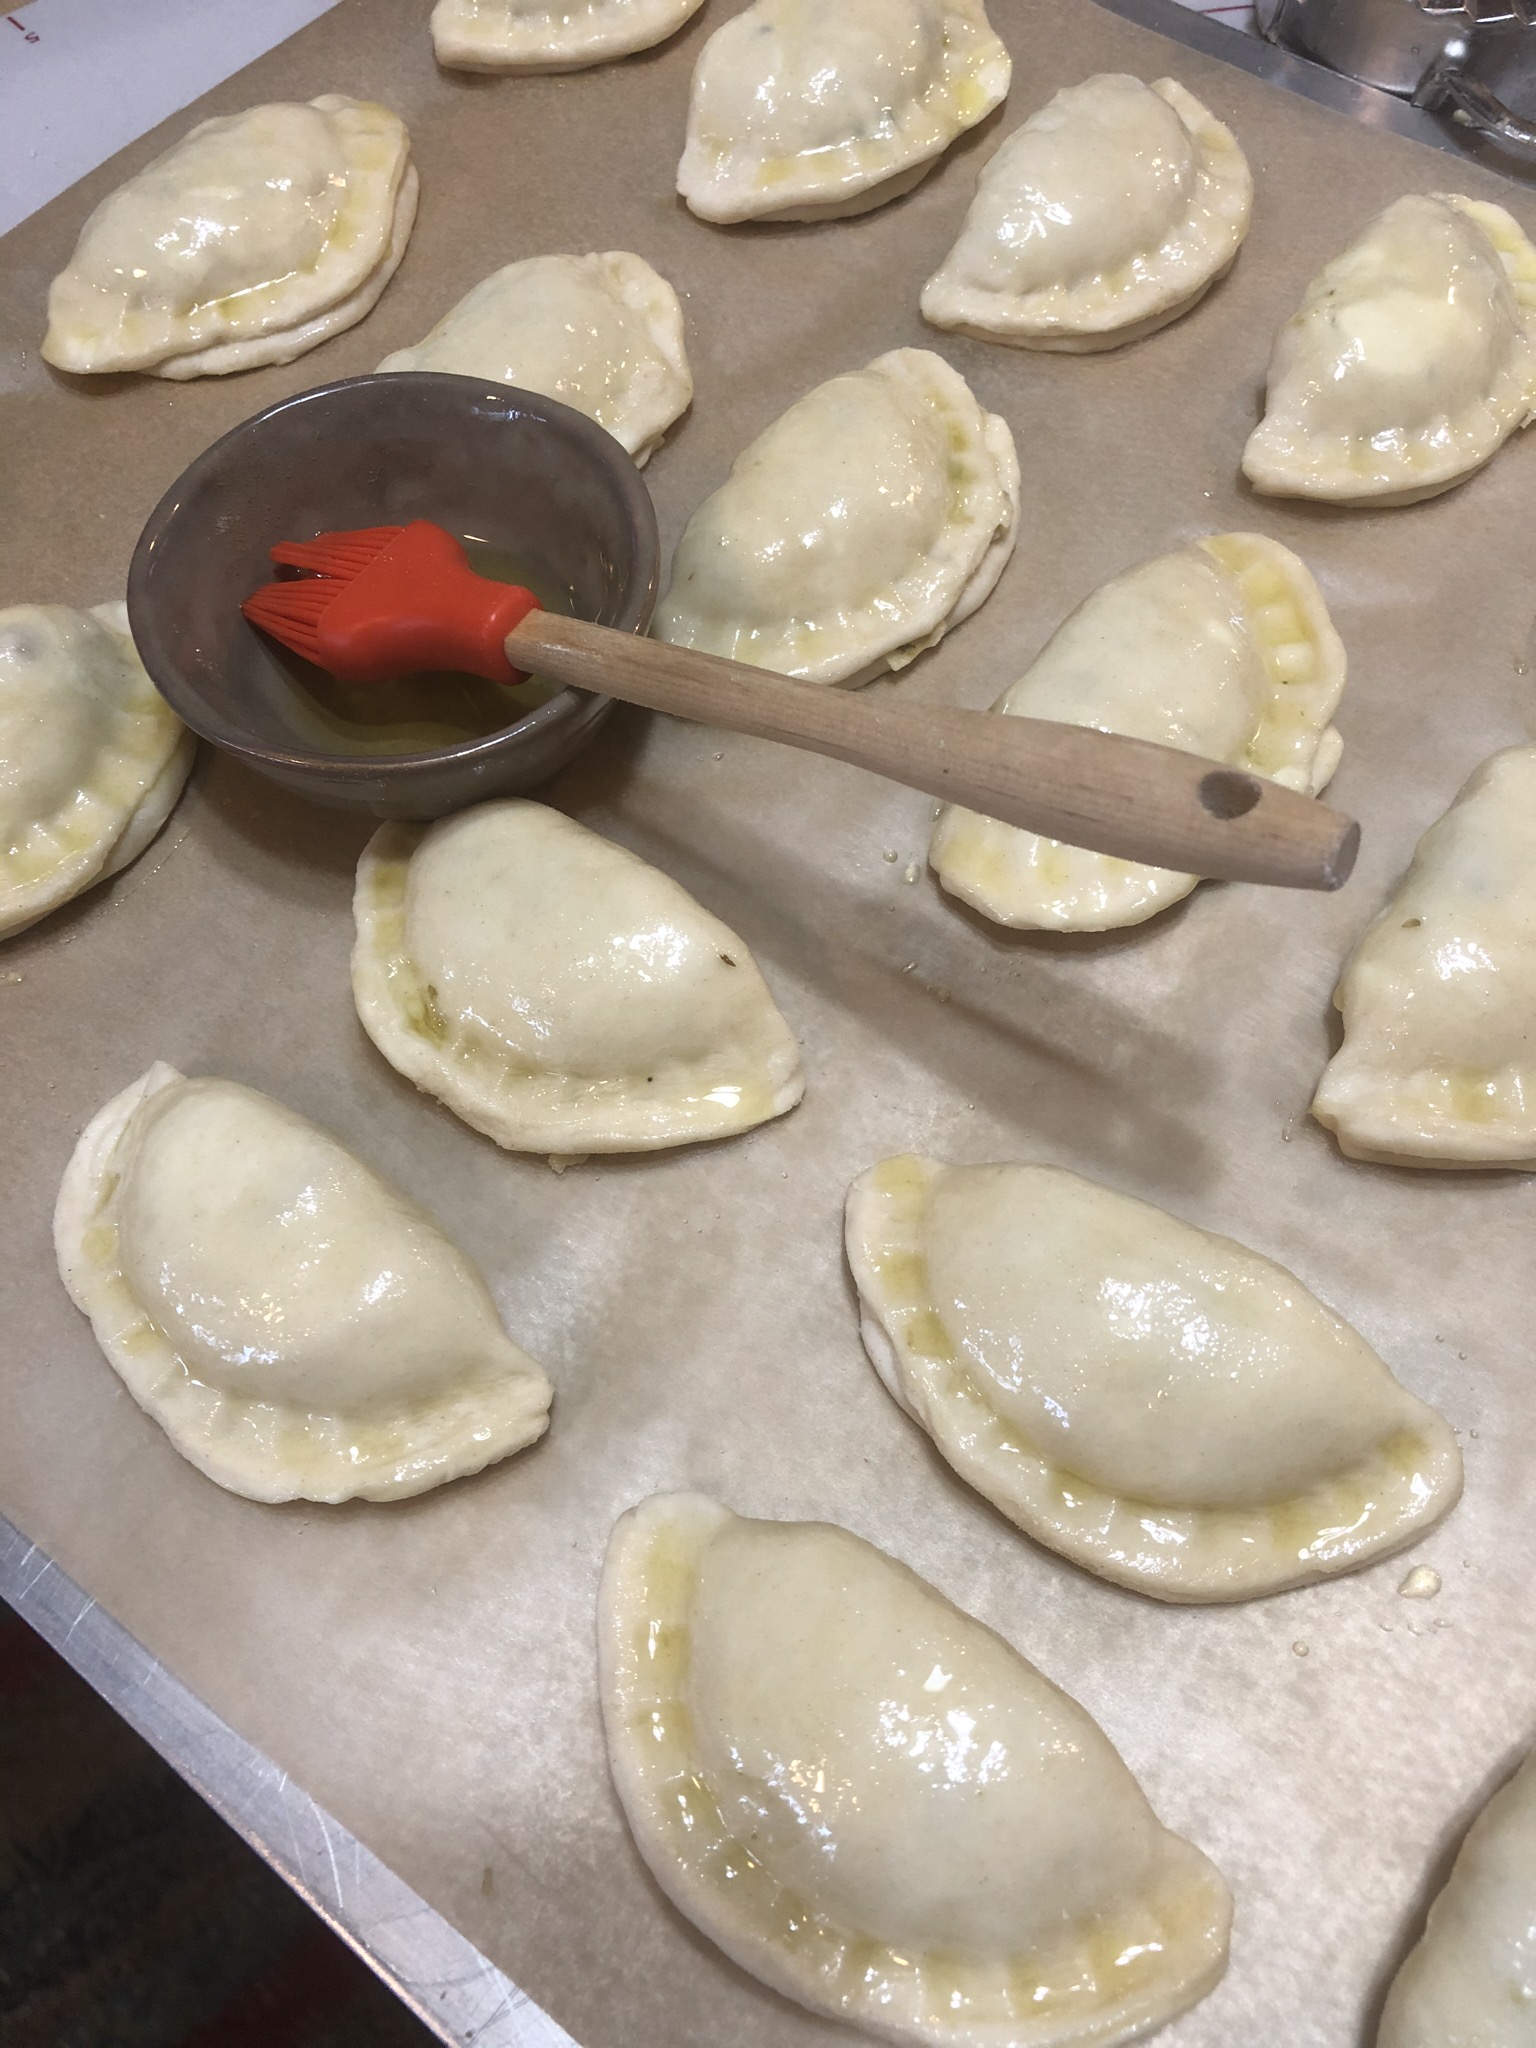
Fill each circle with 1 T of filling.  Brush the edges of the dough with water to help ensure a good seal.  Fold the dough over and crimp the edges with the tines of a fork.  Or, if you’re fortunate enough to have a crimper, crimp on.

Transfer the empanadas to a baking sheet lined with parchment paper.  Brush each with olive oil.

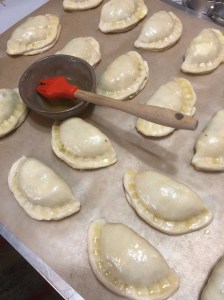
Bake for 20-30 minutes until golden brown.

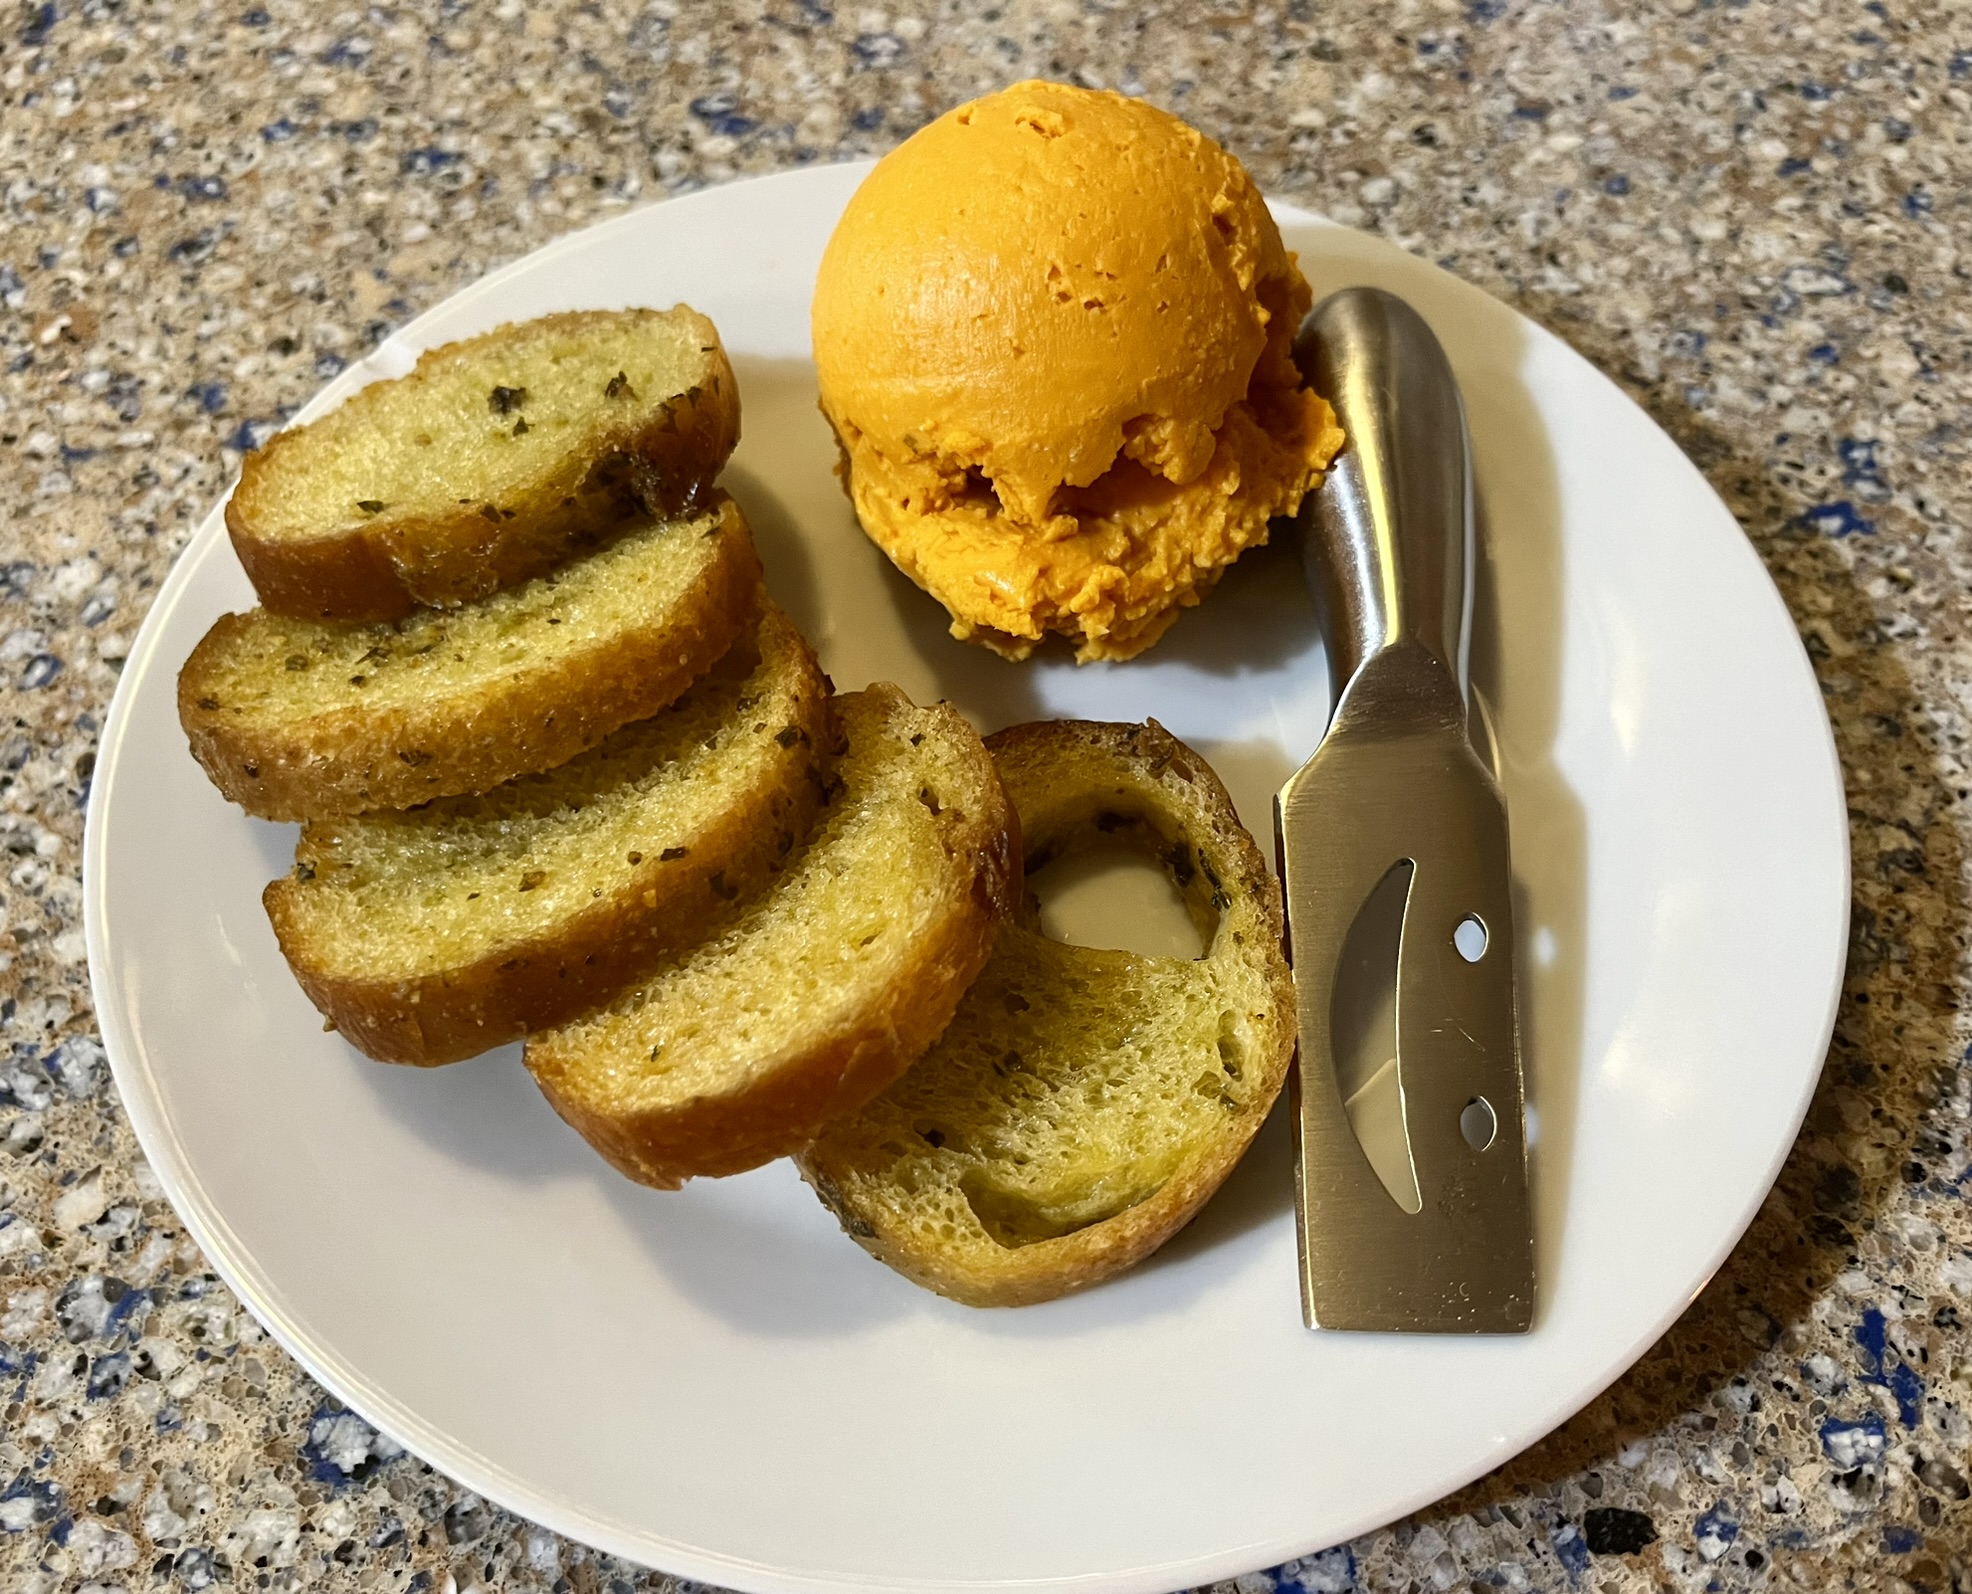
Allow to cool and enjoy!

NOTE:  The filling options are endless.  There is a beef and cheese filling in the magazine and many, many more recipes on line.  The empanadas freeze well.  Put them in the freezer on a cookie sheet until frozen and then transfer them to zip lock freezer bags.  Bake them a few extra minutes if they’ve come out of the freezer.  Serve them as is or with salsa or Mexican crema.

Goat Cheese Spread with Honey

When you have guests and want to serve adult beverages and a snack, cheese, fruit and crackers are perfect.  I was hoping to find the fresh goat cheese spread that our favorite party store usually carries but they were all out.  I have a few good hard, savory, even stinky cheeses to serve but wanted a milder, spreadable cheese.  Sometimes necessity is the mother of invention.  I put together a real simple, 4 ingredient spread that tastes pretty darn good.  Unlike cream cheese, goat cheese has a little kick or zing.  But if you’re one of those people who dislike goat cheese, cream cheese would work in this recipe.

Ingredients:

10 oz package goat cheese at room temperature

8 oz lemon (or plain) yogurt

zest of one lemon

2 T honey plus a little more to drizzle

Combine all ingredients in a food processor and blend until everything is incorporated.

Use a spatula to transfer the spread to a serving container and refrigerate.

Before you refrigerate, have a sample first.  Because a good cook tastes everything before serving their guests.

Drizzle wth a little more honey before serving.  Enjoy!

NOTE:  Like I mentioned earlier, this would also be good with cream cheese as well…might taste a little like a bite of cheese cake actually.  You can add a little more zest or honey based on your personal tastes.  May also be good with a little fresh mint or thyme mixed in.


Sangria and Poblano-Jalapeño Jellies

I’m not a huge fan of Sangria or hot peppers but love both of these jellies.  You could spread them on your English muffin but I would call these  hors d’oeuvre jellies.  They are amazing on crackers with a little creamy cheese.  Goat cheese is great with the poblano-jalapeño jelly and Brie is wonderful with the sangria.  Any one of your favorite creamy cheeses will do.  Or just spread a little jelly love on a cracker or a piece of Finn Crisp and enjoy.

I found these two recipes in a Better Homes & Gardens special publication.  I love experimenting and trying new things so I gave these a shot.  Loved them both, as did my taste testers, and ended up making two batches of each.  The sangria is the easiest jelly ever.

Sangria Ingredients:

2-3 oranges – enough for 1/2 cup of juice plus zest

2-3 limes – enough for 1/4 cup of juice plus zest

1 bottle dry red wine

5 cups sugar

1 6-oz pkg (2 foil pouches) of liquid pectin

2 T brandy

Remove 2 tsp of zest from the oranges and 1 tsp of zest from the limes.  Squeeze the juice from the fruit and measure out 1/2 cup of orange juice and 1/4 cup of lime juice.

Combine the wine, zest, juice, and sugar in a heavy nonreactive  kettle.

Bring to a full rolling boil stirring constantly.  Quickly stir in pectin.  Again bring to a full rolling boil stirring constantly.  Boil hard for 1 minute stirring constantly.  Remove from the heat.  Skim off any foam with a metal spoon.  Stir in the brandy.  Ladle the jelly into hot sterilized half-pint jelly jars leaving 1/4 inch headspace.

Process filled jars in a boiling water canner for 5 minutes starting the timer when the water returns to a boil.  Remove jars from the canner and cool on wire racks.

Poblano-Jalapeño Ingredients:

5 1/2 cups of sugar

2 1/2 cups finely chopped and seeded fresh poblano peppers

1/2 cup finely chopped and seeded fresh jalapeño peppers

1 cup cider vinegar

1/2 cup water

1 1/2 tsp salt

1/2 cup lime juice

1 6-oz pkg (2 foil pouches) liquid fruit pectin

Green food coloring

In a heavy kettle combine the sugar, chopped peppers, vinegar, water and salt.

Bring to a boil and cook, uncovered, for 5 minutes stirring frequently.  Remove from heat, cover and let stand for 30 minutes.  Stir lime juice into the pepper mixture and bring to a boil stirring constantly.  Boil one minute stirring constantly.  Quickly stir in the pectin and bring to a full rolling boil.  Boil hard for one minute.  Remove from the heat.  Stir in a little green food coloring.  While the food coloring is optional the jelly is pretty ugly without it.

Ladle the jelly into half pint sterilized jelly jars leaving 1/4 inch of headspace.  Process filled jars in a boiling water canner for 10 minutes, starting the timer when the water returns to boiling.  Remove jars from canner and cool on wire racks.

The results are amazing!  Hope you’ll give these a try.

NOTE:  It’s a lot of pepper chopping but food processors tend to turn peppers into liquid mush.  Just get a good sharp knife out and chop chop.  The pepper jelly is NOT hot.  You get the great flavor from both peppers without the heat.

Smoked Fish Spread

img_0111

For those of you who have visited the Upper Peninsula  of Michigan (the UP) you know that smoked fish is a “thing.”  As soon as you cross the Mackinac Bridge you start to see little shops with signs hocking smoked fish.  Smoked whitefish, Menominee, salmon, and my personal favorite, smoked trout.  You can buy a whole fish or a slab.  It’s great to eat just as is.  Your fingers get a little greasy and they smell a little fishy but we don’t care.    The fish also makes an excellent spread.  Easy to make.  And you won’t smell as fishy!  My Dad used to make us smoked fish from his fresh catches and I will always remember his as being the very best.  My very favorite.  But Dad is nearly 89 and isn’t fishing much anymore.  So when I visit the UP I frequently get fish for our family and for friends from one of the little shops.

Ingredients:

2 cups (approximately) of smoked fish flaked

4 oz cream cheese at room temperature

1/2 cup sour cream

3-4 green onions sliced thin

2 T capers

2 T lime juice

2 tsp smoked paprika

1/2 tsp cayenne pepper (1 tsp if you want more kick)

Cracked pepper

Salt to taste

img_0102

Use a hand mixer and beat the cream cheese and sour cream together until it is smooth.

img_0103

Add the capers, lime juice, black and cayenne pepper, and paprika to the cream cheese, sour cream mixture and stir well to combine.

img_0105

Slice the green onions and flake the fish.

img_0104 img_0106

Add the fish and onion to the creamed mixture and blend well.

img_0107 img_0108

Taste before you salt.  Some smoked fish is saltier than others.

This spread is excellent on crackers or served with raw vegetable like celery and carrots.  Great with bread and butter pickles.  You’ll also love it served on another UP tradition.  Finn Crisp.  Rye bread is the most traditional bread in Finland and in some areas of Finland it is baked only a few times a year, then dried and enjoyed year round.  It is baked with a hole in the center allowing the loaves to be hung on dowels to dry.  I’m sure that Finn Crisp is modeled  after those loaves.

img_0110 img_0112

Enjoy  the smoked fish spread and enjoy the Finn Crisp if you can find it.

NOTE:  You could add some fresh dill to this recipe or substitute some minced dill pickles for the capers.


Vegetable and Bleu Cheese Tart

image

A few Christmases ago my daughter gave me a Nordic Bakery Cookbook by Miisa Mink.  It has some excellent recipes for  pastries and for savory dishes.  We all get tired of making the same meals over and over so tonight I got the book out and decided to make the Vegetable tart.  Just yesterday I bought some excellent buttermilk Bleu cheese at a local market that sells cheeses, meats, great olives, wine and craft beers.  The cheese was perfect for this dish.  Simple ingredients.  Nothing exotic.

Ingredients for the crust:

13 T butter at room temperature

3 1/2 T sour cream or crime fraiche

1 cup AP flour

1 tsp baking powder

pinch of salt

image

Cream the butter and the sour cream or creme fraiche together in a mixing bowl.

image image

Mix dry ingredients in a separate bowl.  Stir into the creamed mixture until a dough forms.  Form dough into a ball, flatten into a disc, and wrap in plastic wrap.  Store in the refrigerator for at least 2 hours or overnight.

image image

Roll out the dough on a lightly floured surface.

image image

Transfer the pastry to a tart pan pressing it into the fluted edges of the pan and neatly cut off the excess pastry.  (I love my tart pan and I rarely use it.  You don’t see how pretty it is until it’s empty.)

image image

Tart Ingredients:

1 1/2 cups broccoli florets

1 1/2 cups cauliflower florets

1 T vegetable oil

1 onion rough diced

1 cup cherry tomatoes halved

2 1/2 oz. Danish Bleu cheese (I used buttermilk Bleu)

3/4 cup grated Cheddar

fresh ground black pepper

image

The Bleu cheese is the star!

Preheat oven to 400.

Cut the florets into chunks.  Boil until they are tender crisp.  Drain well and allow to cool.

image image

Heat the oil in a heavy skillet over medium heat.  Fry the onion until it is soft and golden.  Set aside to cool slightly.

image image

Once the onion has cooled tip the pan over the pastry and spread the onion evenly.  Top with the broccoli, cauliflower and tomatoes.

image image

Sprinkle the cheeses evenly over the top and sprinkle with cracked black pepper.

image

Bake for 25 minutes or until golden brown.

image

It’s beautiful!  And it tastes great!  Serve with a green salad and you have a perfect dinner.

NOTE:  You can substitute other vegetables taking care that they don’t become too watery when cooked.  Served as an appetizer the recipe serves 6; as an entree it serves 4.


7 Layer Taco Dip

image

Several years ago we started hosting or going to house parties with a small group of good friends on New Years Eve rather than going to restaurants or bars or large organized galas.   Maybe it’s the iffy Michigan weather that makes us not want to be on the roads.   Maybe it’s because we are getting older.  Whatever the reason, it’s been a good choice.  We all bring appetizers and beverages and enjoy each other’s company, some singing and picking, and all the good food and drink.  It’s the best way to bring in the New Year.  This year I made a 7 Layer Taco dip as my passing dish.  As always we had lots of amazingly good food.

Layer 1

2 15-ounce cans of navy or pinto beans drained and rinsed

1 large sweet onion rough chopped

2-3 cloves of garlic minced

1 cup chicken broth

jalapeños and cilantro to taste

salt to taste

image

Heat a couple tablespoons of canola oil in a heavy saucepan.  Cook the onions over medium heat until they are caramalized.  Add the beans and broth to the skillet and heat through mashing with a potato masher.

imageimage

If necessary add additional broth to get a nice creamy consistency.  Stir in jalapeño and cilantro.  Season with salt to taste.  This is the way I prepare beans for any Mexican dish I serve.

image

Spread the bean mixture out on a large platter or pizza pan.

image

Layer 2

1-2 cup(s) sour cream

Taco seasoning to taste (I used 2 T)

image image

Combine the sour cream and seasoning mixture well and spread over the beans.

image

Layer 3

1 jar of homemade salsa or your favorite store brand

Spread over the sour cream.

image

Layer 4

Pico

1 cup diced tomatoes

1/2 cup diced sweet onion

1-2 jalapeños diced (with or without seeds)

1/2 cup cilantro

1/2 lime juiced

salt to taste

image

Toss the vegetables together.  Squeeze lime juice over the mixture and season to taste with salt.

image

Spread vegetable mixture over salsa.

image

Layer 5

2-3 Avocados peeled and diced

1/2 lime juiced

Salt to taste

image

Squeeze the lime juice over the avocado and season with salt.  I love avocado but everyone does not feel the same.  So I put my diced avocado around the outer edge of my platter.

image

Layer 6

Black olives and/or pickled jalapeño.  I only used the black olives.

Layer 7

Shredded cheese.

image

Garnish with additional cilantro.  Serve with your favorite tortilla chips.  Enjoy!

NOTE:  You can add a meat layer if you choose by cooking ground beef or turkey and adding some tomato paste and seasonings to the meat.


Marilyn’s Party Mix

Marilyn’s party mix has become a holiday tradition.  About eight years ago I quit smoking and decided to learn to knit to keep my hands and mind busy.  I’m sure this is a story I’ve blogged about previously but regardless…It was a great decision for a number of reasons but one of the best outcomes was the amazing band of women that became a very important part of my life.  We call ourselves the Knit Wits.  We meet almost weekly to knit, take road trips, and share stories and recipes (our pot lucks are fabulous).  Our ages and life paths varied pretty significantly but we all quickly grew to love and respect each other and cherish our time together.  Marilyn was the oldest of the Knit Wits.  She was 80, give or take a year, when we first met and we lost her to the ravages of cancer about three years ago. She was funny and spunky, told wonderful stories, was extremely generous and an excellent cook.  She shared recipes that we all still make and think of her every time we do. One of those recipes is her party mix.  I cannot imagine how much of this she made each year.  She would start shopping in the fall for ingredients.  I’m sure she went through no less than 20 pounds of butter or more each year just for her party mix. She could always tell us which grocery had butter on sale.  She gave party mix to friends and family by the gallons.  I always take some to my daughters for Christmas and her friends look forward to noshing on it.  So much so that I mailed some to a friend of hers in Miami who wasn’t able to make it to Chicago this Christmas.

image

Almost everyone has had “Chex Mix.”  Marilyn had her own special version.  She embellished!  Her ingredients included but were not limited to:

Per batch in a LARGE roasting pan…

Snyder’s pretzel mixes (including jalapeño bits) – 1 11oz package

Crispex – 1/2 standard size box

Cheese-Its (different favors) – 1/2 standard size box

Goldfish (different favors) – 2 to 3 cups

Bugles – 1/2 standard size bag

Mixed nuts – 1#

Chex (rice, corn and wheat) – 1/2 standard size box of each

Gardellos rye crisps – 1 8oz bag

Pretzels – 2-3 cups

Adjust ingredients based on your personal tastes.

Marilyn passed away in late August of 2012 and that Christmas we all got together and made Party Mix.  We had large bowls of all the ingredients on an assembly line and added a cup of this, a cup of that until we had filled a large roasting pan.  Then came the buttery, garlicky goodness.

4 sticks of butter

4 T worchestershire sauce

3 1/2 T Lawrey’s seasoning salt

1 T Lawrey’s garlic salt

1 T garlic powder

Peheat your oven to 250.  Melt 3 sticks of butter and add all of the spices.  Stir well.  Pour 5 T of the seasoned butter over the roasting pan full of mix and stir carefully to coat.  Bake for 20 minutes and repeat.  Do this three times until an hour has passed.  Melt and add the fourth stick of butter to the mix and repeat at 20 minute intervals for another hour.  After two hours pour the mix out onto freezer or parchment paper on your counter and allow it to cool completely before packaging it in zip lock bags or other containers.  Marilyn always saved coffe cans and the large containers nuts and other ingredients came in to package her party mix.  Your house will smell like garlic.

It’s addicting.  You will have garlic coming out of your pores and still go back for a little more.  RIP Marilyn.   I will think of you every year when I make this and I know that you are smiling.


Homemade Potato Chips with Chilpotle Lime Dip

image

Homemade chips anyone?  Remember when we all owned a “Fry Baby” or “Fry Daddy” and apparently fried lots of things??  Those must-have appliances came with a plastic lid so you could just store and reuse the oil. I rarely deep fry anymore but a couple weeks ago I made chili Rellenos which are deep fried in a pretty fair amount of oil. So as not to be wasteful, once the oil had completely cooled I strained it using a fine mesh colander lined with a coffee filter. After doing that the oil can be stored in the refrigerator and used one or two more times…unless you’ve fried fish in it and then no, do not reuse. I decided to make fish and chips for dinner.  My excuse for a dinner of all fried things was not wanting to waste that oil.  I know that will make perfect sense to anyone reading this.  Back in the Fry Daddy days I guess we didn’t need an excuse.

To prepare the potatoes for chip making wash them and, using a mandolin on a fine setting, slice away. I used redskin potatoes and I do not peel them. Rinse the potatoes well after slicing and dry them as thoroughly as possible with paper towel or clean cotton dish towels.

image

Heat your oil in a heavy Dutch oven until it reaches 375-380 degrees. Carefully begin dropping the potatoes in the hot oil and let them fry until they are lightly browned. Don’t crowd the potatoes in the pan.

image

You may have to turn them once. When they are done to your liking remove the chips from the hot oil using a skimmer and put them on a pizza pan or jelly roll pan lined with paper towel. Salt them immediately with coarse salt and put them in a warm oven.

image

Begin your next batch until you’ve made the desired amount of chips. I think putting the chips in a warm oven after frying also helps to crisp them up and any excess oil dissipates or is absorbed by the paper towel.

Dip Ingredients:

1 cup sour cream

1/2 cup mayonnaise

3 T chilpotle peppers in adobo (chopped well)

juice and zest of one lime

image

Thoroughly combine all ingredients.

image

Keep refrigerated until you’re ready to serve.

NOTE:  If you have any chips left store them in a zip lock bag and, before serving the left overs, warm them up a bit in the oven.   The dip is also excellent on fish tacos and would add a little zip to a vegetable tray.  You can also make really yummy chips with sweet potatoes.