Quiche with Crab and Asparagus

I haven’t stopped cooking and baking but I haven’t worked on my blog in awhile.  I rely on it myself when I go to make favorites, like this morning when I looked up my granola recipe.  I love sharing my recipes with people and this is the perfect vehicle.  So I will keep on blogging.  It’s Easter weekend and I thought I’d make a special Saturday brunch for the two of us.  I found a recipe for crab quiche and made my own modifications.  Eating brunch this morning reminded my of going to a little seafood place in Chicago near our daughter that serves awesome crab cakes Benedict.  This is an easy recipe that comes together quickly and takes about 50 minutes for baking and 10 minutes for resting so you’ll have time to whip up some muffins or a little green salad to go with the quiche.  Another reason this came together fairly quickly is because I cheated and used a prepared pie crust.

Ingredients:

1 9” unbaked pie crust (your own or one from the grocery)

3 eggs, lightly beaten

1/2 cup mayonnaise

1/2 cup whole milk

2 T AP flour

1/2 tsp salt

Franks Hot Sauce (optional)

5 oz Gruyere cheese cubed

8 oz container crab meat

5-6 green onions chopped

asparagus spears cut into bite size pieces

Preheat the oven to 450.

Roll out the pie crust and line a 9” pie pan, crimping the edges.  Cover with two layers of tin foil and bake for 8 minute.  Remove foil and bake for an additional 5-6 minutes until light brown.

While the crust is baking dice the green onions, asparagus, and cube the cheese.

In a medium size bowl whisk the eggs.  Whisk in the milk, mayonnaise, flour, salt, and a few shakes of Franks.

Gently fold in crab meat, onion,  asparagus and cheese.  Pour egg mixture into the hot pie crust.

Reduce the oven temperature to 325 and bake for 45 to 50 minutes until the edges are puffed up and the center is set.  Allow the quiche to rest for 10 minute before slicing.

Slice and serve!  I made blueberry muffins to enjoy with ours.  And mimosas.  Had to have mimosas.  I had grapefruit juice, my husband had orange.  Both delicious.

I will blog the blueberry muffins next.

NOTE:  As always you can change this up.  Don’t like asparagus, use broccoli or zucchini.  Don’t care for gruyere cheese, use Swiss (almost the same) or cheddar.  Add more Franks or none at all.  Substitute a little cayenne.  Everyone’s palate is different.  It also depends on what’s available in your fridge and pantry.

Beef Chuck Roast in Tomato Gravy

A chuck roast is a relatively inexpensive cut of beef that is perfectly suited for slow cooking in an oven, a crock pot or a pressure cooker.  Growing up it was one of our regular Sunday dinners.  Ours was usually cooked in a brown gravy and served with mashed potatoes and a can of peas or corn or green beans.  There were no “exotic” vegetables at our house.  When my Dad was cooking for himself he would put a chuck roast in the crock pot with an envelop of French onion soup and a can of cream of mushroom soup.  Easy to make and the meat came out tender and the gravy was actually pretty yummy.  My husband loves anything with tomatoes so this recipe puts a little different twist  on a chuck roast.  I cooked the roast in a 300 degree oven for two and a half hours.

Ingredients:

1.5 – 2 pound chuck roast

1 pint jar diced or stewed tomatoes

1/2 cup beef broth or red wine

1/2 cup catsup

3 T brown sugar

2 T Worcestershire sauce

2 T red wine vinegar

1 T chipotle in adabo sauce

3 cloves of garlic thin sliced

2 T olive oil

salt and pepper

1 medium onion quartered

3-4 carrots

3-4 stalks of celery

Heat the olive oil in a Dutch oven, season the meat with salt and pepper and sear on both sides.

While the meat is browning mix the sauce ingredients; tomatoes, broth (or wine), catsup, brown sugar, Worcestershire sauce, vinegar, chipotle in adabo, and garlic,

I like adding the chipotle in adabo sauce because it gives the sauce a little smoky flavor and a bit of heat.  Depending on your personal taste you can add more or eliminate it entirely.

Once the meat has been seared on both sides remove it to a plate.  Line the Dutch oven with the vegetables and put the roast on top.

Pour the sauce over the meat and vegetables, cover, and get it in the oven.

Roast for 2-3 hours until the meat is tender and the gravy is thickened.  Turn the meat over a couple times as it is roasting.  Once the meat is done, slice and serve with a generous scoop of the smoky tomato gravy.

I served the roast beef and tomato gravy with potatoes mashed with sour cream and broccolini.

NOTE:  This roast can be cooked on low for 6-8 hours in a crock pot or 35-40 minutes in a pressure cooker on high pressure, allowing for a natural release.  I think I will do mine in the pressure cooker next time.

I like using chipotle in adobo but no matter the size of the can there is a lot left over.  I now buy the larger can, dump the entire can into my little food processor and pour it in an ice cube tray.  Once frozen, I bag the individual cubes in snack bags and store them in the freezer.  No waste and the cubes are easy to use.

When I was thinking back to the Sunday dinners of my childhood, I remembered our roasts being cooked in a blue and white speckled enamel roaster in the oven.  I assumed crockpots had not yet been invented.  However, I looked it up (I googled it of course) and found out Irving Nachumsohn received a patent for the device that became the crock pot in 1940.  It was invented to cook a traditional stew eaten by Jews in Eastern Europe on the Sabbath and was marketed as “Naxon Beanery All-Purpose Cooker.”  In 1971 the cooker was reintroduced by Rival under the name “Crock Pot” and gained popularity as more and more women joined the work force.  Women were able to start dinner in the morning before leaving for work and finish preparing the meal when they came home.  Our little bit of trivia for today!

Chicken and Ricotta Meatballs

One of the food magazines that I pick up regularly is called COOK.  It has a lot of recipes with ingredients that I usually have on hand or are easy to come by at the grocery.  And the magazine has beautiful food pictures!!  The January issue has a great recipe for meatballs made with ground chicken and ricotta cheese.  With a little planning it’s a meal you can have on the table in 45 minutes, and that included me grinding my chicken breasts in an old fashioned meat grinder!  A food processor would work.  Or purchasing ground chicken (or turkey) at the grocery would be even easier.  The meatballs look a little different than what we’re accoustomed to…my husband saw them in the sauce and said “dumplings??”.  But they’re light, moist,  and have a great flavor.

Ingredients:

1 pound ground chicken

3/4 cup whole milk ricotta cheese

1/2 cup panko

1 large egg yolk

3-4 cloves of garlic finely chopped and divided

1/4 cup fresh basil sliced thin and divided

2 tsp kosher salt

4 T olive oil

1/2 cup white wine

28 oz of crushed tomatoes

fresh grated asiago and additional basil for serving

First things first.  If you didn’t purchase ground chicken you’ll need to do that.  Grind your chicken.  With the meat slightly frozen, cube it and grind.  I used chicken breast but I don’t see why you couldn’t use boneless leg or thigh meat.

Preheat your oven to 400.

In a medium bowl stir together chicken, ricotta, panko, egg yolk, half the garlic, half the basil, and 1 tsp salt.  Mix until well combined.

Use a 1/4 cup spring-loading scoop (I call it a cookie scoop) or a teaspoon and shape into 16 meatballs.  Place in a foil lined pan.  Drizzle with 2 T of olive oil.  Bake for 12 minutes.

While the meatballs are cooking get your sauce started.  In a heavy skillet, over medium heat, add remaining 2 T of olive oil and remaining garlic.  Cook for 1 minute and add the wine. Cook until the wine is reduced by half, 3-5 minutes.   Add the tomatoes, remaining basil and 1 tsp salt.  Bring to a simmer.

Once the meatballs are done add them to the sauce including any pan juices.  Cover and simmer over low heat for 10-15 minutes.

Serve with fresh grated asiago and garnish with additional basil if desired.  I served mine over a simple, creamy polenta.  It would also be good with angel hair or fettuccine noodles or served with spaghetti squash.

NOTE:  I made only slight modifications to the recipe in COOK.  I used fresh basil instead of fresh rosemary.  One, I didn’t have any fresh rosemary and two, basil just sounded better to me in this recipe.  I also used shredded asiago for serving rather than Parmesan.  I have a slight preference for asiago but either would be good.

My friend Jane made this recipe before I did and she gave it high marks so I was confident I would like it.  However, when you’re mixing the meat and cheese you may be a little skeptical about how its all going to come together.  But it does!

I have not made this with ground turkey but I cant imagine that it wouldn’t work.  To me, when you’re cooking, a recipe is a guideline and you’ll like it best when you take your personal tastes and preferences into account.

Baked Beans

For Christmas this year my daughter gave me Carla Hall’s Soul Food Cookbook.  I have loved Carla Hall since I first saw her on Top Chef and she was my favorite part of the Chew.  Her cookbook is great.  The recipes are not complicated and the dishes are all comfort foods.  Like the recipe I found for Slow Cooker Baked Beans.  It’s been a long time since I made real, from scratch, baked beans.  Where you have to let the beans soak overnight in cold salt water.  Bushes beans with lots of add ins like bacon and ground beef and onions, etc.  have been my fall back.  Don’t get me wrong.  Those are very good!  But real baked beans that have cooked all day are true comfort food.

When we were kids my mother would sometimes make baked beans and homemade bread and that would be our Saturday supper.   It wasn’t a side dish.  It was supper.  We didn’t have crock pots back then so the beans cooked in a big roaster in the oven for the better part of the day.  Baked beans with warm bread slathered in butter.  A good memory.  I also remember having homemade baked beans for hot lunch at school.  Back in the day they didn’t have stations in the school cafeteria where you could get pizza or visit a salad bar or put toppings on your hot dog or hamburger.  You had lunch ladies in aprons and hair nets, who also cooked the food, ladle it on your plate and that’s what you ate.  And we liked the food.  At least I remember liking the food.

My dad obviously loved beans because they were a “camp” staple.  Eaten at breakfast with eggs and potatoes and meat.  Sometimes at supper with hot dogs or brats.  I think Van de kamps beans were a camp favorite.

Fun bean facts:  Navy beans got their name because they were a staple food of the US Navy in the early 20th century.  They are a good, inexpensive, virtually fat free source of protein, fiber and vitamin B1, copper and manganese.  They are one of 13,000 species of the family of legumes or plants that produce edible pods.

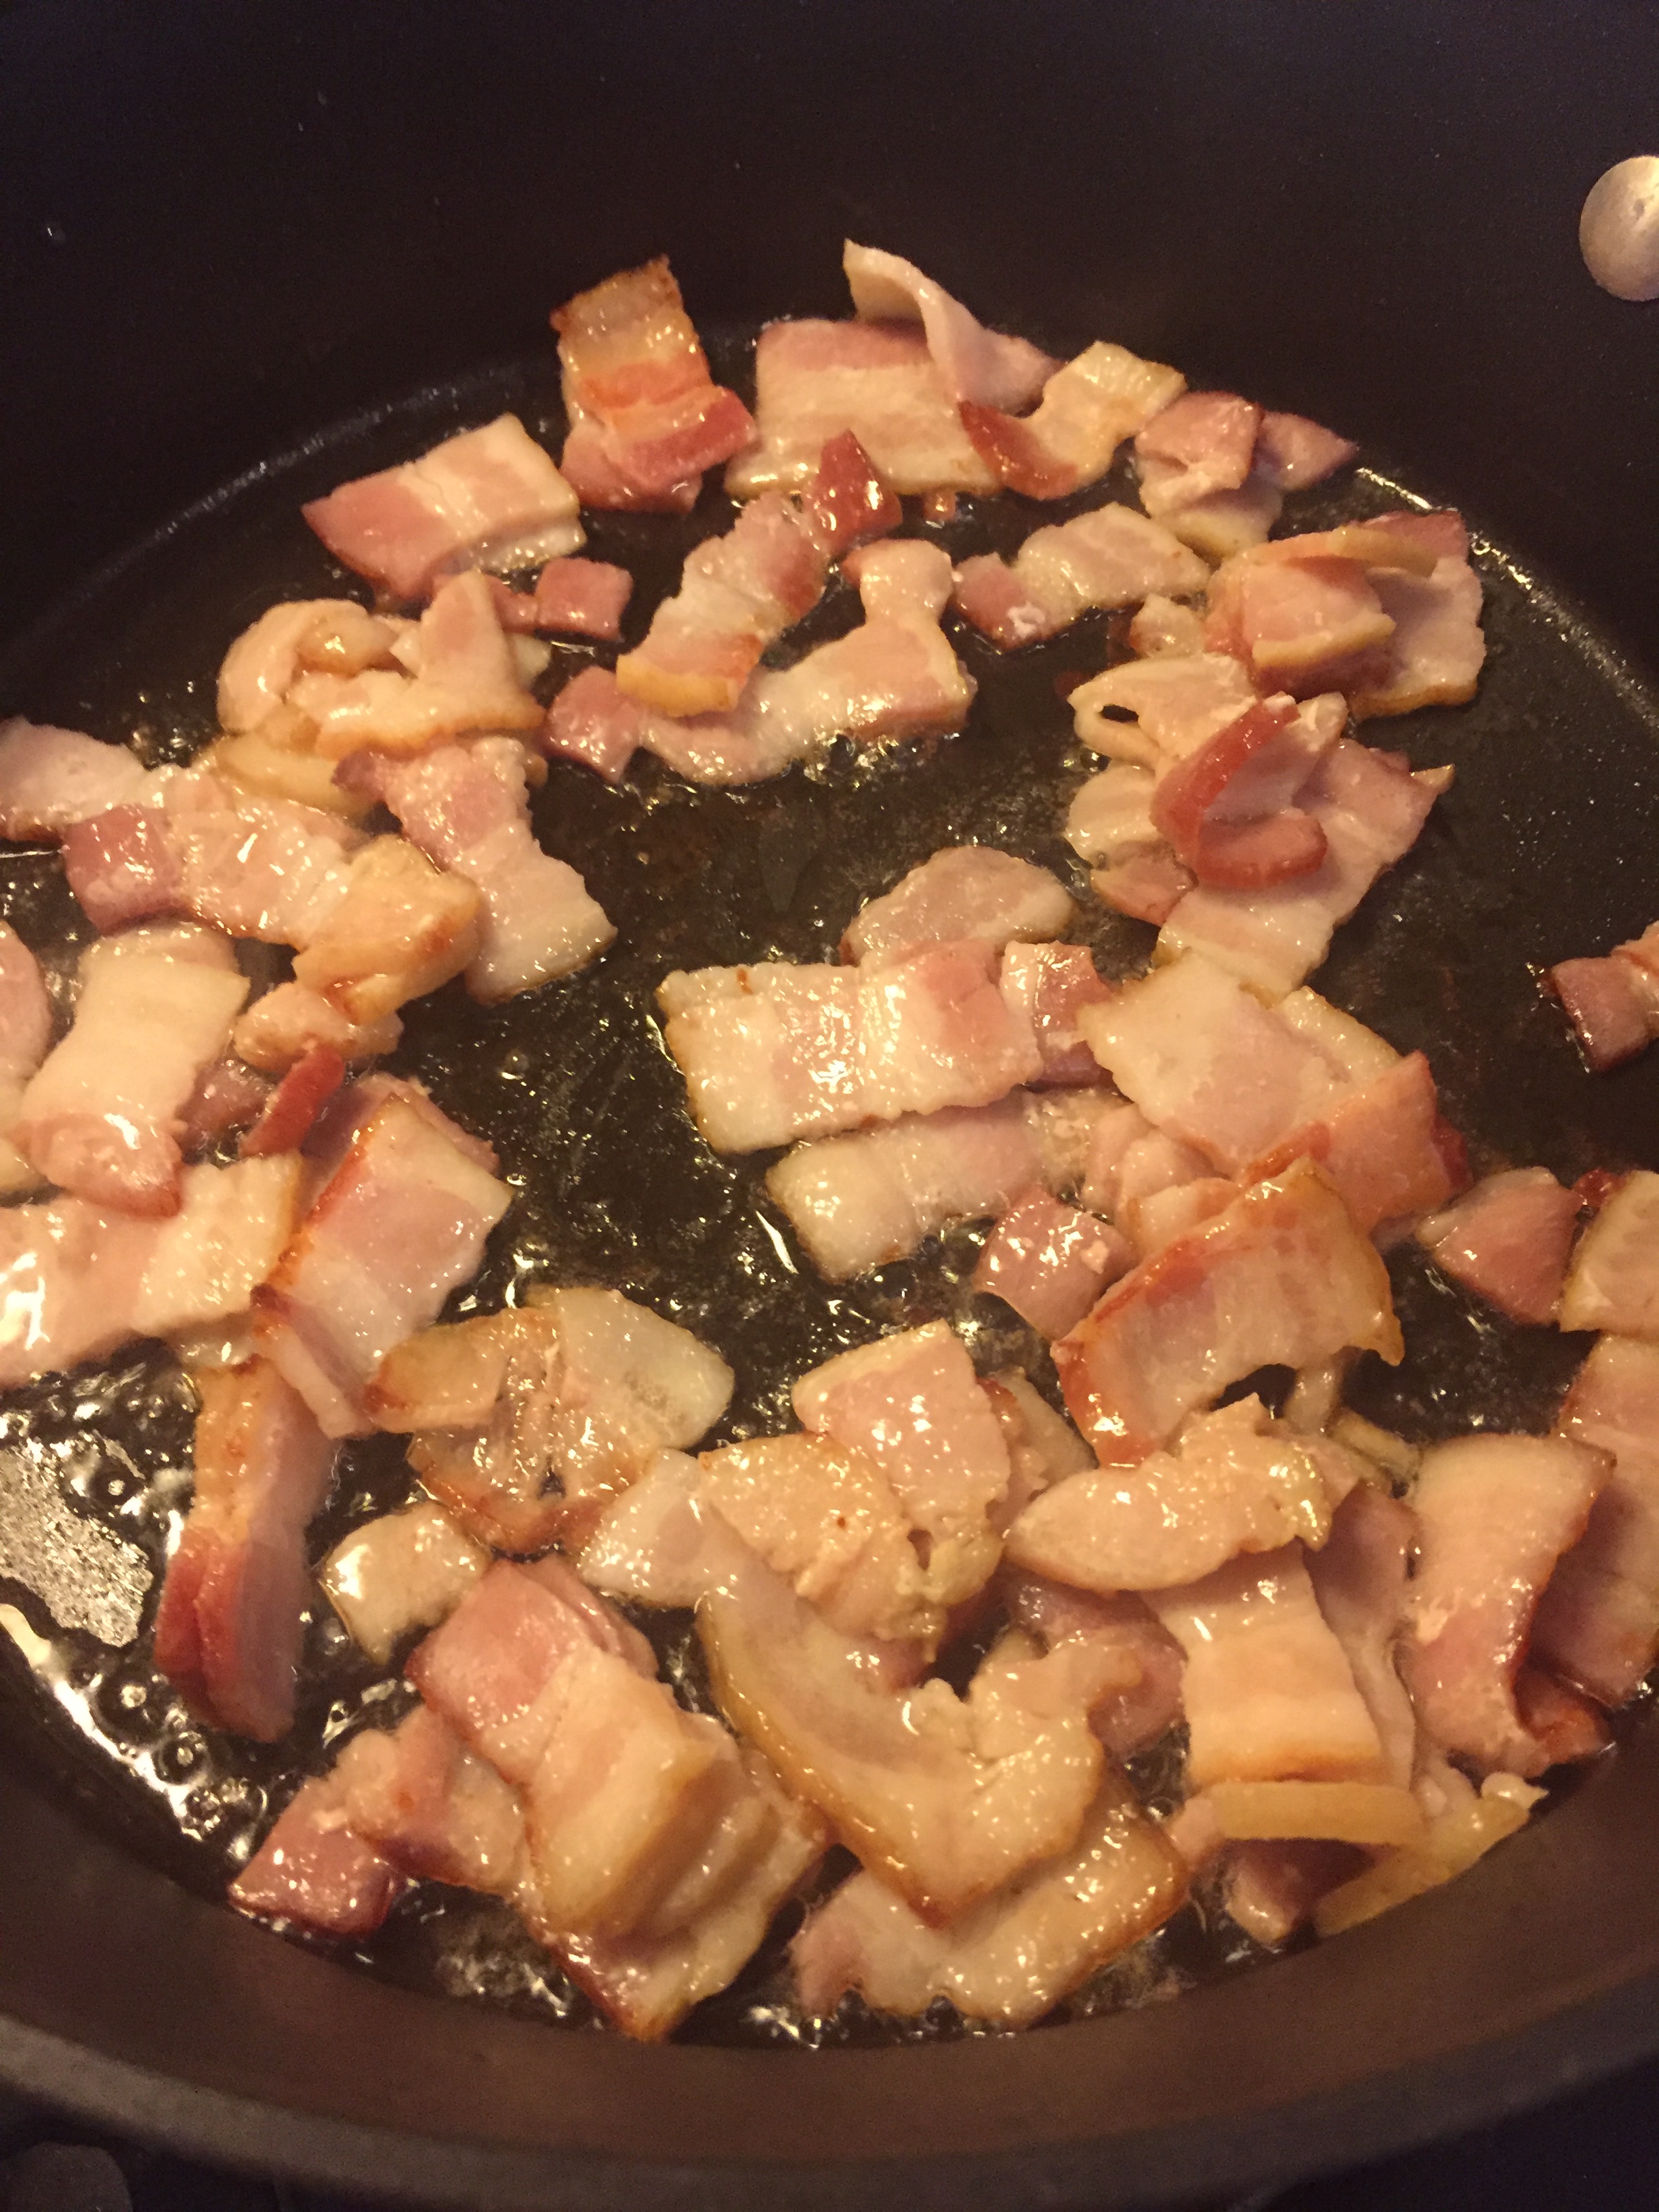
So…yesterday I made Carla Hall’s beans with a slight modification.  I added bacon.  Because everything is better with bacon.

4 slices of thick cut bacon diced

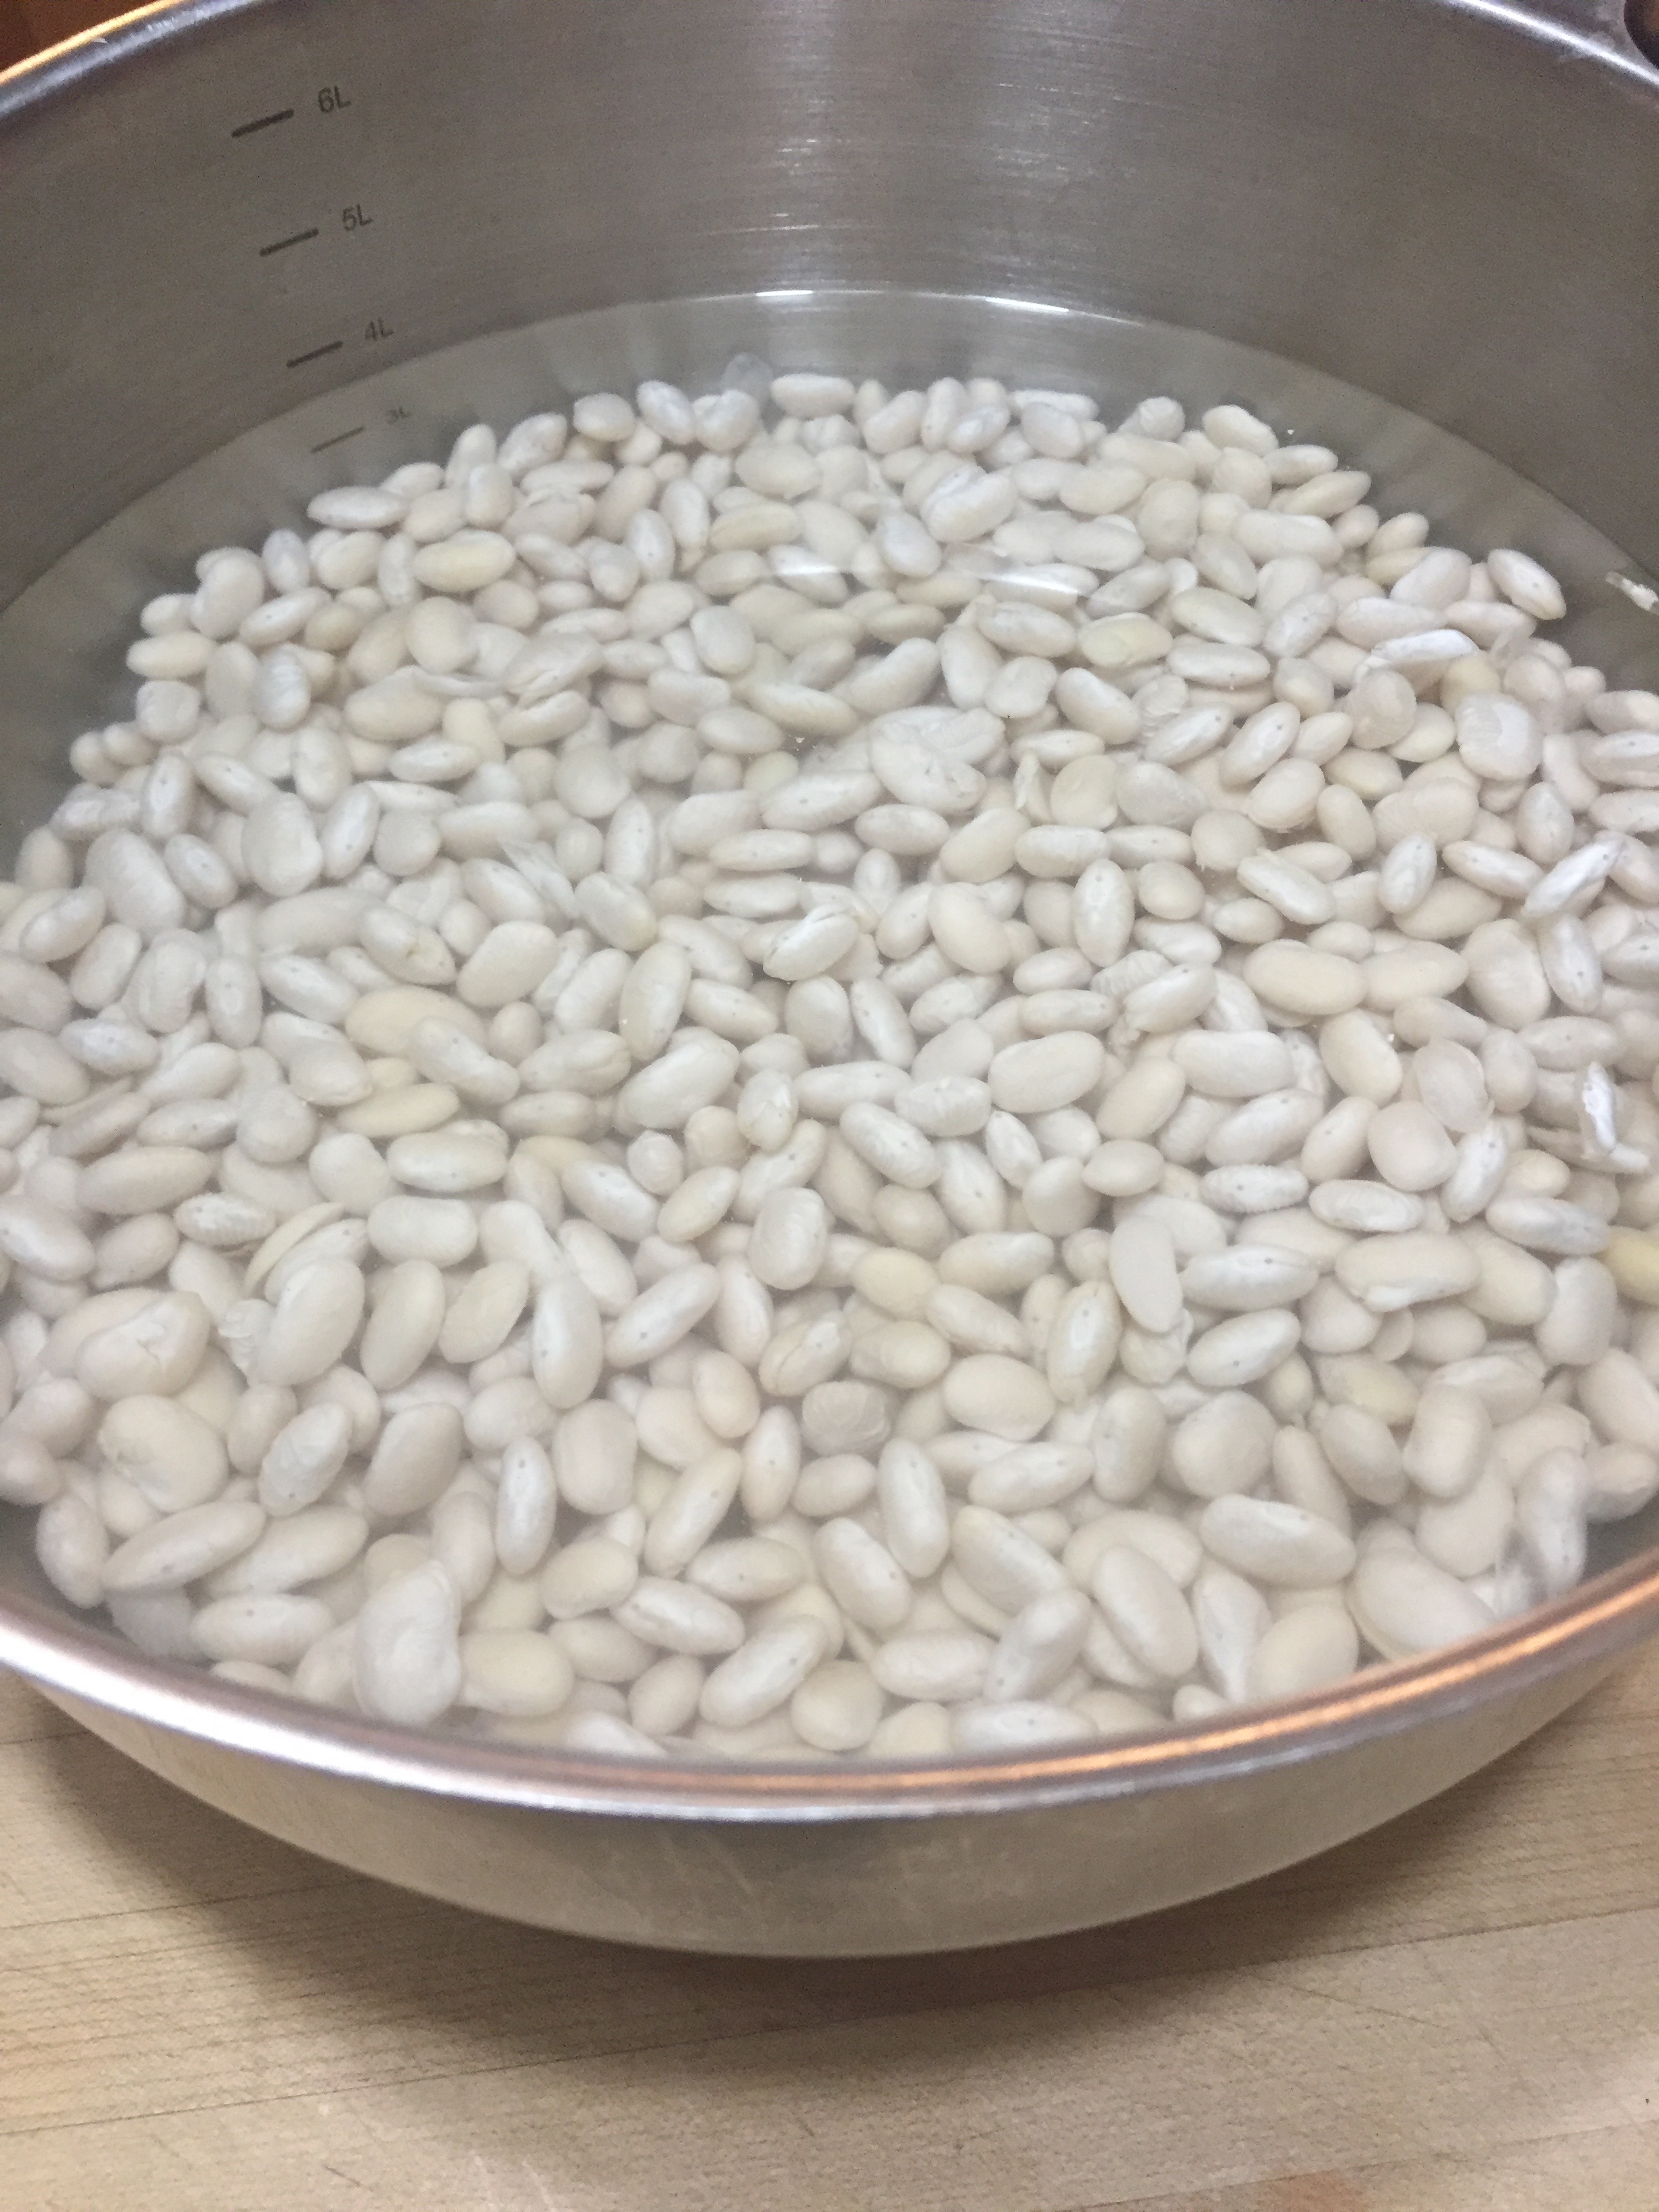
2 pounds of dried northern beans

1 large onion finely chopped

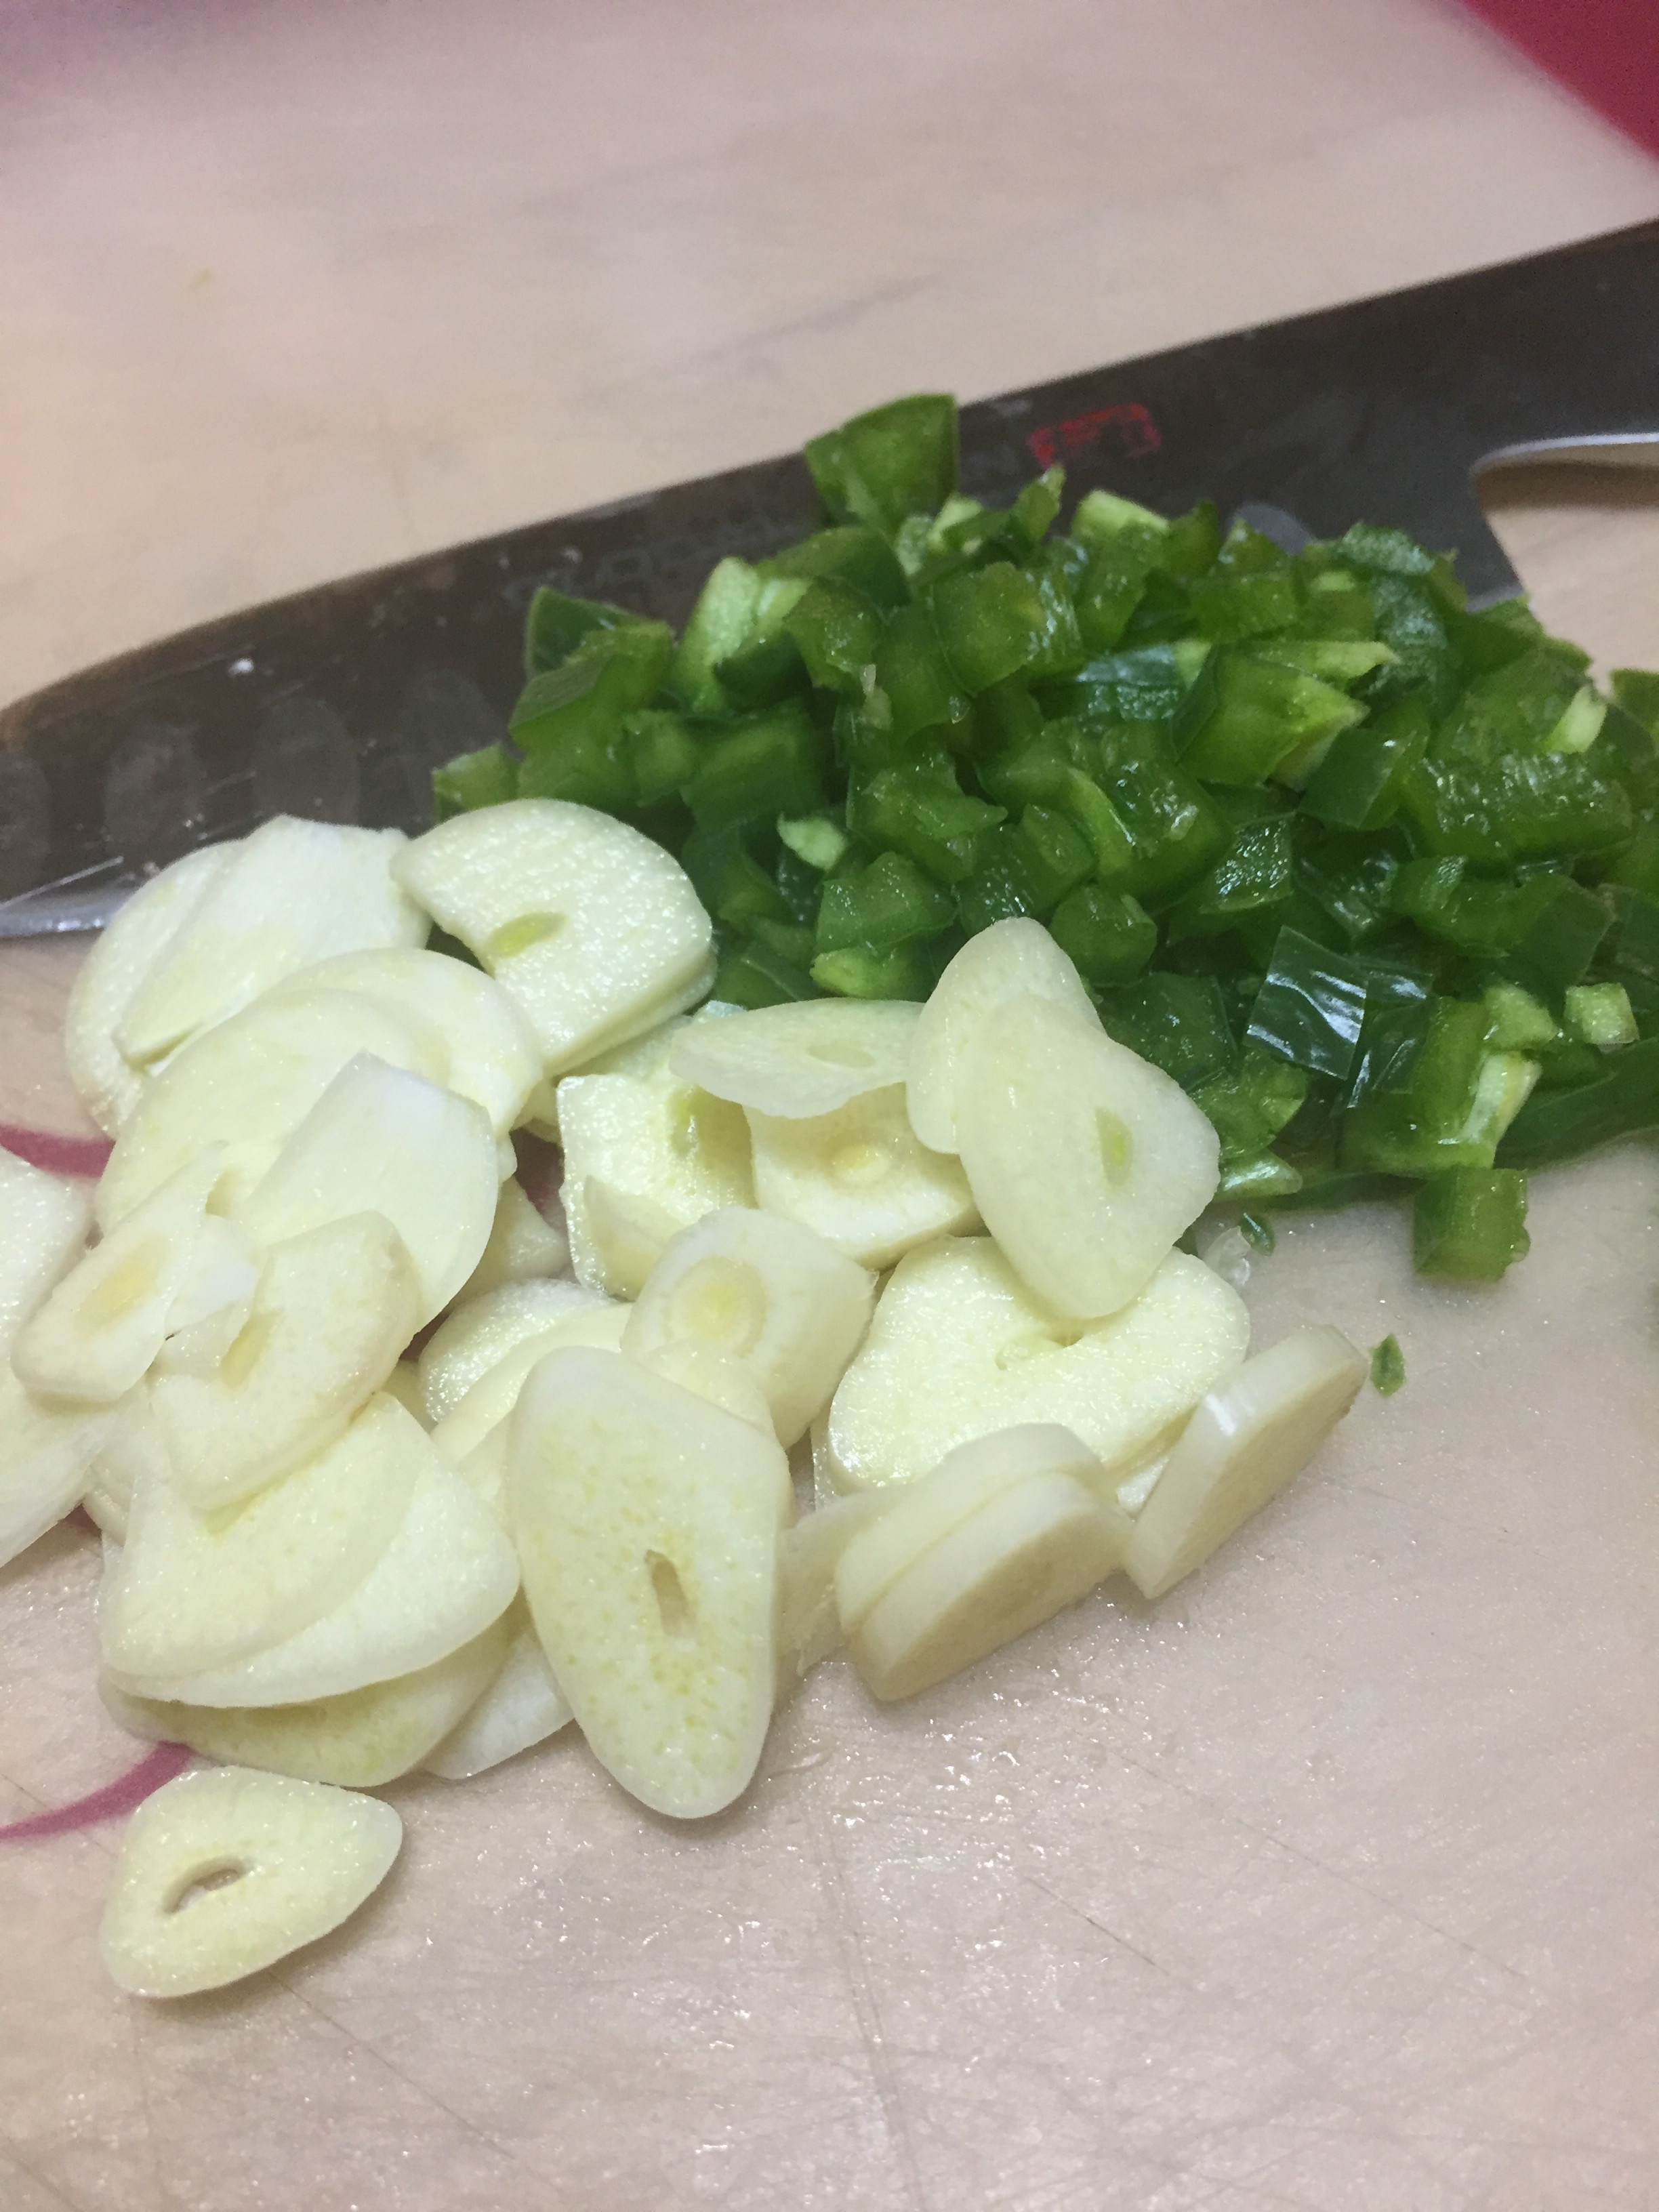
1 jalapeño chili seeded and minced

2-3 cloves of garlic thin sliced

1 T smoked paprika

1 T Worcestershire sauce

3/4 cup catsup

1/2 cup packed brown sugar

1/4 cup molasses (I added an extra 1/4 cup of molasses)

3 T yellow mustard

Kosher salt and fresh ground pepper

This is the part that requires some planning ahead.  Stir 3 T of kosher salt into 3 quarts of water until the salt dissolves.  Add the beans, cover, and soak overnight in the refrigerator.

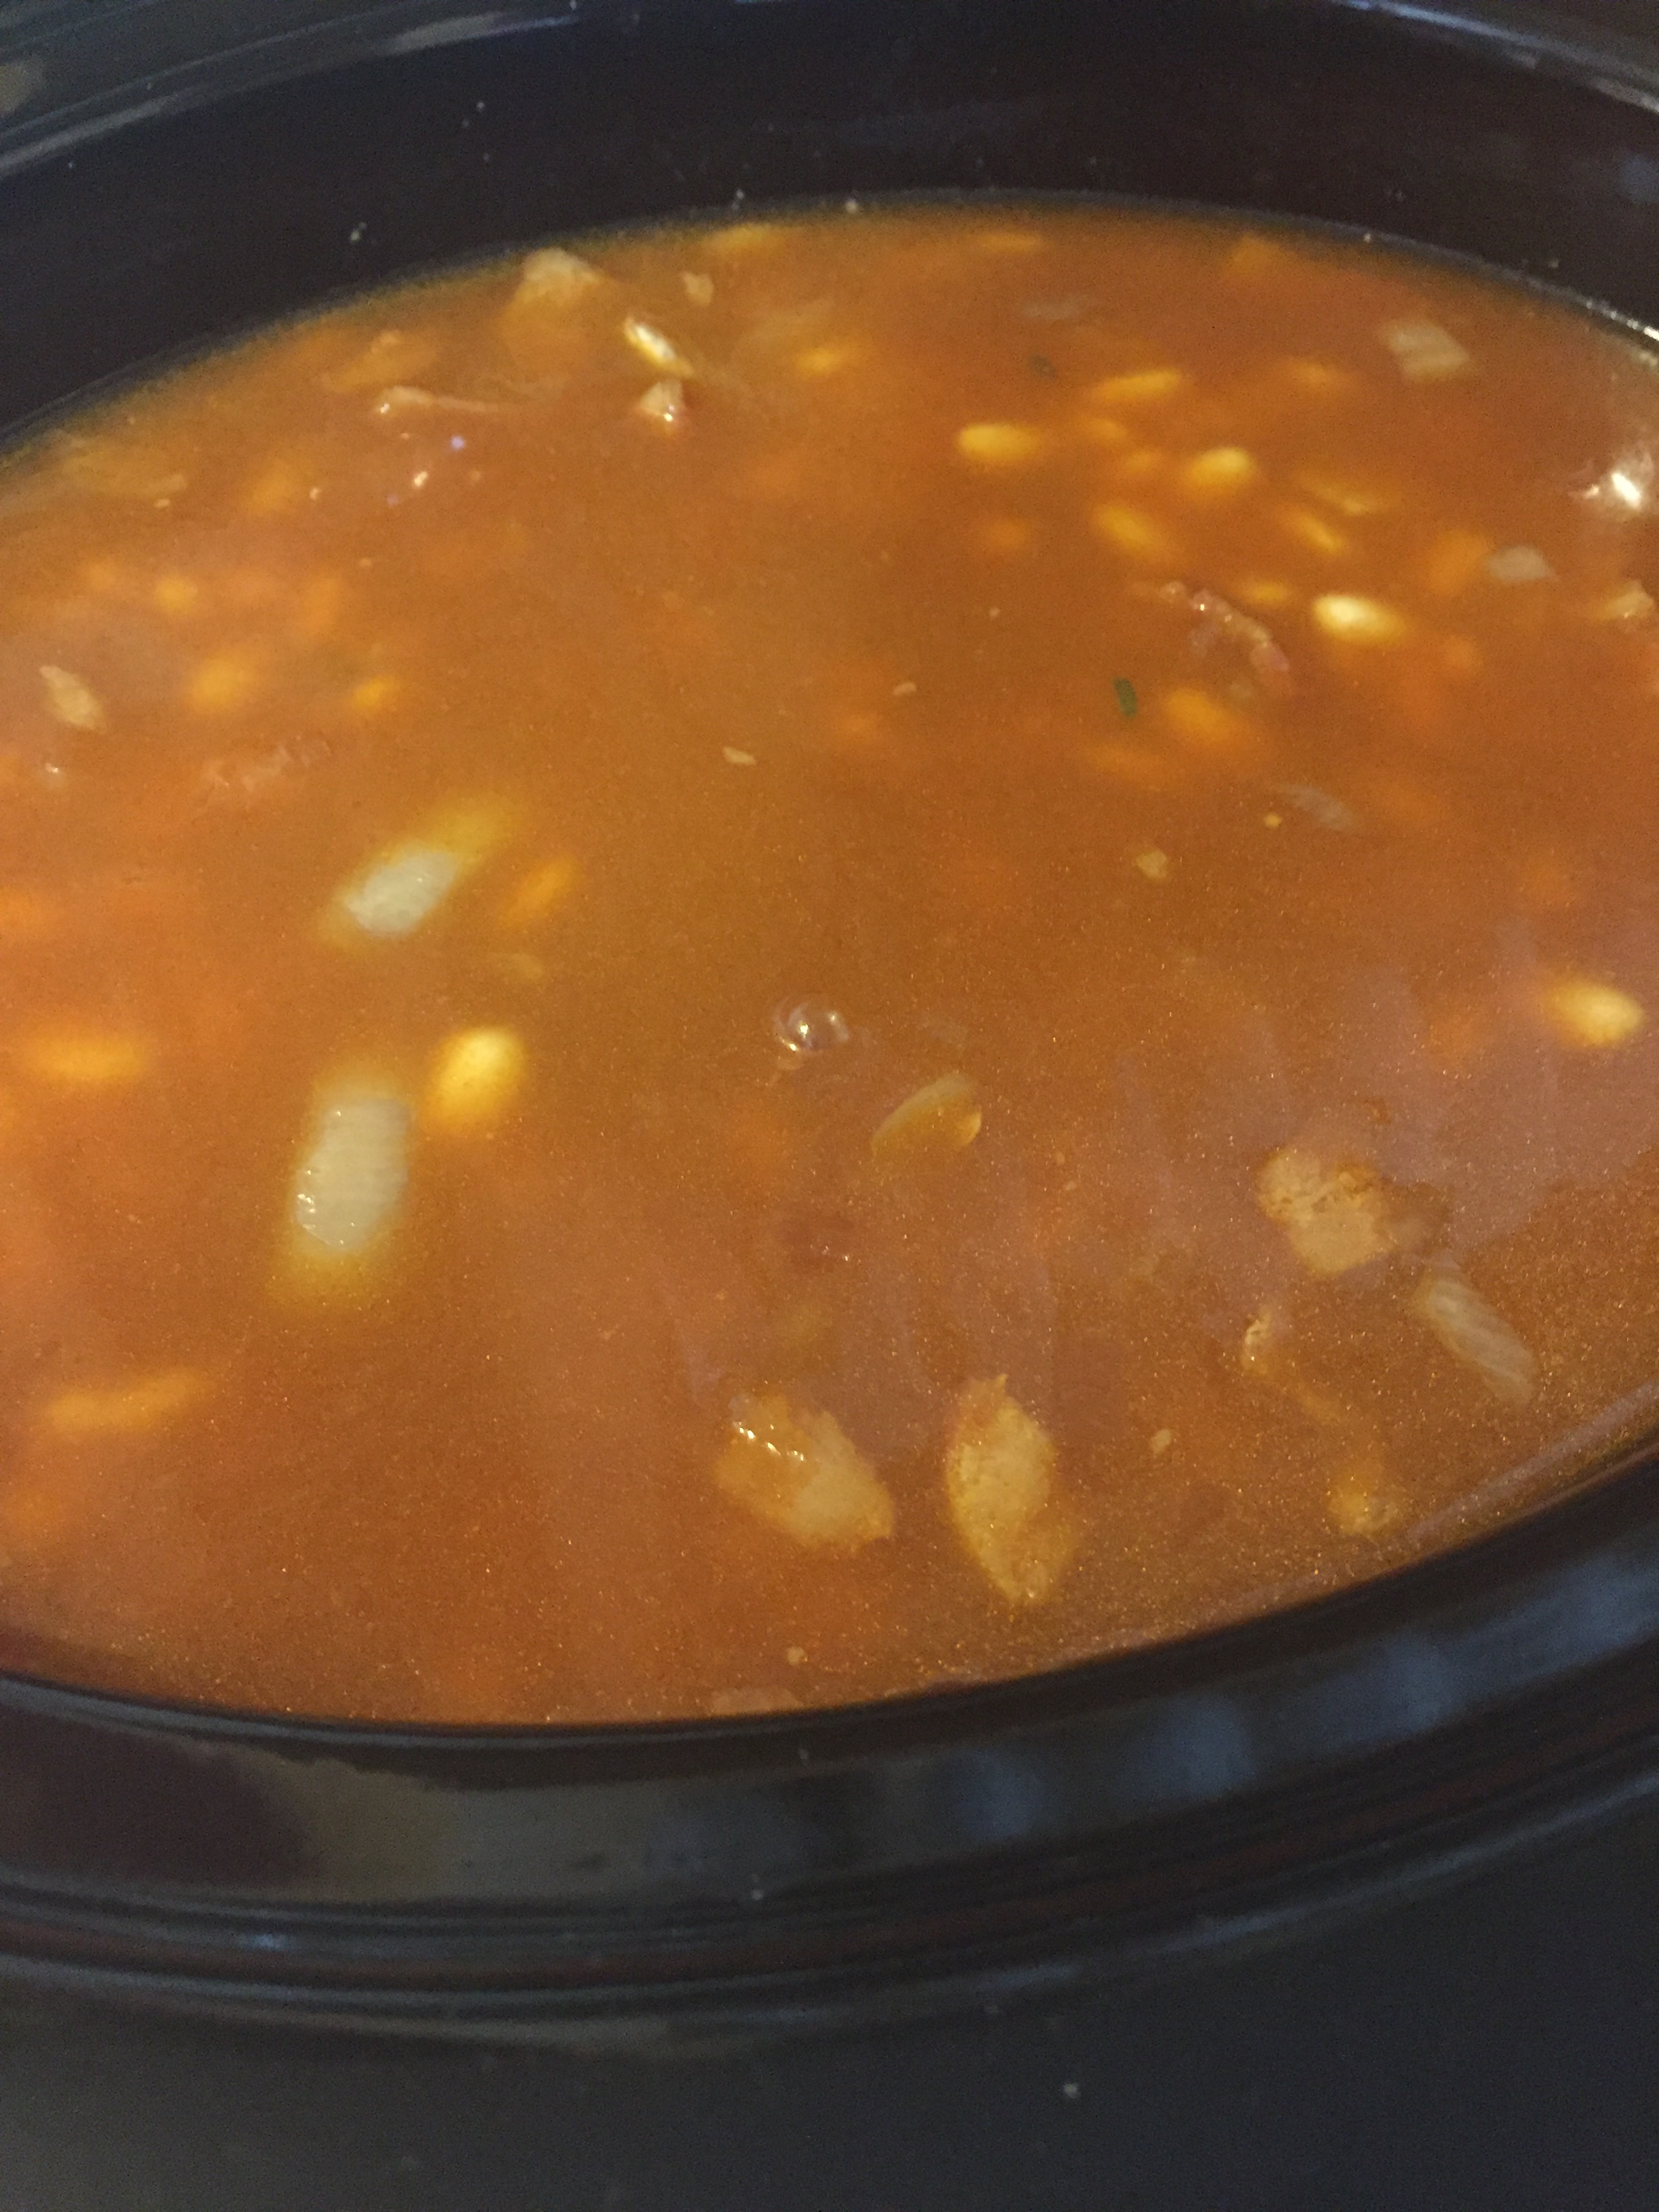
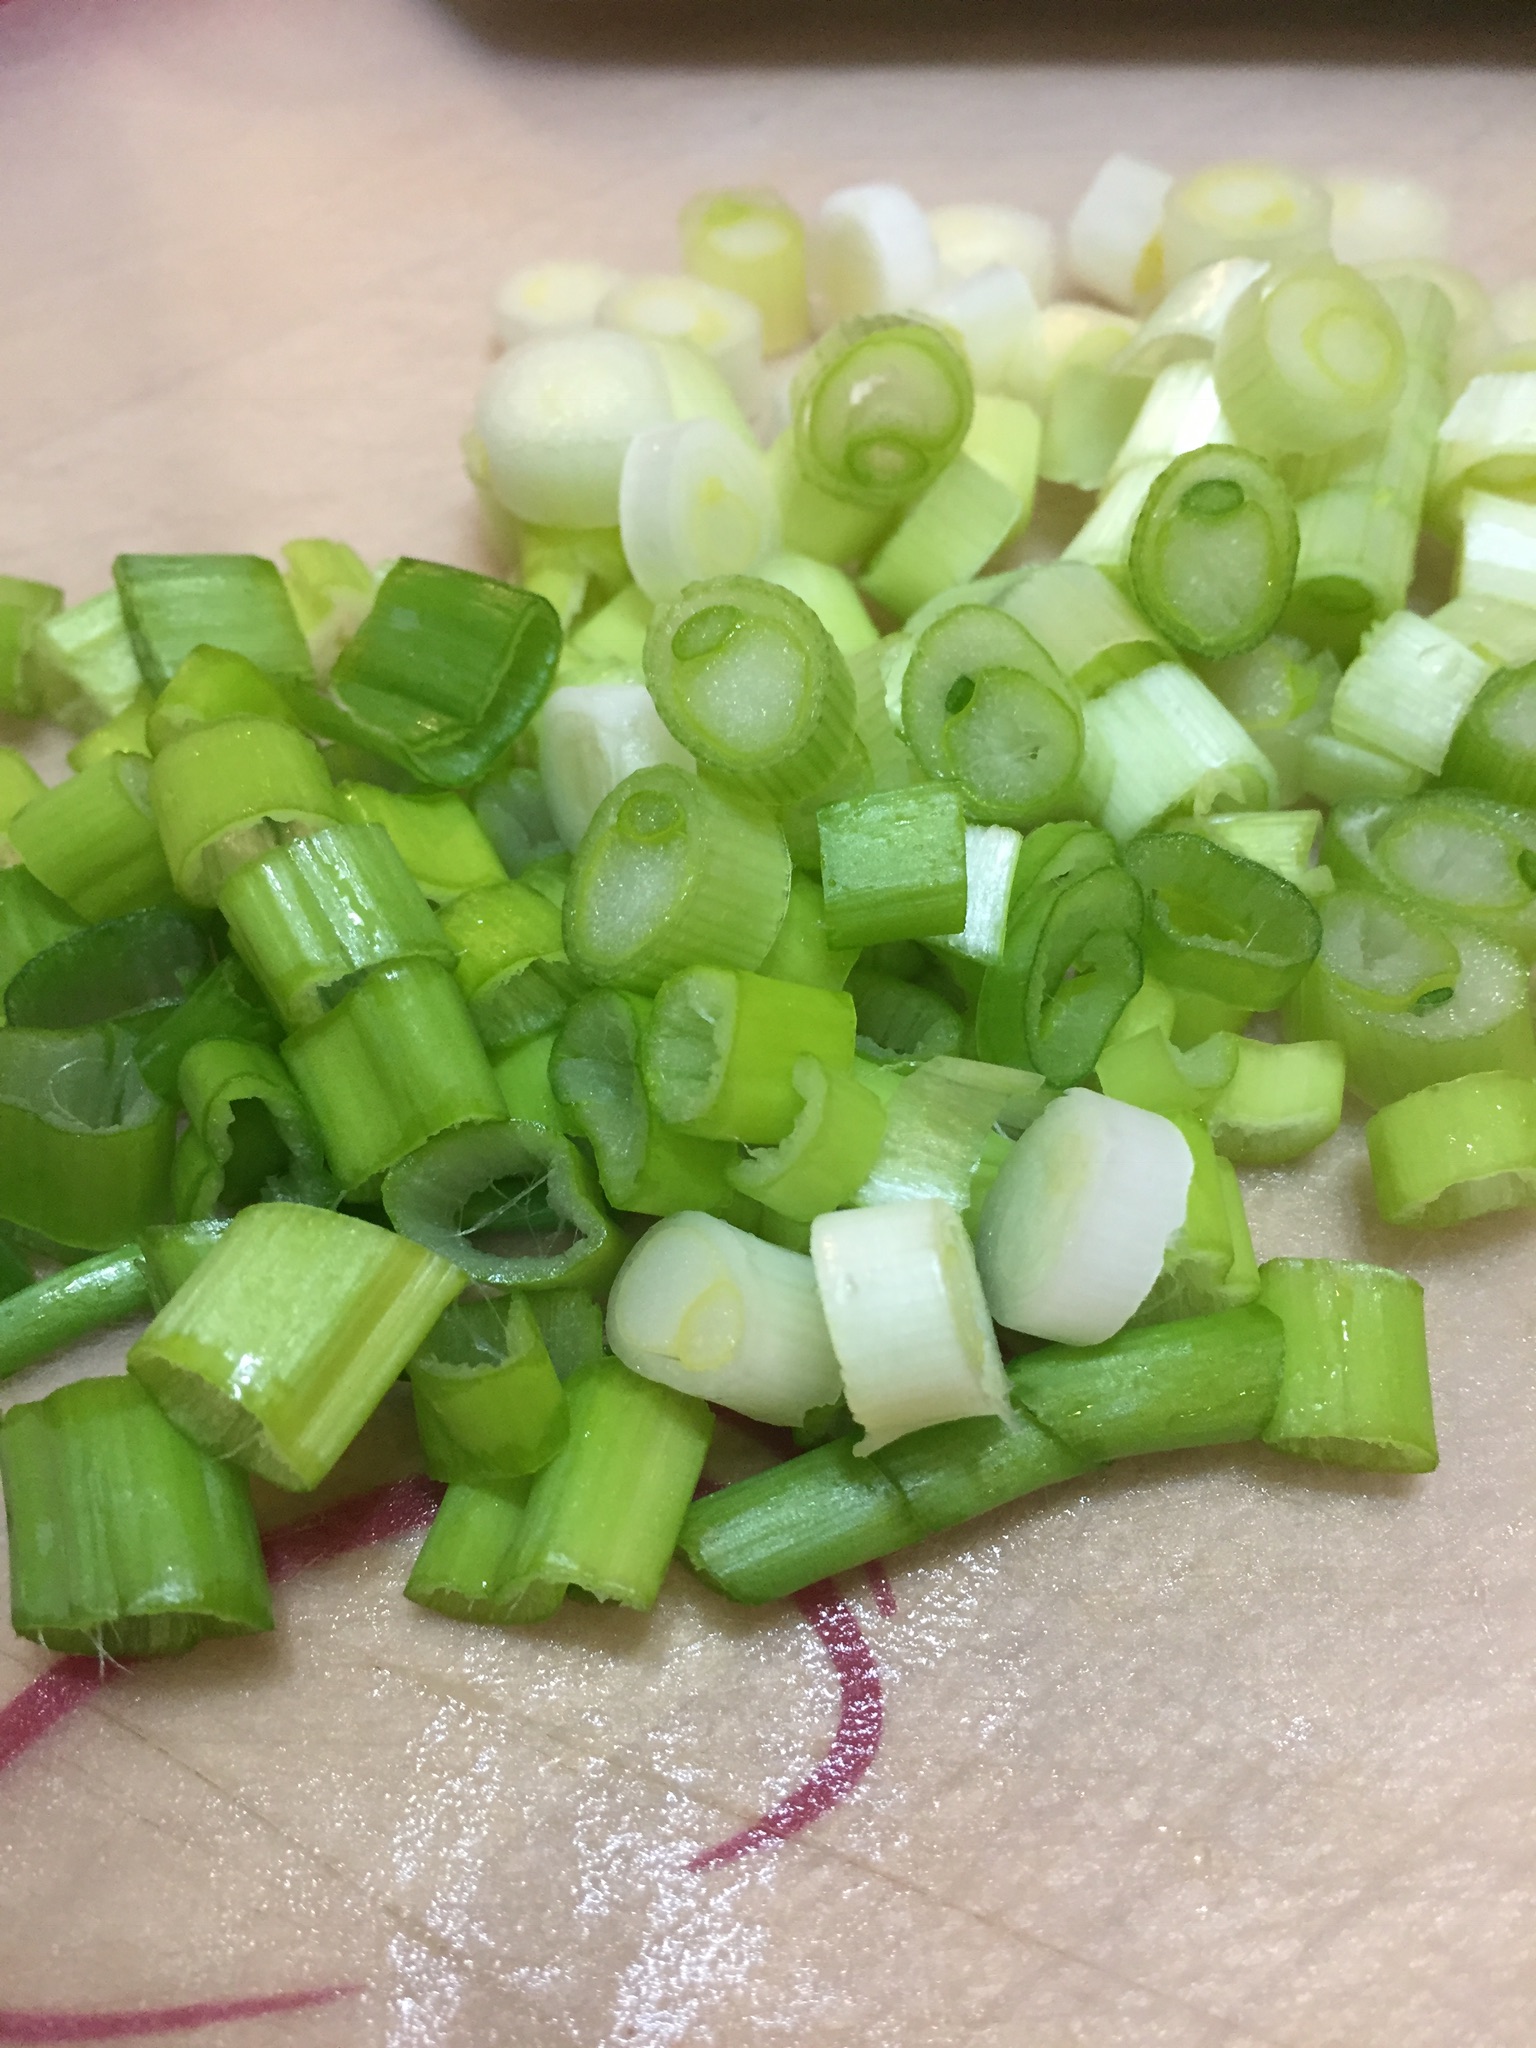
Drain the beans and transfer them to a 6 quart slow cooker.  Mince the jalapeño, slice the garlic and dice the onion.

In a heavy skillet cook the bacon until most of the fat is rendered.  Add the onions, jalapeño, and garlic.  Stir occasionally over medium heat until the onions are translucent.  About 5 minutes.

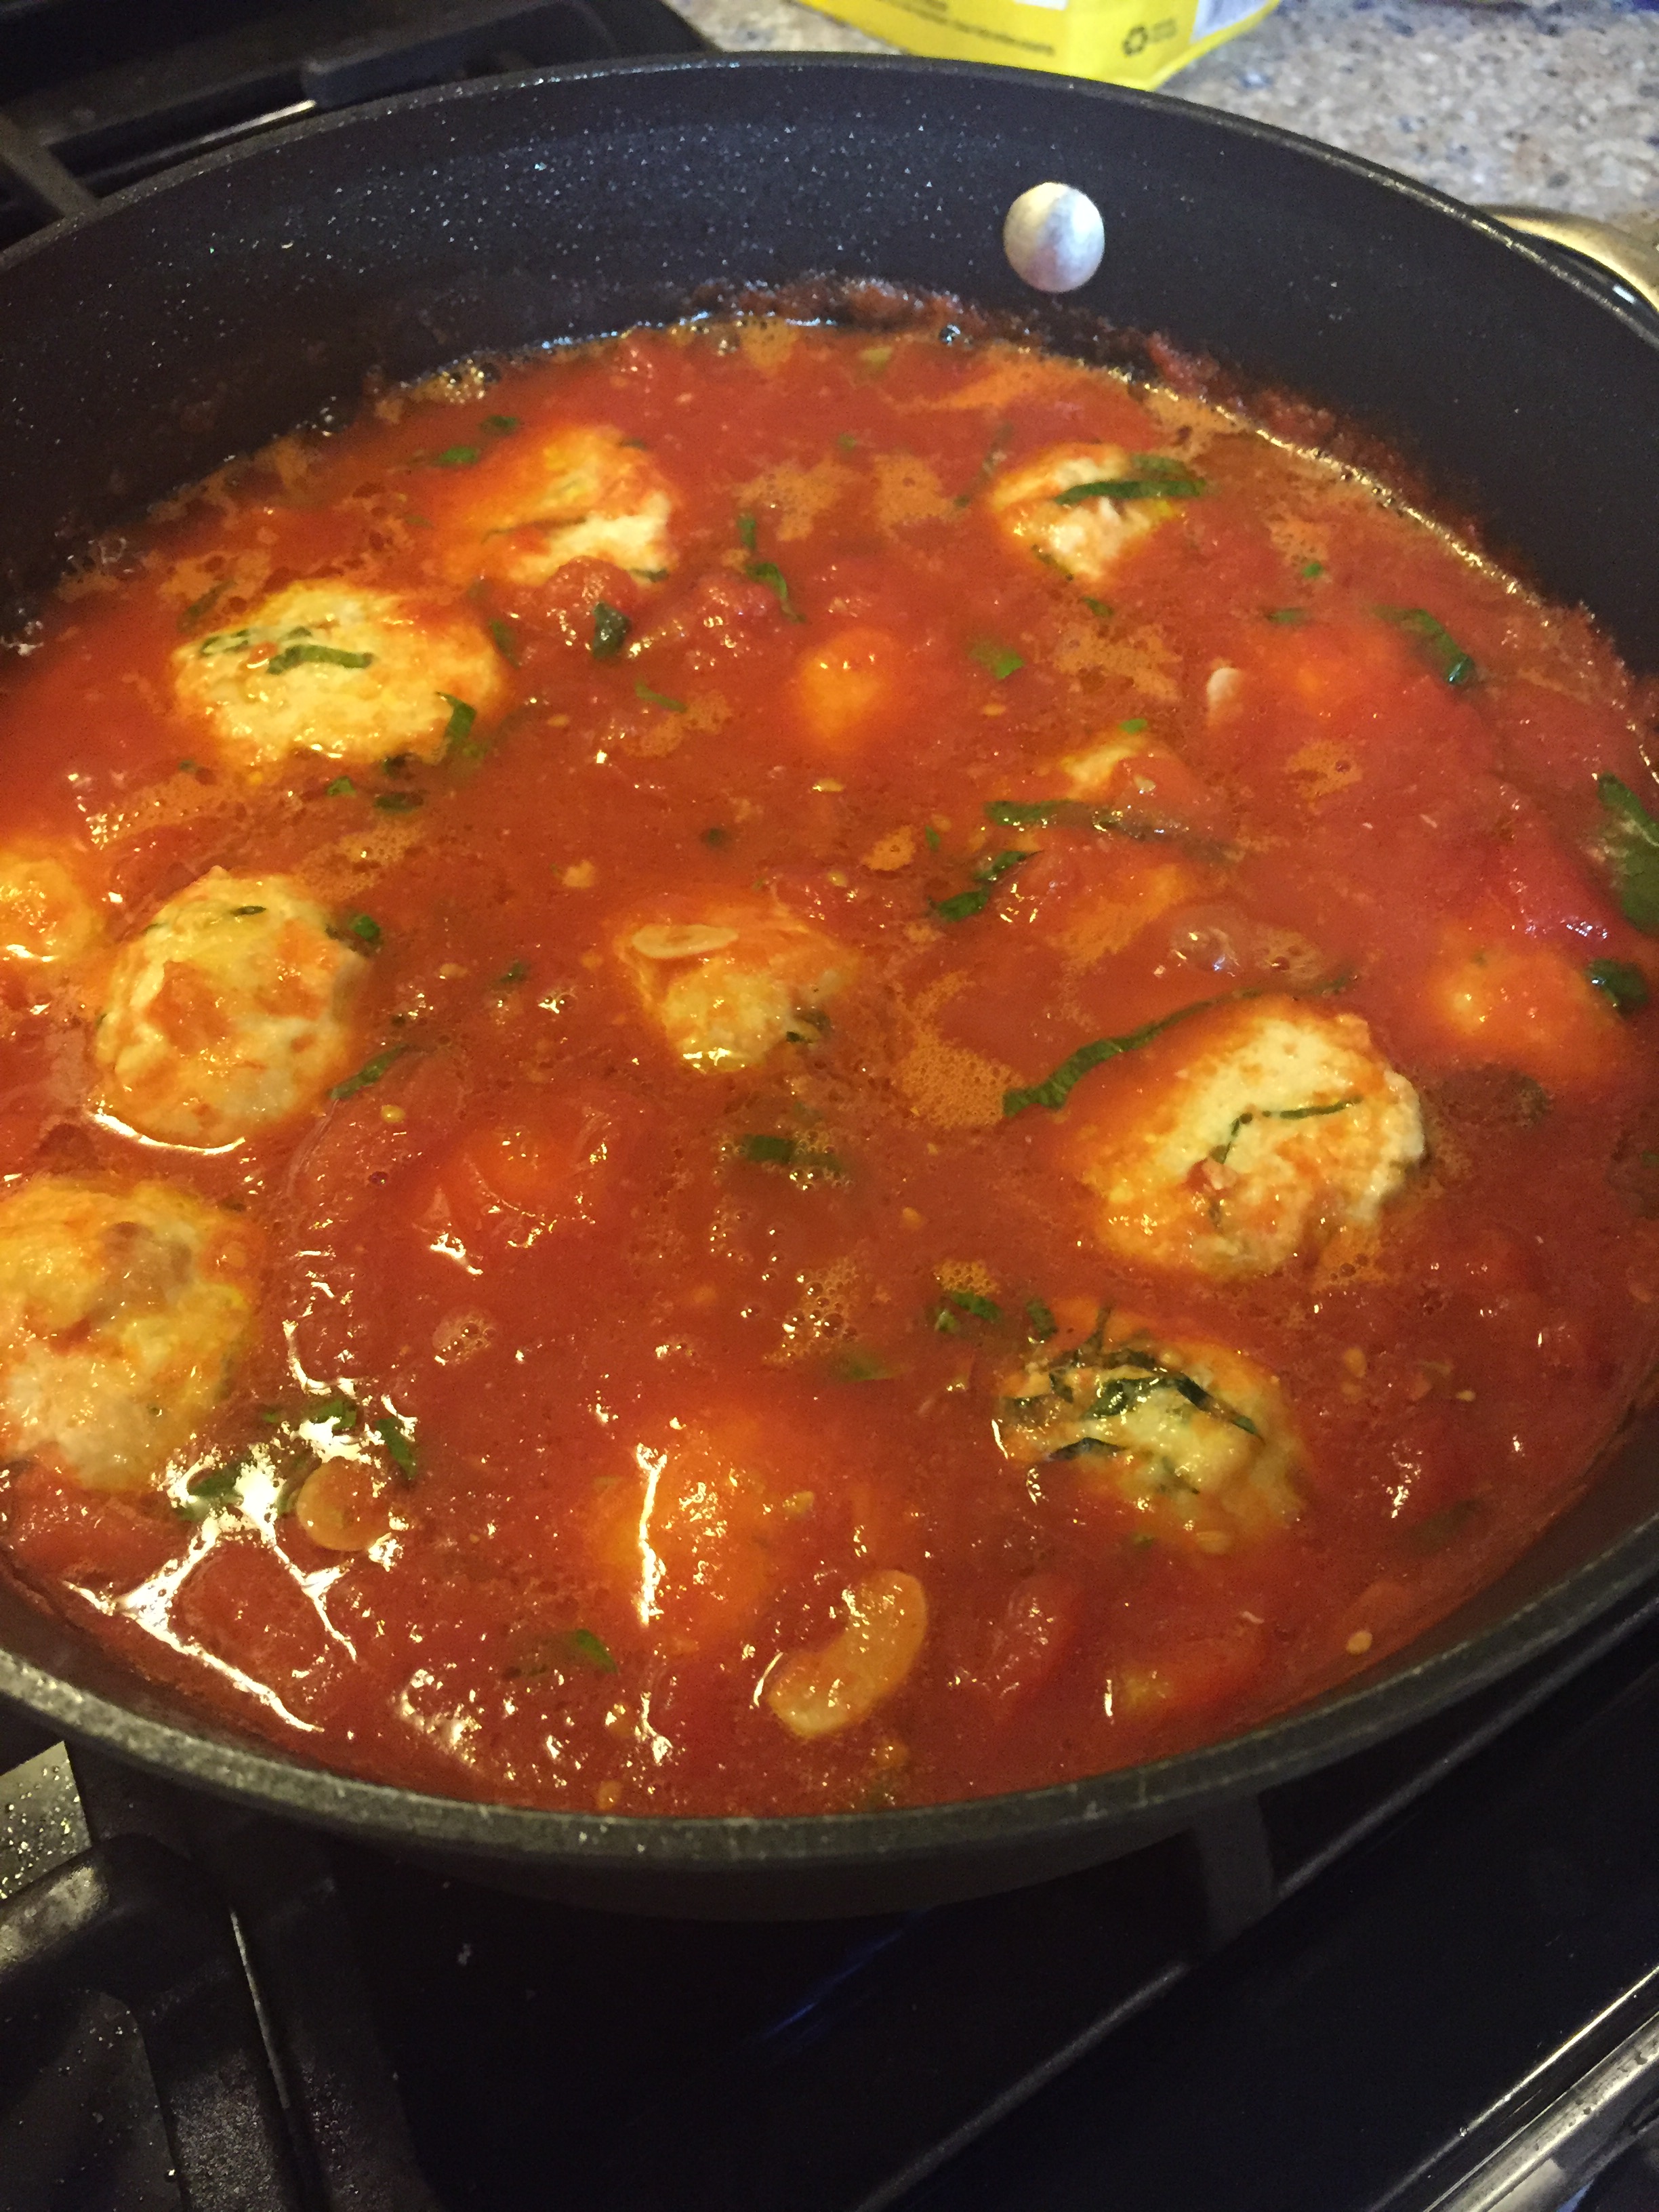
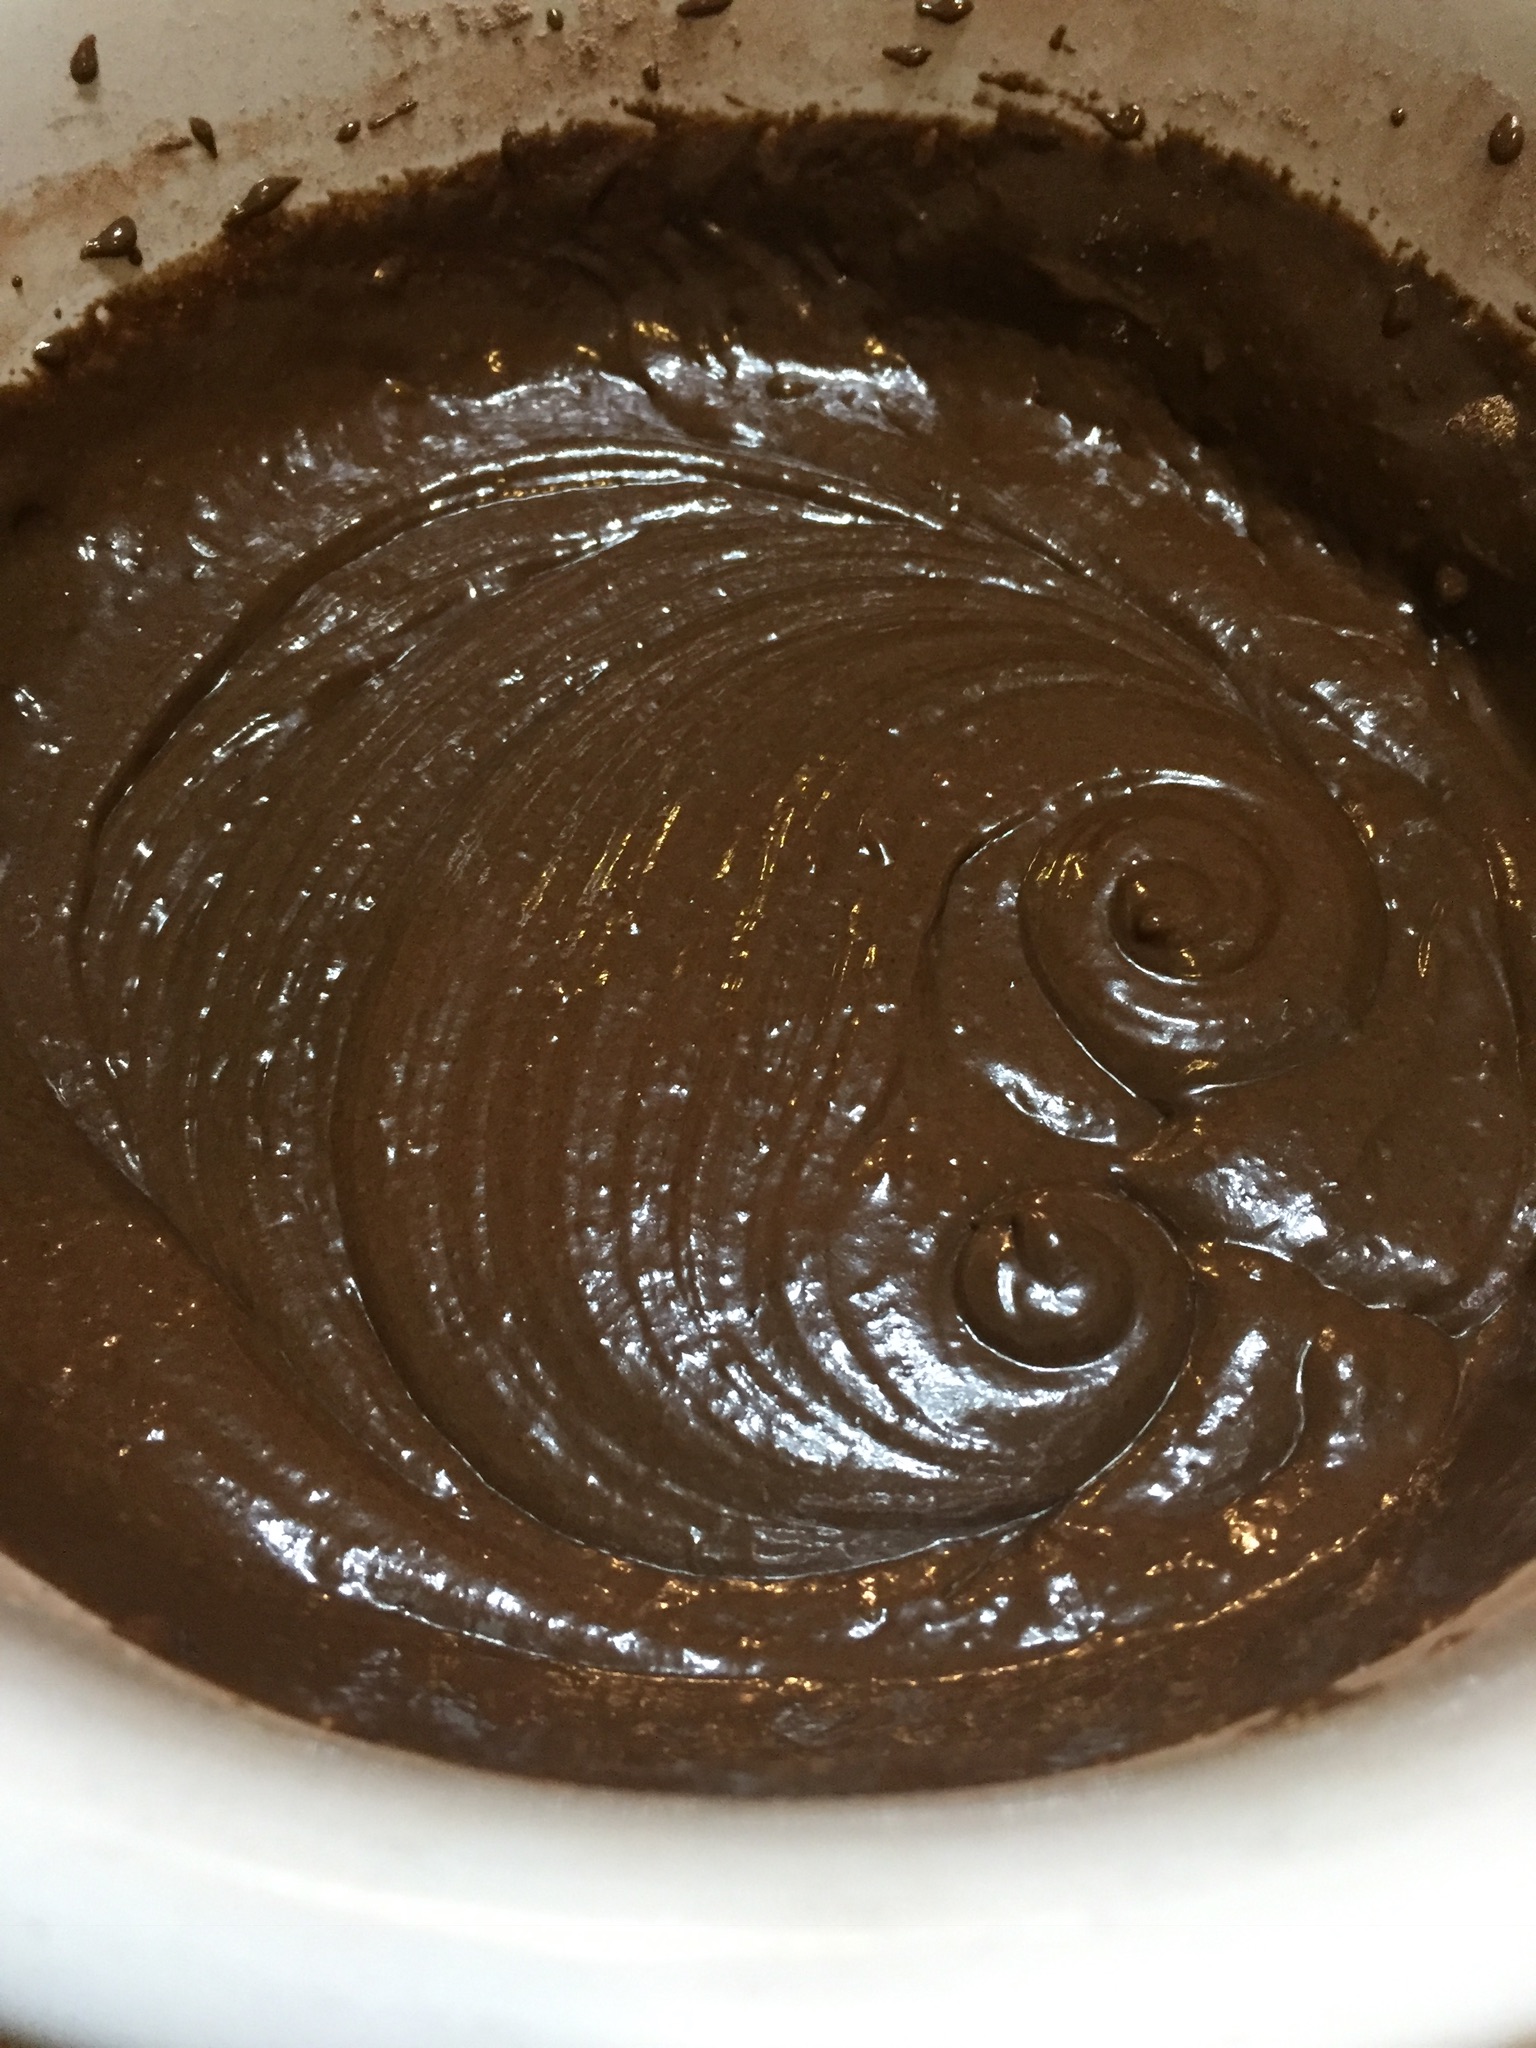
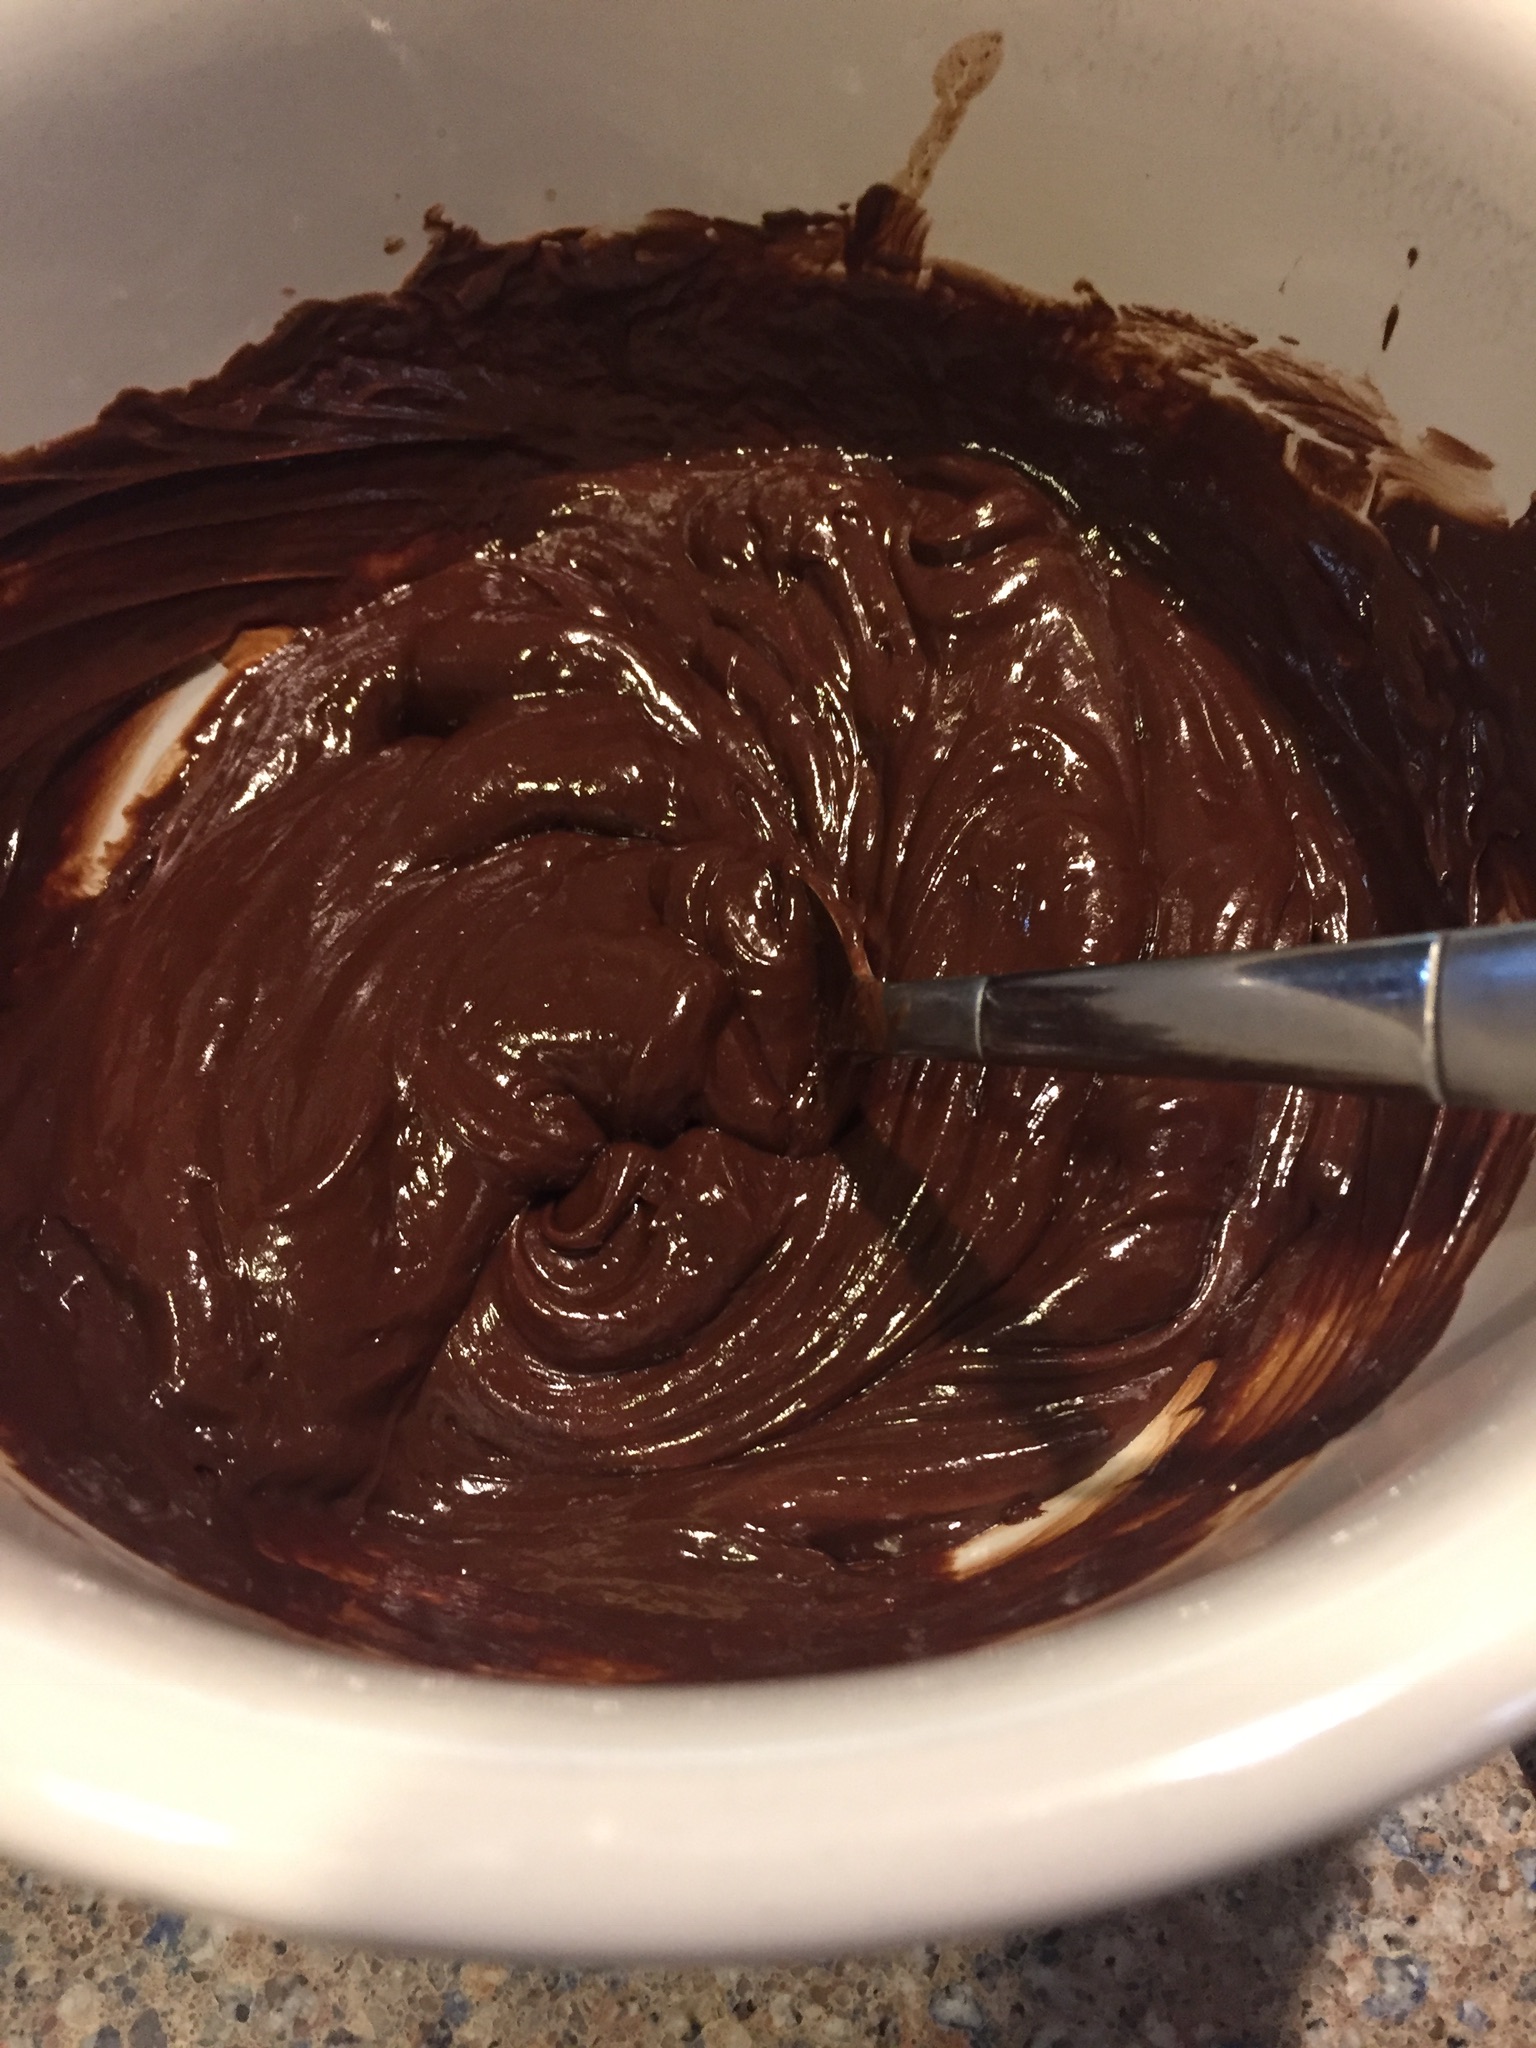
Stir in the smoked paprika, 2 tsp of salt and fresh ground pepper.    Add the Worcestershire sauce, catsup, brown sugar,  molasses, and mustard.  Cook, stirring, until the sugar dissolves and the mixture starts to bubble.

Pour the sauce over the beans and add enough water (about 5 cups) to cover the beans by 2 inches.

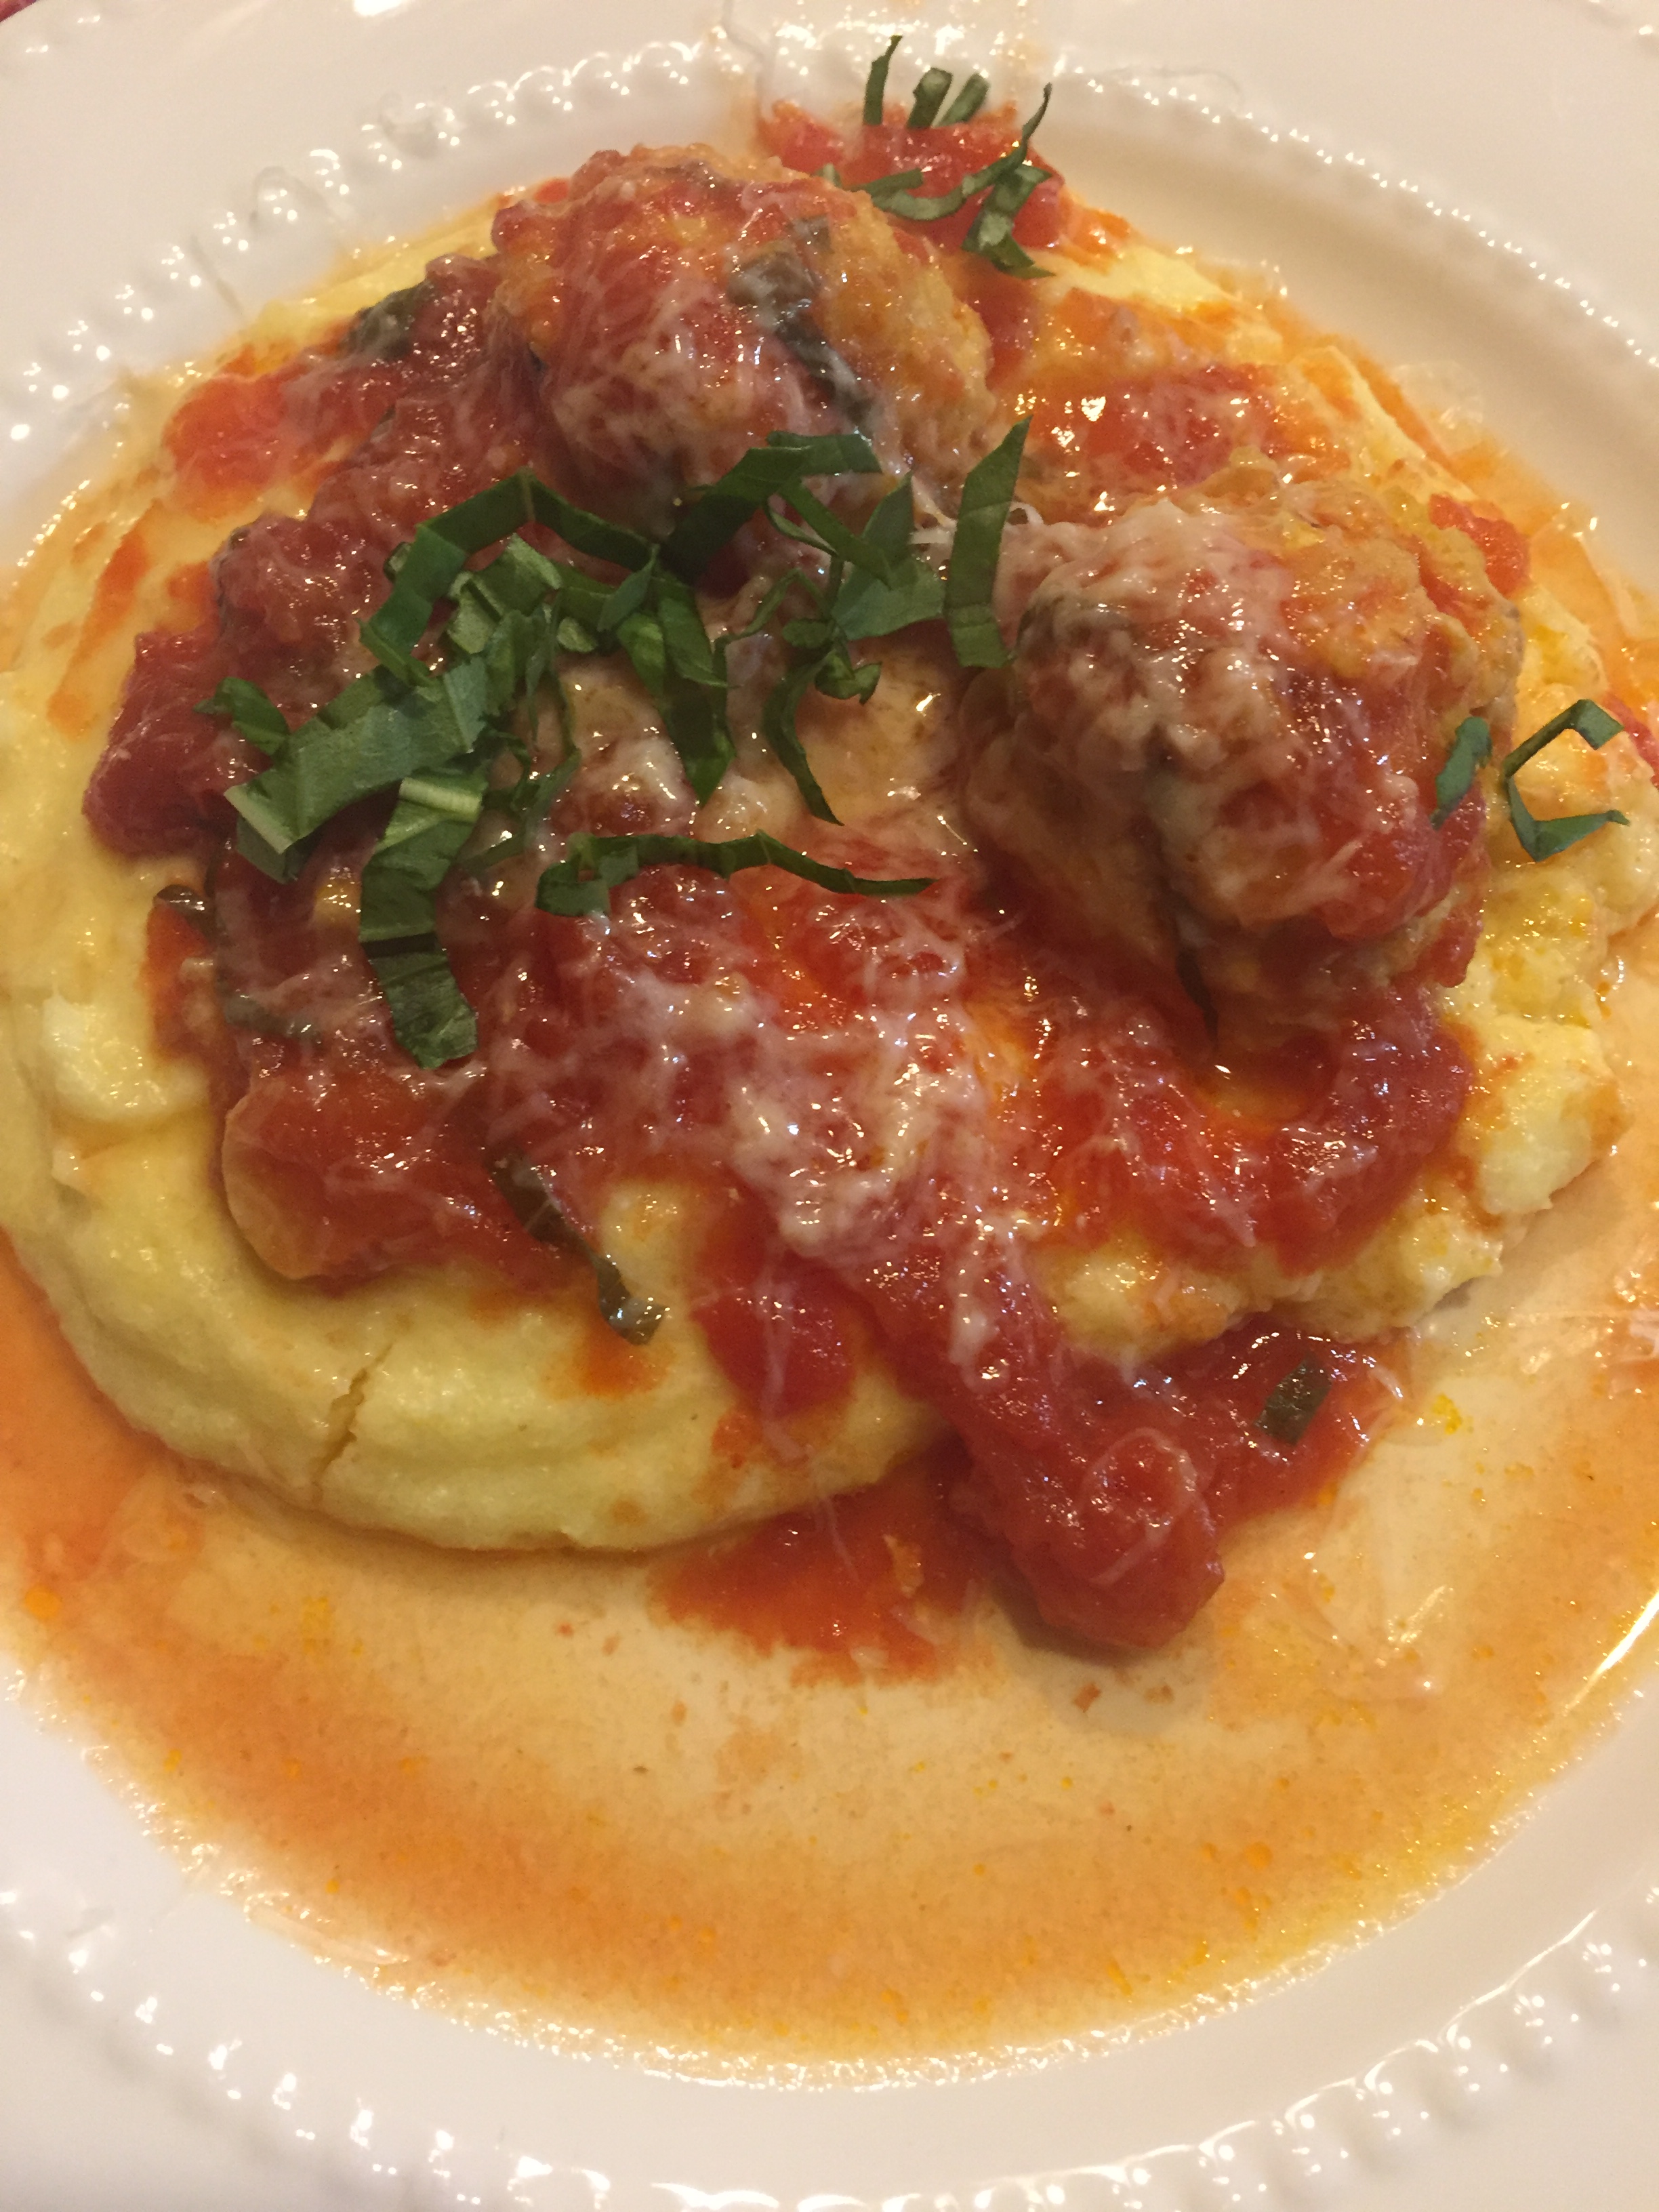
Cover the cooker and cook on low until the beans are tender, 6 to 8 hours.  Stir once or twice as they are cooking.  Serve up while they’re hot and enjoy.  Supper.  Corn bread and beans.

I was messaging with a friend last night before we ate, bragging a little about how good these beans were smelling, and he told me his wife was cooking black-eyed peas and corn bread for their dinner.  Unbeknownst to me, in the South, black-eyed peas, cowpeas, and beans, pork, and cornbread are symbolic foods served on New Year’s Day.  They are considered “lucky” foods and, when eaten on New Year’s Day, are thought to bring a year of prosperity.  The peas or beans are symbolic of pennies or coins.  You’ll want to eat 365 of them.  Corn bread, being the color of gold, represents wealth.  The peas or beans and corn bread are supposed to be served with kale, collard, mustard or turnip greens which are the color of American currency and are supposed to add more wealth.  There is a dish called Hoppin John which is a combination of rice, beans, greens and bacon.  If you serve the left overs the next day its called Skippin Jenny and demonstrates one’s frugality.  For the bad rap some people give beans I think after last night’s dinner 2019 will be a year of prosperity.

NOTE:  I am quite certain my mother’s baked bean recipe did not include smoked paprika or a jalapeño.  Just as I modified Carla Hall’s recipe a bit by adding bacon and a little extra molasses, feel free to customize this recipe to your own tastes.  The beans would make a great vegetarian dish without the bacon and would be a great side dish with roast pork or sausage.

Fish Stew (Kalamojakka)

The Saturday after Thanksgiving I made a Finnish feast for all of us with a lot of help from my daughter and her boyfriend.   For appetizers we had homemade Finnish cheese (which took us the better part of a day to make), pickled herring, smoked lake trout from the UP of Michigan, pickled beets, Finn Crisp and an awesome smoked white fish pate that my friend made for us.

For dinner we had meatballs (a recipe with ground beef, fresh bead crumbs, heavy cream, allspice, onion and a milk gravy), baked ring bologna (makkara) which is apparently a Finnish staple, potato patties with bacon and onion fried in bacon grease, green beans, sliced tomatoes, limpu bread and Kalamojakka.

For dessert we had rice pudding with blueberry soup and my mummu’s orange cake.  We lost my Dad January 1st of this year.  This dinner was the perfect tribute and he would have enjoyed every bite!

The star of our dinner was the Kalamojakka.  I think it was almost everyone’s favorite thing.  Followed closely by the orange cake which I blogged recently.  We actually made the mojakka the night before and slowly re-heated it for our dinner.  Like most soups, the flavors improved as all of the ingredients came together.  This was one of my Dad’s favorite meals and one I remember my mummu making very often.   My Dad and my grandpa were both avid fishermen so we always had fresh lake fish at our house.  Trout, coho, walleye, perch.  And because nothing ever went to waste, the Kalamojakka was made using all of the fish including the heads.  My grandpa would eat the meat from the cheeks.  It was probably the tastiest bit!

Ingredients:

1 to 1 1/2 pounds of cleaned fish (such as trout, pike or perch)

2 tsp of salt

2 medium onions, chopped

1-2 tsp of fresh dill weed

4 cups of water

4-5 russet potatoes peeled and diced

2 cups whole milk

4 T butter

Trim the tail and fins from the fish and slice into steaks.  Put the fish in a dutch oven and add the salt, one of the diced onions, dillweed and four cups of water.

Bring to the boiling point and simmer (without boiling) until the fish flakes when pierced with a fork but does not fall apart.

Remove the fish to a platter and strain and reserve the stock.  Return the stock to the dutch oven, add the diced potatoes and the other diced onion and cook in the stock until the potatoes are tender.  While the potatoes and onion are cooking and once the fish has cooled enough to handle, remove the skin and bones and set the fish aside.

Once the potatoes are tender add 2 cups of milk and the fish to the potatoes and stock in the dutch oven.  Simmer slowly for about 20 minutes making sure not to boil.  Add the butter and garnish with more fresh dill and salt to taste.

Ladle into bowls and enjoy with some good rye bread.  This would be the perfect time to wear your “Winner, Winner Kalamojakka Dinner shirt!!!

I purchased a loaf of limpu from the Trenary Home Bakery when I was in the UP several weeks ago and saved it for just this occasional.  I even managed to find butter from Finland.

NOTE:  This soup uses no thickening agent like cornstarch or flour so you will find that while the taste resembles chowder it is a lot brothier.   Also, when my mummu and my Dad made it, they would never had added the dill.  In fact, my Dad would have asked me “what is the green stuff in the mojakka?”

You definitely do not have to be Finnish to enjoy this soup.  And, if using the heads while making the broth makes you uncomfortable, by all means toss them.  However, I think the stock is richer when you’ve cooked the fish with the bones and the skin.

Many of the recipes for our Finnish Dinner were adapted from my favorite Finnish Cookbook.


Orange Cake

Our Thanksgiving tradition includes a traditional dinner on Thursday with turkey, stuffing, mashed potatoes and gravy, sweet potatoes and rutabaga…and a “theme” dinner on Saturday with my brother Bob and his family.  Our theme Saturdays have typically been eithnic and this year we are doing Finnish food.  Finnish food in honor of my Dad who passed away on New Years Day.  Finnish food to honor our heritage.  I have fond memories of an orange cake that my mummu used to make and I recently found her recipe.  It was written in Finnish.  Well, some Finnish and some Finglish.  I was able to decipher all the ingredients and measurements (pretty proud of that) but I struggled with the directions.  I asked for help from my Finnish Food and Culture site on facebook and they came to my rescue.  Today I did a test run for Saturday’s dinner.

Ingredients:

1 orange (orenssi)

1 cup raisins (rusinaita)

1 cup sugar (sokeri)

2 eggs (munaa)

1/2 cup butter (voita) or lard

3/4 cup of buttermilk (kirnupiimaa)

1 teaspoon baking soda (suuta)

2 cups flour (jauhaja)

1 teaspoon vanilla

1 teaspoon lemon extract

Preheat oven to 350.

Juice the orange and set the juice aside.

Grind the orange peel and the raisins. This was my mummu’s grinder.  Then my dads.  And now it’s mine.  Just trying to make this orange cake authentic!

Cream together the sugar, butter, orange rind and raisins.  Add well beaten eggs.  Also my mummu’s mixer.

Sift together flour and baking soda.  Add dry ingredients to the creamed mixture alternating with the buttermilk.

The batter will be quite thick.  Spread the batter in a greased 8×8 square pan.  Bake for 30-35 minutes.

Cool on a wire rack.  While the cake is cooling combine 1/2 cup of sugar and the juice from the orange.  Bring to a boil and pour over the slightly cooled cake.

Serve the cake as is or with a dollop of whipped cream.  This cake brought back wonderful memories.  And it will be a perfect addition to our Finnish Saturday.

NOTE:  You can grind the raisins and orange peel in your food processor and you can beat your eggs with a whisk.  I was trying to make this the way my grandmother did and she didn’t have my modern appliances.

Don’t check my Finnish.  Remember.  This was written in Finnish AND Finglish.

Double Chocolate Cake

When I’m scrolling through Facebook I see a lot of people posting recipes with pictures that look mouth watering.  So I ask, “have you made that?”  The most frequent response I get is, “no, but I’d like to.”  And then I’m a little leery.  What if someone accidentally left out a key ingredient?   We’ve all seen those pictures of Pinterest fails…recipes or projects that look easy and amazing and when someone attempts to replicate them they bear little resemblance to the original picture.  We had special friends coming for the weekend and a belated birthday to celebrate so when I saw this picture and recipe for a chocolate cake (that the person who posted had not yet made) I decided to give it a try anyway.  I can’t eat chocolate but everyone LOVED the cake and the icing so my efforts were worth the risk.  And I’ll make it again.  The other good thing about this particular recipe is that it made an 8”x8” cake which was the perfect size.

Ingredients:

1 cup AP flour

1 cup sugar

1/2 cup cocoa powder

3/4 tsp baking soda

3/4 tsp baking powder

1/2 tsp salt

1 egg

1/2 cup whole milk

1/4 cup vegetable oil

1 tsp vanilla

1/2 cup boiling coffee

Preheat the oven to 325.

Whisk together the dry ingredients.

Add the egg, milk, oil and vanilla.  Beat on medium speed for 2 minute.

Gently stir in the boiling coffee.  The batter will be thin.  Pour into an 8”x8” pan that has been greased and floured.  Bake for 35 minutes.  Cool completely on a wire rack.

Icing:

1 cup chocolate chips (I used dark chocolate)

1/2 cup sour cream

1 tsp vanilla

This was the intriguing part.  To me.  I’ve never made an icing like this!  Melt the chips in the microwave, stirring every 30 seconds until melted.  Once the chips are melted stir in the sour cream and vanilla.  Give it a good hard stir for a creamy consistency.

Viola!  You have icing that sets up beautifully.  Almost the consistency of fudge.  I inverted the cake and put it on a plate to ice but you could do it right in the pan.

I garnished the cake with fresh raspberries.  Slice and enjoy!

NOTE:  The cake is super moist.  I put it in the freezer for awhile prior to icing it…it is much easier to frost.  The recipe called for boiling water (or coffee) and I chose to use coffee.

I’m not sure whether this recipe would work doubled and baked in a 9×13 pan or as two layers.  Some recipes work that way, others don’t.

Zucchini Bread with Walnuts and Golden Raisins

Zucchini.  The vegetable that people are always giving away after it has inexplicitly multiplied and grown to ginormous proportions in their gardens.  One can only make so many zoodles and side dishes with tomatoes and onions and zucchini boats stuffed with meat and cheese.  But everyone loves zucchini bread and cake and other sweets.  Zucchini makes for very moist bread and cake and no longer even tastes like a vegetable.  Not even a little bit.  That’s probably the appeal to many people.  This bread is an easy quick bread that is at least a little healthy.  The inclusion of nuts and raisins,  ground flax seed, and, of course squash, bolsters that claim.  And cinnamon.  Cinnamon is very healthy!  It is loaded with antioxidants and anti-inflammatory properties.  You’ll feel so good after you have a slice or two of this tasty bread.

Ingredients:

1 cup white sugar

1 cup brown sugar

3 eggs

1 cup vegetable oil

1 T vanilla

3 cups AP flour

1/2 cup ground flax seed (or wheat germ)

1 tsp nutmeg

1 T cinnamon

1 tsp baking powder

1 tsp baking soda

1 tsp salt

3 cups shredded zucchini

1 cup walnuts chopped

1 cup golden raisins

Preheat your oven to 325.

Beat white and brown sugar, eggs, oil and vanilla together.

Sift together flour, nutmeg, cinnamon, baking powder and soda, and salt.

Add raisins, nuts, and flaxseed.

Add shredded zucchini and stir until well combined.

Grease 2 loaf pans or 6 small loaf pans.  Use parchment paper if you’d like.  Divide batter evenly.

Bake for 40-60 minutes depending on the size of the pans,  Check for doneness using a tooth pick or cake tester after 40 minutes.  Cool on a wire rack.

Slice and enjoy!!

NOTE:  Zucchini bread freezes well.  If it lasts that long.  If you prefer you can use dried cherries or pecans.  A little different flavor but it’s all good.

Corn and Shrimp Soup

One of my favorite cooking magazines is Cuisine At Home.  My friend Jane subscribes and I got a gift subscription for my daughter.  There was a recipe in the August 2018 issue for Corn and Shrimp Soup and all three of us gravitated to page 40 and made that soup within a weeks time.  We each interpreted the recipe a little differently which really is what I think cooking is all about.  I consider recipes guides.  Sometimes you have all the ingredients on hand and sometimes you have to punt.  Sometimes there is an herb or spice recommended that you don’t care for (or don’t have) so you substitute. My daughter didn’t have shrimp in the shell so she used chicken broth and omitted the dairy.  My friend also omitted the dairy.  None of us used the husks to make the broth.  I added parsley and green onion.   All three of us got an amazing pot of soup.

Ingredients:

4 ears of corn (shucked and kernels cut from the cobs)

Save the cobs for sure, the husks if you like

1 1/2 pounds large shrimp (peeled, deveined, and diced)

Save the shells

7 cups of water

3 fresh or dried bay leaves

3 sprigs of thyme (I used dried)

1 T black peppercorns

3 T butter

1 1/2 cups diced onion

3/4 cup diced celery

1/4 tsp cayenne pepper

2 T AP flour

1 cup half and half

1 T white wine vinegar

1 1/2 tsp minced fresh thyme (I used parsley and green onion)

Peel, devein and dice the shrimp.  (This is the worst part!)

Put the shells in a large dutch oven.  Shuck the corn and cut it off the cob.

Add the cobs to the dutch oven along with the shrimp peels.

Add 7 cups of water, bay leaves, thyme, and peppercorns.  Bring to a boil over high heat.  Reduce heat to medium and simmer for 30 minutes or more.  Strain through a fine mesh sieve and discard the solids.  Pour the stock back into the dutch oven and, over high heat, reduce to 3 cups.

While the stock is reducing purée about half of the corn kernels in a food processsor until as smooth as possible.

Dice the onion  and celery.  Set the broth aside and melt 3 T of butter in the dutch oven over medium heat until foamy.  Sweat the onions and celery and cayenne covered until the vegetables soften, about 10 minutes.

Sprinkle the flour over the vegetable and cook, stirring constantly, for about 1 minute.  Stir in stock and puréed corn.  Bring to a simmer.

Stir in half and half just until heated through.  Then stir in shrimp and remaining corn kernels and cook until shrimp is cooked an opaque, about 3-4 minutes.

Stir in vinegar and minced thyme.  (I substituted parsley and green onion).

Add some croutons and a little shredded cheese of your choosing if you’d like.  Enjoy!  I will definately be making this again.

NOTE: Like I mentioned earlier, if your shrimp has already been peeled and deveined you can substitute chicken broth or Better than Boullion has a seafood base that would work.  I can’t speak to the flavor that would be brought out of simmering the corn husks as directed in the original recipe because I did not do that.  And I probably will not do that in the future.  The cobs do, however, add flavor to the broth.

If you’d like you could also add some small diced potato or carrots to the soup.  I would add those when sweating the celery and onion making sure they are a small dice so the vegetables cook evenly.

This soup, like many others, tastes best the second day.  The flavors seem to marry and intensify.

A couple years ago I made a pot of potato soup that I thought was blah.  I am blessed to have a professionally trained chef in our family so I called and asked him how to fix it.  He said to add a hit of vinegar to kick up the flavor and it worked.  This recipe called for finishing with a little white wine vinegar but now I almost always add that to my other soup recipes.


Saltine Cracker Pie Crust

When we were kids I remember my mom making a mock apple pie with saltine crackers that we swore tasted just like apple pie.  I wonder if I would still think so.  Browsing the internet recently for dessert recipes I came across a recipe for pie crust made with saltine crackers.  I’ve made plenty of  graham cracker pie crusts but this was intriguing.  I’m a fan of sweet and salty so this just seemed like a natural.  I’ll try anything once.  Glad that I did.

Ingredients:

1 1/2 sleeves of saltine crackers

1/2 cup butter melted

1/4 cup sugar

Preheat the oven to 350.

The preparation part was a little tricky when it came to consistency.  The instructions warned against turning the crackers to dust.  I pulsed them a few times in the food processor along with the sugar.  I poured the crushed, slightly chunky but not powdered, crackers into the melter butter and mixed them the best I could.  They were not holding together like I thought they should so I dumped them, butter and all, into the food processor and gave them a couple more pulses.  I pressed them into the bottom and sides of a 9” pie plate.

Bake for 15 minutes or until golden brown.  Cool slightly.

While the saltine crust was cooling I made up my recipe for key lime pie except I used regular limes and lemons.  Reduce the oven temperature to 325.

Ingredients:

4 large egg yolks

1 14oz can sweetened condensed milk

1/2 cup fresh squeezed citrus (lemon, lime or a combination)

1 T lemon or lime zest

Whisk together all of the filling ingredients making sure they’re thoroughly combined and pour into the slightly cooled pie shell.

Bake for 18-20 minutes.  Cool completel on a wire rack.

I like adding a berry topping.

Ingredients:

3 cups fresh berries (blueberries, raspberries, strawberries)

1/2 cup water

1 T lemon or lime juice

3 T sugar

1 T cornstarch

Stir together water, sugar, cornstarch, citrus juice and 1 cup of the berries.  Bring to a simmer and cook until the sugar dissolves completely and berries burst and soften.  Remove from the heat and stir in the remaining 2 cups of berries.  Allow the berry topping to cool completely and pour over the filling.  I used blueberries and strawberries.

Refrigerate at least a couple of hours or overnight prior to slicing.  Serve with a dollop of whipped sweet cream.

I will definitely make the saltine crust again.  It was a perfect contrast to the sweetness of the pie.  And I’m sure this would be excellent with a chocolate cream filling or a banana or coconut cream,

NOTE:  You might want to play around a little with the consistency.  Next time I will pulse my crackers and sugar a little longer and add the butter while the crumbs are still in the food processor.  This crust would also work well in a springform or tart pan.  Enjoy!