Coleslaw

image

This weekend we had an at-home fish fry with friends. They brought the walleye and fried it up and I made the sides. For me an essential side with fish is coleslaw. I also like coleslaw on my fish tacos. I have had some really awesome slaws and some very mediocre…or worse…slaws. I like my coleslaw to have crunch and to be a little tangy, a little bit sweet. It’s something that should be made a bit ahead so the flavors can marry. It even makes a great midnight snack, speaking from experience!

Ingredients:

10 cups, approximately, of shredded or finely chopped cabbage

1 cup of matchsticked carrots

1/2 cup of matchsticked radishes

1/2 cup of red onion chopped (more or less based on personal taste)

2/3 cup mayonnaise

1/4 cup half n half

1/4 cup buttermilk

1/3 cup granulated sugar

2 T white wine vinegar

2 T fresh lemon juice

salt and pepper to taste

image

image

You can shred your own cabbage or purchase a bag of shredded cabbage (2# bag). Shred or use a mandolin to matchstick your radishes and carrots. Chop your onion.

image

Mix your vegetables together in a large bowl.

image

Whisk the remaining ingredients together and pour over the vegetables. Toss well and refrigerate. Mix a couple more times before serving.

image

Enjoy!

NOTE:  Like any salad you can add or delete items. Just don’t delete the cabbage or it wouldn’t be coleslaw. According to NPR the term coleslaw came from the Dutch term koolsla… “kool” means cabbage and “sla” means salad. We anglicized kool into cole.  While it’s best served cold, it’s coleslaw, not cold slaw.

Oatmeal Cake with Coconut Pecan Topping

image

I am not sure where this recipe came from but I’ve been making it for years. It’s always moist and tasty and the fact that it contains oatmeal gives some of us the delusion that we are eating “health food.”  We had friends spending the weekend with us and I chose this for our Friday night dessert.

Cake Ingredients:

1 cup old fashioned oats

1 1/4 cups boiling water

1/2 cup butter flavor crisco

1 cup white sugar

1 cup brown sugar (packed)

2 eggs

1 tsp vanilla

1 1/2 cups flour

1 tsp baking powder

1 tsp baking soda

1 tsp cinnamon

1/2 tsp salt

image

image

Preheat oven to 350.

Combine oatmeal and boiling water and let it stand for 20 minutes.

image

In a mixing bowl combine shortening, sugars, eggs and vanilla. Cream together until fluffy.

image

Beat in the oatmeal.

image

Measure out your dry ingredients and whisk them together. Gradually add them to the creamed mixture and beat on medium speed until everything is incorporated. Pour into a greased 9×13 pan and bake for 35 minutes or until a pick inserted in the center comes out clean. While the cake is in the oven prepare the topping.

Topping Ingredients:

1/2 cup brown sugar

1/2 cup chopped pecans (or walnuts if you prefer)

1/3 cup butter

1 cup coconut

1/4 cup half and half

image

Rough chop the nuts.

image

Mix all the ingredients in a heavy saucepan. Cook over medium heat until mixture comes to a boil stirring frequently. Allow to simmer for 3-4 minutes.

image

As soon as the cake comes out of the oven spread the topping over the hot cake. Allow the cake to cool completely before serving.

image

Serve as is or with a little dollop of whipped cream. Oatmeal cake with coconut and pecans. It’s what was for dessert.

image

NOTE:  I really do measure my ingredients out in advance into prep bowls. That way I can put my containers away right after measuring out the ingredients keeping my kitchen neater and I am less likely to forget to add essential ingredients.  Also, it’s important to whisk your dry ingredients together before adding them to ensure even distribution of things like salt and leavening.

Mac and Cheese

image

Mac and cheese. It’s the ultimate comfort food.  We all remember loving the neon orange stuff we made from the box when we were kids. Truth be known, many of us grown ups have whipped up a box and eaten it right out of the pot.  One of our family’s favorite Mac and cheese stories involves a father, daughter dinner while I was out of town for work. Dad boiled the elbow macaroni to perfection and added the contents of the powdered cheese packet and the butter. What he forgot to do was drain the water from the pasta. Comfort food.

My Mac and cheese never tastes the same twice because I love mixing up the cheeses.  But I always remember to drain the pasta.

Ingredients:

1 onion diced (about a cup)

6 T of butter

4 T flour

4 cups 2% or whole milk

2 T franks hot sauce

2 tsp dry mustard

fresh grated nutmeg

salt and pepper to taste

4 cups of grated cheese; 3 or 4 varieties…you choose

14-16 oz box of pasta…you choose…cooked al dente per package instructions

Preheat your oven to 375.

image

image

In a heavy kettle or Dutch oven melt the butter. Add the diced onion and sauté over medium heat until tender but not browned. I had some poblano pepper left from another recipe so today I added that as well.

image


image

Once the onions are tender add the flour and make the roux. Cook for a minute or two stirring constantly.

image

Begin slowly adding the milk and continue stirring until it begins to thicken. Add the franks, the dry mustard, and salt and pepper.

image

Once the mixture has thickened begin adding the cheese a handful at a time and stir until the cheese is melted. Add another handful and so on until all of the cheese has been incorporated. Today I used a sharp Vermont cheddar, asiago, and fontina. I usually like using a bit of smoky cheese like a smoked Gouda but no smoked cheese in my cheese drawer.

image

Grate some fresh nutmeg into the cheese mixture.

image

Drain, but do not rinse, your pasta. Save a cup of the pasta water in case you need to add some liquid. Add the pasta to the cheese sauce, stir and pour into a lightly greased casserole dish.

image

Find some bread in your fridge and use your food processor to make some bread crumbs. Today I had some challah so I used that and added some fresh parsley in the food processor. Melt a couple tablespoons of butter in a skillet and toast the bread crumbs a bit. Sprinkle the crumbs over the Mac and cheese.

image

Bake for 30-40 minutes until bubbly and the top has crisped up and browned a bit.

image

Enjoy as a side dish or as a meal in itself. Great with greens, broccoli or fresh green beans.

I grew up in a rural area in the Upper Peninsula of Michigan and attended a small school. We used to enjoy hearty homemade hot lunches that were really very good. Fridays were tuna casserole (not my fav), Mac and cheese or Welsh Rarebit days. The hot lunch version of Welsh Rarebit was very similar to this Mac and cheese recipe minus the pasta. The cheese sauce was served over toasted white bread that had been cubed.  It was one of my favorites.

Enjoy the Mac and cheese. It’s what’s for dinner.

Cabbage and Sausage Bake

image

We all like one pan dinners with simple, very basic ingredients. This is a hardy meal that makes a great supper on a cold winter night. Easy to prepare and only one pan to wash!  Preheat the oven to 375.

Ingredients:

1 head of cabbage

dozen or so new potatoes

6 slices thick bacon

2 cups (one large) yellow onion sliced thin

Polish sausage, kielbasa or bratwurst

salt and pepper to taste

2 cups chicken stock

image

Dice the bacon and cook over medium heat for about 5 minutes.

image


image

I did everything in my roaster. Thin slice the onion. I used a mandolin but I good knife will work fine. Add the onion to the bacon and drippings and cook over medium heat until the onion is tender.

image


image

Once the onions are tender set them aside and sear the sausages to brown them up a bit.

image

While the sausages are browning up wash your potatoes. Cut the cabbage in half, then into quarters. Core the cabbage and cut each quarter in half again.

image

Remove the browned sausage from the roaster and turn off the flame. Arrange the cabbage wedges in the roaster rounded side down.

image

Arrange the potatoes around the cabbage.

image

Add the browned sausage.

image

Add the onions and bacon as well as the drippings. Season with salt and pepper to taste.

image

Pour the broth over everything and cover the pan tightly with foil.

image


image

Bake for 90 minutes. Let it sit covered for 15 minutes after you remove it from the oven before serving.

Serve with steamed fresh green beans or broccoli and some nice crusty bread. And, of course, some spicy mustard.

image

Cabbage and sausage bake. It’s what was for supper. My dad would have enjoyed sharing this supper with us.

NOTE:  If you prefer a tomato taste substitute a can of diced or fire roasted tomatoes and one cup V-8 juice or tomato juice for the chicken stock.


Ring Bologna Bake – Käyrämakkarahe

image


Yup. That’s a ring bologna. It’s not my personal ring bologna and I’m not actually going to cook it but I’m going to tell you about ring bologna. It’s the crowning glory of one of my Dad’s favorite dinners. He calls it Finnish tube steak. You take a ring bologna, just like the one in the picture. Make a slit in the top all the way around. You put it in the oven at 350 for about 15-20 minutes and watch for it to begin to split open. Fill the opening with brown sugar and catsup and bake for another 15-20 minutes. Serve with mashed potatoes and a can of green beans or corn. I grew up in a family of 5 kids; me and 4 brothers. We had this quite frequently for dinner along with the potatoes and canned vegetables. I don’t know if my mother made two of them at a time or if all 7 of us shared the one Finnish tube steak.   When my dad visited last summer I bought the best quality ring bologna I could find and made this for him. He was a happy man!

Since I’m not actually cooking one right now I had to get on line to find pictures and I discovered that ring bologna actually has it’s own Facebook page!

image

I’m not sure what the relationship is between the Green Bay Packers and ring bologna but this is ring bologna’s Facebook picture.  I apologize to all the Lion fans in my family for this picture.

The other day I was reading through a Finnish cookbook by Beatrice Ojakangas and came across a couple paragraphs about ring bologna. She says, “Ring bologna is as popular in Finland as wienies are in the United States. The Finns have many ways to cook it. They cut it into pieces and cook it over a campfire as we cook wienies. A crowning touch to a sauna party in Finland is to roast ring bologna pieces over the hot sauna stove and eat the pieces with hot mustard. With these, one drinks kalja or olut (beer).  Finns do not put the meat into bread as we do with weenies.”

Apparently the brown sugar and catsup bake is the Americanization of Finnish ring bologna.

In July of 1969 I traveled to Finland with my mummu (grandmother) and aunt and uncle. It was my grandmothers first visit back to her homeland in nearly 40 years. We spent a couple of weeks traveling the country and visiting family and friends. I had a vague recollection of the sauna/ring bologna experience so I got my “Air Travel Diary” out and read through the “places and events visited”.

July 13, 1969 we were in Kauhajoki visiting my grandfather’s relatives where I wrote, “He has a real nice home where we went to the sauna. The sauna had four rooms. First room was for undressing. Then you walked through the shower room and then into the hot sauna room. You suds up good and then back to the shower room to rinse off. Then you go into the sitting room before you dress and cook sauna bologna over a fire place.”  There was no mention in my journal about beer but the adults may have imbibed. For non-Finnish readers unfamiliar with Finnish sauna practices I’ll elaborate on that another day.

I’ve been having long morning conversations with my dad and we get on these off the wall topics like ring bologna. While looking for suitable pictures I came across a Ring Bologna in the Crockpot recipe. Dad asked me to write it down and send it to him. He wants me to write it twice so he can mail a copy to a fellow Finn who loves ring bologna as much as my Dad does. If I ever make it I promise to blog about it. In the meantime get on line and check it out…there is a whole ring bologna culture out there!

image

Kaalipiirakka (Cabbage Pasty)

image

If you’re Spanish you might have empanadas, if you’re Polish pierogis, Italian raviolis, and if you’re Finnish kaalipiirakka (cabbage pasty). I was reading a Finnish cookbook today and came across this recipe. I didn’t grow up eating these but I might have. These would be served as an accompaniment to soup or as a bread side with a meal. I think they would be great with tomato soup!  Bread is a mainstay of the Finnish diet…and true to his heritage my grandfather could not eat a meal without bread. I remember both of my grandparents eating bread slathered with butter and sprinkled with salt.

These little cabbage pasties are fairly easy to make. The slightly sweet pastry dough and the savory cabbage are a nice combination. They might be tasty with a dip of some kind…I’ll have to work on that. Suggestions??

Yeast Pastry ingredients:

2 1/4 tsp active dry yeast

1/4 cup warm water

1 cup whole milk, scalded and cooled to lukewarm

1 tsp salt

1 egg, well beaten

1/2 cup sugar

4-4 1/2 cups all purpose flour

1/2 cup melted butter

image

Dissolve the yeast in the water. Beat the egg well with a whisk.

image

Combine the milk, salt, egg, and sugar in a large bowl.

image

Add the yeast and 2 cups of flour and stir with a wooden spoon until smooth and elastic.

image

Stir in the butter until blended. Add the remaining flour and mix until you have a stiff dough. Turn dough out onto a lightly floured surface and knead until smooth. About 5 minutes.

image

Place dough in a lightly buttered bowl, cover with a towel and allow to rise in a draft free place until doubled in size. Punch down and let rise again for about 30 minutes. While dough is rising make your filling.

Filling Ingredients:

4 T butter

2 cups sauerkraut drained

2 medium onions sliced thin

2 T brown sugar

1 tsp caraway seeds

image

In a heavy skillet melt the butter. Add the onion and cook over medium heat until the onion is tender and beginning to caramelize.

image

Add the sauerkraut, sugar, and caraway seed. Stir until well blended and cook for 2-3 minutes. Remove from the heat. Our filling is ready.

image

Preheat your oven to 375.

Now you’re ready to roll your dough and fill your kaalipiirakka. Divide the dough into thirds and roll the dough about 1/3 inch thick on a lightly floured surface. Use a glass or cookie/biscuit cutter on the dough. I used a scalloped cutter but round would work just fine.

image

Brush each circle with half and half to moisten the edges for sealing. Put a tsp of filling in the center of a disc, put a second disc on top and crimp the edges with a fork.

image

(The amount of filling in each will actually depend on the size of your discs). Brush each filled and crimped kaalipiirakka with half n half and cut a little steam vent in the center. Put on a baking sheet with parchment paper.

image

Bake for 15 or 20 minutes until golden brown.

image

image

You’ll have extra filling. Just get out a fork and finish it off. Tastes great!!

Lemon and Garlic Chicken ala Pressure Cooker

image

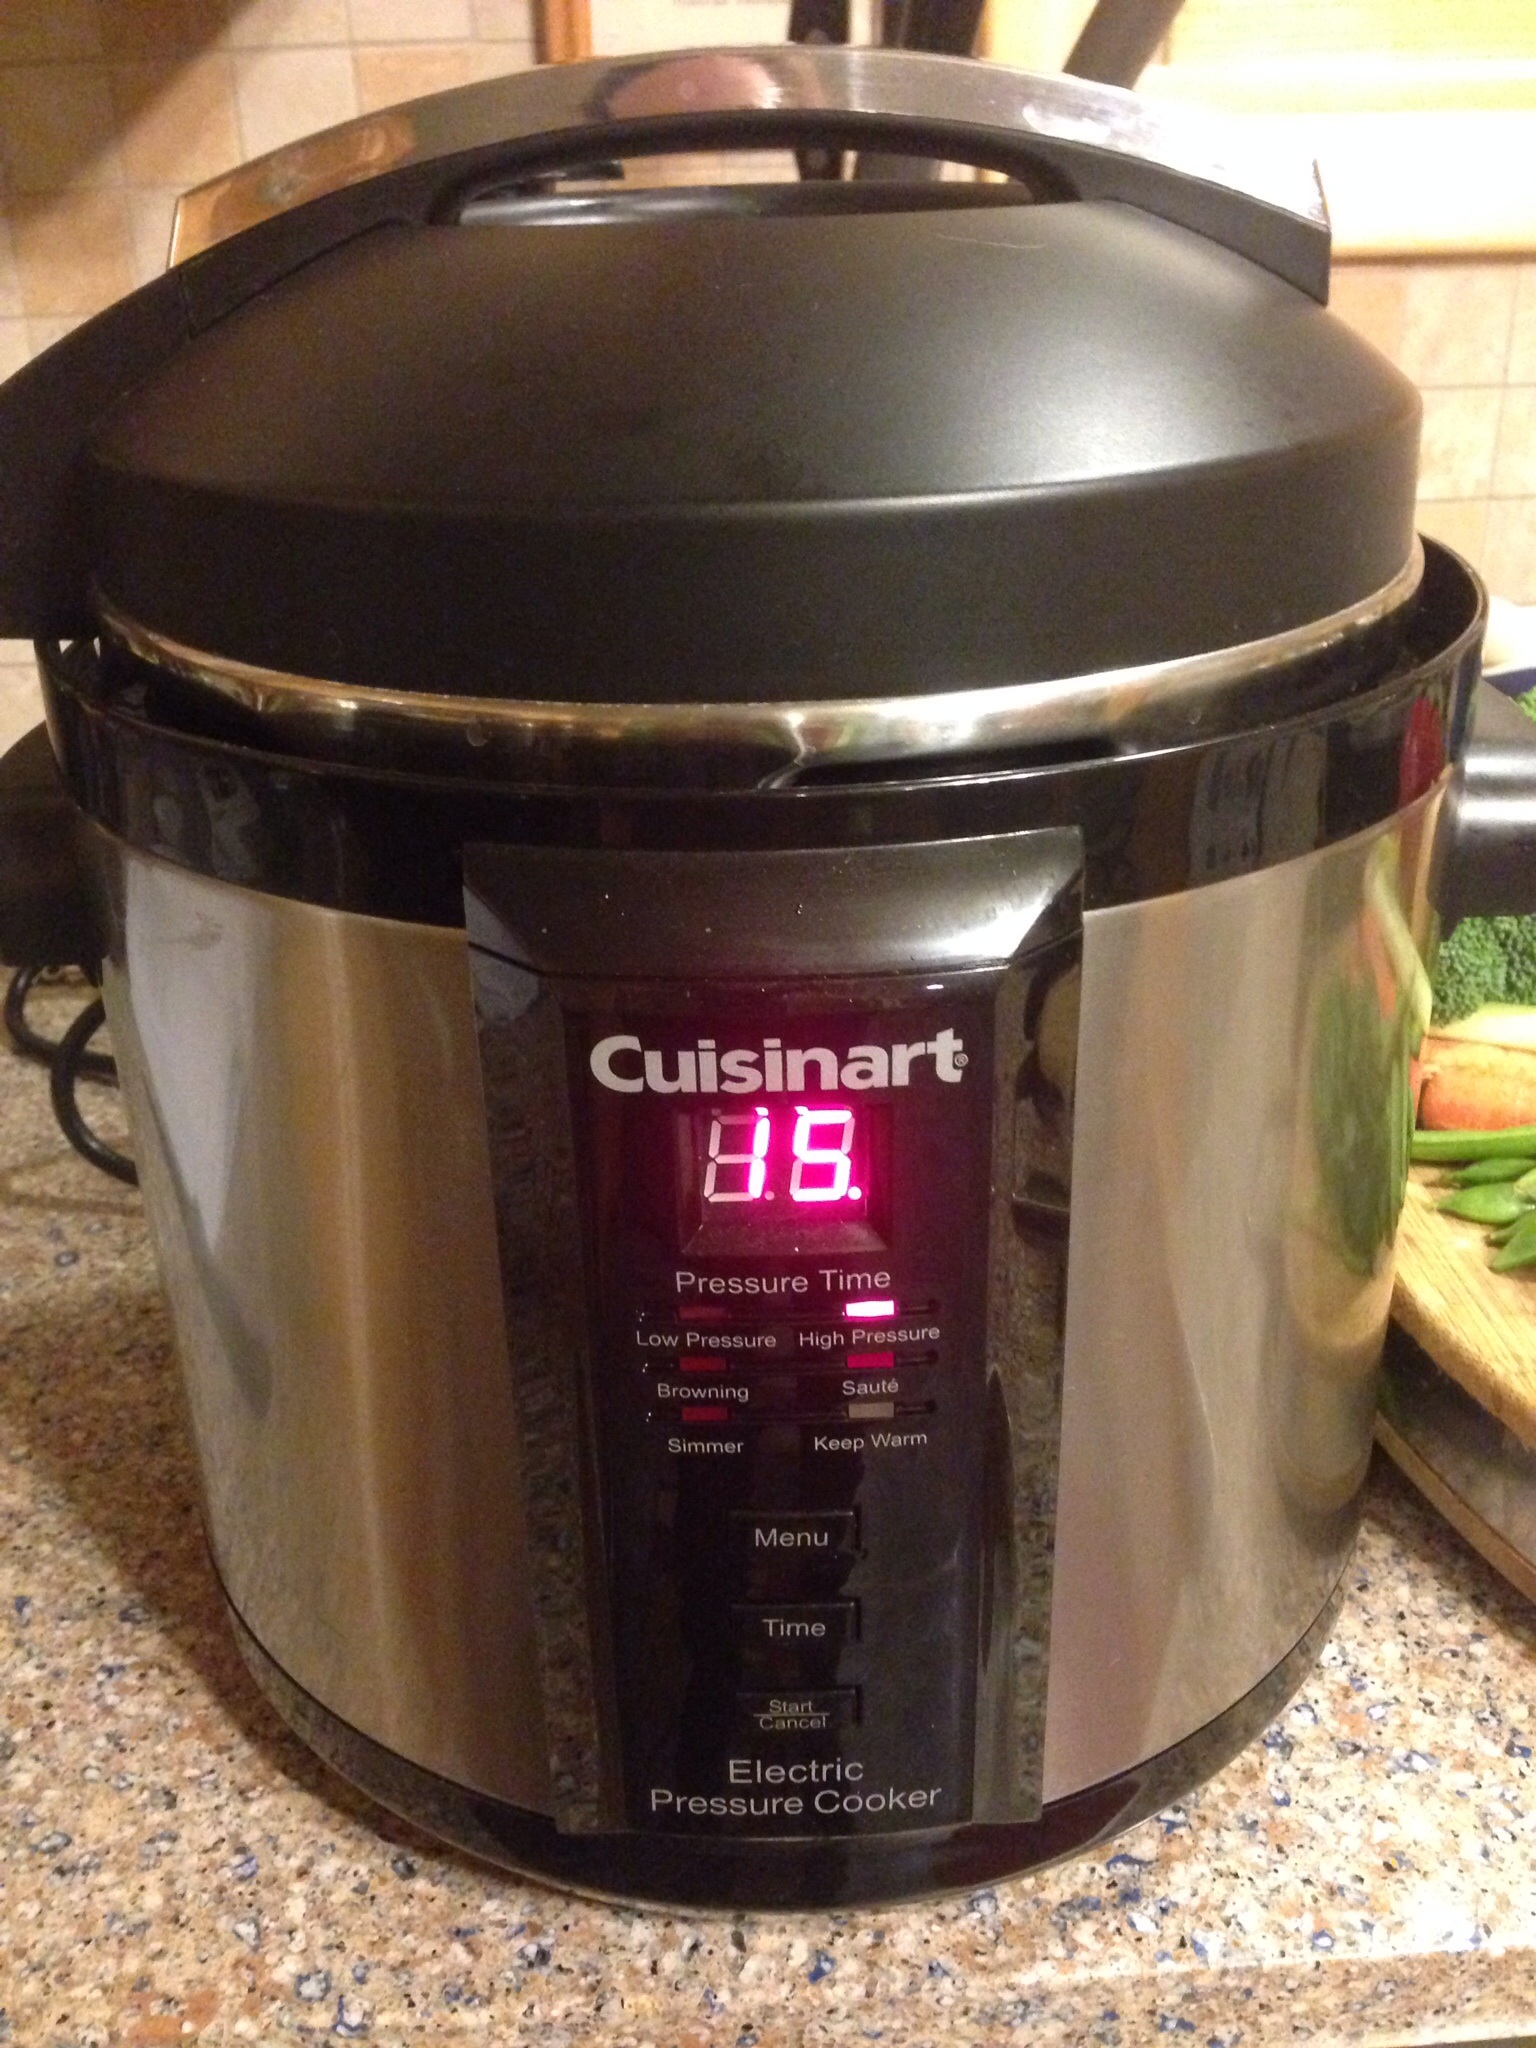
Can you imagine cooking an entire chicken in 15 minutes that is moist and fall off the bone tender and has a delicious sauce?  It’s that easy in my electric pressure cooker. The beauty of this pressure cooker is that you can brown, boil, simmer and keep food warm. One pan to wash and it’s easy to clean. If you don’t have a pressure cooker you can surely prepare this recipe using a roaster in your oven. Use a meat thermometer to make sure your chicken reaches 165F.  I used to be a little frightened of pressure cookers…some of you might be as well. Afraid it would start rocking on the stove and the top would blow off leaving dinner on the ceiling. Trust me, the new electric model is easy to use, safe, and not the least bit scary.

Though I love the combination of garlic and lemon I was a little concerned that the flavors might be too strong but they were not. The sauce had a nice citrus tang but was not overpowering. Good balance.  I think you’ll like it.
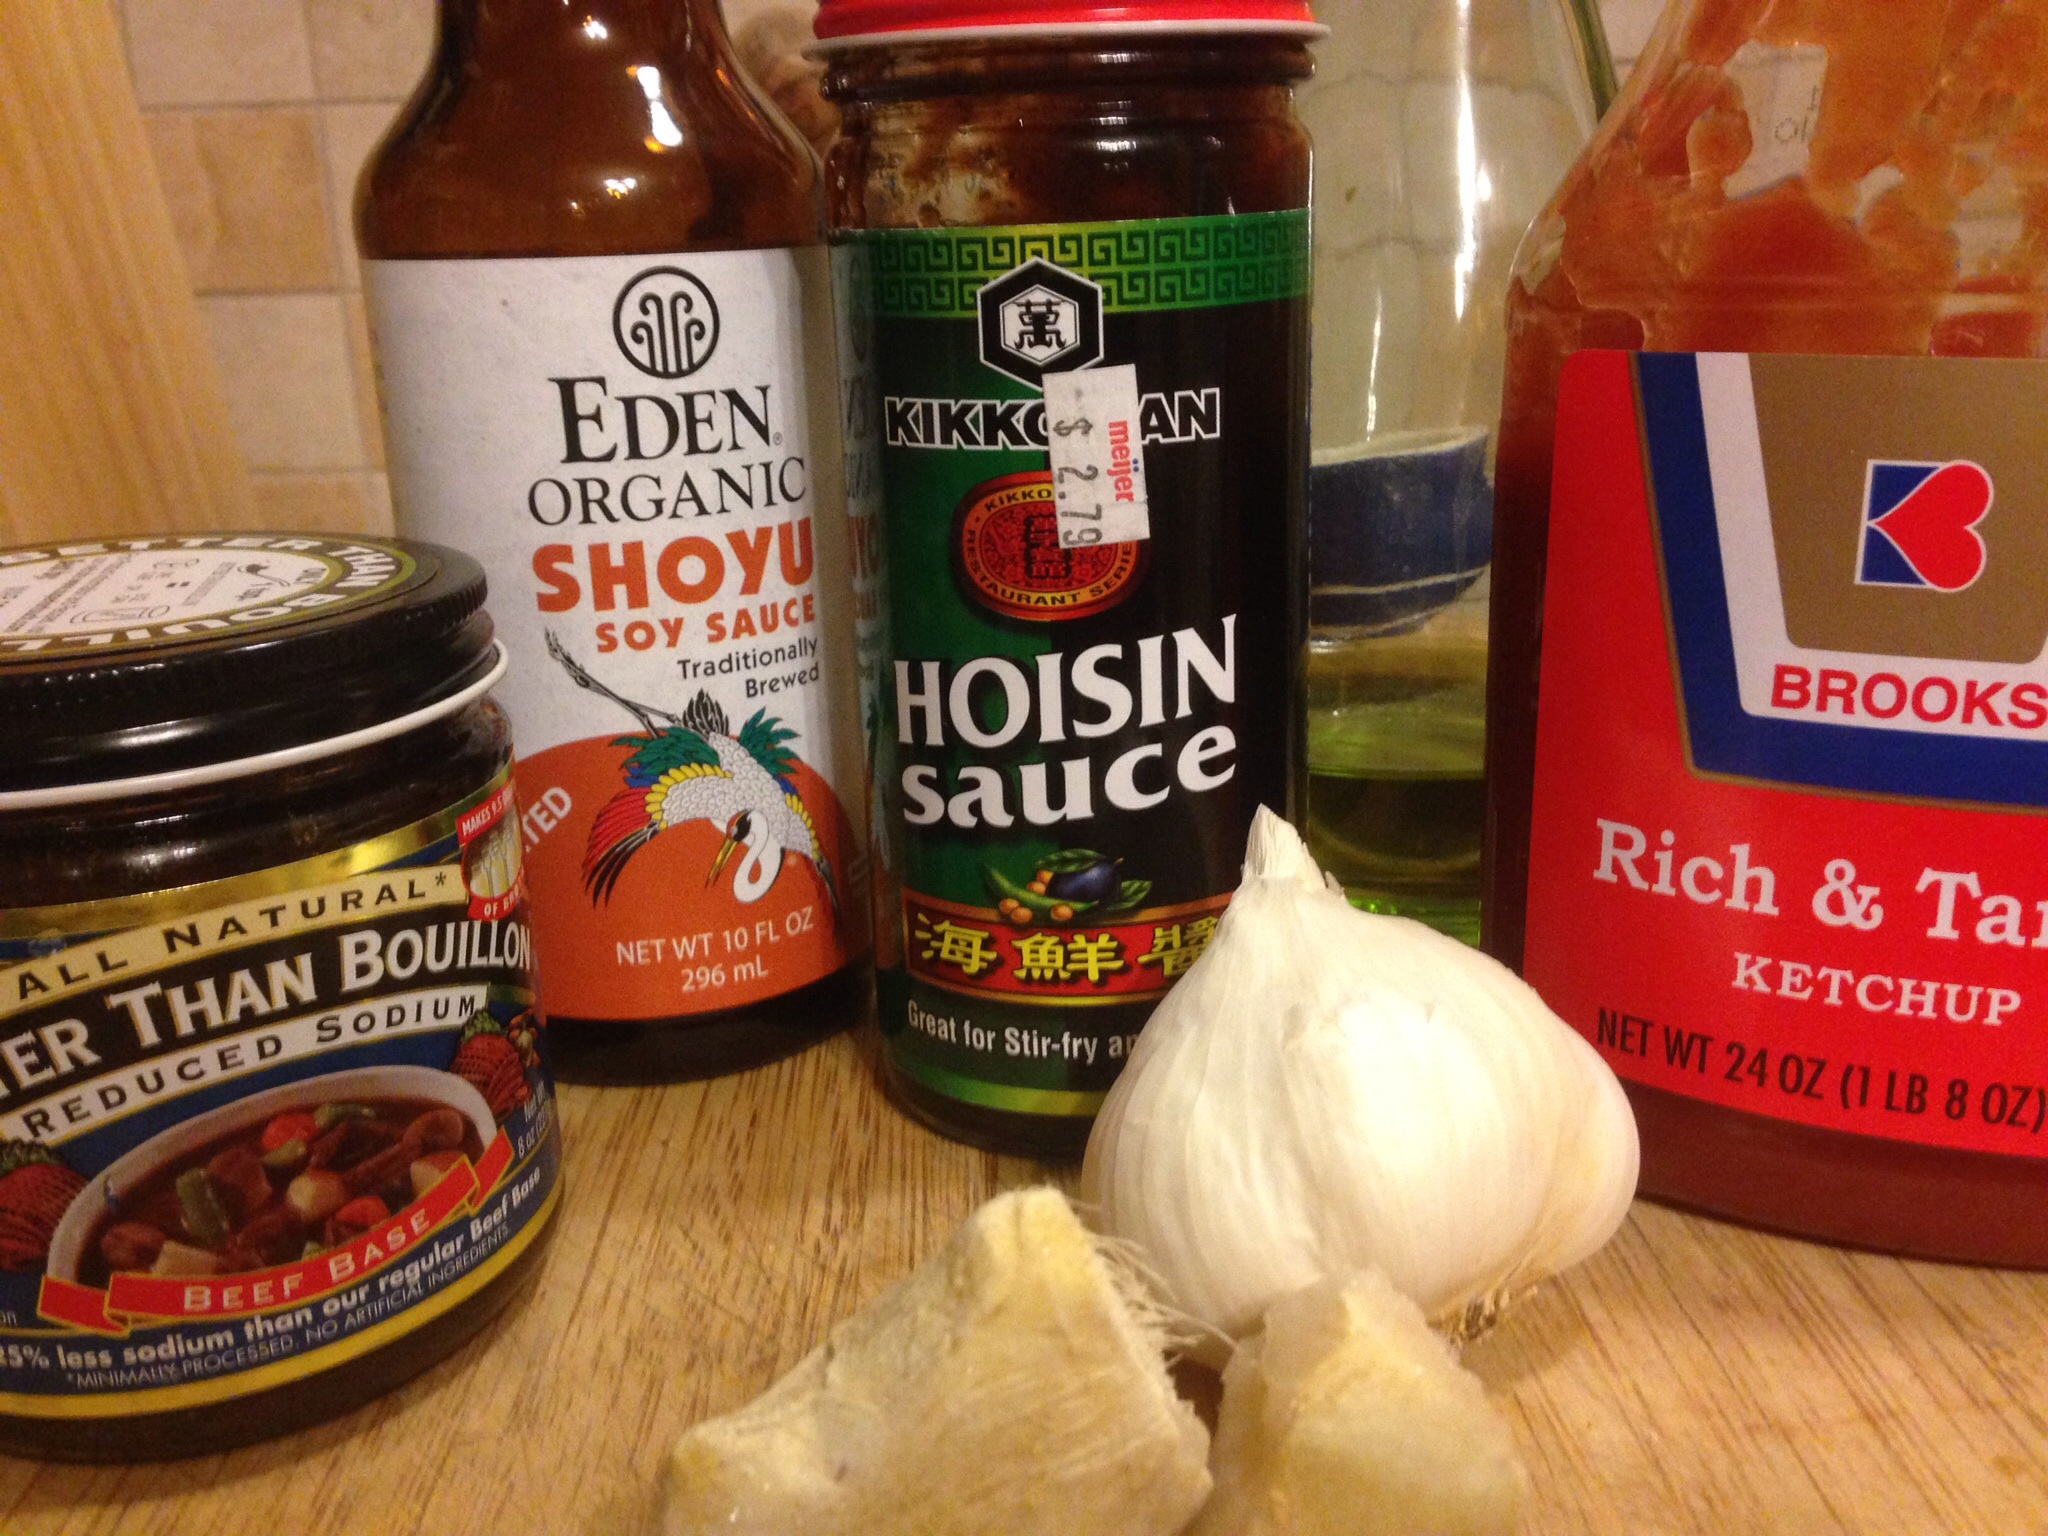
Ingredients:

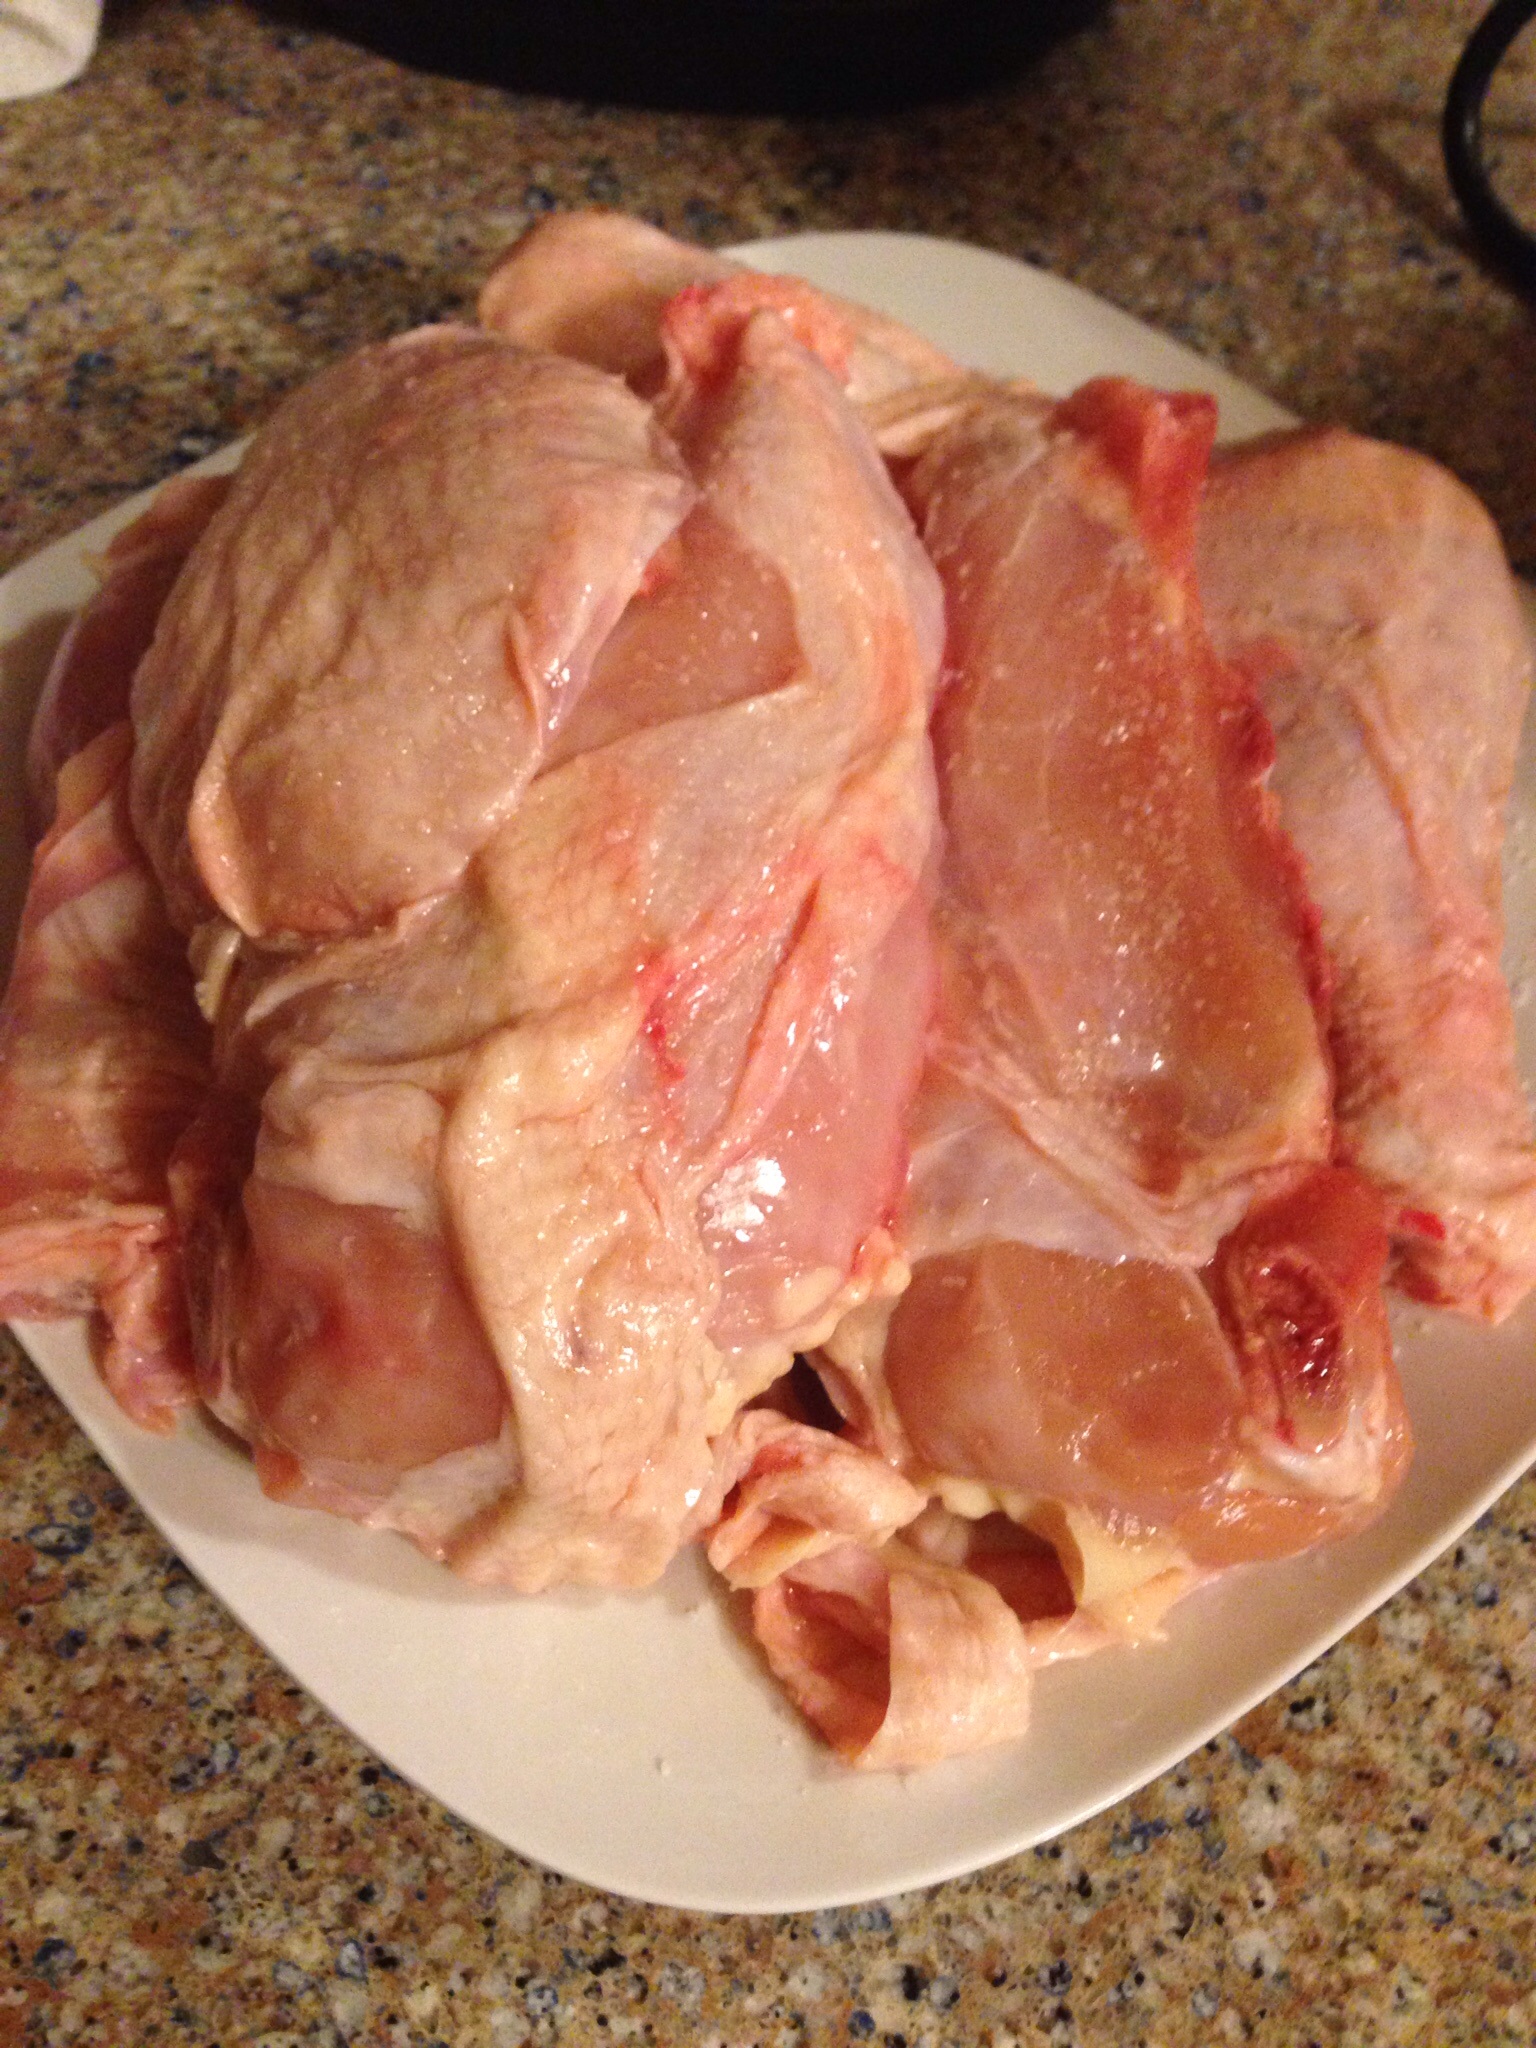
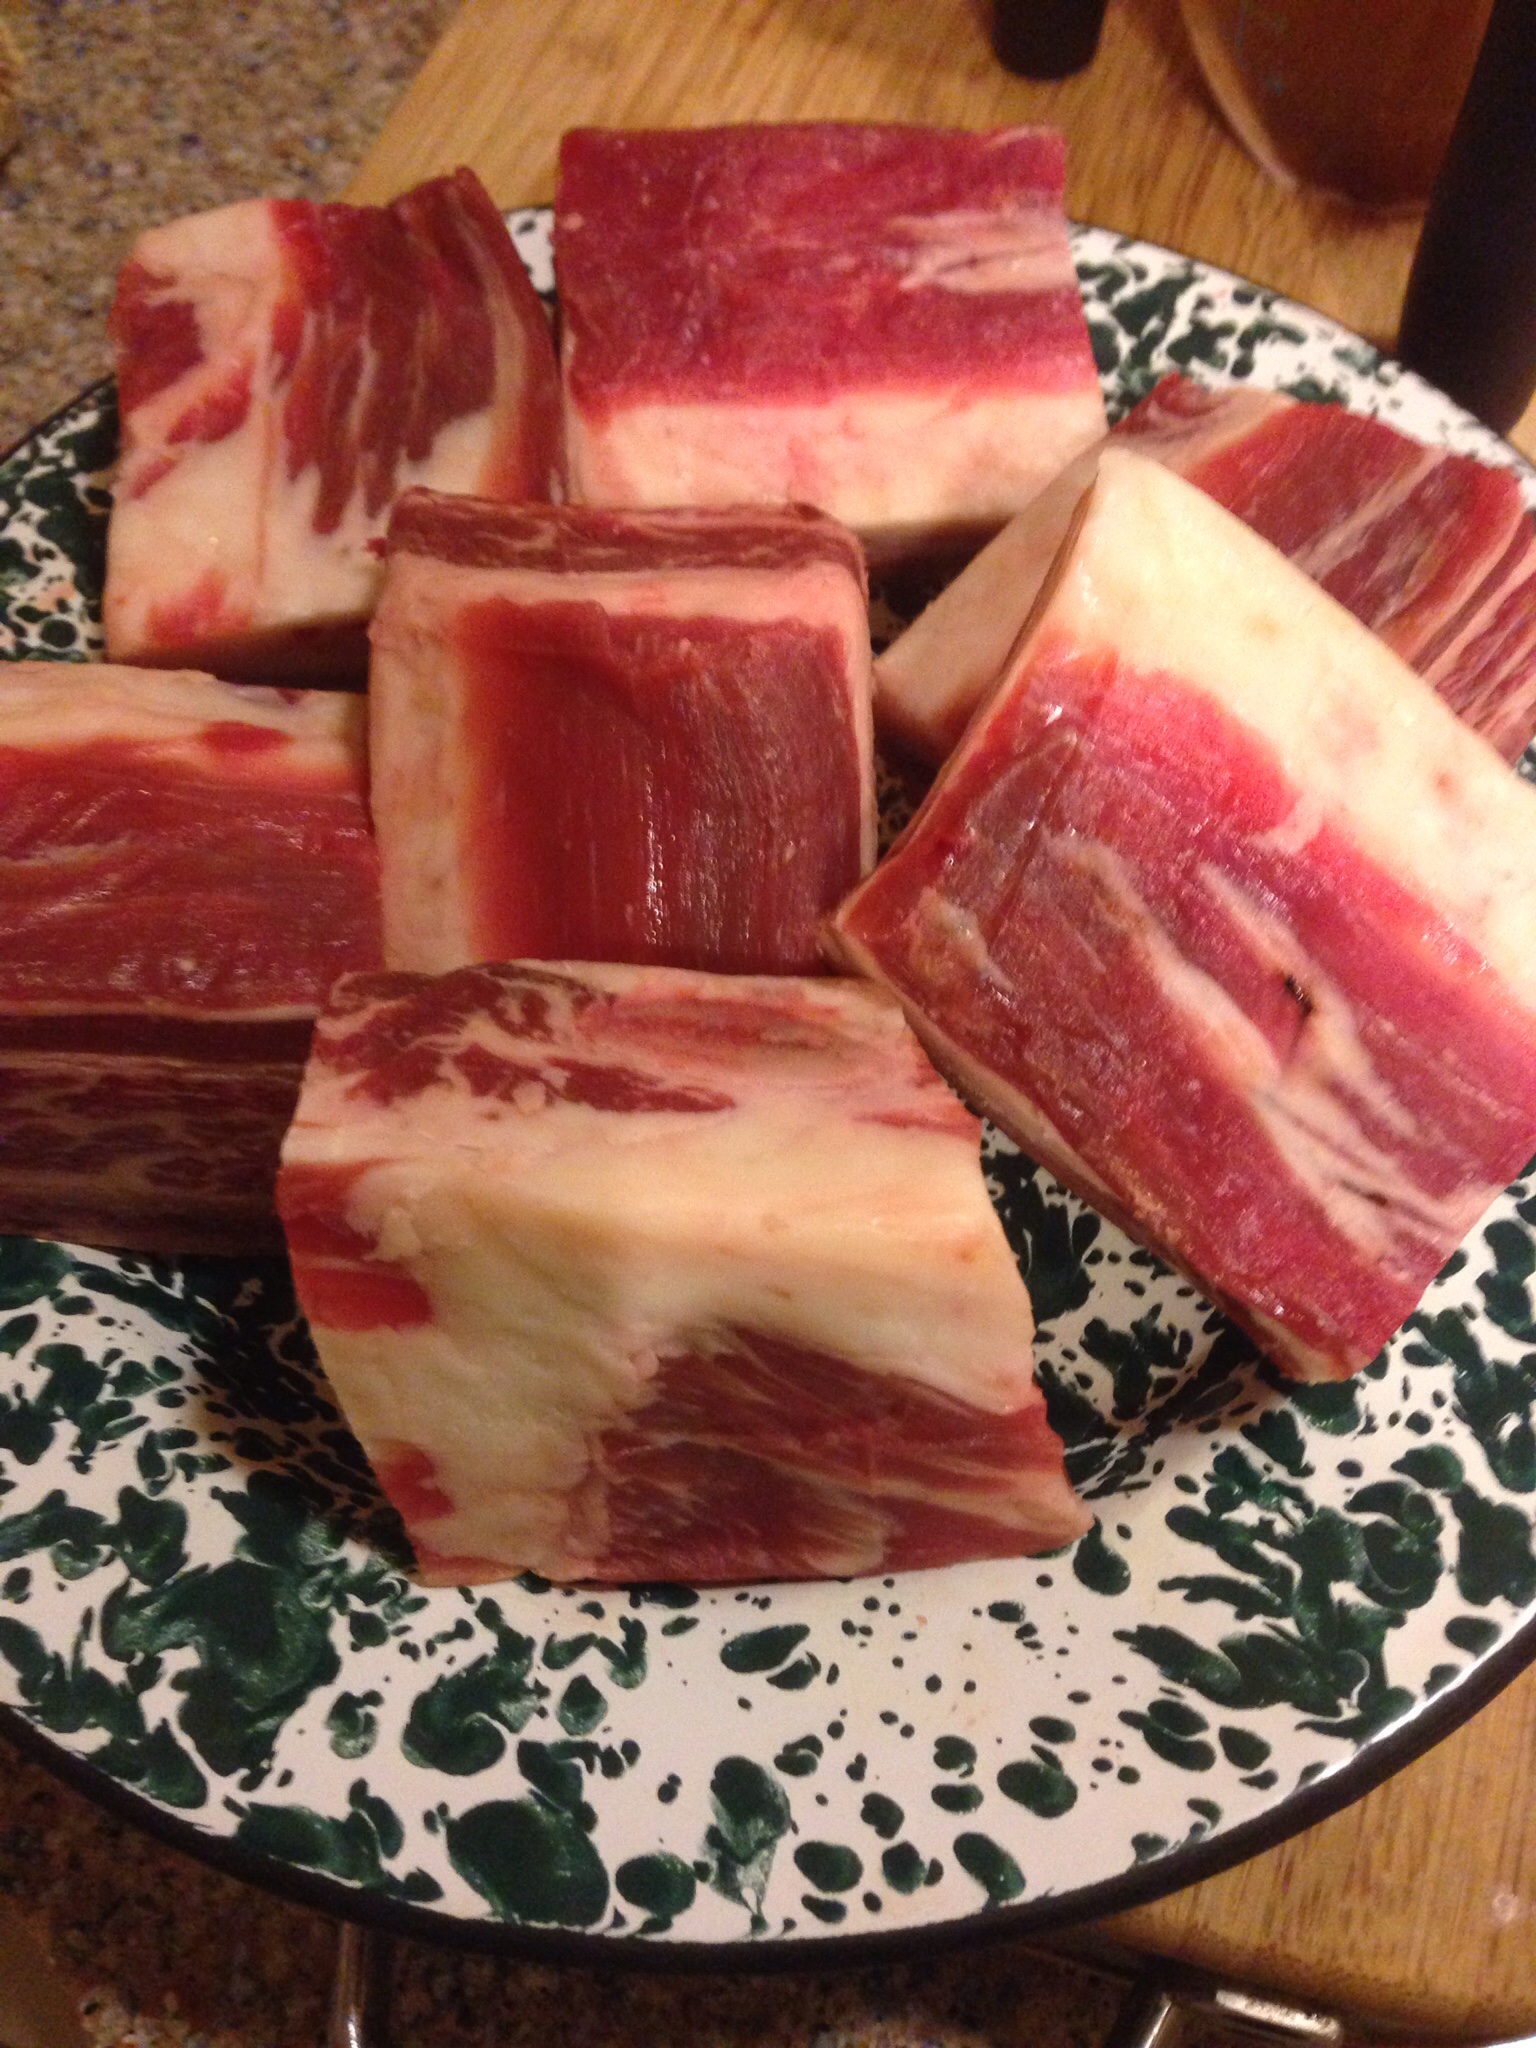
1 roasting chicken cut into pieces (I saved the back for broth)

kosher salt to taste

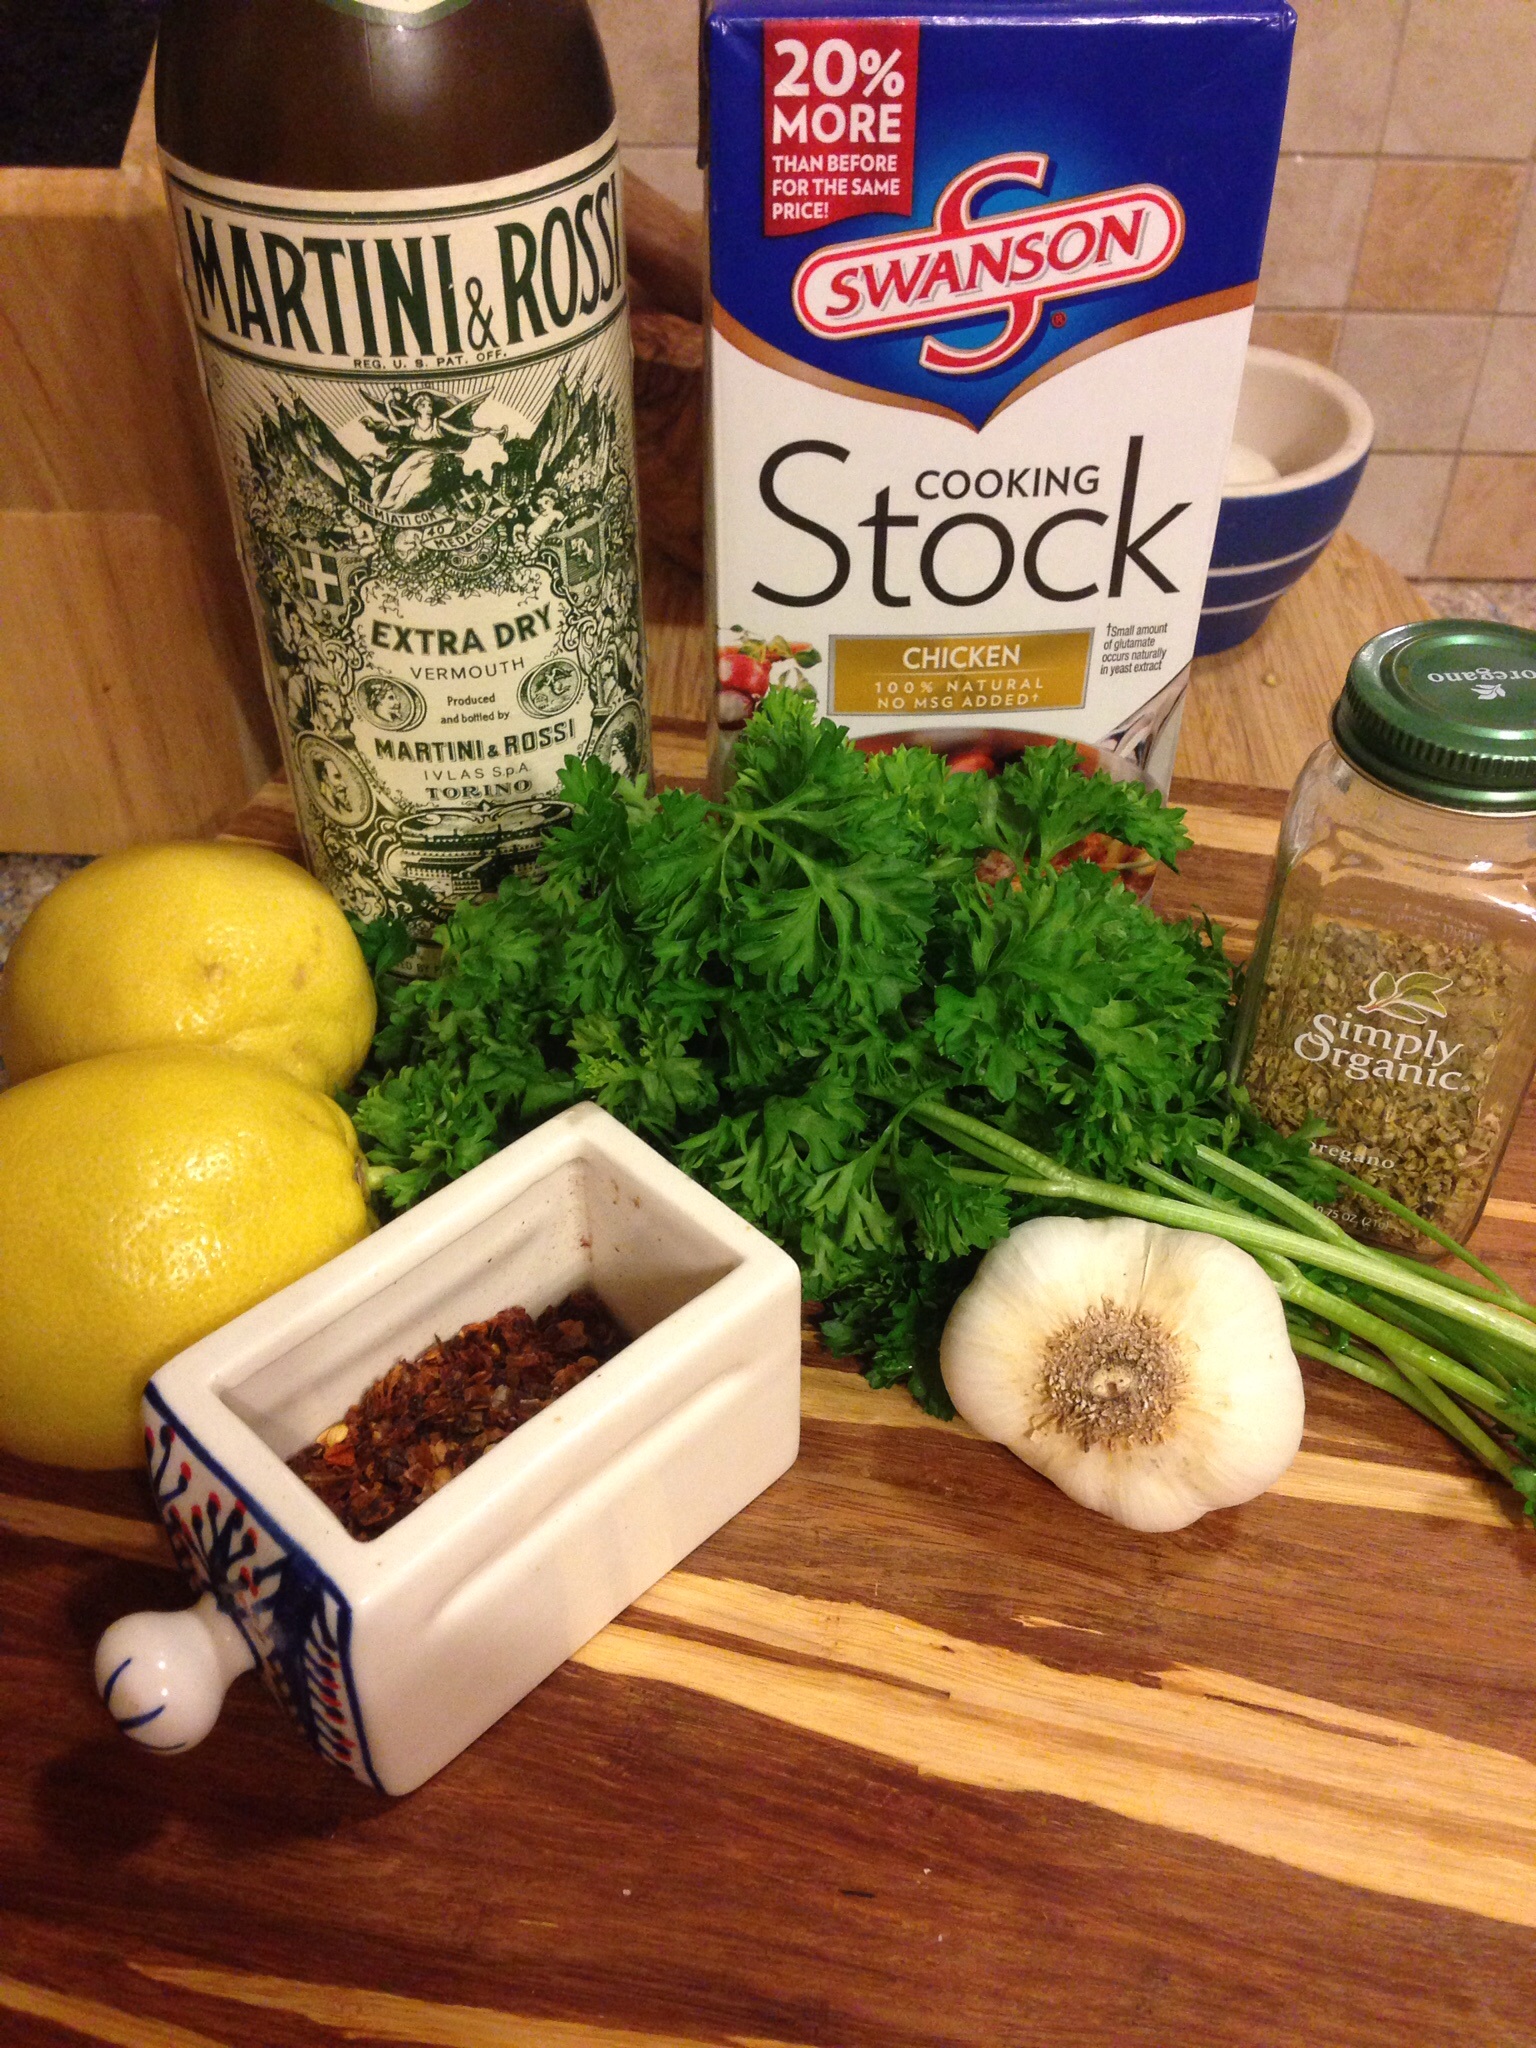
3 T canola or olive oil

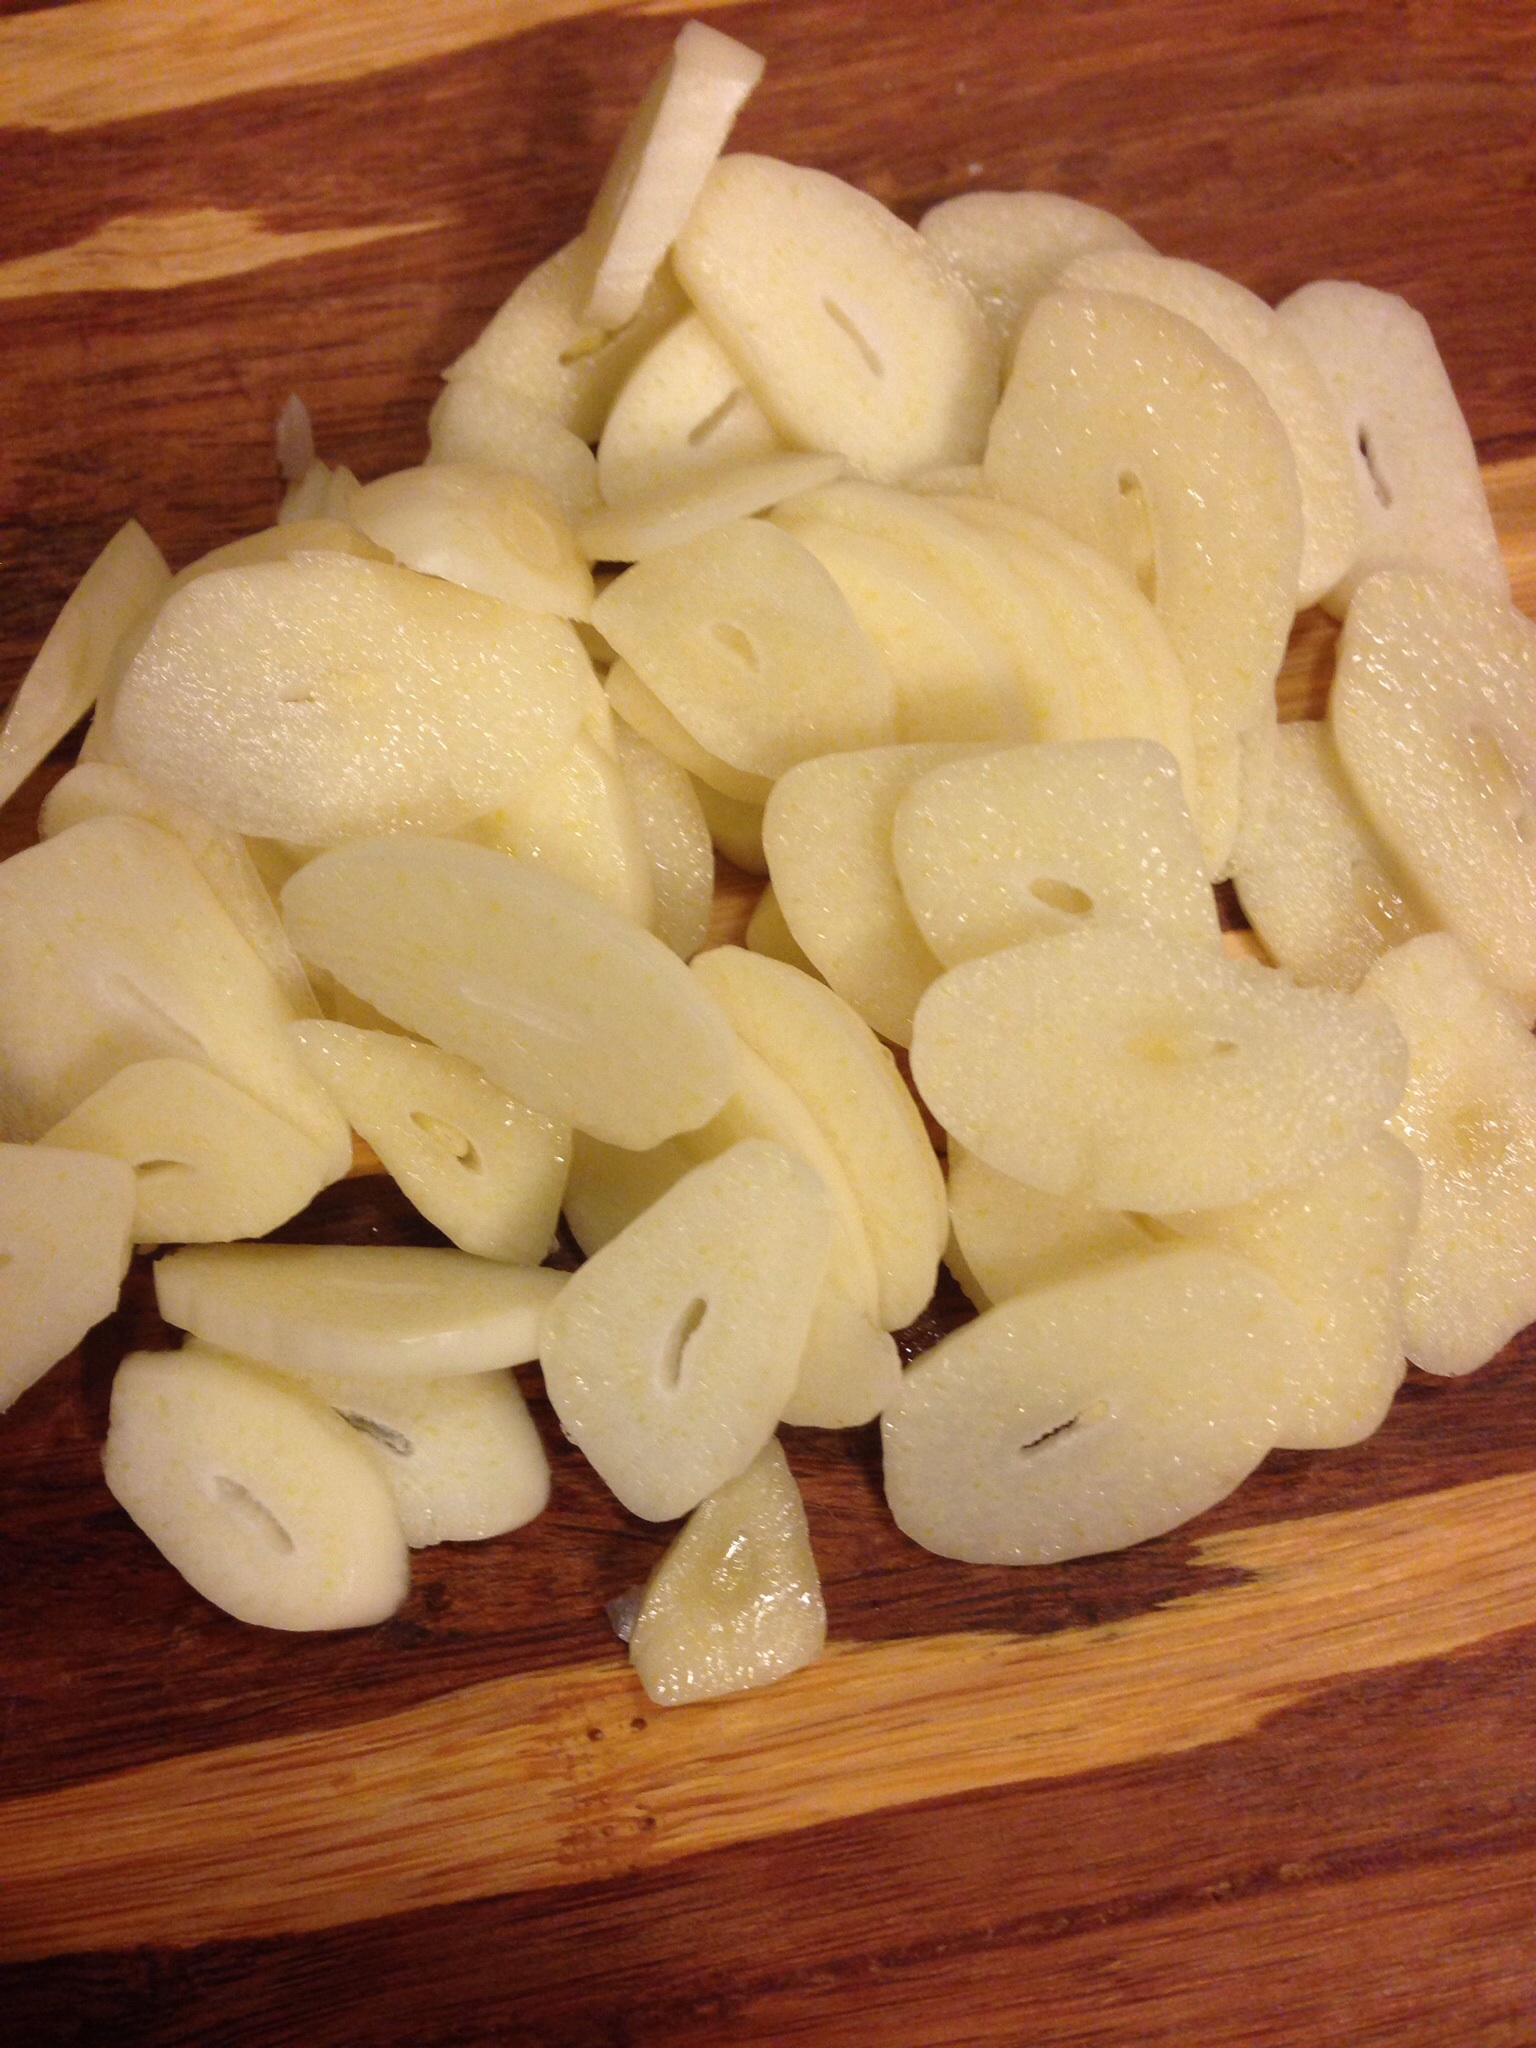
5-6 cloves of garlic sliced

1 tsp red pepper flakes

1 tsp oregano

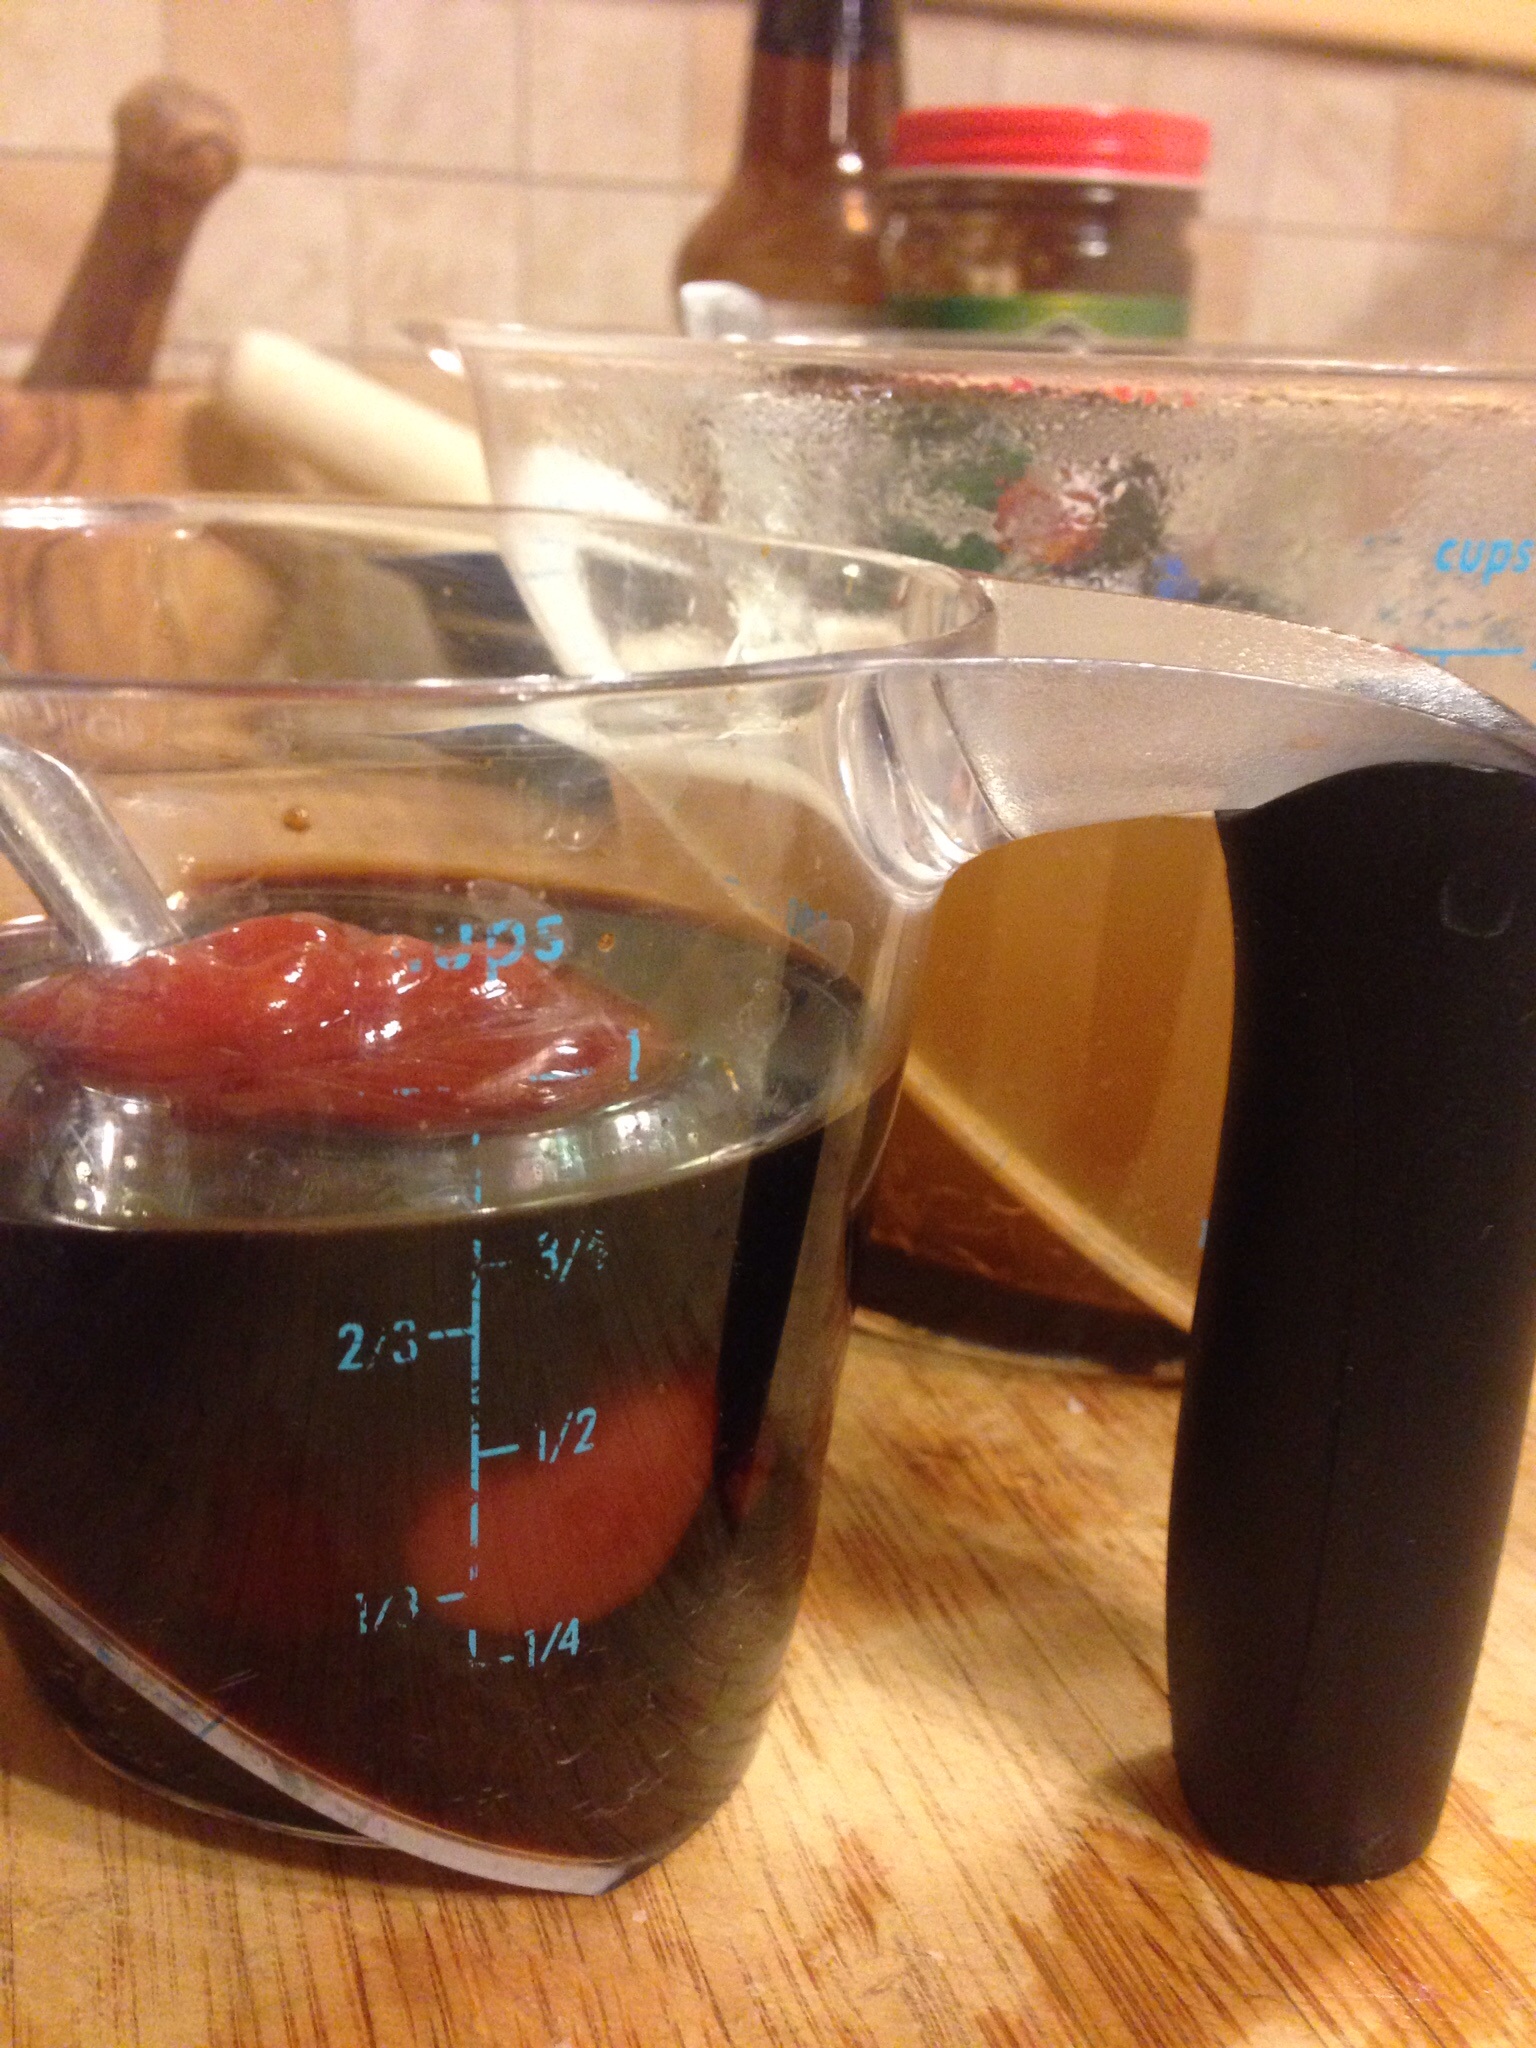
1/2 cup vermouth or dry white wine

1/2 cup lemon juice

1/2 cup chicken stock

Fresh parsley chopped

image


image

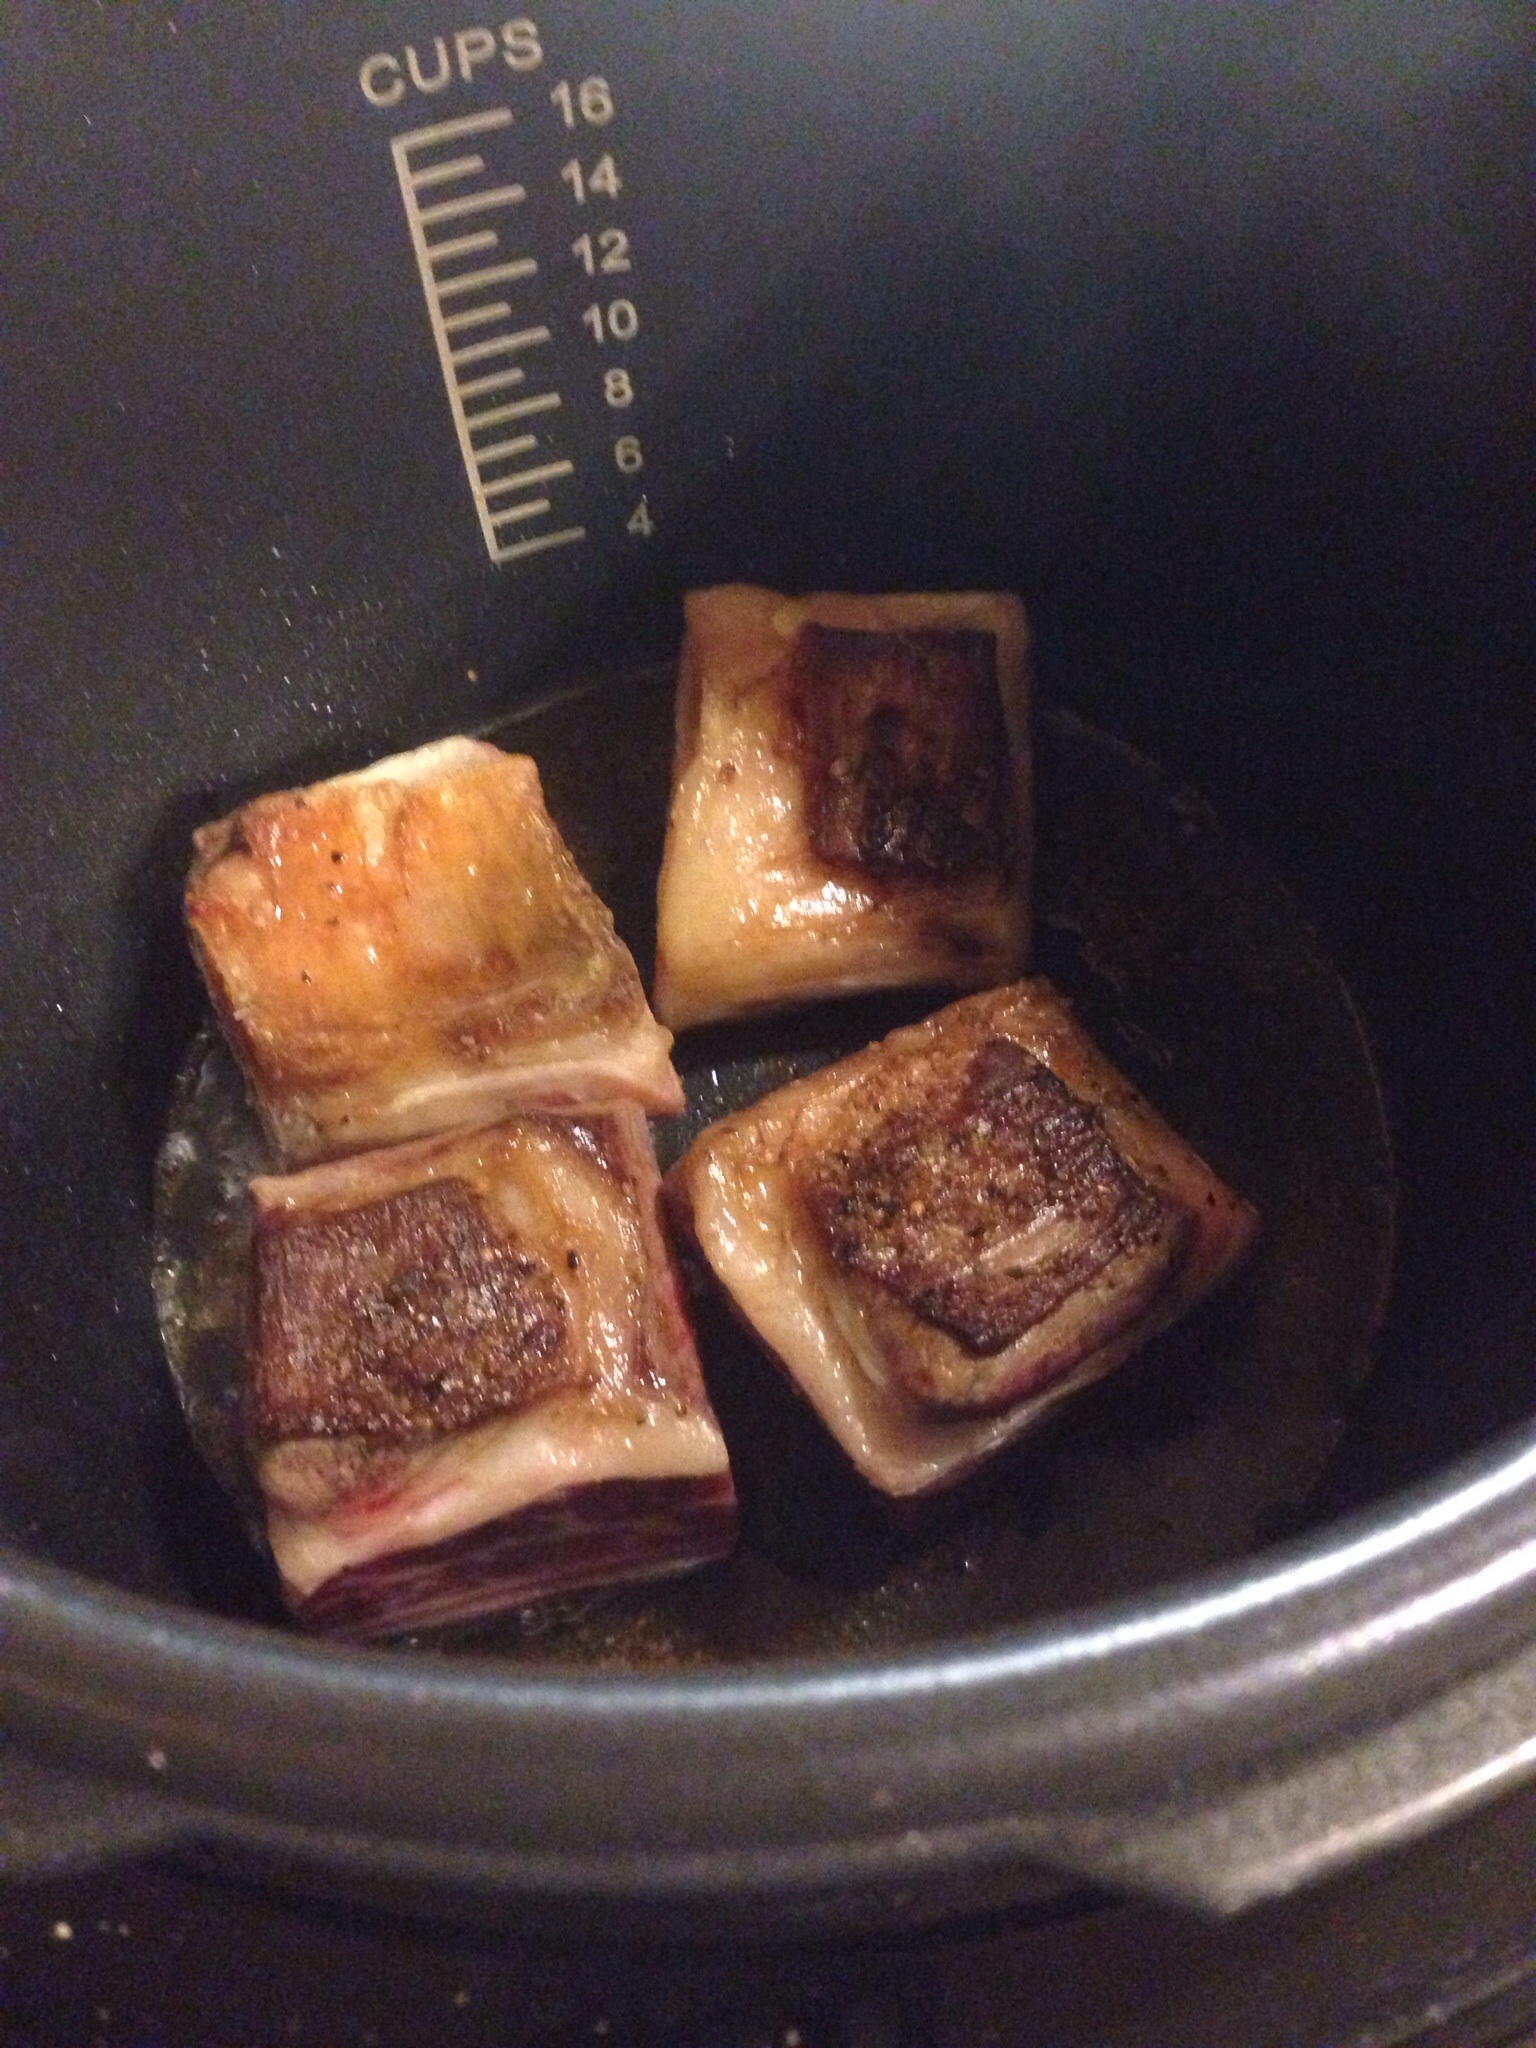
Generously salt chicken pieces and heat oil in the pressure cooker. Add the chicken, a few pieces at a time, and brown on both sides.  Remove browned pieces to a platter. While your chicken is browning squeeze your lemons and slice your garlic.

image

Add the garlic, oregano and red pepper flakes to the hot oil and cook for about 1 minute until garlic becomes fragrant. image

Add lemon juice, vermouth and stock to the pot and arrange the chicken in the liquid.

image


Lock the lid and cook at high pressure for 15 minutes. Allow the pressure to release naturally. Remove the chicken to a serving platter. Bring the sauce to a boil and stir in chopped parsley. If you wish you can thicken the juices with a little flour or corn starch. Pour the sauce over the chicken and serve.

While the chicken was cooking I decided to prepare some smashed cauliflower for a side. An easy, tasty side.

Ingredients:

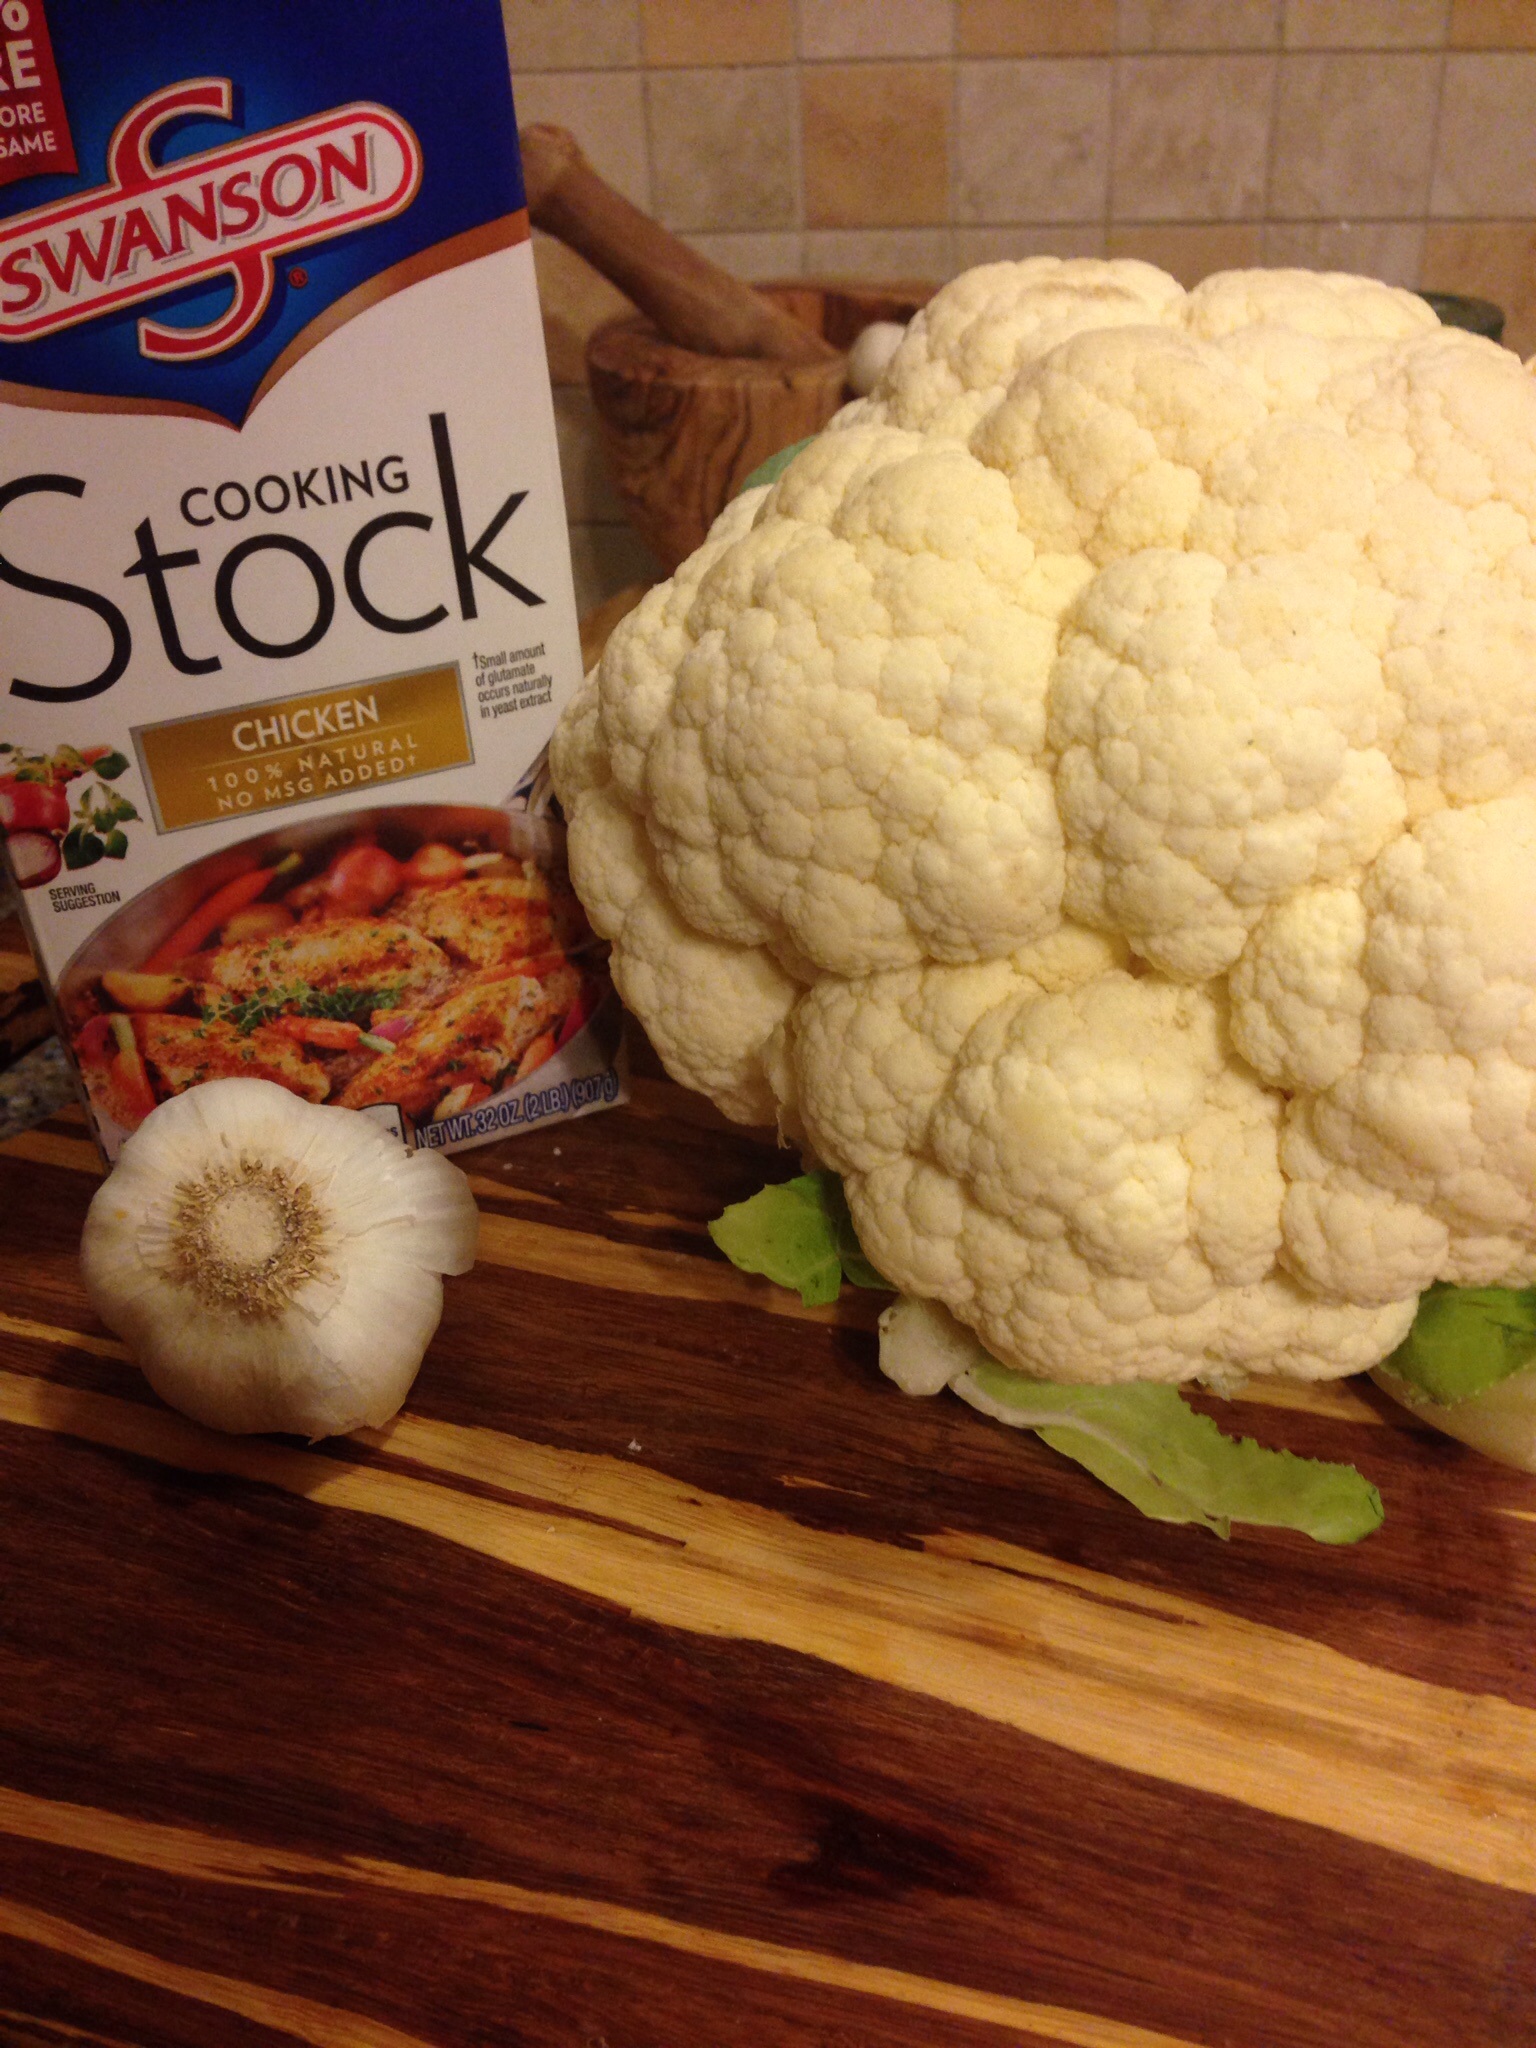
1 large head cauliflower cleaned and cut up

3-4 garlic cloves (I know, no vampires in our house!)

1-2 cups chicken stock or broth

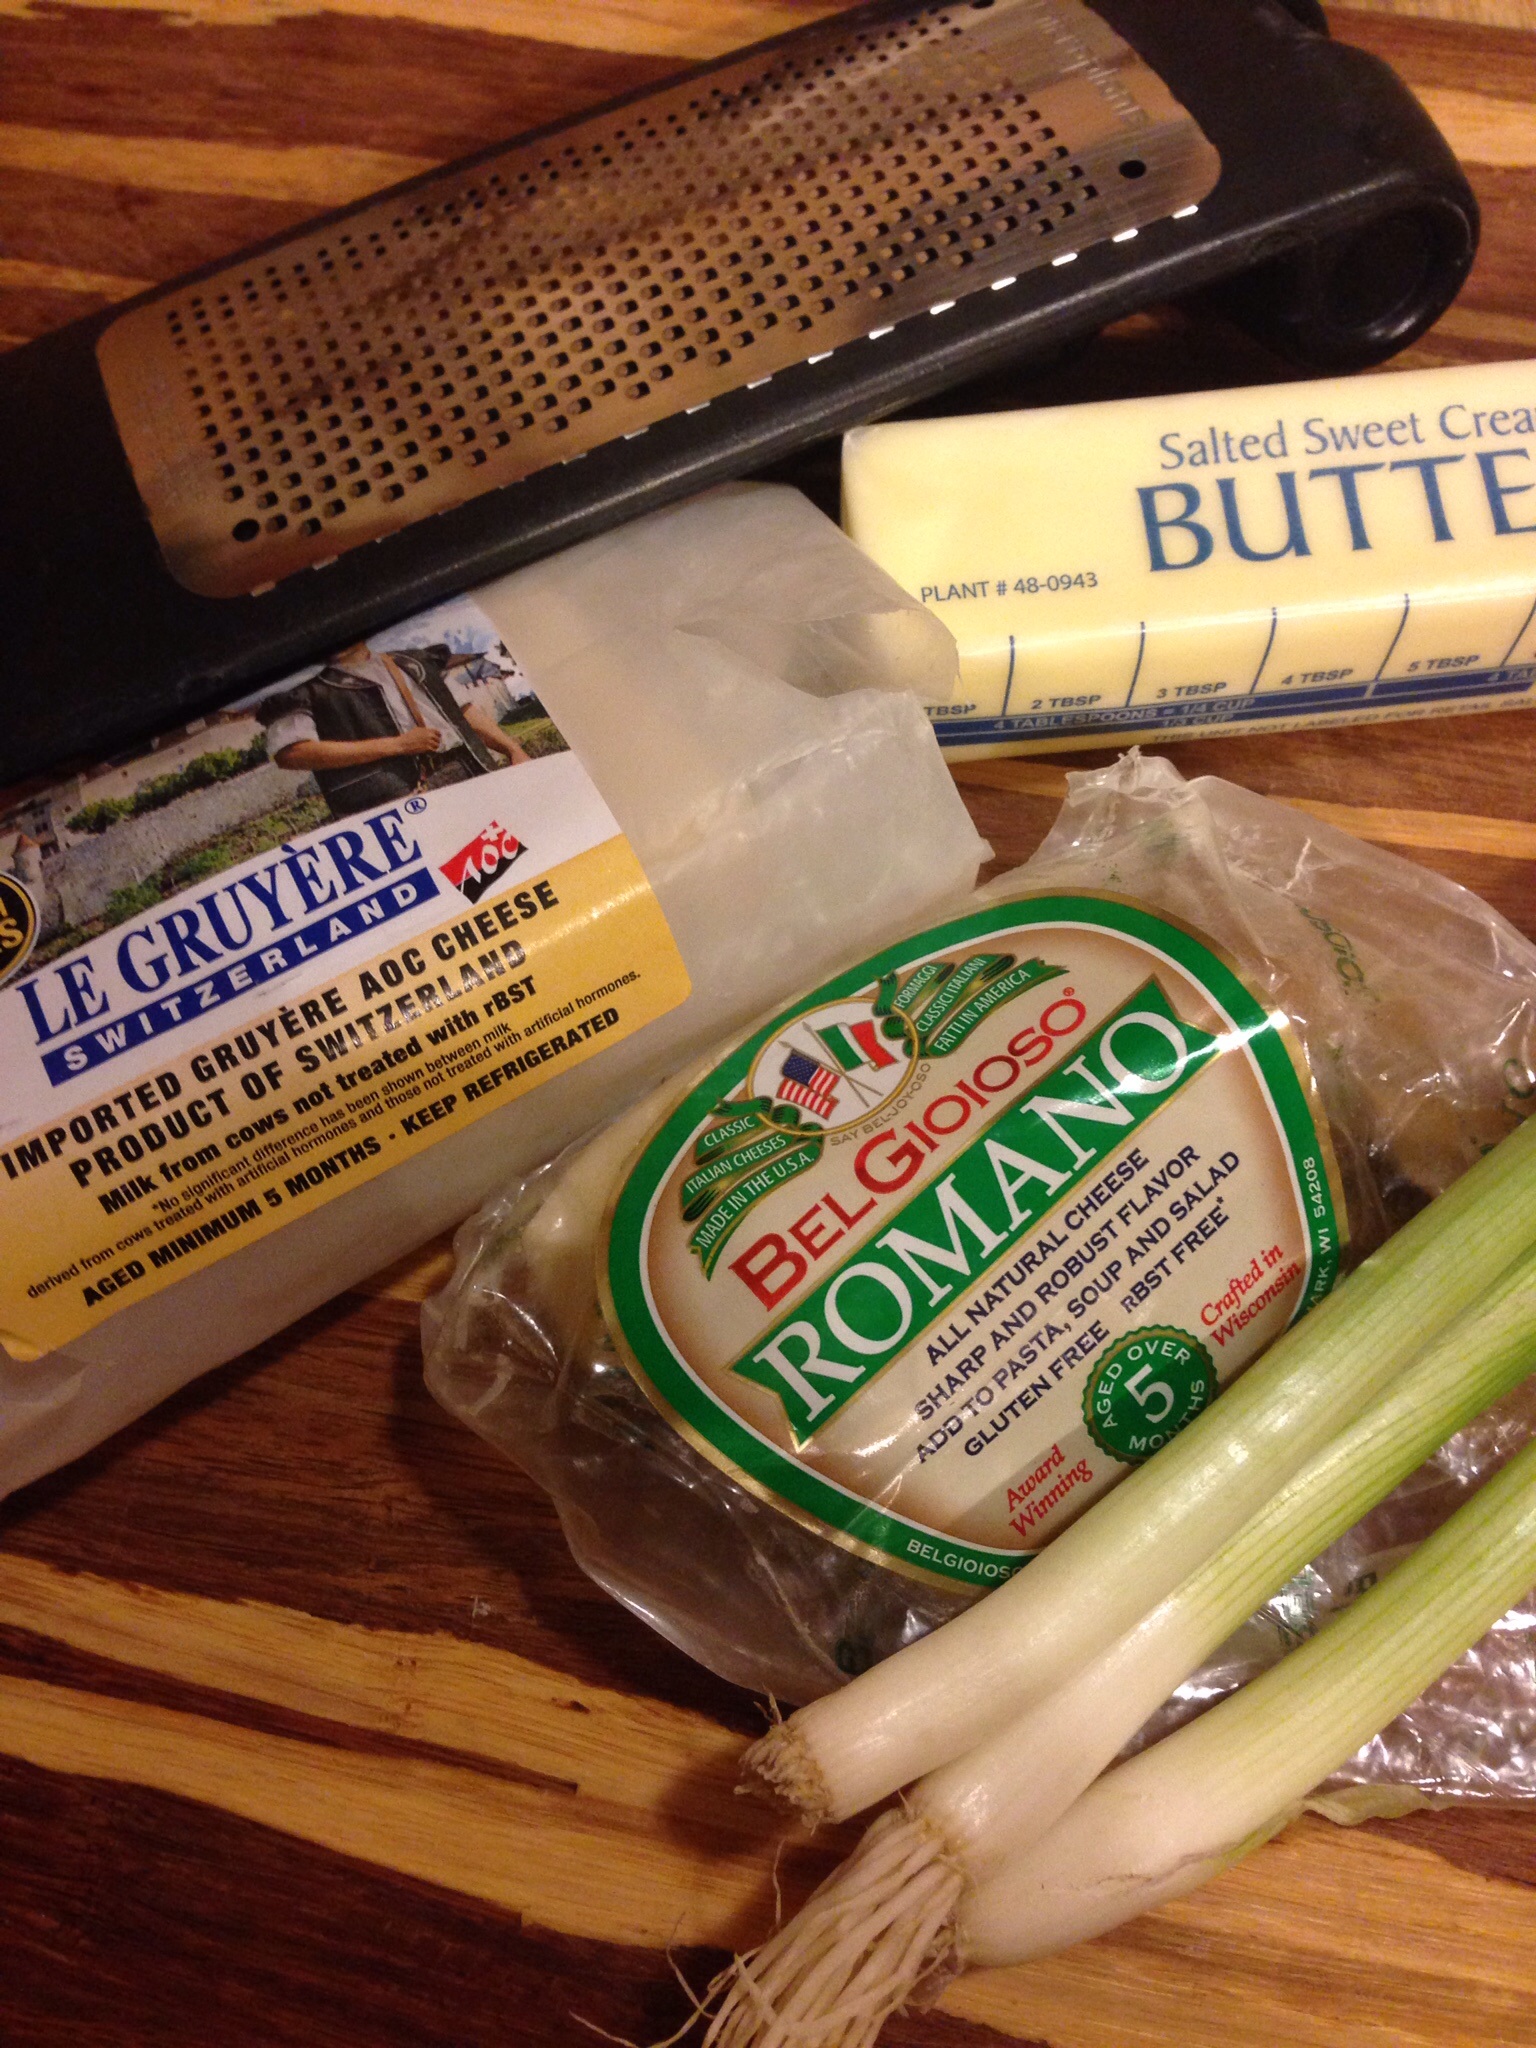
1/2 cup Romano cheese shredded

1/2 cup Le Gruyere cheese shredded

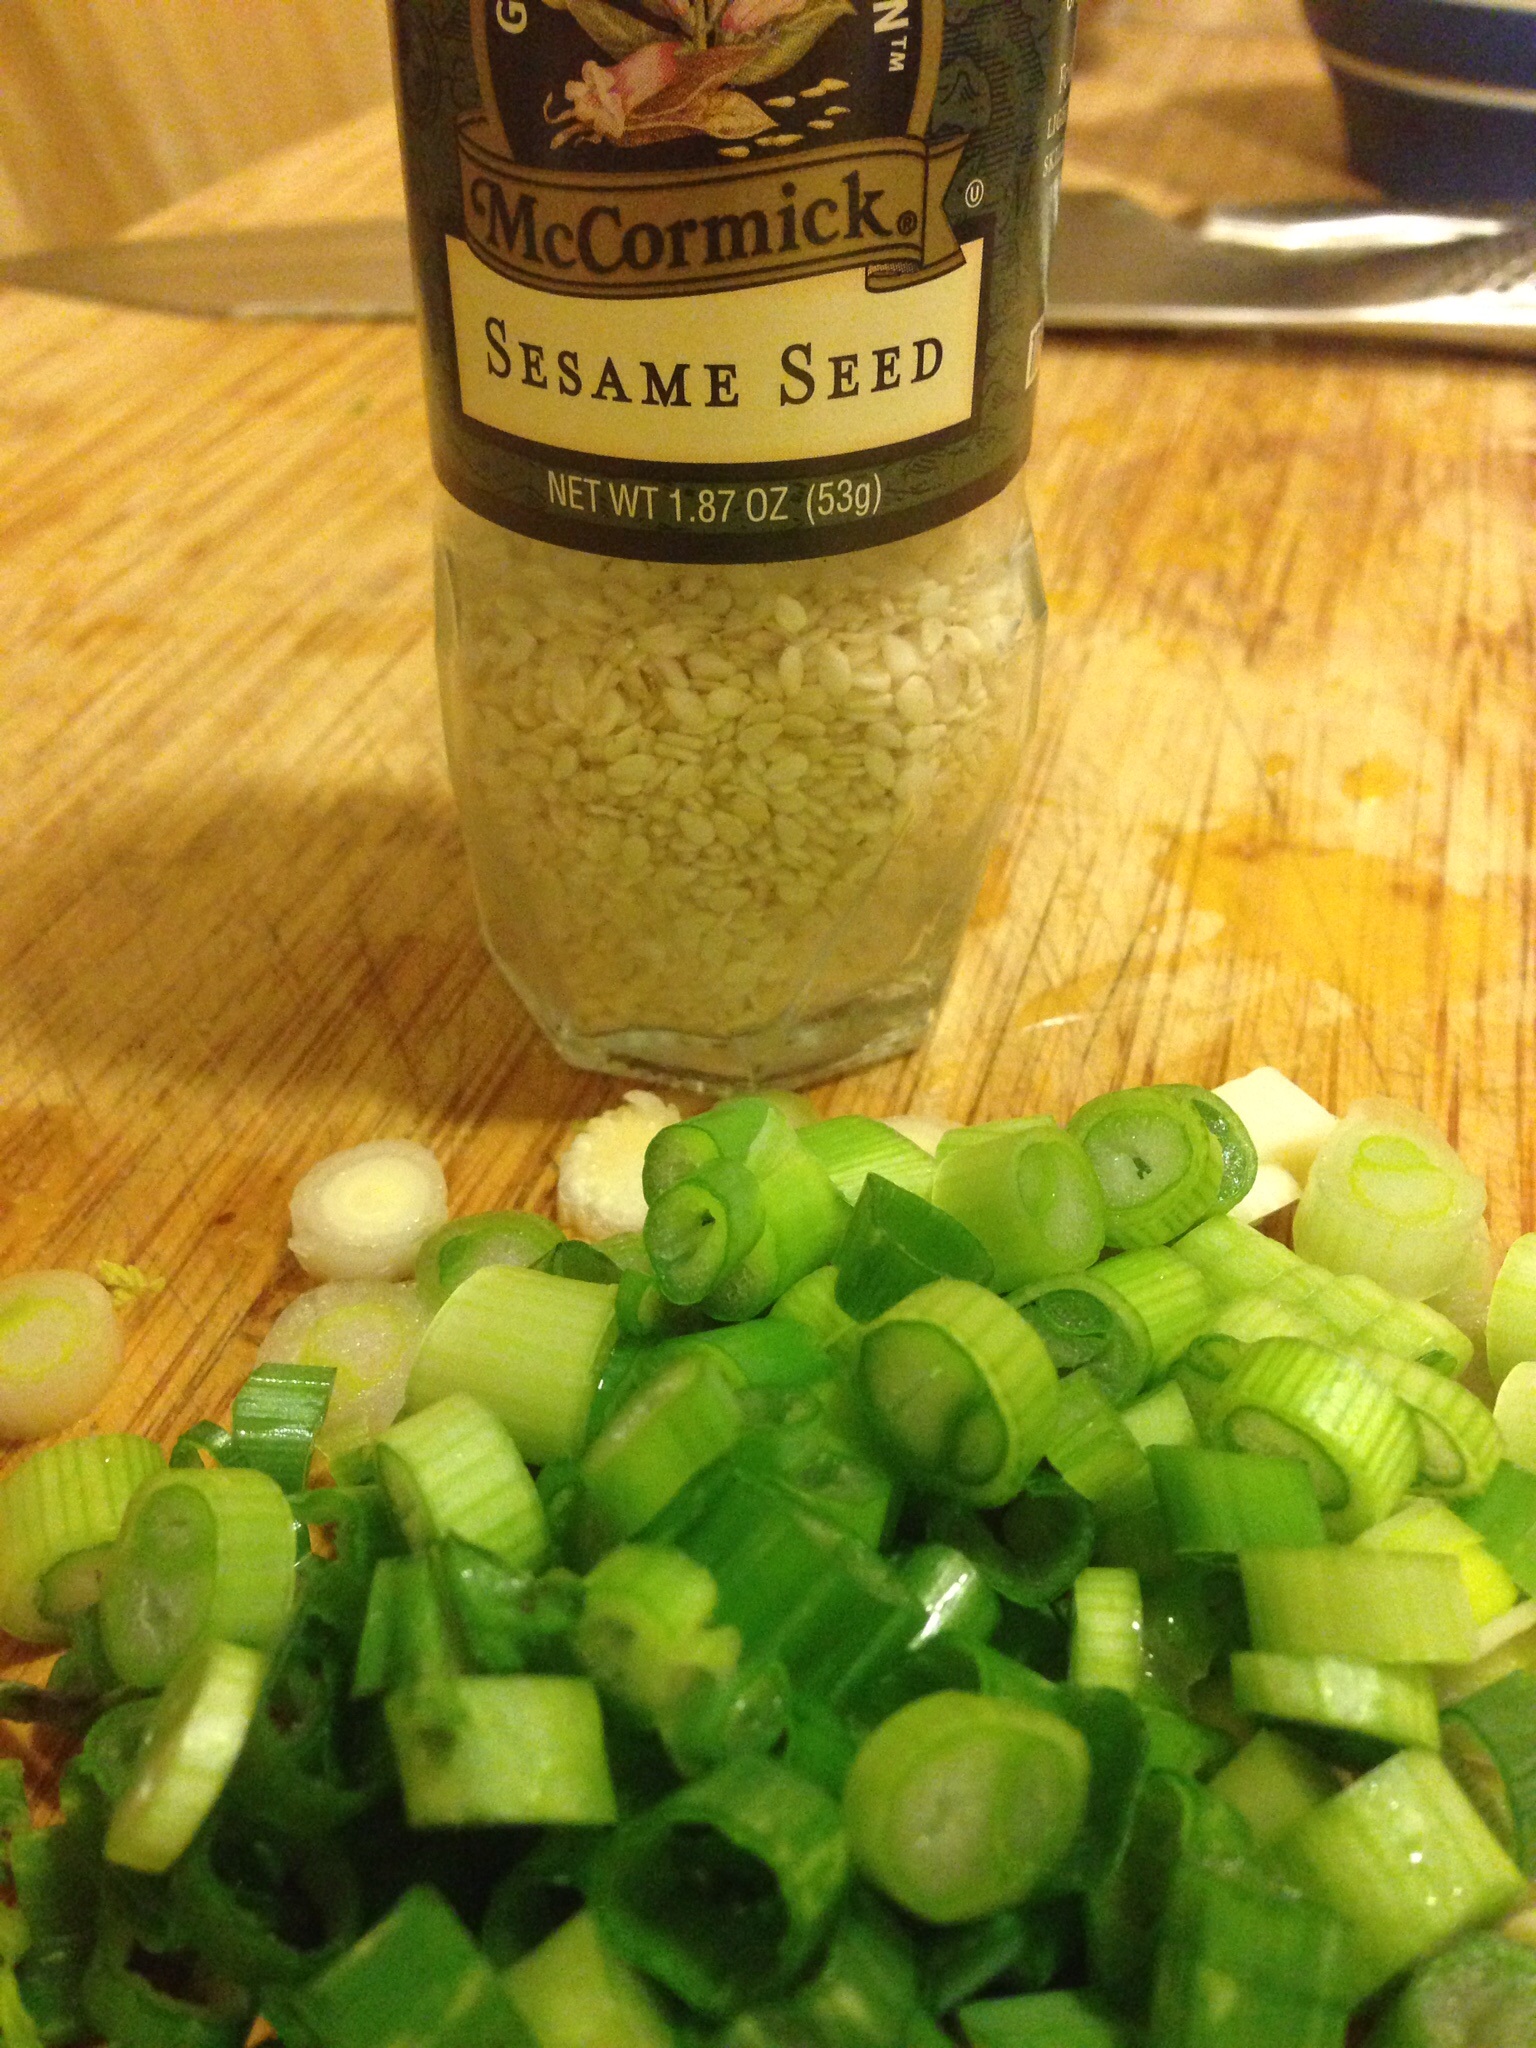
2-3 green onions thin sliced

salt and pepper (white pepper if you have it) to taste

2 T butter

image

image

Cook cauliflower and garlic cloves in the chicken broth until the cauliflower is fork tender. Drain off the broth holding a little back to add in while smashing. Add butter to the cauliflower and begin mashing with an ordinary potato masher until the consistency of mashed potatoes. Add some of the broth if necessary. Add the shredded cheese, salt and pepper to taste and green onions stirring well. This is one of my favorite sides!

I was always taught to use contrasting colors on your plate and white and white are a bit off putting. So I added a sizable sprig of parsley (good for getting rid of garlic breath after dinner) and some cranberry relish which I think is a must have for any poultry dish.

image

And then there was color.

Lemon and garlic chicken with smashed cauliflower. It’s what’s for dinner tonight. And tomorrow night.

NOTE:  My lemons were particularly juicy and 2 of them made a little over 3/4 cup of juice. I put the extra juice in a small zip lock snack bag and freeze it for a time when I have no fresh lemons on hand.


And seriously, parsley IS a good breath freshener.

Galette aka Rustic Tart

image

Pie is one of my favorite desserts and this rustic tart (or galette) is easy and beautiful in its simplicity.  My good friend Jane introduced me to this recipe a couple years ago. She made hers with pears. It works with almost any kind of fruit filling….peaches, pears, apples, berries. Today I made it with pears and apples.  Awhile back my daughter and I made a galette with apples and raspberries. I keep my cornstarch and baking powder right next to each other in my baking cupboard and I somehow confused the two. We wondered why our fruit was bubbling. Was a fail that we fortunately were not serving to guests. But, we did eat it ourselves. Waste not, want not…or something like that.  Pay attention to the ingredients and I promise that you will enjoy this recipe.

Ingredients:

Pie crust (homemade or pillsbury refrigerated crust)

I prefer to make my own crust but in a pinch the refrigerated crust works fine.

5 cups of sliced fruit (I used 2 pears and 3 apples)

1/2 cup golden raisins or dried cherries or cranberries

1/2 cup amaretto

3 T cornstarch

3 T brown sugar

5 T white sugar

Preheat oven to 450

image

image

Peel, core and slice the apples. Core and slice the pears. Put them in a shallow dish with the raisins and amaretto and let them marinate for about 30 minutes. Longer is okay. While you’re waiting for the fruit,  prepare your pastry. Roll out a disc about the size of a pizza pan.

image

Line a baking pan with parchment paper. Once your fruit has marinated combine the brown sugar, corn starch, and 3 T of the white sugar. Drain the amaretto from the fruit. (Save it, it’s perfectly fine to sip on while you finish preparing the tart). Toss the fruit in the sugar mixture. Heap the fruit in the center of the prepared pastry.  Fold the edges over.  Sprinkle with 2 T of granulated sugar.

image

Bake at 450 for 20 minutes. Reduce oven temperature to 350 and bake for 45 minutes. Remove to a cooling rack.

image

Serve warm with a scoop of vanilla ice cream or at room temperature with a generous dollop of whipped cream.

image

Galette is a French word and means “any of various round flat pastries with a sugar glaze or a sweet filling such as fruit.”  If you want to impress people serve them a “galette”.  If you’re just serving it for dessert tonight call it a rustic tart.  Either way, enjoy!

Spiral Veggie Pie

image

A few weeks ago a friend posted a recipe for a veggie spiral that looked beautiful and challenging. I love making meatless dishes and decided to try a modified version of the recipe. In the making of this dish I decided I need a new mandolin. Mine didn’t seem to cut the veggies as thin as they should have been and I had to use a wide peeler for the sweet potatoes and carrots.

Preheat oven to 375.

Ingredients:

2-3 yellow squash

2-3 zucchini

2 small eggplants

2 carrots

2 sweet potatoes

4 oz cream cheese at room temperature

1/2 cup sour cream

2 T Dijon mustard

fresh sage leaves

salt and pepper

olive oil

single pie crust

image

image

Prepare your pie crust.

image

Using a mandolin (or wide peeler) thin slice the vegetables. Do not peel the vegetables; the skins add color to the dish.

image

Using a hand mixer beat cream cheese, sour cream, and Dijon mustard until smooth.

image

image

Spread cream cheese mixture in the pie shell. Sprinkle with chiffonaded sage leaves.

image

Begin rolling the veggies, skin side up, in a spiral alternating the colors. Continue until you reach the ends of the dish.

image

image

image

image

Drizzle with olive oil and season with kosher salt and fresh ground pepper.

imagey

Bake in preheated oven for 45 minutes.

image

Cool for 5 minutes, slice and enjoy.

image

Great served with a salad and bread. It’s a beautiful dish in its own right that’s fun to prepare. A perfect vegetarian dish or a side for a meat dish.

Beef Short Ribs Asian Style

image

I’ve been on holiday, so to speak, but I’m back to cooking and baking and blogging!

Last year I asked for and received an electric pressure cooker for Christmas. Like a lot of kitchen appliances I used it a lot at first and hadn’t taken it out for awhile. While we were visiting our daughter and her boyfriend over Christmas they reminded me how awesome this electric pressure cooker is and I remembered why I asked for it in the first place. It was late and we hadn’t planned on what was for dinner that night. They took a soup bone out of the freezer…yes, the freezer… put the frozen bone, some vegetables, broth and spices into the pressure cooker and in less than an hour we had truly awesome, tasty soup.  Just before serving they added some cooked kale and gnocchi and garnished the soup with Parmesan.  How great to be able to prepare great food with complex flavors in no time at all when you’ve worked all day.

Sometimes we can learn things from our kids!  When I came home the pressure cooker was put back in service.

image

Tonight I made beef short ribs Asian style with rice and stir fried vegetables. The pressure cooker is easy to use and makes the meat fall off the bone tender.

Ingredients:

Beef short ribs, approximately 3-4 pounds with bone in

kosher salt and course ground pepper to taste

3 T olive oil

5-6 garlic cloves minced

1 T fresh grated ginger

1/4 cup soy salt

1/4 cup hoisin sauce

1/4 cup catsup (or 2 T tomato paste)

1 1/2 cups beef broth

2 T cornstarch

1/4 cup water or broth

image

image

Heat 2 T of the olive oil in the pressure cooker. Generously salt and pepper the ribs, add to the pressure cooker and brown.  Transfer them to a plate as they get done.

image

Heat the remaining 1 T of oil and add the garlic, ginger, soy sauce, hoisin, catsup, and broth to the pot.

image image

Stir to blend. Return the browned meat to the pot. Lock the lid and cook at high pressure for 25 minutes.

image

Release the pressure naturally.  Remove the lid tilting it away from you to avoid escaping steam. Skim off any excess fat from the top of the sauce. Bring the sauce to a boil. Whisk the 2 T of corn starch into the water or broth and add to the sauce stirring until it’s thickened. Cover and keep on the warm setting until ready to serve.

While the ribs are cooking prepare the rice of your choice (jasmine, brown, long grain white).

Choose some of your favorite vegetables and do a quick stir fry. I used carrots, celery, onion, red pepper, pea pods, and broccoli.

image

Heat 2 T olive or sesame oil in a wok or heavy skillet. Cook your vegetables until tender crisp.

image

Plate your food. First the rice topped with the vegetables and short ribs. Ladle the sauce over the dish. I garnished with green onion, basil, and sesame seeds.

image

image

Short ribs with rice, stir fried veggies, and a rich, tasty sauce. It’s what was for dinner tonight.

NOTE:  When I buy ginger I peel it, cut it into several pieces and freeze it in zip lock bags. I always have fresh ginger and it grates easily when frozen.