Oatmeal Bread

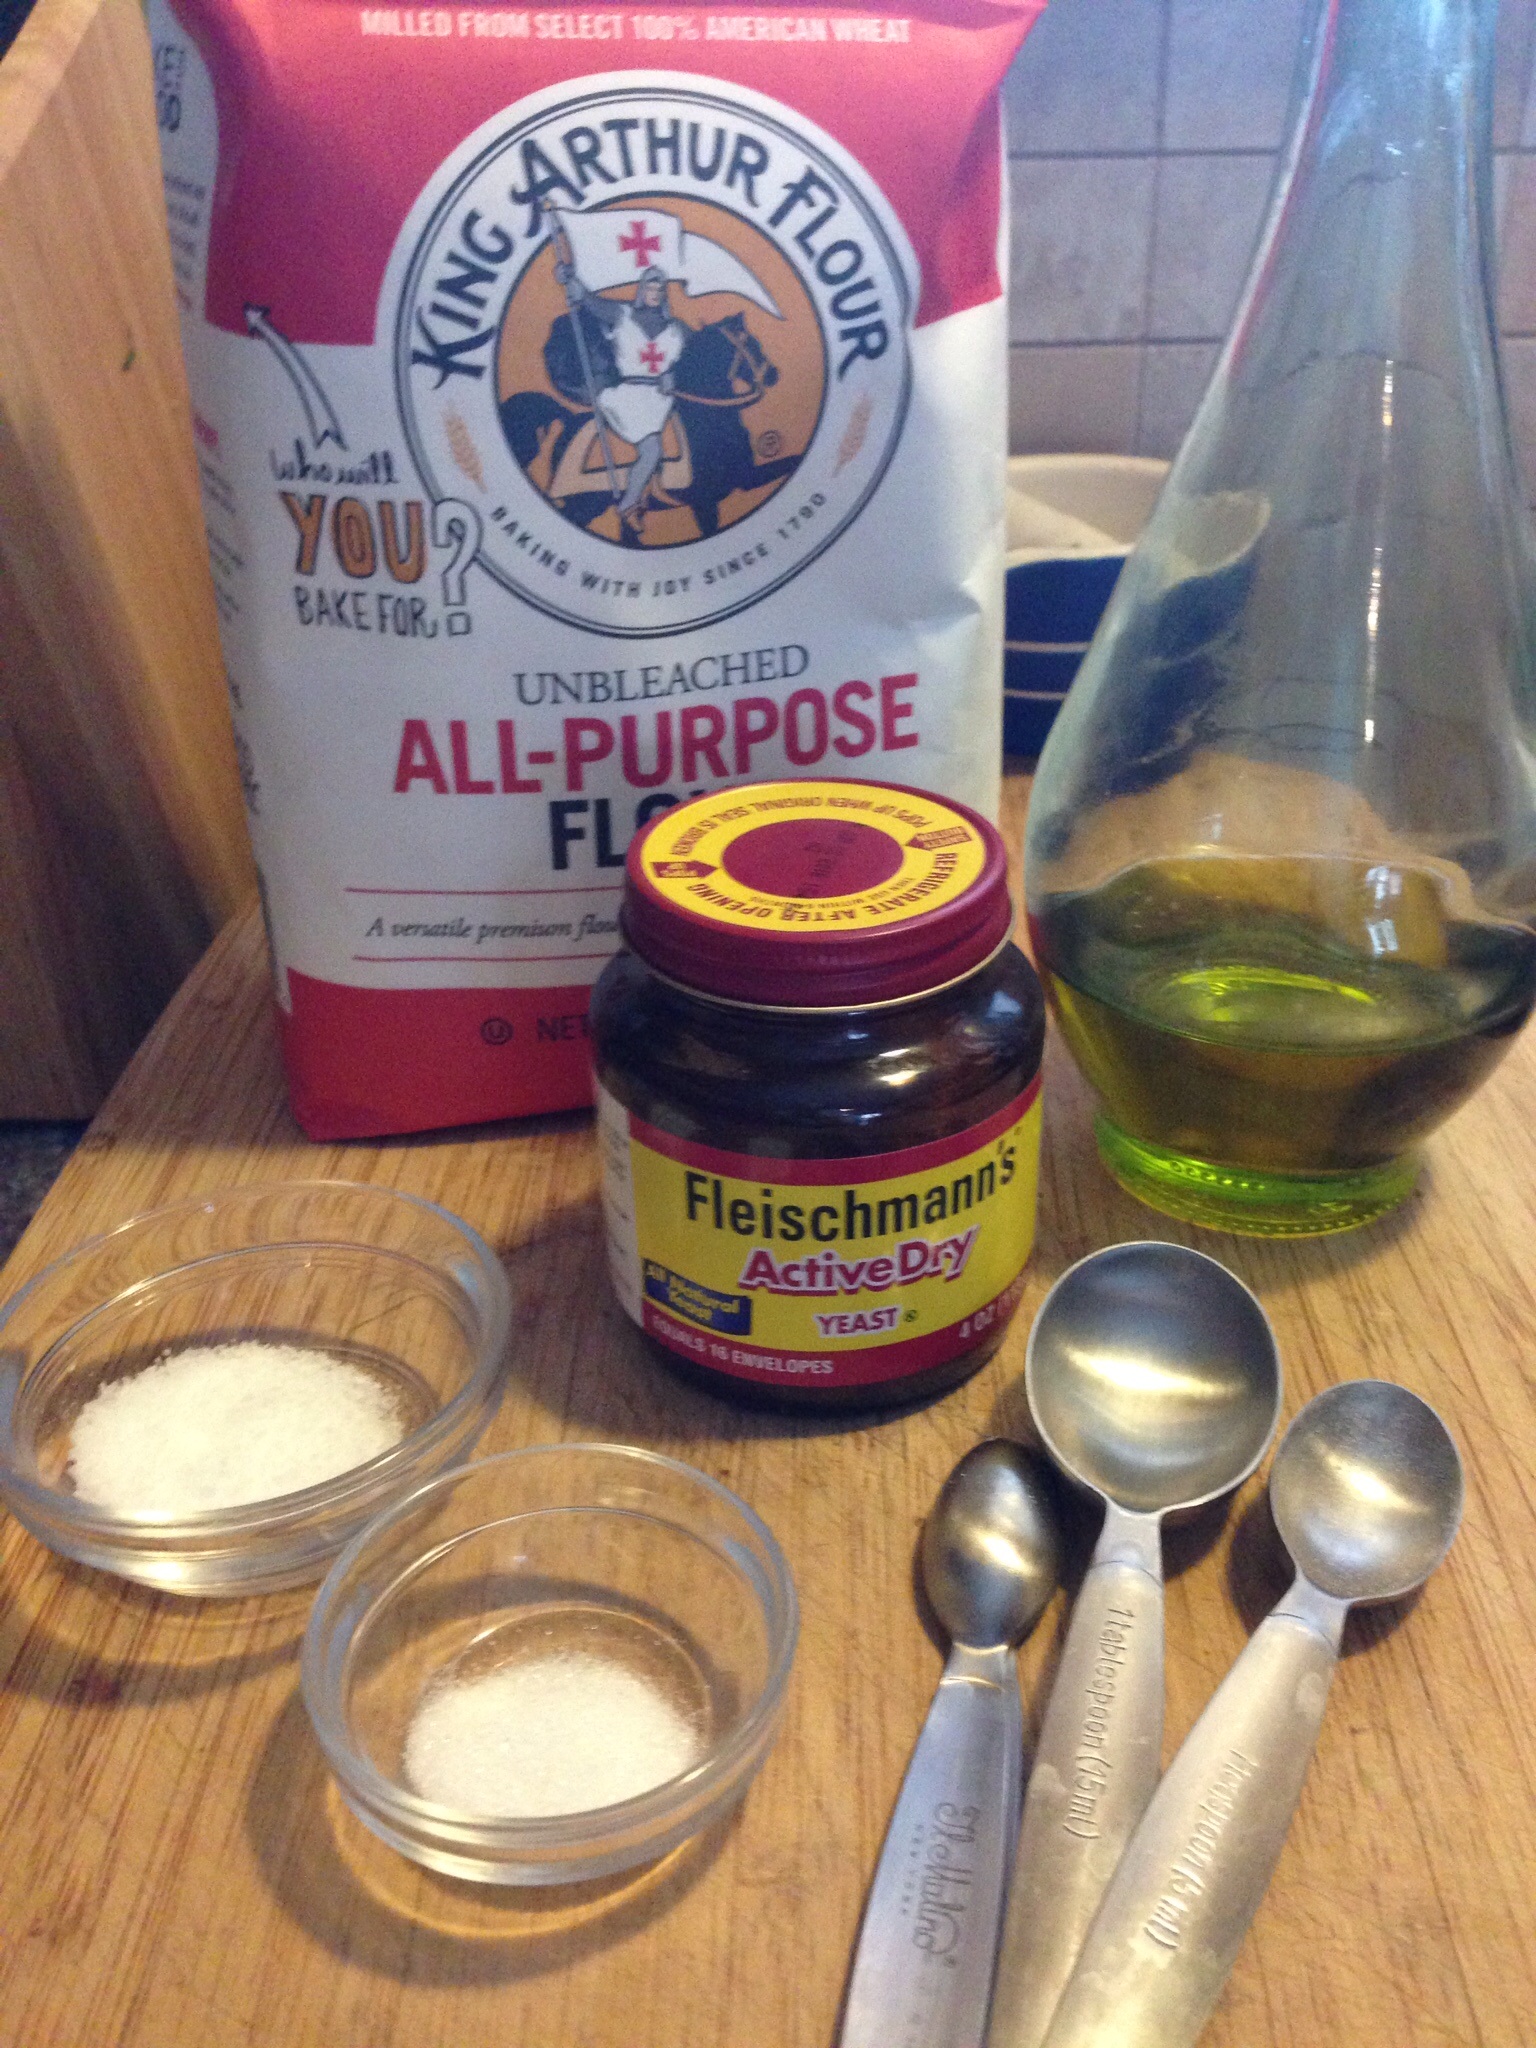
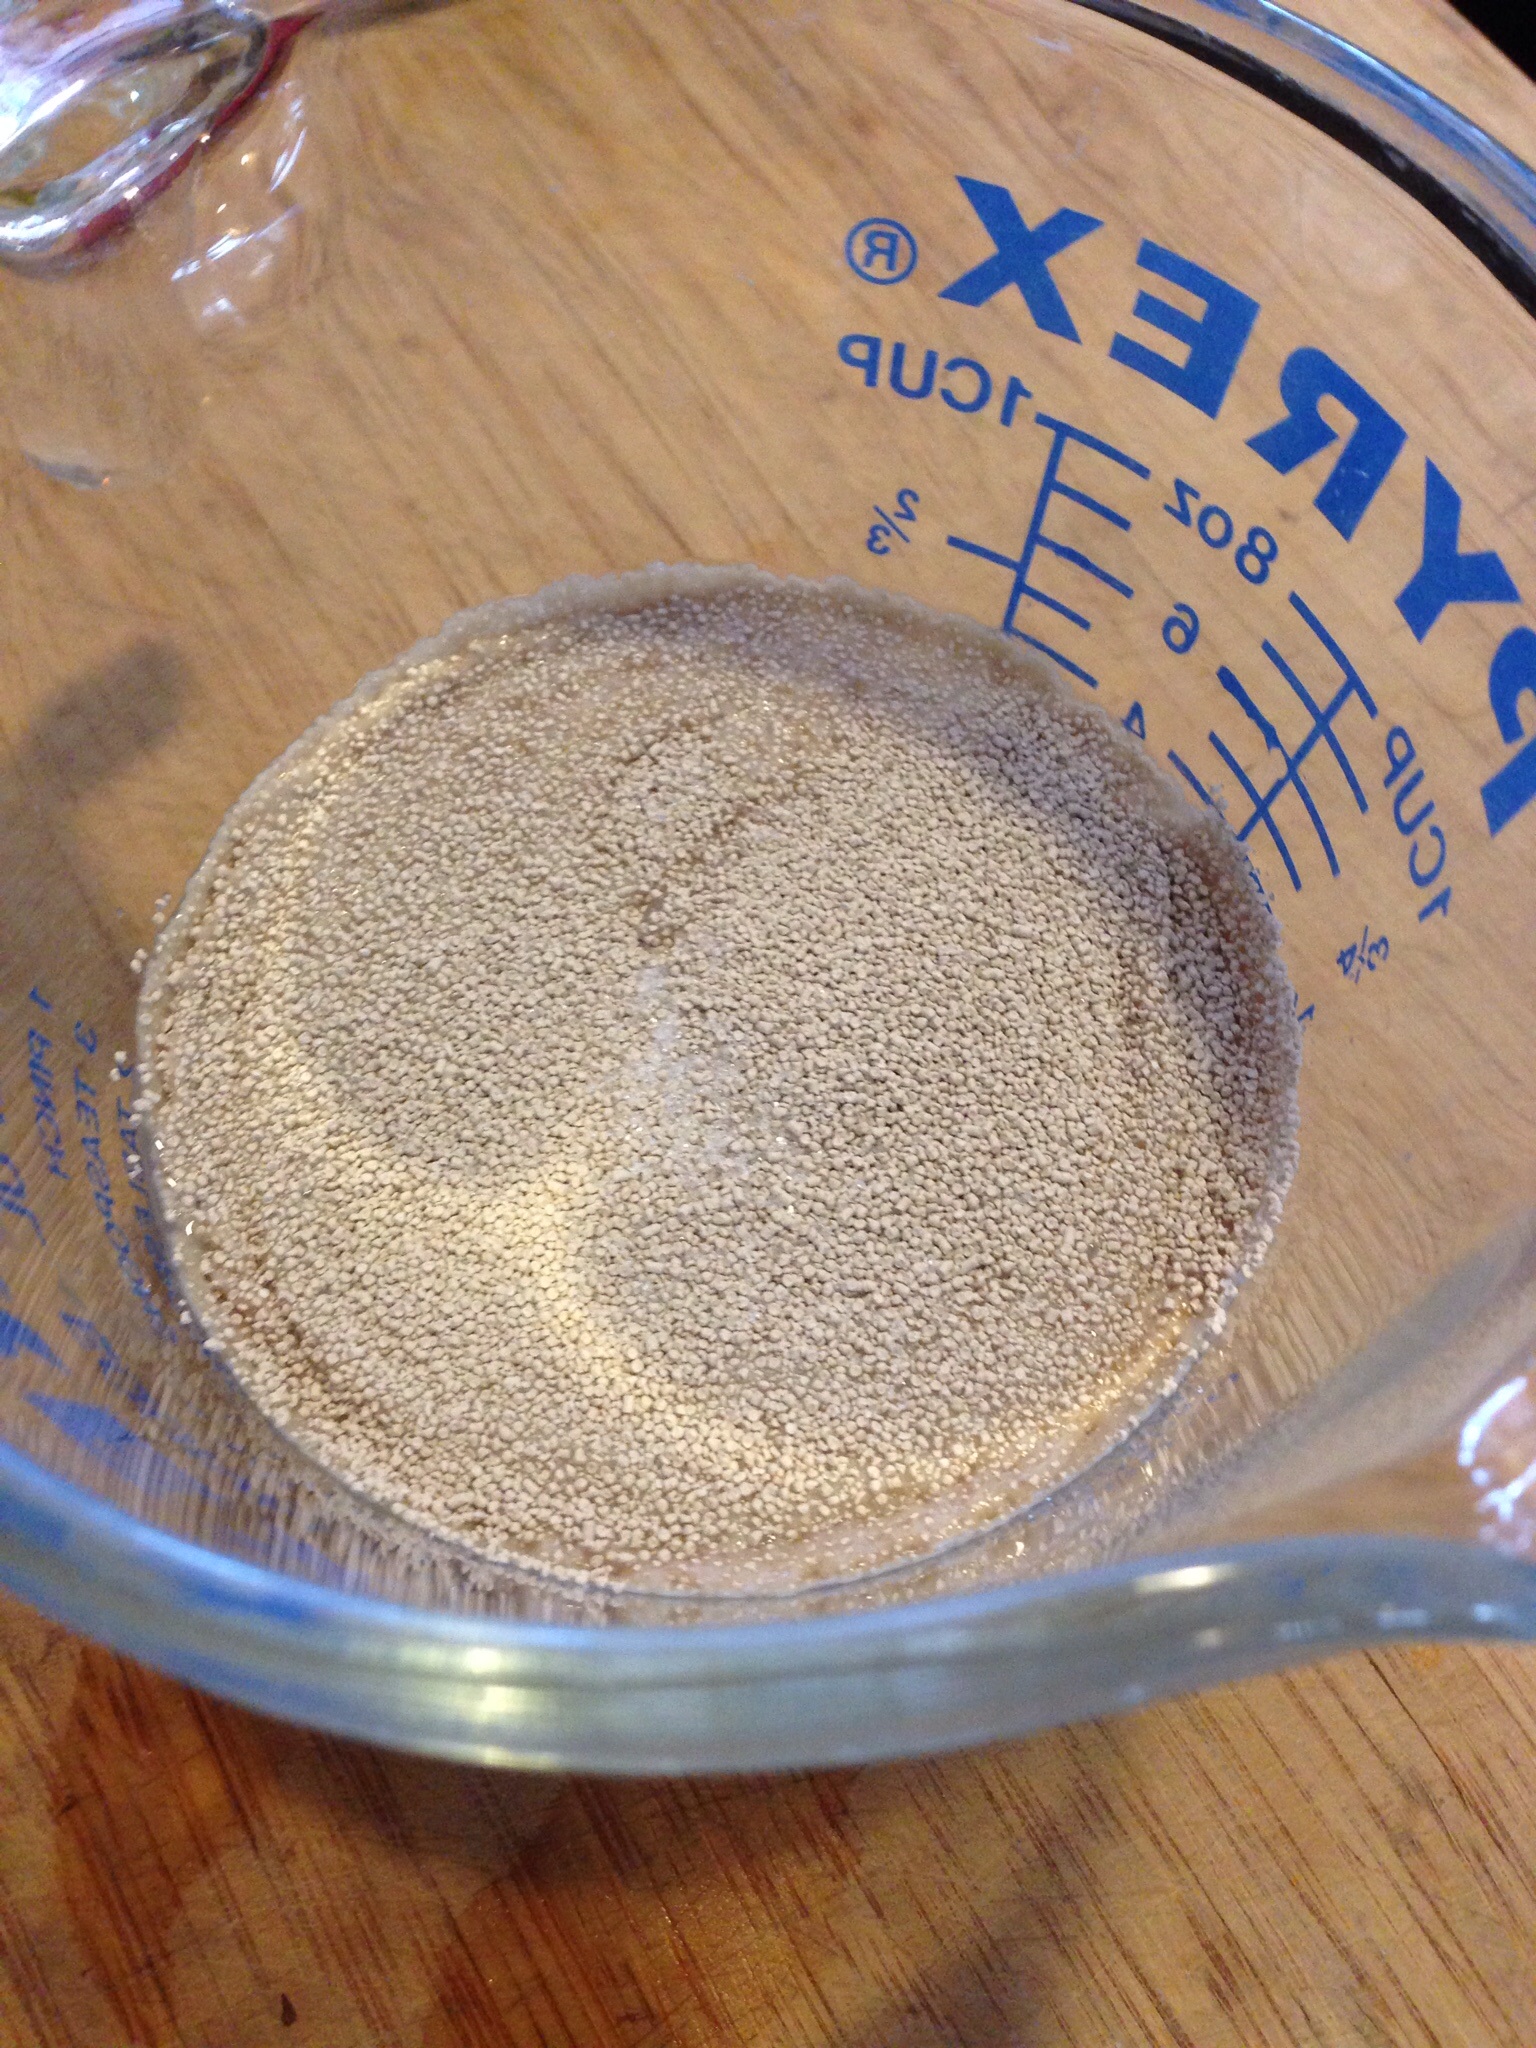
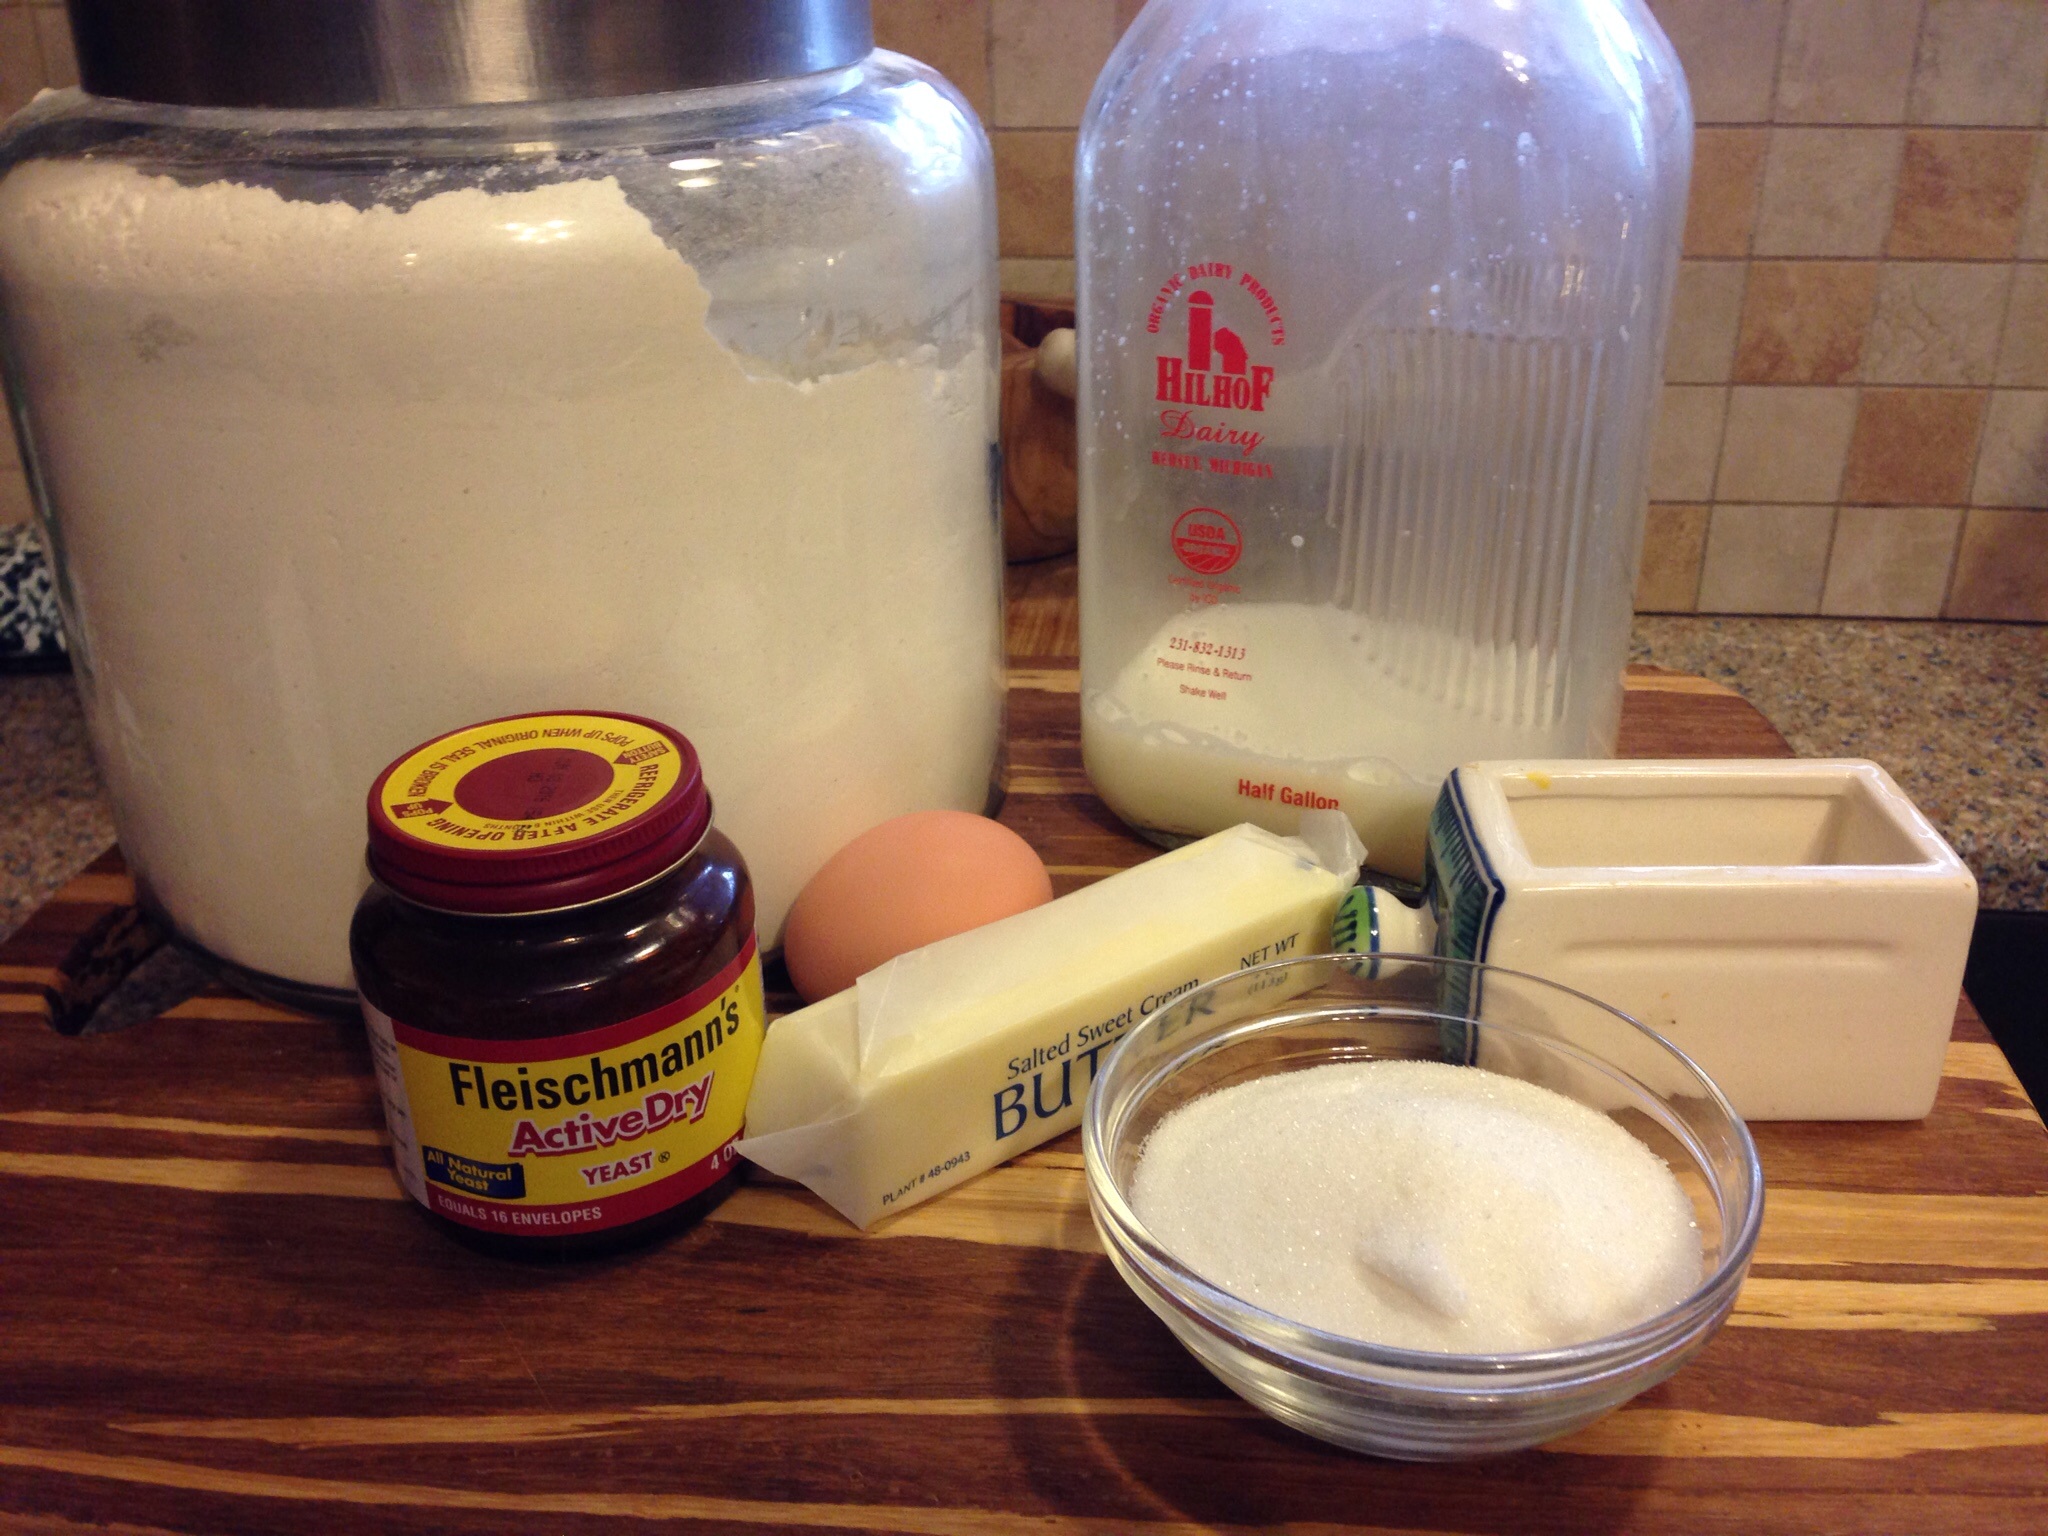
More pandemic bread making.  I am using one of the last envelopes of yeast my neighbor was kind enough to share with me.  Yeast and flour are extremely hard to come by right now.  I’ve never before had trouble finding yeast on the grocery store shelves.  Apparently toilet paper isn’t the only thing people are hoarding. A friend messaged me a couple days ago after finding a jar of yeast in her freezer which had a 2013 expiration date on it.  She wanted to know if I thought it was still good.  I sent her a link with instructions for testing the yeast to see if it would still work.  Testing is really very simple.  You put a little yeast in warm water with a pinch of sugar and it should start bubbling after a few minutes.  If it bubbles, you’re good to go.  Amazingly her yeast was still good.  Freezing or refrigerating dry yeast lengthens its shelf life as long as it is in an airtight container.  Cake yeast should not be frozen.  But truthfully, I haven’t seen cake yeast in years!!

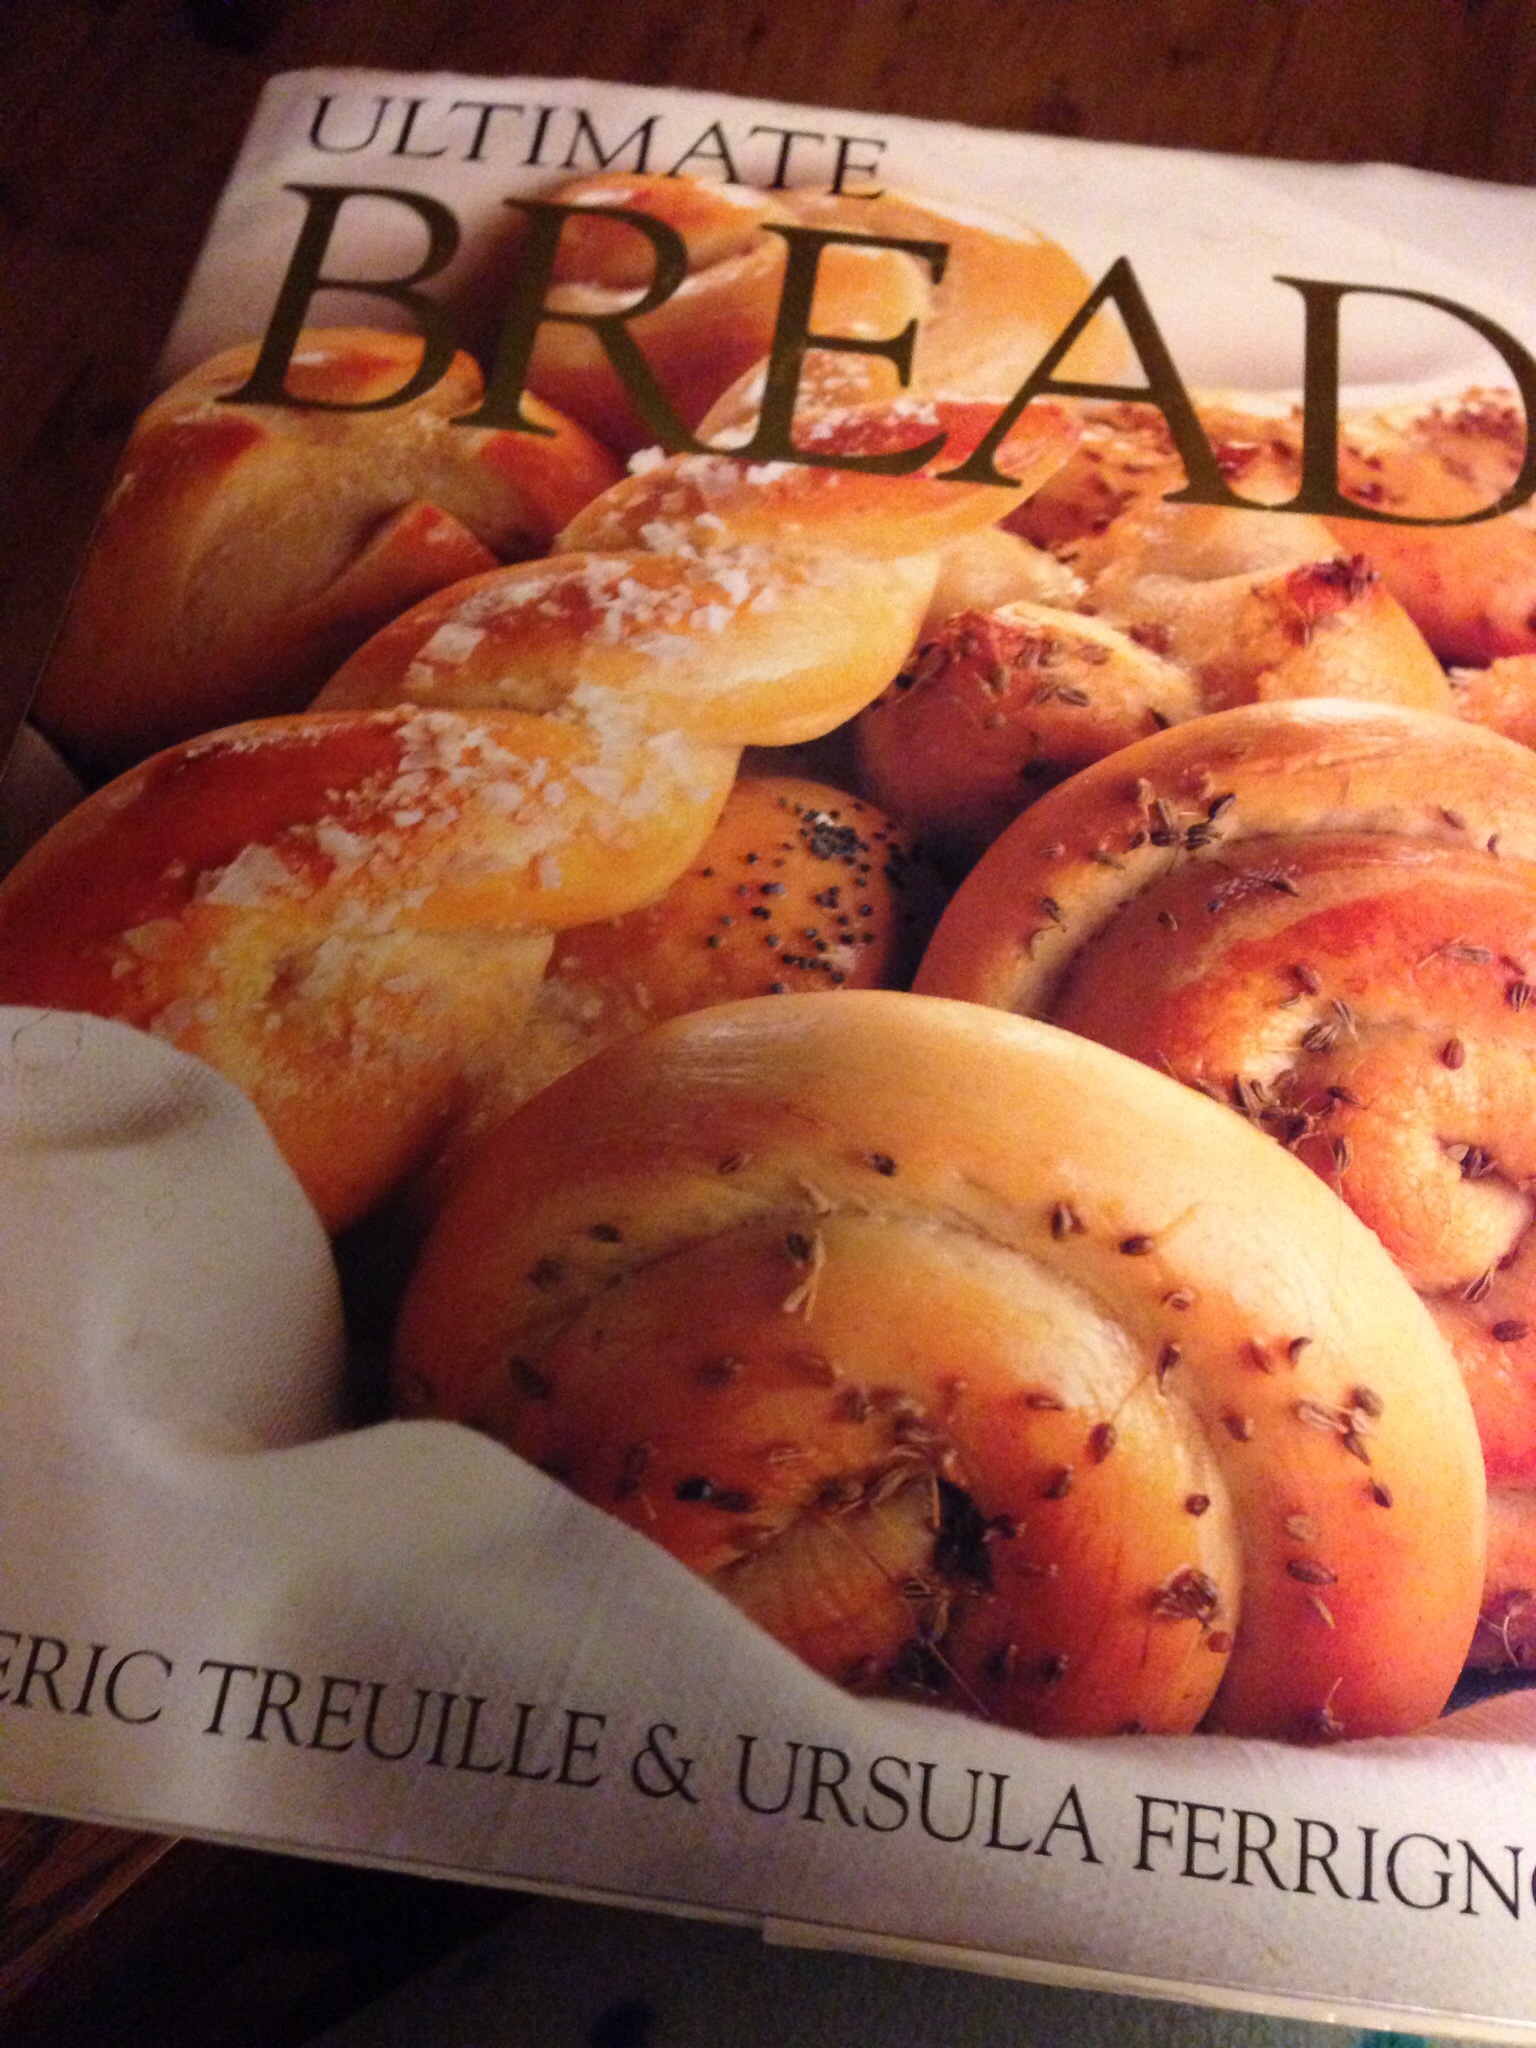
Back to my oatmeal bread.  This recipe is one that I found years ago in the food section of a local newspaper.  It’s a hearty, dense bread.  Easy to make. The brown sugar and whole wheat flour give it a bit of a sweet molasses like flavor.  We toasted some this morning and enjoyed it with a cup of coffee.
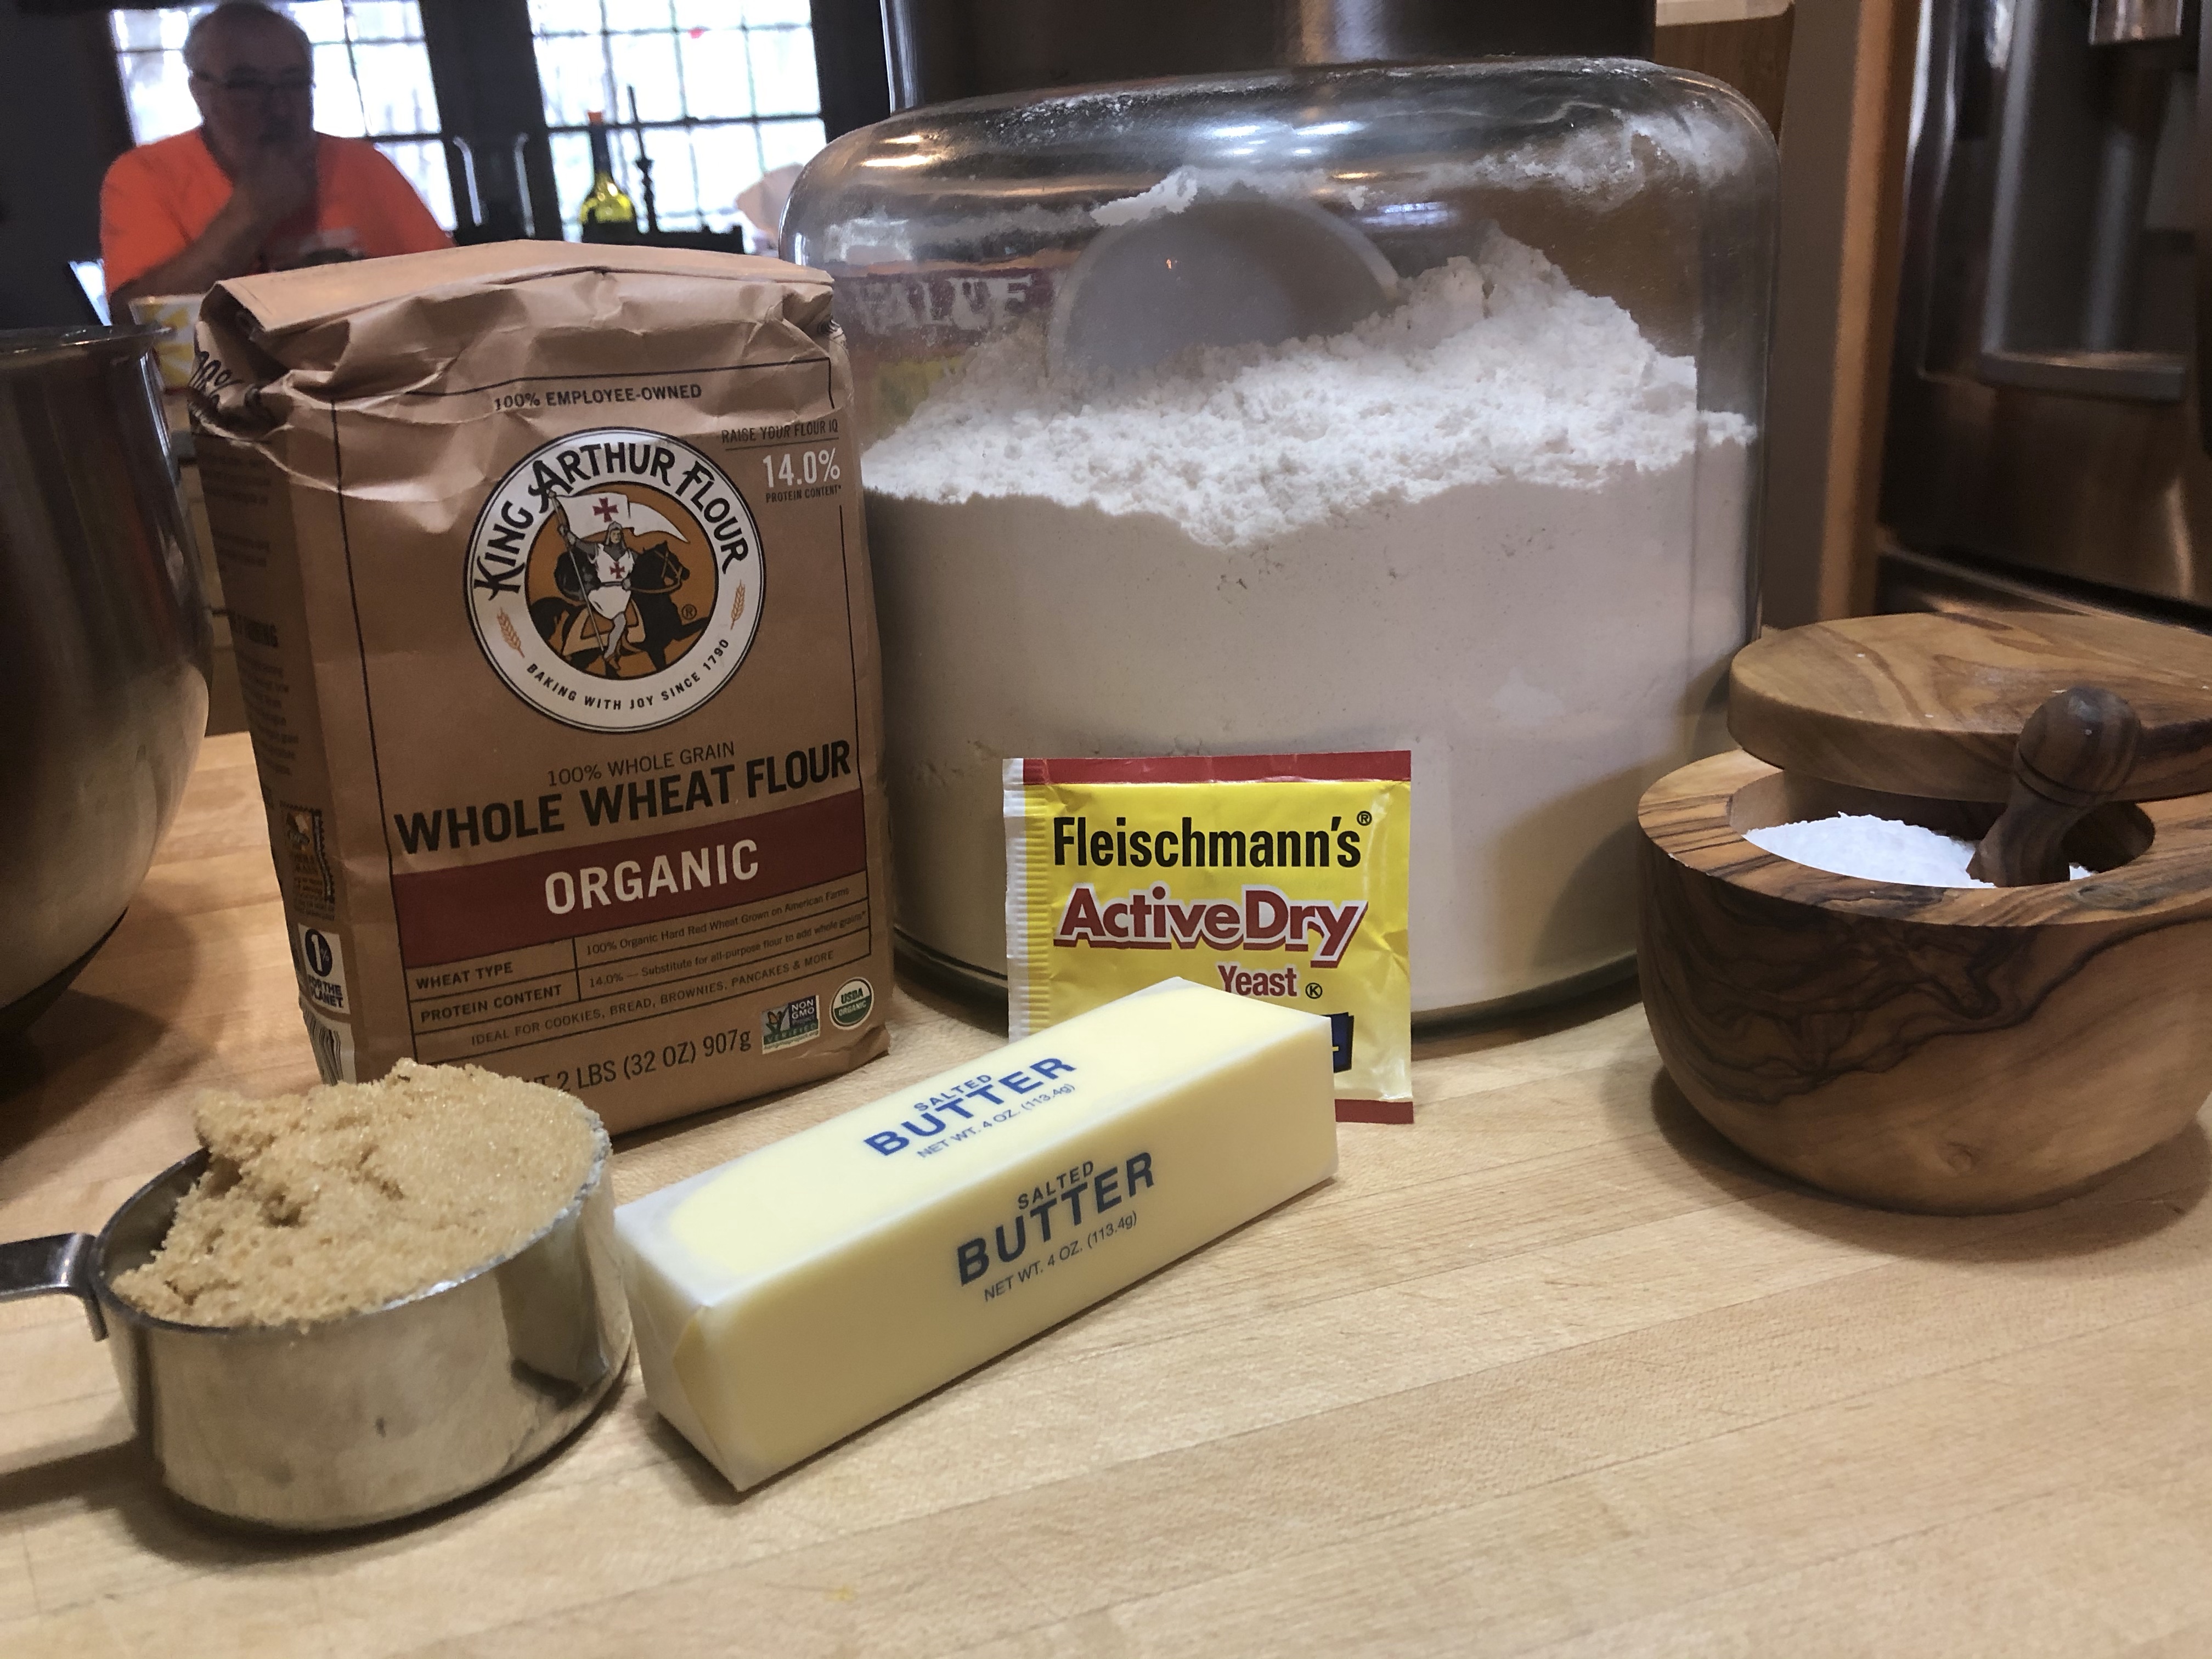
Ingredients:

1 cup old fashioned oats

1/2 cup whole wheat flour

1/2 cup brown sugar

1 T salt

2 T butter

2 cups boiling water

2 1/4 tsp dry yeast

1/2 cup warm water

4 cups AP flour, 1/2 cup whole wheat flour

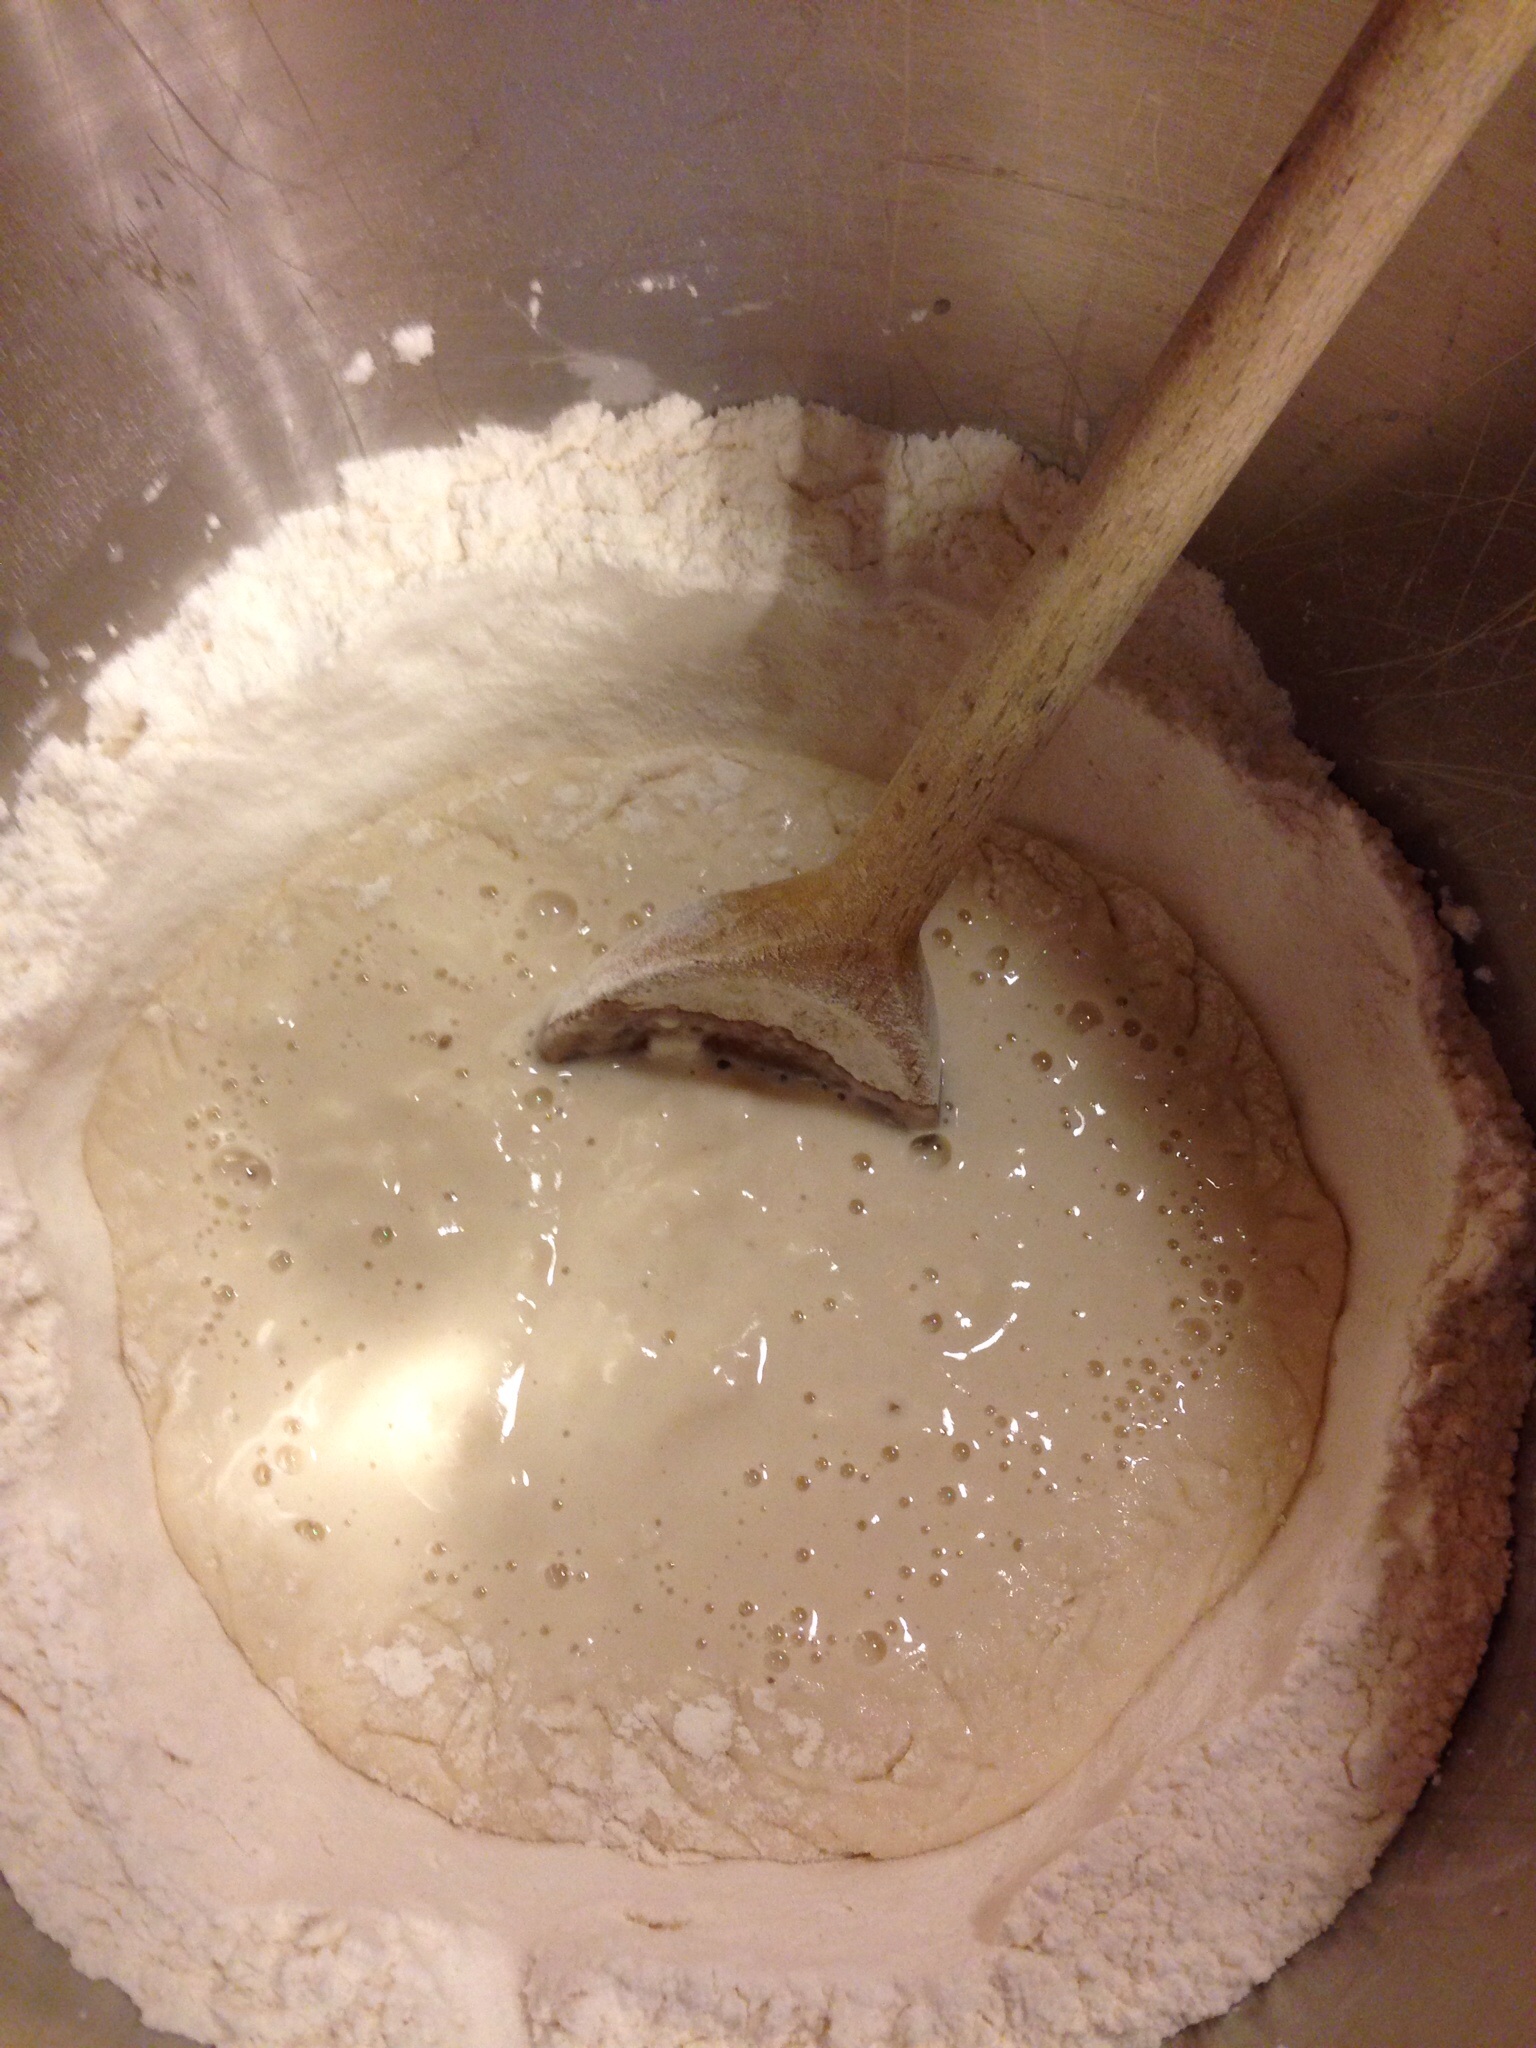
Combine the first five ingredients in a large bowl, pouring the boiling water over the butter and dry ingredients.  Stir and set aside until it cools to lukewarm.

Dissolve the yeast in the 1/2 cup of lukewarm water.  Once the oatmeal mixture has cooled, add the yeast.  If it is too hot it will kill the yeast so make sure you’ve allowed it to cool sufficiently.  Start stirring in the 4 cups of AP flour and the 1/2 cup of wheat flour.  You’ll have a shaggy dough.

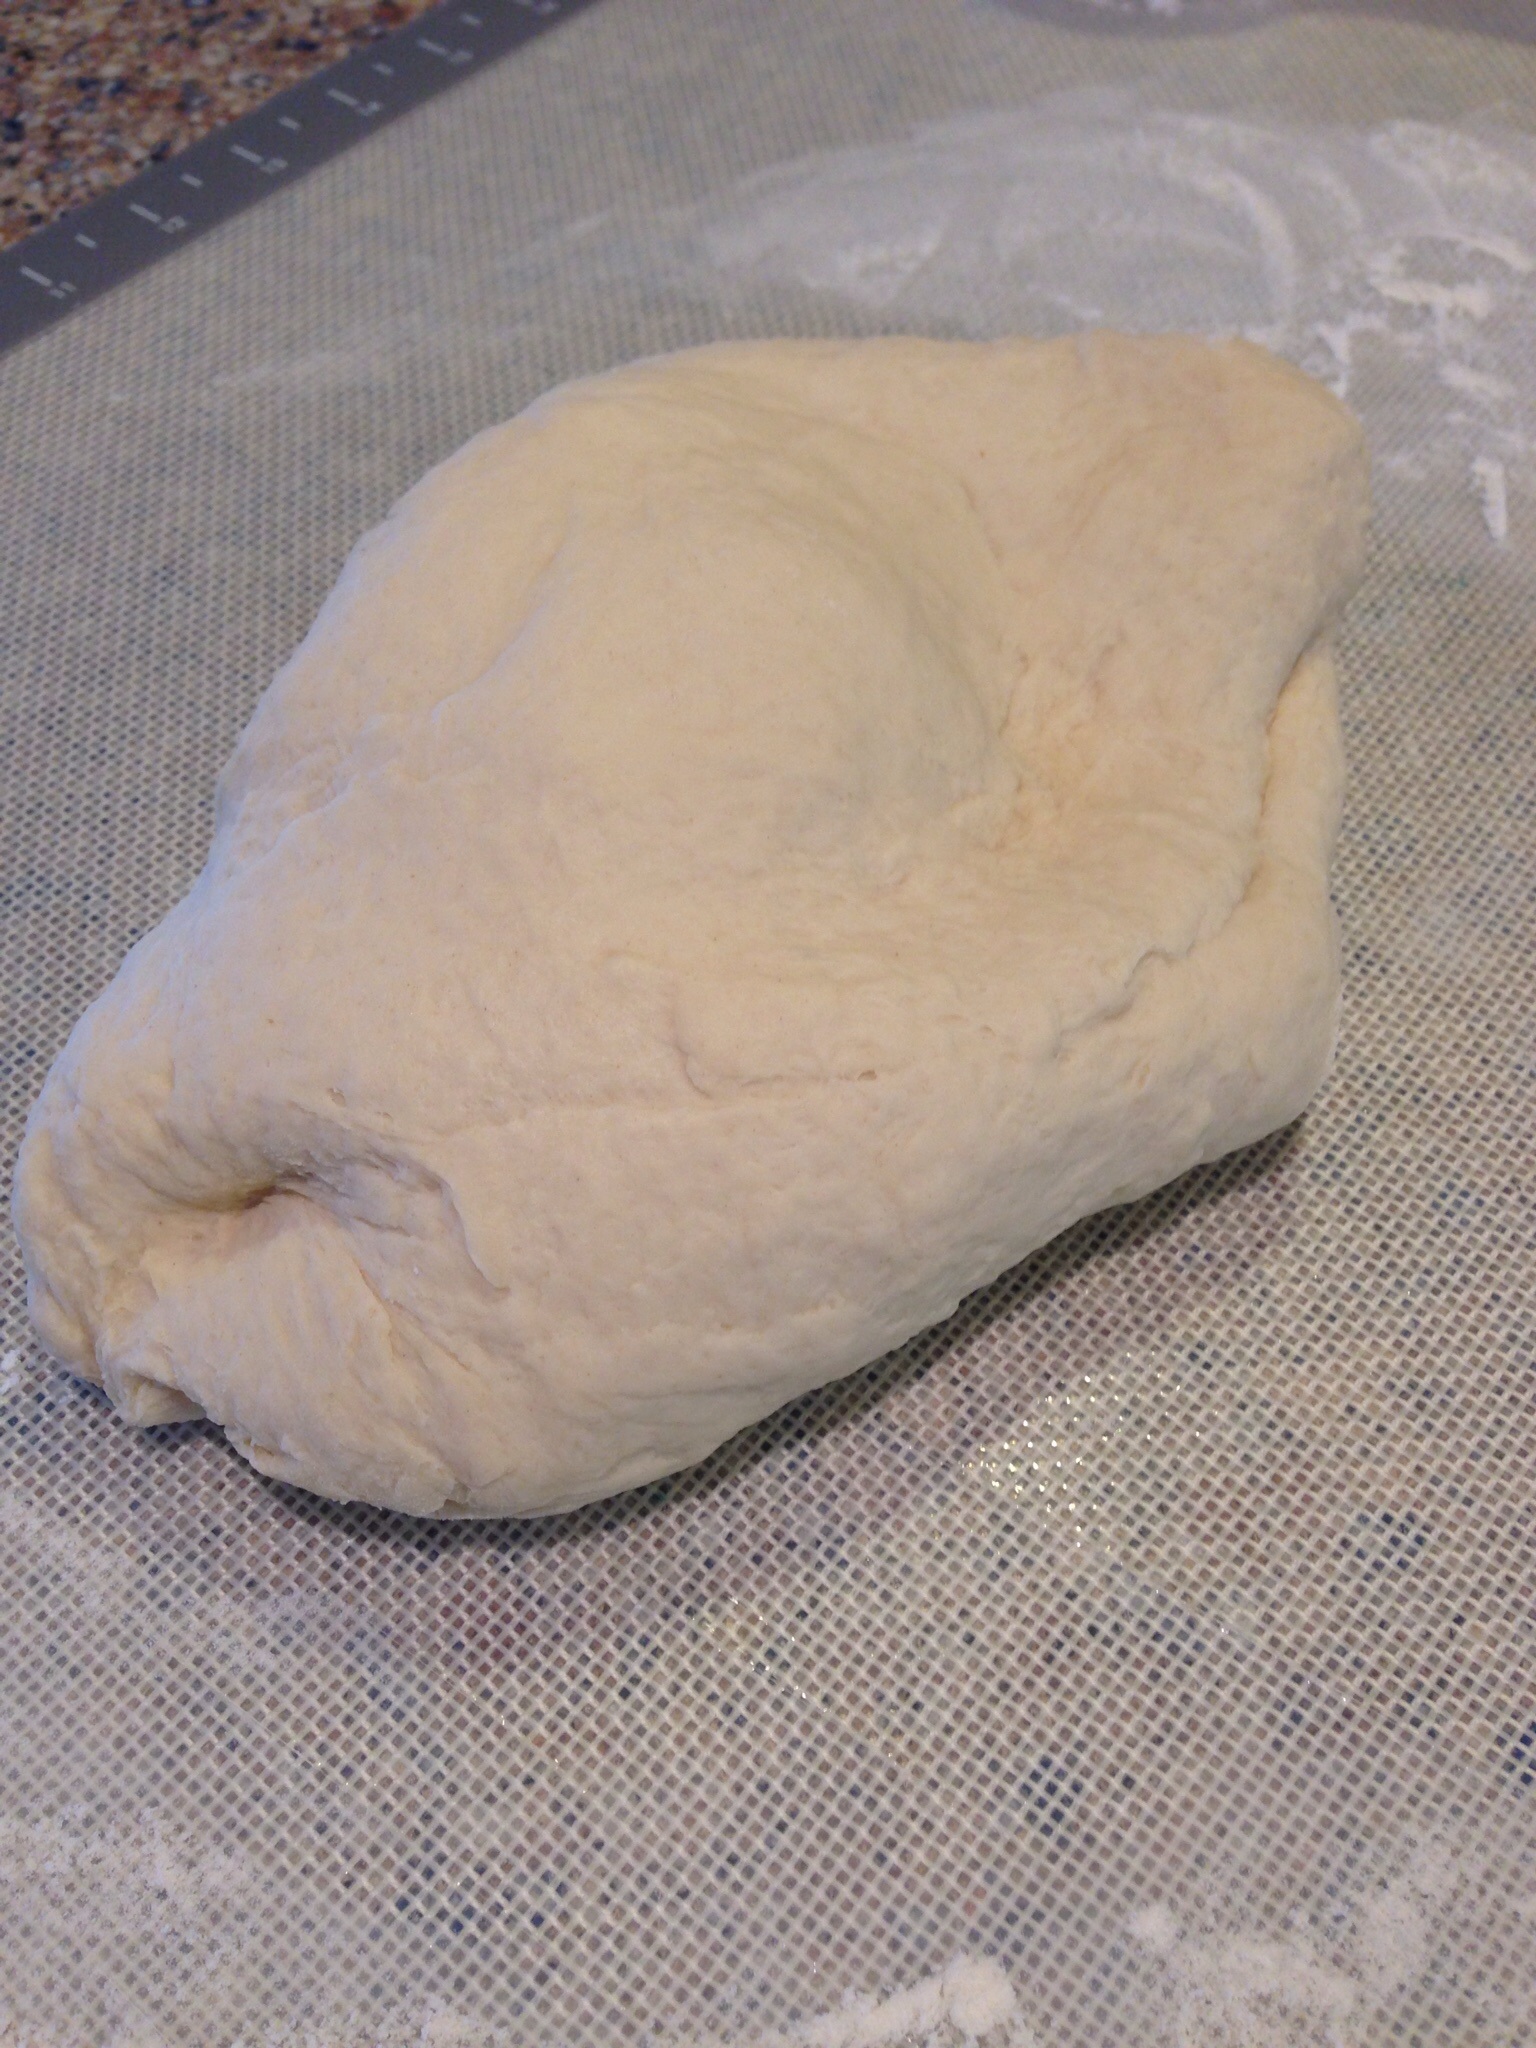
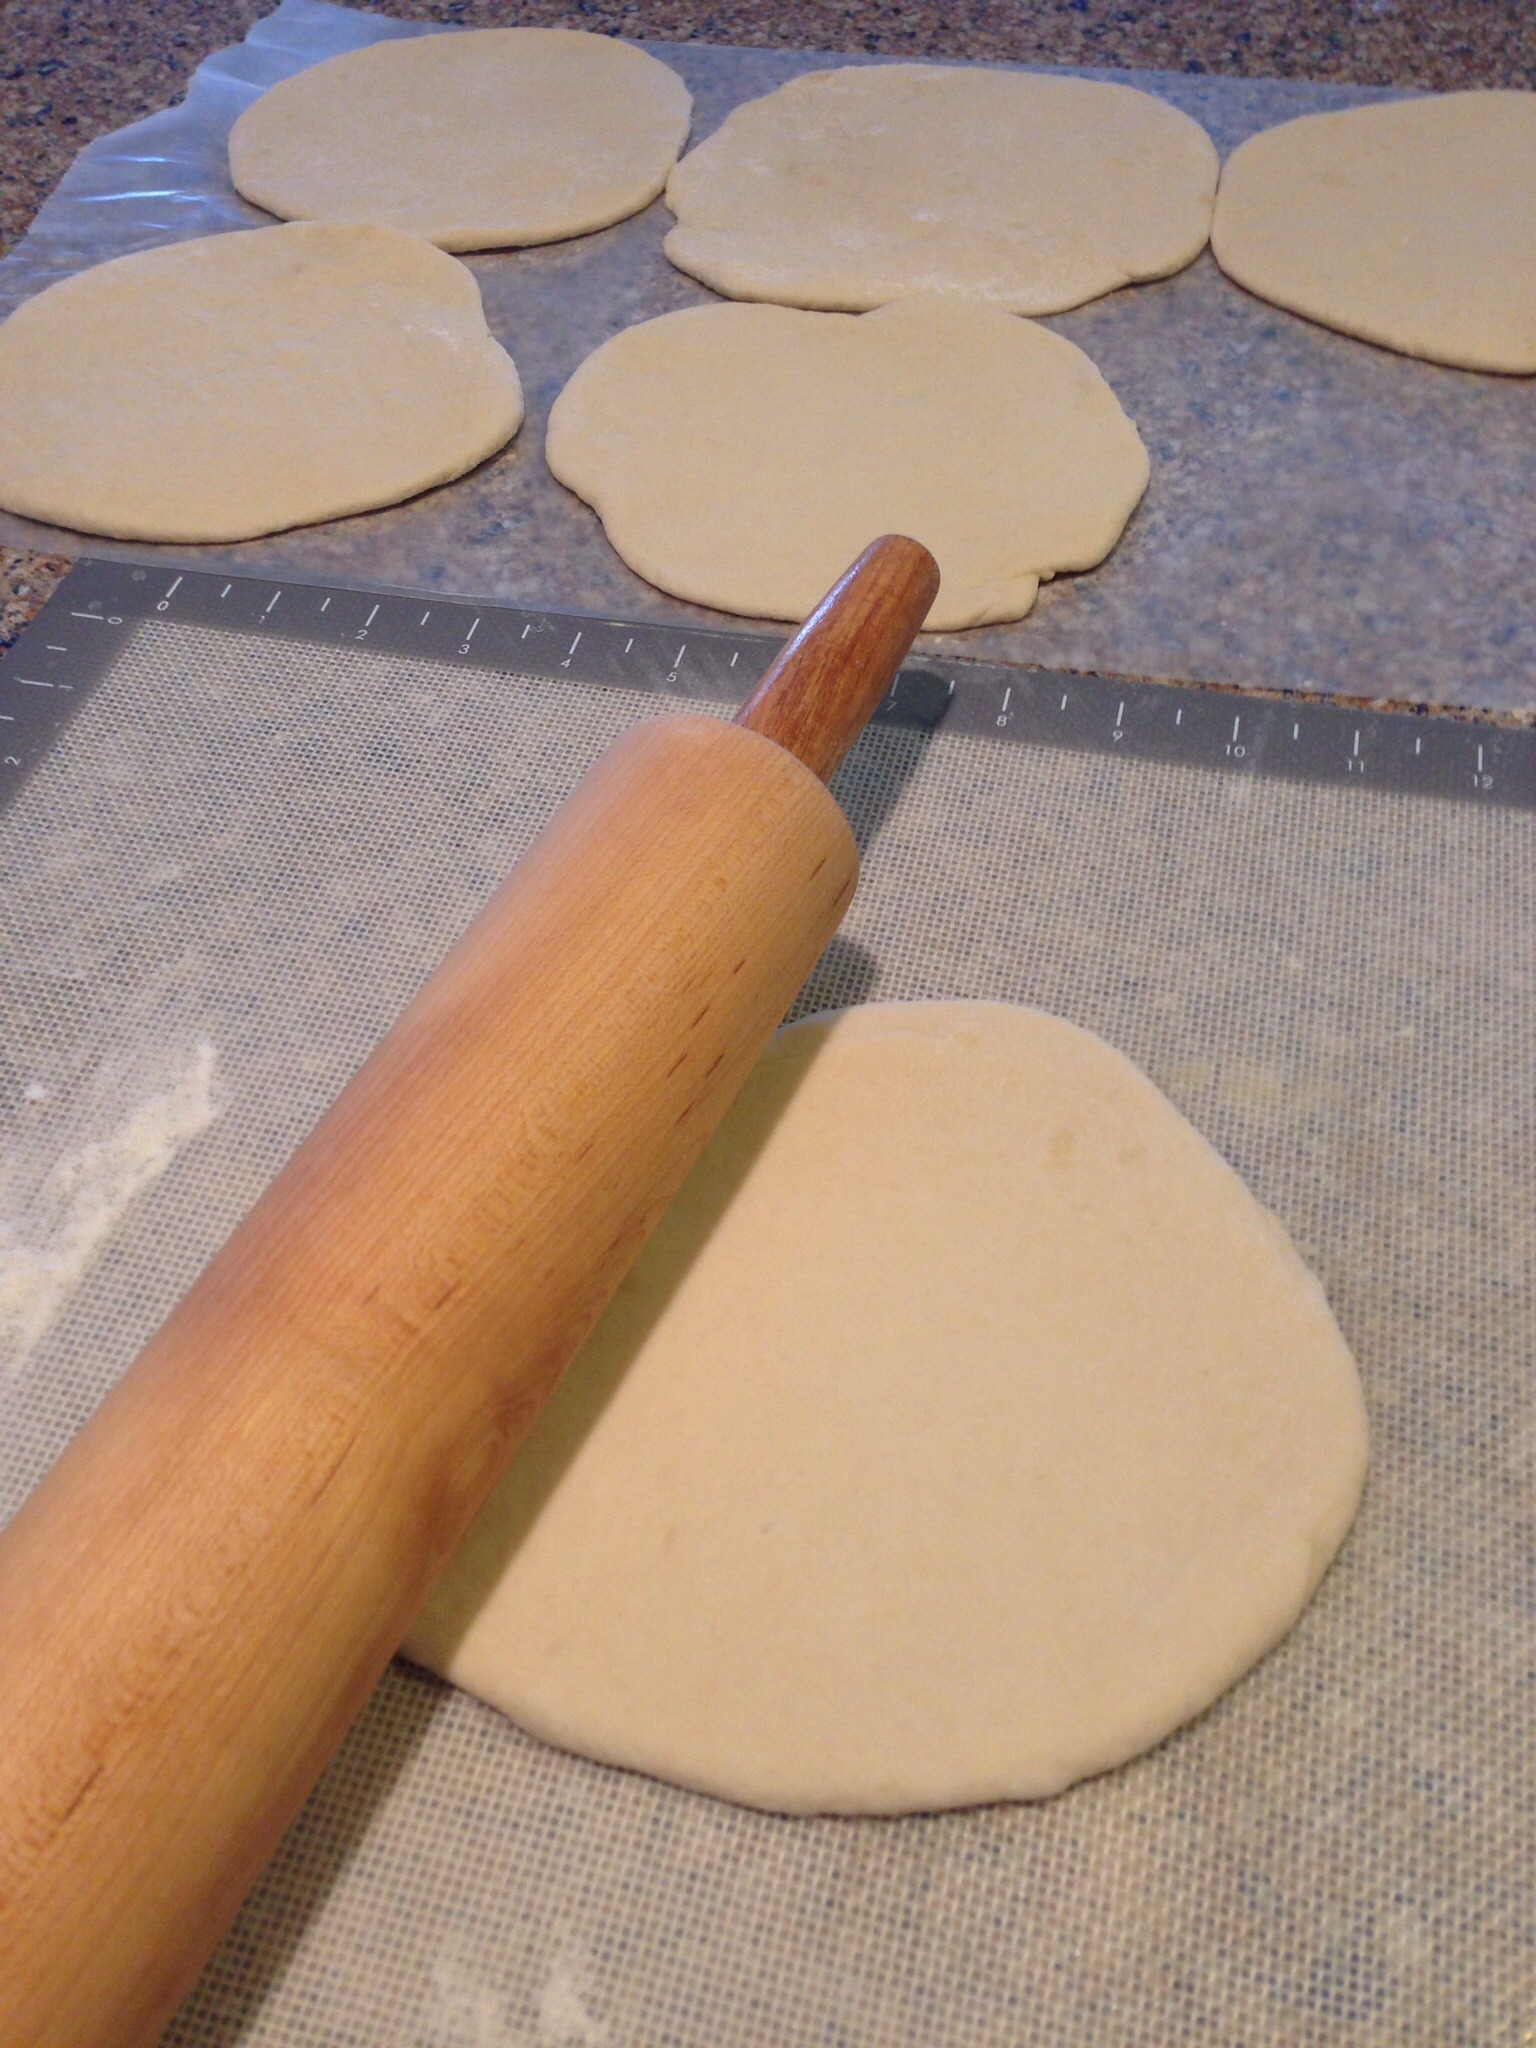
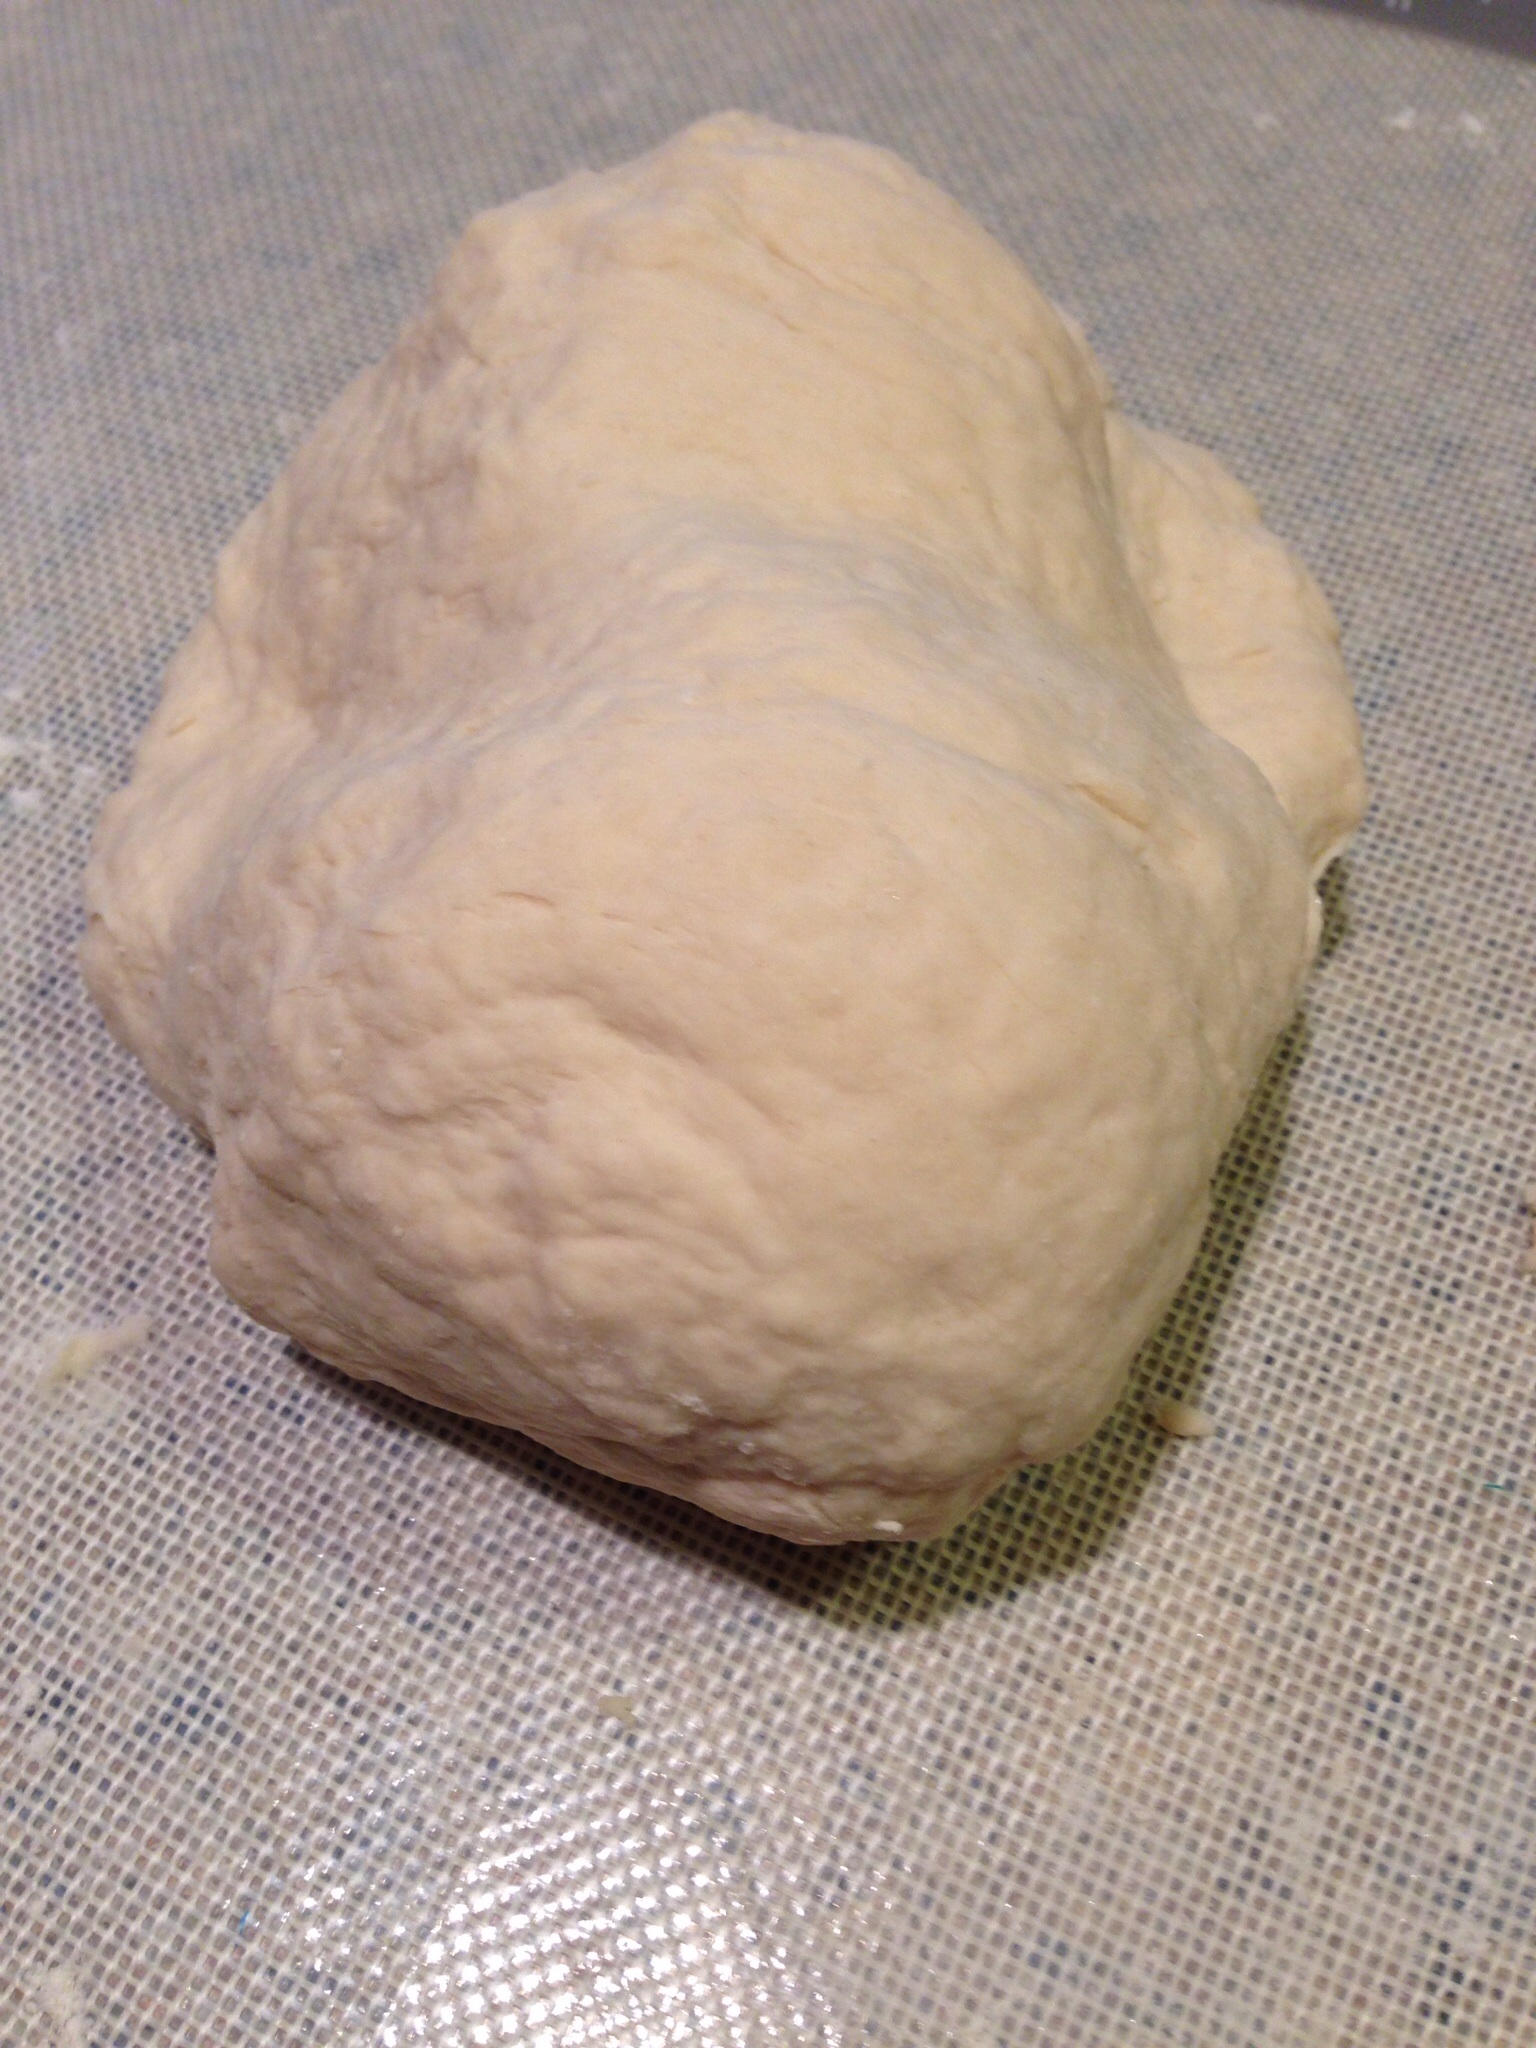
Empty the dough onto a clean work surface and knead for 5 to 10 minutes.  Add a little additional flour if necessary.  After kneading you should have a smooth, slightly sticky dough.

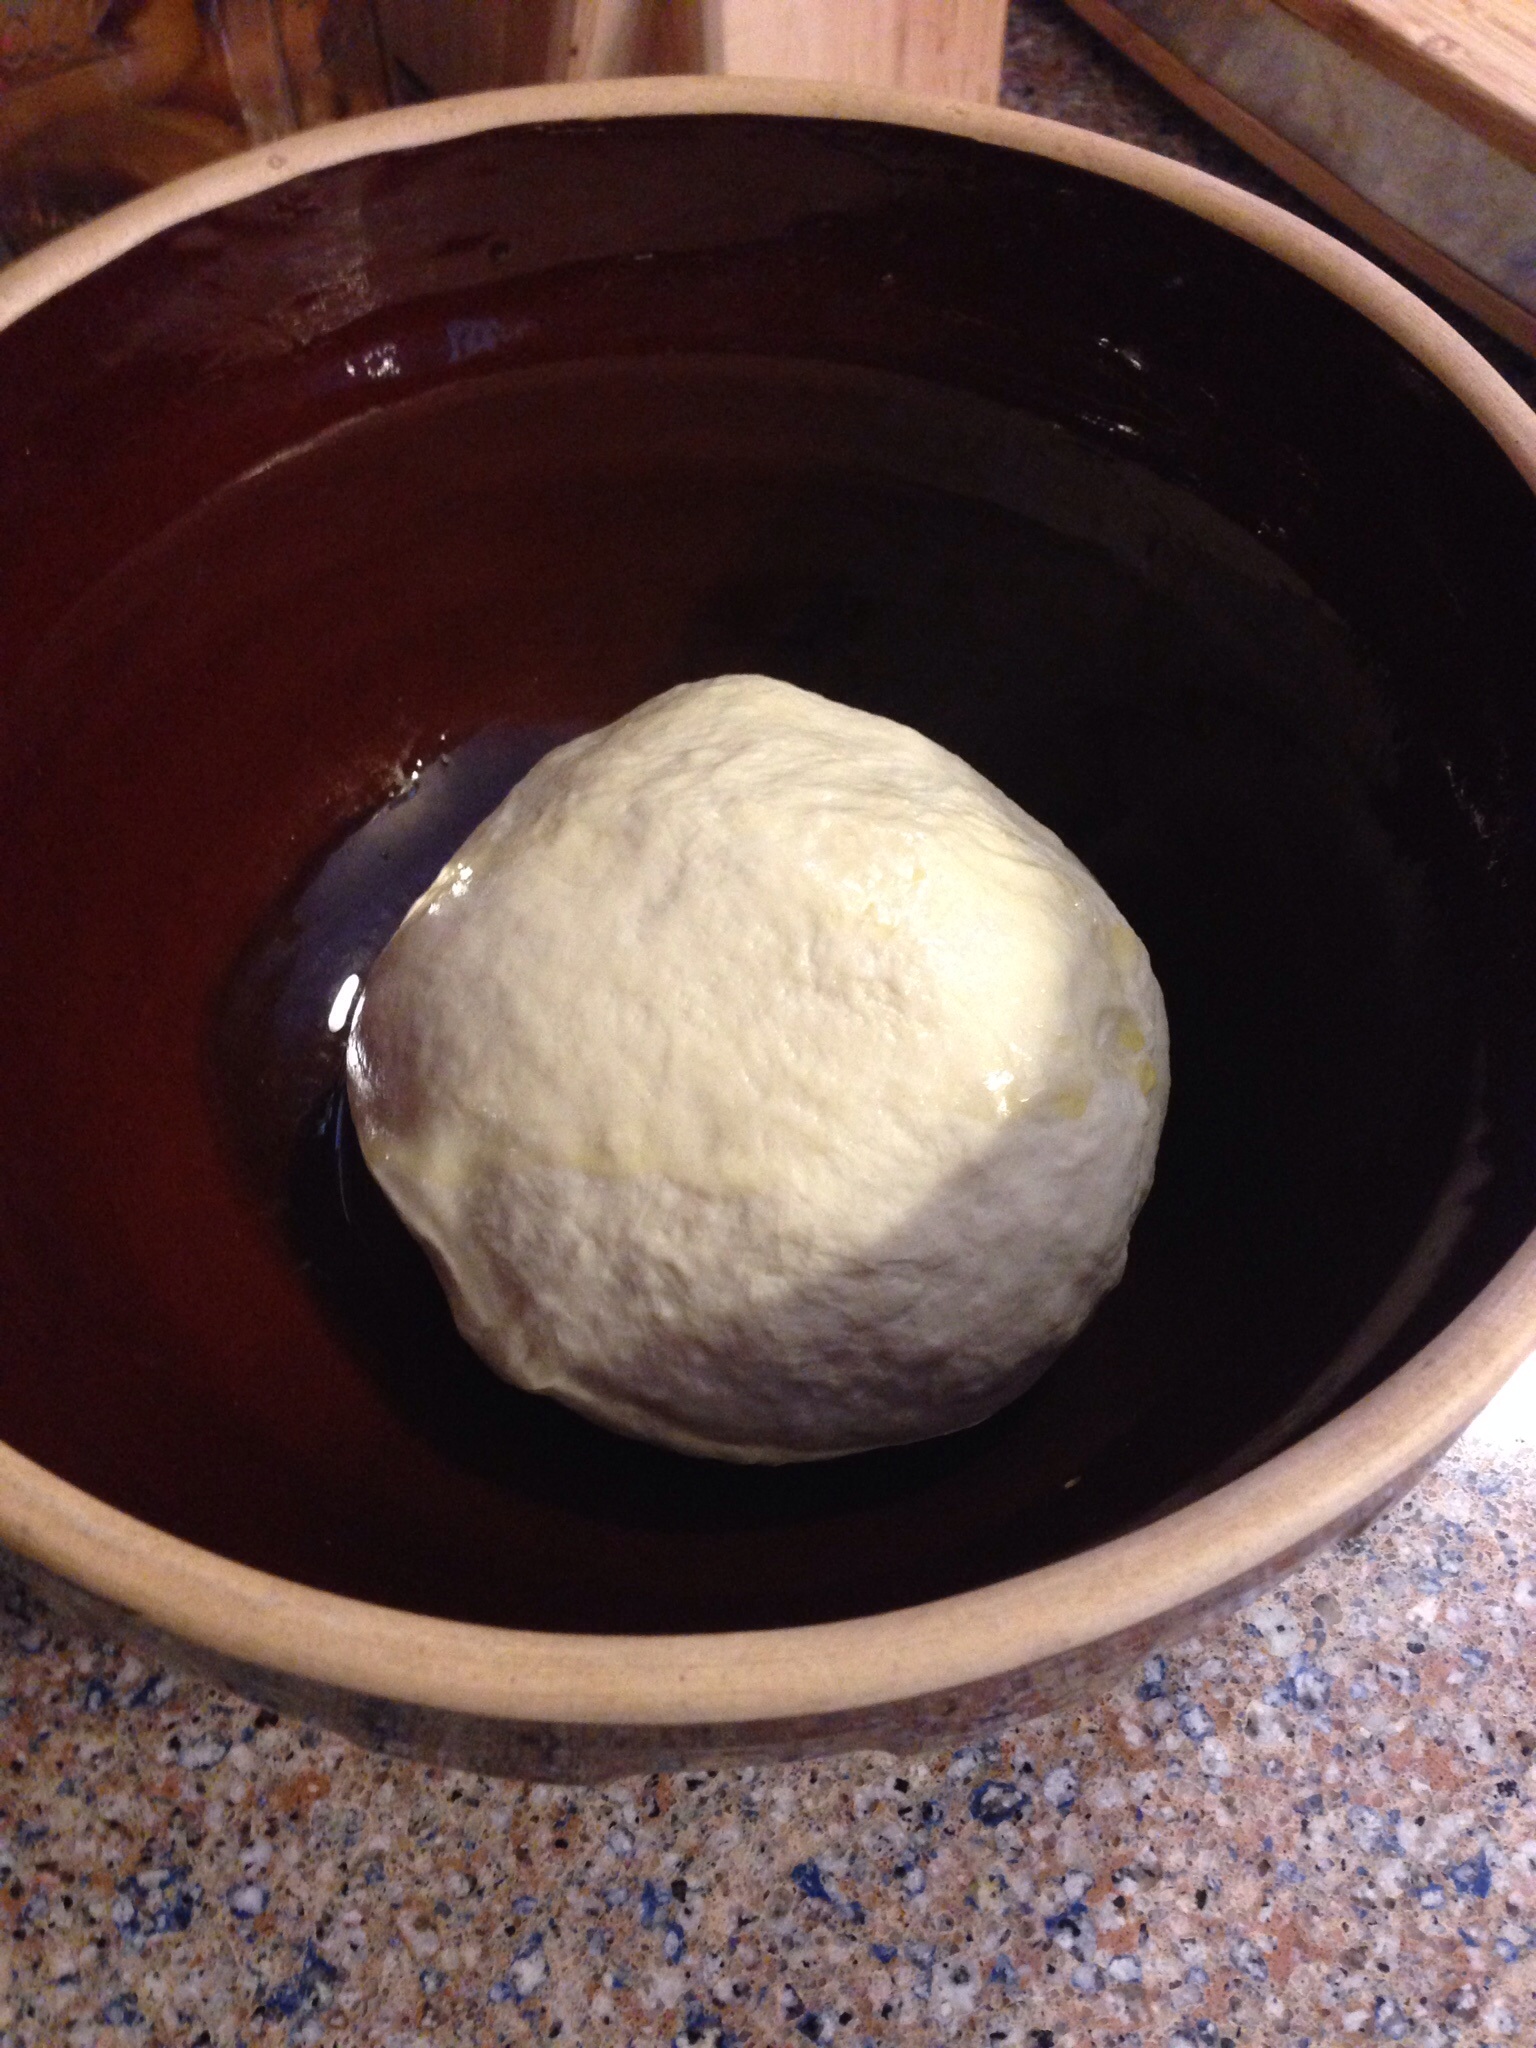
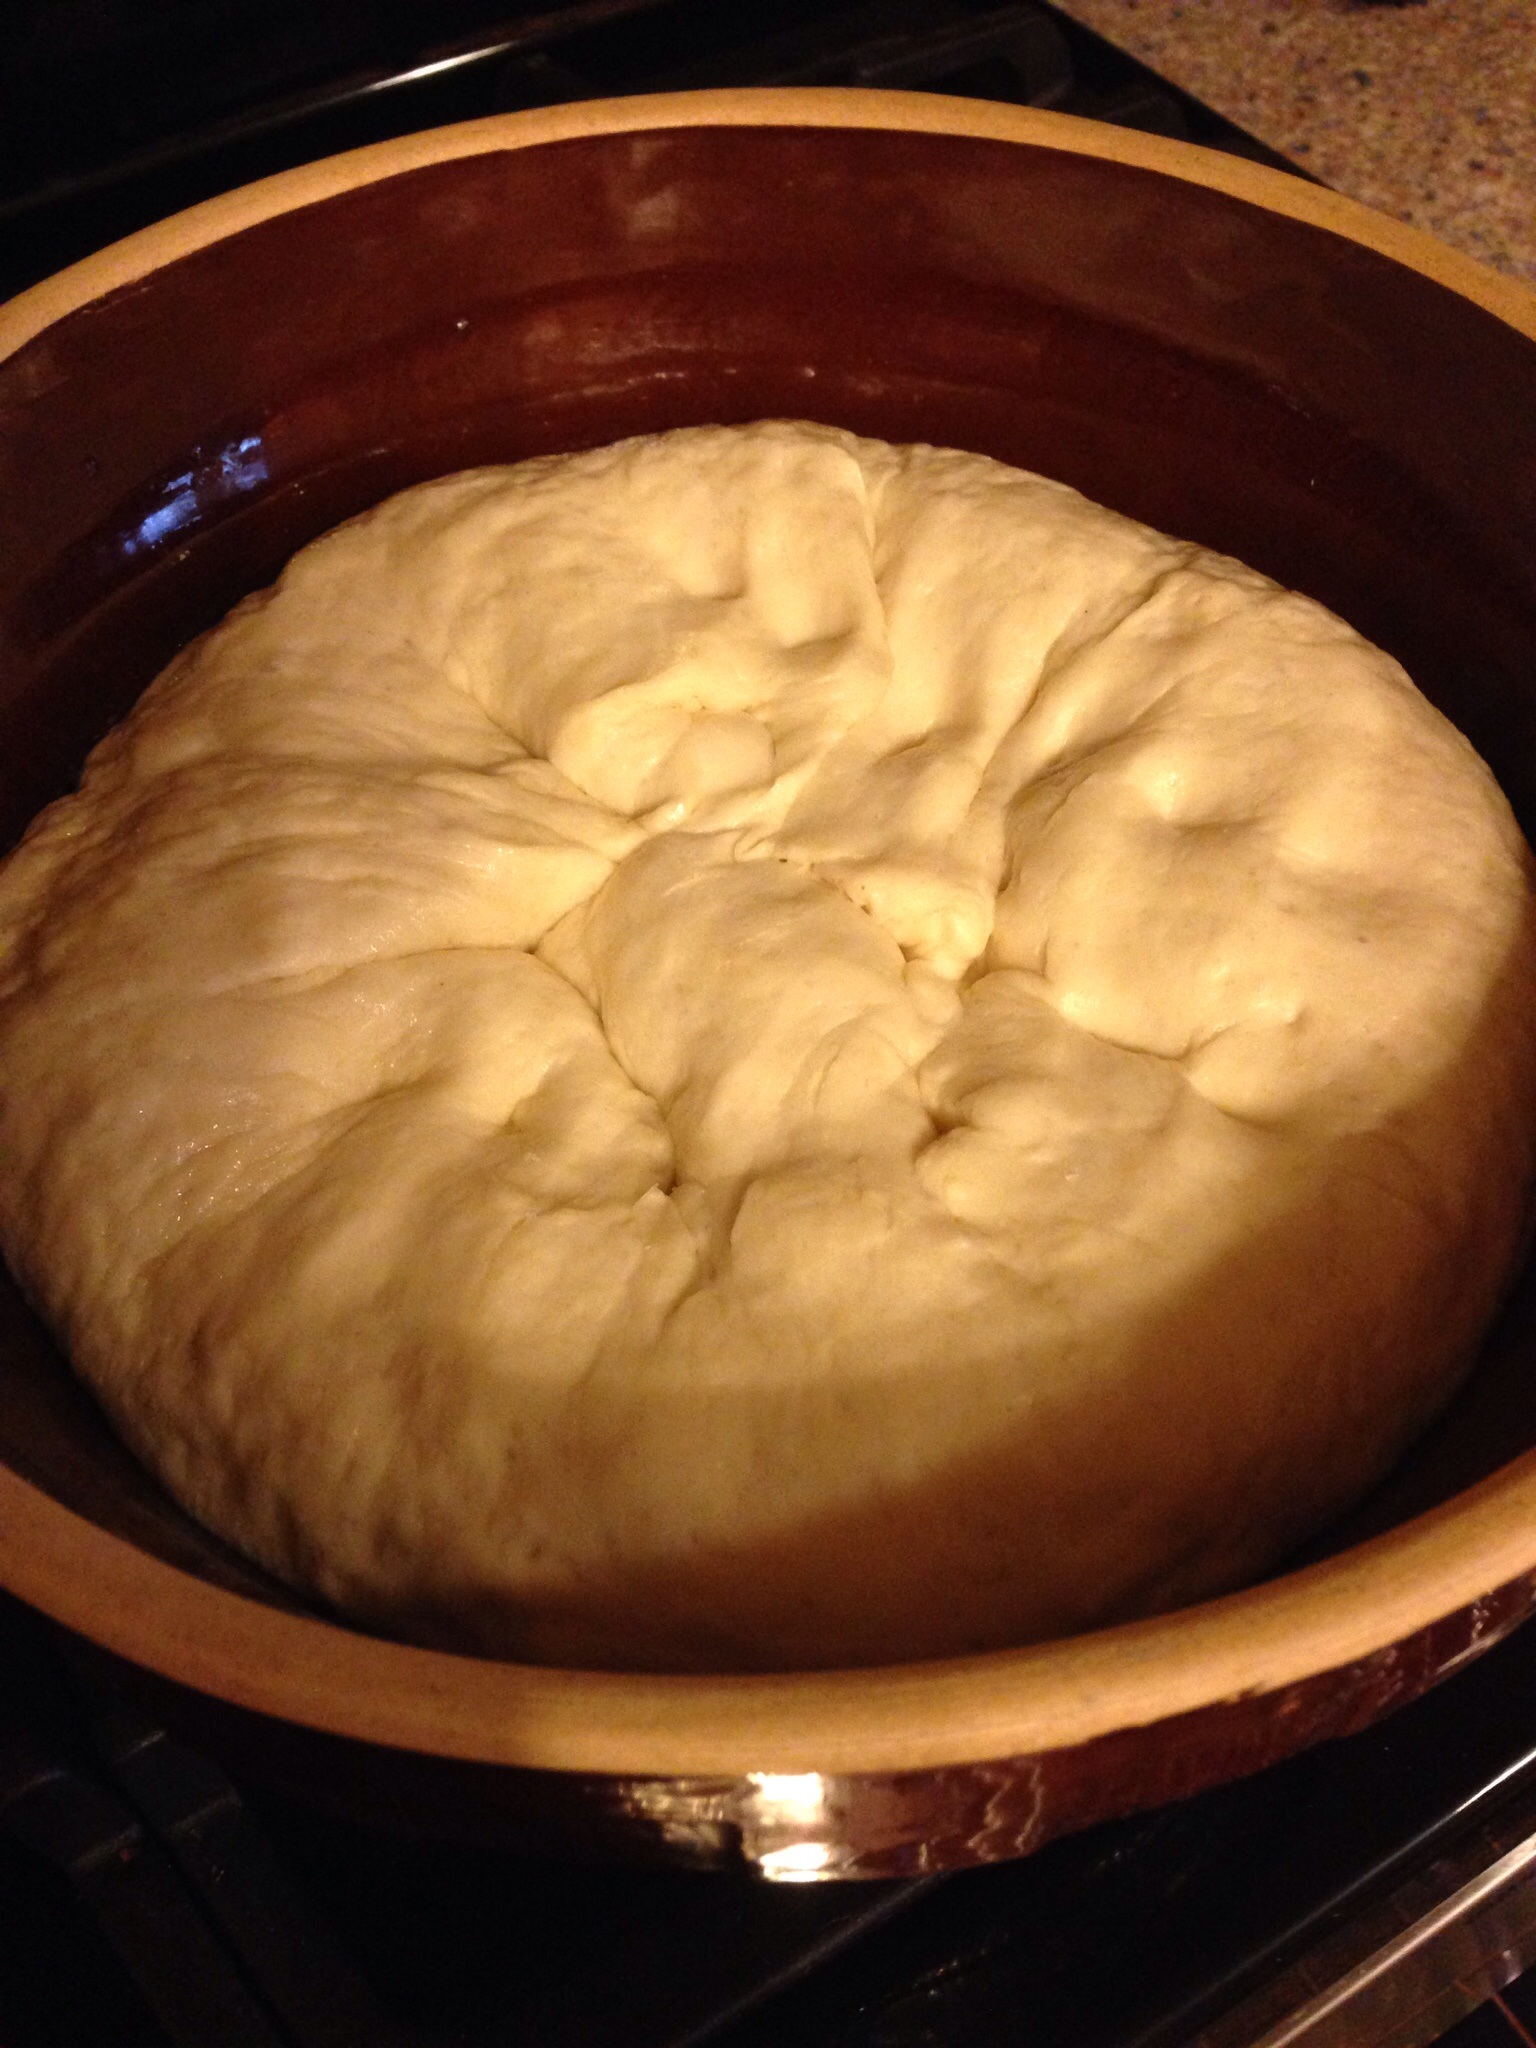
Place the dough in a bowl that has been lightly greased with butter.  Cover with a clean kitchen towel.  This bowl belonged to my grandmother who regularly made pulla (a Finnish braided bread with cardamom) and limpu (a Finnish rye bread).  Over the years I watched lots of bread dough rise in that bowl making it extra special to me.

Put the bowl in a warm place and allow the dough to rise until it is double in size.  Many new ovens have a proof setting that you can use to speed the rise process a bit.

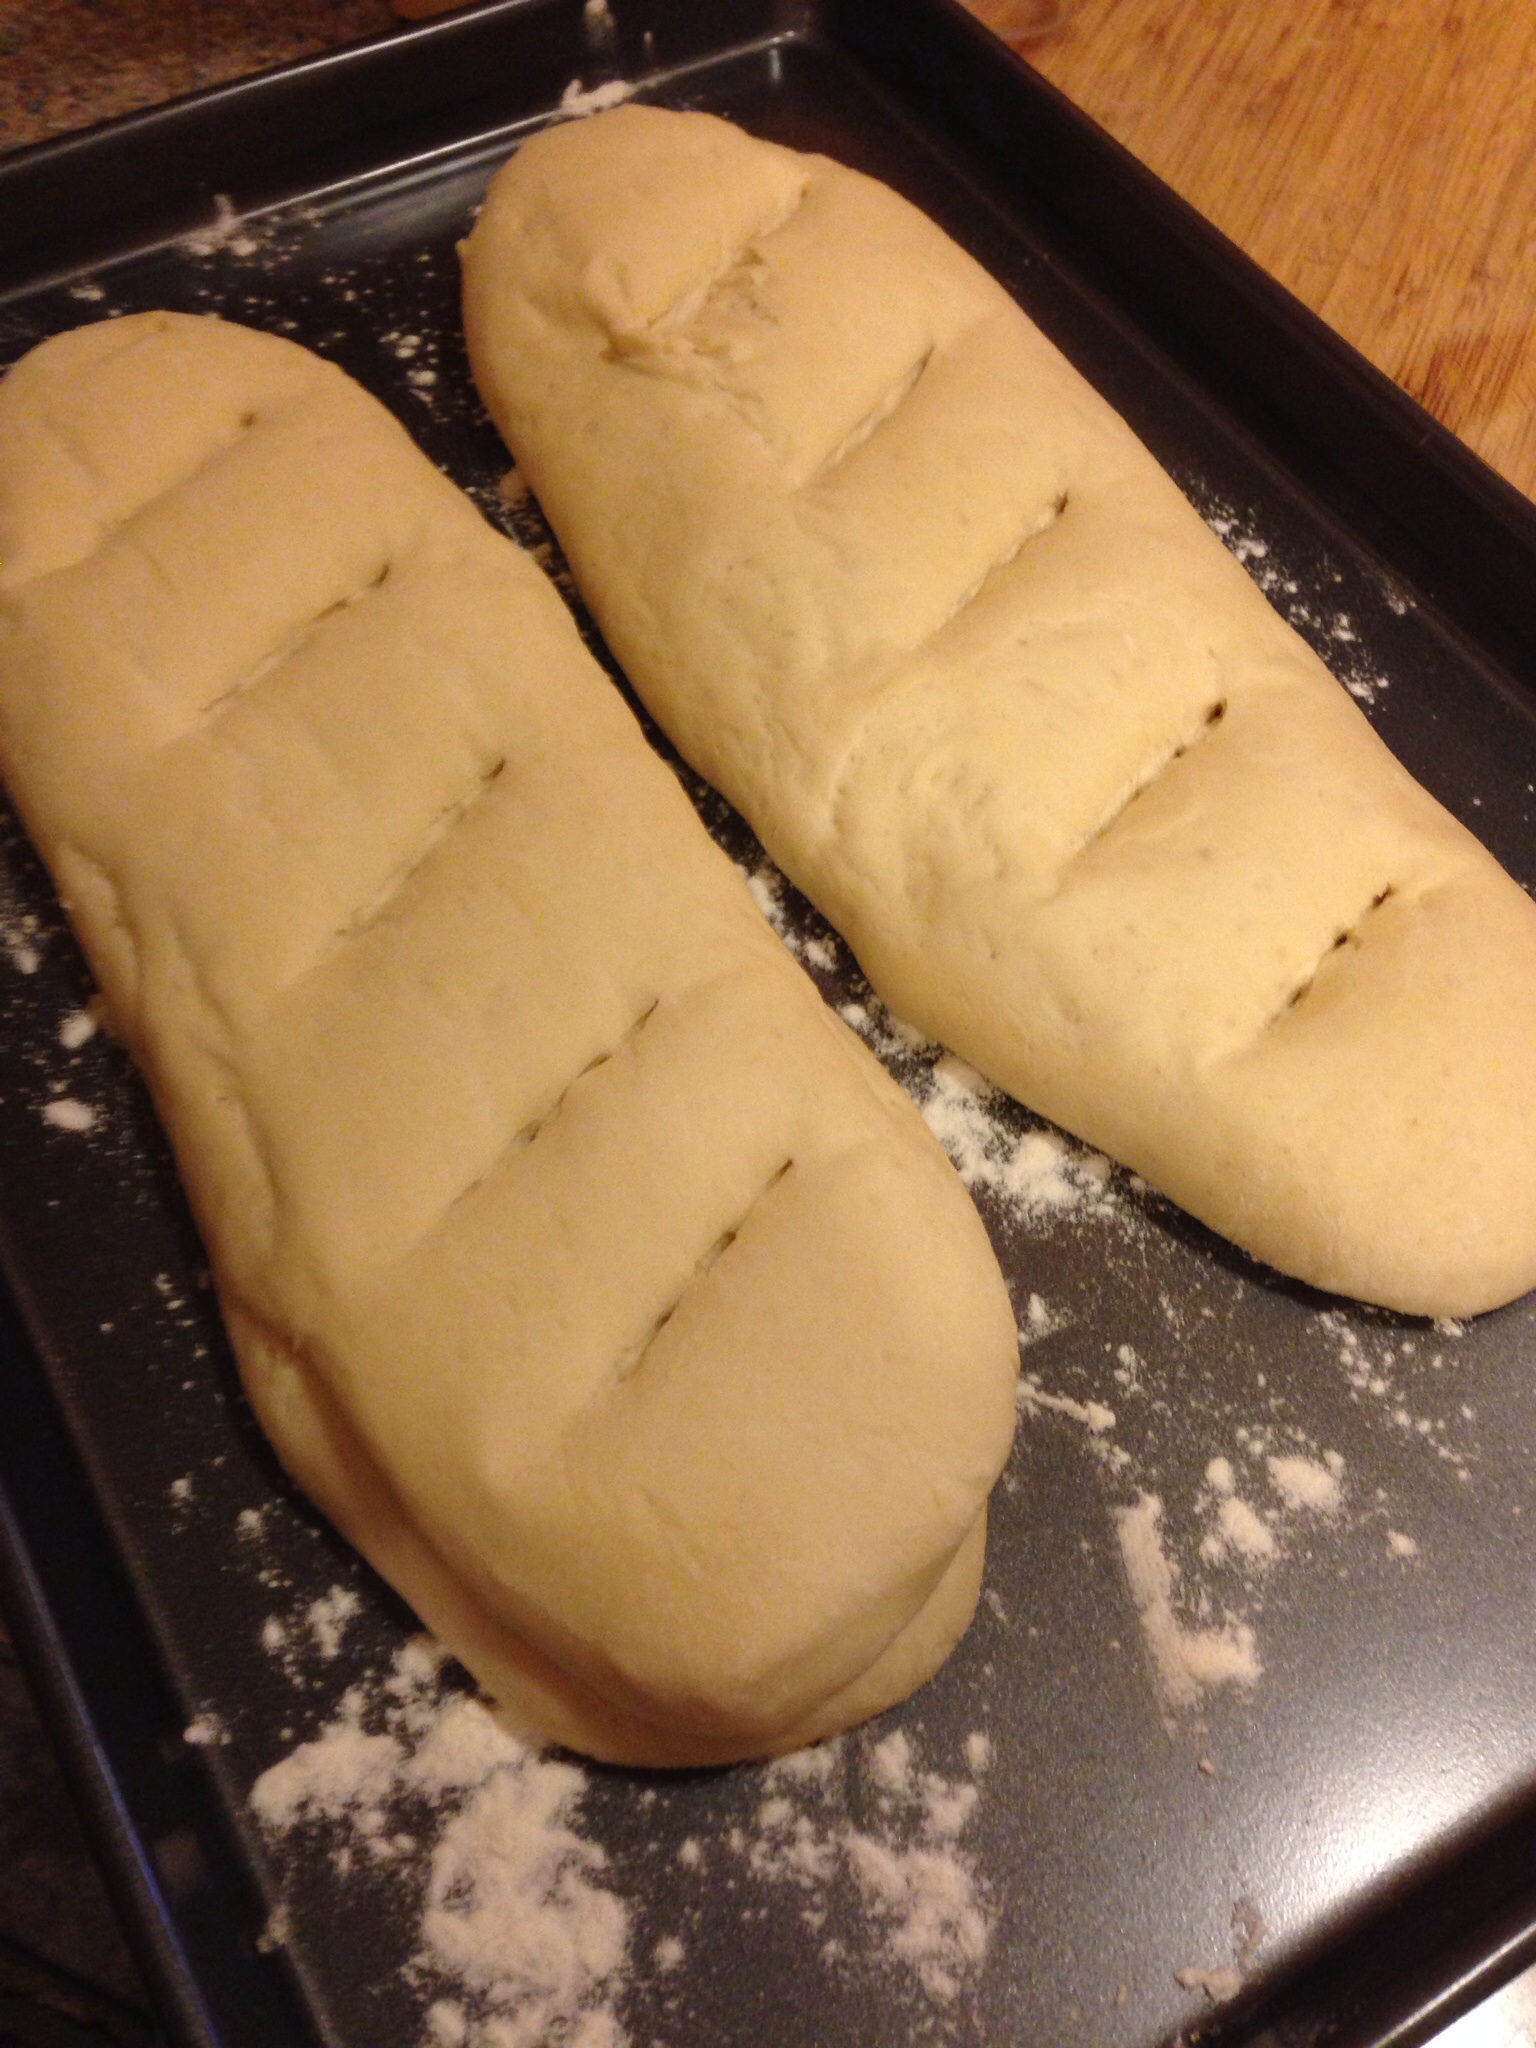
Punch the dough down and divide into two loaves.  You can shape them into standard loaves and put them in greased pans or shape them in rounds on a parchment covered sheet pan.  Whatever your shape preference.  Cover with a towel and allow the dough to once again double.  While your dough is rising preheat the oven to 350 degrees.

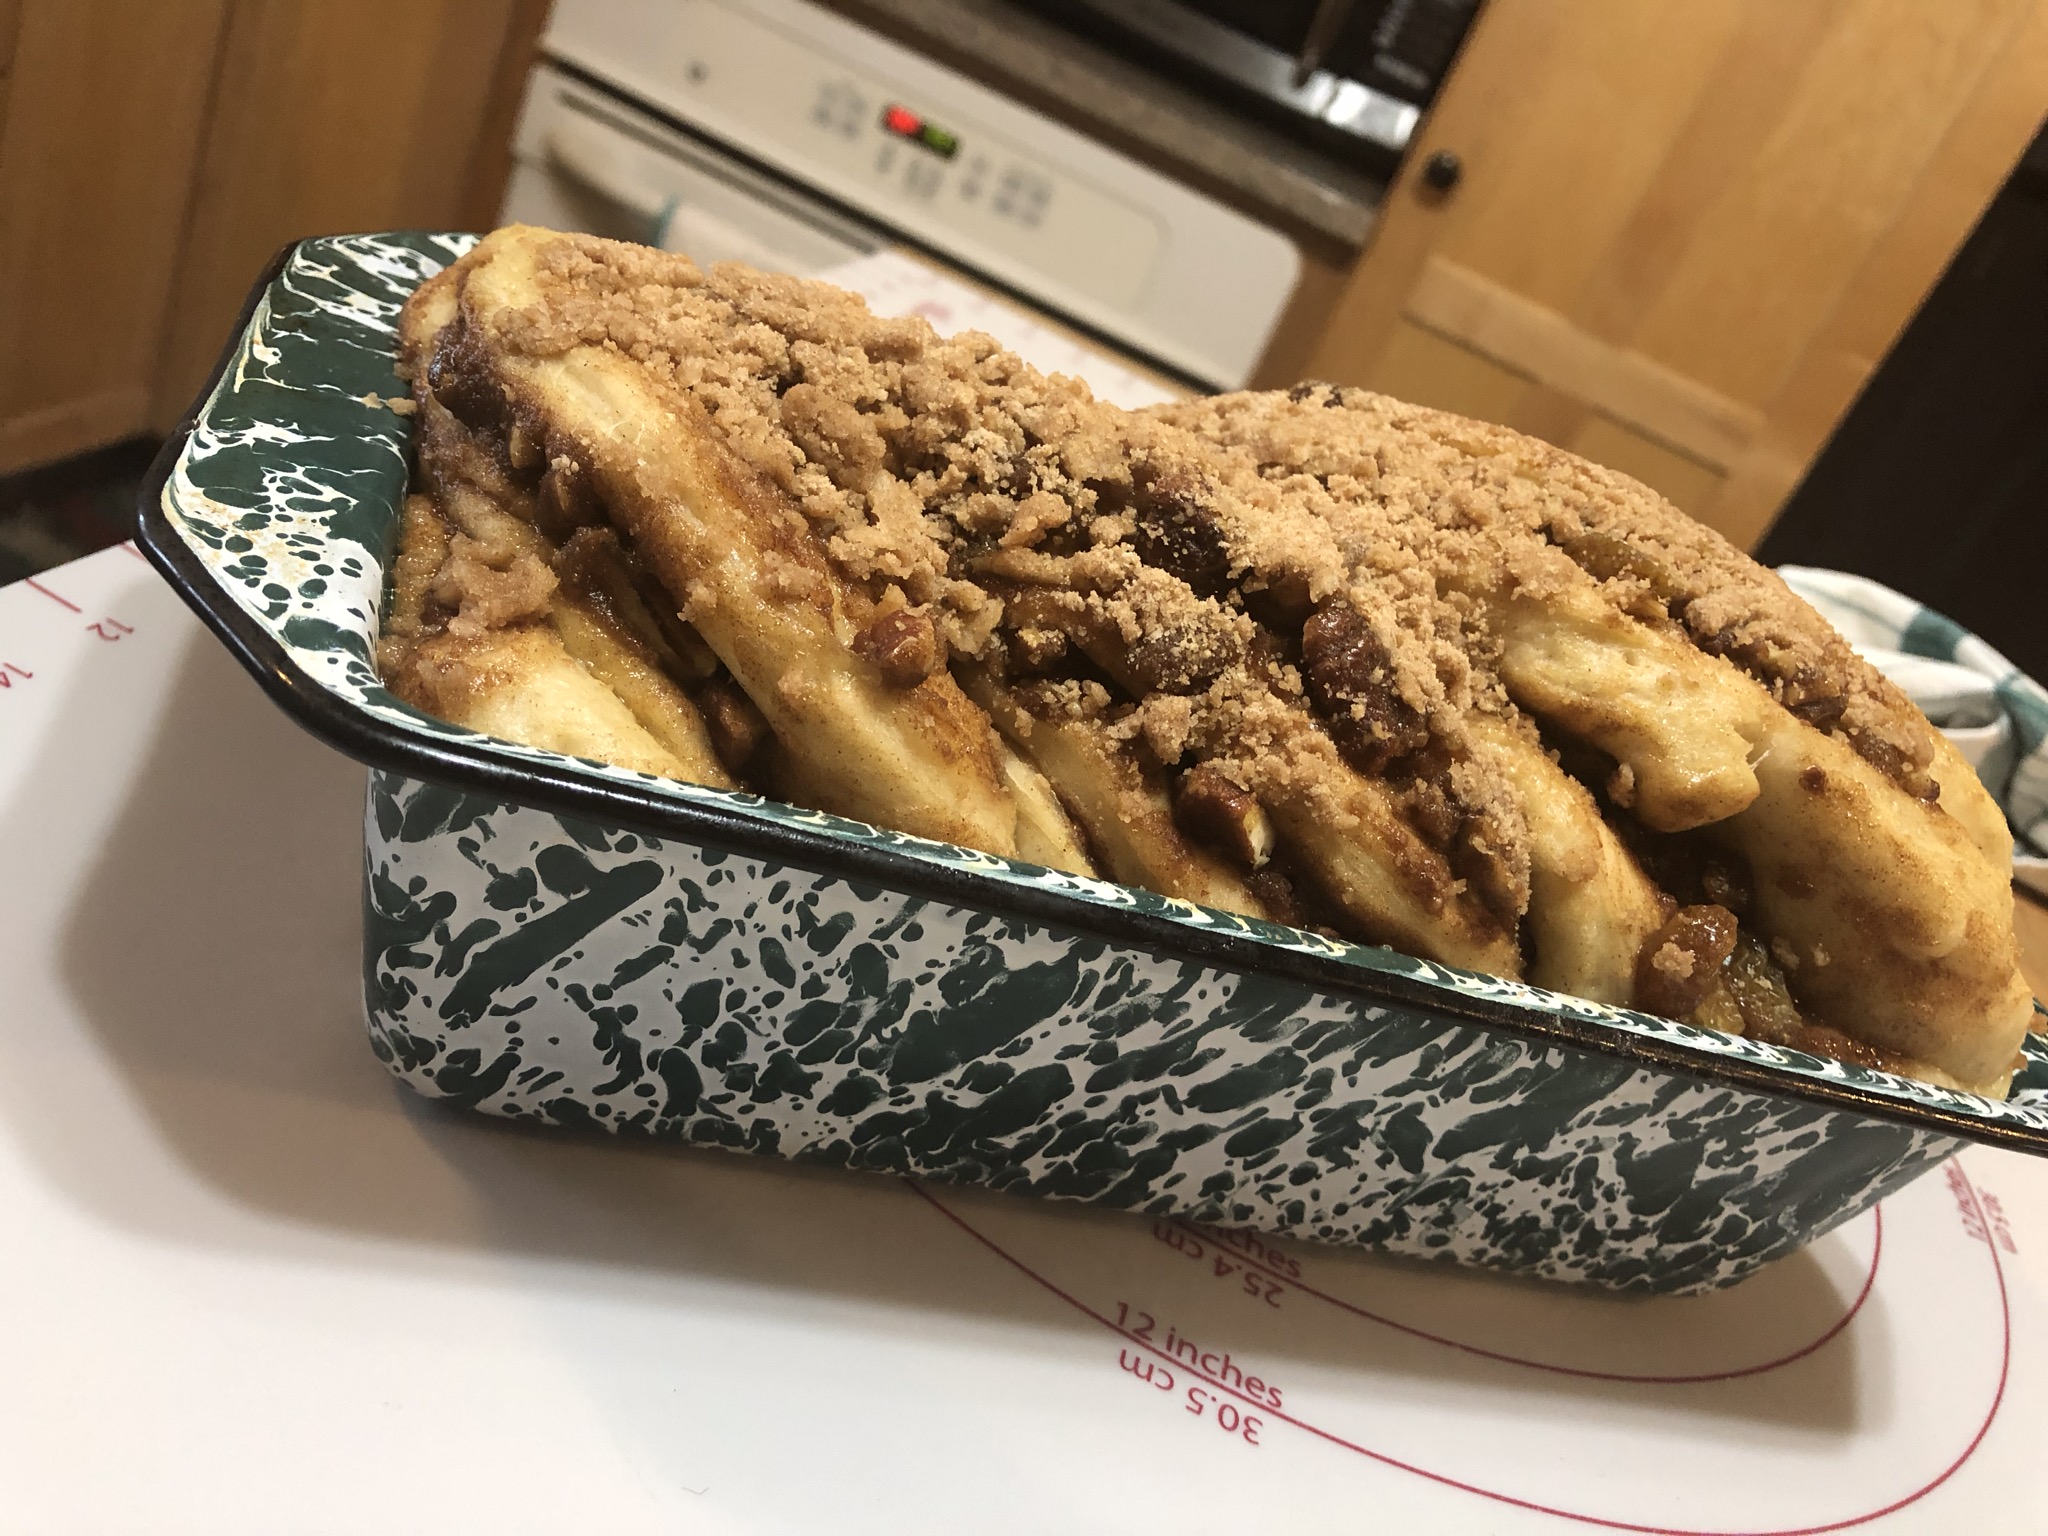
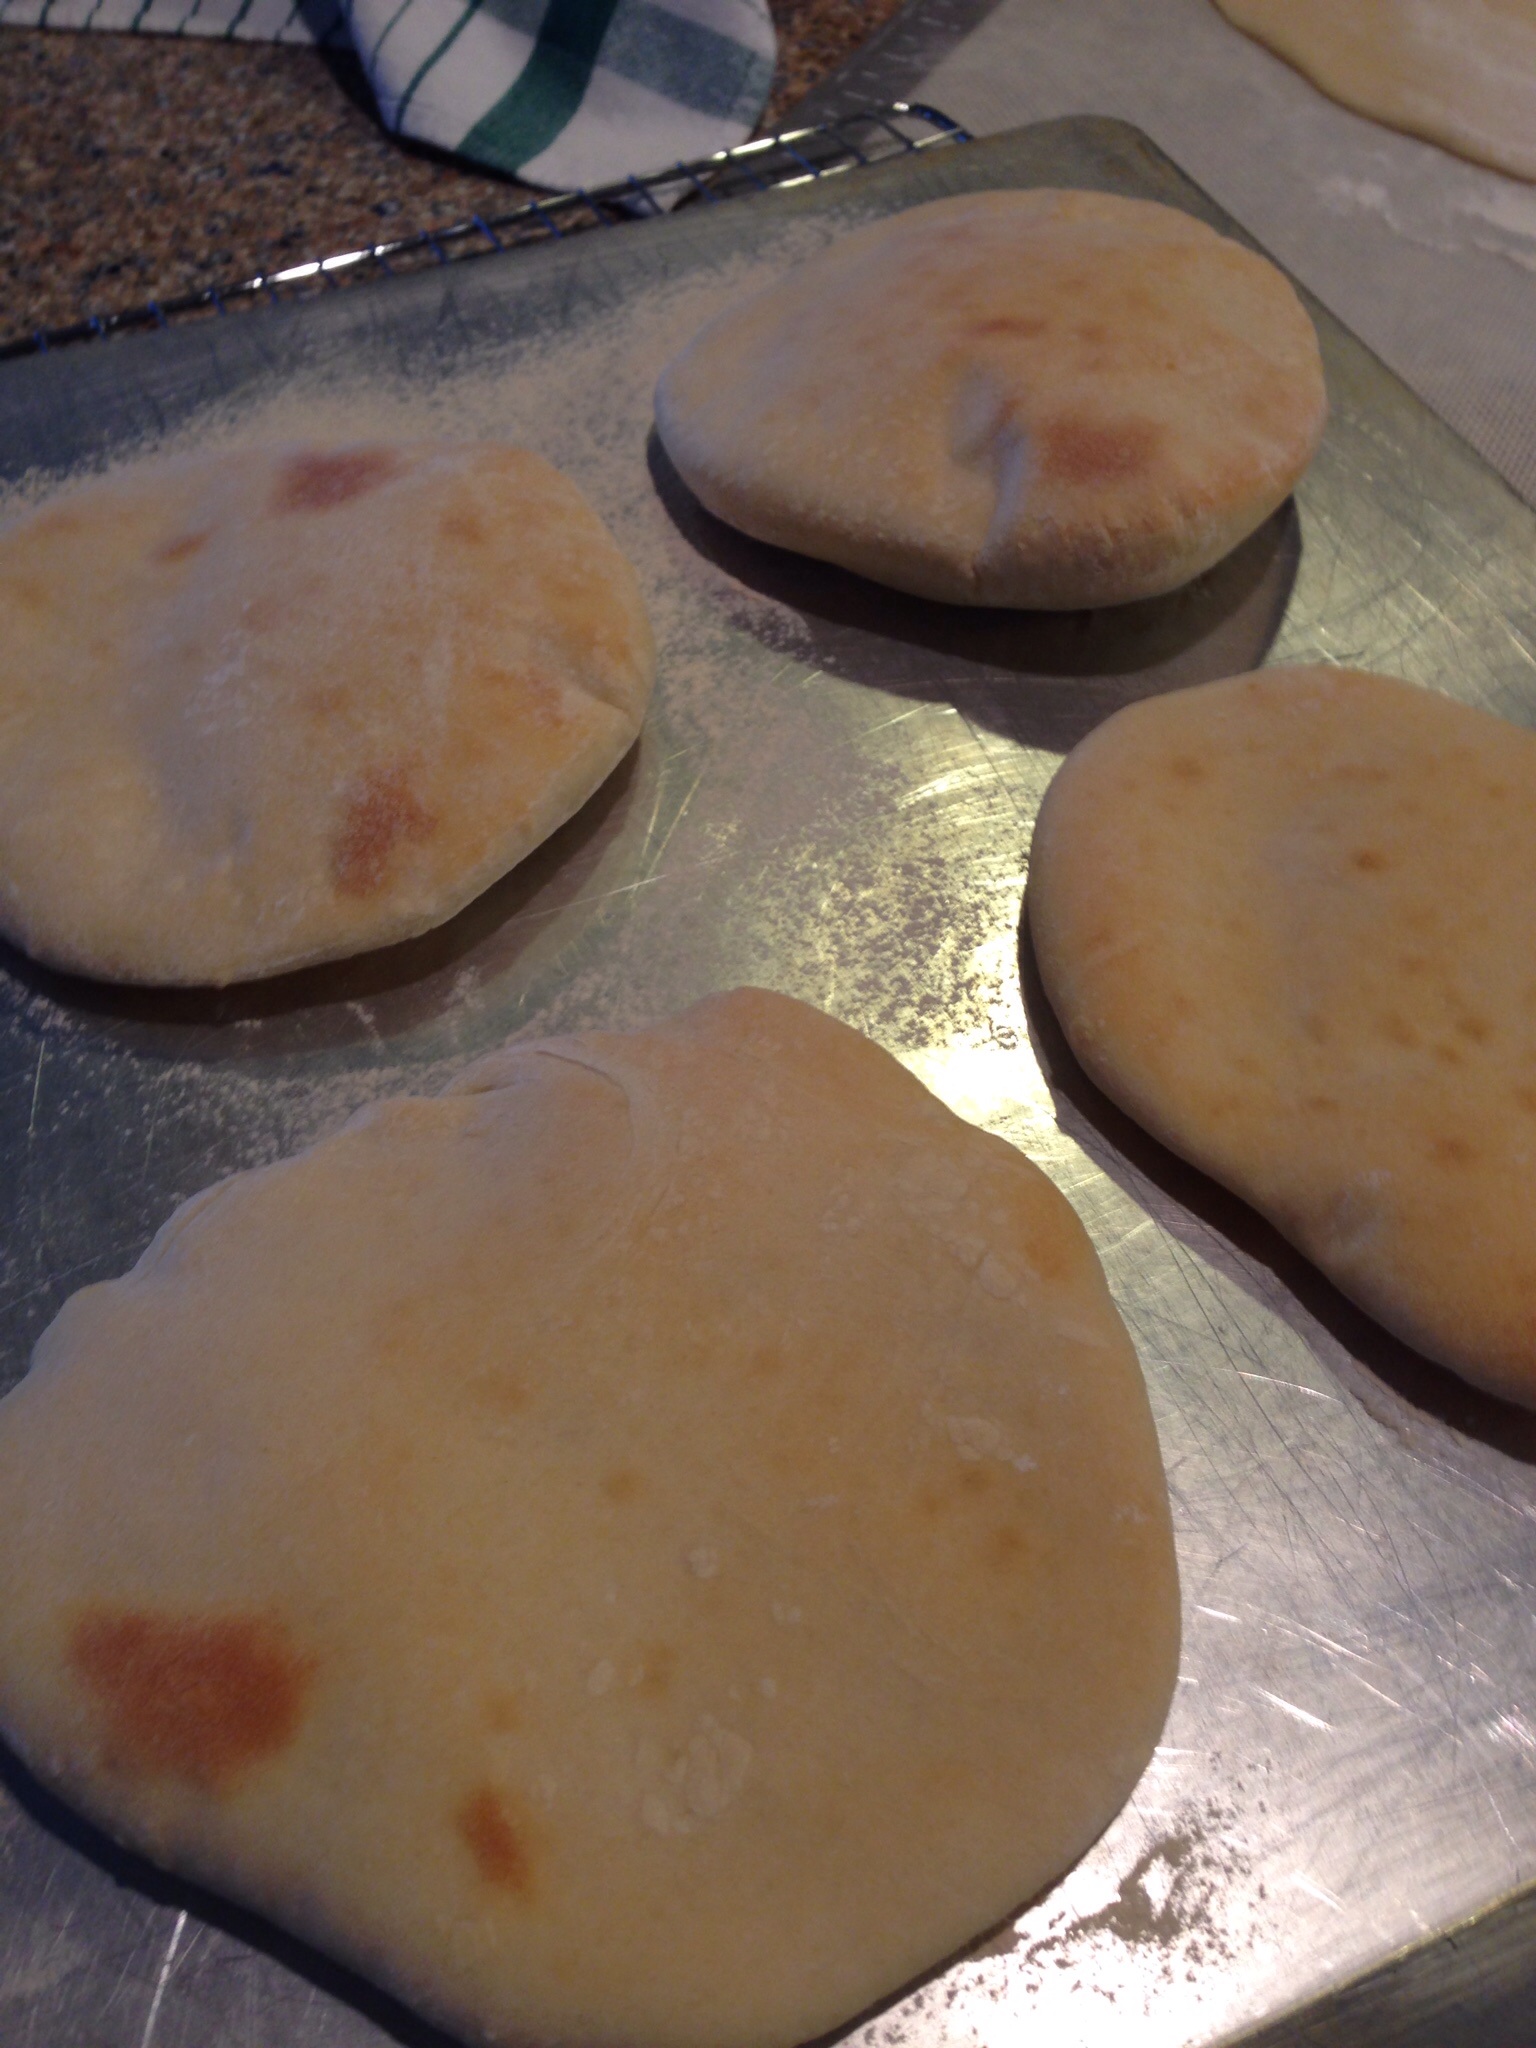
Bake for 30 to 40 minutes until golden brown.  Remove from the pans and allow the loaves to cool on a wire rack.  Slice and enjoy. There’s nothing like homemade bread.  The ultimate comfort food.

NOTE:  This dough can be made using the dough hook on your KitchenAid.  But I think hand kneading is much more satisfying.  As my daughter says, sometimes you just have the need to knead.  If you keep making bread during this pandemic, it becomes important and necessary to share it with someone.

Babka

During this Coronavirus pandemic many of us have been busy cooking and baking. The stores, at least temporarily, are out of yeast and flour. Fortunately we had a small stockpile. Last week my friend Jane and I were on voluntary quarantine with my daughter in Chicago. We decided baking bread was a good project to pass the time. Our first loaf of bread was an herb loaf that we apparently allowed to rise too long. It fell during baking and, while it tasted okay hot out of the oven, it was too dense and it later became croutons. A second batch of dough didn’t want to rise at all. We tried deep frying dough balls to simulate donut holes on the theory that anything tastes good deep fried. Wrong. Everything does not taste good deep fried. Our “donut holes” were overcooked on the outside and raw in the center. Even liberal dosing with cinnamon sugar didn’t help. Then we decided to make a Babka. Babka is a traditional Polish Jewish bread. In Polish Babka means old lady or grandmother. If I was a grandmother I wouldn’t mind being called Babka. Soft and sweet and smelling of cinnamon and vanilla. Babka is thought to have originated in the early 1800s when extra challah dough would be spread with cinnamon or jelly and rolled up before baking. The recipe we used is a King Arthur Cinnamon Babka recipe with golden raisins and pecans. Last week we made an initial babka run. I failed at reading the instructions correctly and we cut the dough wrong. It still tasted great! Once I got back home I made another loaf of babka. This time I knew how to properly cut the dough.

Dough Ingredients:

3 cups (361g) AP flour

2 tsp instant yeast

1/4 tsp cinnamo

1/4 cup sugar

1 1/4 tsp salt

1 large egg

5 T unsalted butter at room temperature

1 1/2 tsp vanilla extract

Combine all of your dough ingredients in a large mixing bowl, starting with the lesser amount of water. With a wooden spoon mix all of the ingredients together until everything is moistened. If necessary add more of the water until the dough comes together. Cover the bowl with a clean towel and allow it to rest for 20 minutes. Remove the dough to a clean, lightly floured work surface and knead until soft and smooth. Place the dough into a lightly buttered bowl, cover, and allow the dough to rise for 1 1/2 to 2 hours until the dough is quite puffy.

While your dough is rising make your filling.

Filling Ingredients:

1/2 cup brown sugar

4 tsp cinnamon

1 T AP flour

1/4 cup melted butter

1/2 cup diced pecans

1/2 cup golden raisins


Just before you’re ready to shape the dough combine the sugar, flour and cinnamon and stir in the water and melted butter. Set aside.

Once the dough has risen place it on a clean, lightly floured surface and shape into a 9” by 18” rectangle that should be about 1/4 inch thick. If the dough is fighting you let it rest about 10 minutes, then stretch some more. I used my hands to shape the dough.

Smear the dough with the filling coming to within an inch of the edges. Sprinkle with the nuts and raisins.

Starting with the short end roll the dough gently into a log sealing the seam and ends.

Using a pair of scissors or a sharp knife, cut the log in half lengthwise, not crosswise.  You should have two pieces of dough, each about 10” long.  Take care to prevent too much filling from spilling out.  With the filling side up, twist the two pieces into a braid, tucking the ends underneath.  Place the twisted loaf into a lightly greased 9×5 loaf pan.

Whisk an egg with a pinch of salt and brush the top of the loaf with the egg wash.  Cover the loaf and let it rise until very puffy and crowned a good inch over the rim of the pan, 1 1/2 to 2 1/2 hours.  Toward the end of the rise time preheat the oven to 350 degrees.

Now the bread is ready for the oven.  Bake the bread for 40-50 minutes, tenting with aluminum foil during the final 15 to 20 minutes of baking.  The loaf should be a deep golden brown and the internal temperature should be about 195.

Remove the babka from the oven and immediately loosen the edges with a spatula or kitchen knife.  Allow to cool for about 10 minutes and then turn out onto a rack to cool completely.

Slice and enjoy.

NOTE:  King Arthur suggests a topping (also known as supreming) consisting of:

2 T AP flour

1 T brown sugar, firmly packed

1/2 tsp cinnamon

pinch of salt

1 T cold butter

Mix the topping ingredients until crumbly and sprinkle over the loaf before rising.  

I used the topping on one loaf but not on the other.  We also omitted the raisins in the first loaf.  As with so many recipes, it’s all a matter of personal preference.  

It seems like it would make excellent French toast but I haven’t tried that.  It is excellent briefly warmed in the microwave or oven.


Pita Bread

image

Years ago I bought a cookbook called Ultimate Bread by Eric Treuille and Ursula Ferrigno and I love this book.

image

I’ve made several of the breads recipes; it would be great fun to try them all.  I’ve given this book as a gift more than once. If you see it on the shelf at your local book store I’d recommend buying it.  Today I decided to take a stab at the Pita bread. Several years ago a friend was staying with us and I decided to attempt an authentic Mexican meal including homemade tortillas. Well, our friend was kind and said the tortillas were great, but in reality they were awful!  Like plastic frisbees. Here’s hoping my pita bread will be better than my tortillas.  If they are a success my plan is to make lamb meatballs and yogurt cucumber sauce to serve with them.

Ingredients:

2 tsp dry yeast

1/2 tsp sugar

1 1/4 cup water

3 1/2 cups unbleached flour

1 tsp salt

2 T olive oil

image

Sprinkle the yeast and sugar into 1/2 cup of the water and leave for 5 minutes. Stir to dissolve.

image

Mix the flour and salt in a large bowl and make a well in the center. Pour the yeast and olive oil into the well.

image

Stir the flour into the liquid. Add the remaining water as needed to form a firm, soft dough.

image

Turn the dough out onto a lightly floured surface and knead until the dough is smooth and elastic. About 15 minutes. Kneading bread can be very therapeutic.

image

Put the dough in a lightly oiled bowl, cover with a clean towel and put in a draft free place to rise until doubled in size. About 1 1/2 hour.

image

Once dough has risen punch it down and let it rest for 10 minutes. Preheat your oven to 425.

image

Divide the dough into eight pieces and roll each into a smooth ball.  On a lightly floured surface roll each into a 9″ oval about 1/4″ thick.

image

image

Cover the discs with the towel and proof until slightly risen, about 20 minutes. While the dough is proofing lightly dust two baking sheets with flour and preheat them in the oven for 5 minutes. Place the dough ovals on the hot baking sheets and return immediately to the oven. Bake for 5-10 minutes until puffy.

image

Wrap the pitas in a clean, dry cloth to keep the crusts soft and to prevent drying out.

Sample.

image

Not perfect, but pretty close.

We we ate them for dinner with the lamb meatballs, yogurt cucumber sauce, chopped tomatoes with mint and lemon, feta cheese and homemade pickled beets and pepperoncini.

Leftover pitas can be cut into wedges, sprinkled with a little olive oil and the seasoning of your choice and dried in the oven. Great with some hummus or a soft cheese.


Kaalipiirakka (Cabbage Pasty)

image

If you’re Spanish you might have empanadas, if you’re Polish pierogis, Italian raviolis, and if you’re Finnish kaalipiirakka (cabbage pasty). I was reading a Finnish cookbook today and came across this recipe. I didn’t grow up eating these but I might have. These would be served as an accompaniment to soup or as a bread side with a meal. I think they would be great with tomato soup!  Bread is a mainstay of the Finnish diet…and true to his heritage my grandfather could not eat a meal without bread. I remember both of my grandparents eating bread slathered with butter and sprinkled with salt.

These little cabbage pasties are fairly easy to make. The slightly sweet pastry dough and the savory cabbage are a nice combination. They might be tasty with a dip of some kind…I’ll have to work on that. Suggestions??

Yeast Pastry ingredients:

2 1/4 tsp active dry yeast

1/4 cup warm water

1 cup whole milk, scalded and cooled to lukewarm

1 tsp salt

1 egg, well beaten

1/2 cup sugar

4-4 1/2 cups all purpose flour

1/2 cup melted butter

image

Dissolve the yeast in the water. Beat the egg well with a whisk.

image

Combine the milk, salt, egg, and sugar in a large bowl.

image

Add the yeast and 2 cups of flour and stir with a wooden spoon until smooth and elastic.

image

Stir in the butter until blended. Add the remaining flour and mix until you have a stiff dough. Turn dough out onto a lightly floured surface and knead until smooth. About 5 minutes.

image

Place dough in a lightly buttered bowl, cover with a towel and allow to rise in a draft free place until doubled in size. Punch down and let rise again for about 30 minutes. While dough is rising make your filling.

Filling Ingredients:

4 T butter

2 cups sauerkraut drained

2 medium onions sliced thin

2 T brown sugar

1 tsp caraway seeds

image

In a heavy skillet melt the butter. Add the onion and cook over medium heat until the onion is tender and beginning to caramelize.

image

Add the sauerkraut, sugar, and caraway seed. Stir until well blended and cook for 2-3 minutes. Remove from the heat. Our filling is ready.

image

Preheat your oven to 375.

Now you’re ready to roll your dough and fill your kaalipiirakka. Divide the dough into thirds and roll the dough about 1/3 inch thick on a lightly floured surface. Use a glass or cookie/biscuit cutter on the dough. I used a scalloped cutter but round would work just fine.

image

Brush each circle with half and half to moisten the edges for sealing. Put a tsp of filling in the center of a disc, put a second disc on top and crimp the edges with a fork.

image

(The amount of filling in each will actually depend on the size of your discs). Brush each filled and crimped kaalipiirakka with half n half and cut a little steam vent in the center. Put on a baking sheet with parchment paper.

image

Bake for 15 or 20 minutes until golden brown.

image

image

You’ll have extra filling. Just get out a fork and finish it off. Tastes great!!

Baguette

image


Today was a perfect bread baking day. We had the first snow flurries of the season. And it isn’t even November. As soon as the bread came out of the oven we had to slice into it, smear on a little butter and munch away. I got the heel of the bread, my favorite. Known in Finnish as the “kantapää.”  My grandfather had to have bread with every meal and in between meals. I remember my grandparents slathering very generous amounts of butter on their bread and then sprinkling it with salt. That was probably in the days before salted butter but even so. Must be where I acquired my love of salt. The baguette is French, not the bread of my childhood, but very simple and very good. There are only four ingredients.   The most time consuming thing is letting the dough rise multiple times. Here we go.

2 1/2 tsp dry yeast

1 2/3 cups water (Divided)

3 1/2 cups  unbleached all purpose flour

1 1/2 tsp salt

image

image

Sprinkle yeast into 1 1/4 cups lukewarm water. Let it sit for about 5 minutes and stir to dissolve. Whisk together the flour and salt in a larger bowl. Make a well in the center and pour in the dissolved yeast.  Use a wooden spoon and draw enough flour into the yeast/water to form a paste. Cover the bowl with a towel and let it froth for 20 minutes.

image

I have favorite cotton “bread” towels that I always use.

image

After the twenty minutes have passed mix in the remaining flour with a wooden spoon and add the remaining water, one tablespoon at a time, just until you have a nice soft, sticky dough. Turn out onto a lightly floured surface and knead for about 10 minutes until smooth and elastic. Try to avoid adding extra flour as you knead.

image

Put your nicely kneaded ball of dough in a lightly greased bowl, cover it with your bread towel and let it rise in a warm place free of drafts for about 1 1/2 hours.

image

Punch down, re-cover and let rise 45 more minutes.

image

Punch down, re-cover and let it rise about 45 more minutes until double in size. That’ll be the third rising.

Divide the dough into two equal pieces and shape. Each should be about 12 inches long. Place them on a lightly floured baking sheet, re-cover and let them rise until doubled in size, about 50 minutes.  Preheat oven to 475.

image

Cut several diagonal slashes in each loaf.

image

Bake in preheated oven for 20-25 minutes until golden and hollow sounding when tapped. Cool on a wire rack.

image

Slice and enjoy.

image

You can have your bread and eat it too.

A few posts back I roasted tomatoes and used them to make pasta sauce. Those same tomatoes with a little olive oil would be delicious on this bread. Or just dip a slice into some olive oil seasoned with fresh ground pepper and a little grated Parmesan.  That will be especially good if you’re lucky enough to get the “kantapää.”