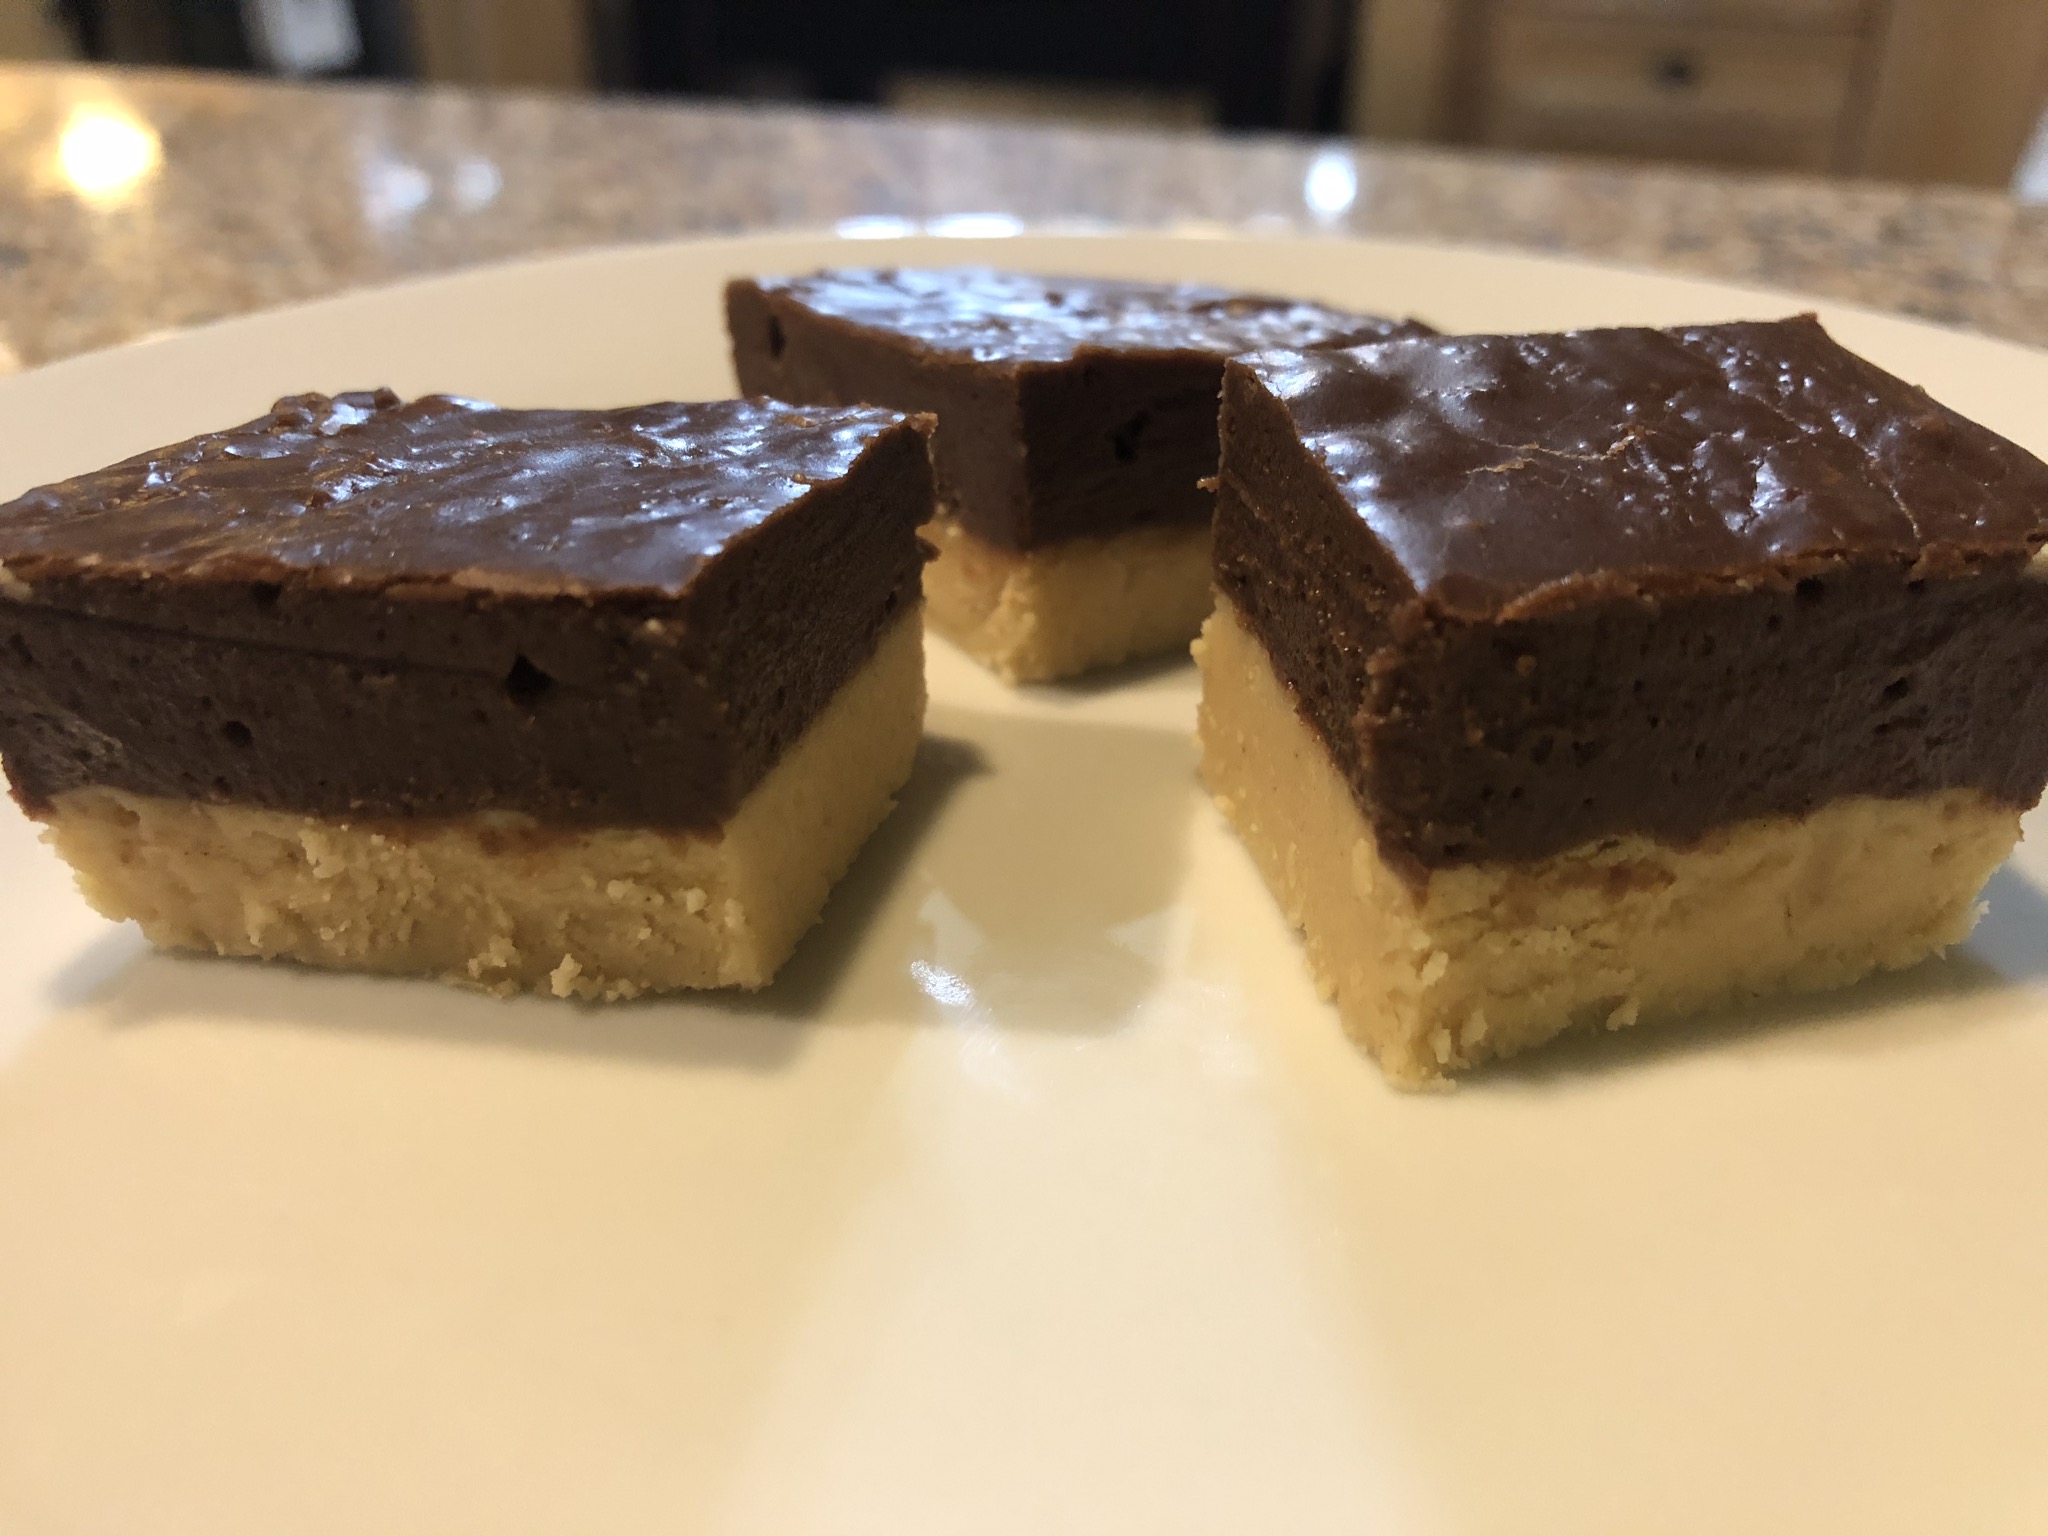
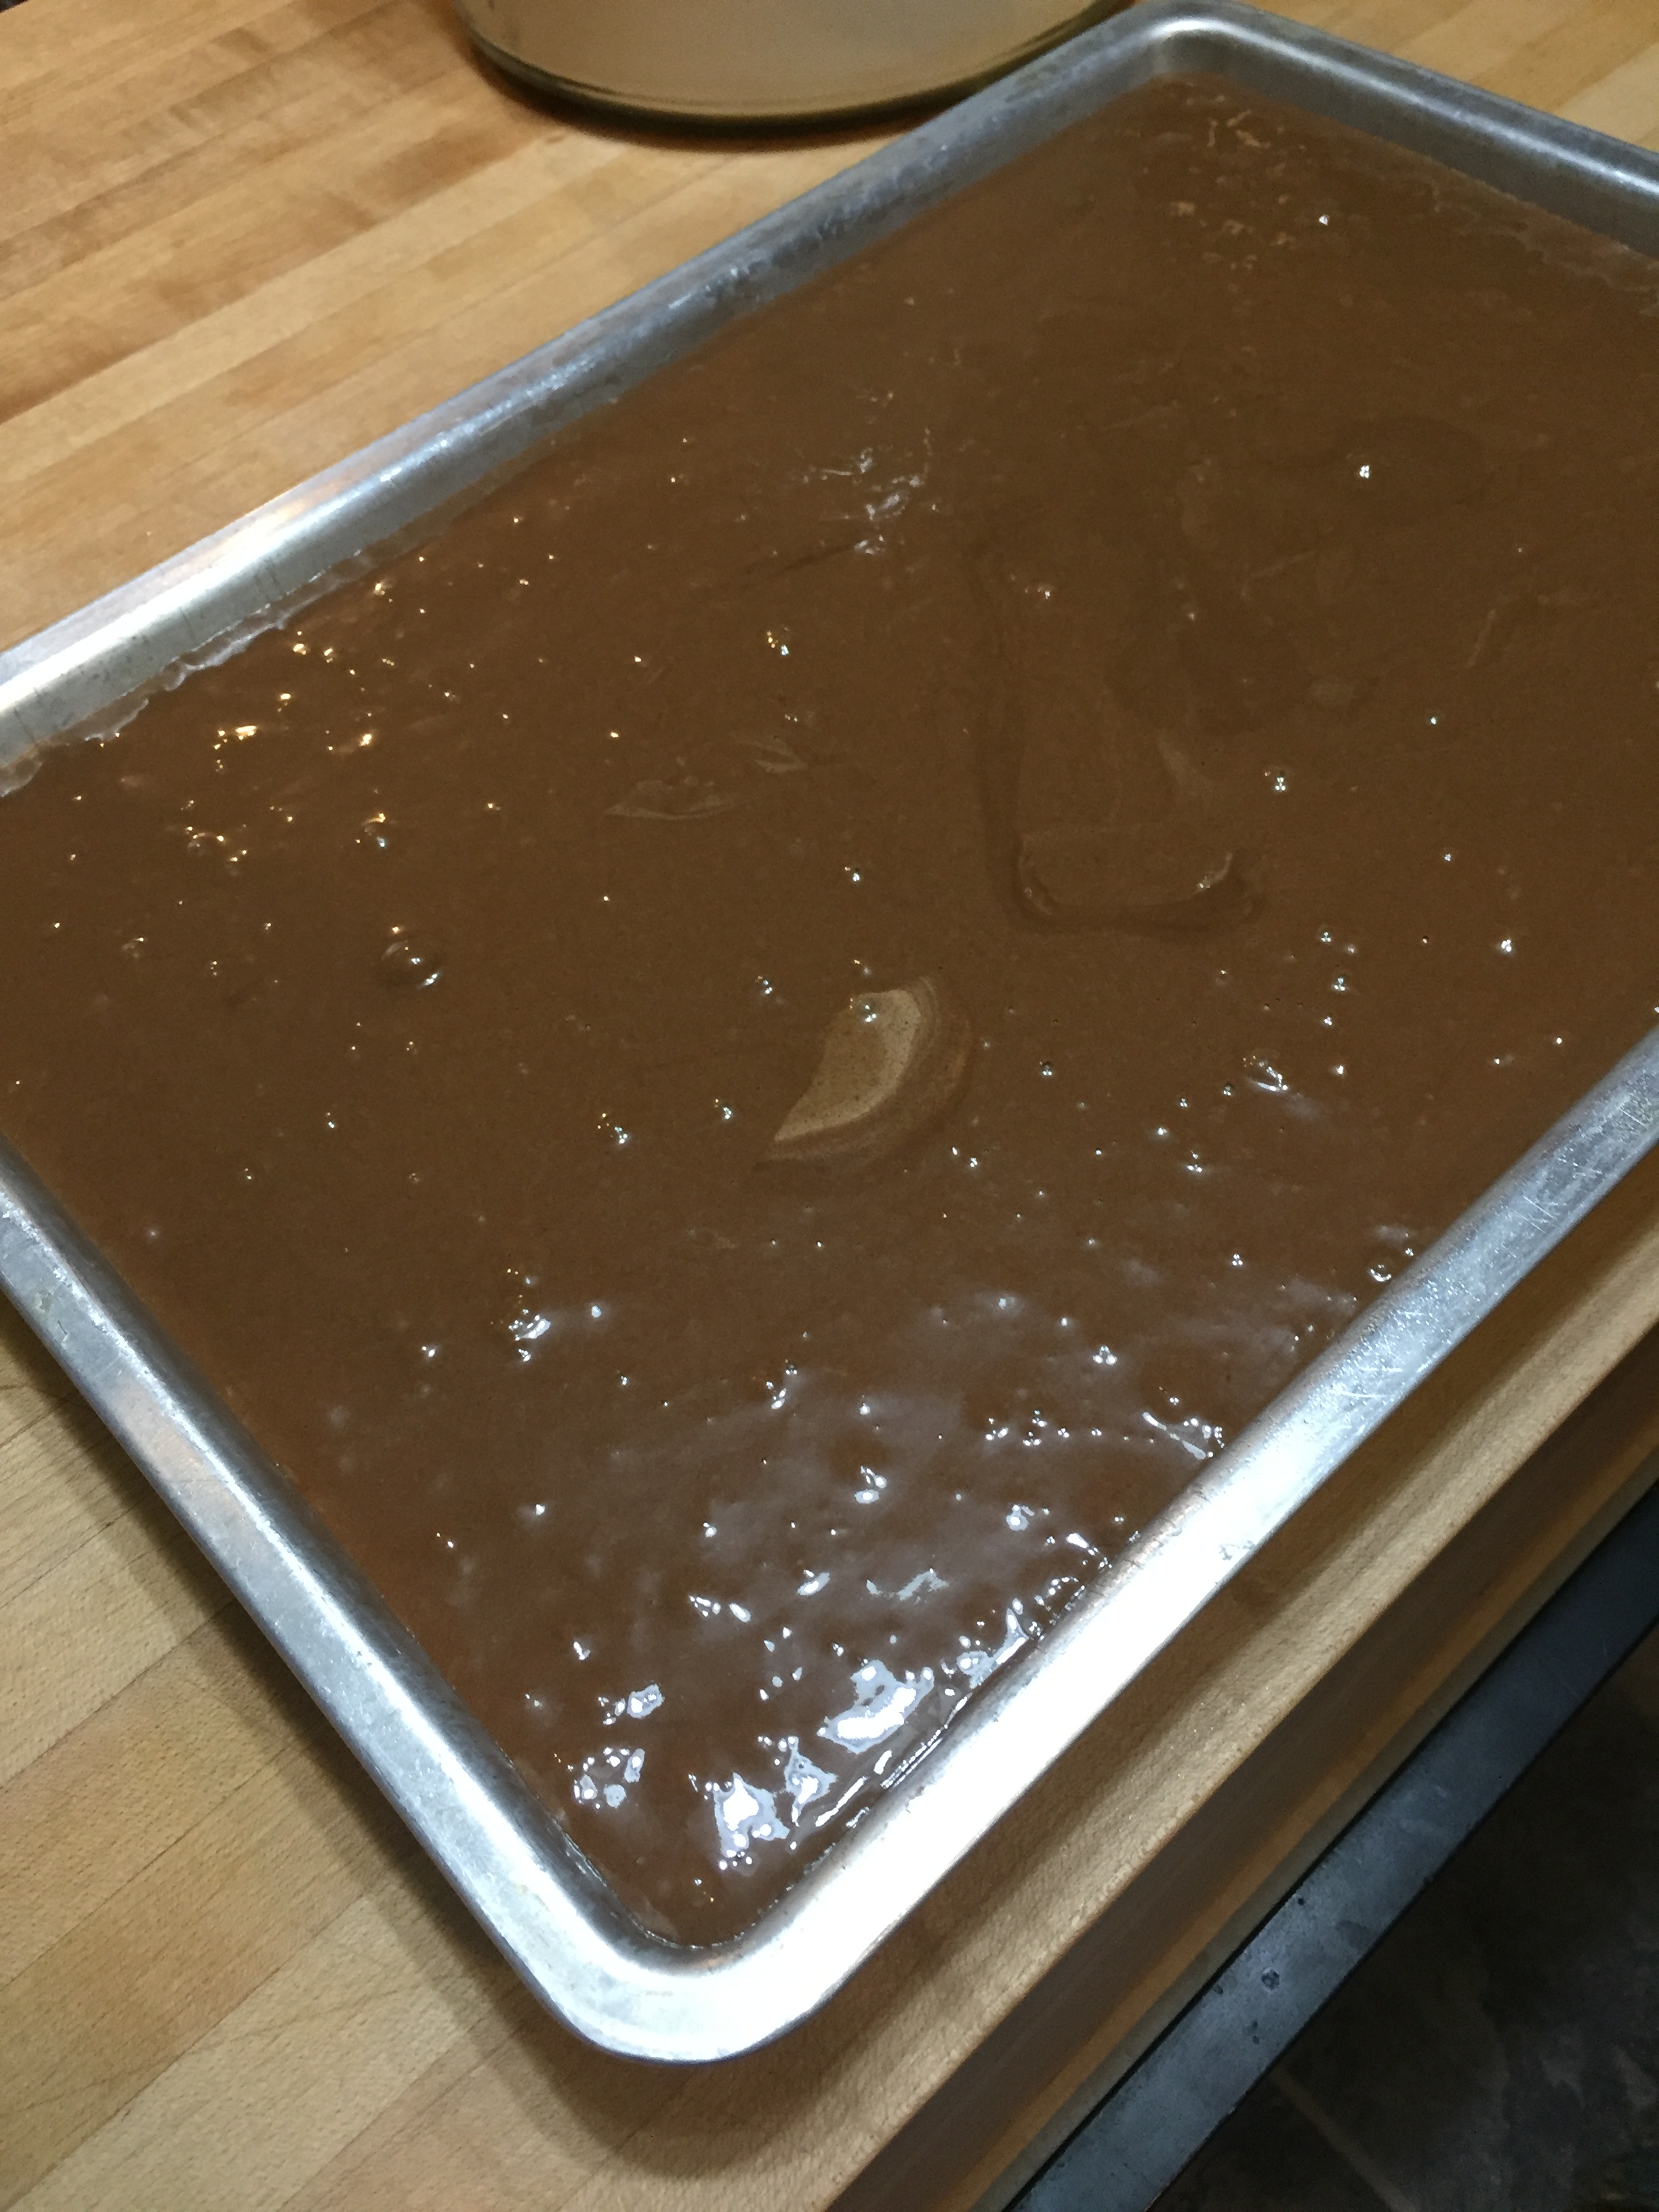
One of my most requested recipes around the holidays is for peanut butter fudge. Years ago I worked with someone who brought in peanut butter fudge that his wife made every Christmas. It was excellent. But when I asked for the recipe he said it was a family secret and he would not share it. After that I tried several different recipes for peanut butter fudge and finally stumbled on this one that I’ve been using for the last 20 years or more. I have no idea where I found it, but it is every bit as good, if not better, than the “family recipe” my coworker refused to share. The fudge pictured above is my version of Reese which is my daughter’s favorite. A layer of peanut butter fudge and a layer of chocolate. Of course I end up with two 9×13 pans of this, but I guess that’s not a bad thing. And I’m all about sharing recipes!
Ingredients:
4 cups granulated sugar
1/2 cup butter
1 cup evaporated milk
1 T white vinegar
1 T light corn syrup
dash of salt
12 oz creamy peanut butter
13 oz jar marshmallow creme
1 tsp vanilla
Line a 9×13 pan with aluminum foil, allowing a generous overhang on each side, and lightly butter the foil and the pan. This makes the fudge easy to lift out and cut.
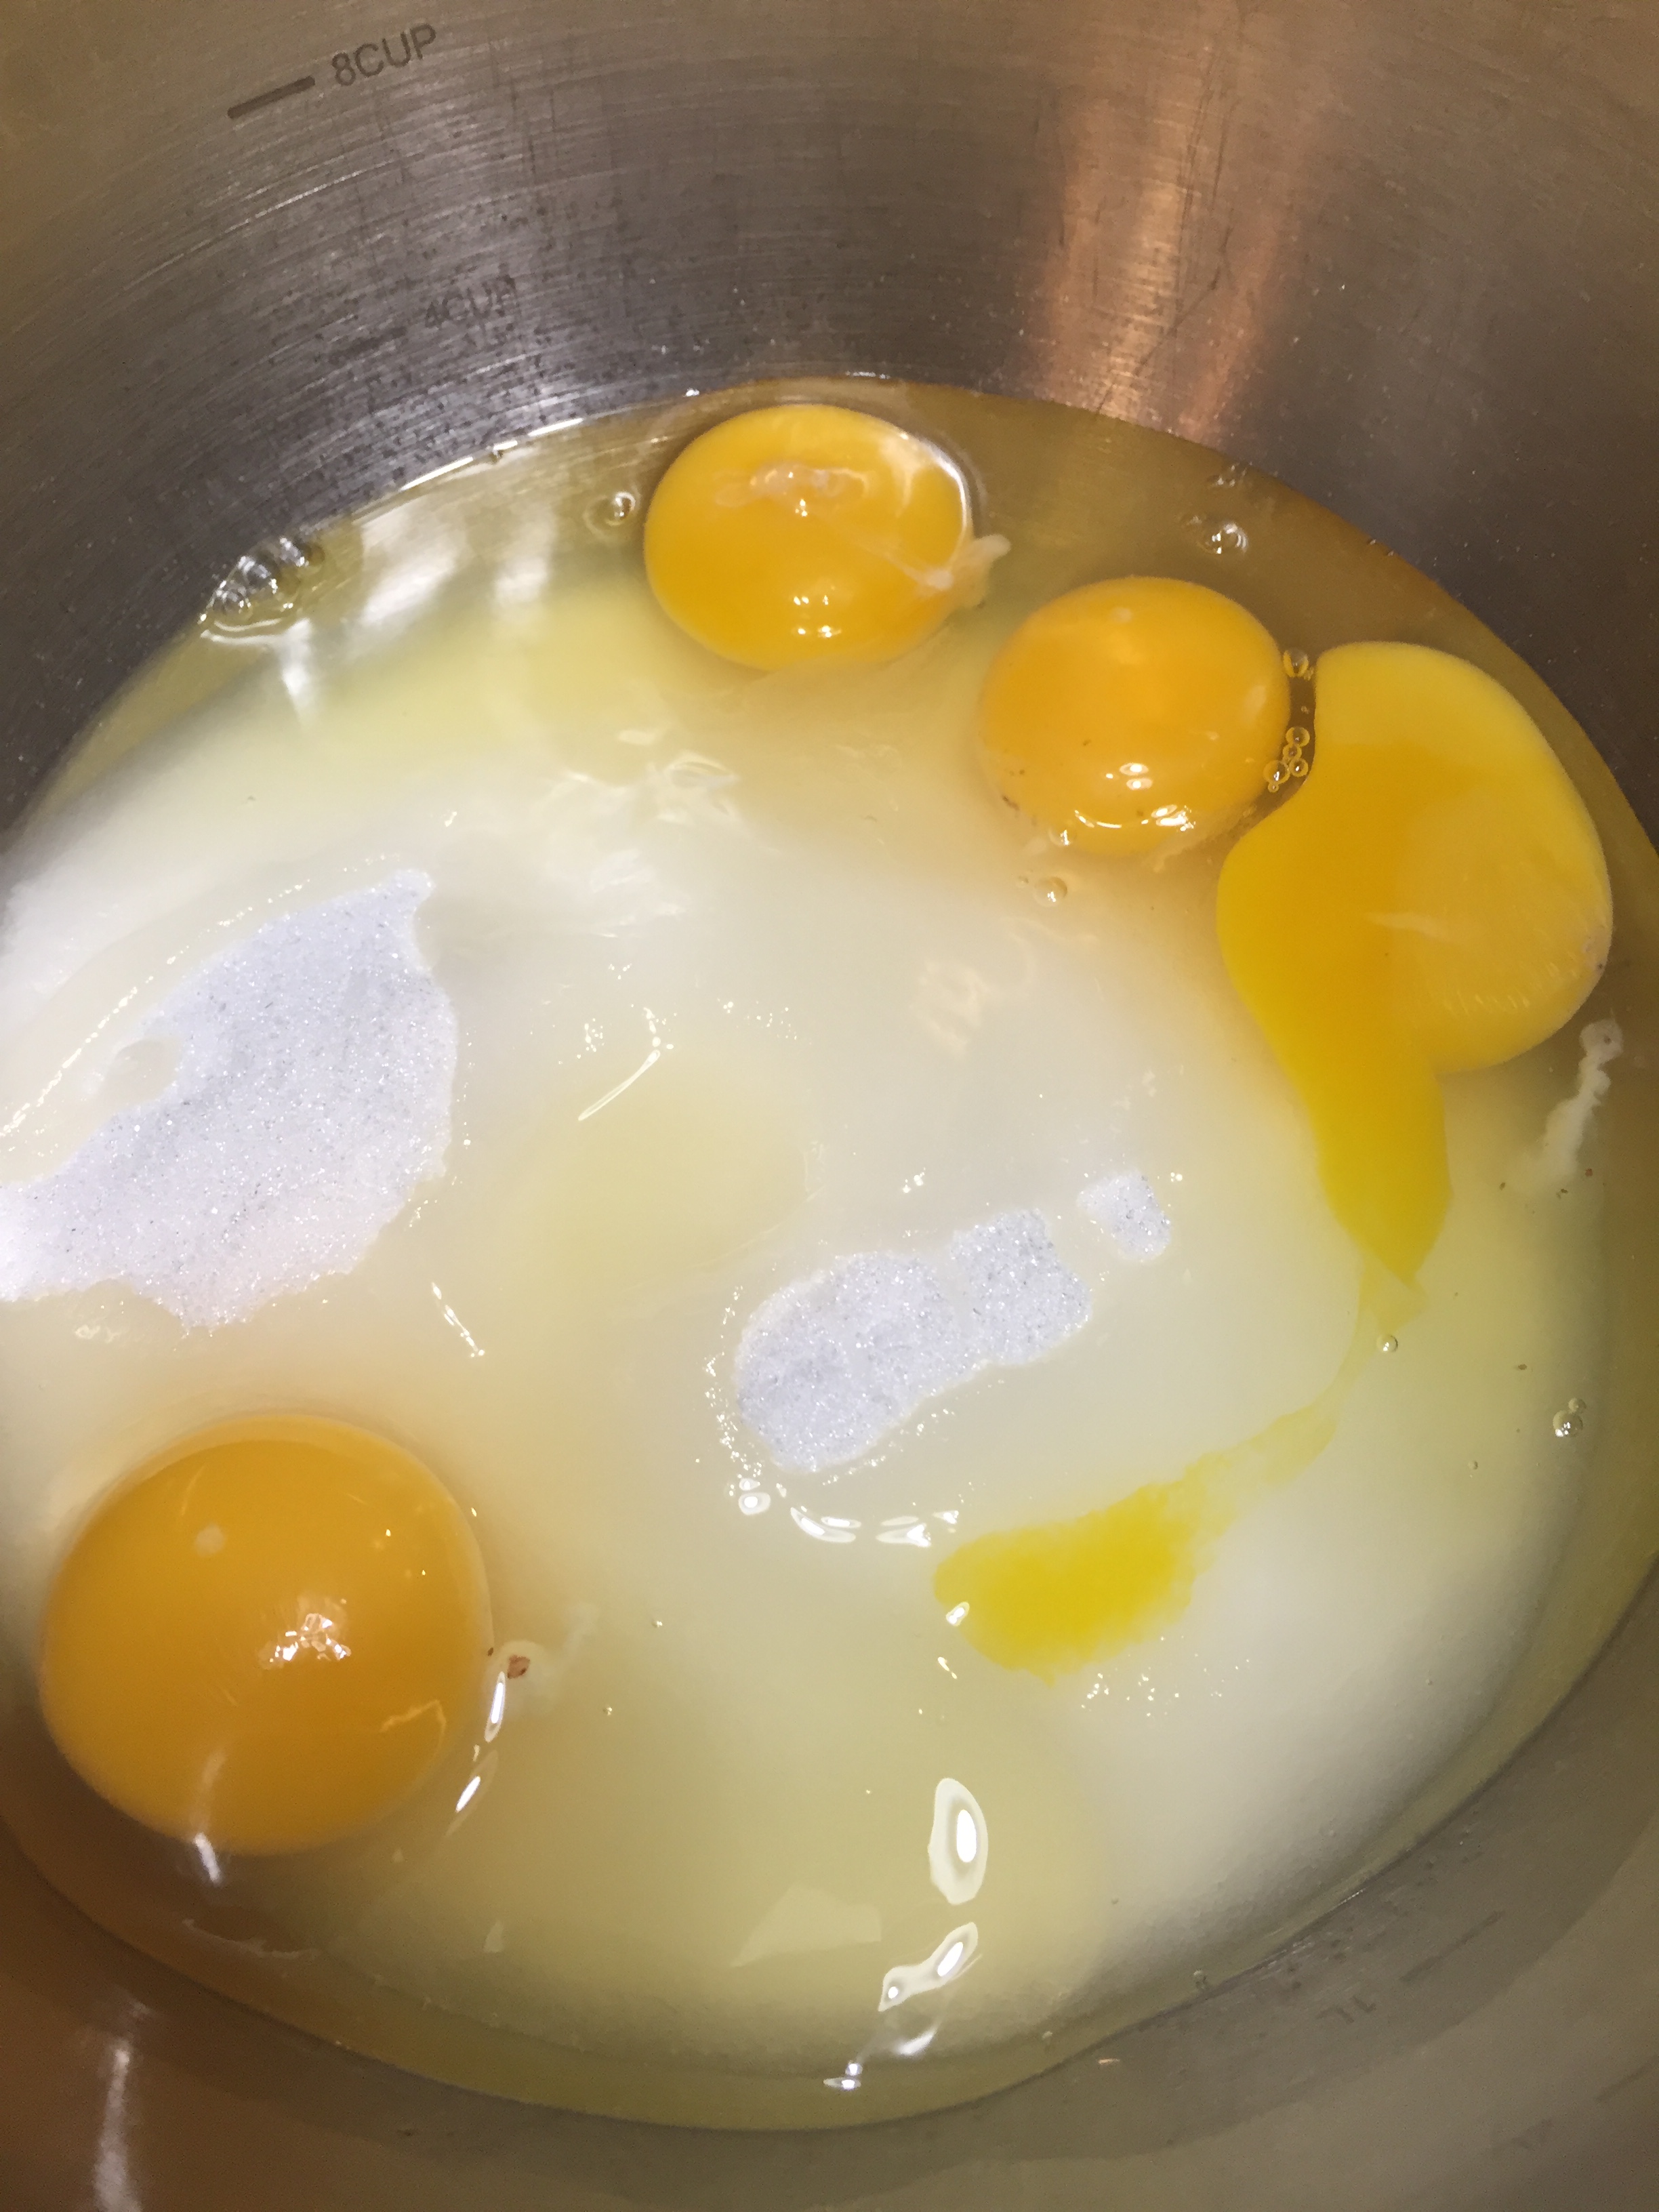
Combine the sugar, butter, milk, vinegar, corn syrup and salt in a deep heavy kettle like a Dutch oven. Stirring constantly cook over medium high heat until your candy thermometer reads 236 degrees. Remove from the heat and stir in the peanut butter and marshmallow cream until completely incorporated. Stir in the vanilla.
Pour into your prepared pan and allow it to cool completely.
This fudge is a perfect addition to our Christmas cookie trays.

NOTE: I’ve never made this with chunky peanut butter and I’ve never added peanuts, but either of those modifications might be good. If you want to make our Reese version the chocolate fudge recipe I use is also on my blog. For some reason I only make this a Christmas but I’m thinking fudge is good any time of year. My good friend and cookie baking partner gives a whole pan to her sister who cuts it up and freezes it. When she is craving some peanut butter goodness she takes a piece or two out of the freezer.


You must be logged in to post a comment.