
This is still the Finnish Dish, but this is definitely not a Finnish recipe. Giardiniera means “from the garden” in Italian. It is a very common condiment in Chicago, thanks to the communities of Italian immigrants that made it popular. Pickling and marinating is a good way of preserving produce. In Italy, Giardiniera is considered an appetizer, and the vegetables are cut in bite size chunks. I have made that style before and just stored it in jars in the refrigerator. The olive oil solidifies in the fridge so you need to take it out and allow it to come to room temperature before serving. Chicago style requires a fine dice on the vegetables and the Giardiniera is used as a topping on pizza, salads, sausages, brats, nachos, sub sandwiches and the famous Chicago style Italian beef sandwich. The version I made today would most certainly be considered the “hot” version. The Serrano peppers are what kicks up the heat level. I did use half Serranos and half jalapeños, and I seeded the jalapeños, so my heat level should be a little lower than if I’d followed the recipe exactly and used all Serranos. According to the internet, in excess of a million pounds of Giardiniera are sold in Chicago annually.
The recipe I used was one my friend John shared with me. He had just made a batch and that inspired me to do the same. Some of the recipes I read used a different ratio of spices and vegetables but in the end they were all pretty similar. If you want to use your Giardiniera as an appetizer vs a topping you could follow the same recipe and cut the vegetables in larger, bite size pieces.
Day One Ingredients:
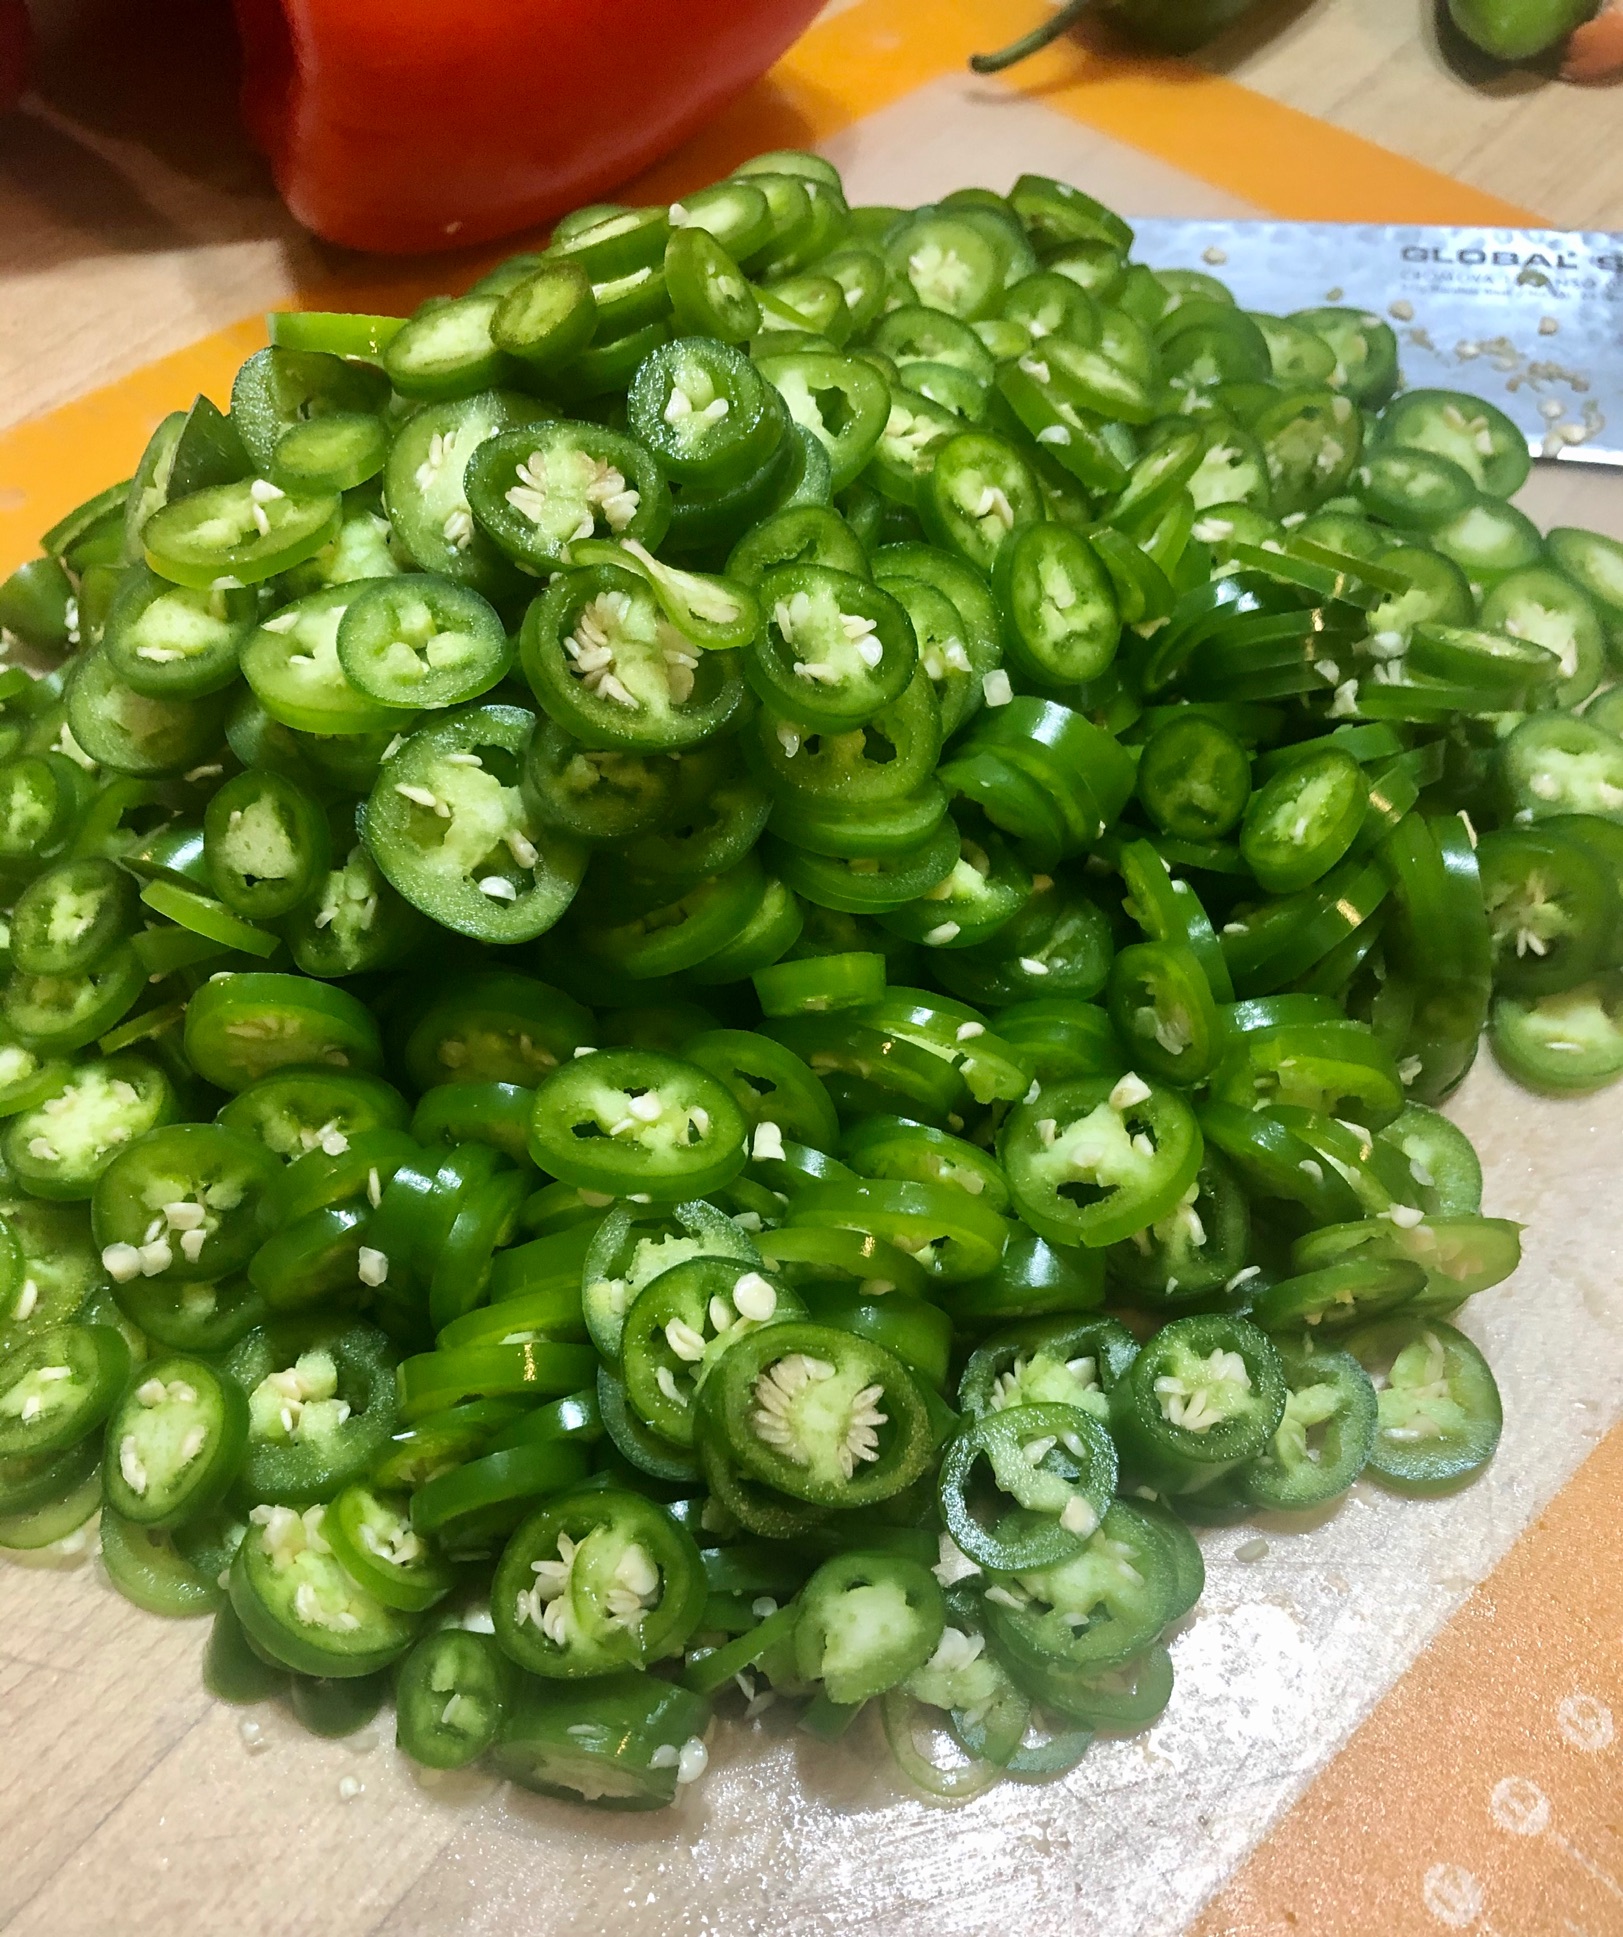
1 pound Serrano peppers sliced in quarter inch thick rounds
1 pound jalapeños seeded and diced small
1 pound sweet red peppers seeded and diced small
1 pound cauliflower chopped into small pieces
1/2 pound white onion diced small
1/2 pound carrots peeled and diced small
1/2 pound celery diced small
1 cup of salt

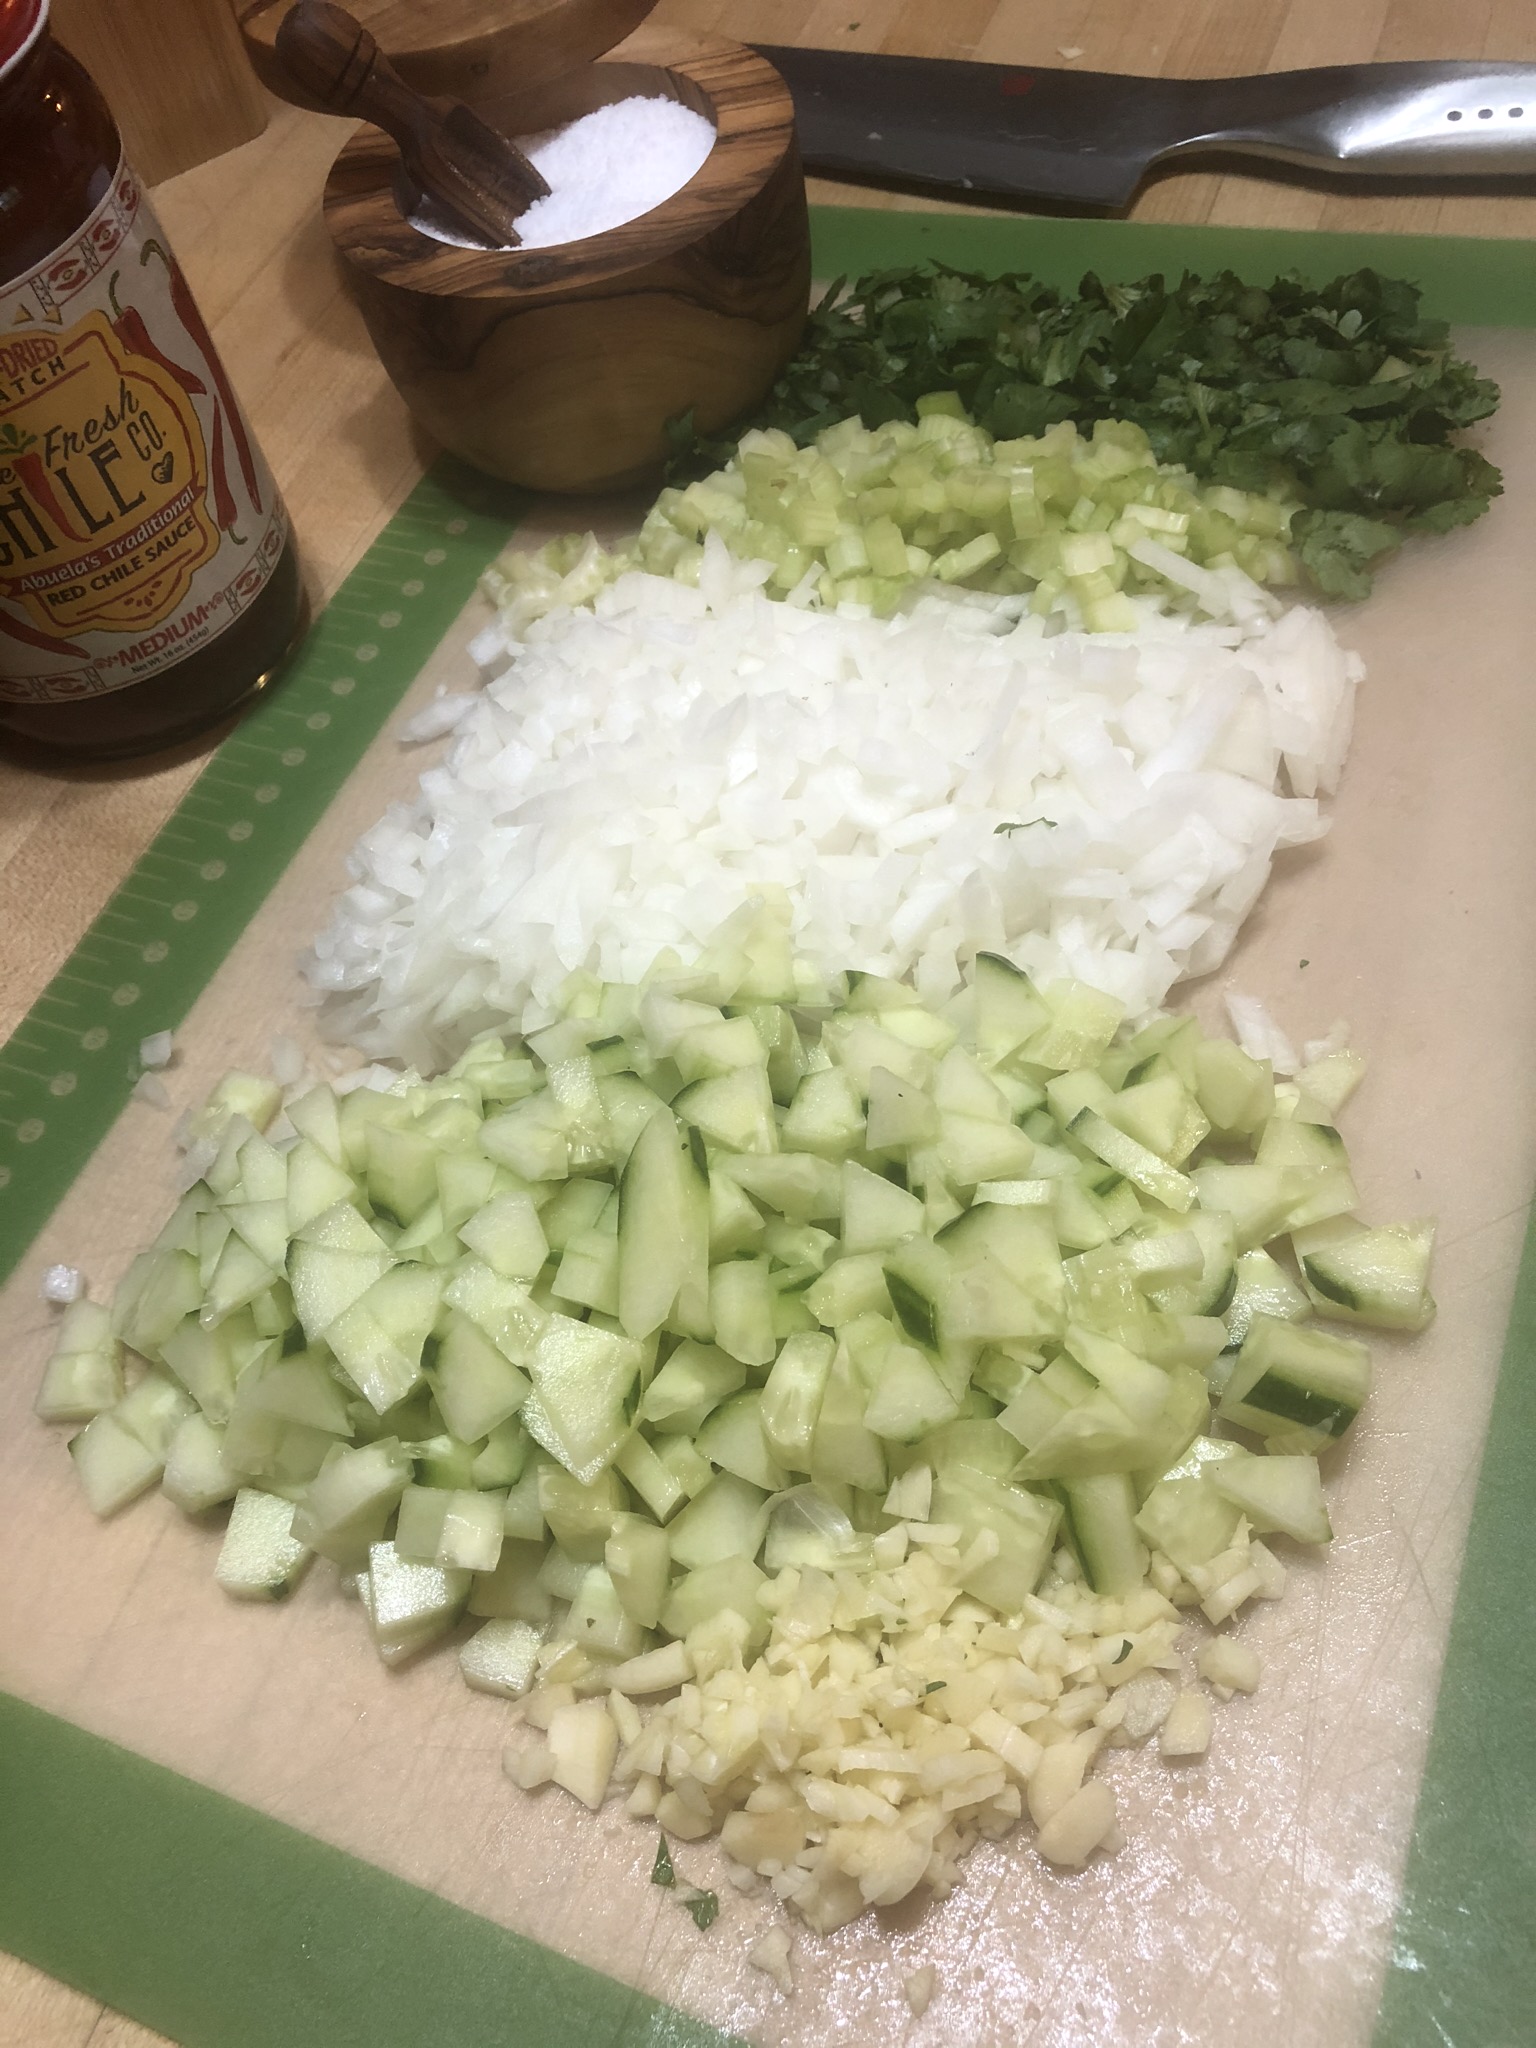
Now it’s time to chop, chop, chop. And remember to wear gloves when you’re working with the Serrano and jalapeño peppers. Get out a large glass or stainless steel bowl to put the diced vegetables in. I weighed all of the veggies as I chopped them.

Now that you’re done with the hot stuff you can take your gloves off.

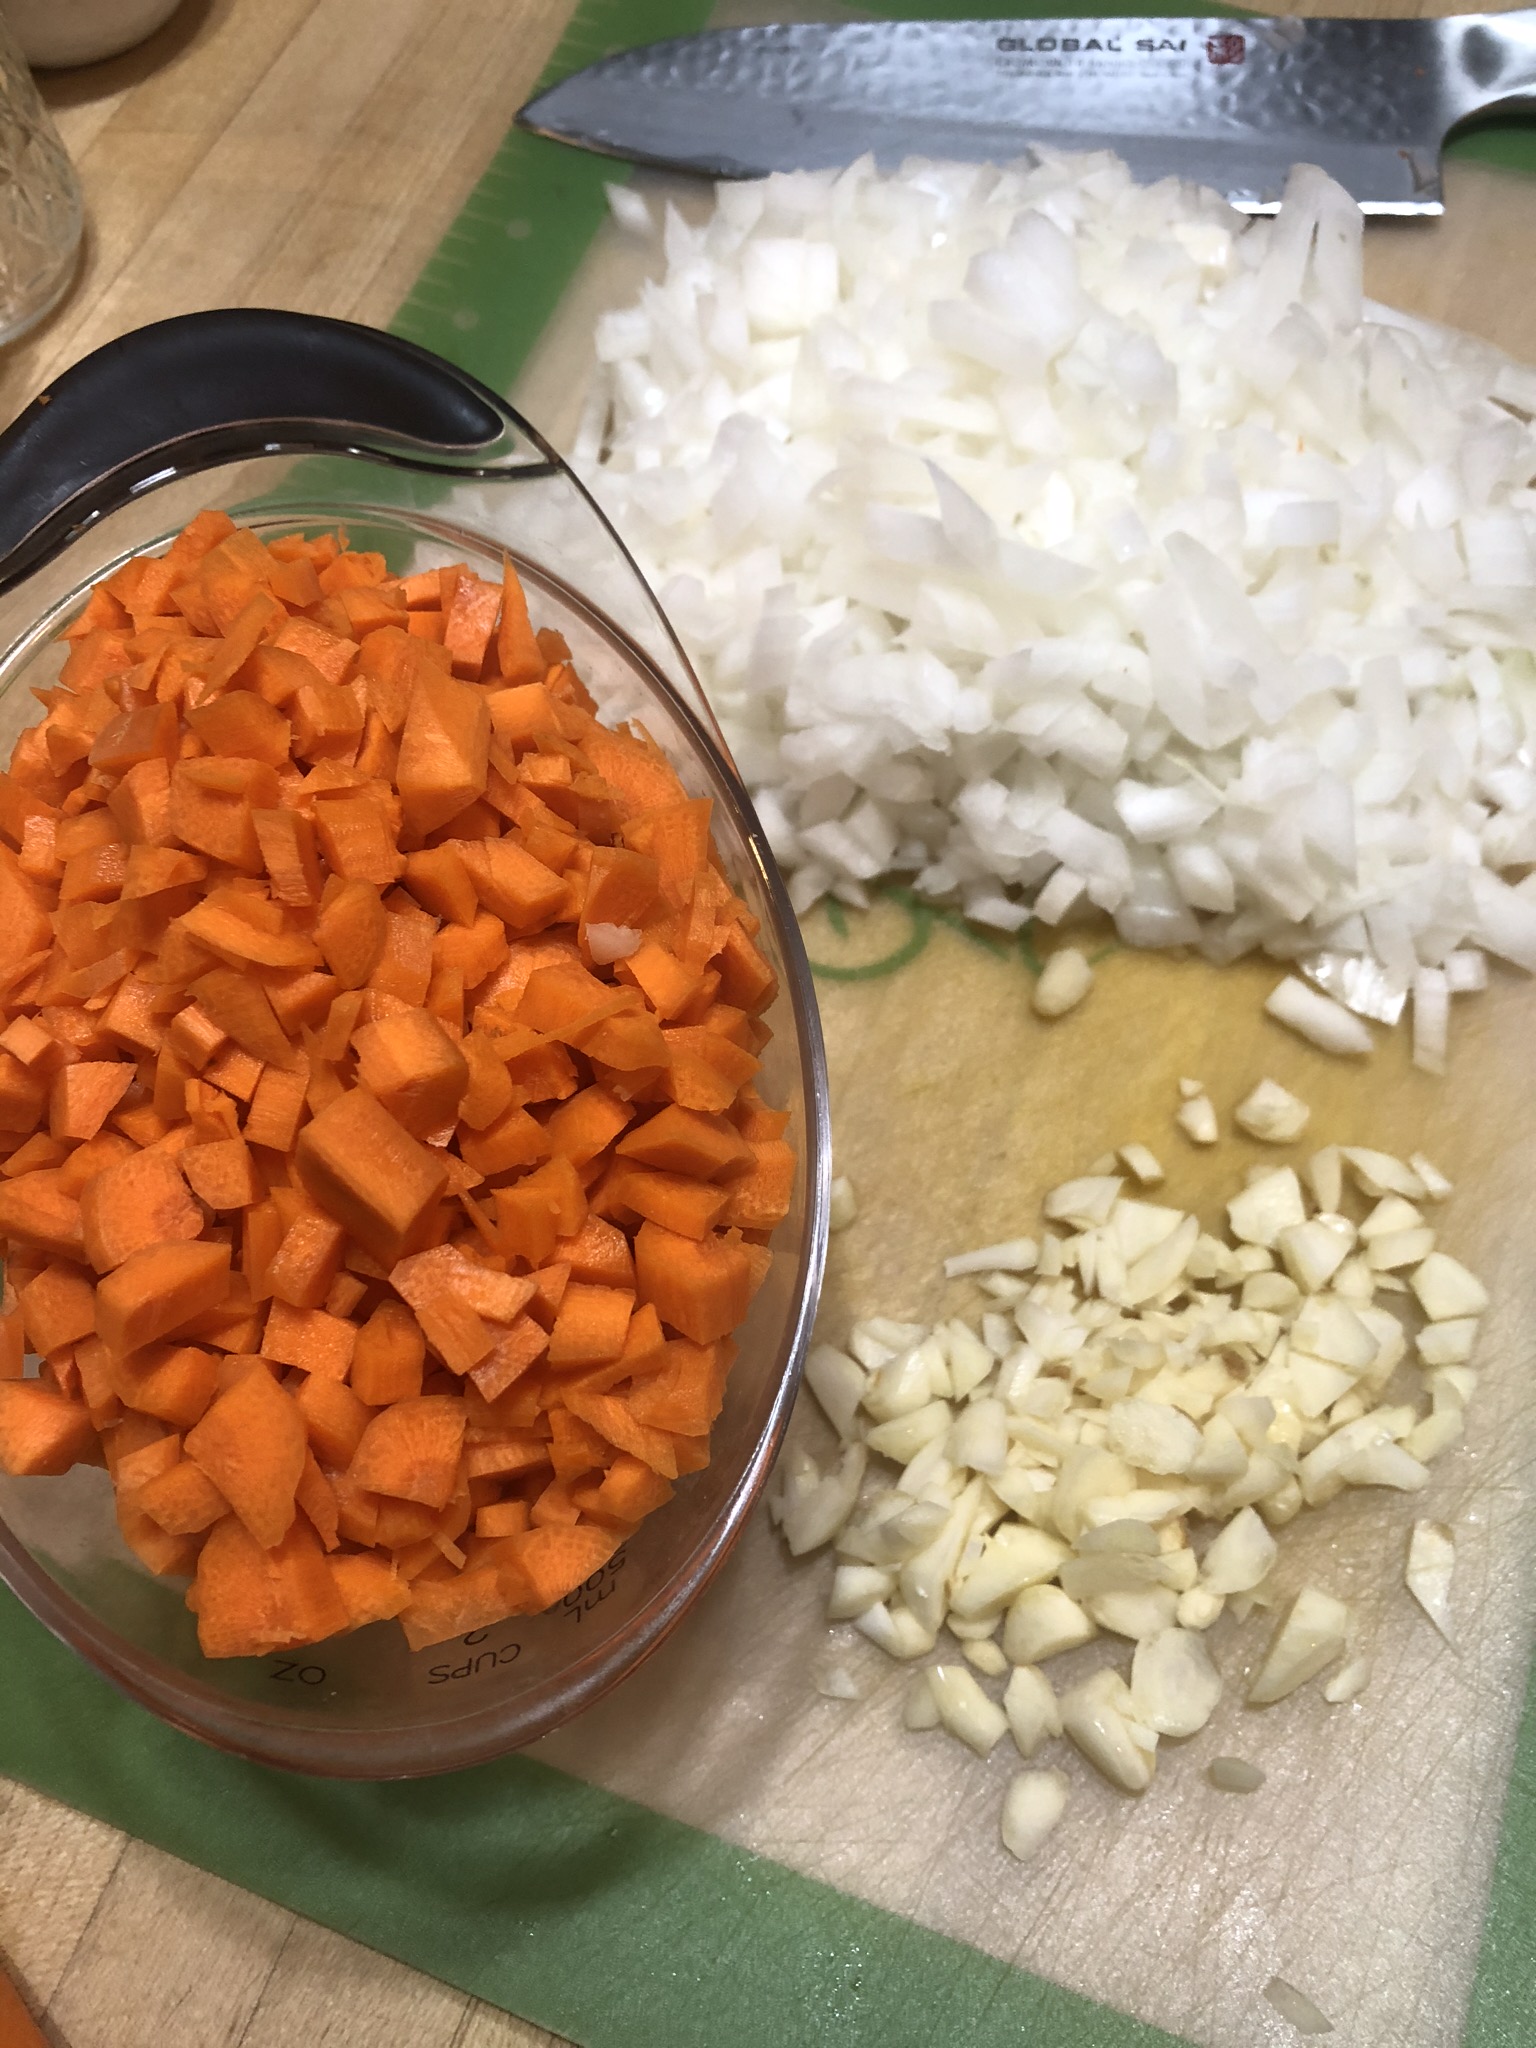
White onion.

Carrots.
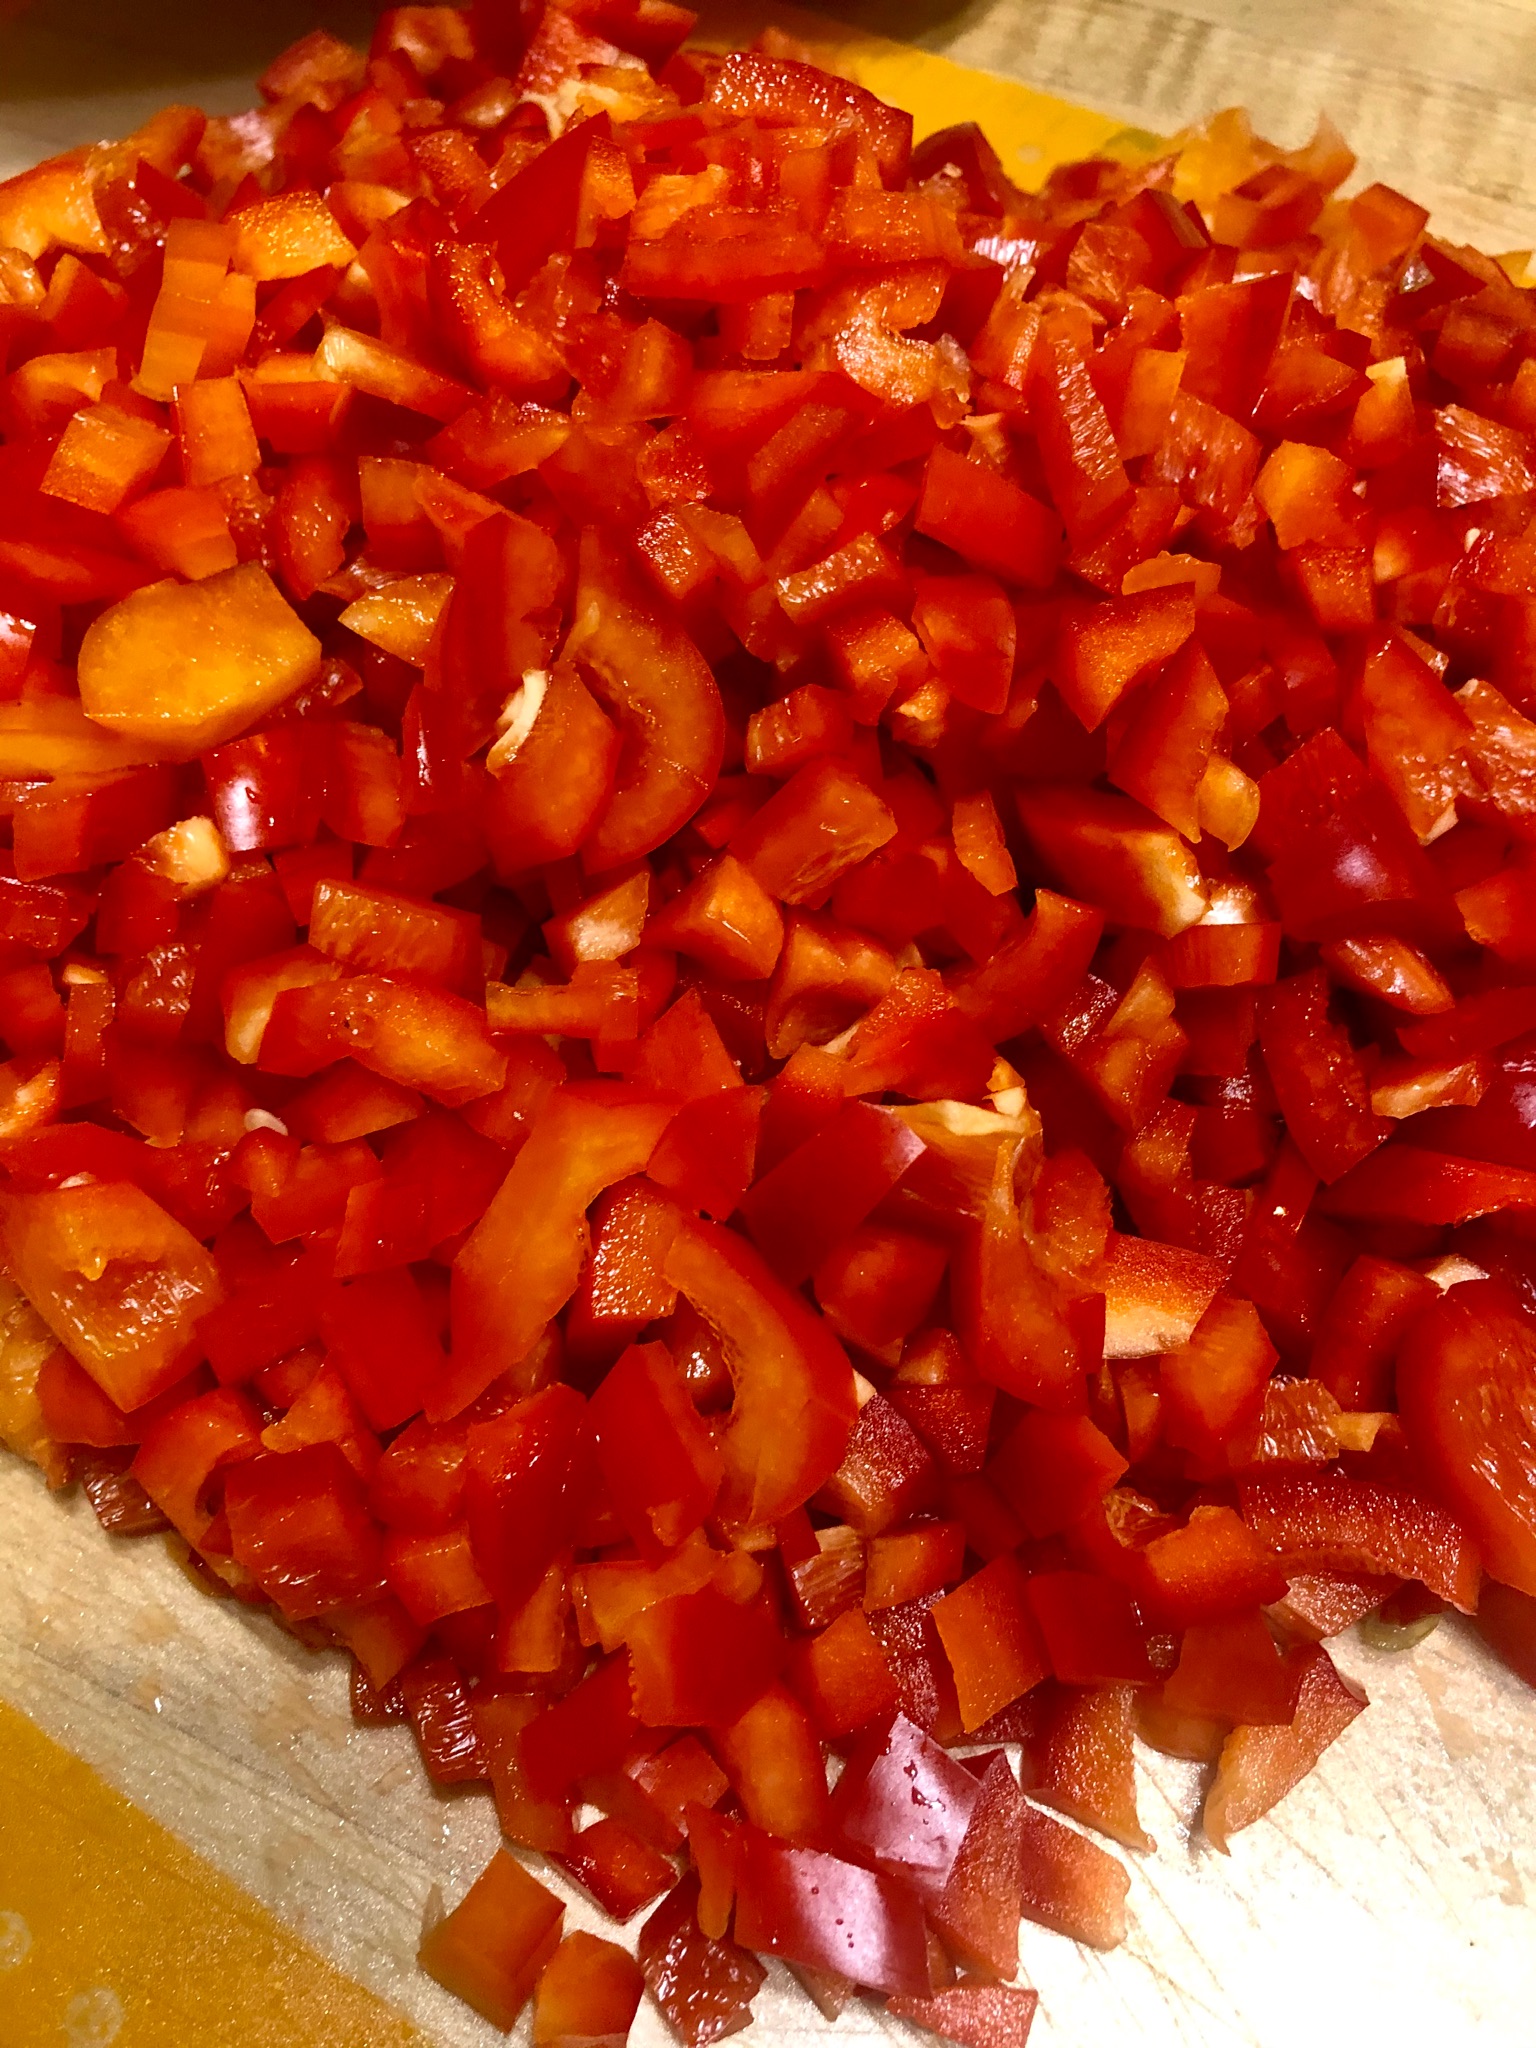
Sweet red bell pepper.
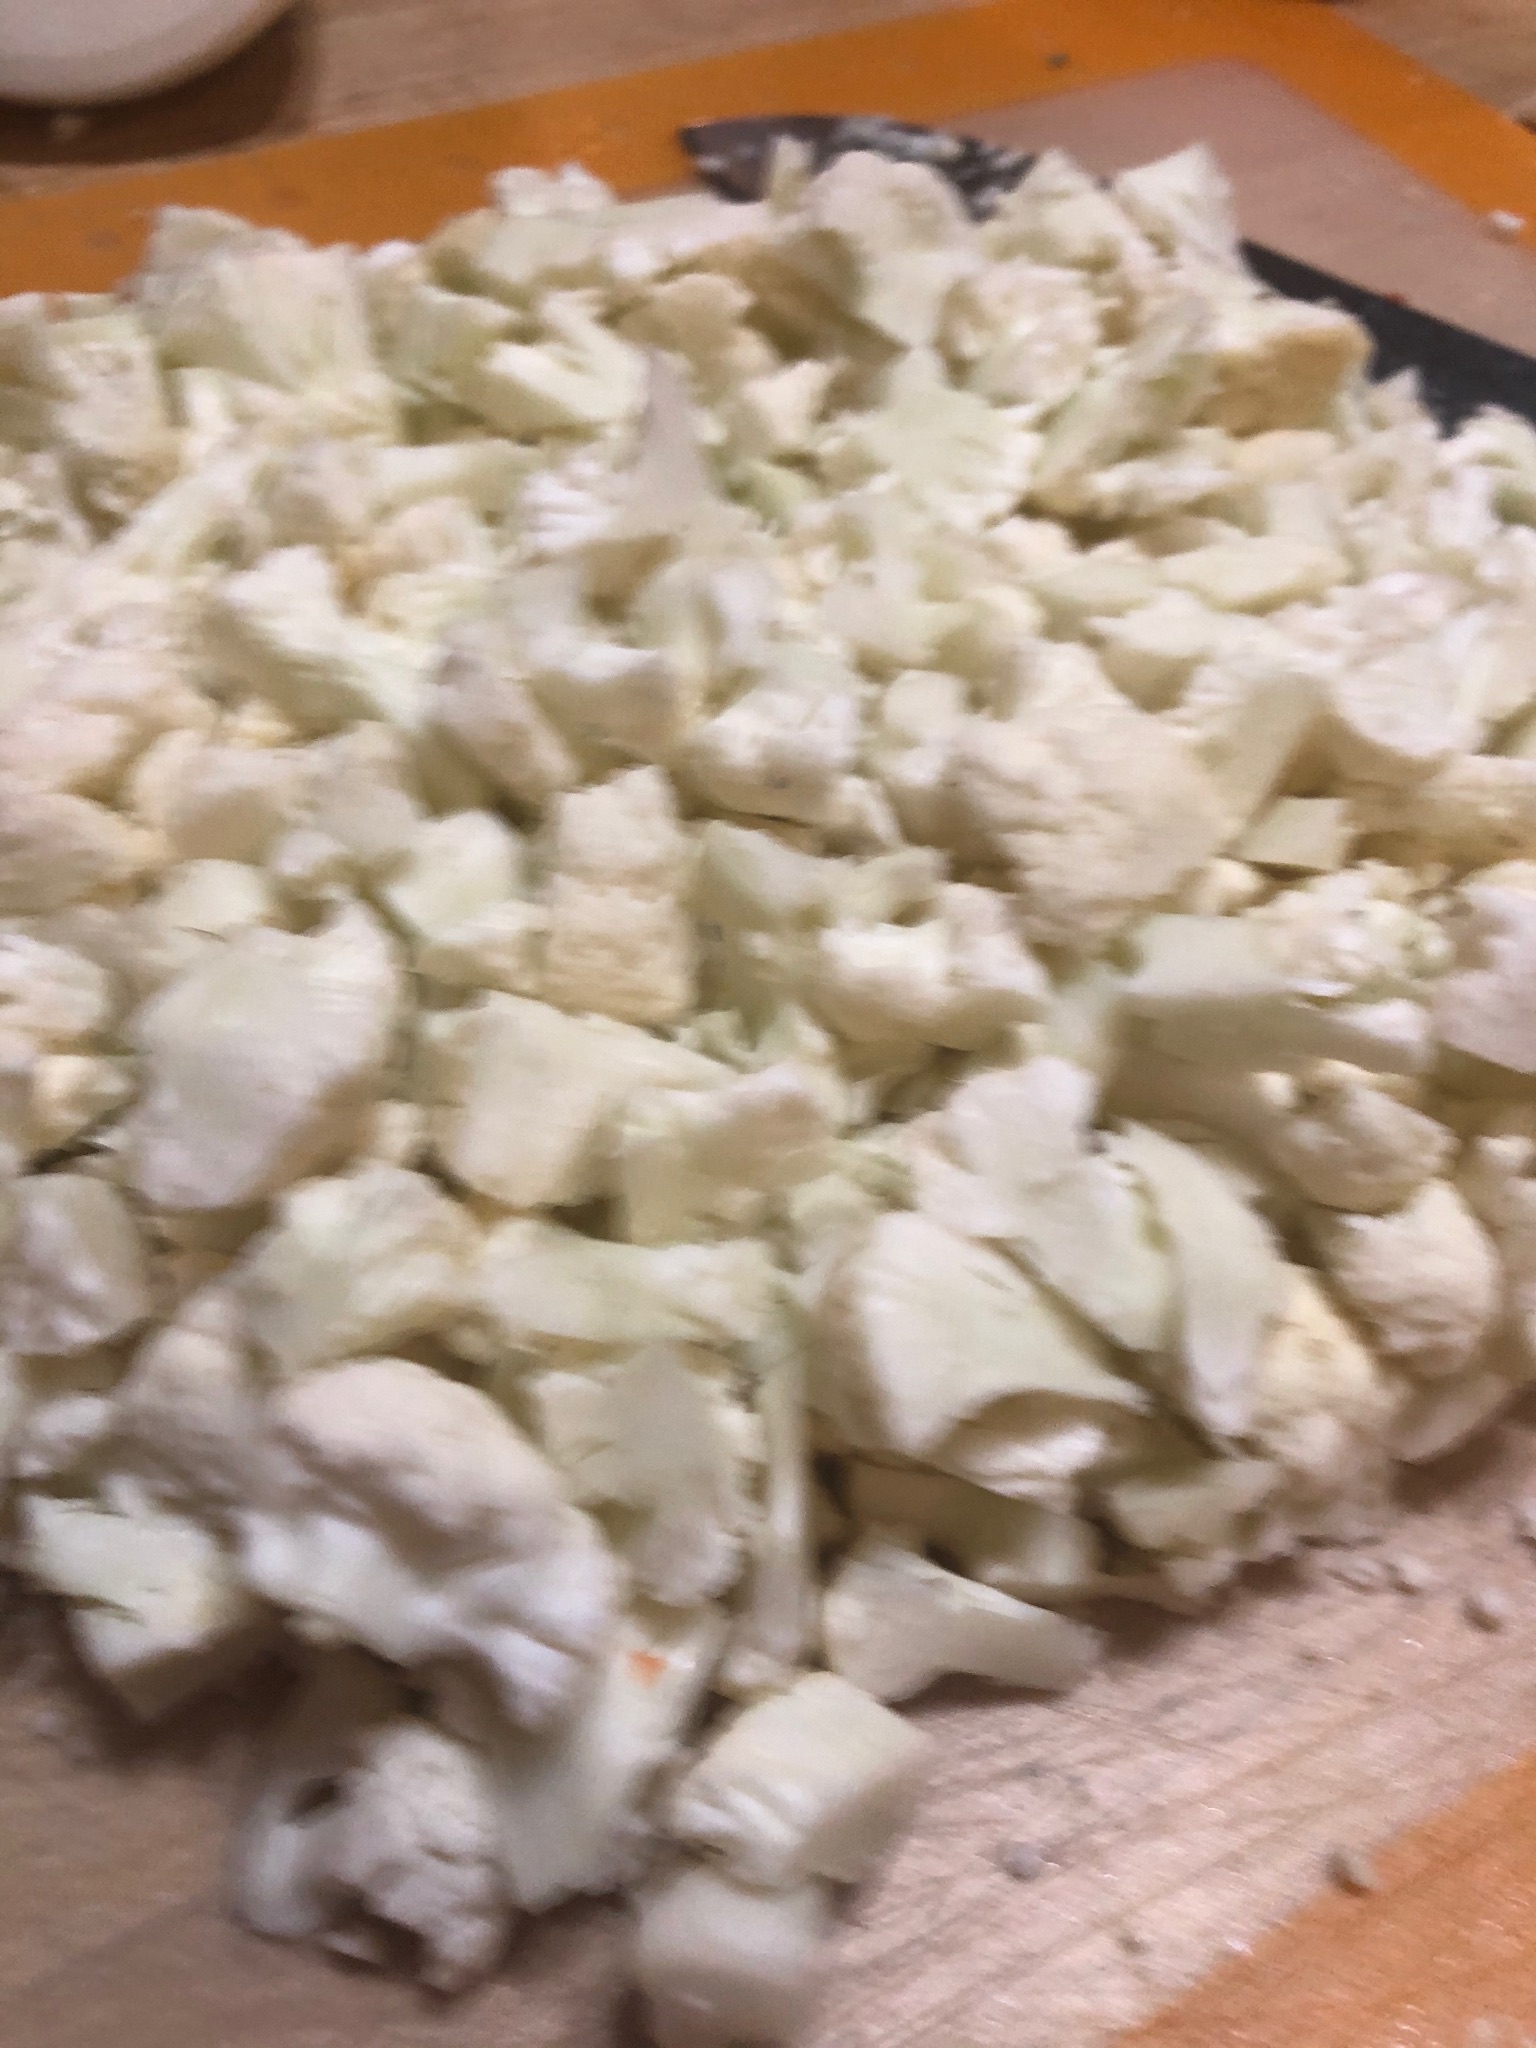
Cauliflower.
Combine all of the vegetables in your bowl and add the salt. Stir well to mix. Cover with Saran Wrap and refrigerate overnight.

The colors are beautiful!
Day Two Ingredients:
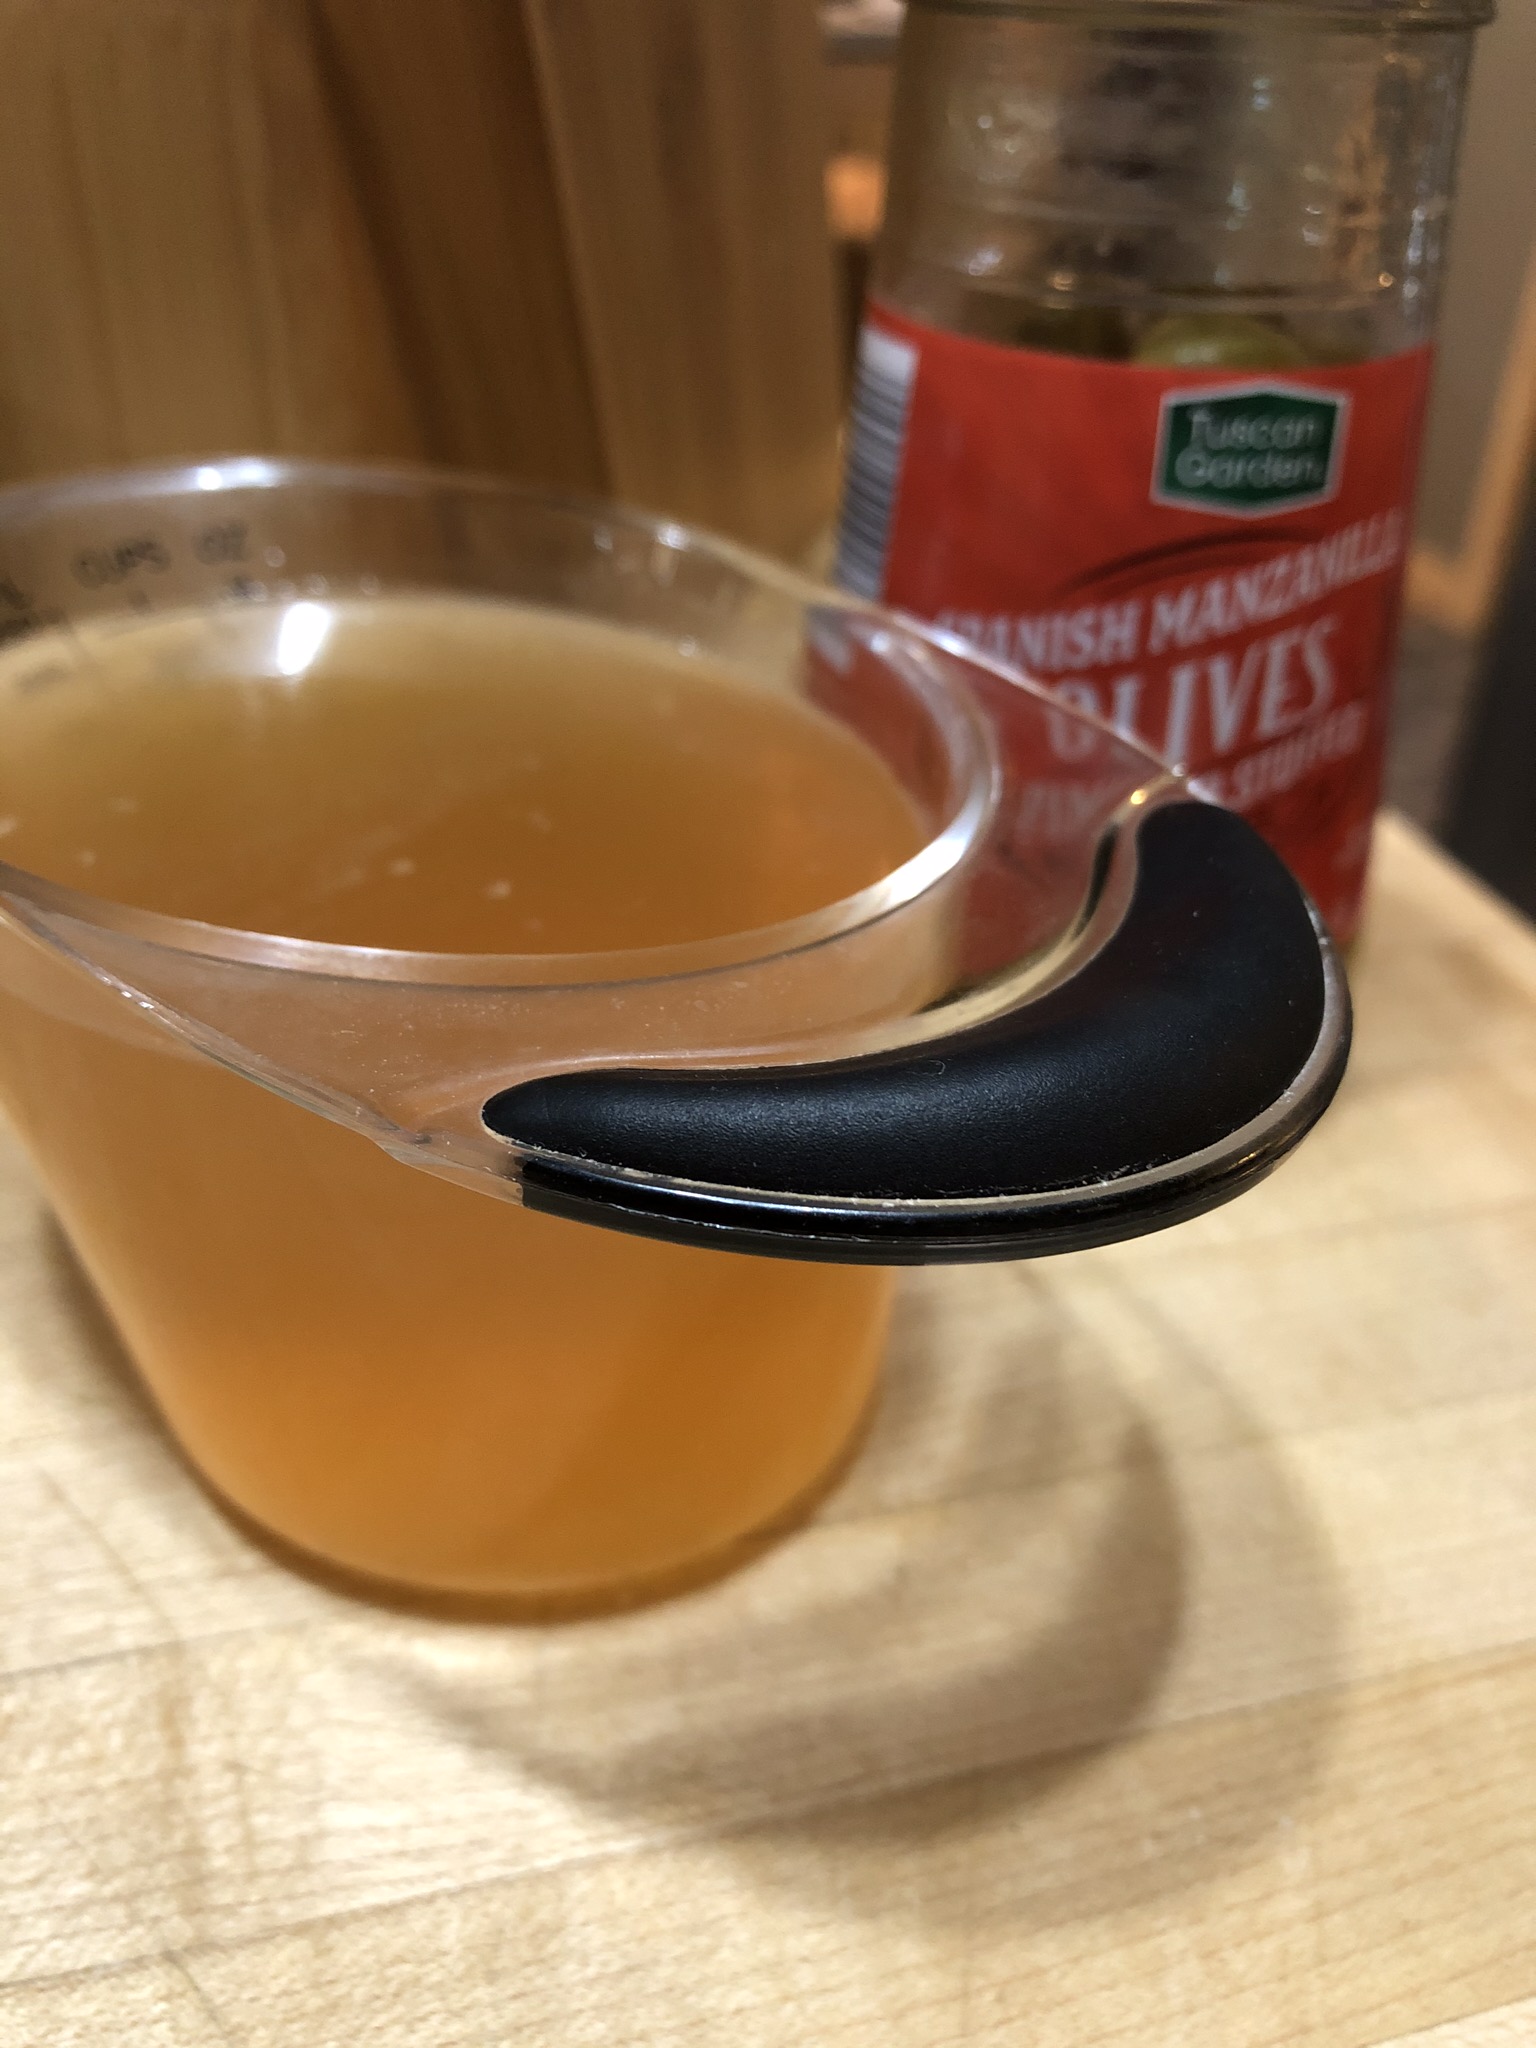
12 oz of sliced green olives with pimentos
1 cup of reserved liquid from the olives
2 T minced garlic
2 tsp cracked black pepper
3 T dried oregano
5 cups white wine vinegar
3 1/2 cups grape seed oil

Get your canning jars ready. If you’re using pint jars expect to fill between 10 and 12 jars. I used jelly jars (1 cup) and finished with 24 jars. Wash your jars well and keep them in a 200 degree oven, on a sheet pan lined with a towel, until you are ready to use them. Fill your water bath and turn the burner on because Day 2 is much faster than Day 1.
Pull your vegetable mixture from the refrigerator and drain off as much liquid as possible. I used a plate to push down on the vegetables while I poured off the liquid. Now, more chopping. Reserve 1 cup of liquid from the jarred olives and slice the olives.

Add the olives, olive brine and all of the remaining ingredients to the chopped vegetable mix. Stir well to combine. Now you’re ready to bottle your Giardiniera and process the jars.

Based on the advice John gave me, fill the jars just to where the rim begins. You don’t want the jars leaking oil while they are in the water bath. Be sure to wipe the rim of the jar well before putting the lid on and screwing it in place. Process your jars in the water bath for 20 minutes. Remove your jars to a towel or rack and allow them to cool down for at least 12 hours before storing them. Check all of the jars to make sure that they have sealed properly. If you have a jar that did not seal put it in the refrigerator.

NOTE; Like I mentioned earlier, if you want to use the Giardiniera for an appetizer, cut the vegetables into bite size pieces. If you want to make a much milder version scale the hot peppers WAY back and add more sweet peppers, cauliflower and carrots. You can leave the olives whole.
I have a beef brisket in my freezer. I think I’ll cook up that brisket and try to replicate a Chicago style Italian beef sandwich.


You must be logged in to post a comment.