
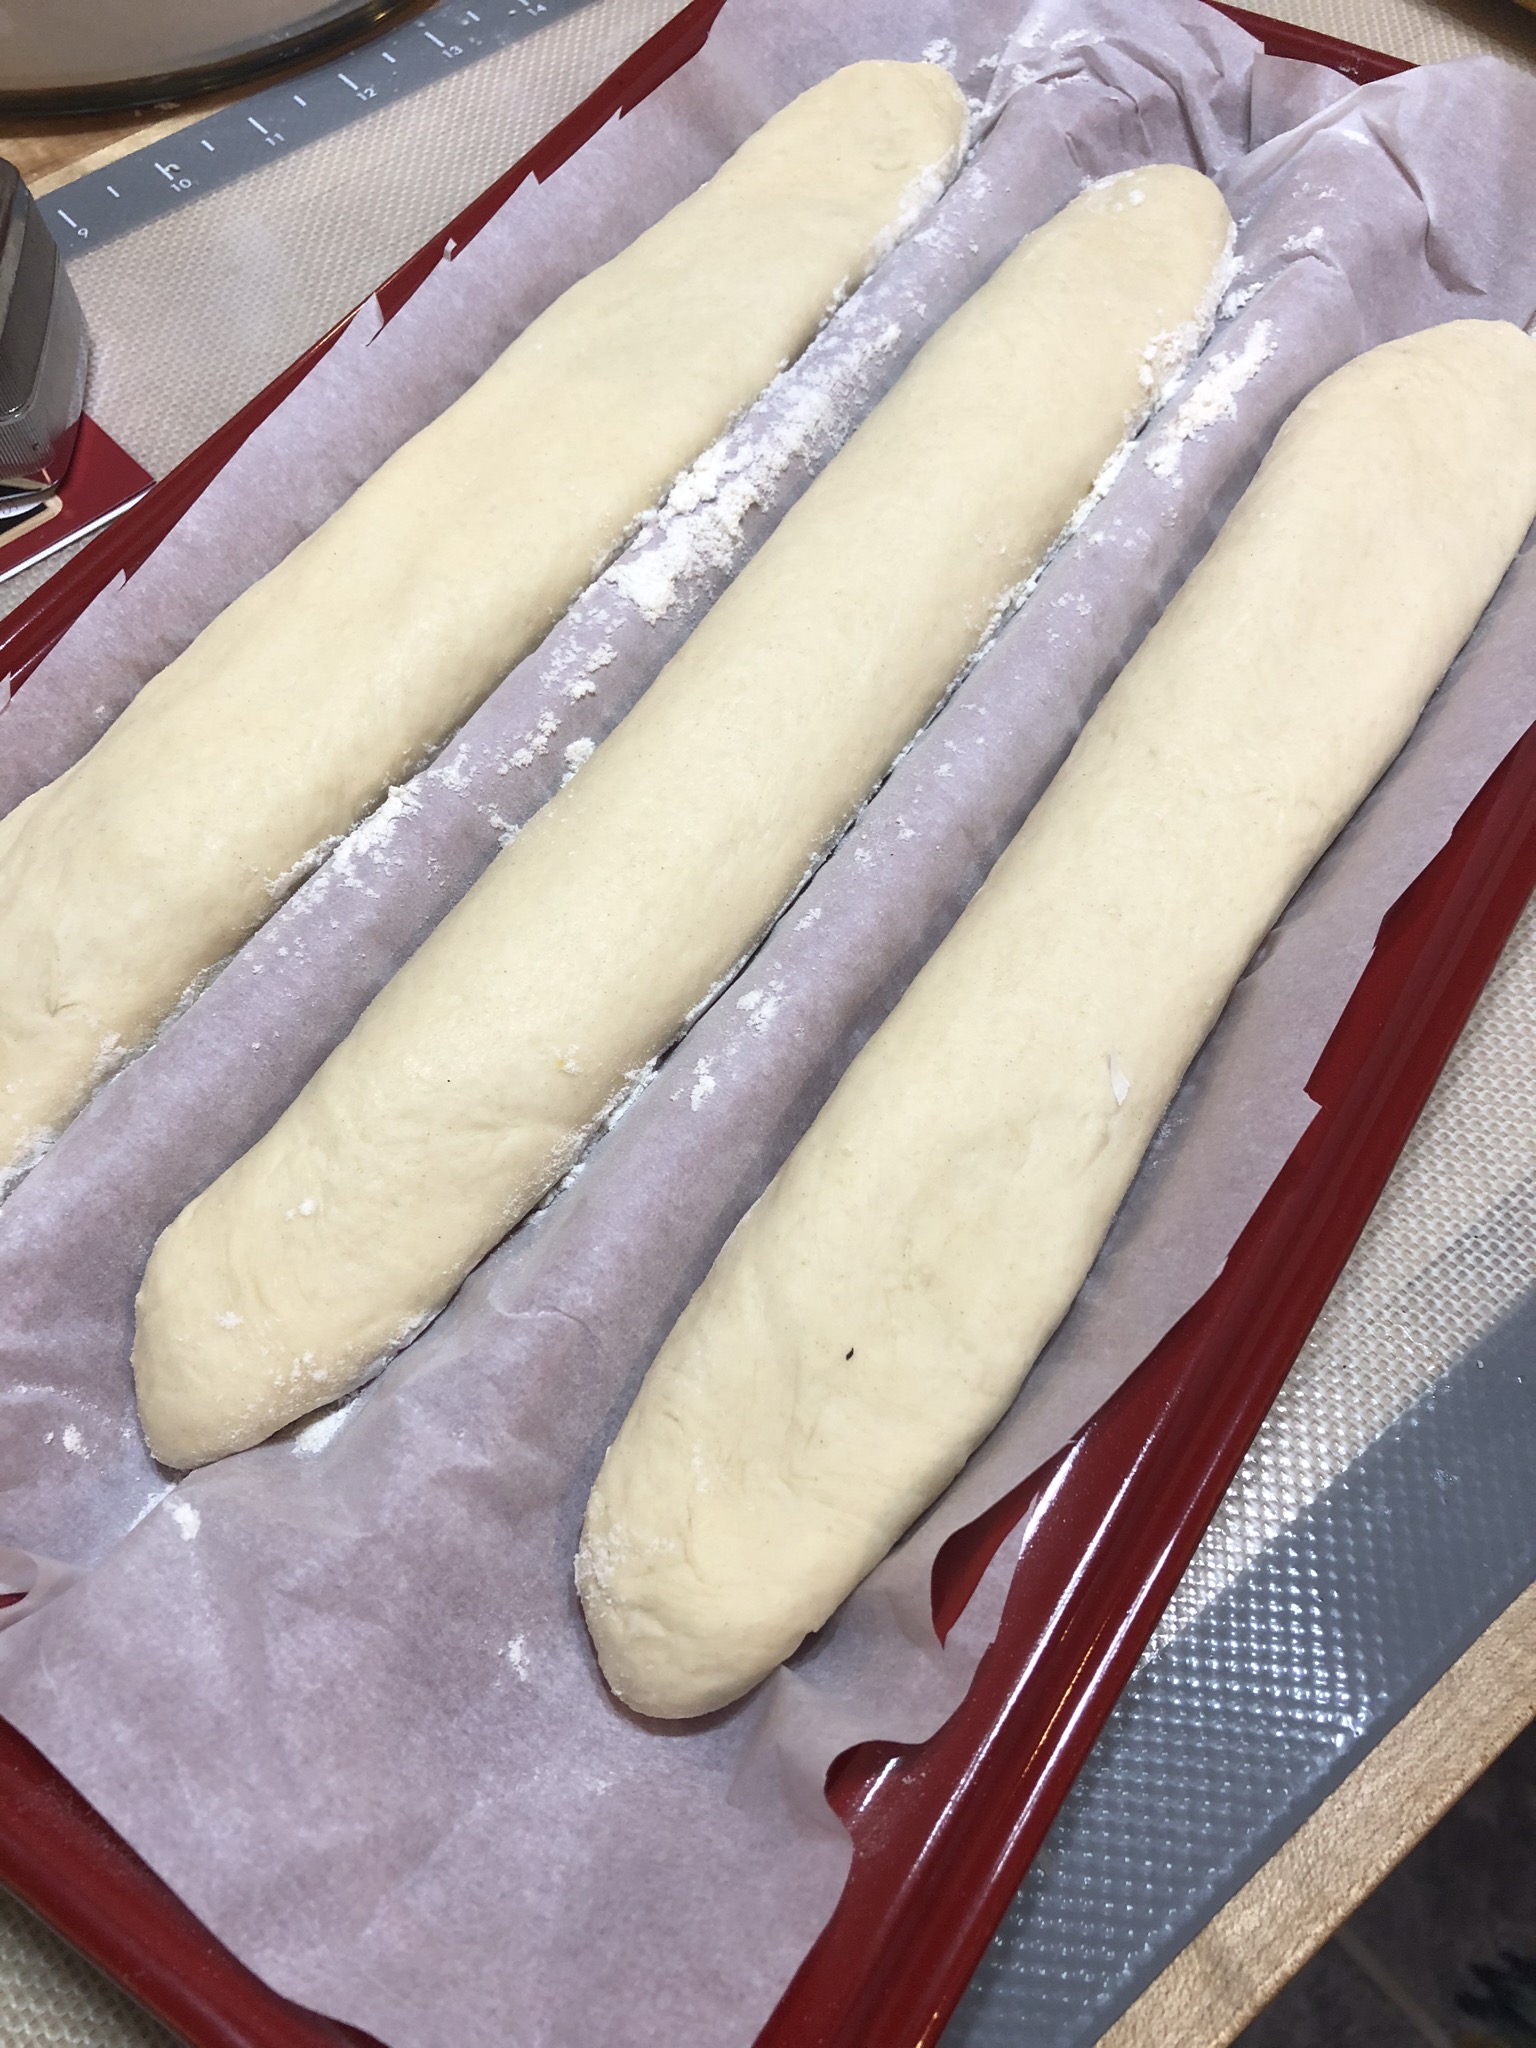
I belong to a Facebook group called Finnish Cooking, and there were so many people posting pictures of this beautiful bread during the holidays, I felt compelled to try making it myself. I found a recipe on the site, however the recipe was written in Finnish. My first challenge. My Finnish vocabulary is limited . I know that muna is egg, voita is butter, and maito is milk. Much beyond that and I am guessing, a particularly bad idea when you’re baking. I have a friend that figured out how to get a copy of the recipe translated to English which was extremely helpful. The remaining challenges were measurements and my daughter helped me with the conversions. The first time I made this I think that a few things were lost in the translations and the bread over baked and was dry. Today I reviewed the recipe and compared it to my pulla recipe and my cinnamon roll recipe and made some modifications going in. The dough felt much better and the end result was much more eye appealing. And best of all, the bread is moist and tastes wonderful, especially fresh out of the oven.
This bread has the distinct taste and aroma of cardamom. There is cardamom in the dough and in the filling. While it was in the oven, the aroma was reminiscent of my grandmother’s kitchen when she was baking her cardamom bread. We all loved that bread. It made wonderful toast or French toast and was great dunked in your coffee with a good smear of butter. It just evokes the best memories.
The ingredients listed below reflect my modification of the original recipe.
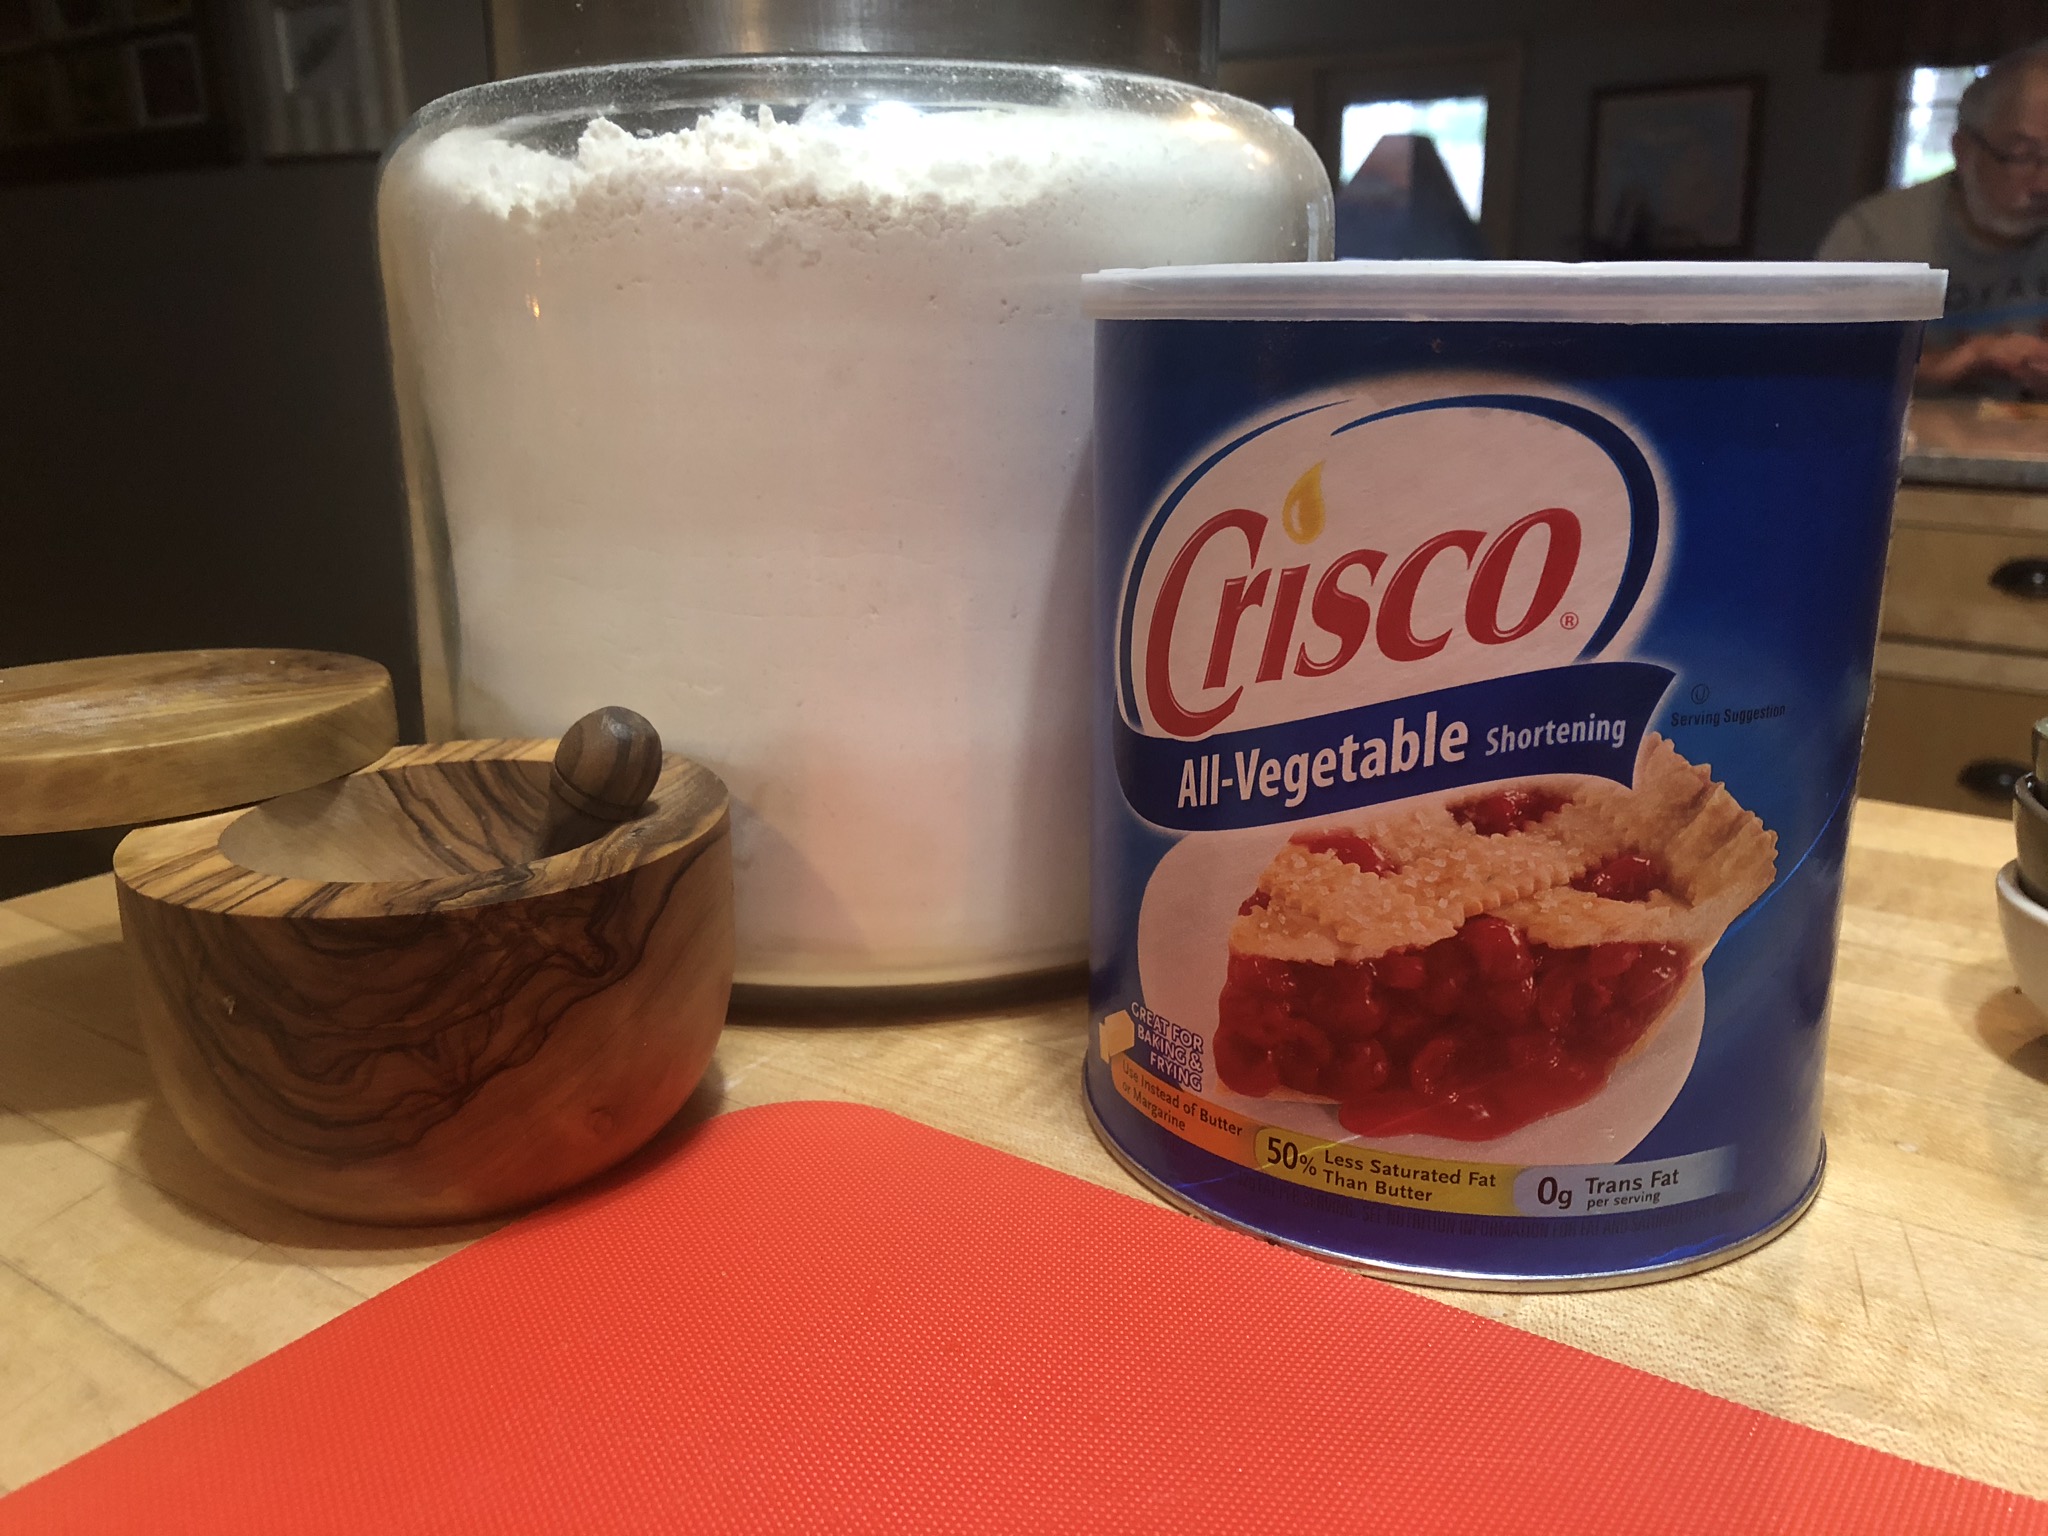
Ingredients:
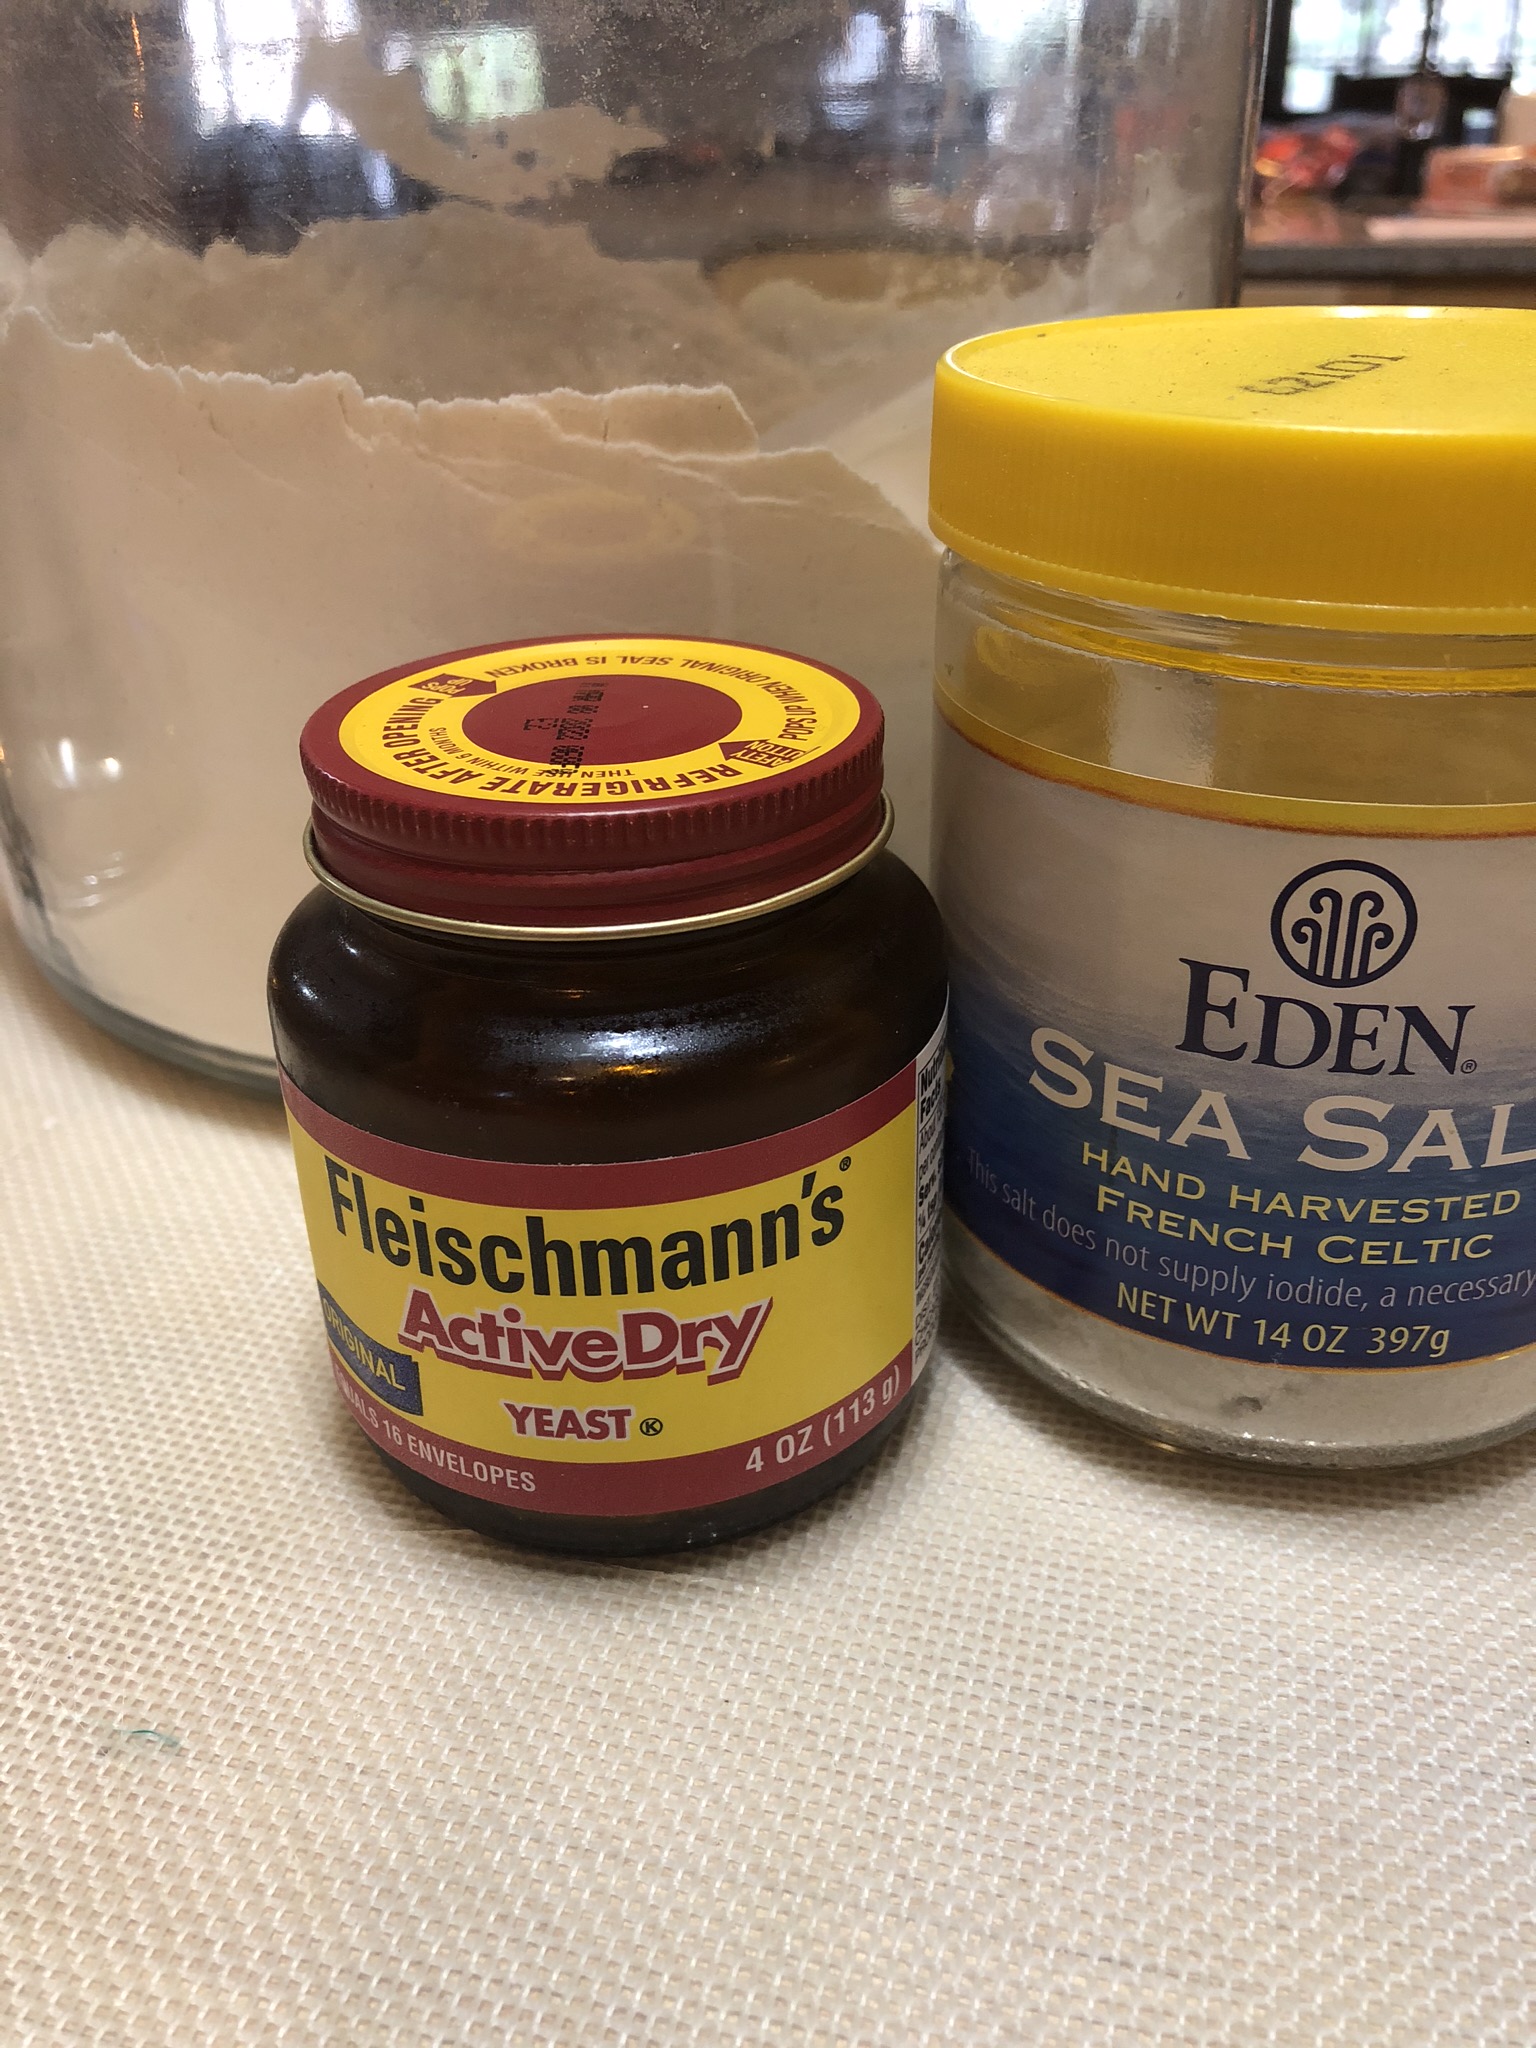
2 1/4 tsp dry yeast
4 T sugar
4 T melted butter
3/4 cup whole milk
1/2 cup buttermilk
1 tsp cardamom
1/2 tsp salt
1 egg
4 cups flour

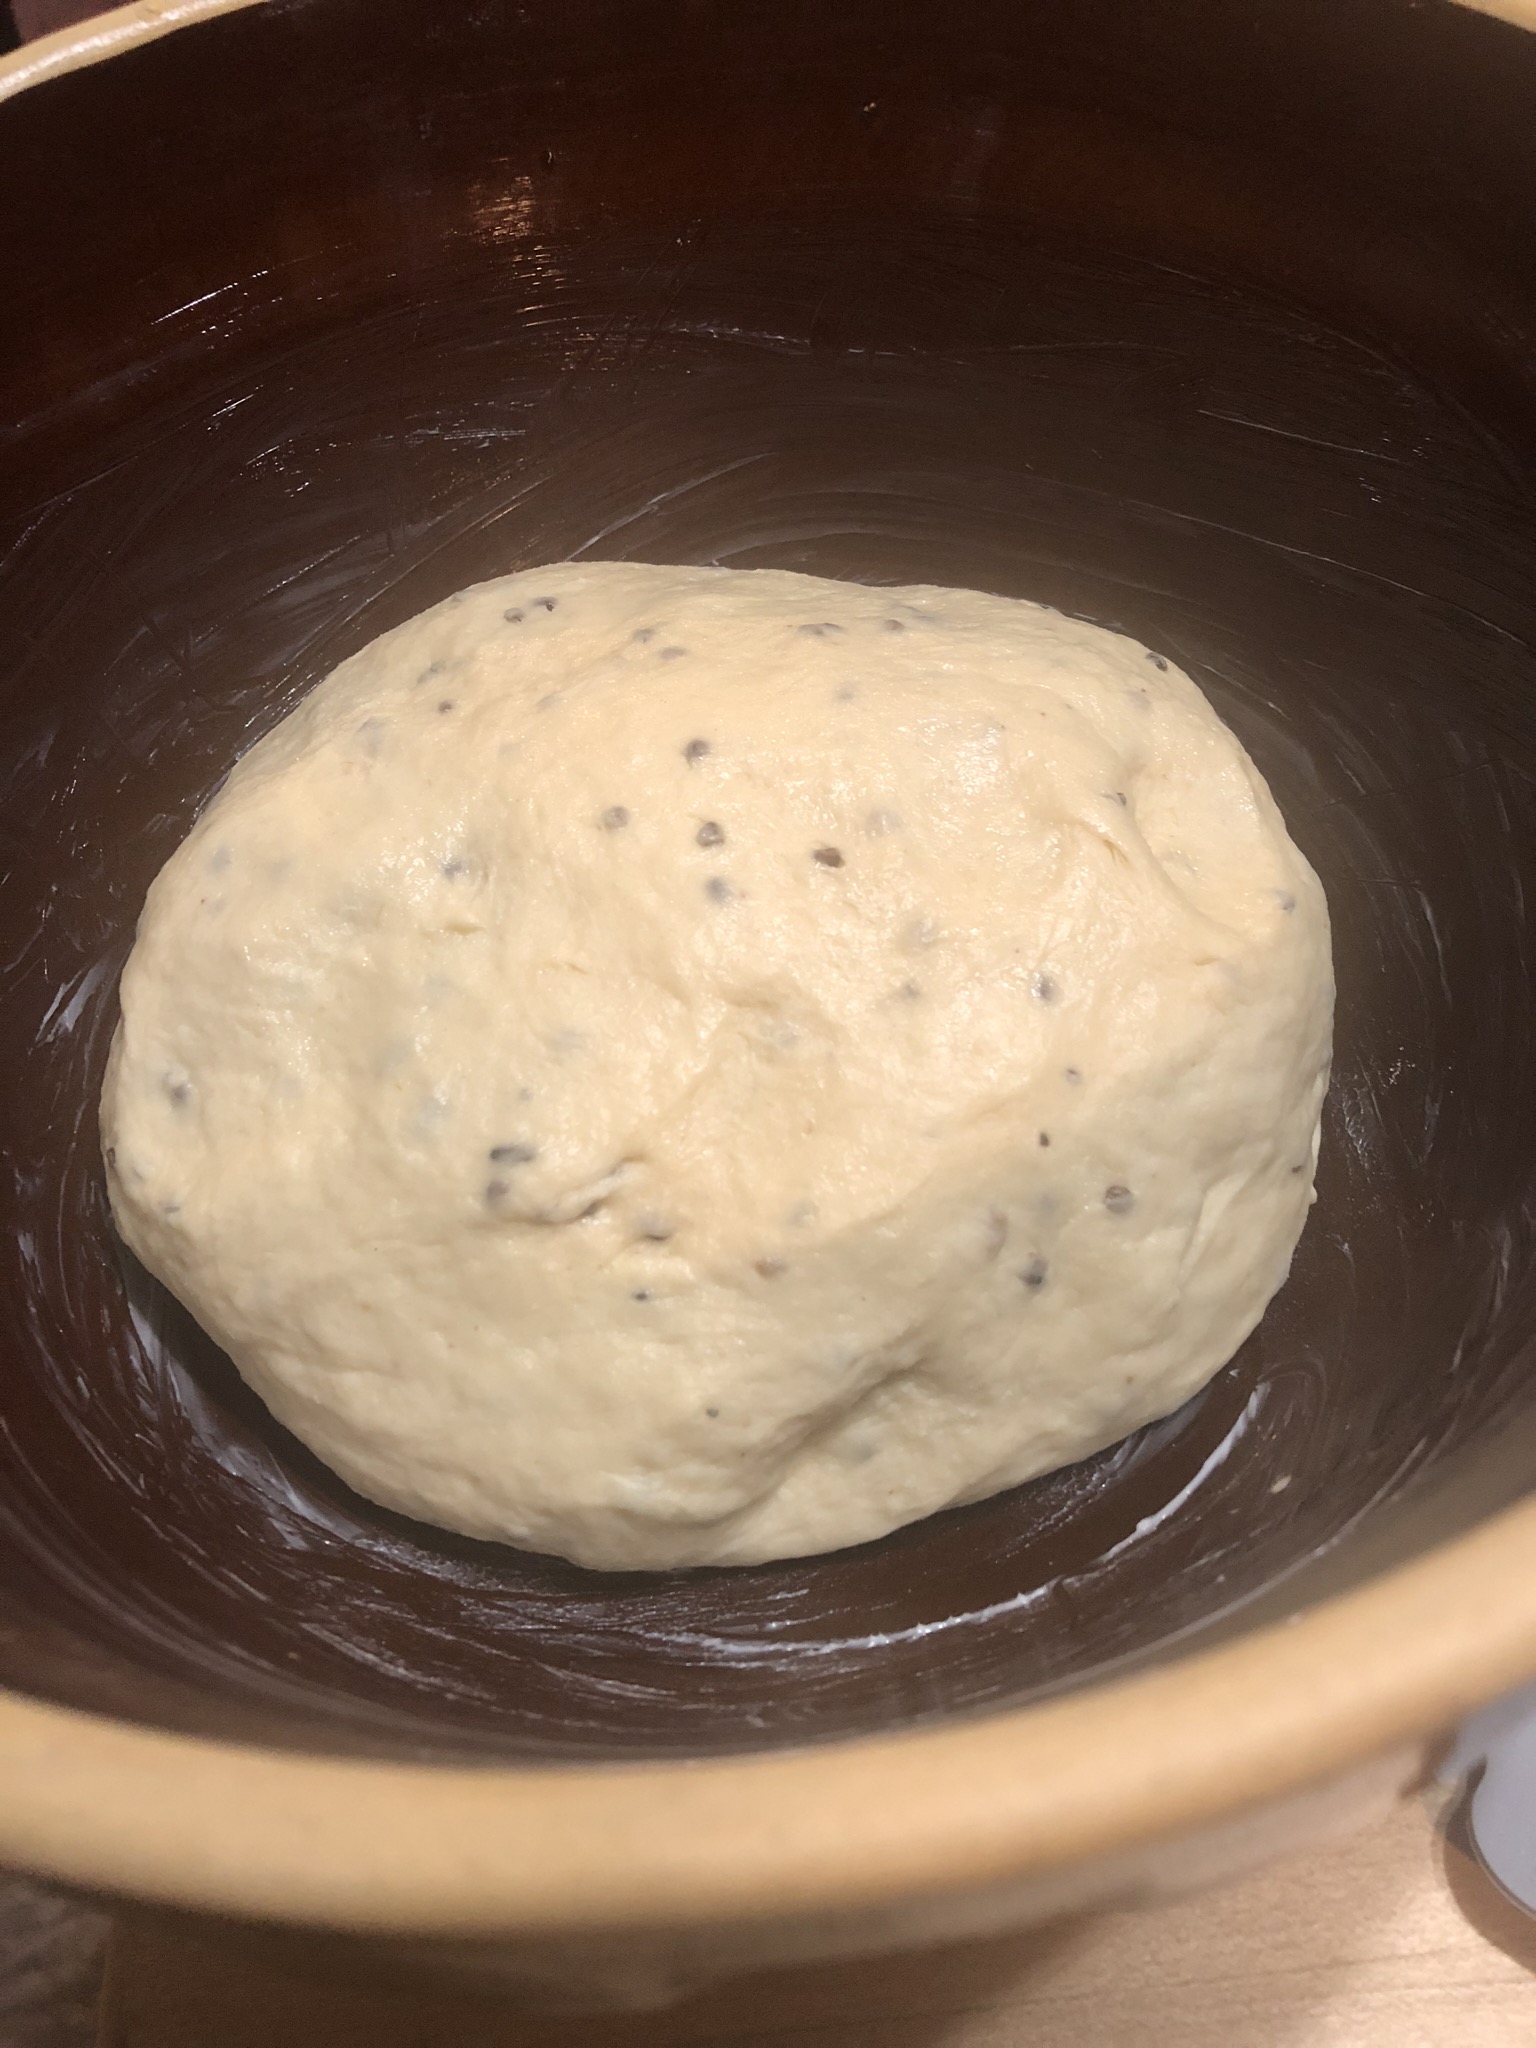
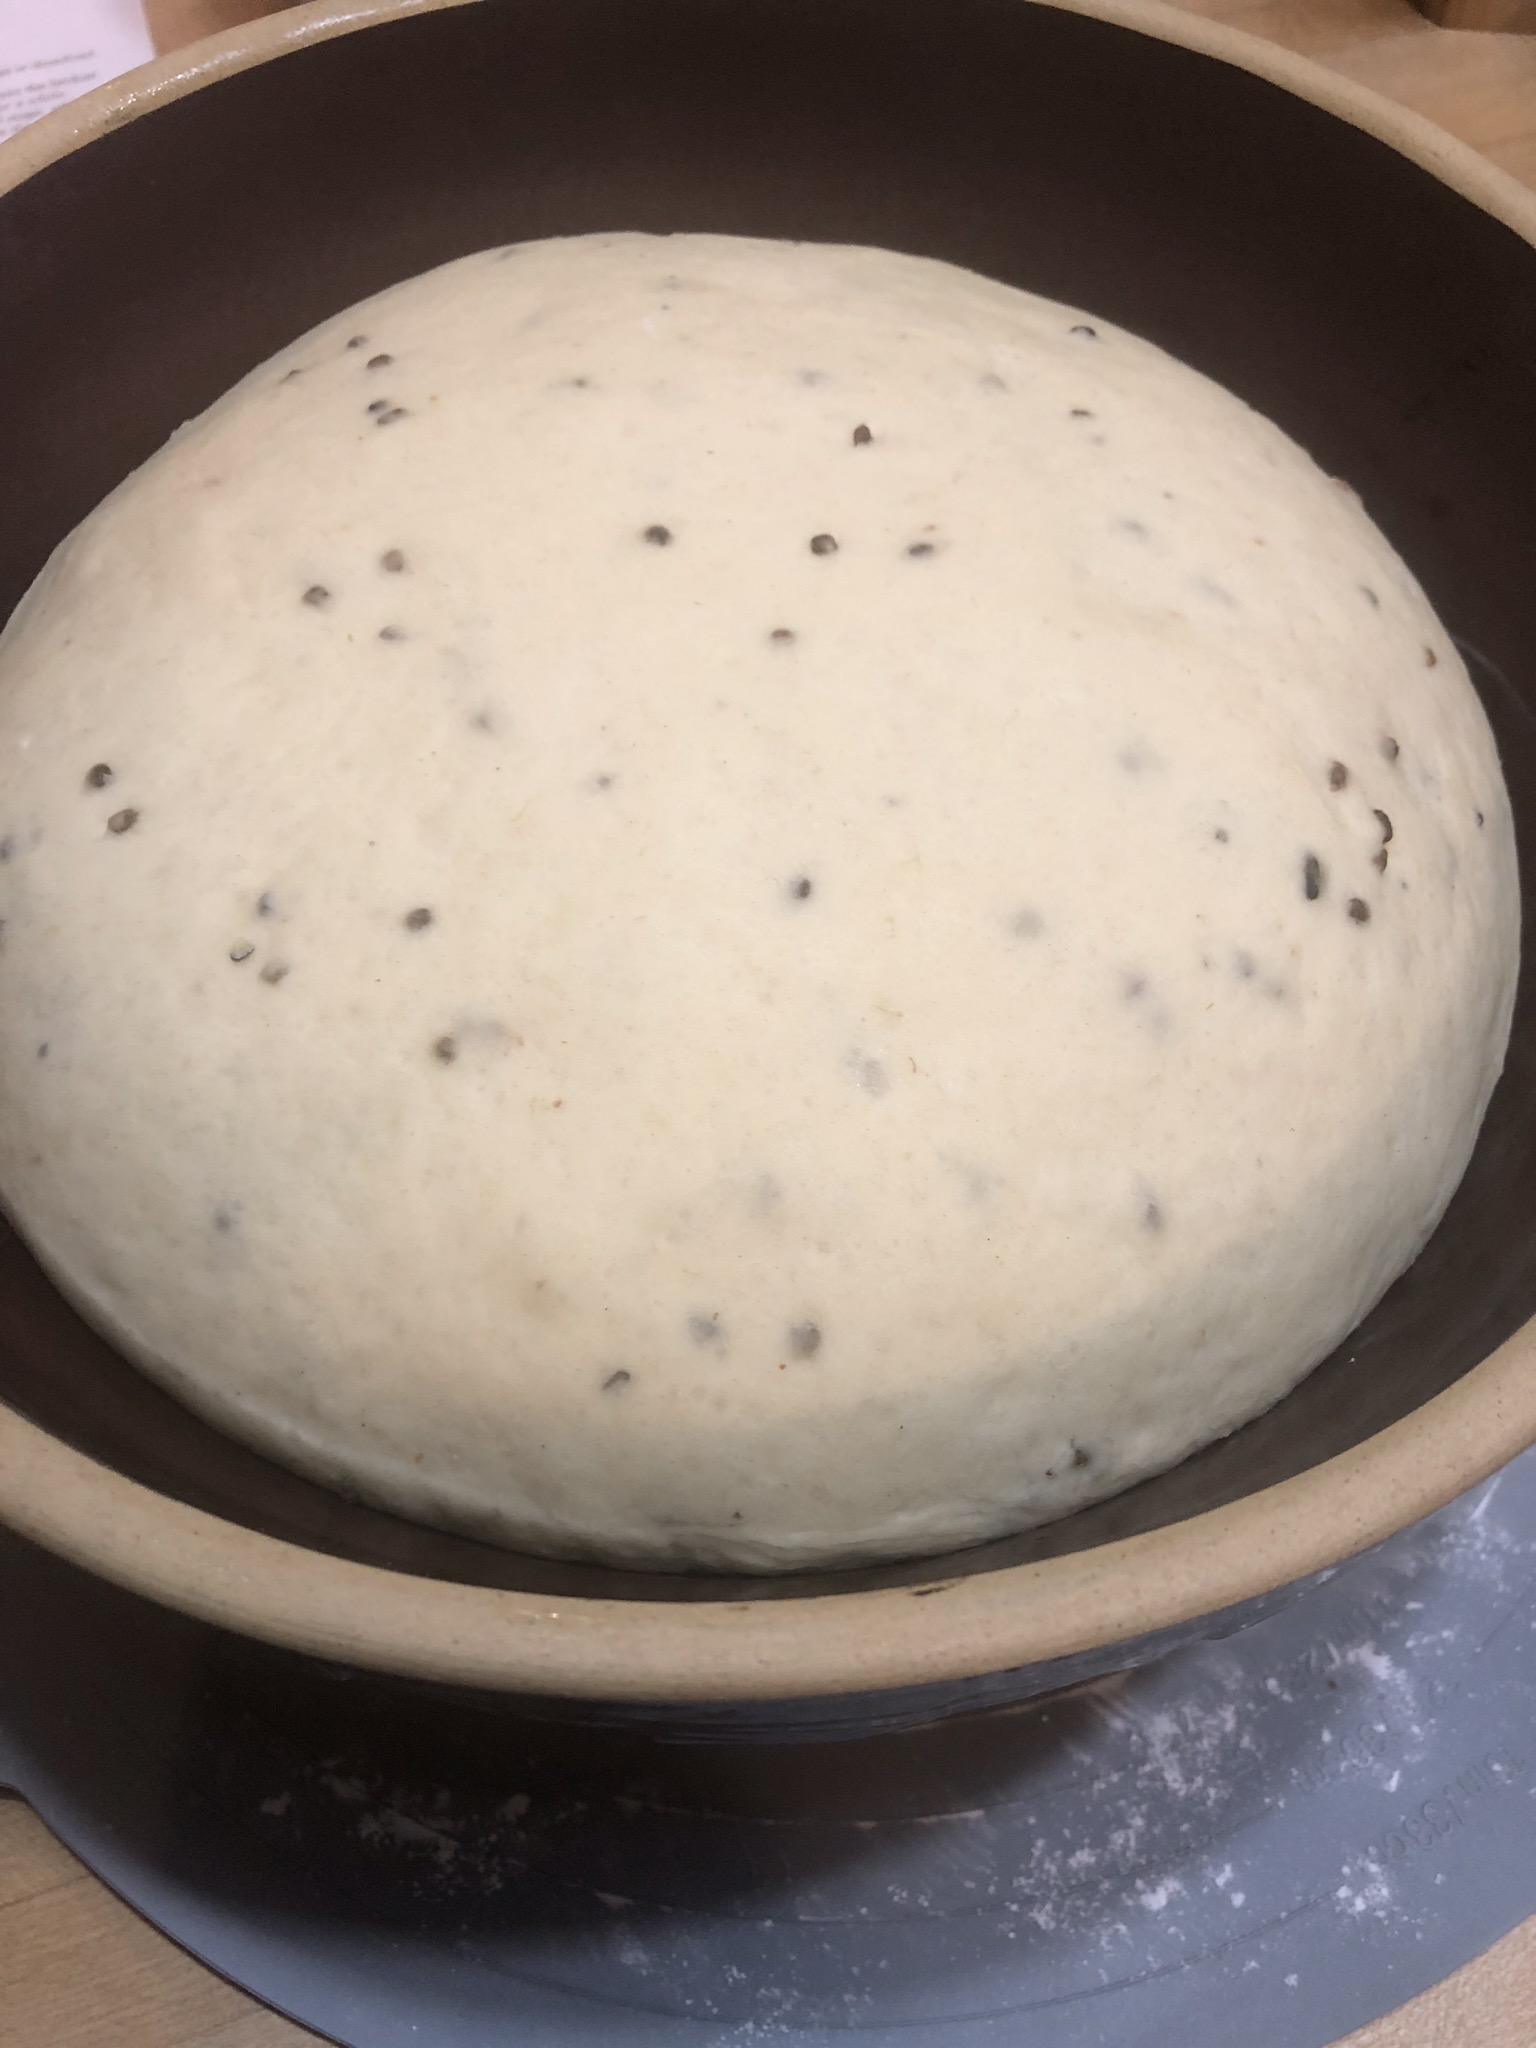
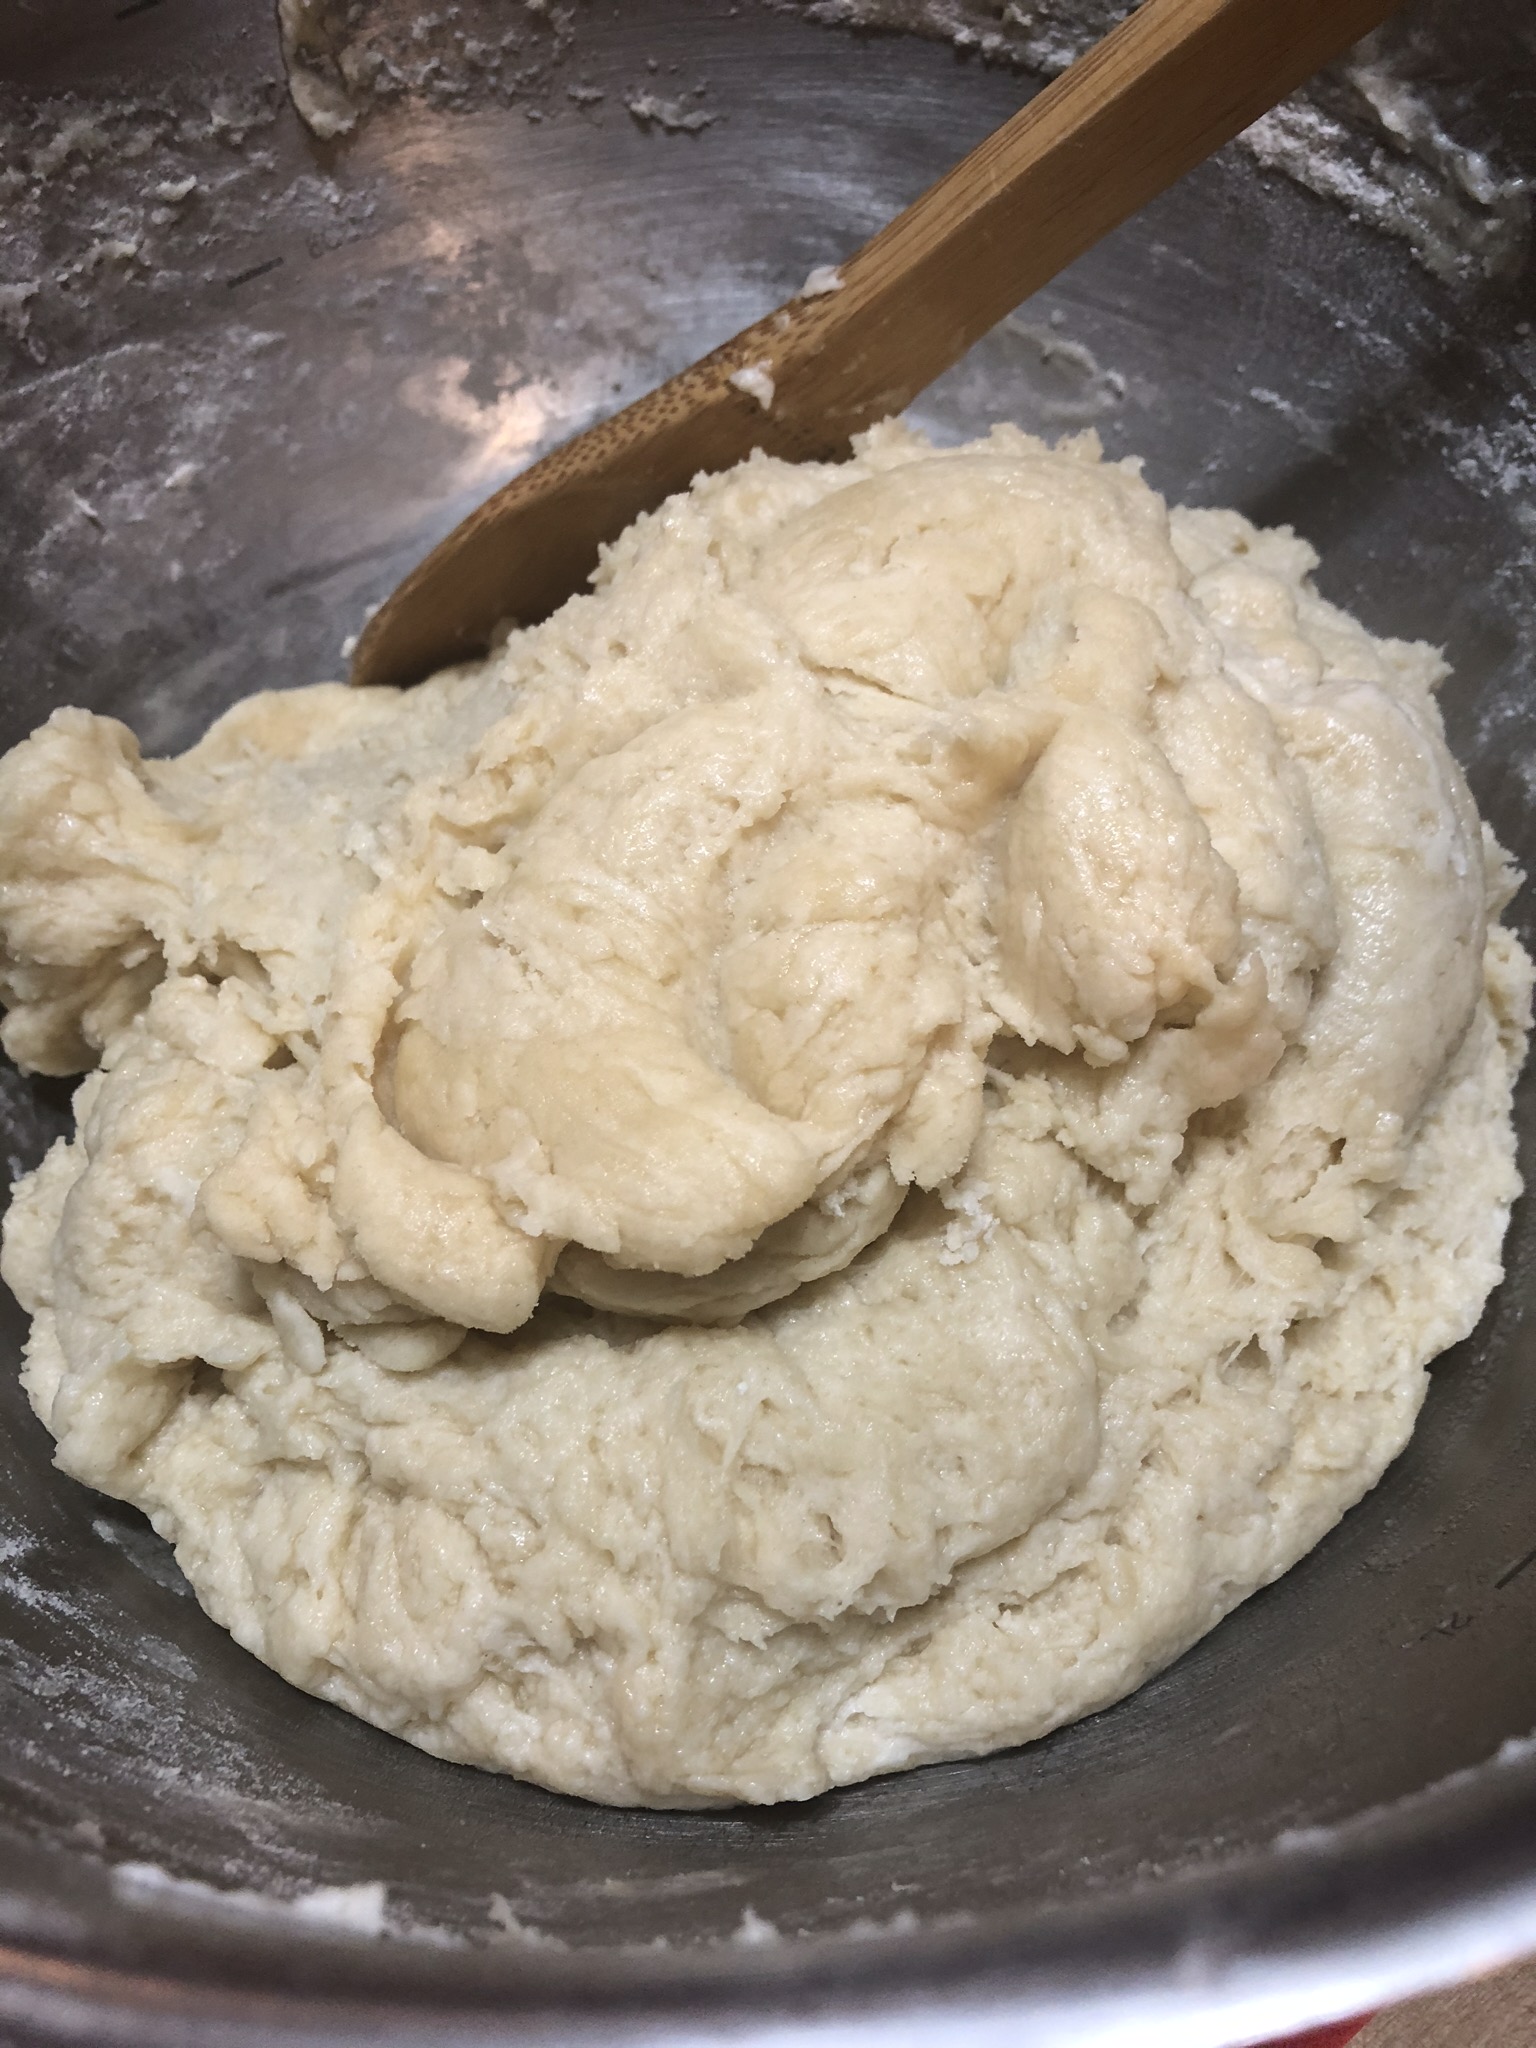
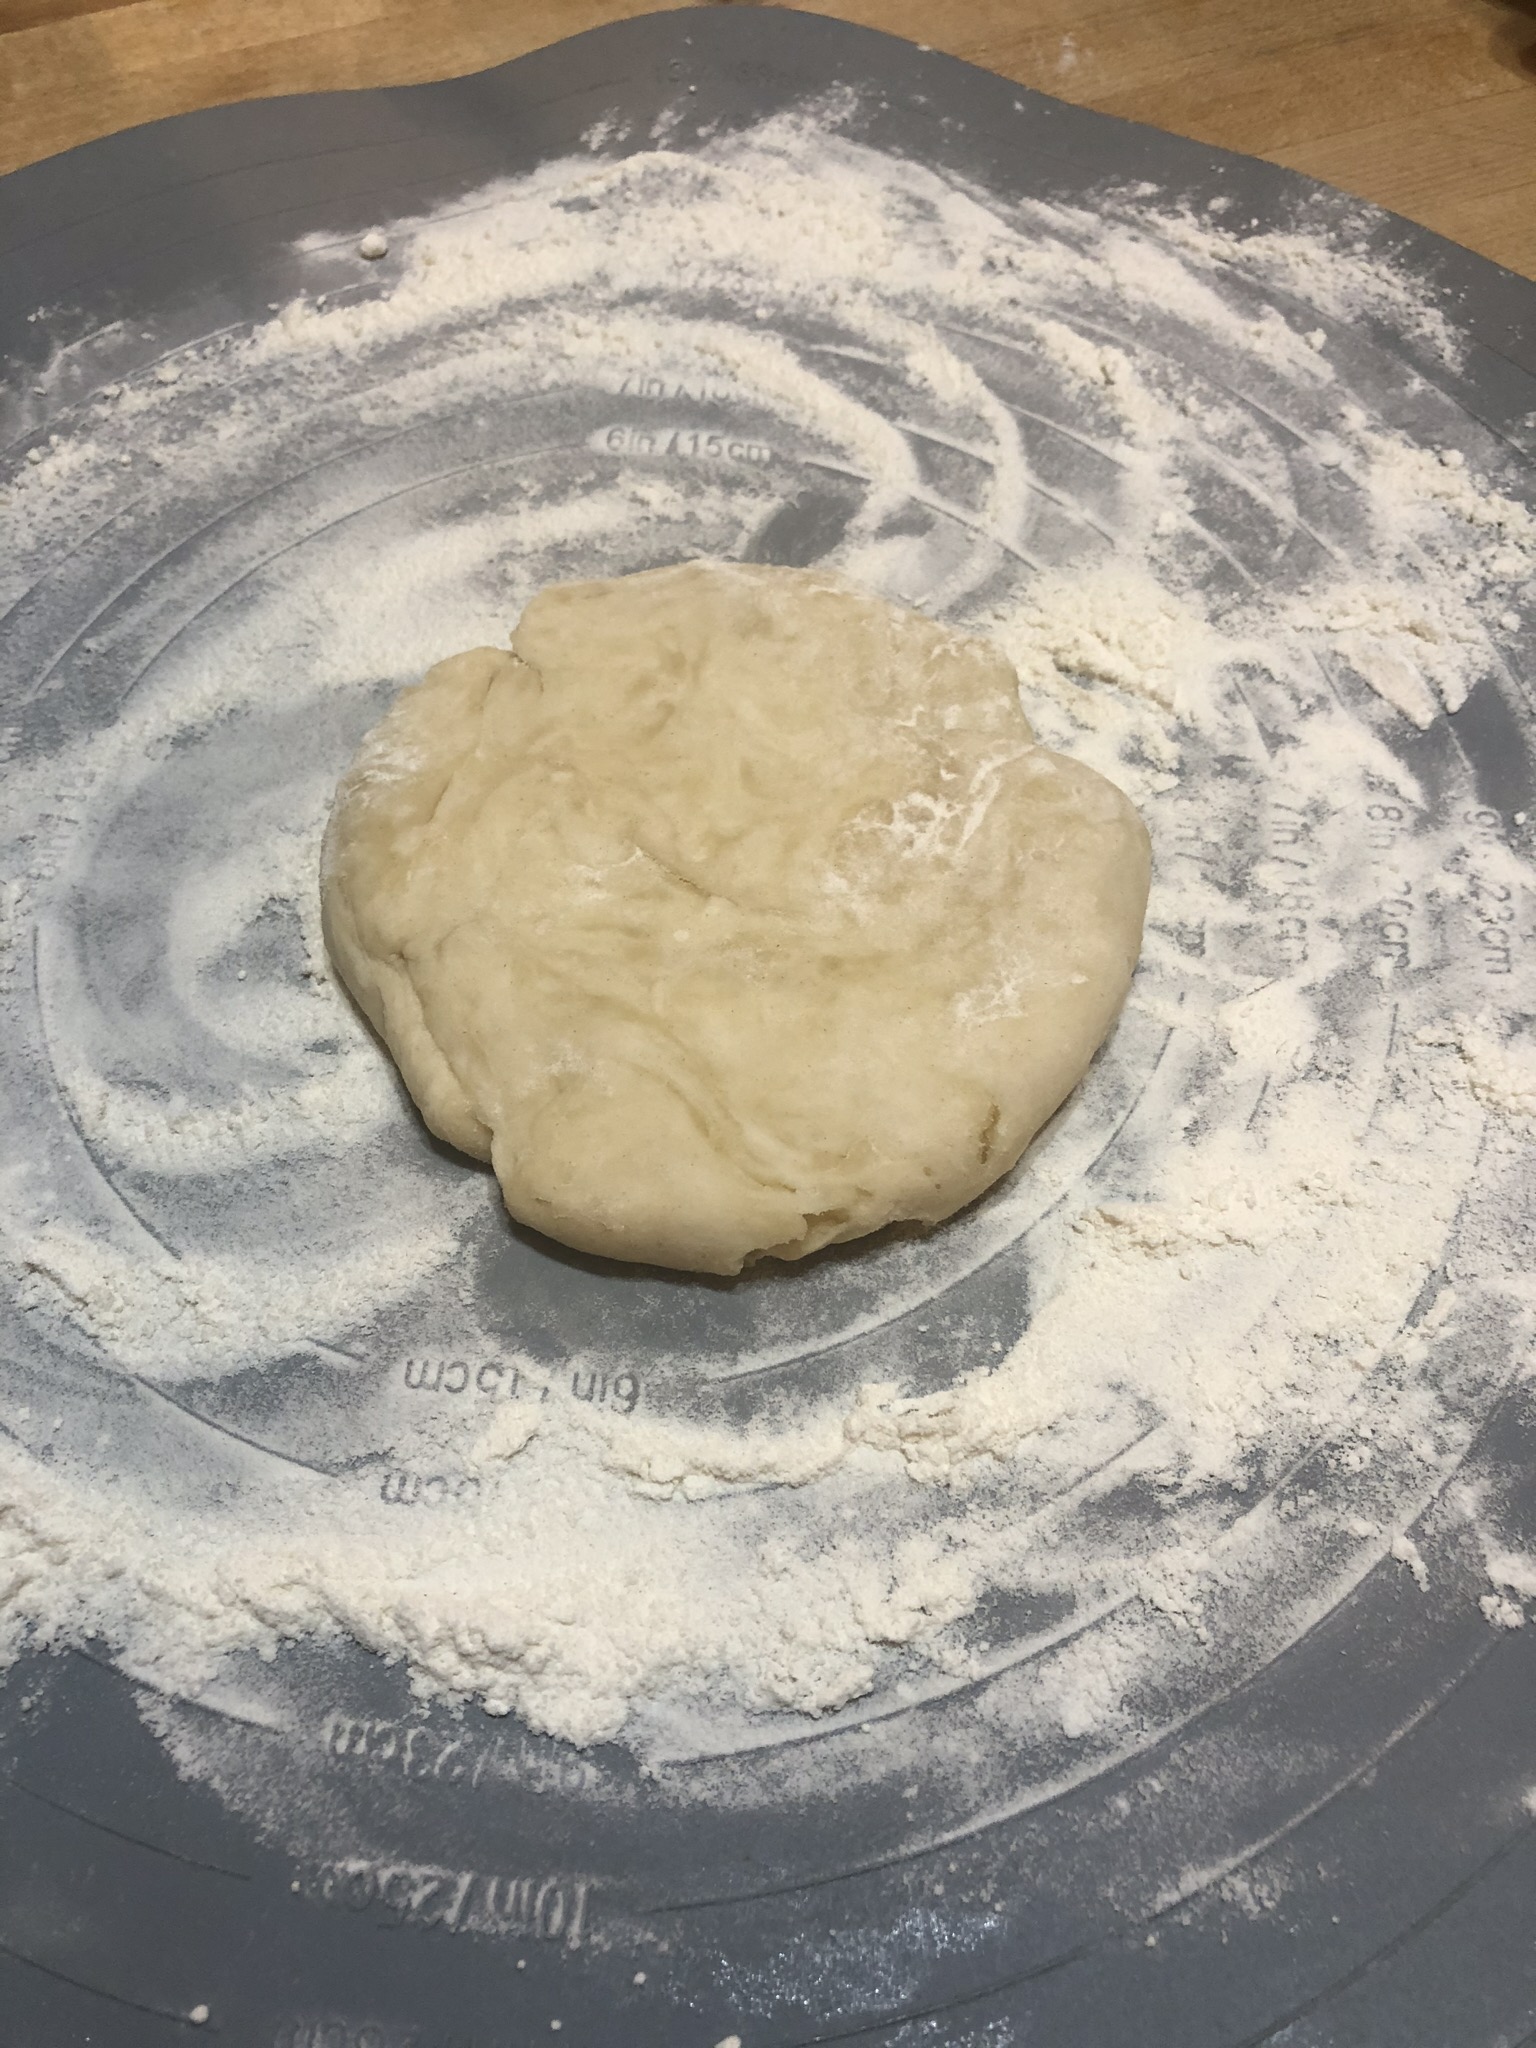
Combine the milk and buttermilk and warm to hand temperature. In a large mixing bowl combine yeast, melted butter, sugar, salt, egg, warm milk and cardamom along with 1 cup flour beating for a minute or two. Continue stirring, adding 1/2 cup of flour at a time. Turn the dough out onto a clean surface and knead until you have a soft smooth dough. About 8-10 minutes. If necessary add a little additional flour. You can also do this in a stand mixer using a dough hook, but I like kneading dough by hand. Put the dough in a lightly greased bowl covered with a clean kitchen towel. Allow to rise until it is double in size, 1 hour or so depending on how warm your kitchen is.
I like to use my grandmother’s bread bowls because I believe there is still some of her magic in those bowls. While your bread is rising you can make your filling. The original recipe called for hazelnuts but I used pecans. Pecans are one of my favorites for baking and hazelnuts are sometimes difficult to find.
Filling Ingredients:
5 T melted butter
3 oz sugar
1 T gingerbread seasoning
1 1/2 tsp cinnamon
1 tsp ground cardamom
3.5 oz ground pecans
Combine all of the filling ingredients and set aside.
Preheat your oven to 380 degrees and line a baking sheet with a piece of parchment paper. Once the dough has risen punch it down, and dump it onto your baking mat. Divide the dough into four equal parts. I weighed mine and tried to keep the discs equal in size. Roll out your first disc of dough into about a 9-10 inch circle. Put the dough on the prepared baking pan and spread 1/3 of the filling on it.

Continue rolling, stacking, and spreading the filling until you have used all of the dough. Place a circular mold of some kind on the top center of the circle. Using a sharp knife cut into 4 quarters and cut each quarter into 3 wedges taking care not to cut past the mold in the center.

You should have a total of 16 cuts. Taking 2 claws at a time twist them outward 2 or 3 turns and pinch and bottom edges together. Repeat all the way around.

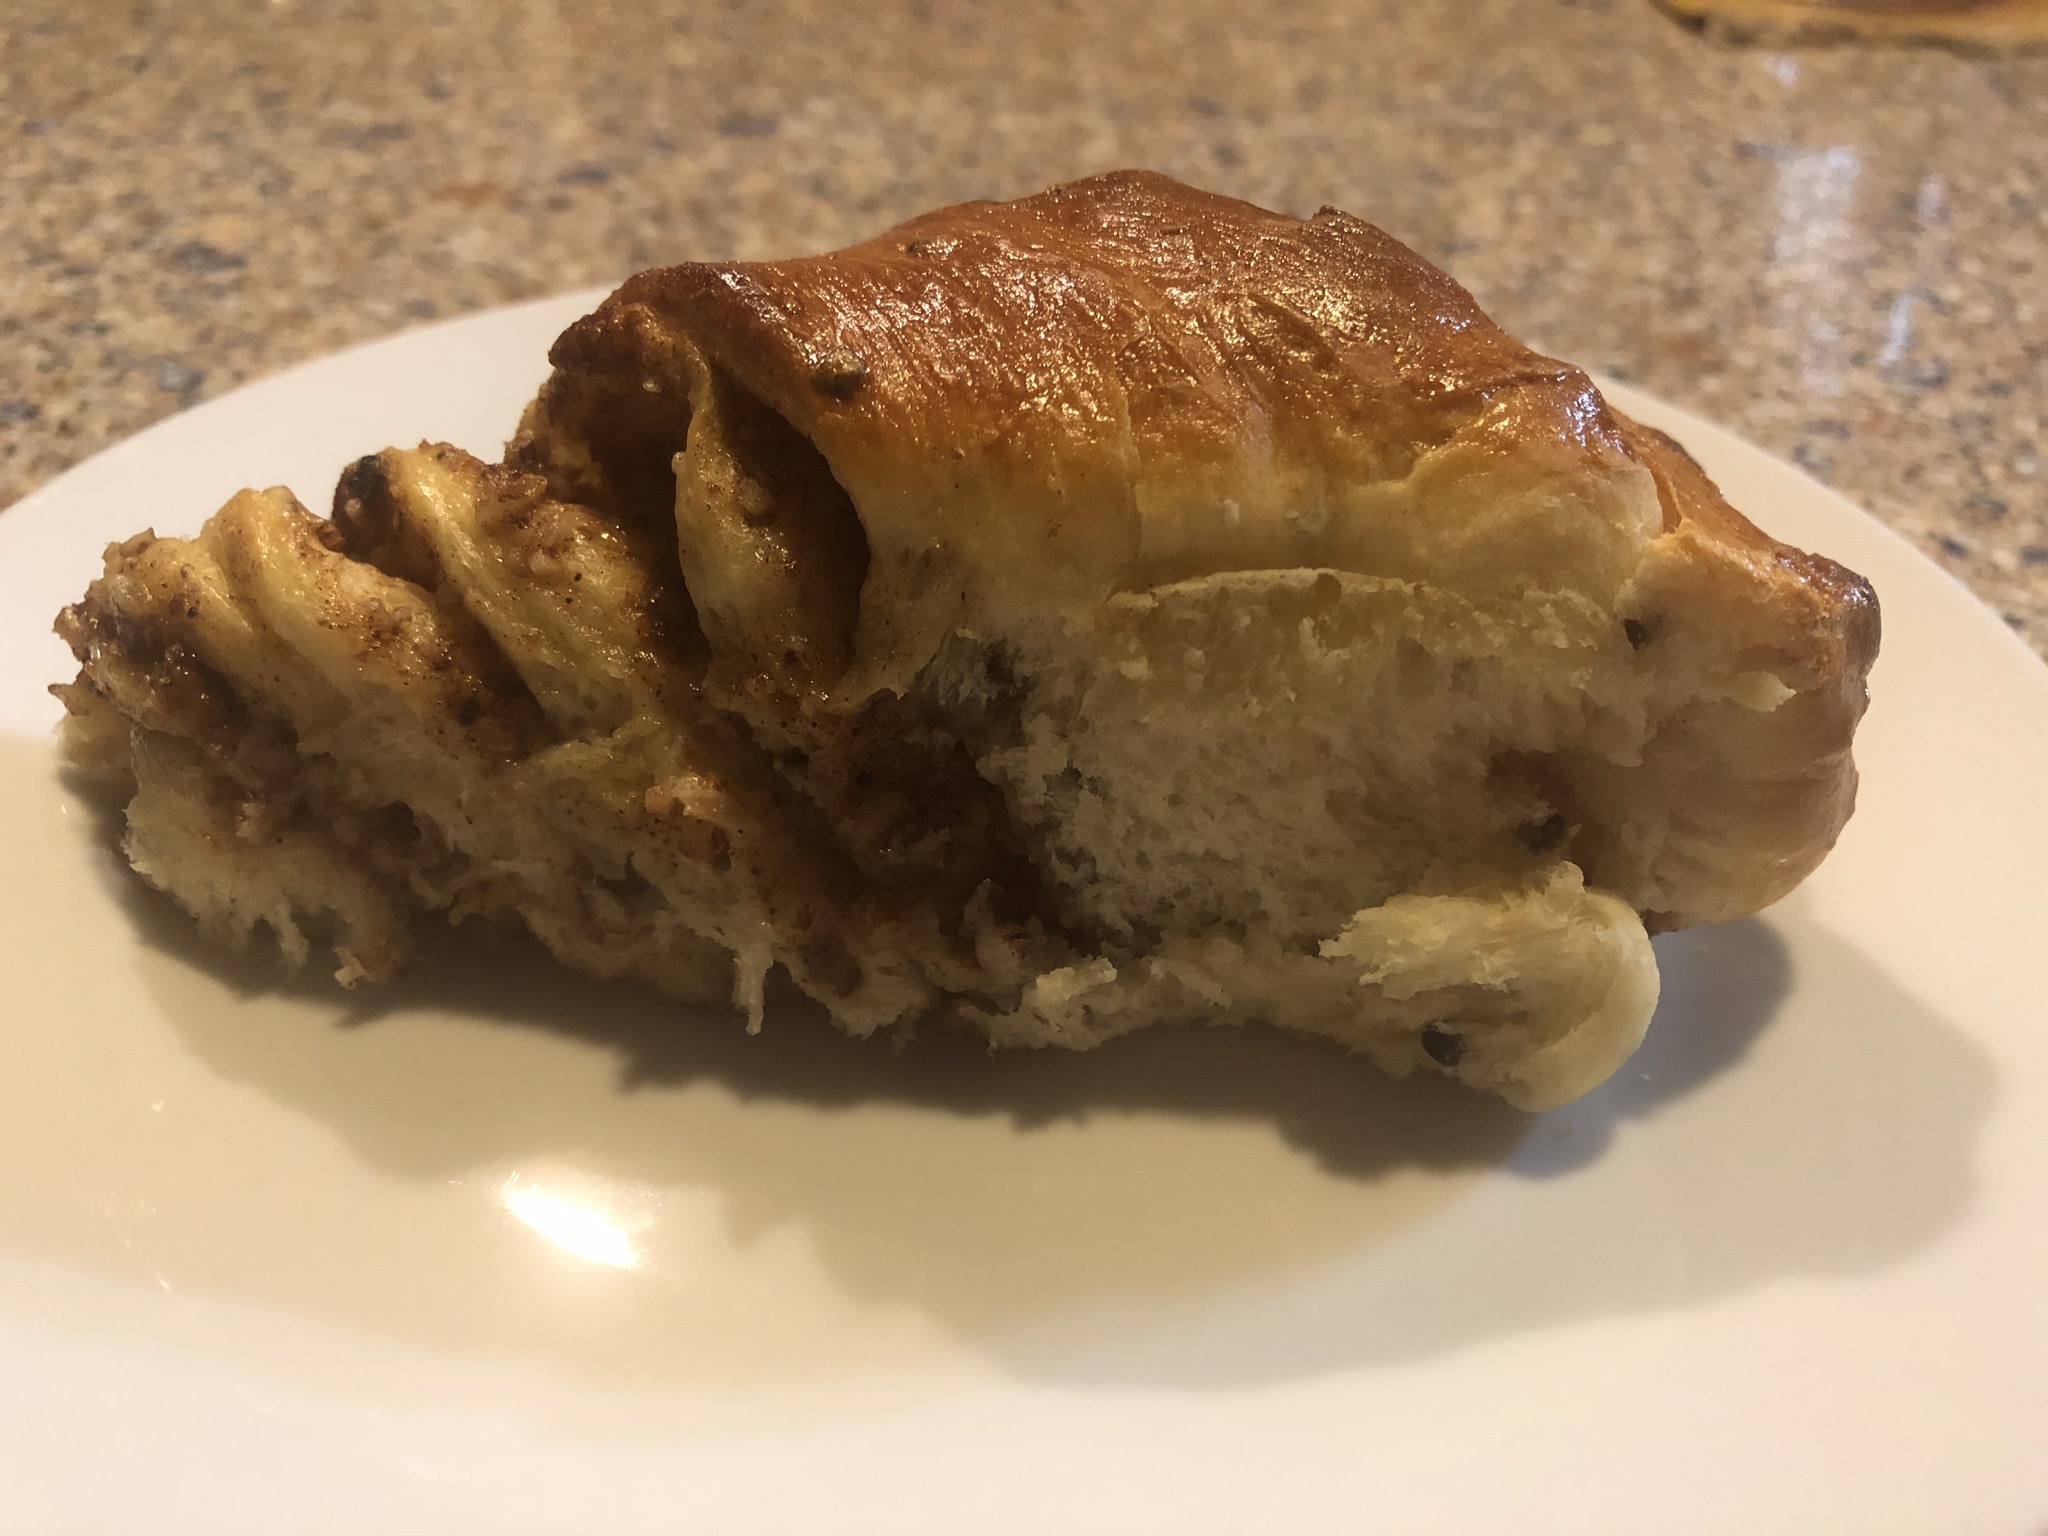
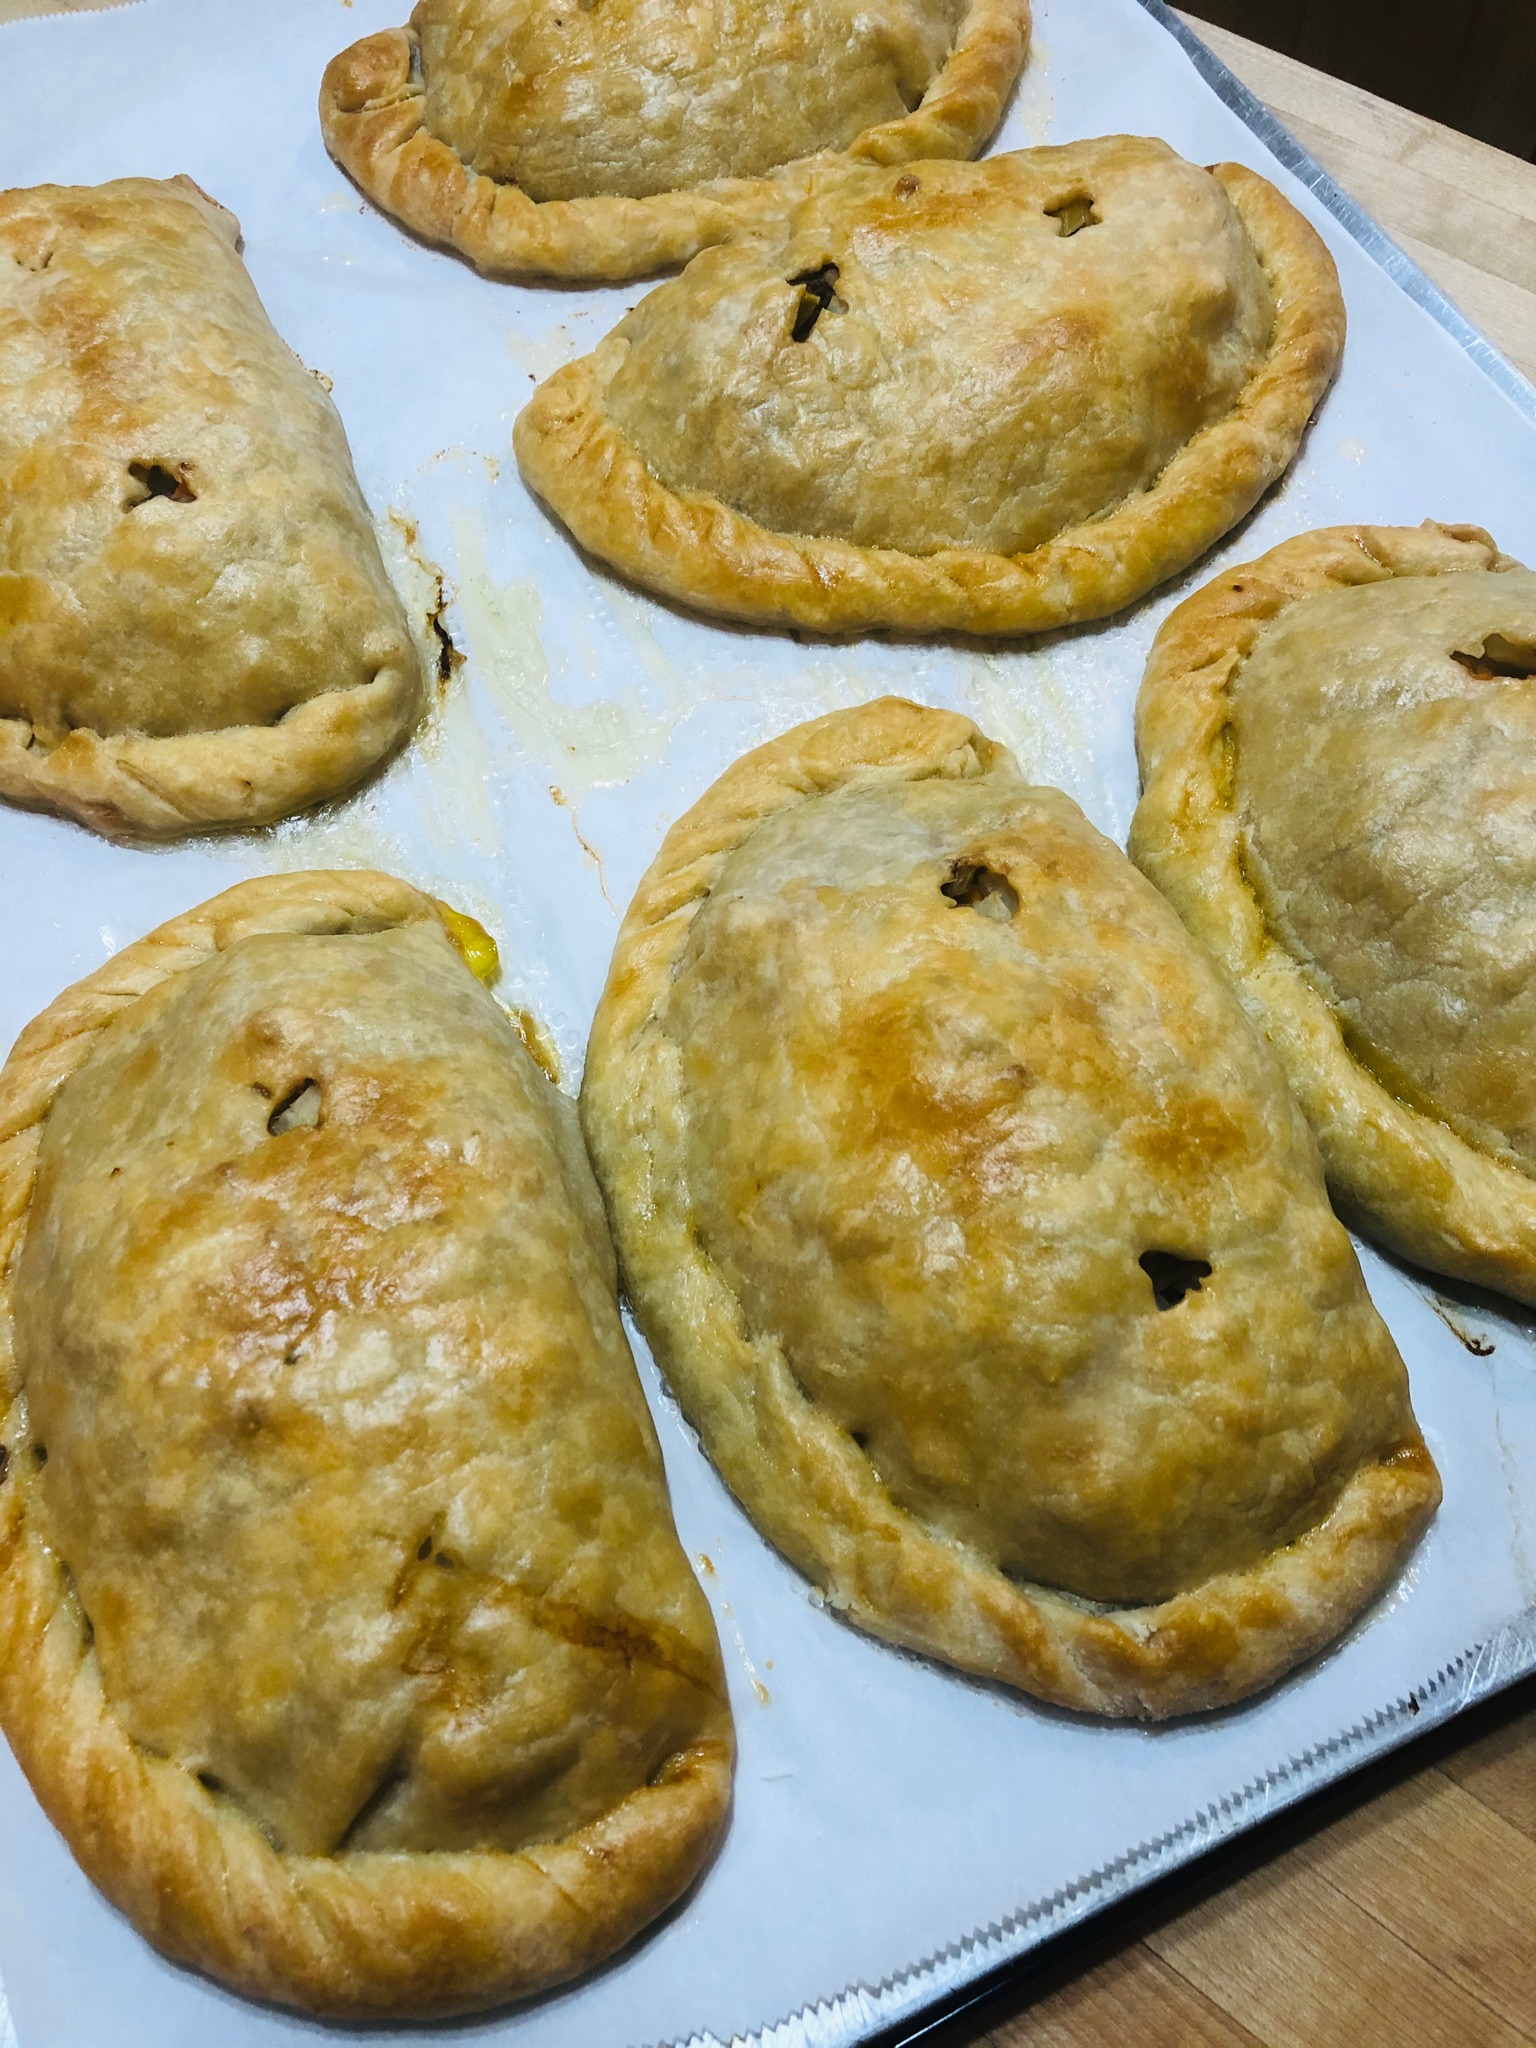
Cover the bread with your kitchen towel and allow it to rise for 20-30 minutes. Brush the bread with an egg wash and sprinkle a few chopped nuts in the center. Bake for 15 minutes. Remove to a cooling rack. The bread tears easily into individual servings. Enjoy!!
NOTE: I did not have gingerbread spice so I had to make my own. 2 T allspice, 2 T cinnamon, 2 T ginger, 1 T cloves, 1 T nutmeg, and a pinch of fresh ground black pepper.
The first time I made this I over-baked it. Each oven is different, but be careful not to leave it in too long.
Note to self, I need to brush up on my Finnish.


You must be logged in to post a comment.