
Boiled dinner is comfort food. It’s not glamorous or gourmet dining. It’s a dinner my grandmother used to make with pork chops or pork steaks. She probably didn’t put any vegetables or tomatoes in because my grandfather was a meat and potatoes kind of guy. I’m going to make our boiled dinner with Polish sausage. This dish is one of my dad’s favorites and I’m wishing he was here with us to enjoy it. A very simple dish to prepare in one pot. It’s a dish that is flexible and can accommodate to what’s in your fridge or what’s not in your fridge. I’ll give you the basics.
Ingredients:
2 T olive oil
1 medium head of cabbage
1 large onion
3 carrots
2 stalks of celery
5-6 redskin potatoes
3-4 cloves of garlic minced
2 tsp caraway seeds
salt and pepper to taste
1 pound Polish sausage
1 pint stewed tomatoes
4 cups chicken broth

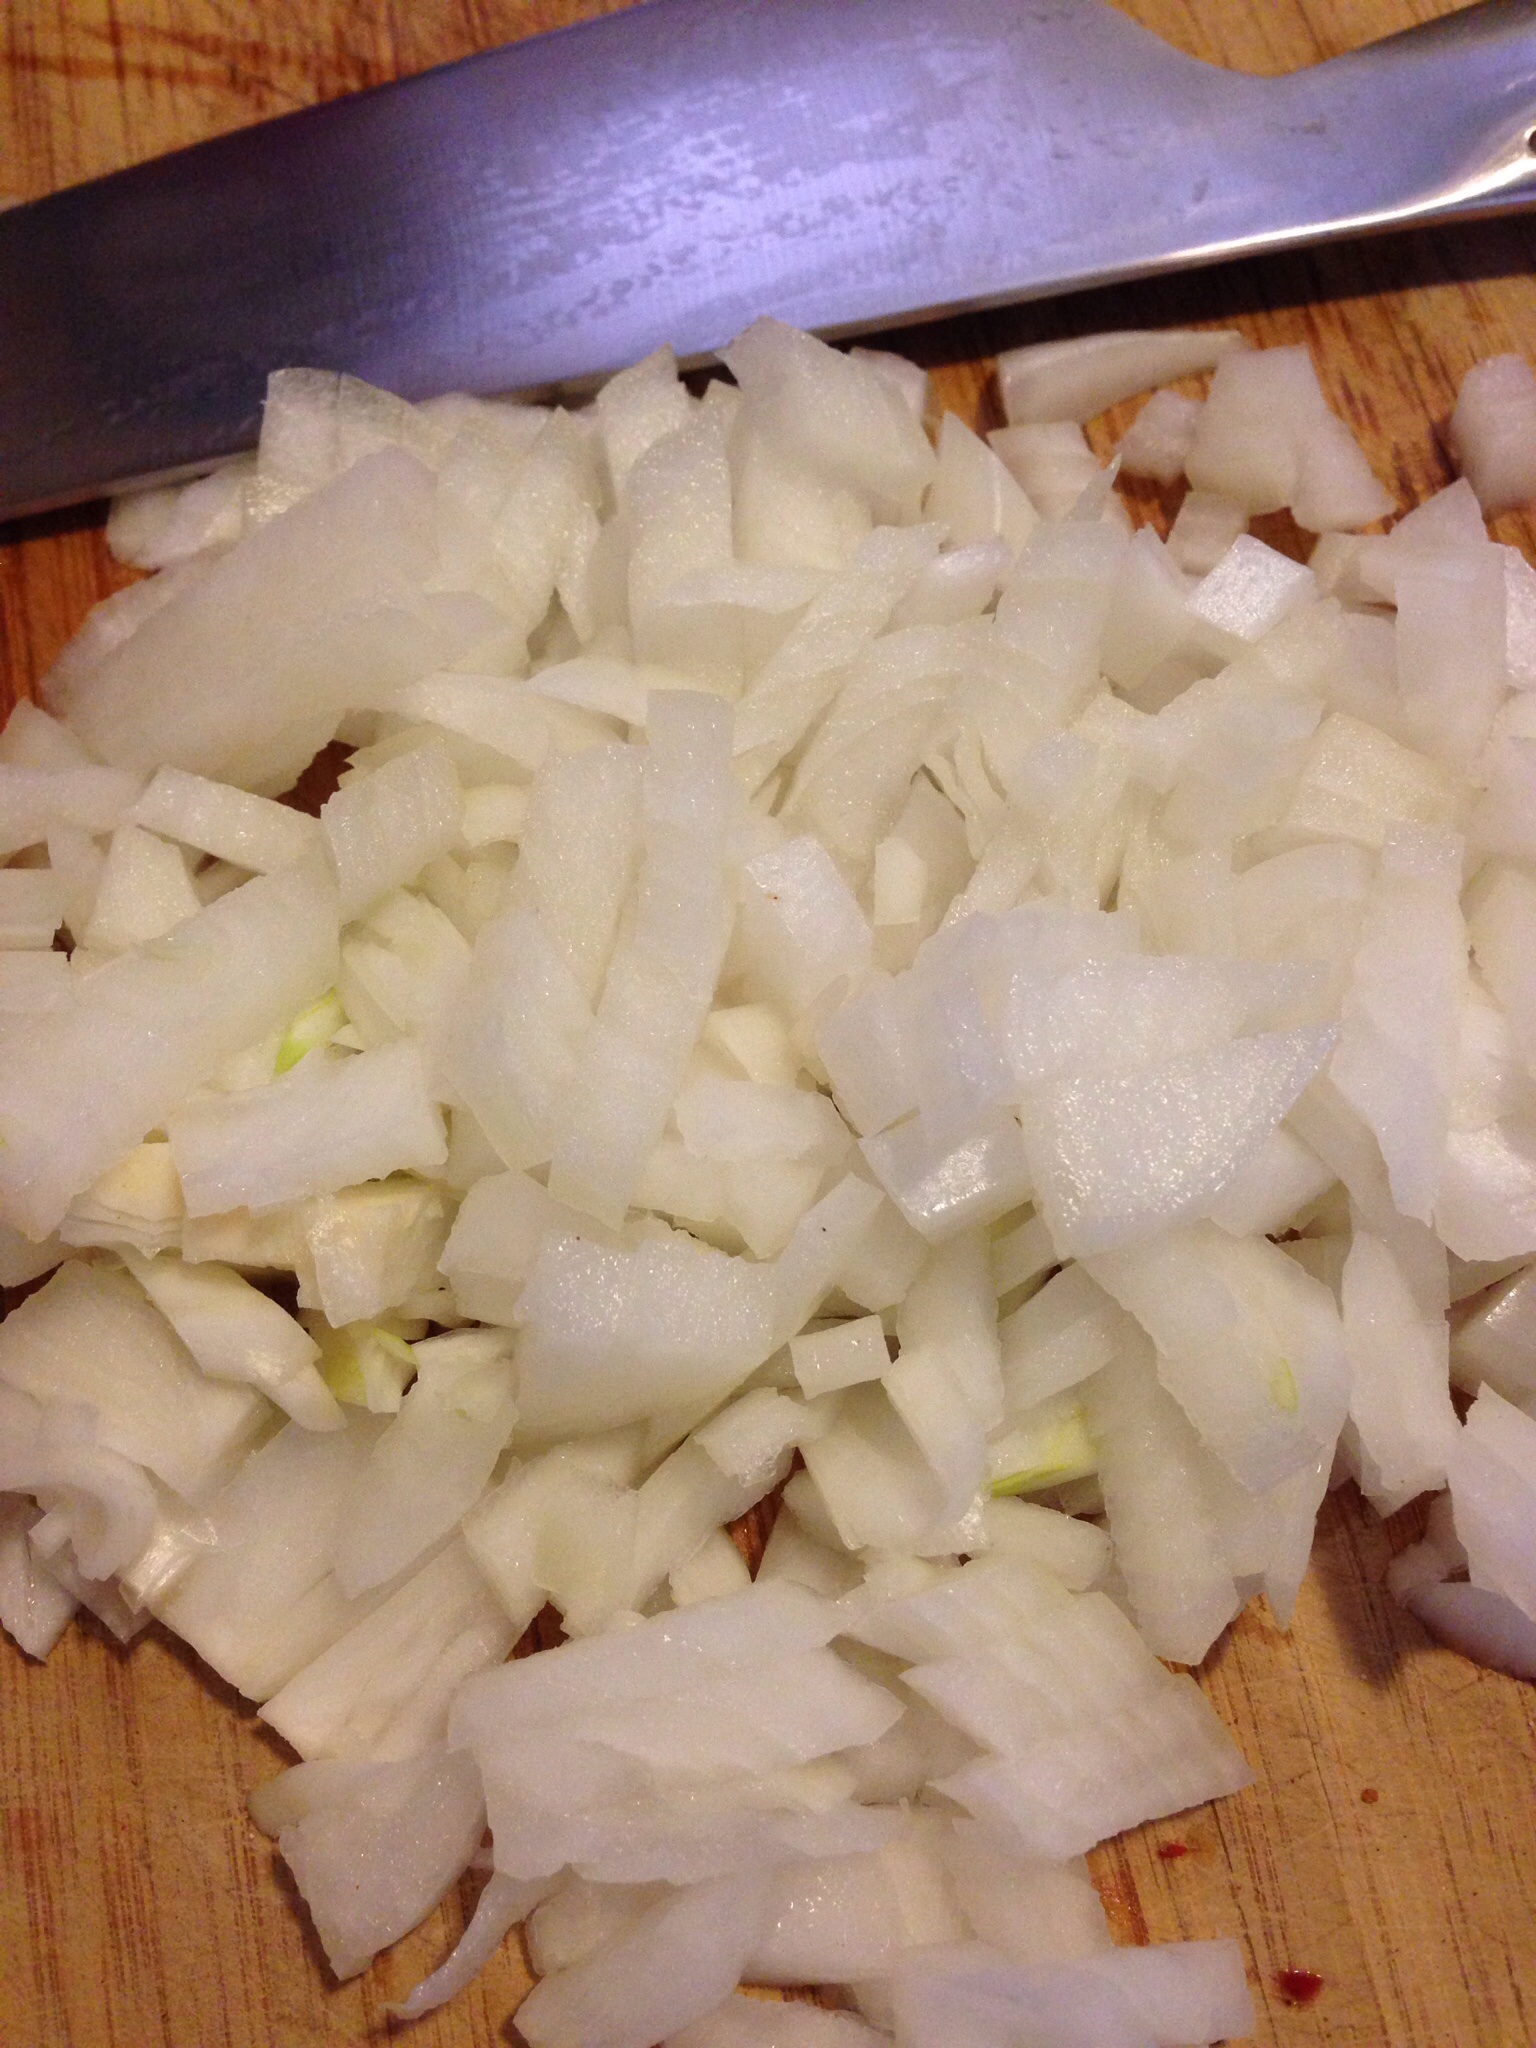
Rough chop the onion, celery and carrots. Heat olive oil in a heavy kettle and sweat the vegetables for 3 minutes or so. Mince the garlic cloves and add to the kettle.

Rough chop the potatoes and rinse them. Add to the other vegetables in the kettle.

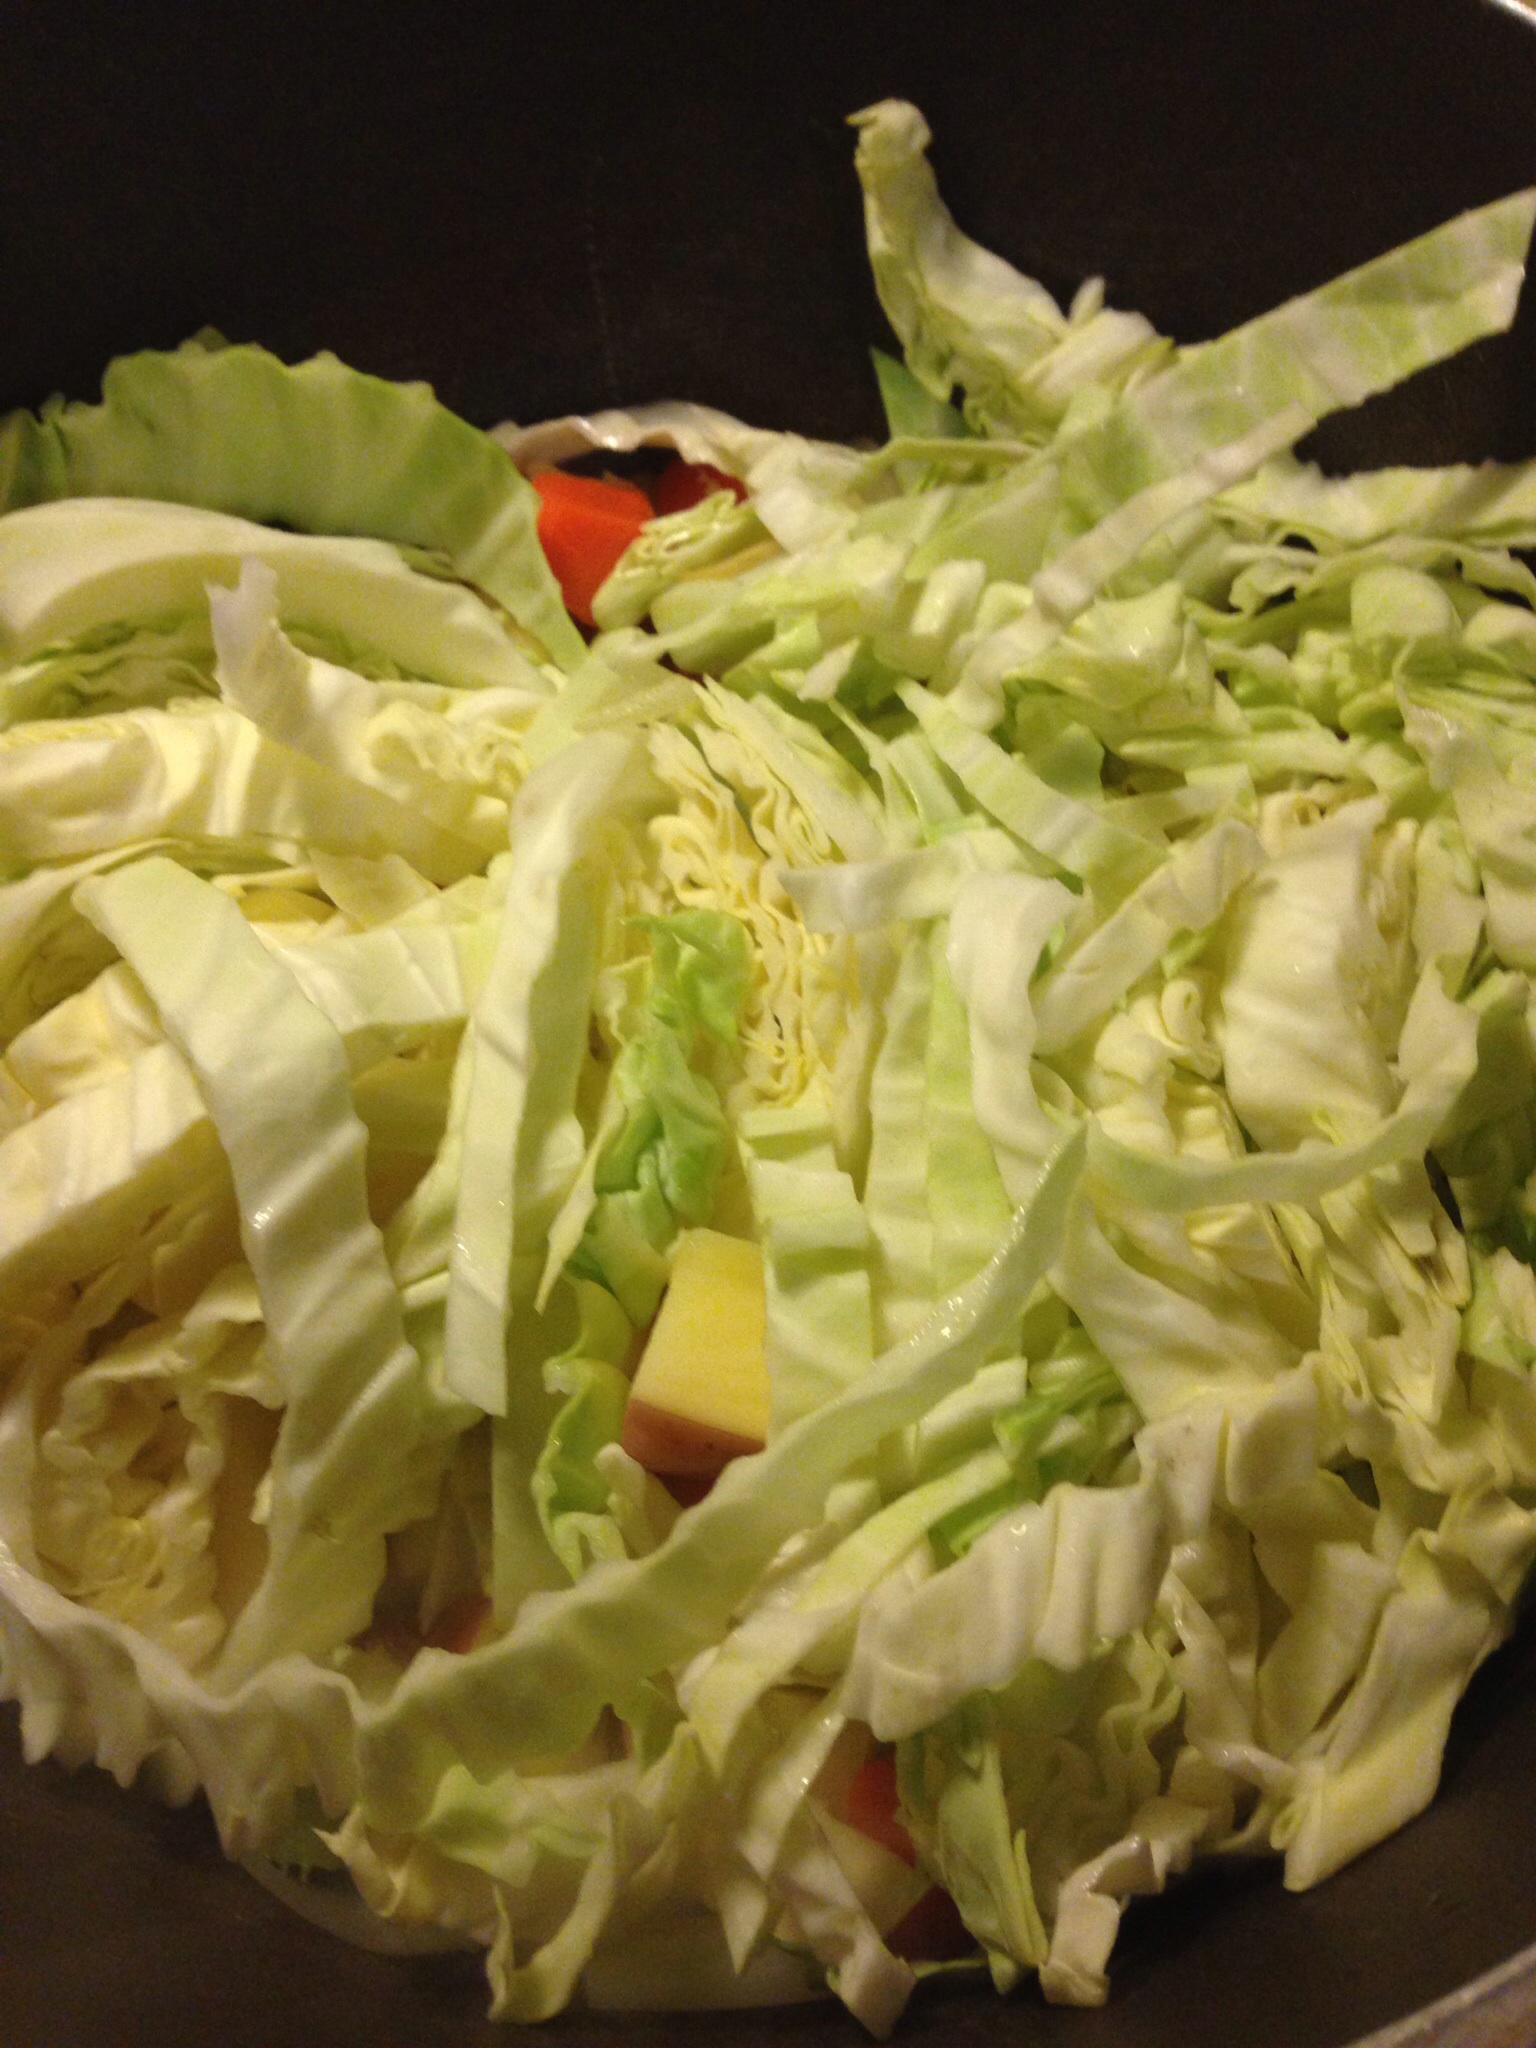
Core and rough chop the cabbage and add to the kettle.
Cut the sausage into 1 inch pieces and add to the kettle. Add the caraway seed and salt and pepper to taste. Add tomatoes and chicken broth. Cover the kettle and bring to a gentle boil over medium heat. Reduce heat. Simmer over low heat for 2 hours or so. Occasionally give it a stir.

Ladle into soup dishes, add a small pat of butter and enjoy with some good bread.

So that’s a boiled dinner. You could substitute pork chops or pork steaks. Cube them and let them cook in the broth. If you prefer andouille or a mild Italian sausage that will work. If you want more vegetables add green beans, parsnips, rutabaga, or turnips.
It’s what’s for dinner.


You must be logged in to post a comment.