
For years we regularly went to a little diner called the Virginia. Their specialty was coney islands and whenever you went there you left smelling a little like onions and coney sauce. The Virginia made great steak and eggs for breakfast and waffles shaped like the state of Michigan. Their French fries had just the perfect amount of grease and they made a tasty liver and onion dish. Part of the charm of the Virginia was the regulars…some real characters, and the waitresses who had all worked there for years and years. But one of the best memories of the Virginia was their amazing rice pudding. No matter what you ate there was always room for rice pudding!! This recipe is good but does not quite replicate the Virginia’s rice pudding. This rice pudding was made in a pressure cooker.
Ingredients:
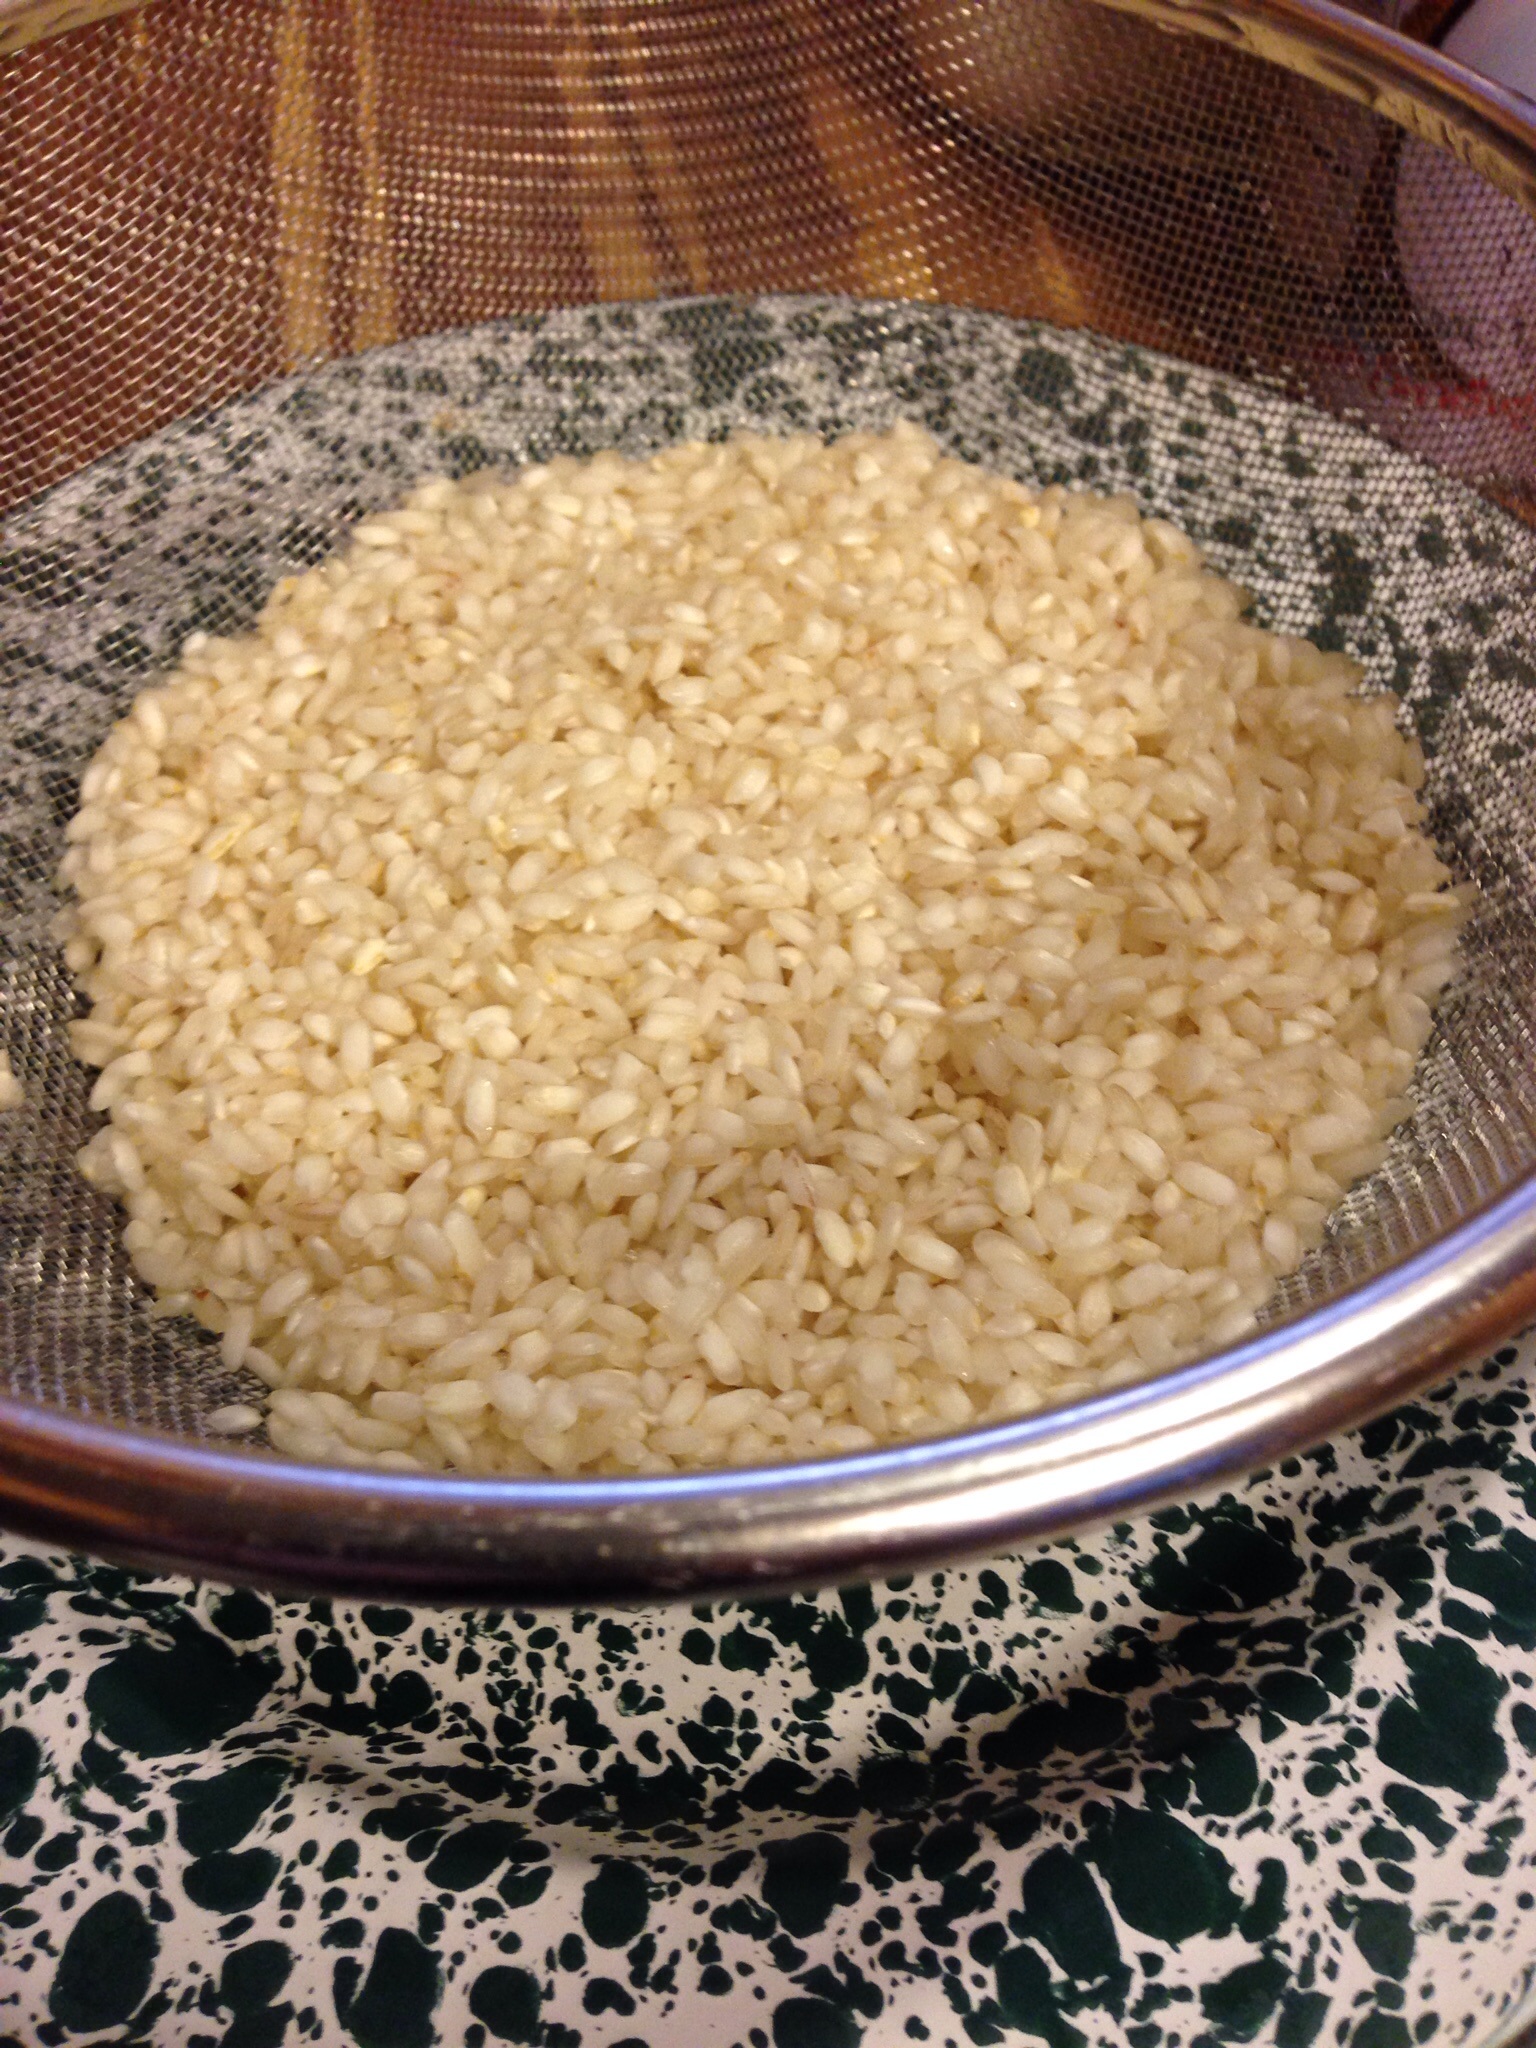
1 1/2 cups Arborio rice
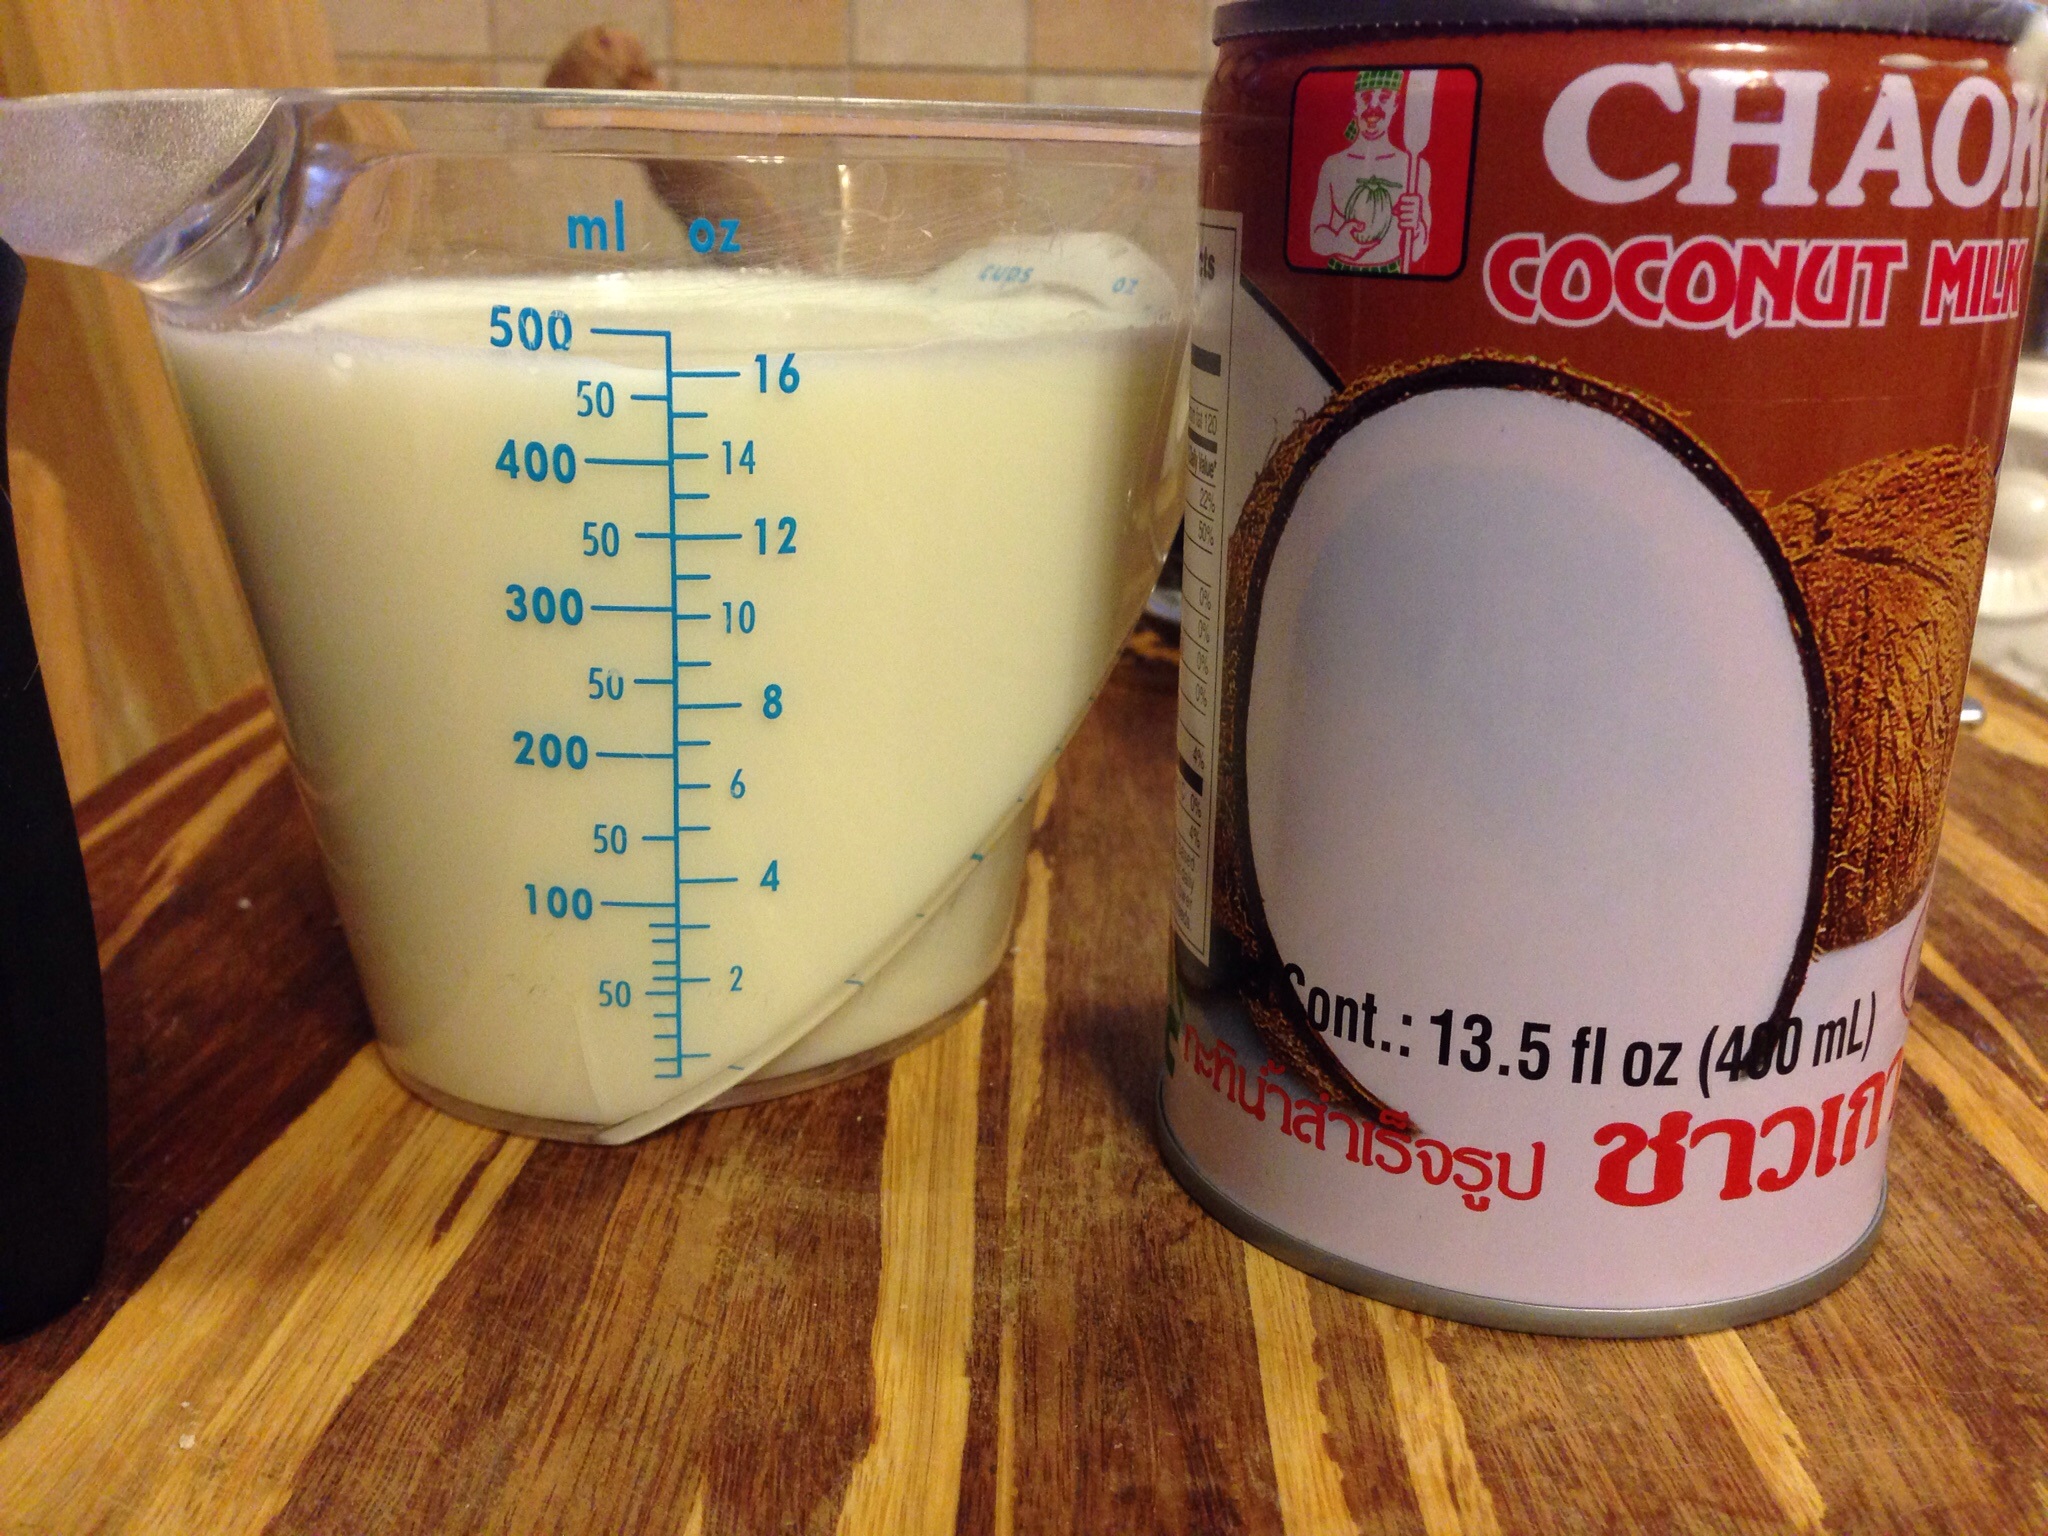
2 cups whole milk
1 14oz can coconut milk
1 cup water
1/2 cup granulated sugar
2 tsp cinnamon
1/2 tsp salt
1 1/2 tsp pure vanilla extract
1 cup golden raisins (or dried tart cherries)

Put the rice in a colander. Rinse and drain.
Place the rice, milk, water, sugar, salt and cinnamon in the cooking pot.

Select sauté and bring mixture to a low boil stirring constantly to dissolve the sugar. As soon as the mixture comes to a boil, cover and lock the lid in place. Select low pressure and set the timer for 15 minutes. After the beep use the quick pressure release to release pressure. When the float drops remove the lid away from you and stir in the vanilla and raisins.

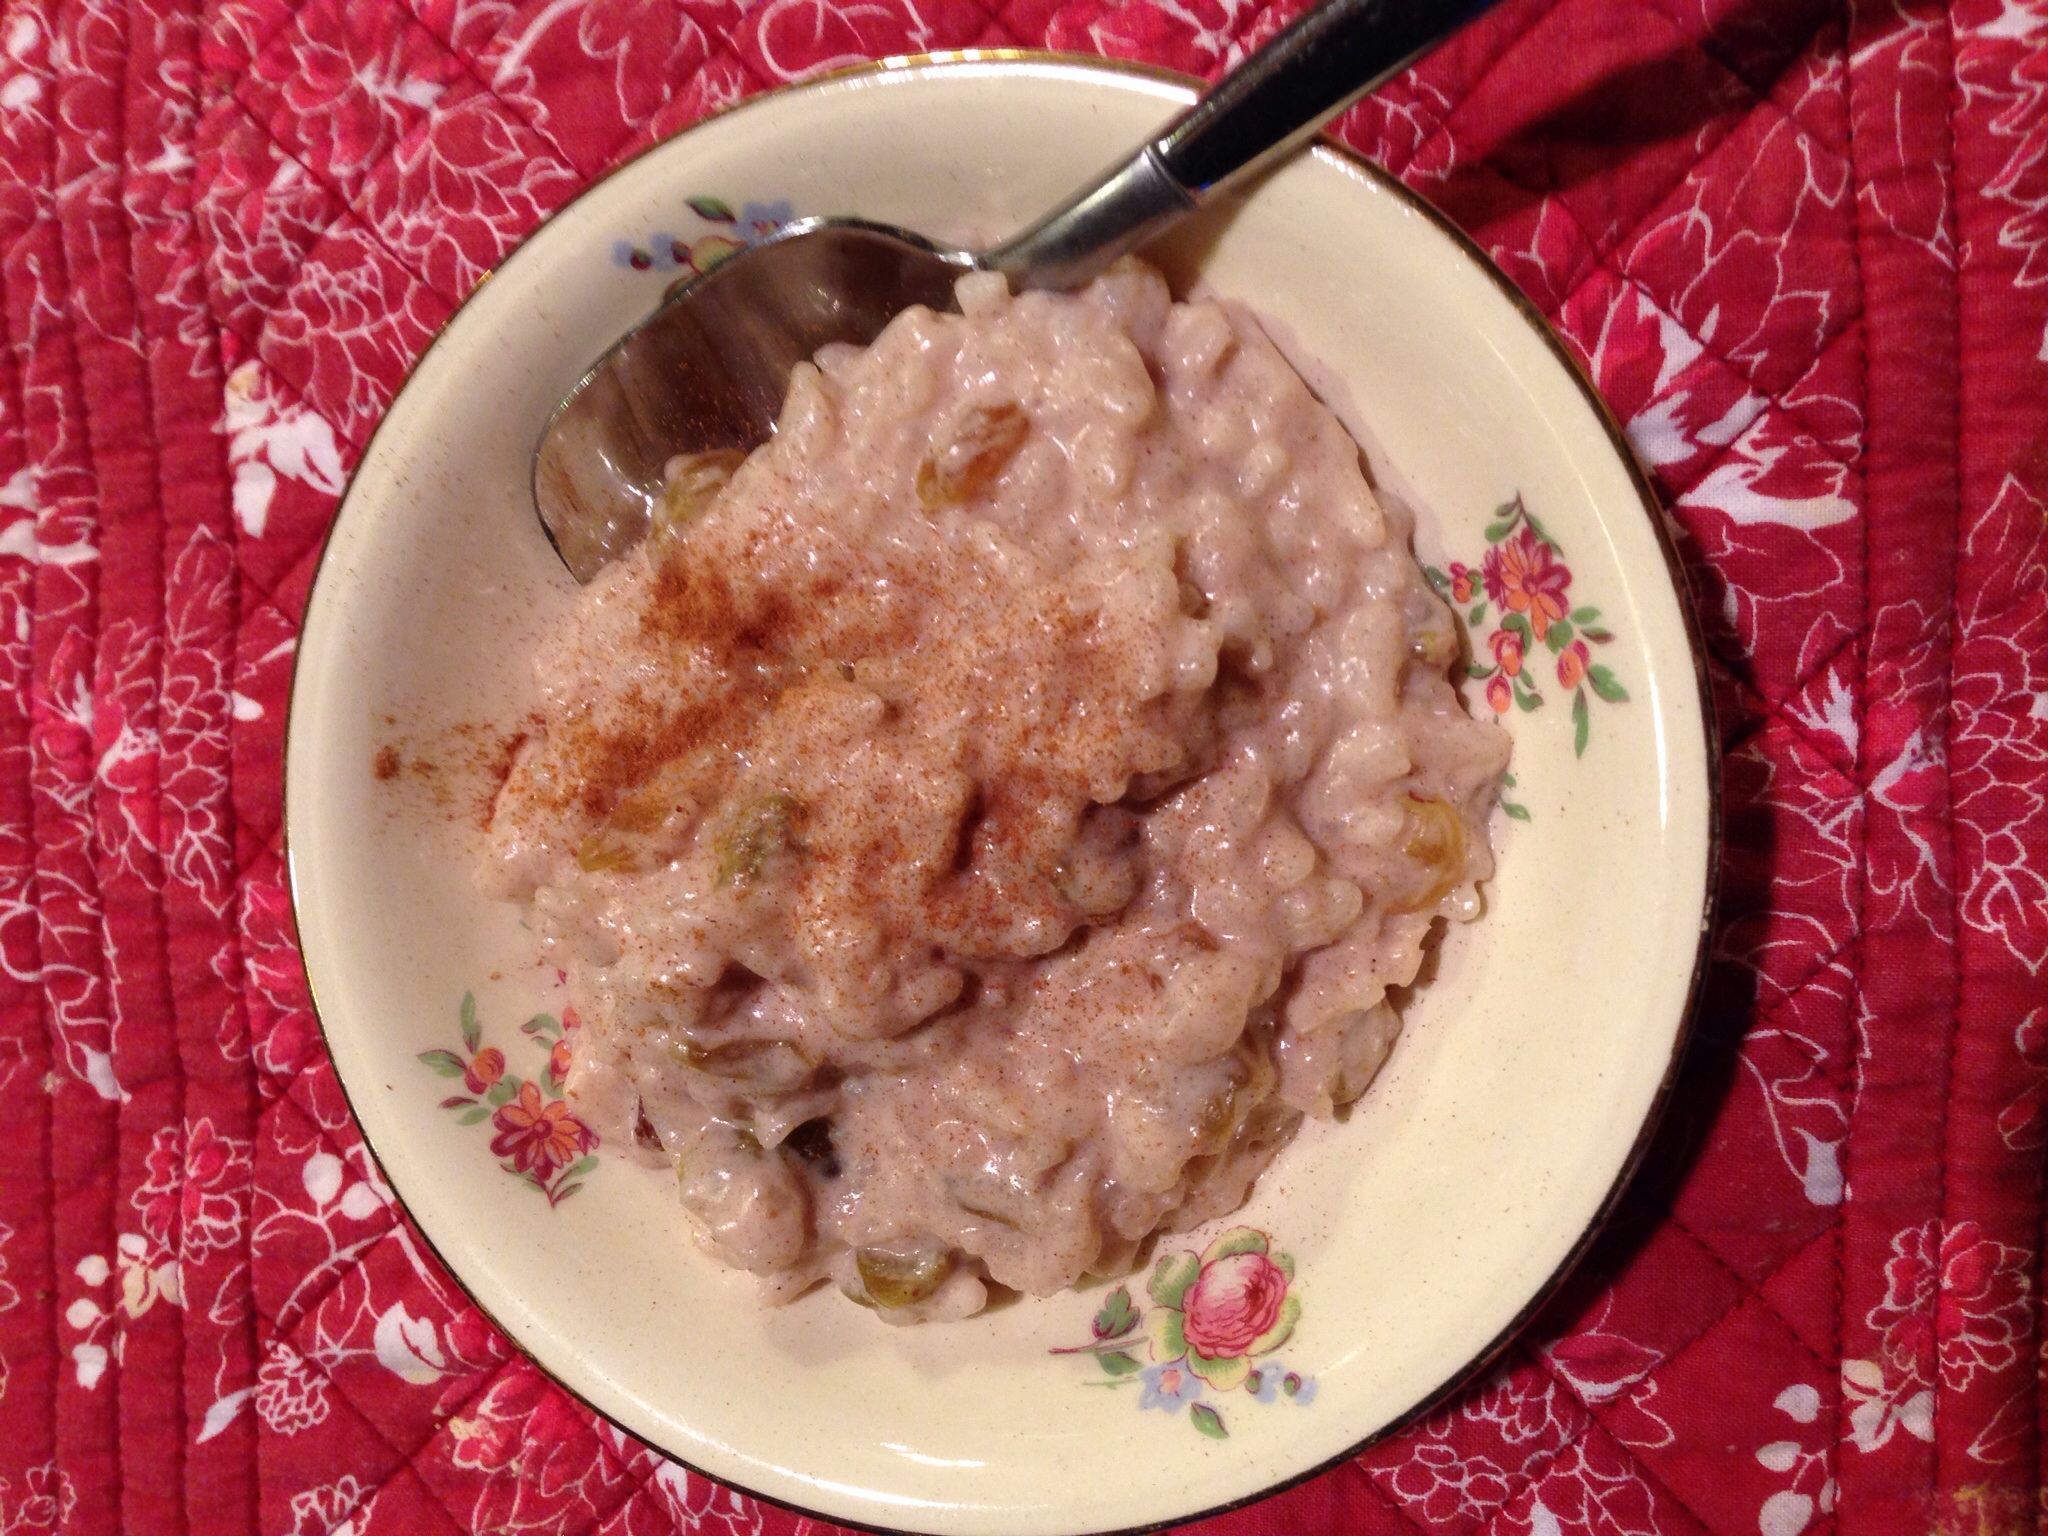
Place the cover back on the pot but do not turn on. Let stand 15 minutes while the raisins plump up. Stir and serve. Garnish with a little cinnamon and whipped cream. If we were at the Virginia the waitress would bring a handful of the little half n half containers to pour on our rice pudding.
I will definitely make this again in my pressure cooker because it was fast and very tasty. But I would make a few modifications. Today I added about a half cup of half n half at the very end to make it a little creamier. Also I would wait and stir the cinnamon in at the very end.
Rice pudding, it’s what’s for dessert.
But I still kind of miss the Virginia.


You must be logged in to post a comment.