For those of you who have visited the Upper Peninsula of Michigan (the UP) you know that smoked fish is a “thing.” As soon as you cross the Mackinac Bridge you start to see little shops with signs hocking smoked fish. Smoked whitefish, Menominee, salmon, and my personal favorite, smoked trout. You can buy a whole fish or a slab. It’s great to eat just as is. Your fingers get a little greasy and they smell a little fishy but we don’t care. The fish also makes an excellent spread. Easy to make. And you won’t smell as fishy! My Dad used to make us smoked fish from his fresh catches and I will always remember his as being the very best. My very favorite. But Dad is nearly 89 and isn’t fishing much anymore. So when I visit the UP I frequently get fish for our family and for friends from one of the little shops.
Ingredients:
2 cups (approximately) of smoked fish flaked
4 oz cream cheese at room temperature
1/2 cup sour cream
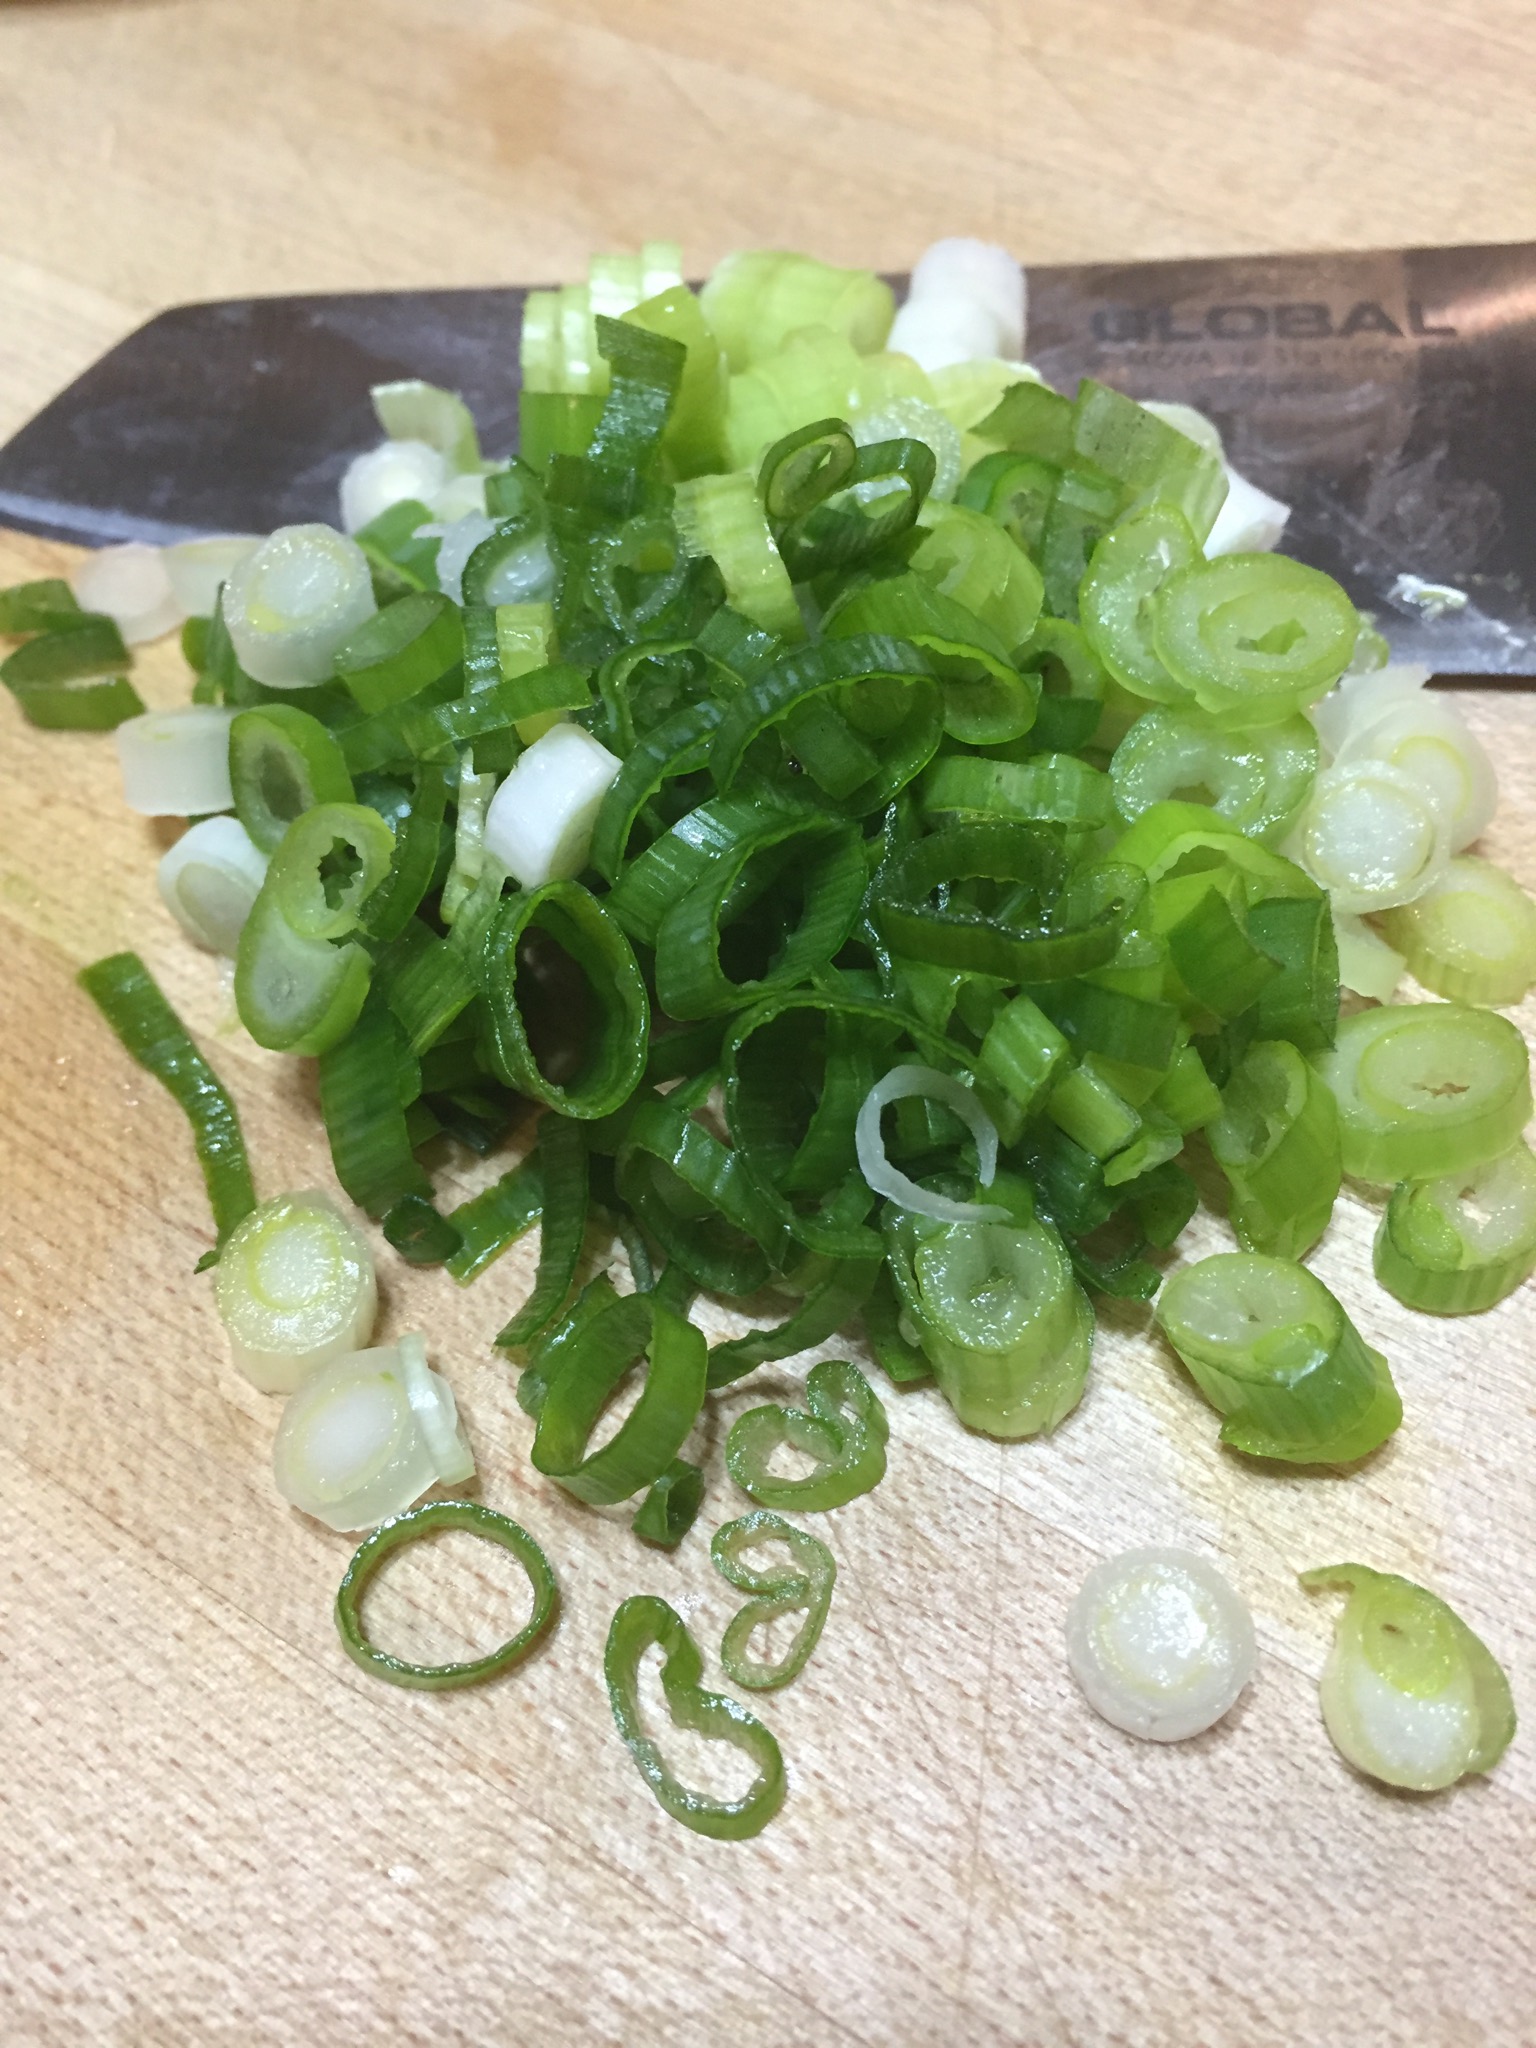
3-4 green onions sliced thin
2 T capers
2 T lime juice
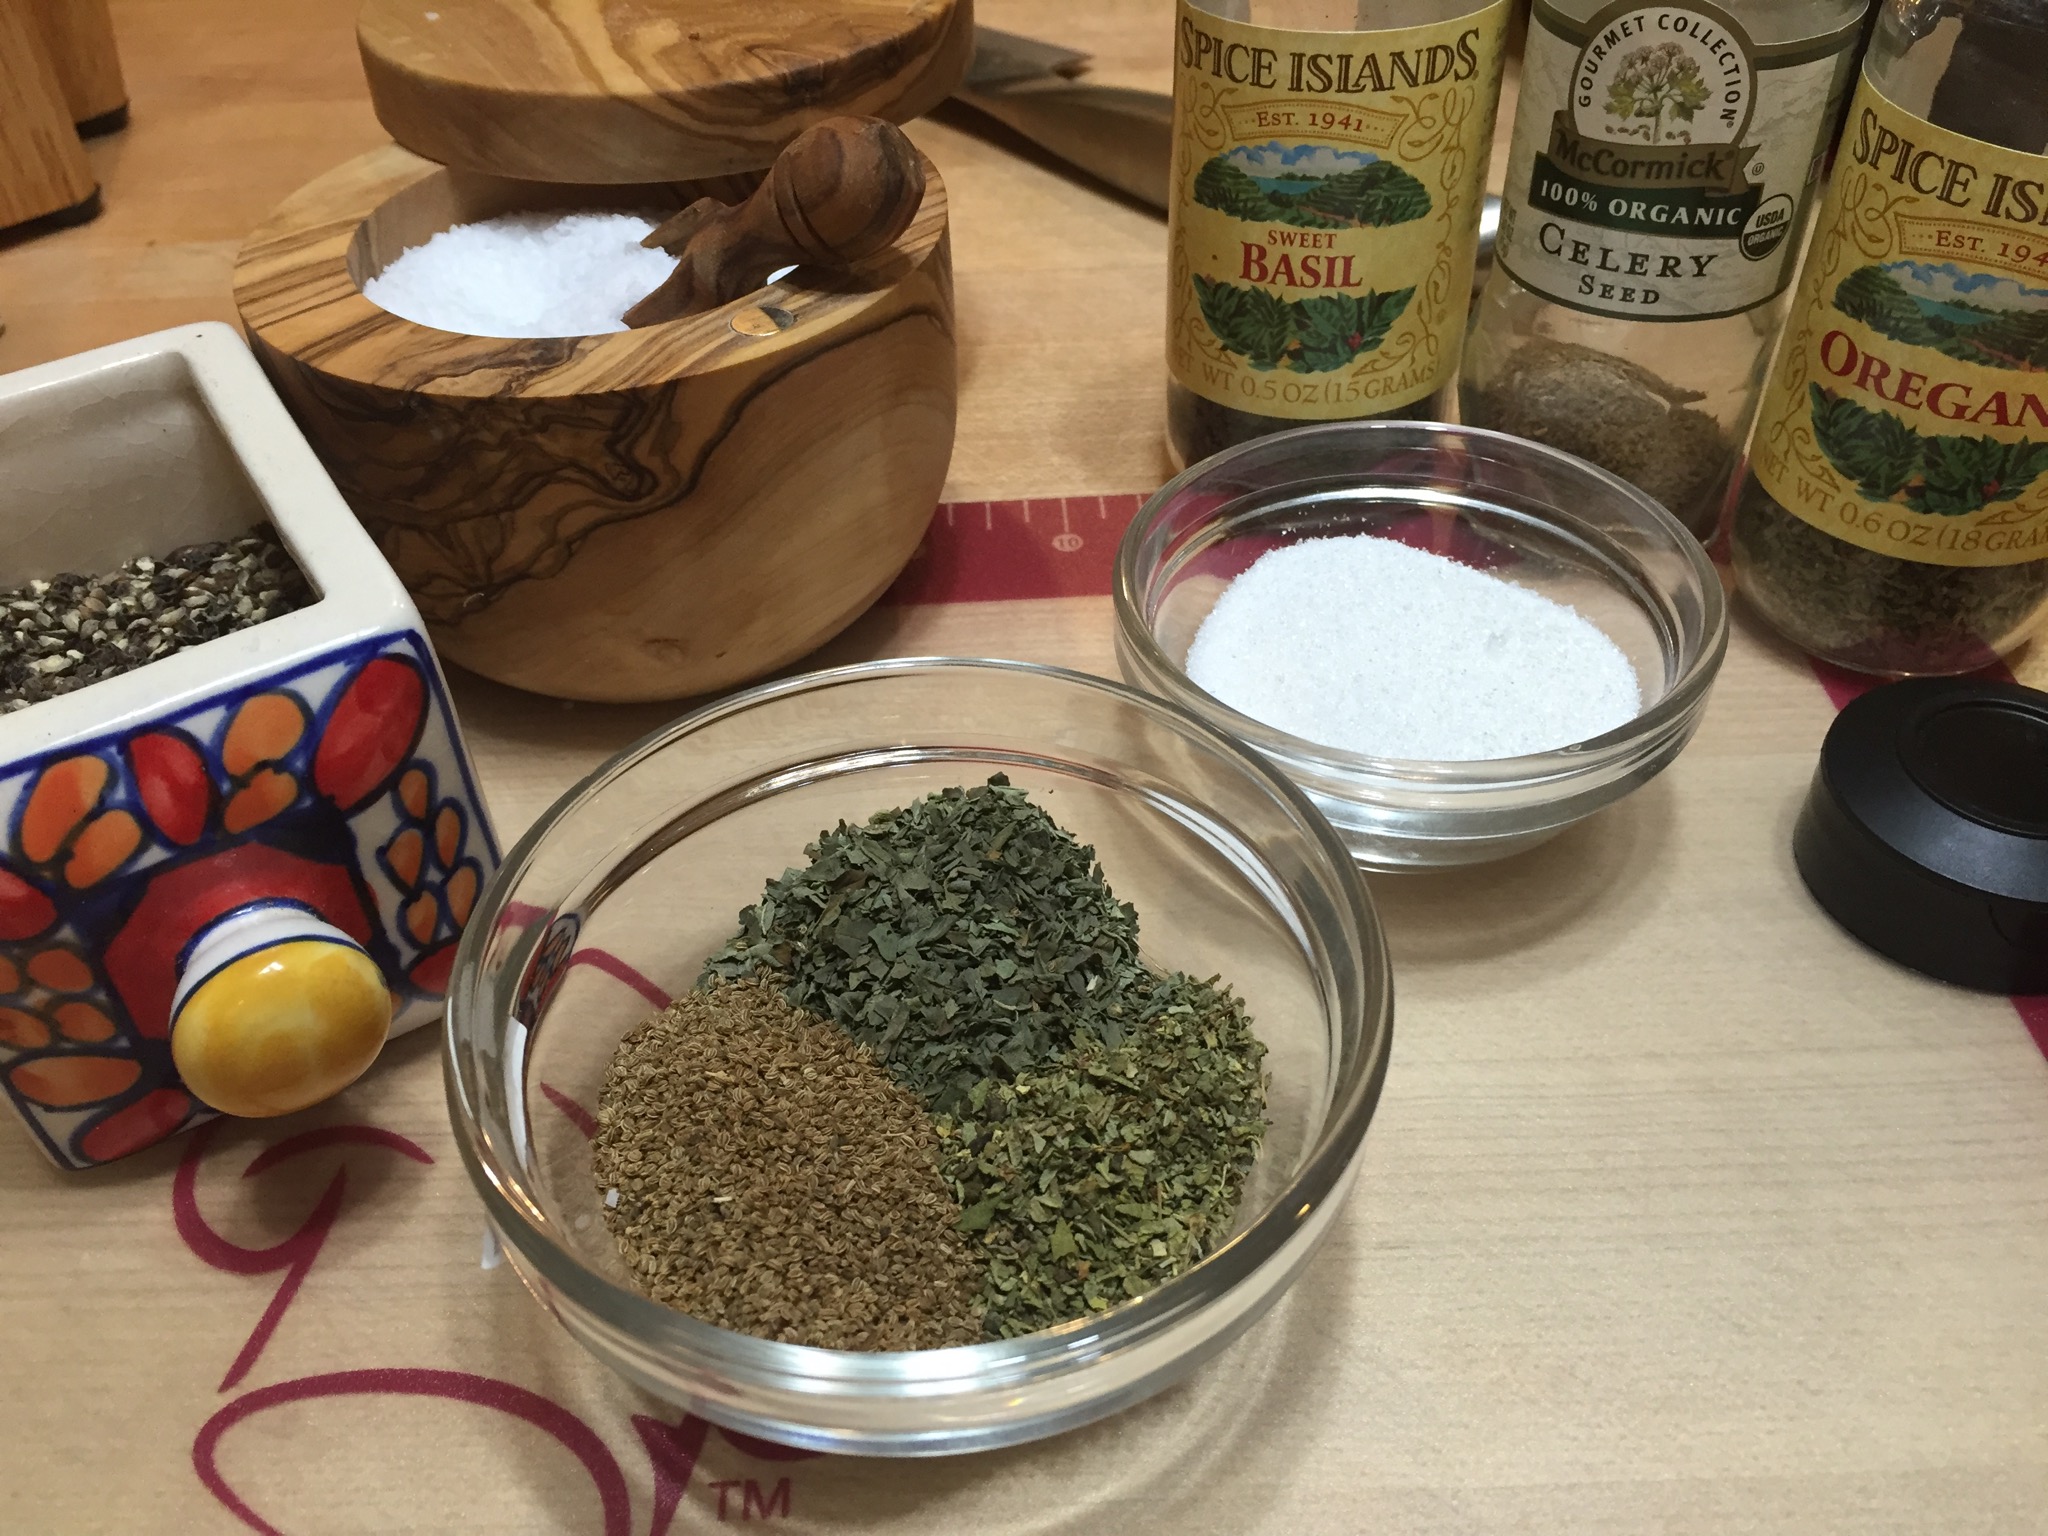
2 tsp smoked paprika
1/2 tsp cayenne pepper (1 tsp if you want more kick)
Cracked pepper
Salt to taste

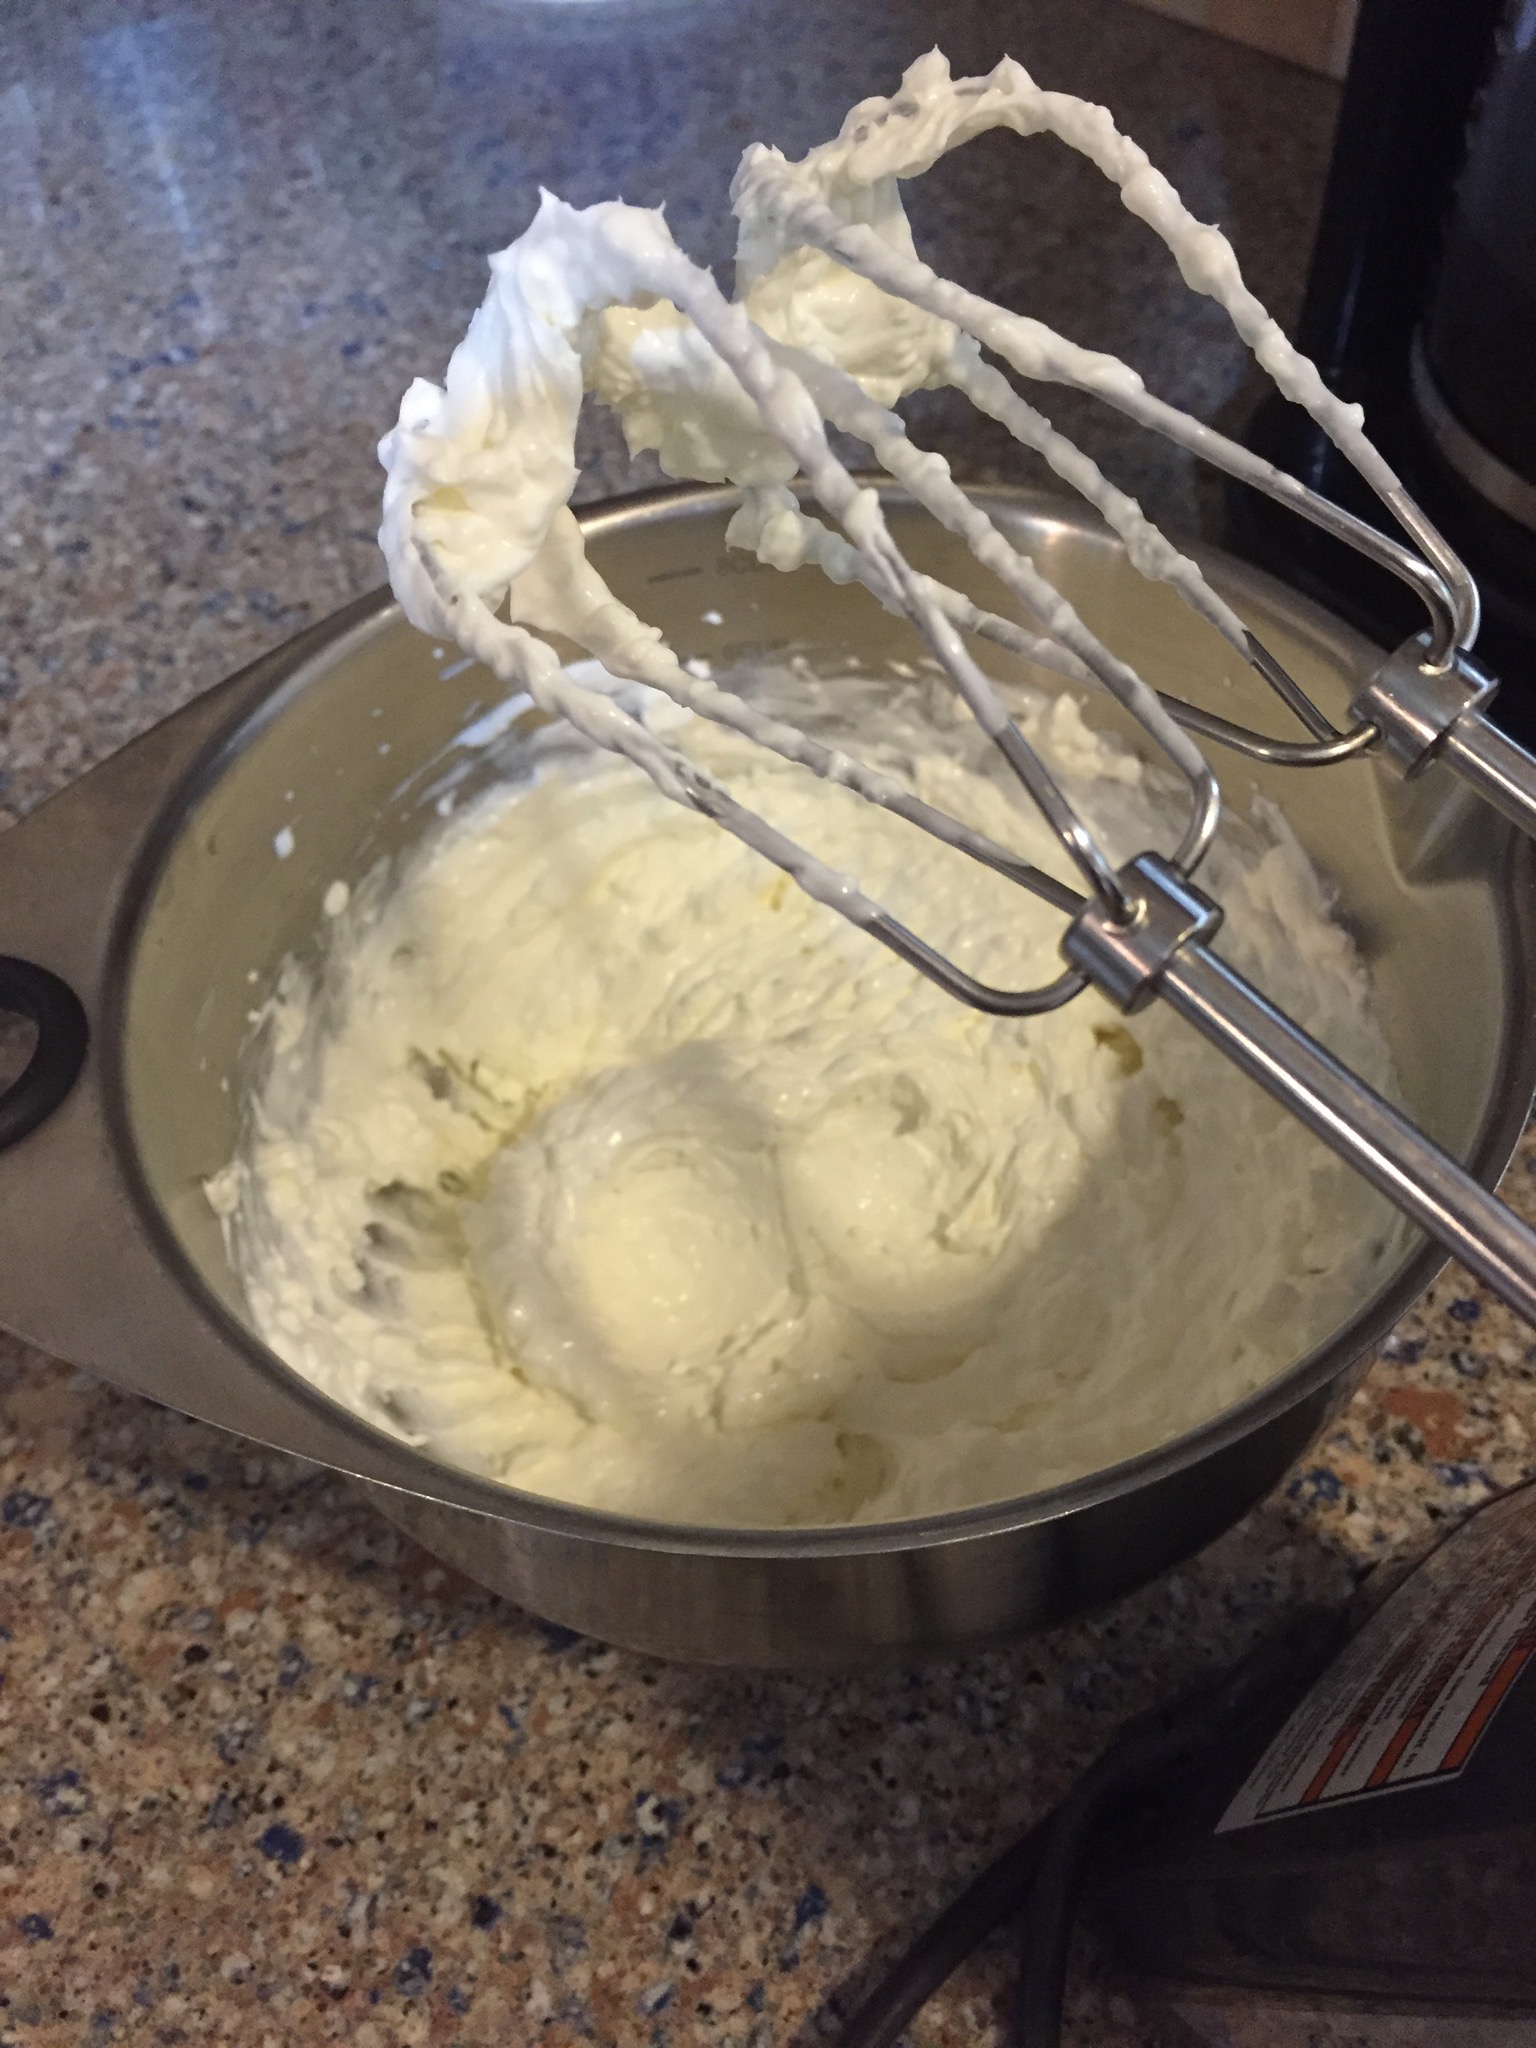
Use a hand mixer and beat the cream cheese and sour cream together until it is smooth.
Add the capers, lime juice, black and cayenne pepper, and paprika to the cream cheese, sour cream mixture and stir well to combine.

Slice the green onions and flake the fish.

Add the fish and onion to the creamed mixture and blend well.


Taste before you salt. Some smoked fish is saltier than others.
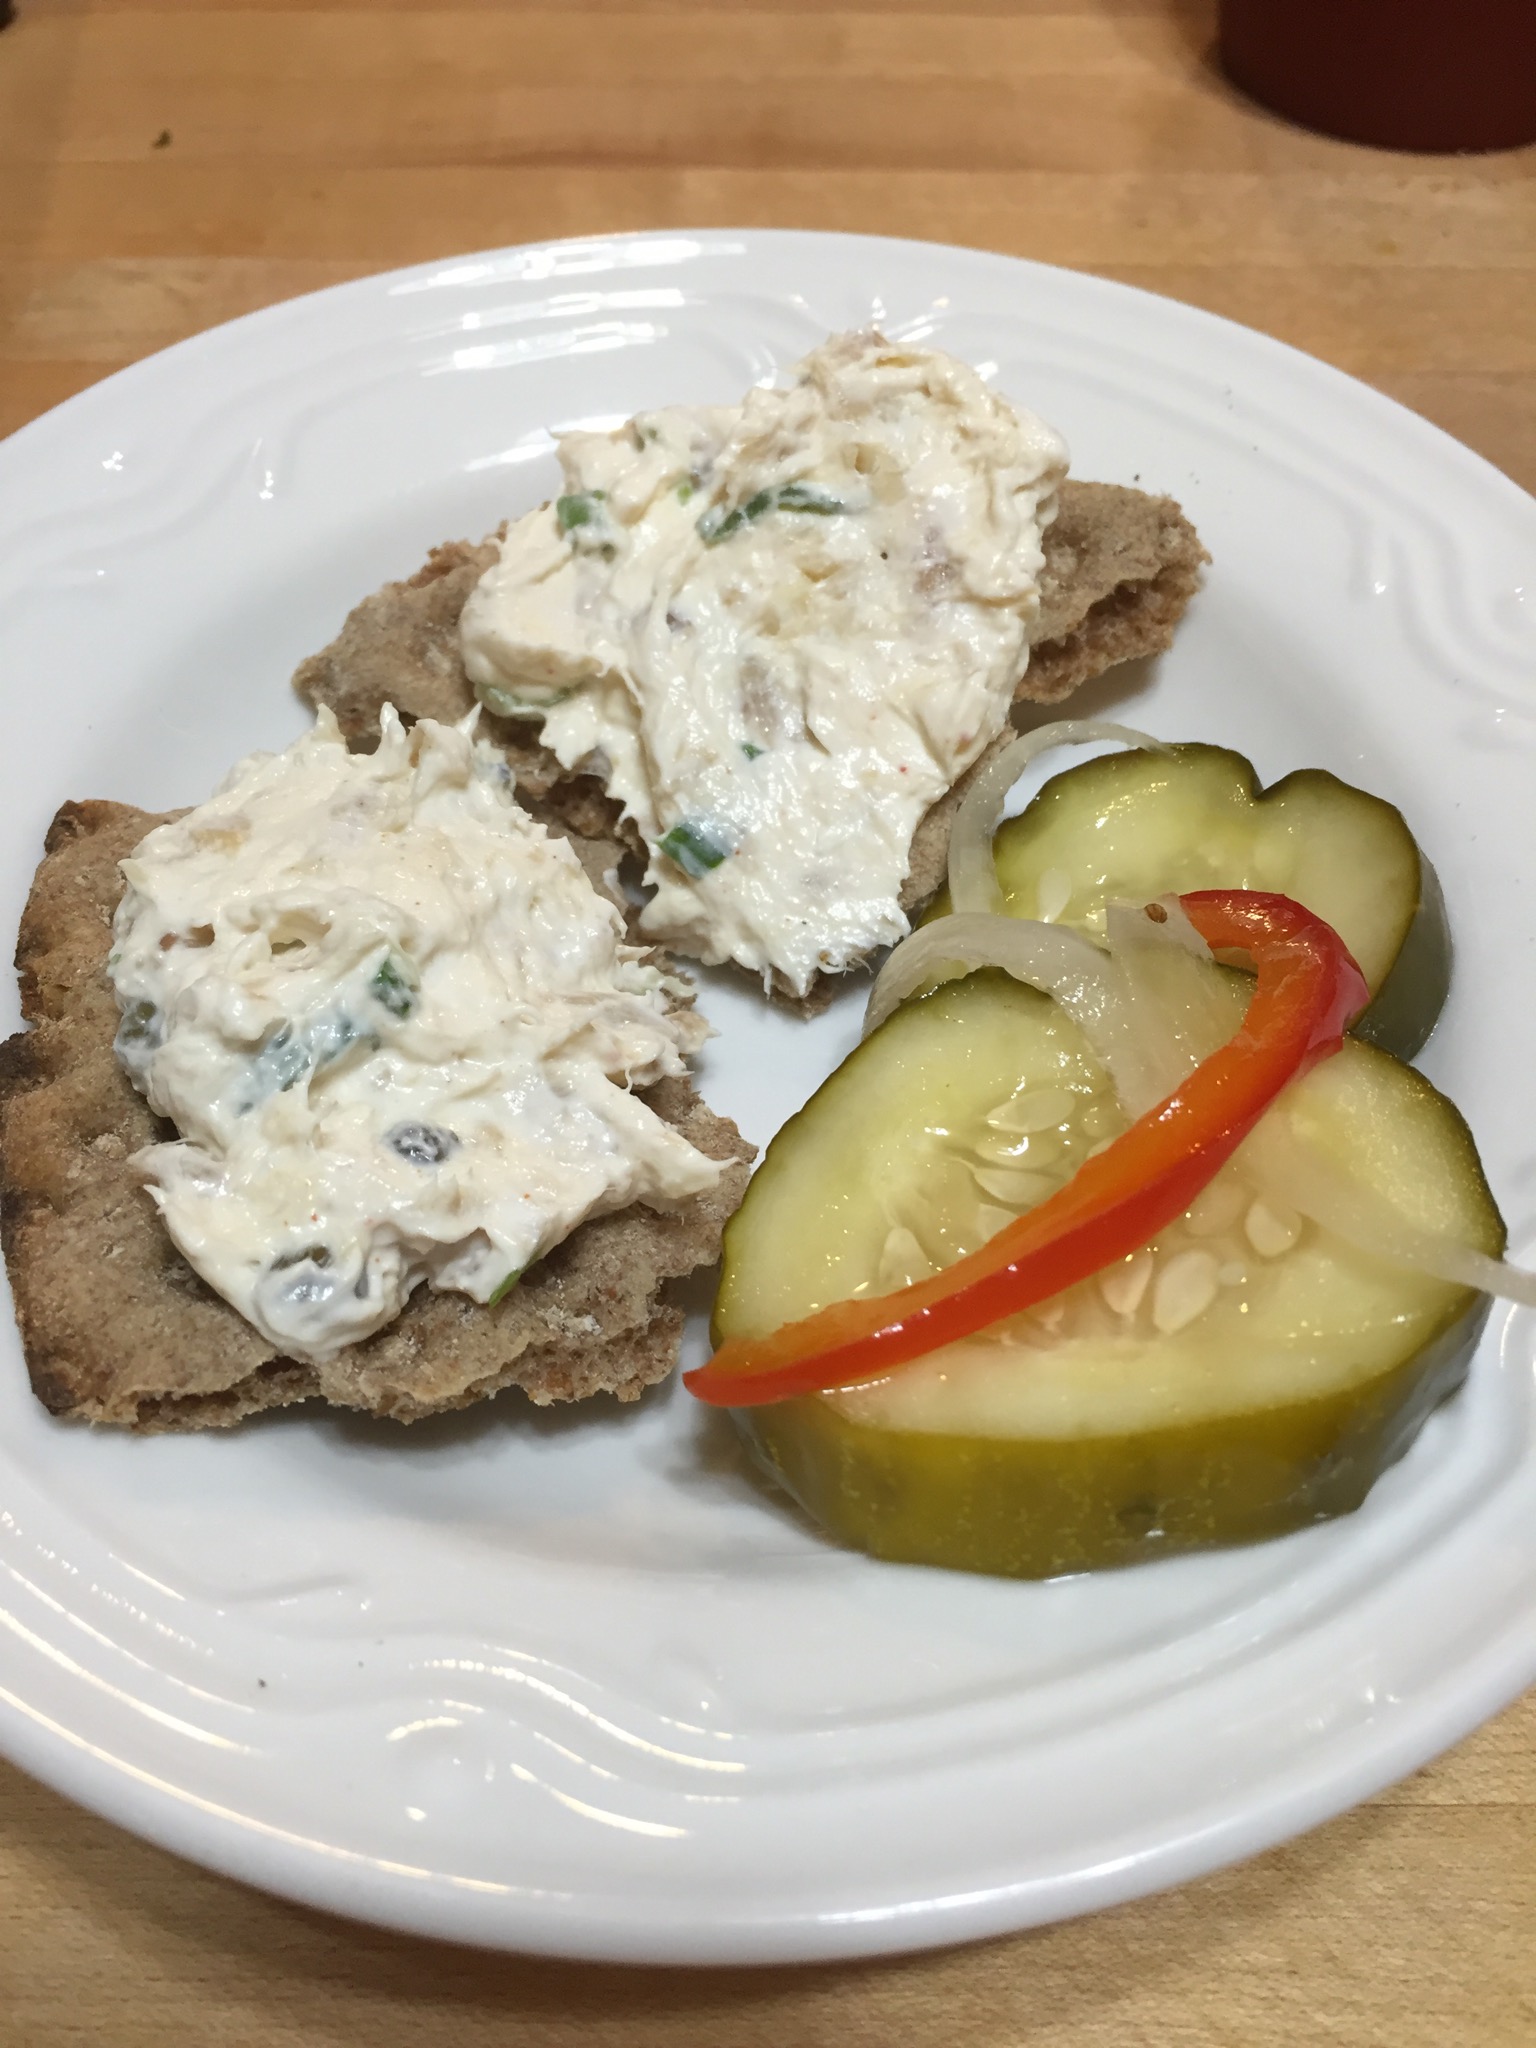
This spread is excellent on crackers or served with raw vegetable like celery and carrots. Great with bread and butter pickles. You’ll also love it served on another UP tradition. Finn Crisp. Rye bread is the most traditional bread in Finland and in some areas of Finland it is baked only a few times a year, then dried and enjoyed year round. It is baked with a hole in the center allowing the loaves to be hung on dowels to dry. I’m sure that Finn Crisp is modeled after those loaves.


Enjoy the smoked fish spread and enjoy the Finn Crisp if you can find it.
NOTE: You could add some fresh dill to this recipe or substitute some minced dill pickles for the capers.


You must be logged in to post a comment.