Caramel Corn

image

More holiday nosh!  This caramel corn is an irresistible, addictive sweet treat that’s easy to make. As a child I remember getting a box of cracker jacks and enjoying every bite of the molasses flavored, candy coated popcorn and peanuts AND finding the prize that was in every box. You might find a ring, stickers, plastic figurine, whistle, or a temporary tattoo. If any of you saved the toys from your cracker jacks they have become collectible and are probably worth a few coins. Whether or not this caramel corn makes you feel nostalgic I’m confident you’ll enjoy every last bite. And if you want to include a prize in every bag, well all the sweeter!

Ingredients:

16 cups popcorn (approximately 2 bags of microwave popcorn)

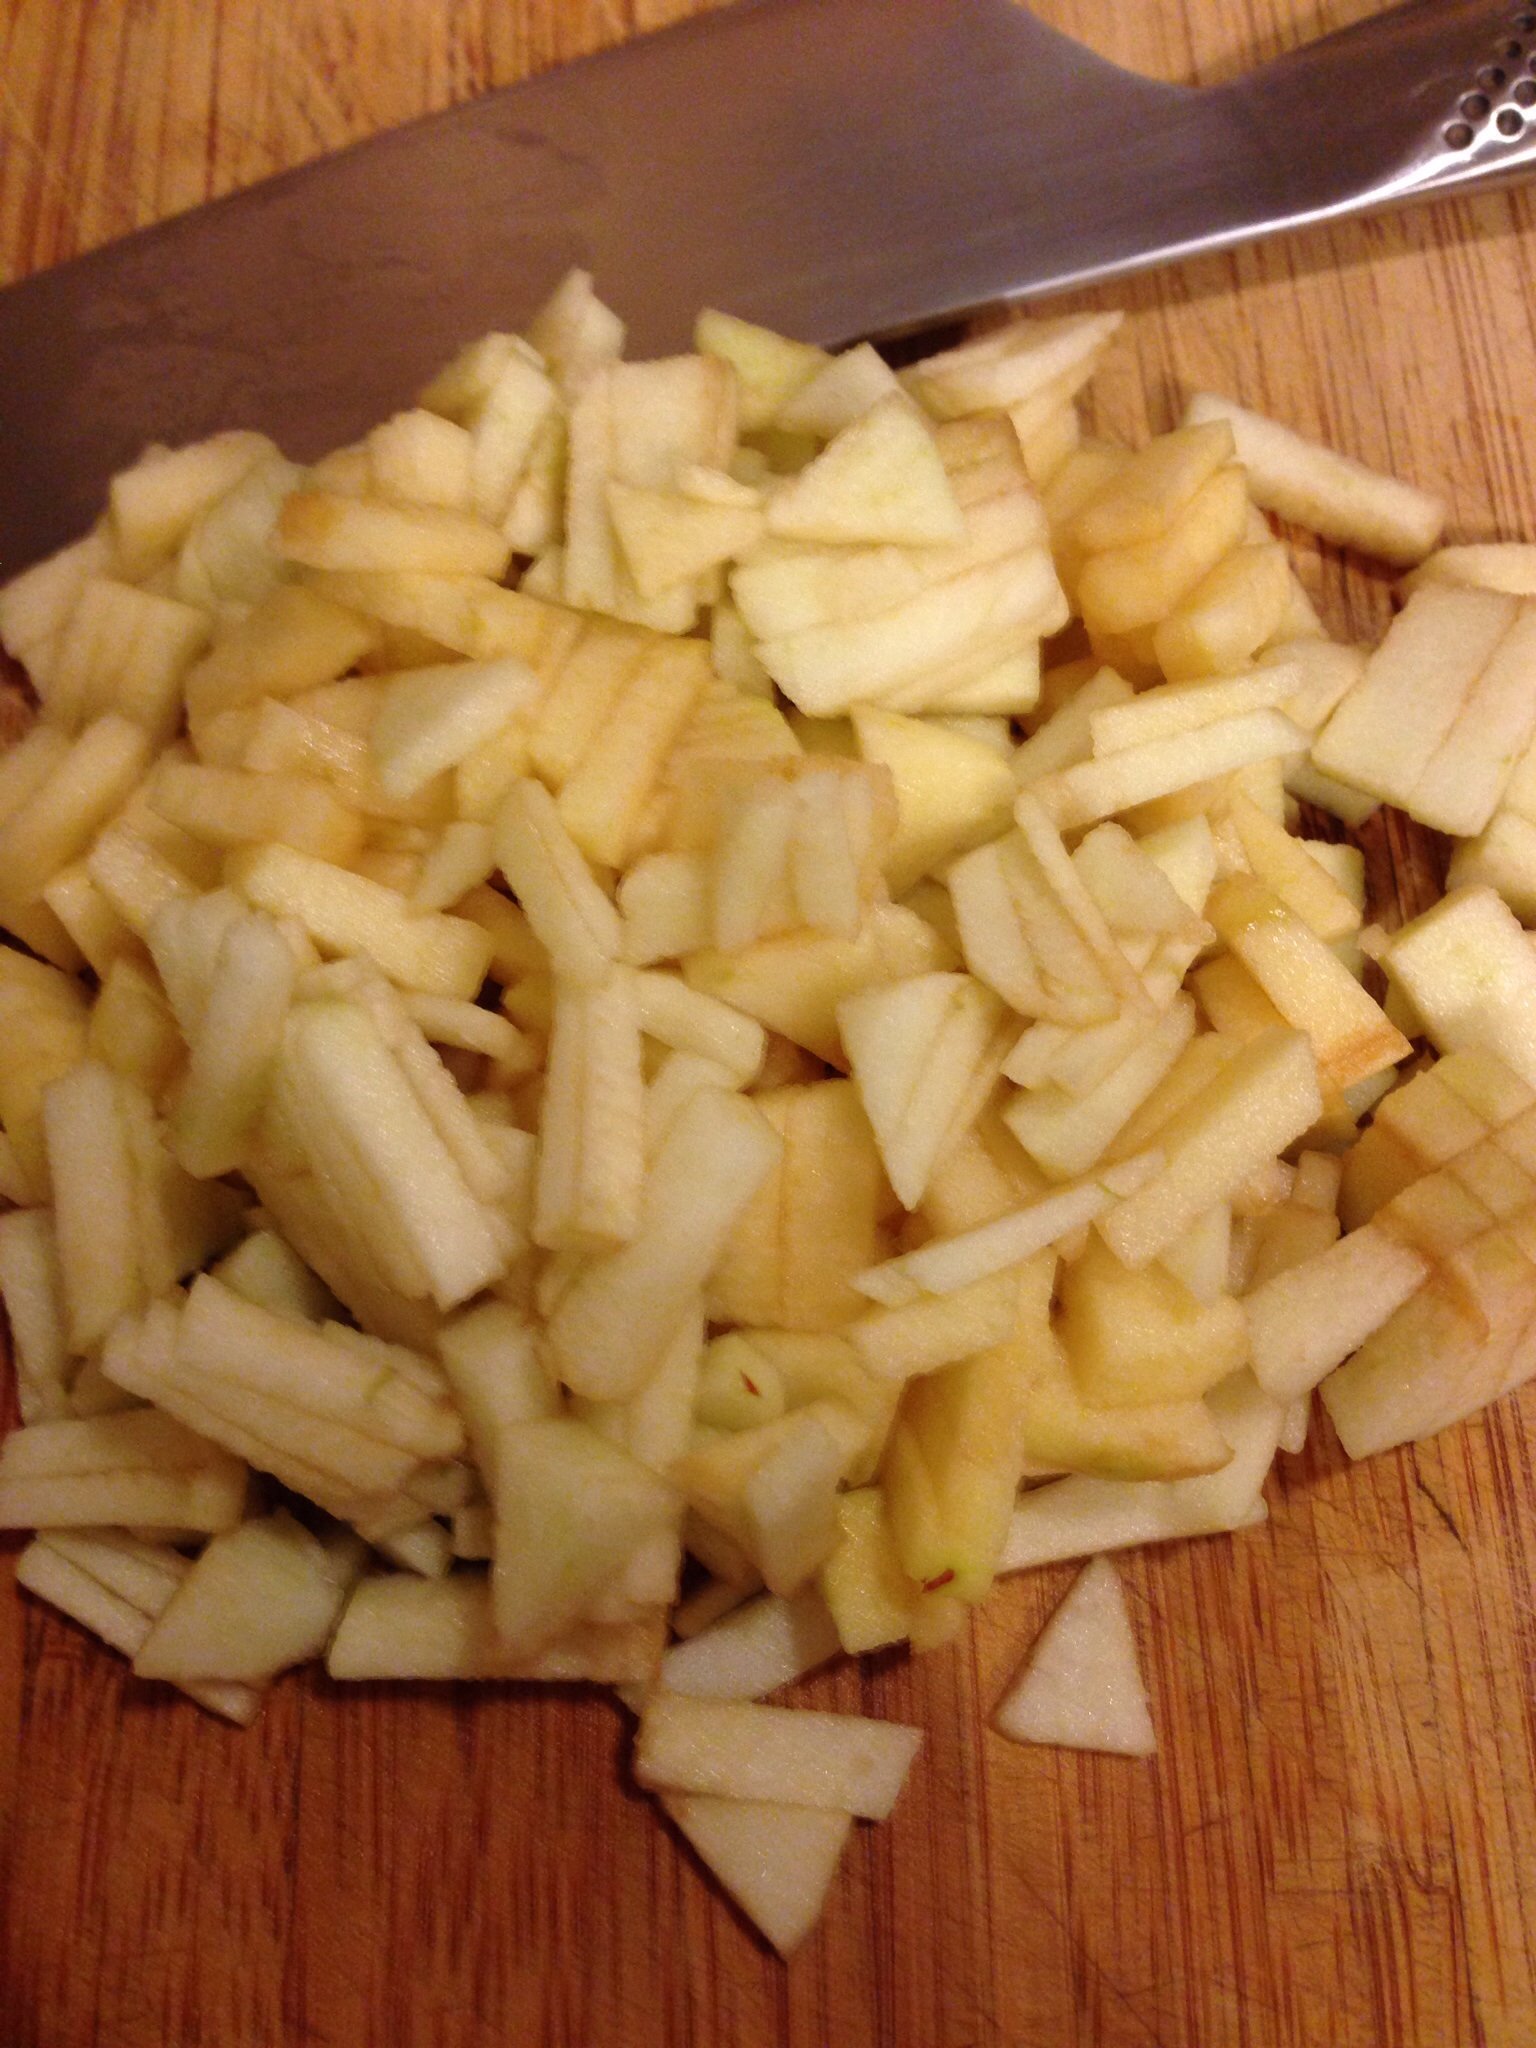
1 cup nuts (optional)
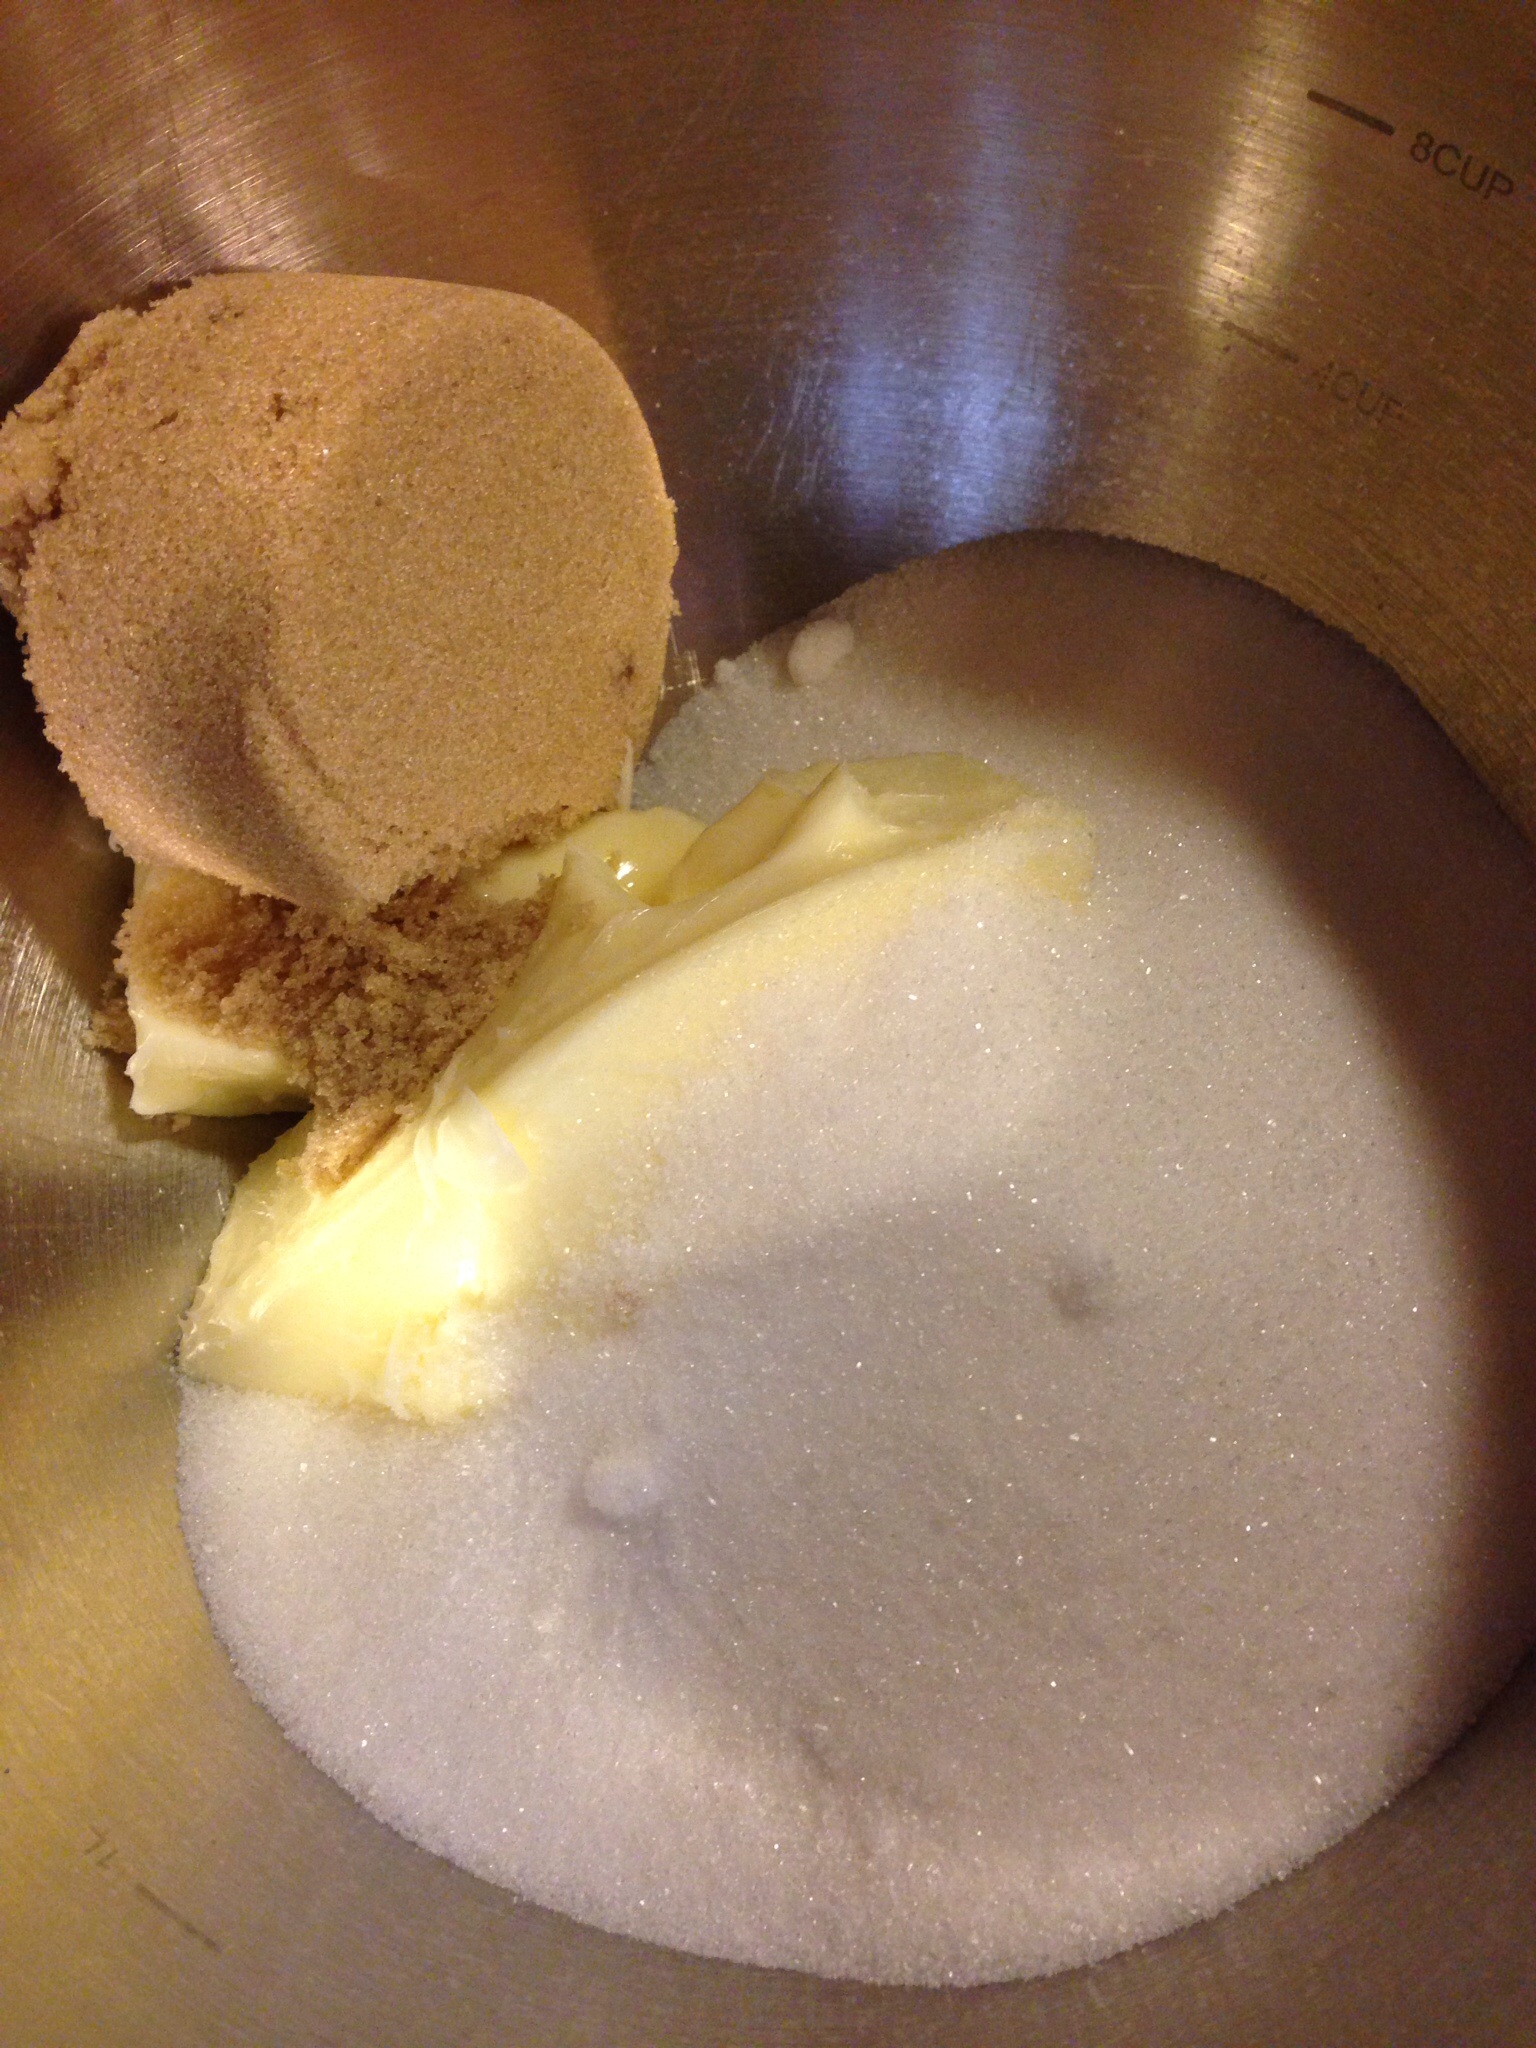
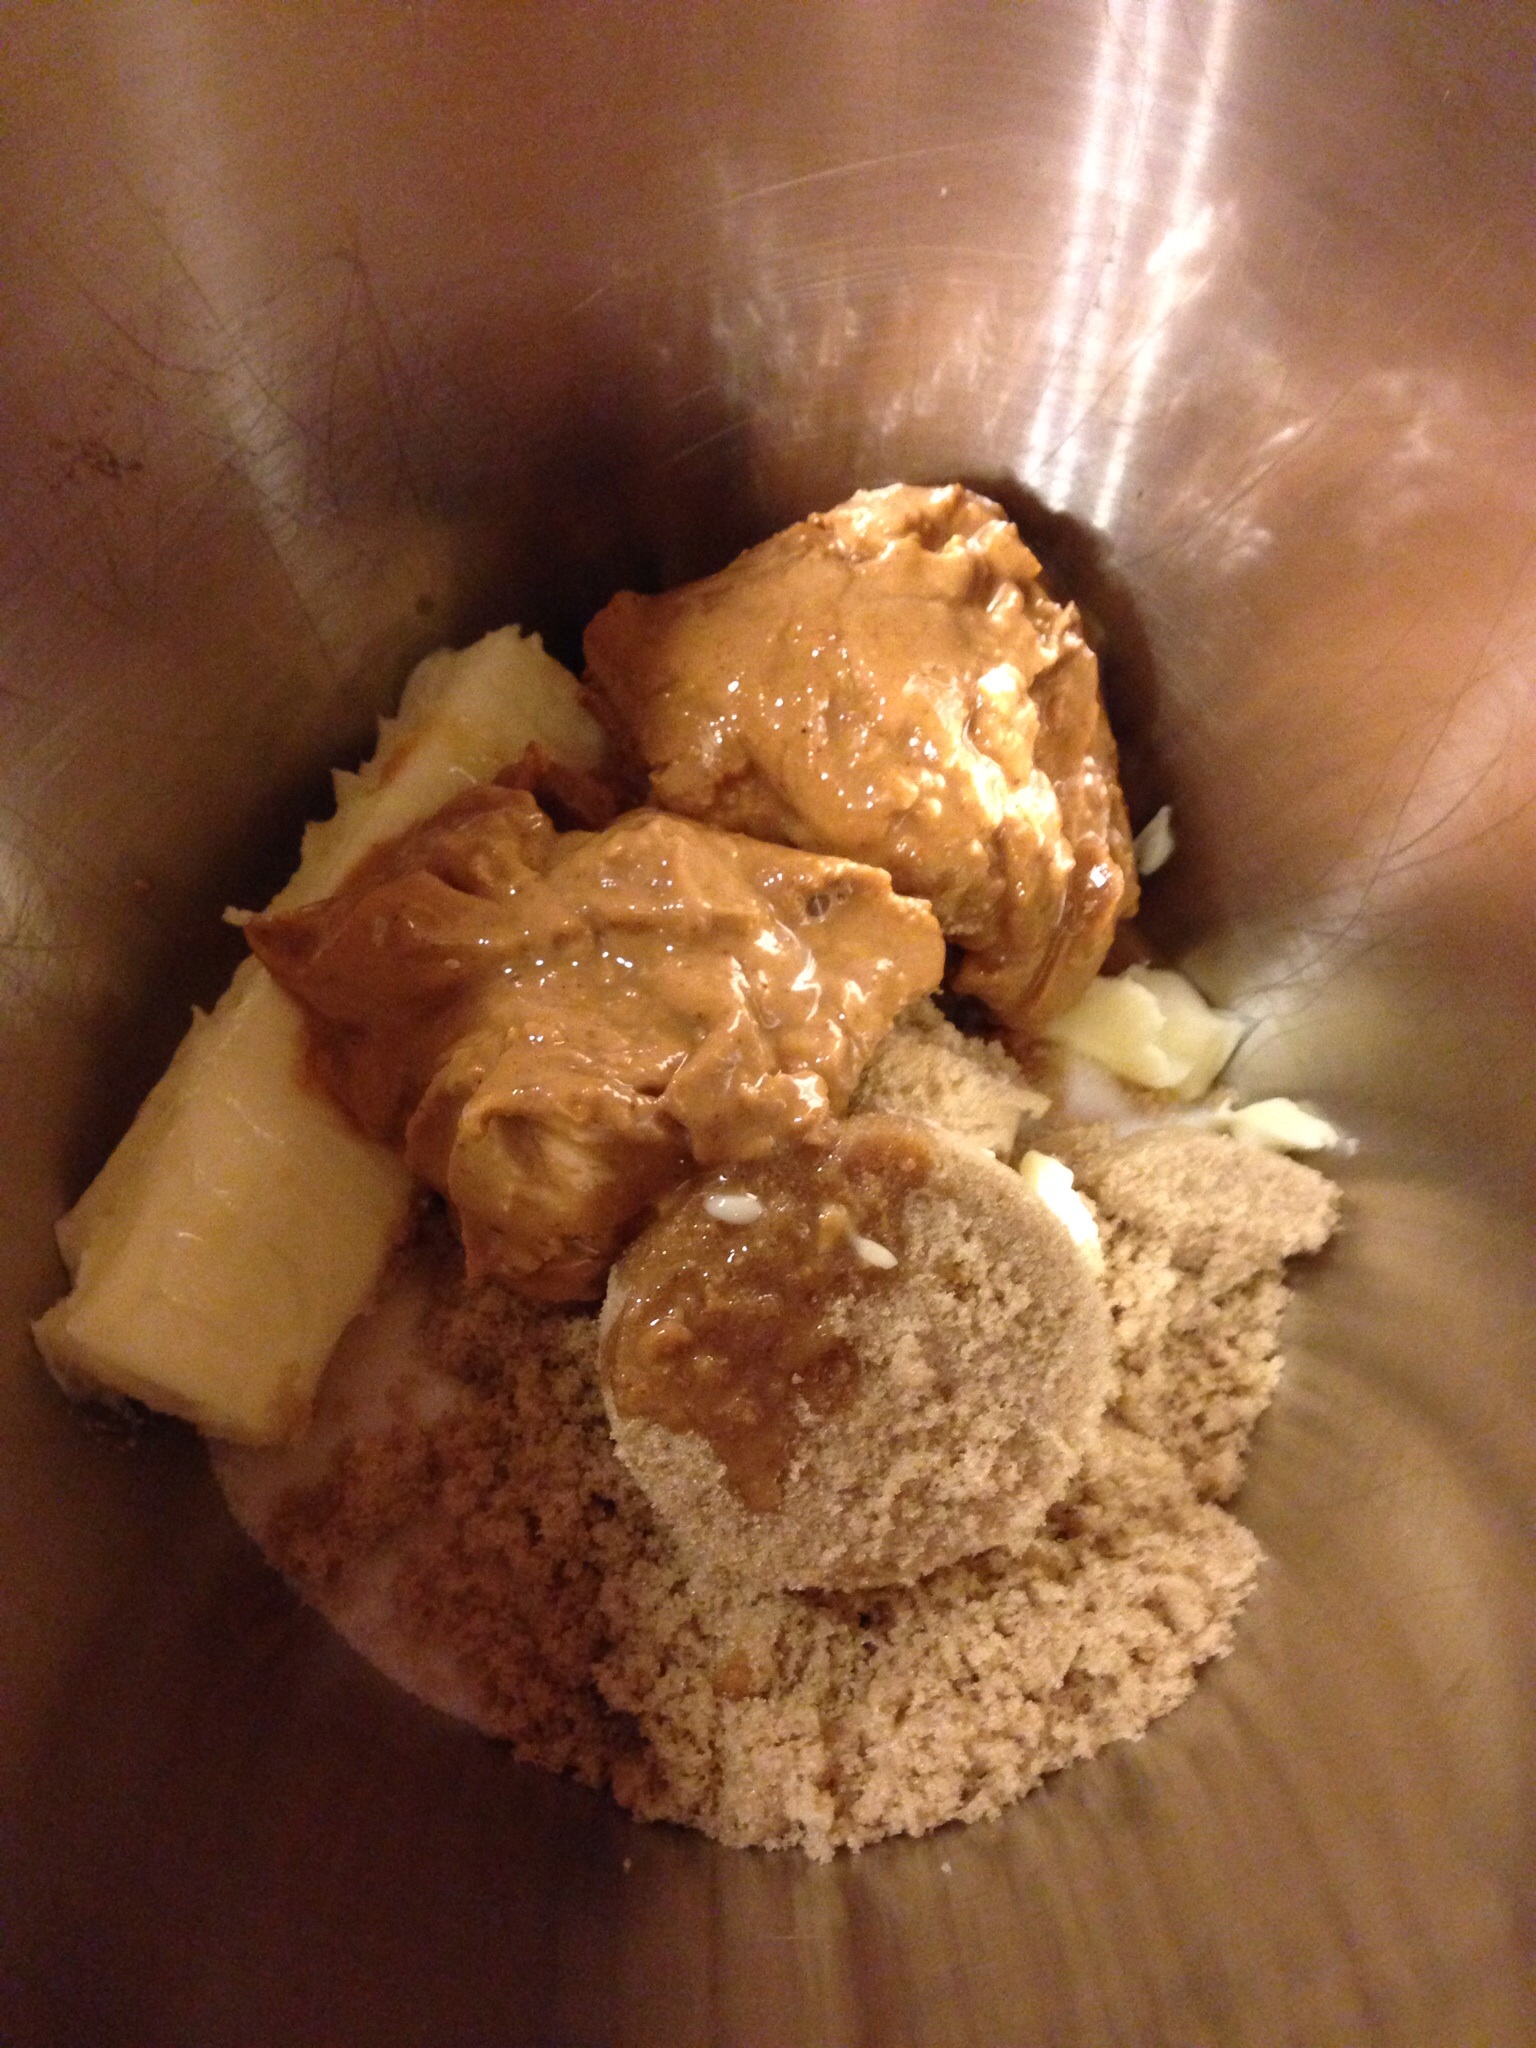
1 cup brown sugar

1/2 cup butter

1/2 cup light corn syrup

1 tsp vanilla

1/2 tsp baking soda

image

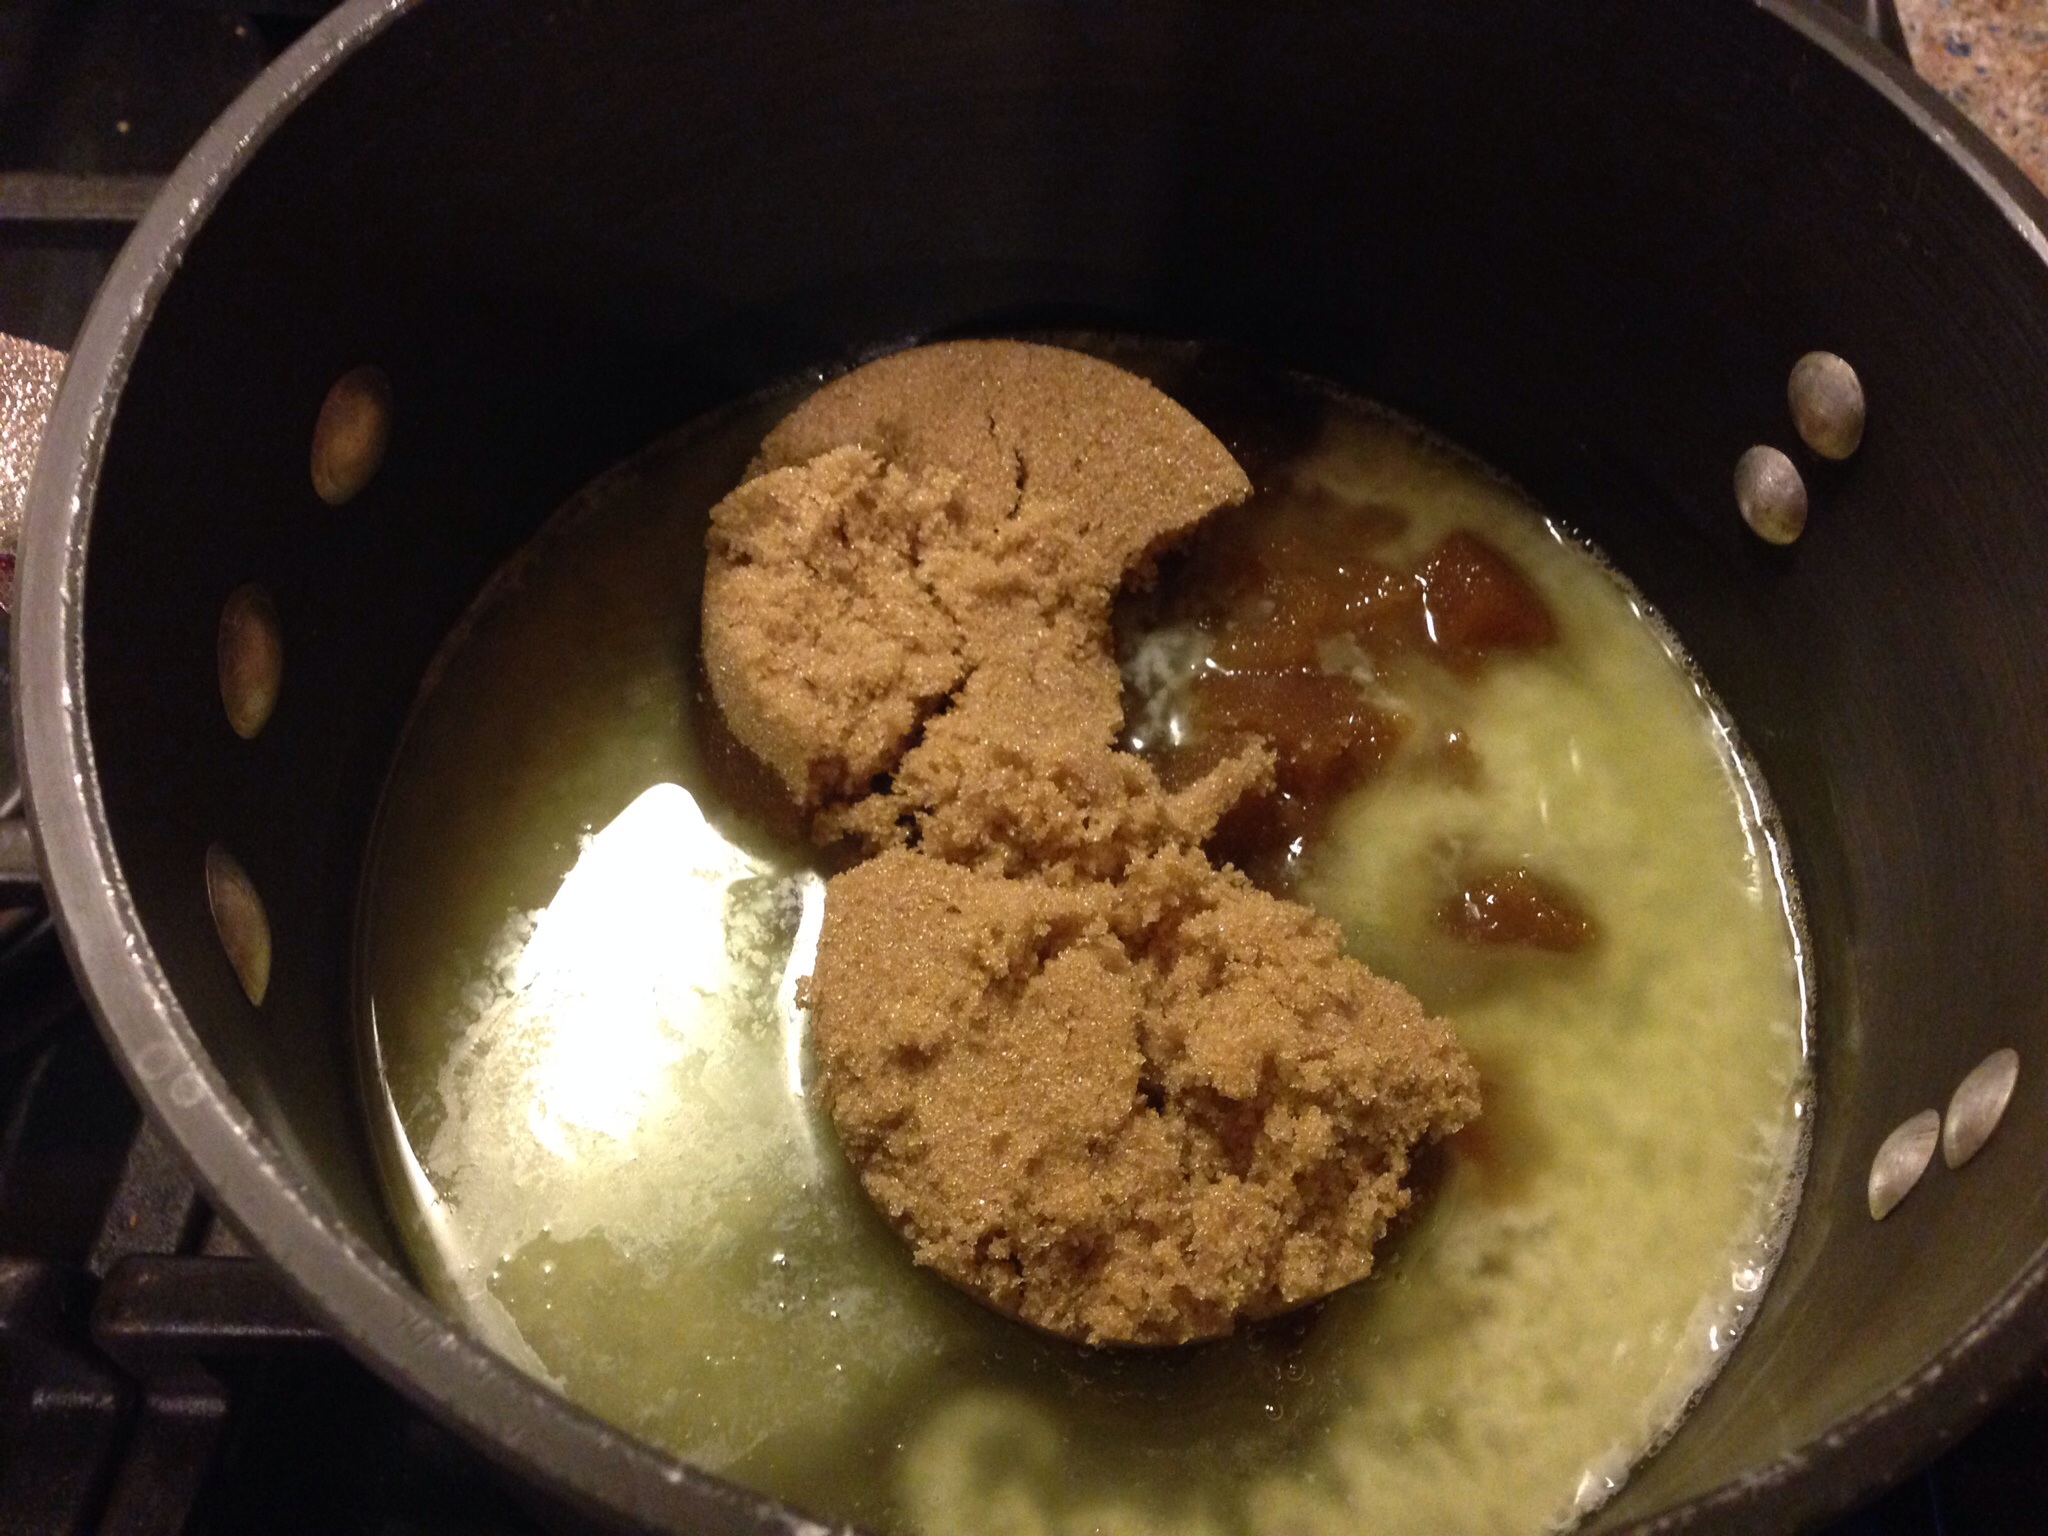
(Sorry I open the brown sugar bag on the wrong end.)

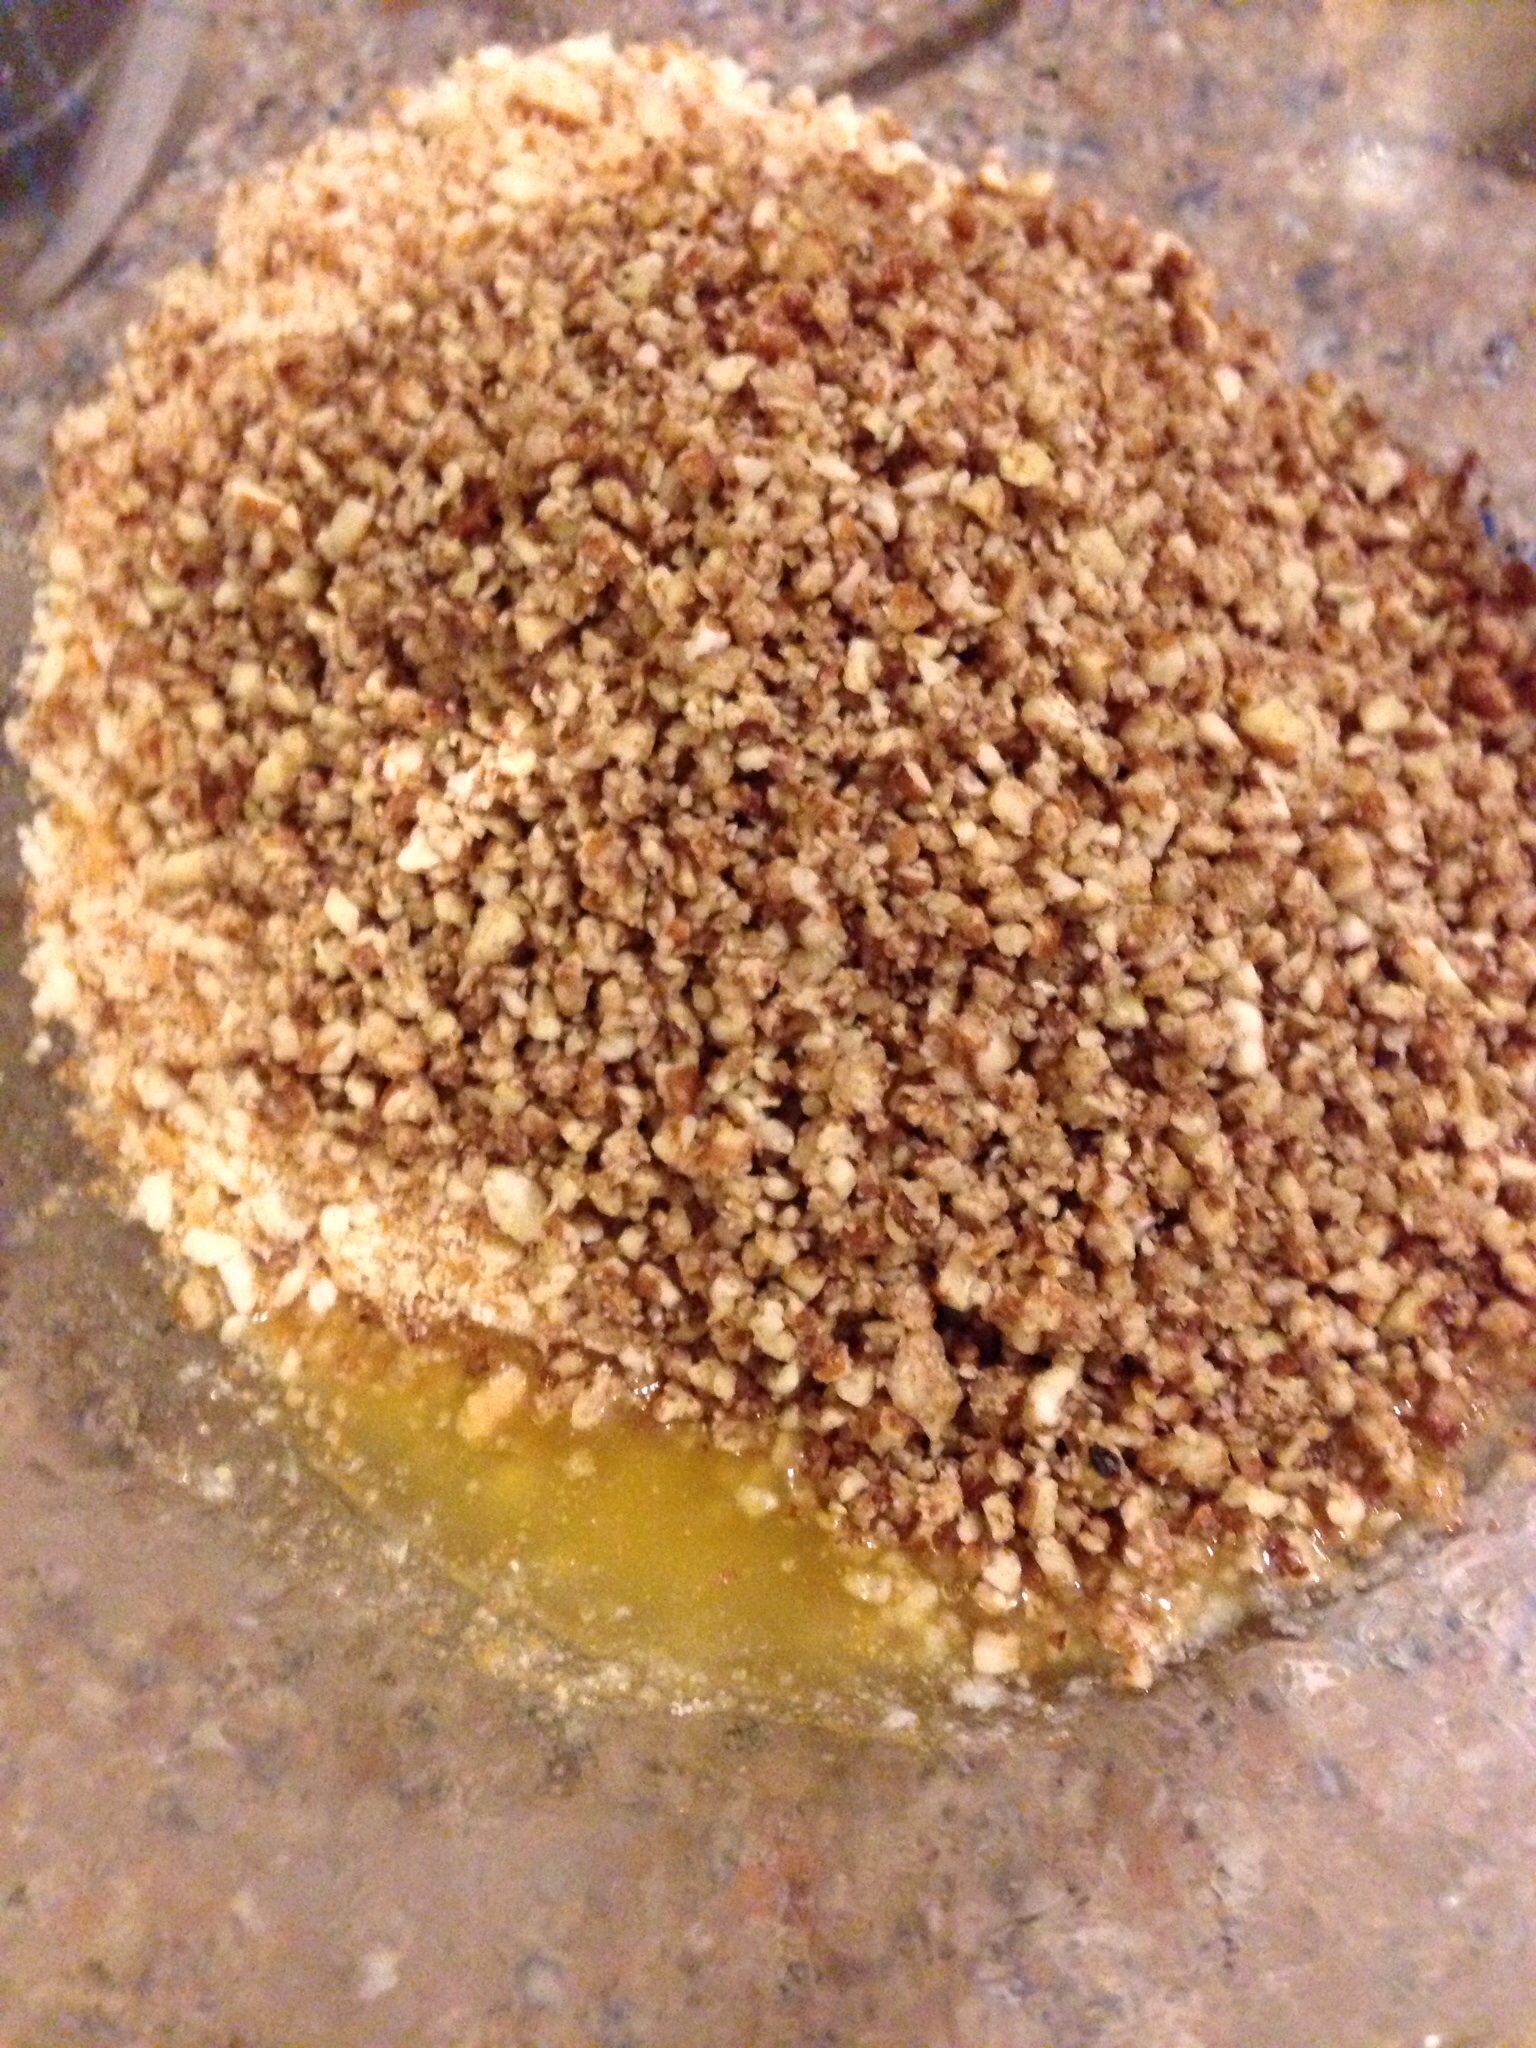
Spread popcorn (and nuts if you’re using) on a greased jelly roll pan or in a large roasting pan. Try to pick out any unpopped kernels to save on dental work as you’re munching your caramel corn.

image

Preheat your oven to 250.

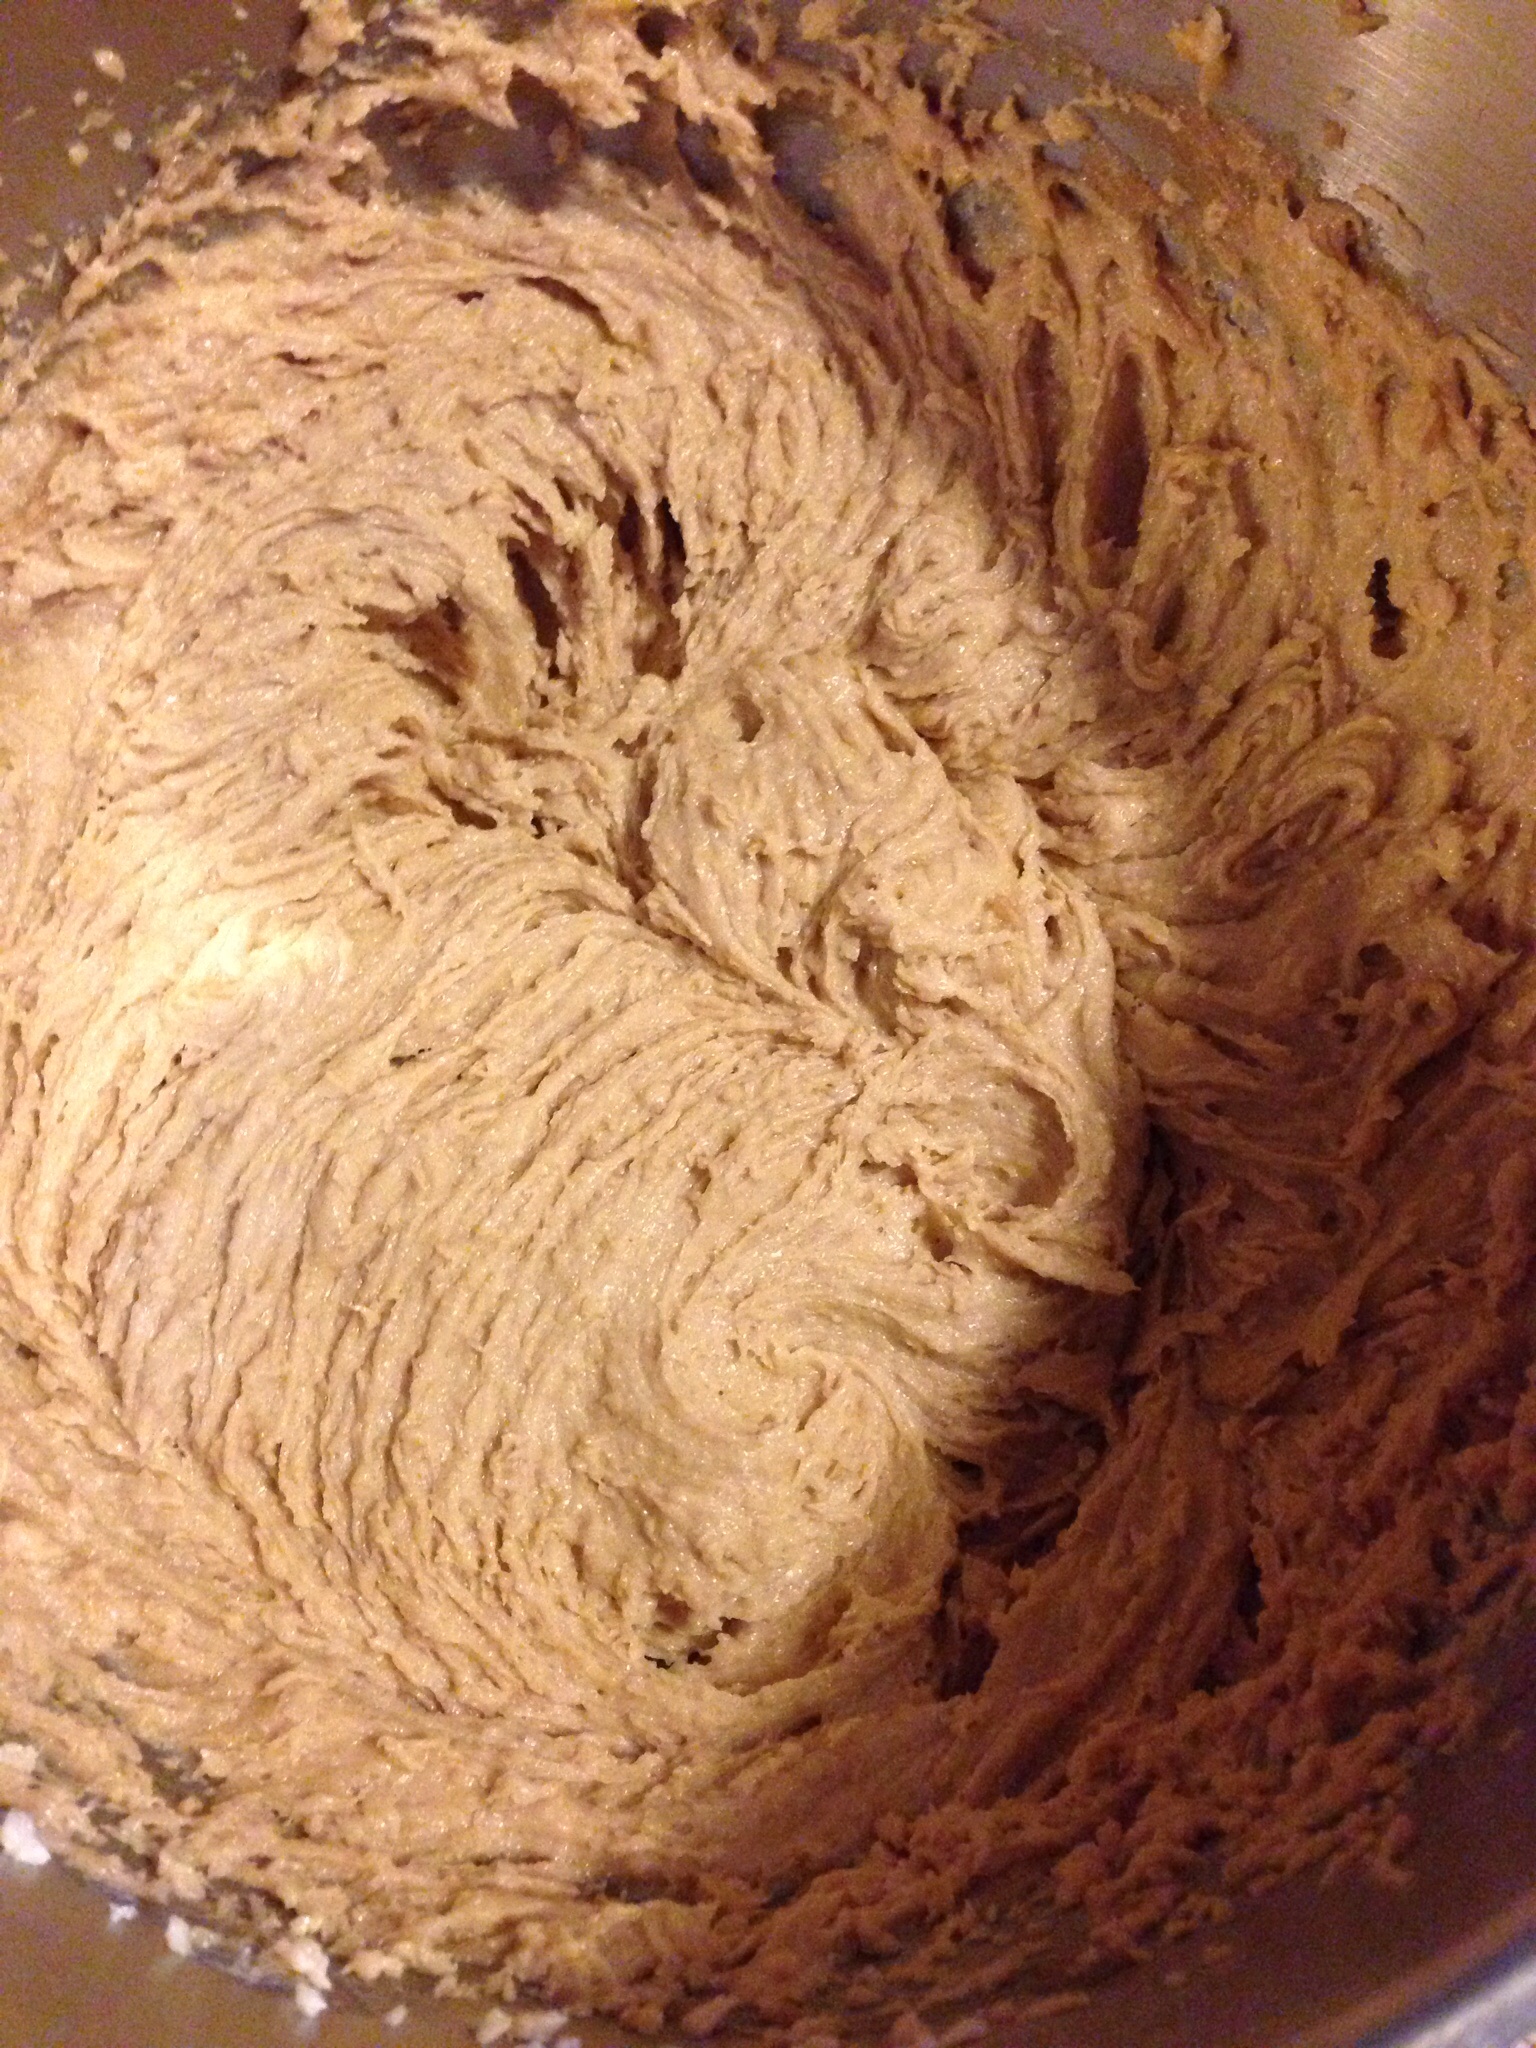
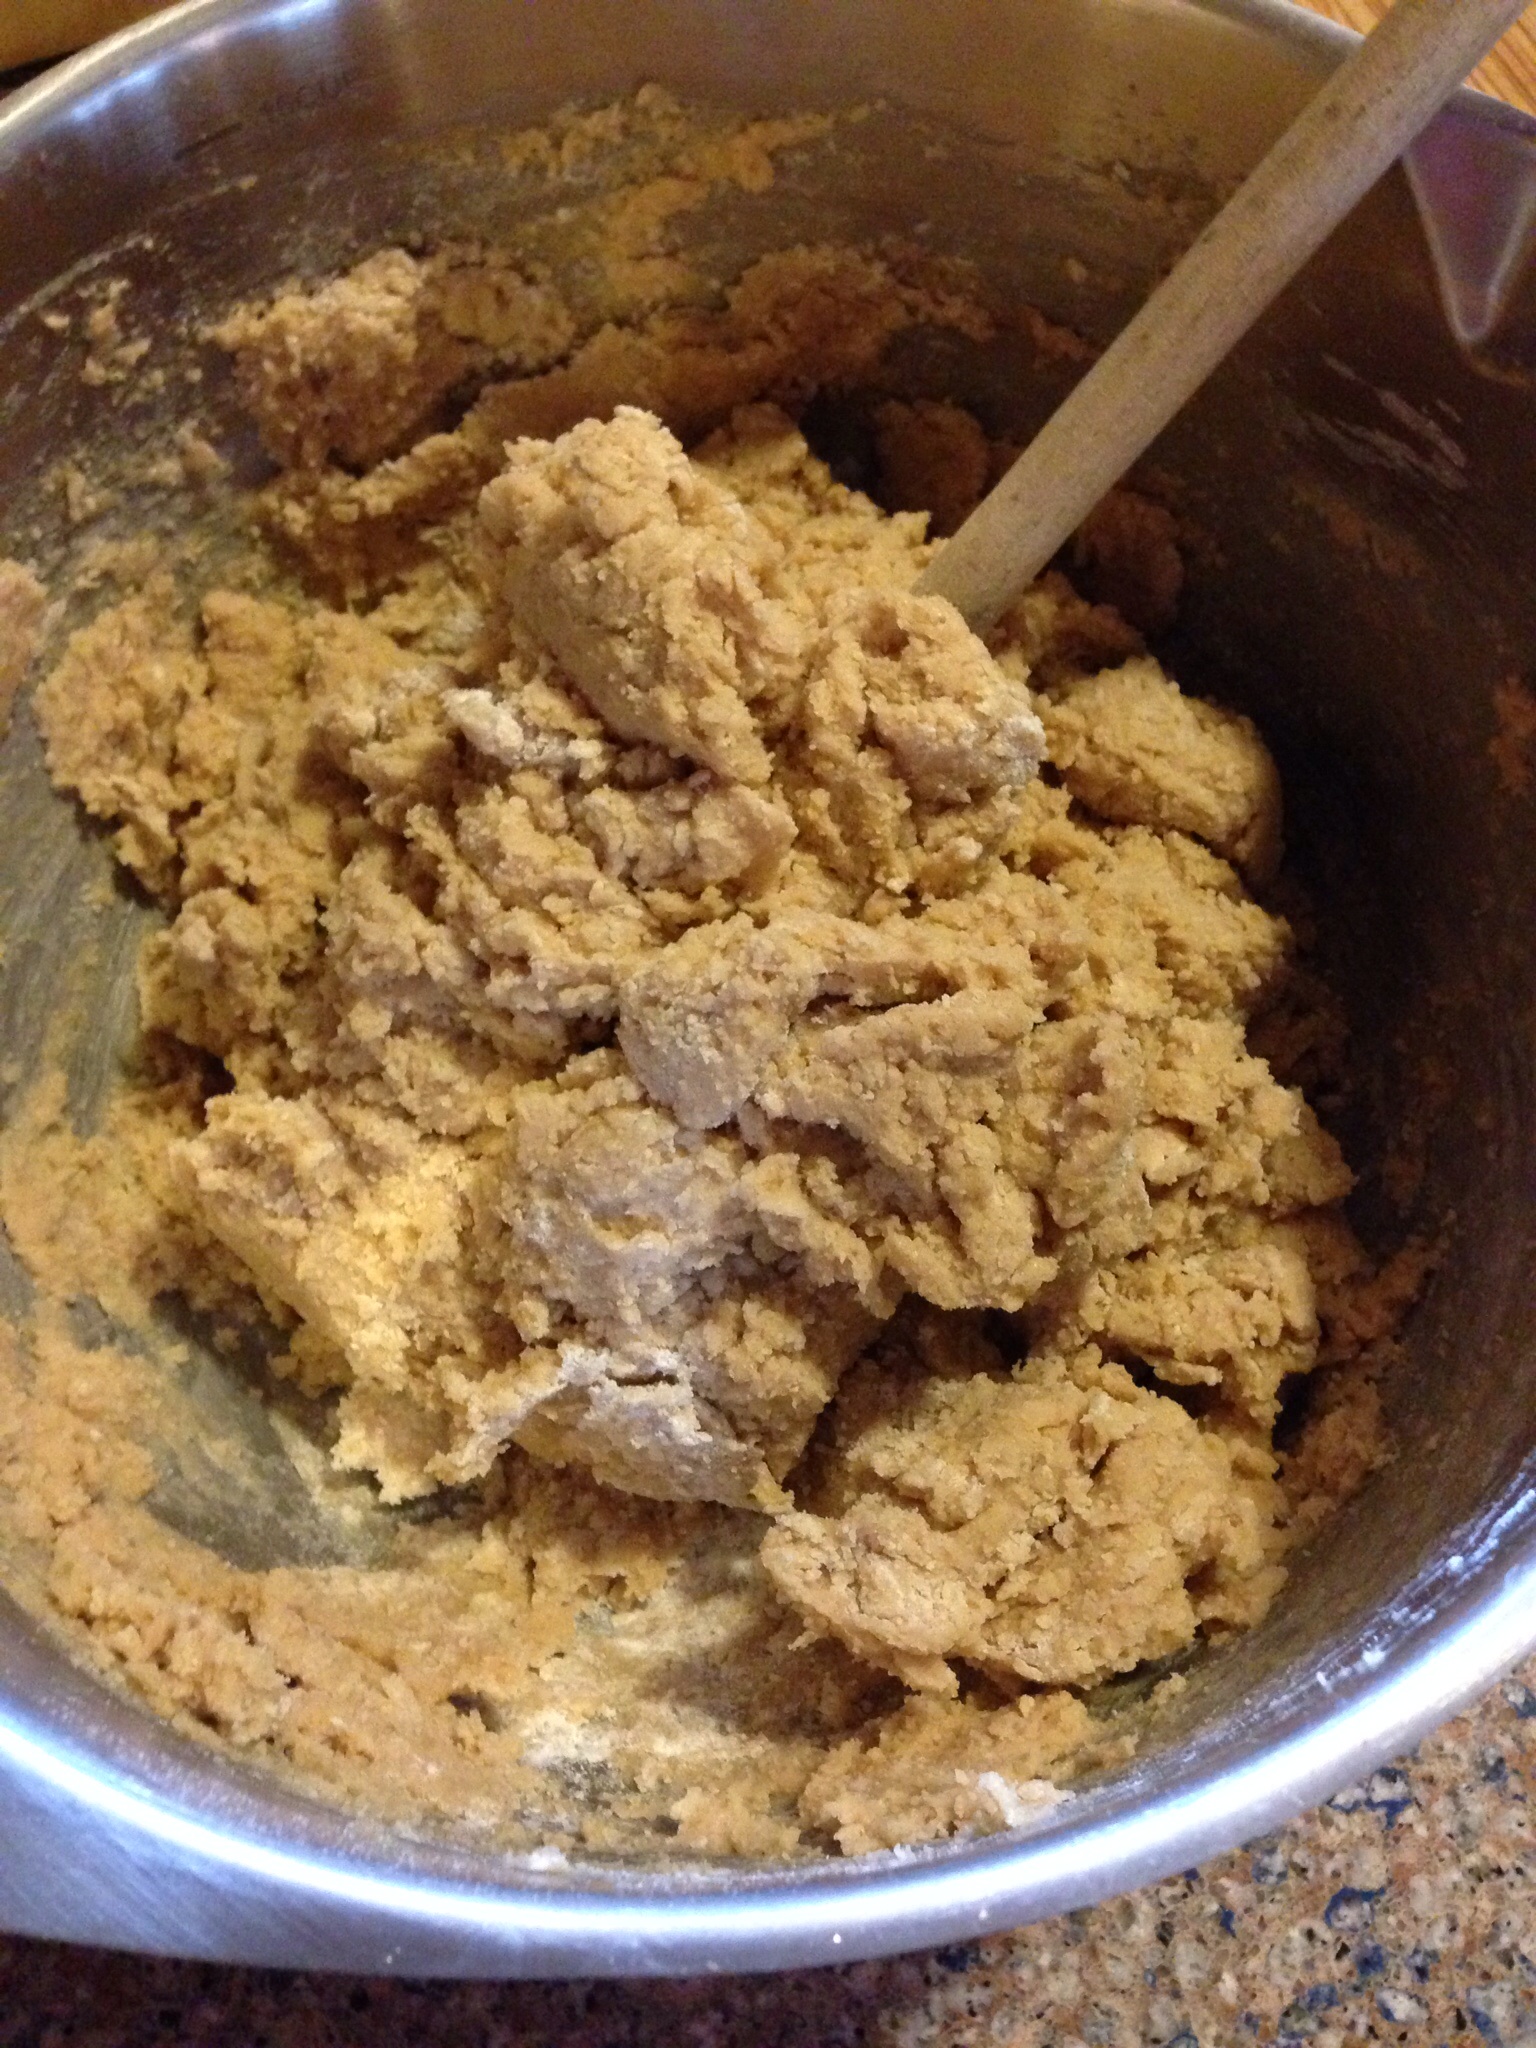
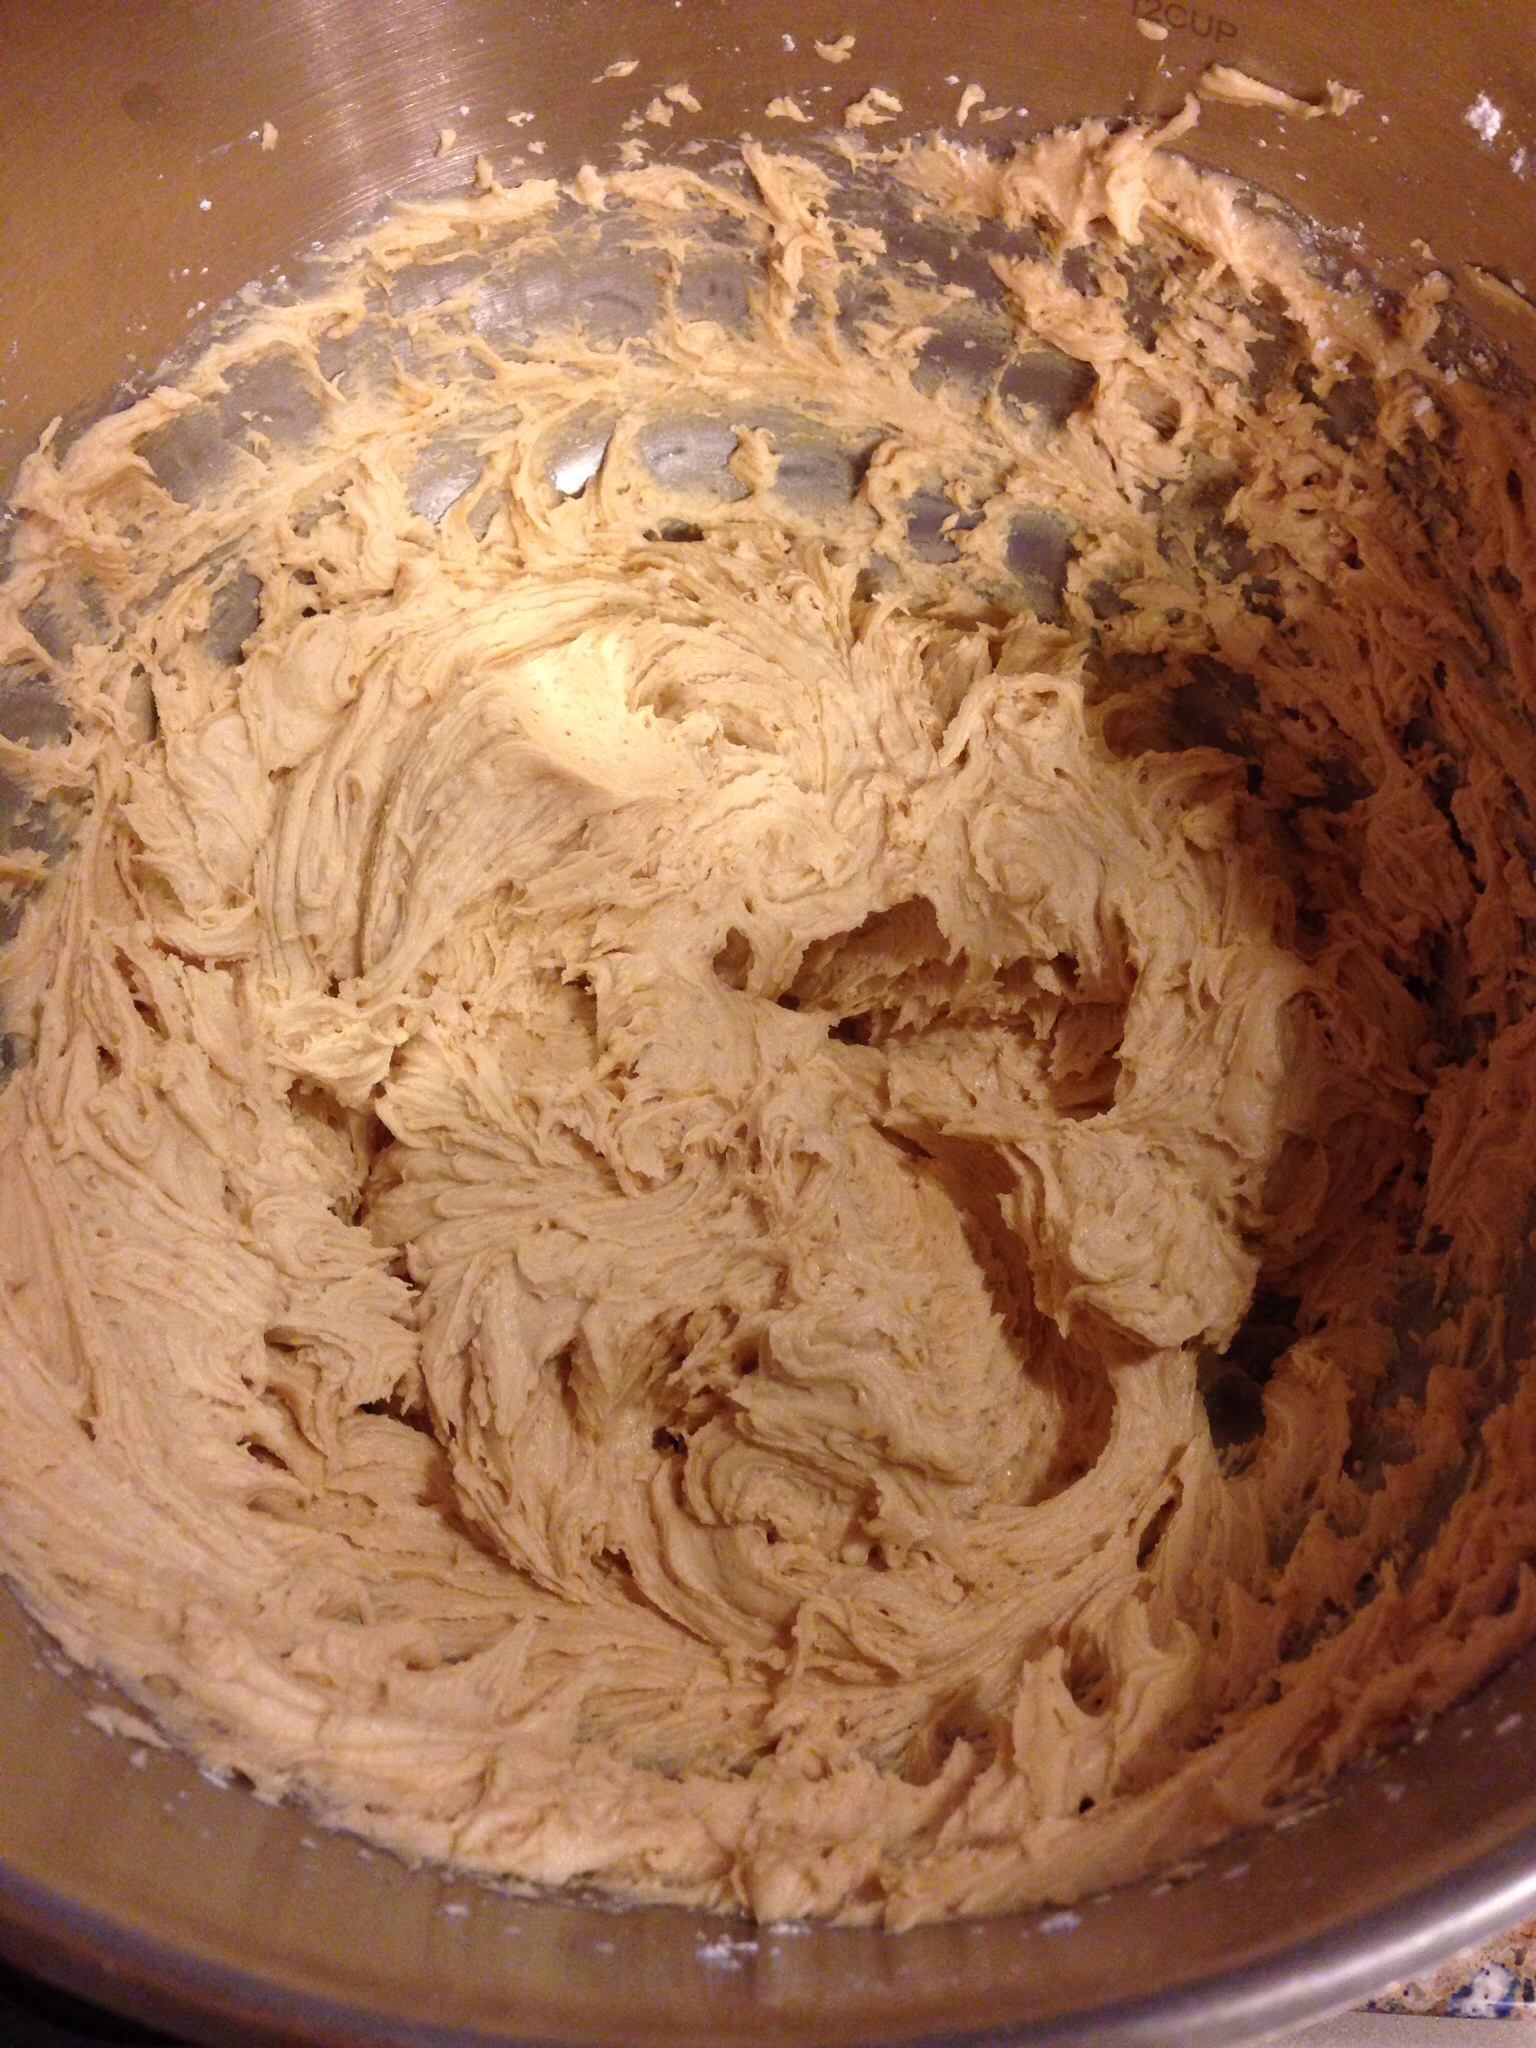
In a heavy saucepan combine sugar, butter, and corn syrup.

image

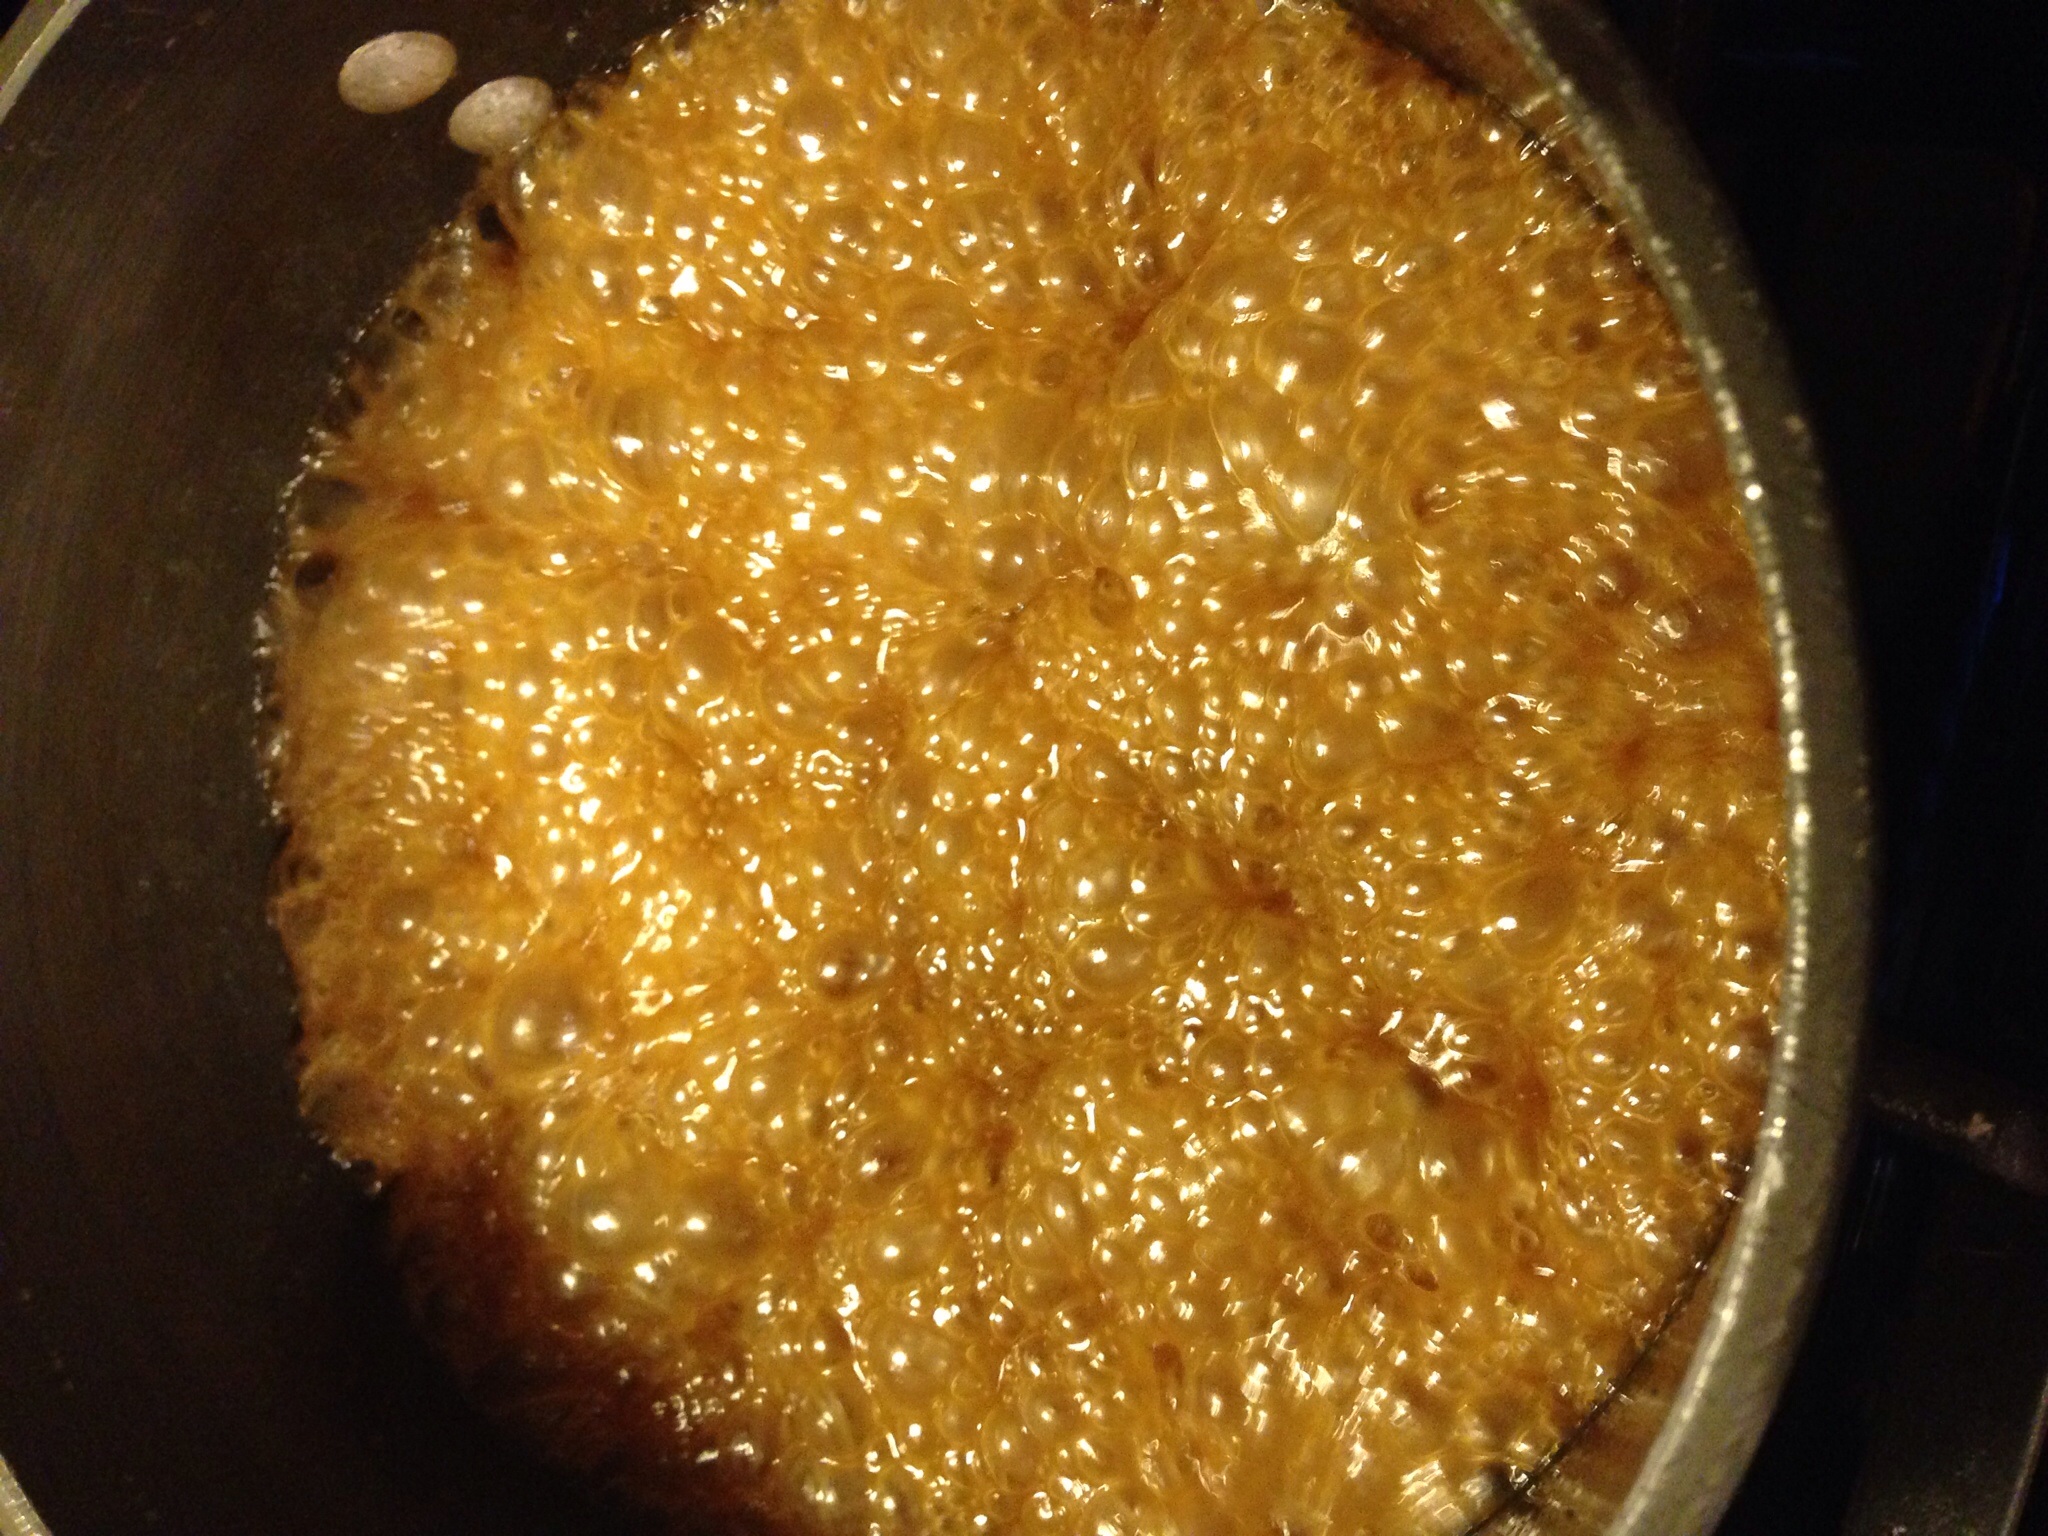
Cook and stir until mixture comes to a boil. Boil mixture for 5 minutes without stirring.

image

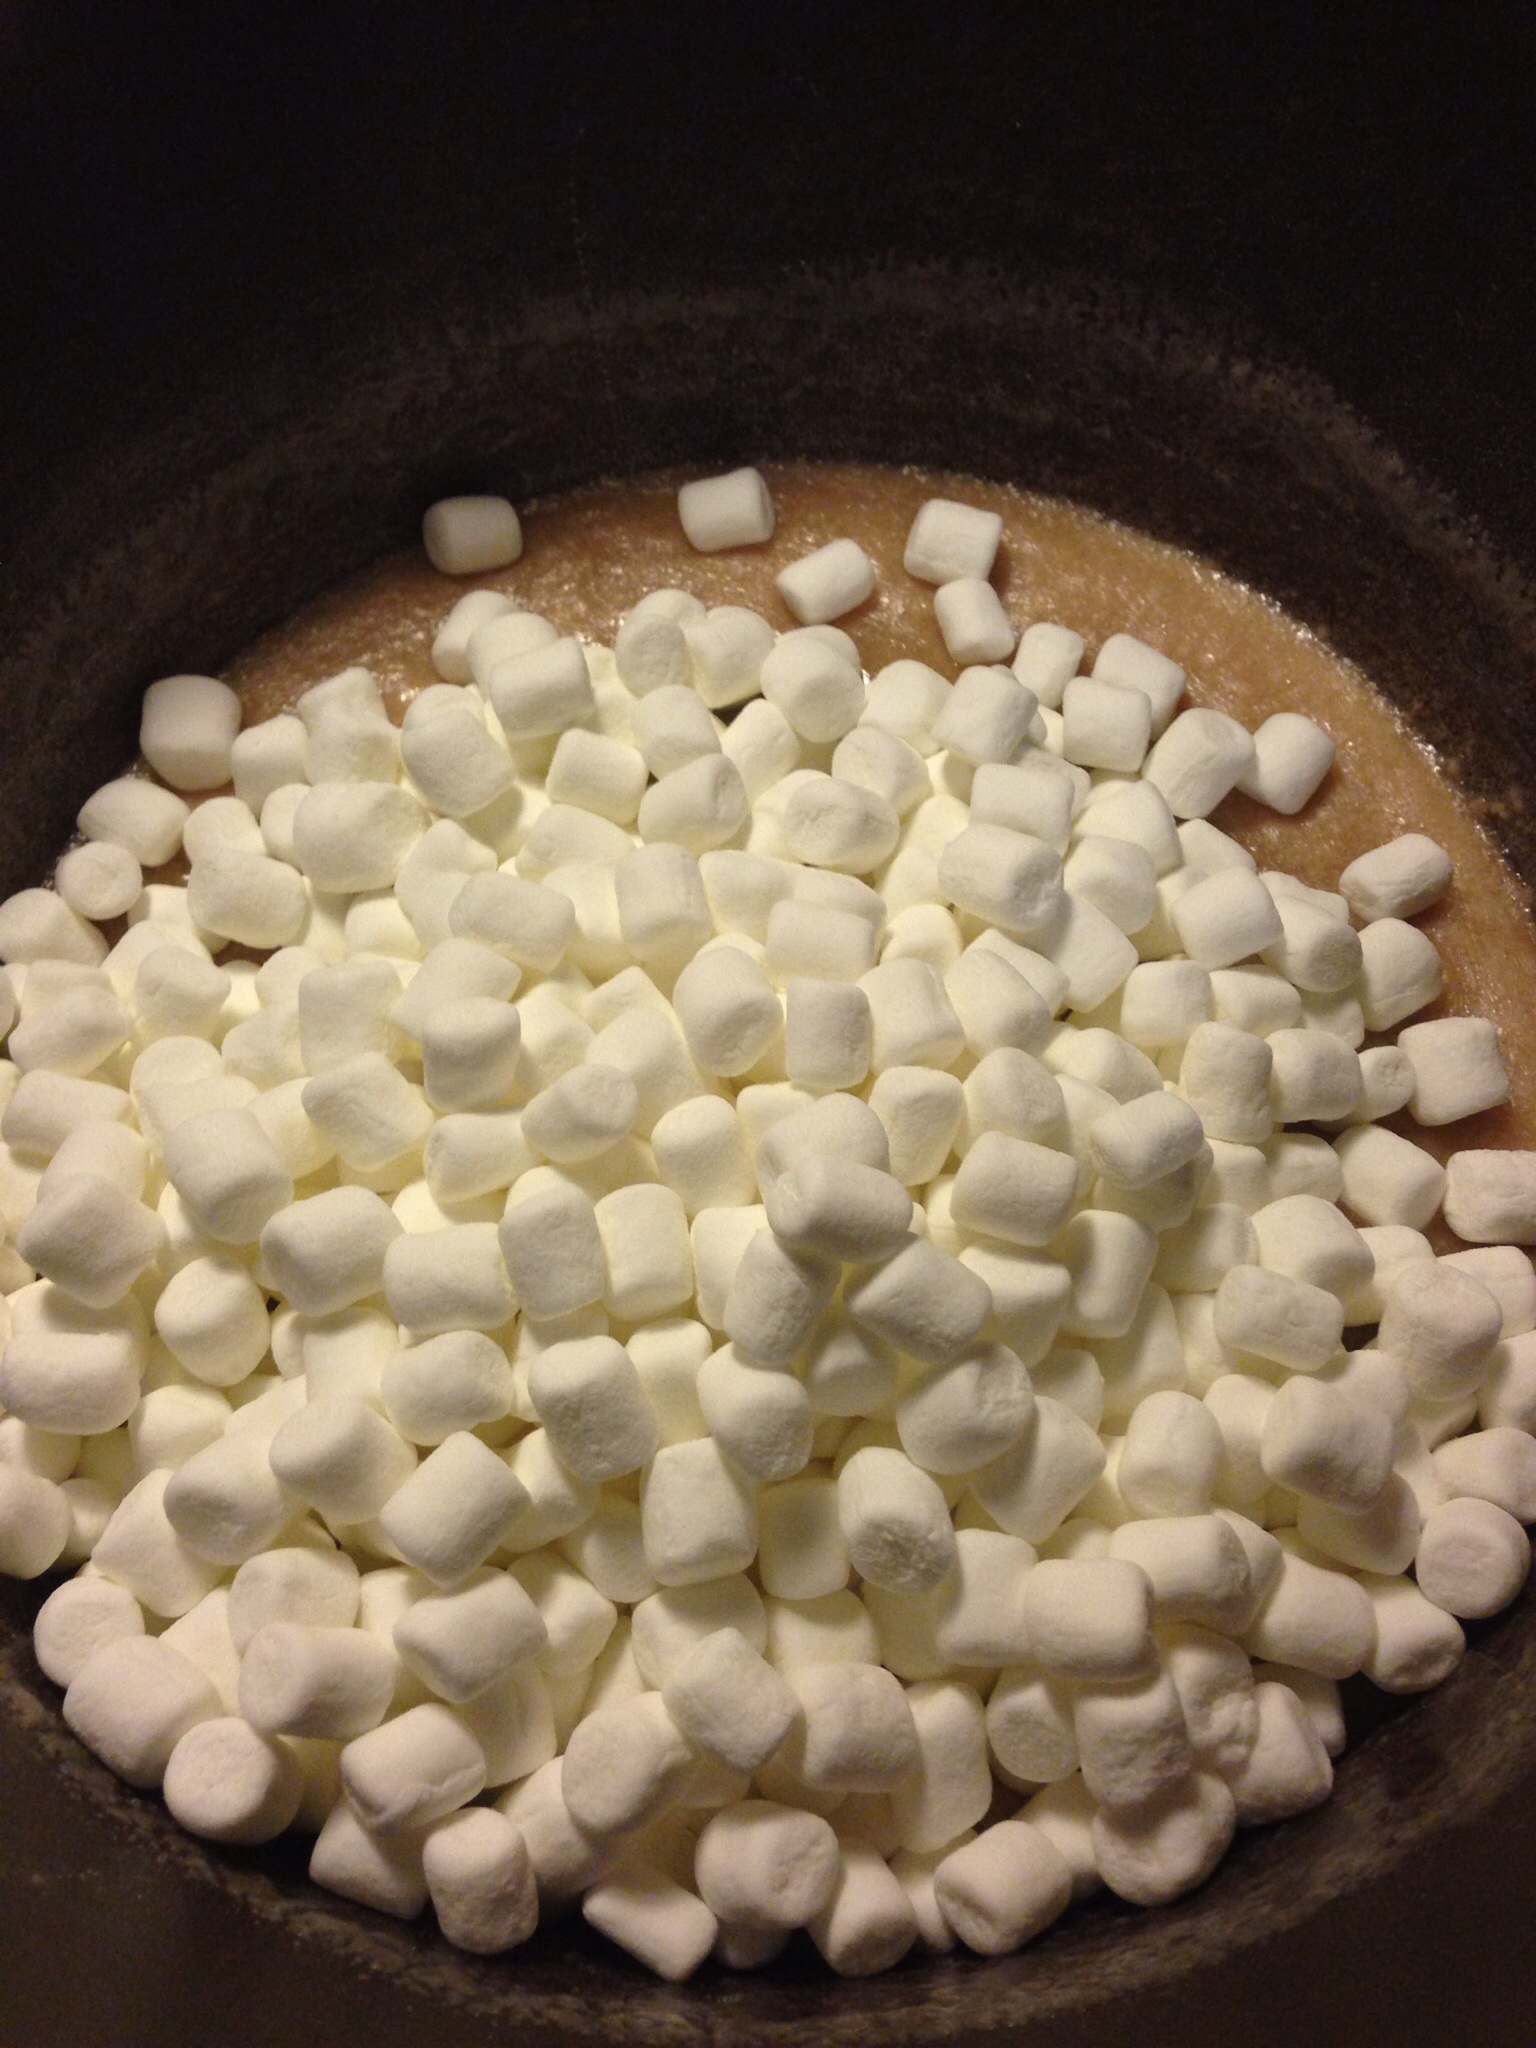
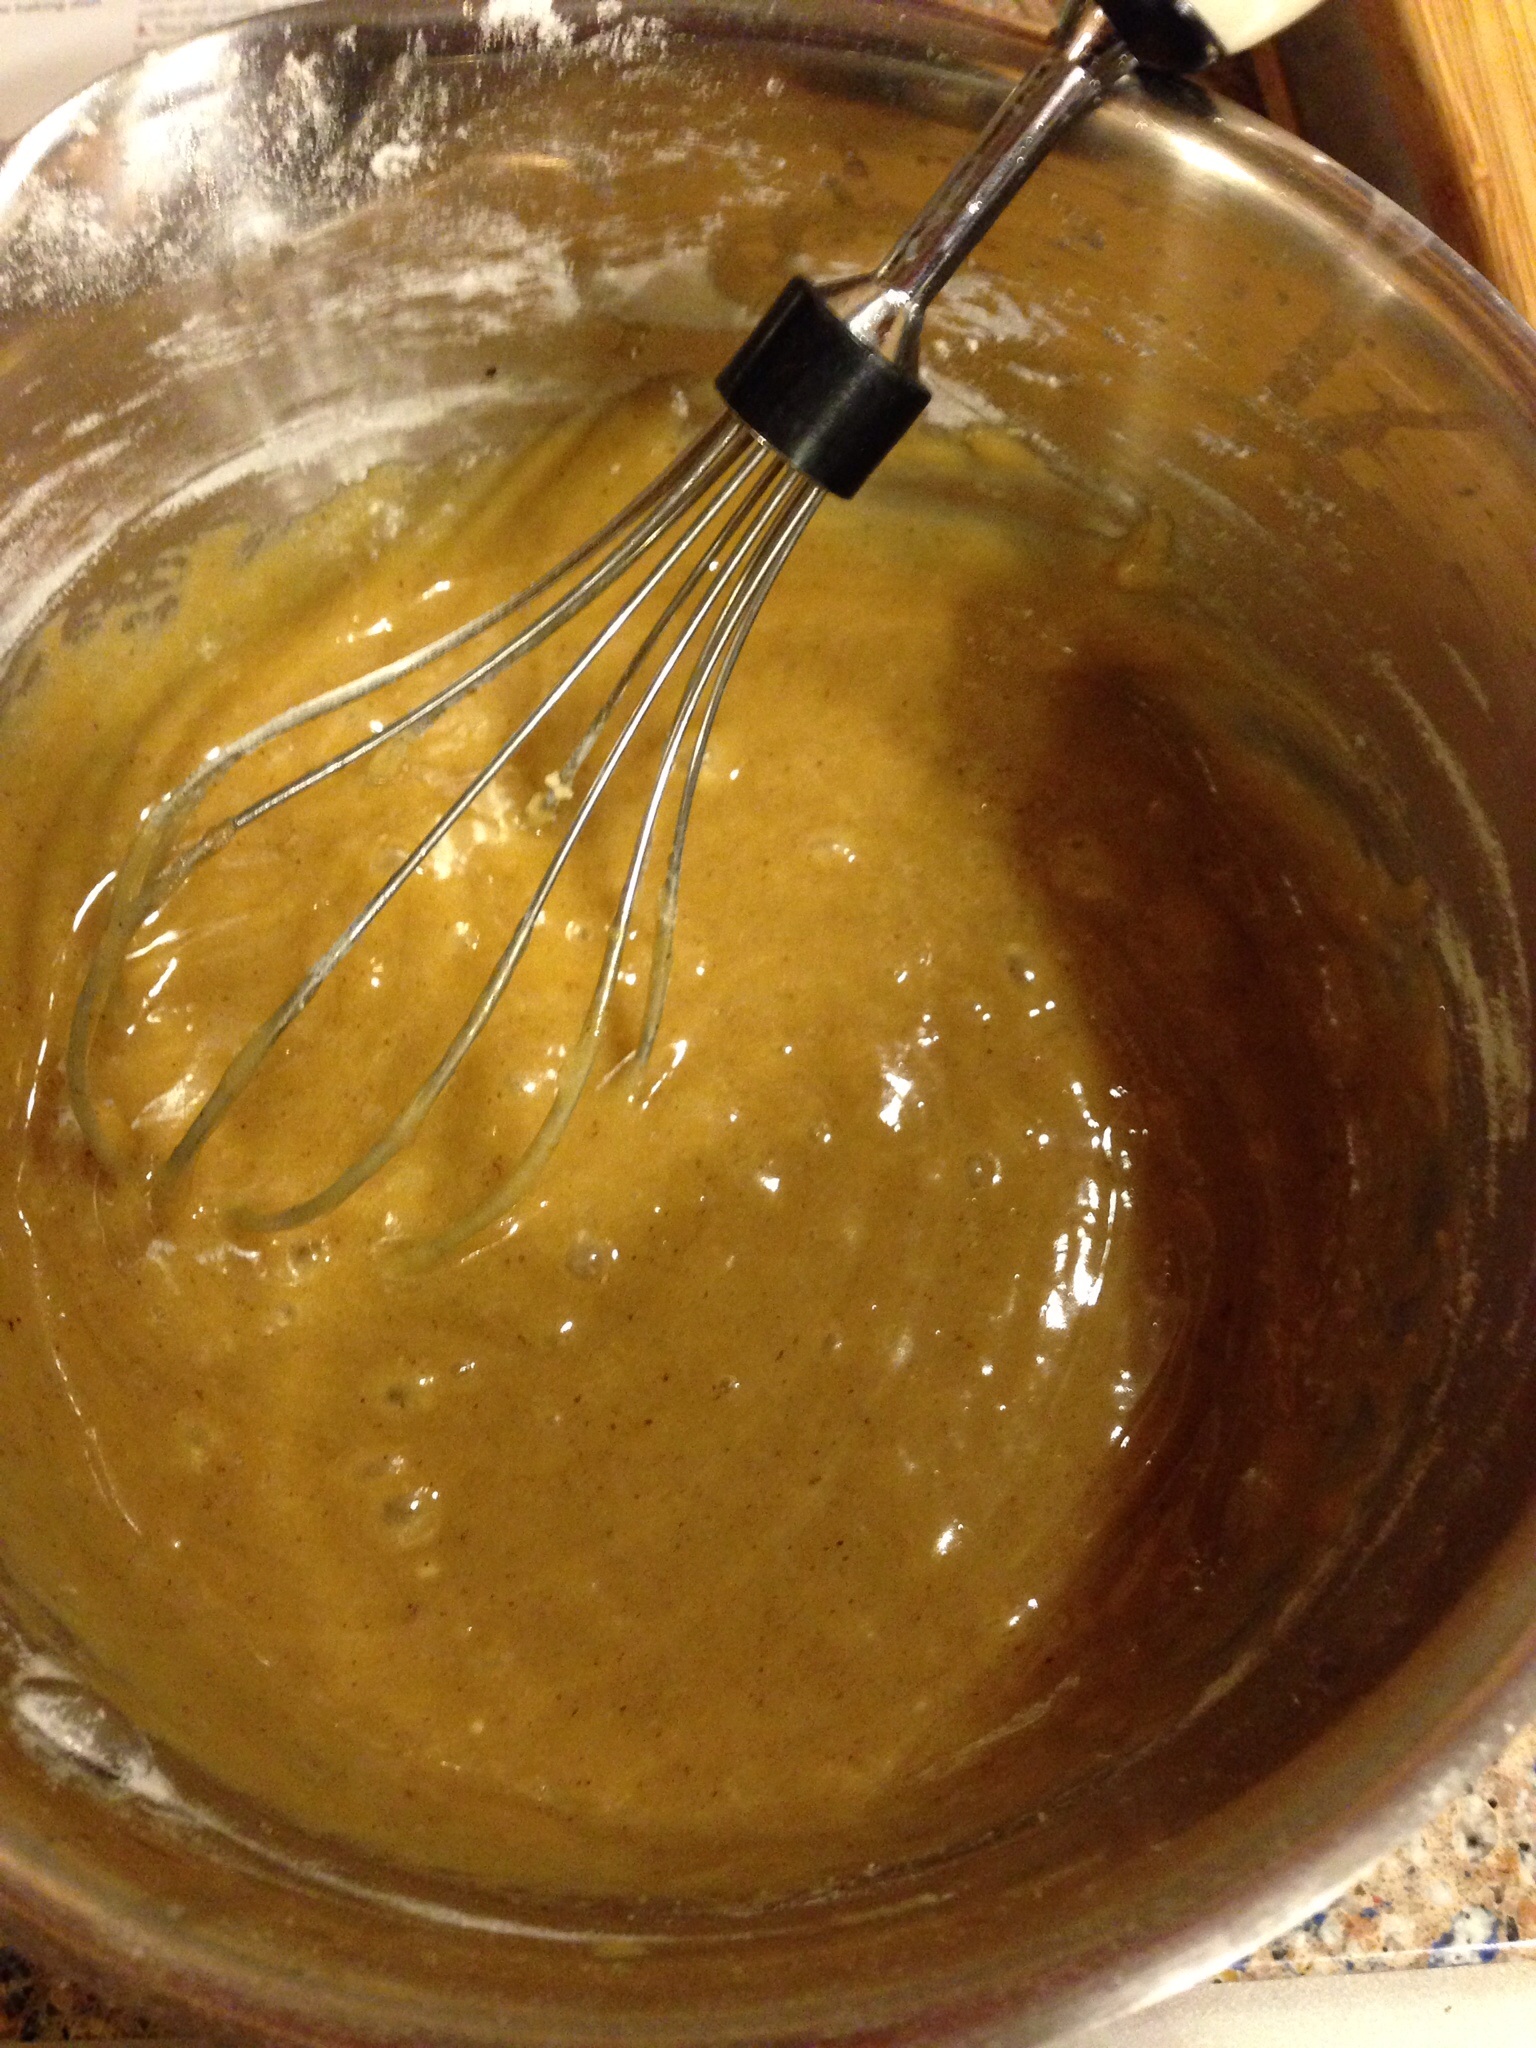
Remove from heat. With a wooden spoon stir in vanilla and baking soda stirring constantly.

image

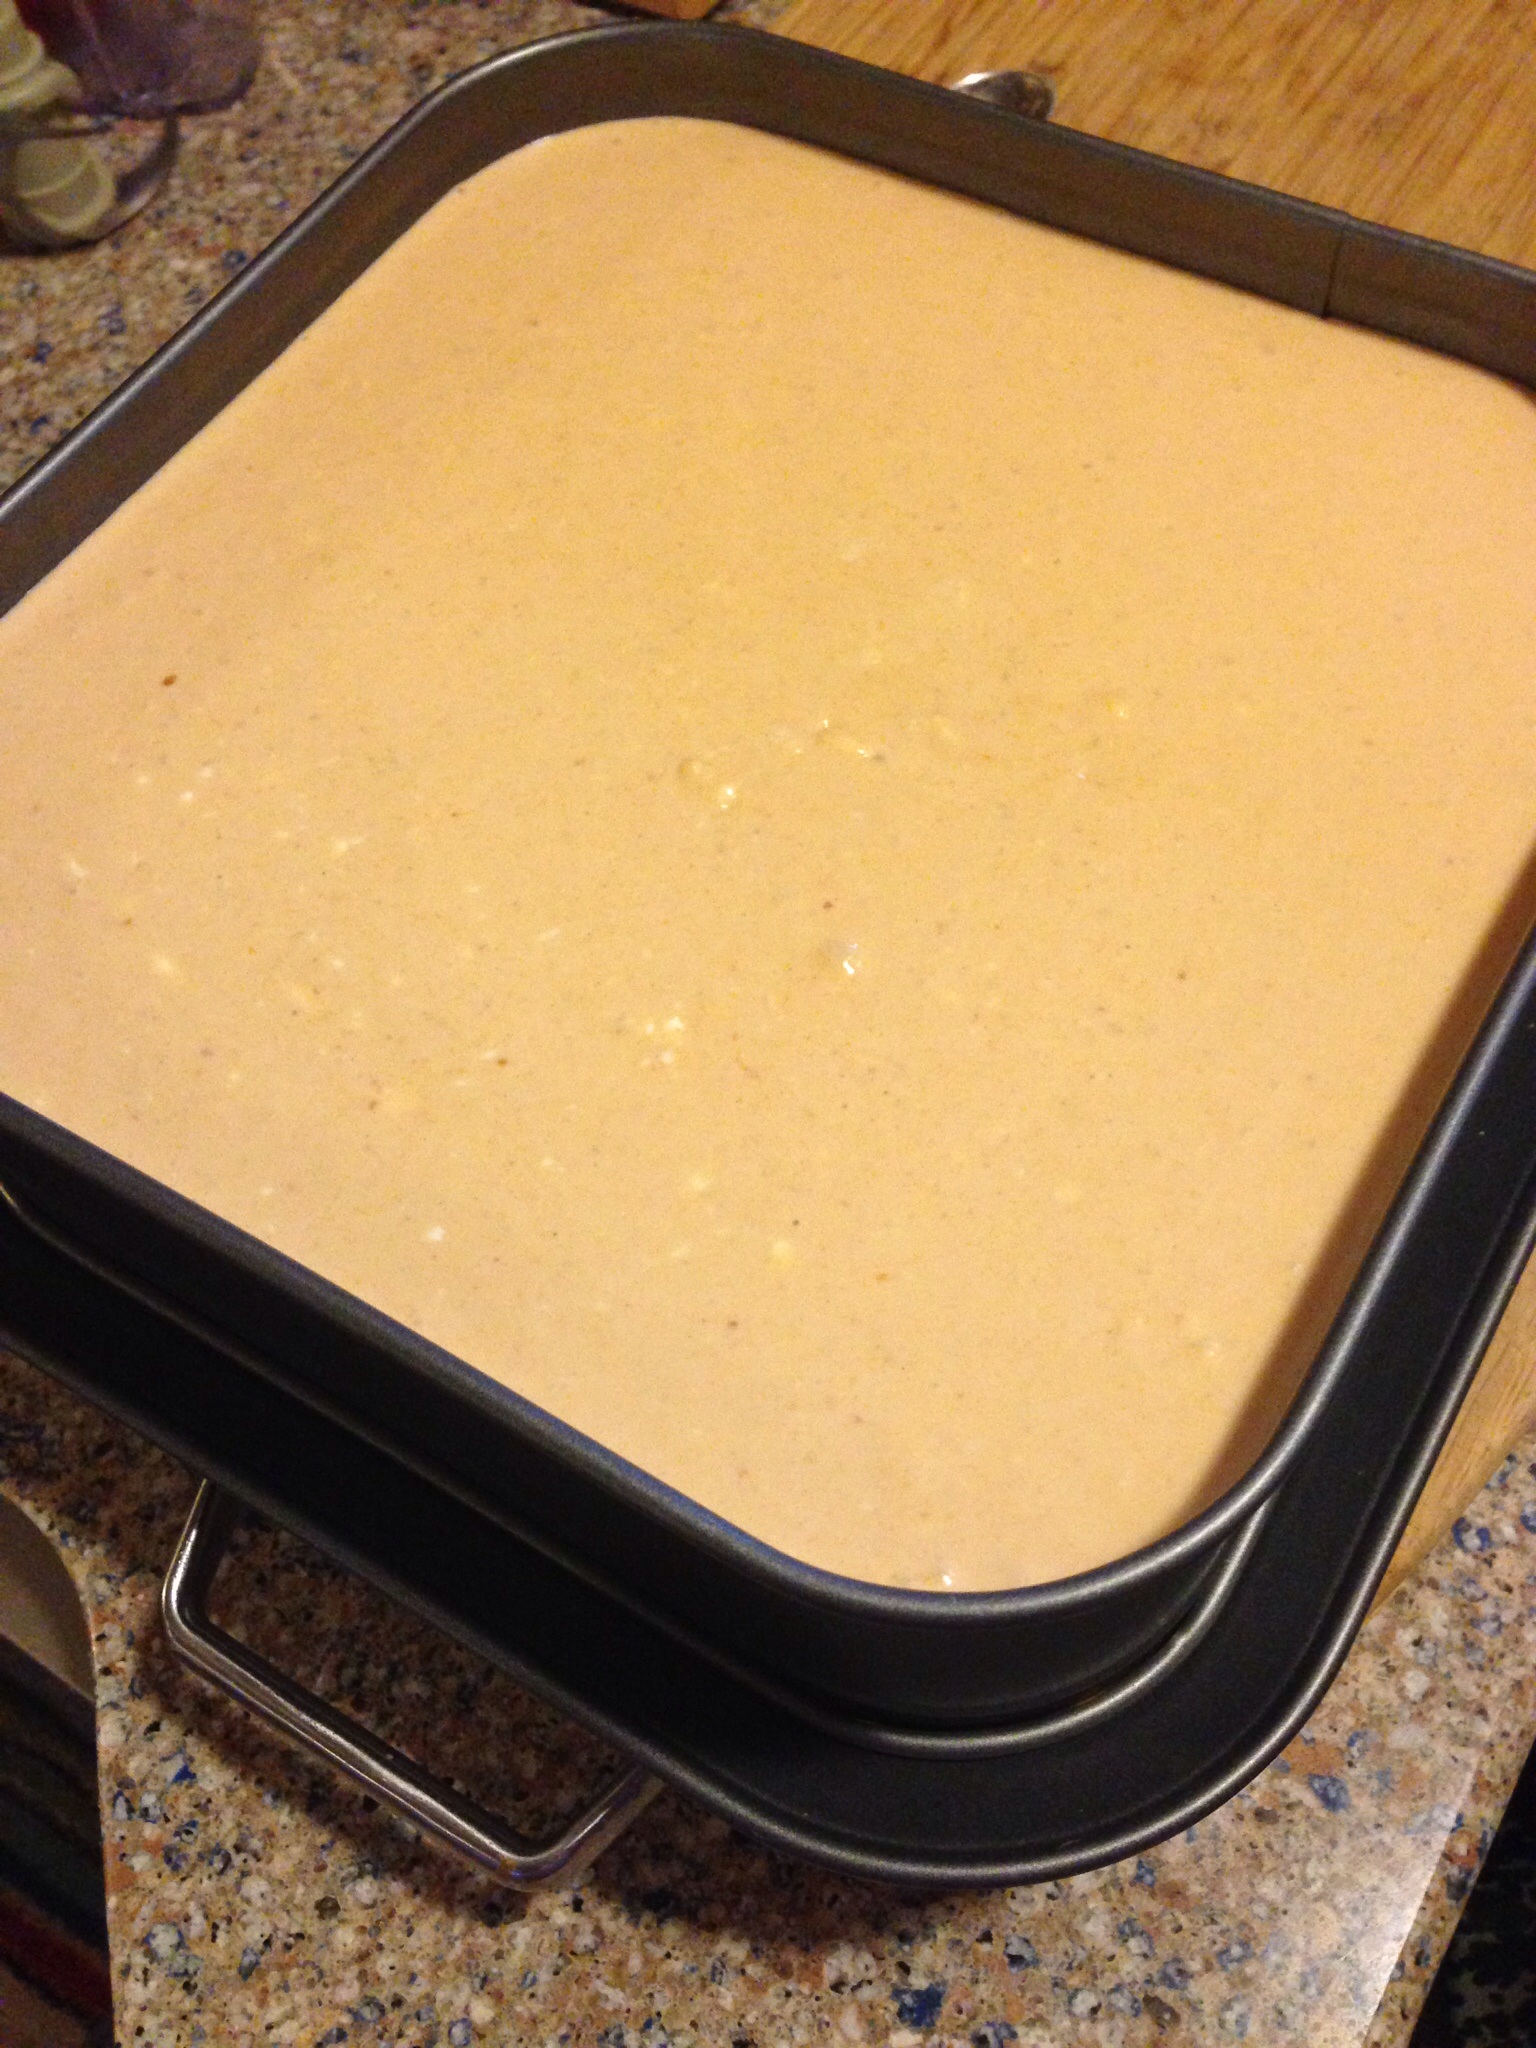
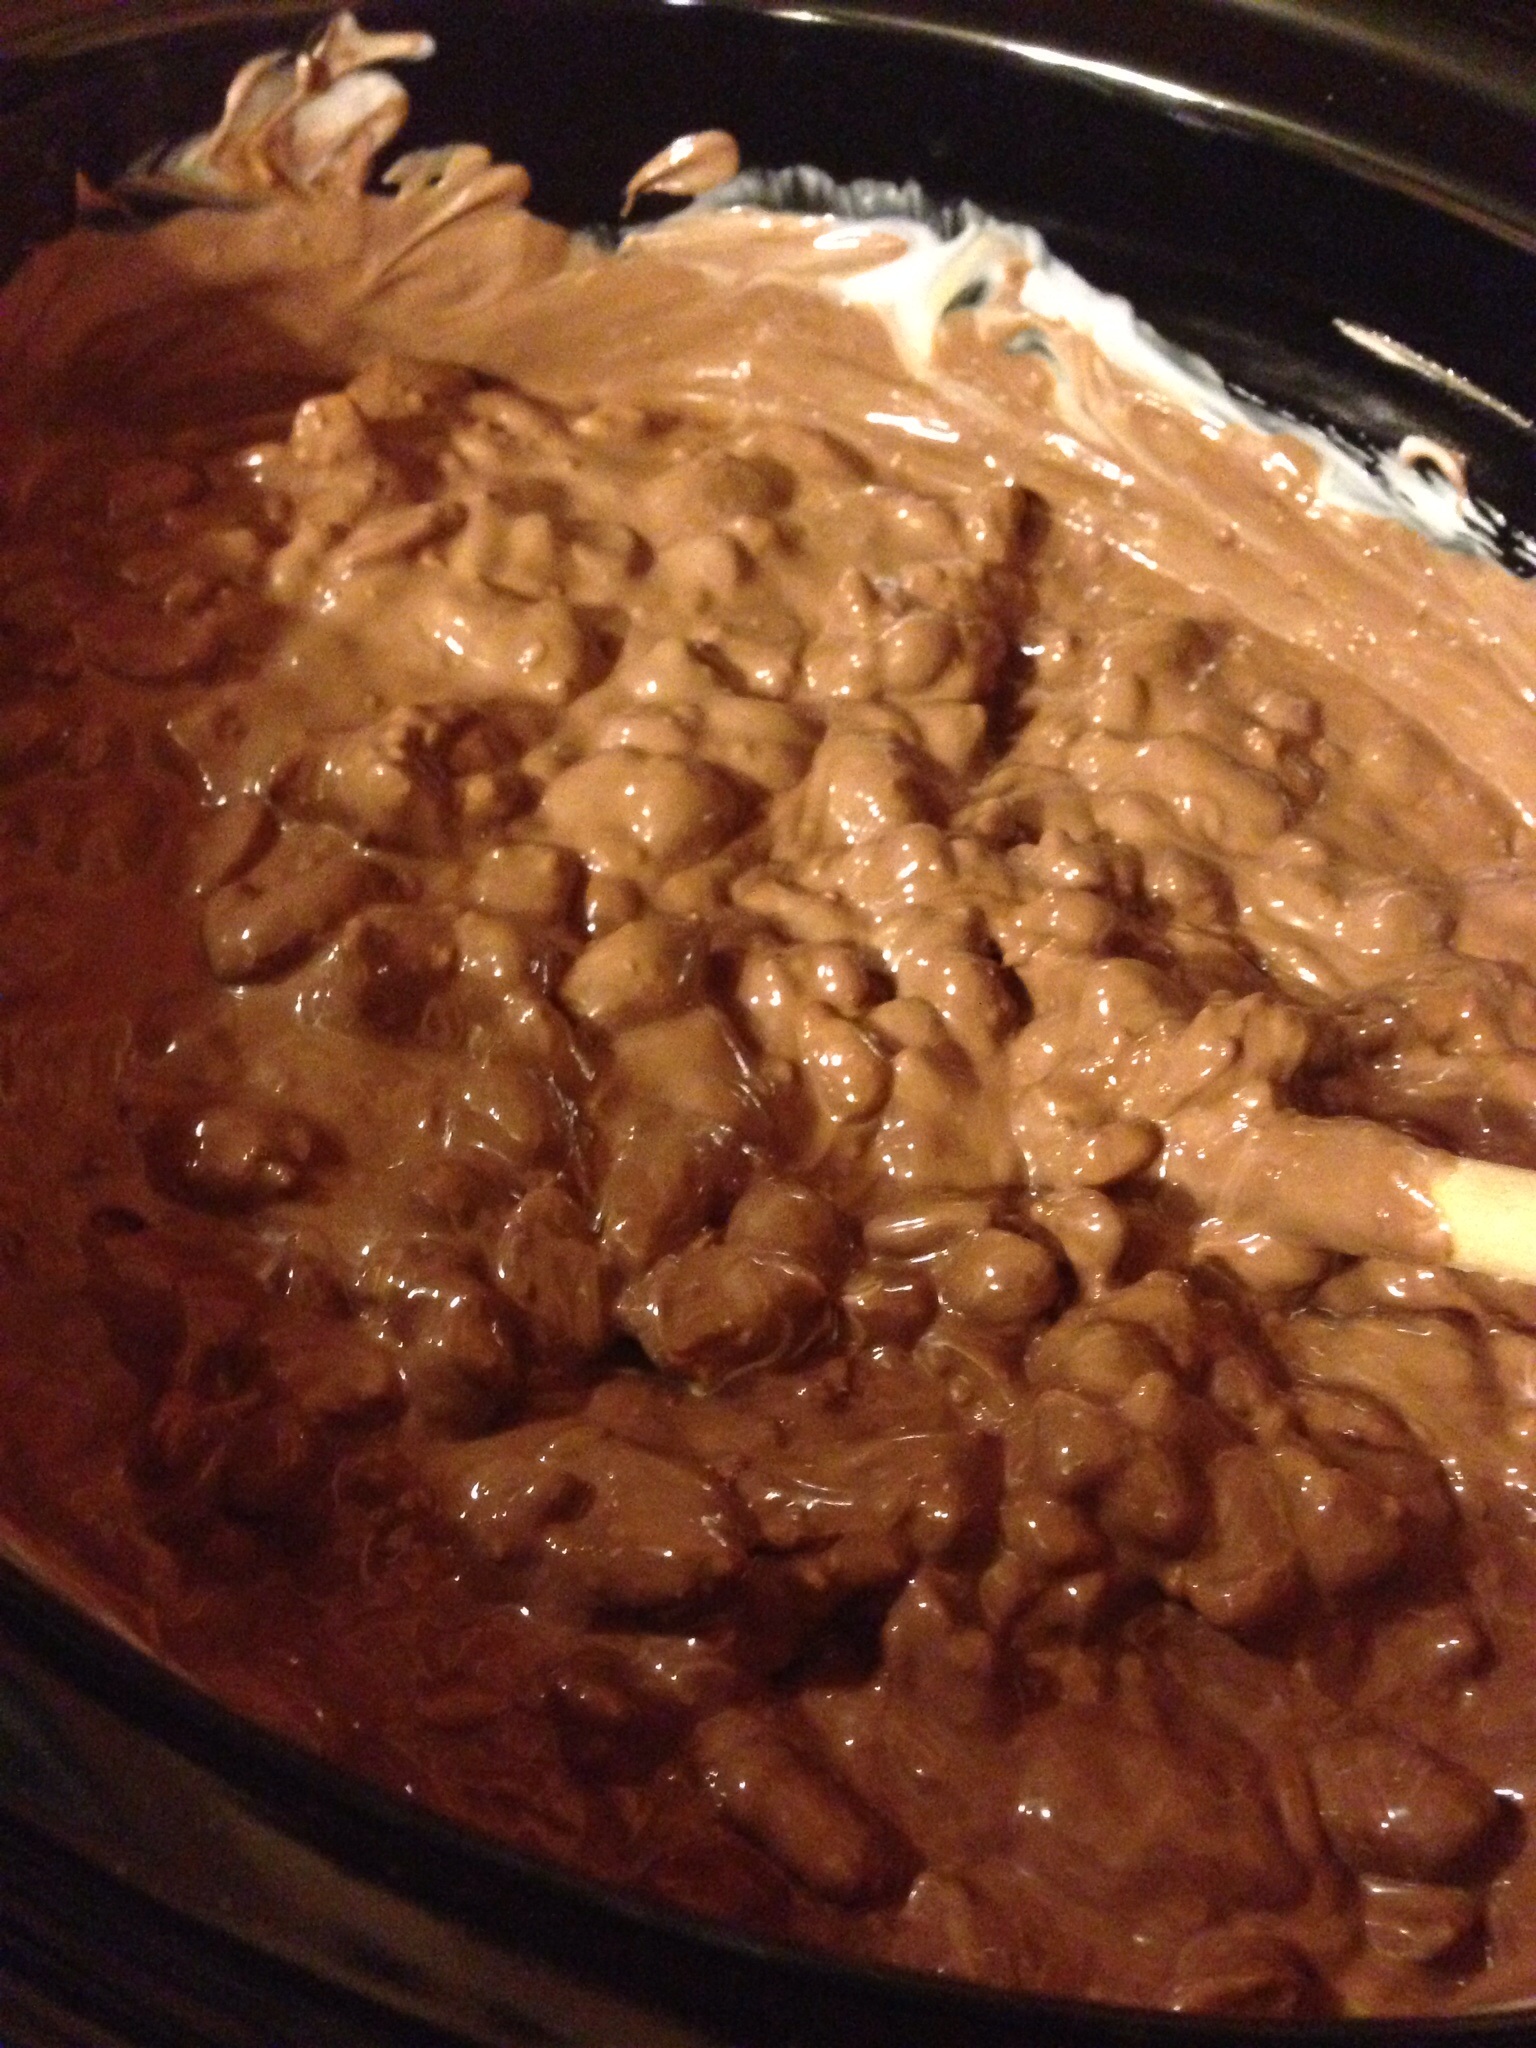
After the addition of the vanilla and the baking soda the consistency of the mixture makes a dramatic change.

image

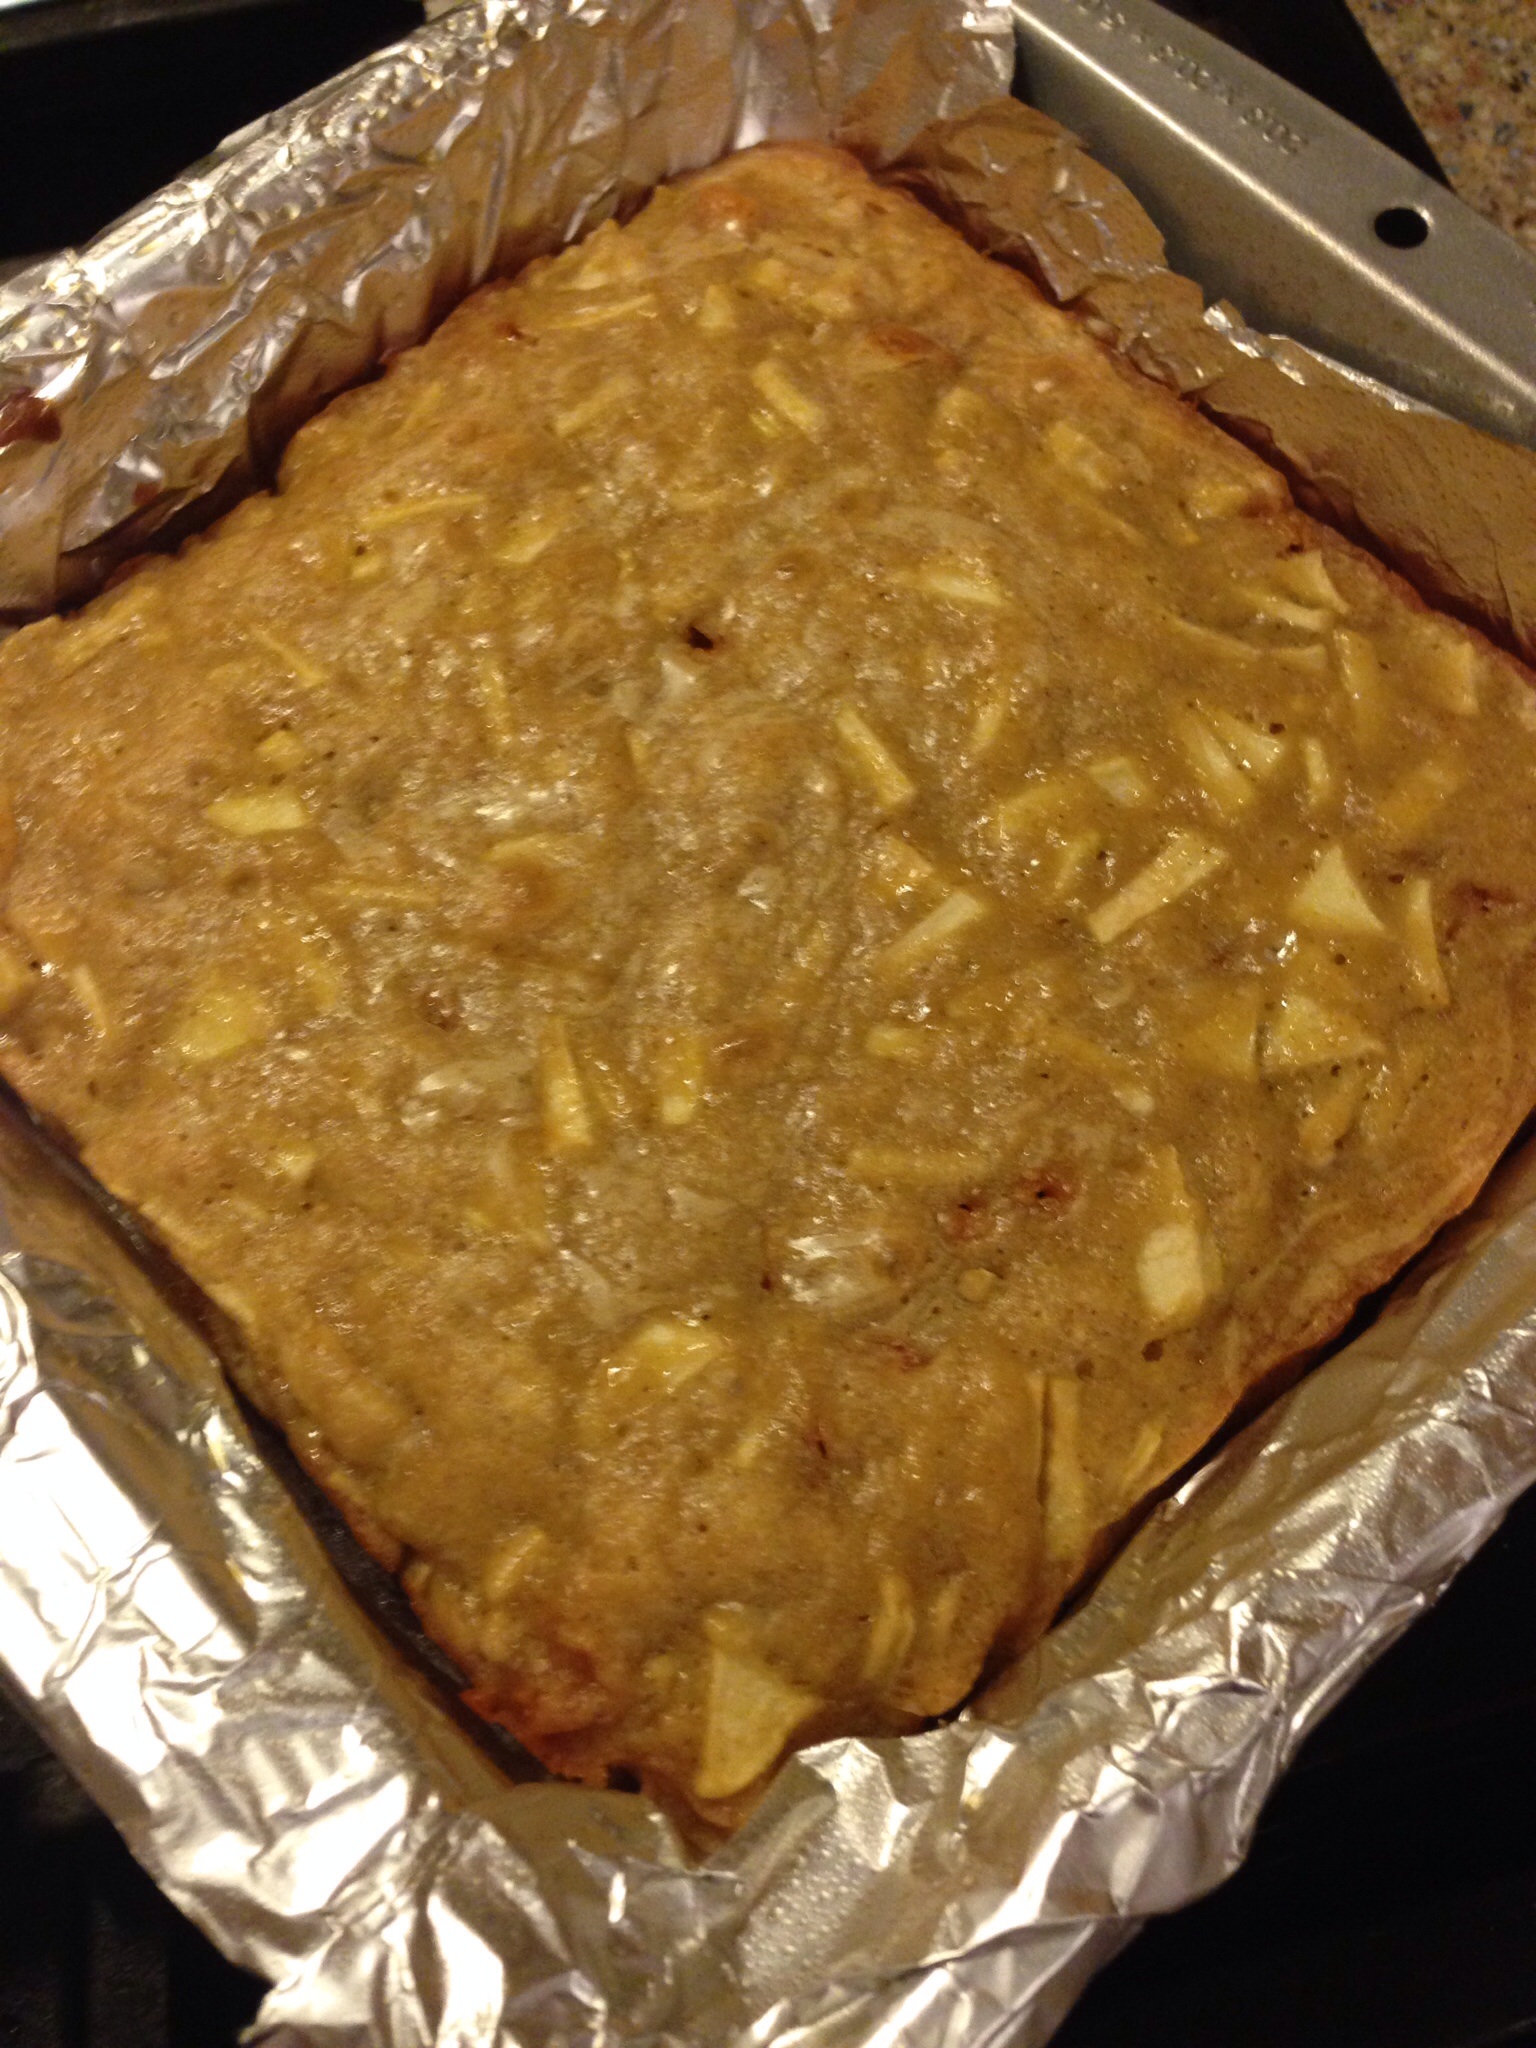
Pour the caramel over the popcorn and stir well to coat. Bake for 45 minutes stirring every 15 minutes.

image

Pour out onto freezer or parchment paper to cool. Spread out to separate. Store in air tight containers or sealed zip lock bags.

image

We made some with pecans and some with lightly salted cashews. You can use any kind of nut you prefer. Or you can go nutless. I have always used the light butter microwave popcorn but if you have a hot air popper or like to make your popcorn on the stove the old fashioned way it’s all good.

If you put a bowl of this out at your holiday party or while you’re watching a movie, I guarantee you it will be one of the first things to disappear.  Prize or no prize. Enjoy!!

Very Chocolate Chocolate Fudge

image

One of my favorite holiday traditions is candy making and cookie baking with my very good friend of nearly 40 years. We’ve been doing it together so long we have an easy routine. Usually we start on a Friday evening and finish up our thousands, and I do mean thousands,  of sugary sweet treats on Sunday evening. But this year my friend has joined the ranks of the retired and we are taking an entire week to do what we’ve always done in two and a half days. We always do our candy the first night. This year we are trying a new very chocolate chocolate fudge recipe that another friend shared with us. I cannot eat chocolate but all of the fudge samplers are confirming that the recipe switch was a good one.

image

Ingredients:

1/2 cup butter

1 14-oz can evaporated milk

4 1/2 cups sugar

1 8-oz bag miniature marshmallows

2 oz unsweetened chocolate

2 4-oz boxes semisweet chocolate

2 4-oz boxes German chocolate

1 T vanilla

2 cups chopped walnuts (optional)

Combine butter, milk and sugar in a heavy kettle.  Stir over medium high heat until sugar dissolves. Continue cooking to a full boil. Turn off the heat and cover for five minutes.

image


image

Add marshmallows and stir until melted.

image

Break the chocolate up and add a few pieces at a time stirring until all of the chocolate is melted. Add the vanilla.

image

Pour into foil lined 9×13 pan. Make sure to butter the foil or spray with Pam. Let stand until cool.

image

Once the the fudge has cooled you can lift it out of the pan using the foil, cut into squares and enjoy.

My dining room table is groaning under the weight of all our candy!

image


Peanut Butter Cookies

image

My dad is visiting and these are one of his favorite cookies. It’s funny because he would never eat a peanut butter sandwich or have peanut butter on his toast or on an apple. And a Reese Peanut Butter cup has never crossed his lips. But peanut butter cookies he loves. It was also opening day for deer hunters and my non-hunting husband goes to opening day deer camp fish fries every year so I always send cookies.

Peanut butter, chocolate chip and oatmeal raisin are my standbys. I like to freeze cookies 3-4 to a zip lock bag after they are cooled (unless of course they are all going to deer camp). They always taste fresh and I have something homemade on hand to serve with coffee or as a little dessert.

Preheat oven to 375

Cookie dough:

1 cup butter at room temperature

1 cup peanut butter

1 cup white sugar

1 cup brown sugar

2 eggs

1 tsp pure vanilla extract

2 1/2 cups all purpose flour

1 1/2 tsp baking soda

1/2 tsp salt

image

Cream together butter, peanut butter, sugars, eggs, and vanilla.

image


image

Whisk flour, baking soda and salt together.

image

With a wooden spoon stir the dry ingredients into the creamed mixture.

image

Once the dough is thoroughly combined use a cookie scoop and put on an un-greased cookie sheet. Use a fork dipped in white sugar and press to make ridges on each cookie.

imageimage

Bake for 11 minutes. Remove to cooling racks. Enjoy!!

image

You can use smooth or chunky peanut butter, it’s a matter of personal preference.  But I don’t recommend substituting oleo for the butter. Ever.

Everyone has their own favorites but I always use airbake cookie sheets. Especially when baking, it’s a good idea to have a thermometer in your oven to make sure the oven is at the proper temperature.

Pumpkin Cheesecake

image


My brother and sister-in-law and her parents were visiting this weekend to celebrate her birthday. I wanted to make her something special and different from a typical birthday cake. I looked through my stash of recipes torn from my cooking magazines and came across Emeril Lagasse’s Pumpkin Cheesecake with Bourbon Spiked Cream. Well, I love pumpkin, I love cheesecake and I love bourbon so I’m thinking this looks promising. This looks like something my sister-in-law would love as much as me. And she would love me for making it for her. It’s definitely a day before recipe which is a good thing when you’re having guests. It was relatively easy to make. The instructions have you mixing most of it in a food processor but if you don’t have one a good stand mixer would work fine. Pumpkin cheesecake, it’s what was for dessert tonight. Happy birthday sister!

For the crust:

1 1/2 cups of vanilla wafer crumbs (about 45 crushed wafers)

1 cup of pecans, ground

1 stick unsalted butter

For the Cheesecake:

2 pounds cream cheese, cubed and at room temperature

1 cup packed light brown sugar

6 large eggs

1/2 cup heavy cream

1/2 cup all purpose flour

pinch of salt

1/2 tsp ground cinnamon

1 tsp vanilla extract

2 cups canned pure pumpkin

image

Preheat at the oven to 350.

Combine the crumbs, ground pecans and melted butter in a bowl. Press into the bottom of a 12-inch springform pan. (I happen to have a square springform pan that I love.)

image

image

In your food processor fitted with the metal blade mix the cream cheese until smooth.

image

Add the brown sugar and process until blended. Add the eggs, one at a time, processing until fully incorporated. Next blend in the heavy cream. Add the flour, salt, cinnamon and vanilla and blend until smooth. Add the pumpkin and blend until smooth. Pour the filling over the crust in your springform pan.

image

Bake 1 hour and 15 minutes or until the cheesecake is just set. Remove from the oven. Use a knife to loosen the cake from the sides of the pan to prevent the center from cracking. Let the cake cool completely before slicing. I refrigerated mine when it had completely cooled.

image

Now for the bourbon whipped cream.

2 cups of heavy whipping cream

dash of bourbon

2 T sugar

image

Stir the dash of bourbon into the cream.  Whip the cream until soft peaks form gradually adding in the sugar as you whip. I think my “dash” was a little heavy handed but please “season to taste.”

image

A piece of good cheesecake is a thing of beauty. Happy birthday!

Macadamia and White Chocolate Cookies

image


Yesterday, while doing my every Tuesday grocery shopping with my friend Jane, we discovered macadamia nuts in the baking aisle. I never see macadamia nuts at my grocery!  This is something new in our fairly rural Michigan grocery… I’m thinking…I must make some cookies. So we both bought a couple bags. I used the cookie recipe that was on the package. I’m sure I will find another creative use for the second bag of nuts or I may make another batch of cookies another time. Who knows.   They are very good. A nice texture; a little crispy on the edges and soft in the center. It’s what’s for dessert tonight.

Cookie Ingredients

1 cup butter at room temperature

1 1/2 cups white sugar

1/2 cup brown sugar (packed)

2 eggs

1 1/2 tsp pure vanilla

3 cups all purpose flour

1/2 tsp baking soda

1 tsp salt

2 cups white chocolate chips (I use Ghirardelli)

6 oz (1 1/2 cups) macadamia nuts chopped

image

Preheat oven to 350.

In mixing bowl cream together butter and white and brown sugar until fluffy.

image

Add eggs and vanilla and beat well.

image

In a smaller bowl whisk together dry ingredients.

image

With a wooden spoon blend in dry ingredients. Stir in white chocolate and nuts.

image

Drop by teaspoonfuls onto an ungreased baking sheet. I always use a cookie scoop for uniform baking and uniform cookies.

image

Bake for 10-12 minutes. Remove to wire racks to cool.

image

I thought I had white chocolate chips but I did not. I did, however, have large white Ghirardelli pieces so I chopped those into smaller pieces and substituted them for the chips. They worked fine. My mother used to say “necessity is the mother of invention.” She and Plato both said that. I think Plato said it first.

May you all find something new in your grocery and bring it home to whip up  something you’ve never prepared before.

Crockpot Candy

image


I very often see recipes that people copy and post to their Facebook page with a comment like “looks great” or “I want to make this.”  Because people have seldom actually tried the recipes I’m always a little skeptical thinking something might have gotten lost in translation. Over the years I’ve actually known people who give you a recipe and intentionally leave out an ingredient. When you try to replicate a dish you loved that someone else made, the missing ingredient assures that it will never turn out as good as theirs.

The Crockpot Candy was one of the rare, untested by anyone I know, Facebook post I decided to try. I don’t eat chocolate but I make a lot of chocolate candy and desserts because chocolate is one of my husband’s favorite things. The recipe is definitely simple and the first time I made it it was a huge hit.   This is my second batch and I decided to make this batch in mini-cupcake papers rather than putting spoonfuls on wax paper. The recipe made about 50 candies.

Get your crockpot out and in about 3 hours you’ll have some beautiful and delicious chocolate treats.

1 16-oz can of lightly salted peanuts

1 16-oz can of lightly salted mixed nuts

1 12-oz bag of dark chocolate chips

1 12-oz bag of milk chocolate chips

2 11-oz bags of butterscotch chips

2 12-oz bags of white chocolate wafers

image


Layer the ingredients in your crockpot in the order listed above.

image image


imageimage


Cover your crockpot, turn it on low and set a timer for 2 hours. After 2 hours stir all the ingredients well, put the cover back on and set your timer for another 30 minutes.

image image


Turn off the crockpot. Using two spoons fill mini-cupcake papers or put chocolate on wax paper and allow the chocolate to harden. If you put a tray at a time in your freezer for 5 minutes or so it makes the candy set up faster and it’s easier to handle.

image


Amazingly easy.

I always use good chocolate in my recipes. In this case all of the chocolate is Ghiradelli. If you prefer you can substitute peanut butter chips for the butterscotch chips. The original recipe I saw used peanut butter chips but my husband doesn’t like peanut butter mixed with his chocolate so I improvised.  I also added some coconut to half of the chocolates this time around. I stirred in about a cup of coconut to the already melted/stirred chocolate.  You could also add raisins or dried cherries to the melted chocolate.

I have not tried halving this recipe. Chocolate can be temperamental when melting so I’m not sure how well it would work.

Find yourself some pretty little boxes, fill them with the chocolates and these would make much appreciated gifts for the holidays, for hostess gifts, or as a thank you.

image

P B & J Cake

image


I made this dessert once before and it is actually the recipe that, a couple years ago, prompted me to start cutting out and organizing recipes I thought looked good from magazines.  I wanted to make this cake a second time and COULD NOT remember what issue of what magazine I’d seen it in. Turns out it was the June 2010 issue of Cuisine at Home. That recipe is now neatly clipped and filed in the dessert section of a spiral notebook and is marked with 4 stars. It looks enough like a PB&J sandwich to fool some people.  And it’s what was for dessert tonight.

Cake

3 cups all purpose flour

1 tsp baking powder

1/2 tsp baking soda

1/2 tsp salt

1 1/4 cups whole milk

2 tsp vanilla extract

1 1/2 cups creamy peanut butter

1 stick butter at room temperature

2 cups granulated sugar

1 cup packed brown sugar

6 eggs at room temperature

image


Preheat your oven to 350. Generously grease the bottom of 2 loaf pans.

Whisk together flour, baking powder and soda, and salt and set aside. Combine milk and vanilla and set aside. Cream peanut butter, butter, and white and brown sugar in a stand mixer with paddle attachment on medium high speed for 5 minutes until well combined. Add eggs to the creamed mixture one at a time beating well after each addition.

imageimage


Alternately add flour and milk to creamed mixture beating after each addition just until mixed, scraping the sides of the bowl when necessary.

Divide batter evenly between prepared pans. Bake 50 minutes. If cakes are browning too much on the sides after 50 minutes loosely tent with foil and bake 10-15 minutes more until toothpick inserted in the center comes out clean.

Let cakes rest in pans on a wire rack for about 20 minutes then turn them out to cool completely.

Peanut Butter Icing

3/4 cup peanut butter

1 stick butter at room temperature

3 cups powdered sugar sifted

1/4 cup milk

2 tsp vanilla extract

image


Beat peanut butter and butter at medium speed until light and fluffy, about 5 minutes. Add powdered sugar, milk and vanilla and beat just until smooth and creamy. image


Assemble your sandwiches. Slice the cake loaf.

image

Spread a slice with a generous amount of peanut butter icing and jam of your choosing (I used my homemade strawberry jam). Put a second slice of cake on top, just like making a PB&J sandwich, and enjoy!  Great with a glass of milk or a cup of coffee.

imageimage


After the first time I made this cake my daughter bought me a cake pan shaped like a slice of bread. Today I baked one loaf pan of batter and the slice of bread shaped pan with the other half of the batter. I assembled the slice of bread cake by trimming off the top to level the cake and slicing it in half and spreading the icing and jam in the center. I’ll have to share that with friends…it’s a lot of cake!  (The jam on this cake is a tart cherry).

image


imageimage


image


Lemon Poppyseed Loaf

image


Today was a baking day. I found a recipe for lemon loaf and made some modifications including the poppy seeds. I remember having lemon poppy seed muffins frequently at the Courtland Room in Jacobsons and when I tasted this loaf it reminded me a lot of those muffins.

1 1/2 cups all purpose flour

1/2 tsp baking soda

1/2 tsp baking powder

1/2 tsp salt

1 T poppy seeds

3 eggs

1 cup sugar

2 T butter at room temperature

1 tsp vanilla

1 tsp lemon extract

1/3 cup fresh lemon juice

1 T lemon zest

1/2 cup canola oil

imageimage

Preheat oven to 350. With a hand mixer on low speed beat the eggs, sugar, butter, vanilla, lemon extract, and lemon juice until well combined. Whisk together dry ingredients including lemon zest and poppy seeds and gradually add to egg mixture beating on low until well combined. Add canola oil and mix well.

image

Pour batter into a greased 9×5″ loaf pan and bake for 45 minutes or until a tester inserted in the center comes out clean. Cool on a wire rack. After 10 minutes or so invert the pan.  Allow the loaf to cool completely before adding the glaze.

Glaze

1 cup powdered sugar

2 T milk or lemon juice

Add the liquid to the powdered sugar gradually and continue whisking until the glaze is smooth and has a good drizzling consistency.  You may not need a full 2 T of liquid. I used lemon juice for my glaze because I liked the additional tartness.

image

This will be a new favorite for us. I have some key lime extract so I may try using that with key lime juice and zest for a little different taste experience. But it’s all good.

TIP:  If you have extra lemon or lime juice measure it out, put it in a zip lock snack bag, and store in your freezer. Next time you need fresh lemon juice for a recipe and you have no lemons you’ll be glad you saved that extra juice.

Apple Butterscotch Blondies

It’s apple season and there are so many good things to make with apples. I found this recipe in one of my food magazines and decided to give it a try. We had bacon, lettuce, tomato and over easy egg sandwiches on sour dough bread for dinner and these made the perfect dessert. Another bonus is they are super easy to make.

image

Preheat the oven to 350.

1 cup all purpose flour

1/2 tsp kosher salt

1/4 tsp baking powder

6 T unsalted butter

3/4 cup brown sugar (packed)

1 tsp pure vanilla

2 large eggs

2 medium apples peeled, cored and finely chopped

1/3 cup butterscotch chips

image

I mixed everything in one saucepan. Melt the butter in the saucepan swirling occasionally until the butter begins to brown. Remove from the heat and whisk in the brown sugar and vanilla until the sugar is dissolved. Allow to cool briefly and whisk in the 2 eggs until well combined.

imageimage

With the a rubber spatula mix in the dry ingredients (flour, salt and baking powder). Stir in the diced apples and butterscotch chips. Pour the batter into a 9″x9″ pan lined with foil. Bake for 25 minutes or until the top is lightly browned and the sides are set.

imageimage

Cool on a wire rack. Enjoy!

You might want to add a little whipped cream or a scoop of butter pecan or vanilla bean ice cream.

I will definitely be making these again. I might try substituting some golden raisins or chopped walnuts for the butterscotch chips. Of course I’d have to call them apple raisin Blondies or apple walnut Blondies. That’s the beauty of baking and cooking. You can make modifications to recipes to suit your personal tastes.

Apple Blueberry Crisp

image

Apple crisp with blueberry sounded like a great idea. It’s what was for dessert.

Preheat oven to 350

6-8 Macintosh apples or another good baking apple

1 cup blueberries

lemon zest

juice of 1/2 lemon (1 Tablespoon)

1/4 c sugar

grated nutmeg (about 1/2 tsp)

1 tsp cinnamon

1 c flour

1/2 c brown sugar

1/2 c white sugar

1/2 c oatmeal

1 tsp cinnamon

1 stick cold butter

Peel, core and slice apples. Toss with lemon zest and juice, 1/4 c sugar, and spices. Spread apples out in a deep 8×8 casserole dish that has been greased or sprayed with cooking spray. Sprinkle blueberries over apples.

imageimage

Whisk together flour, sugars, and oatmeal. Work butter into dry ingredients with your hands or use the paddle on your stand mixer. Sprinkle the crisp over the fruit and bake for 45-50 minutes until golden brown and bubbly. Serve warm with whipping cream or vanilla ice cream.

imageimage

This recipe can be doubled and baked in a deep 9×13 pan. In case of bubble-over you may want to put the pan on a foil lined cookie sheet.