
I’ve had fun fixing meals lately that are layered in a bowl. Probably a bit of a fad thing but I’ve found several combinations that we like. I usually use a variety of vegetables, a protein, and sometimes a sauce of some kind. When I’m cooking for just the two of us, I serve our food restaurant style. Saves on serving dishes and seems easier all around. With the “bowl meals” sometimes the base is couscous, or quinoa, or rice. In this recipe the base is polenta. My friend Jane came across this recipe today and texted it to me. She thought it was something I would like. I happened to have all the ingredients. At our house we love polenta. We love eggplant. And we love anything with tomatoes. I make eggplant Parmesan fairly often and usually serve it with pasta. This recipe changed things up a little from traditional eggplant Parmesan. I modified the recipe as I prepared the dish tonight but felt it needed to be changed up just a bit more. My ingredient list incorporates my changes. I felt it needed more sauciness and more seasoning in the cheese/breadcrumb mixture. But we loved it and had second helpings.
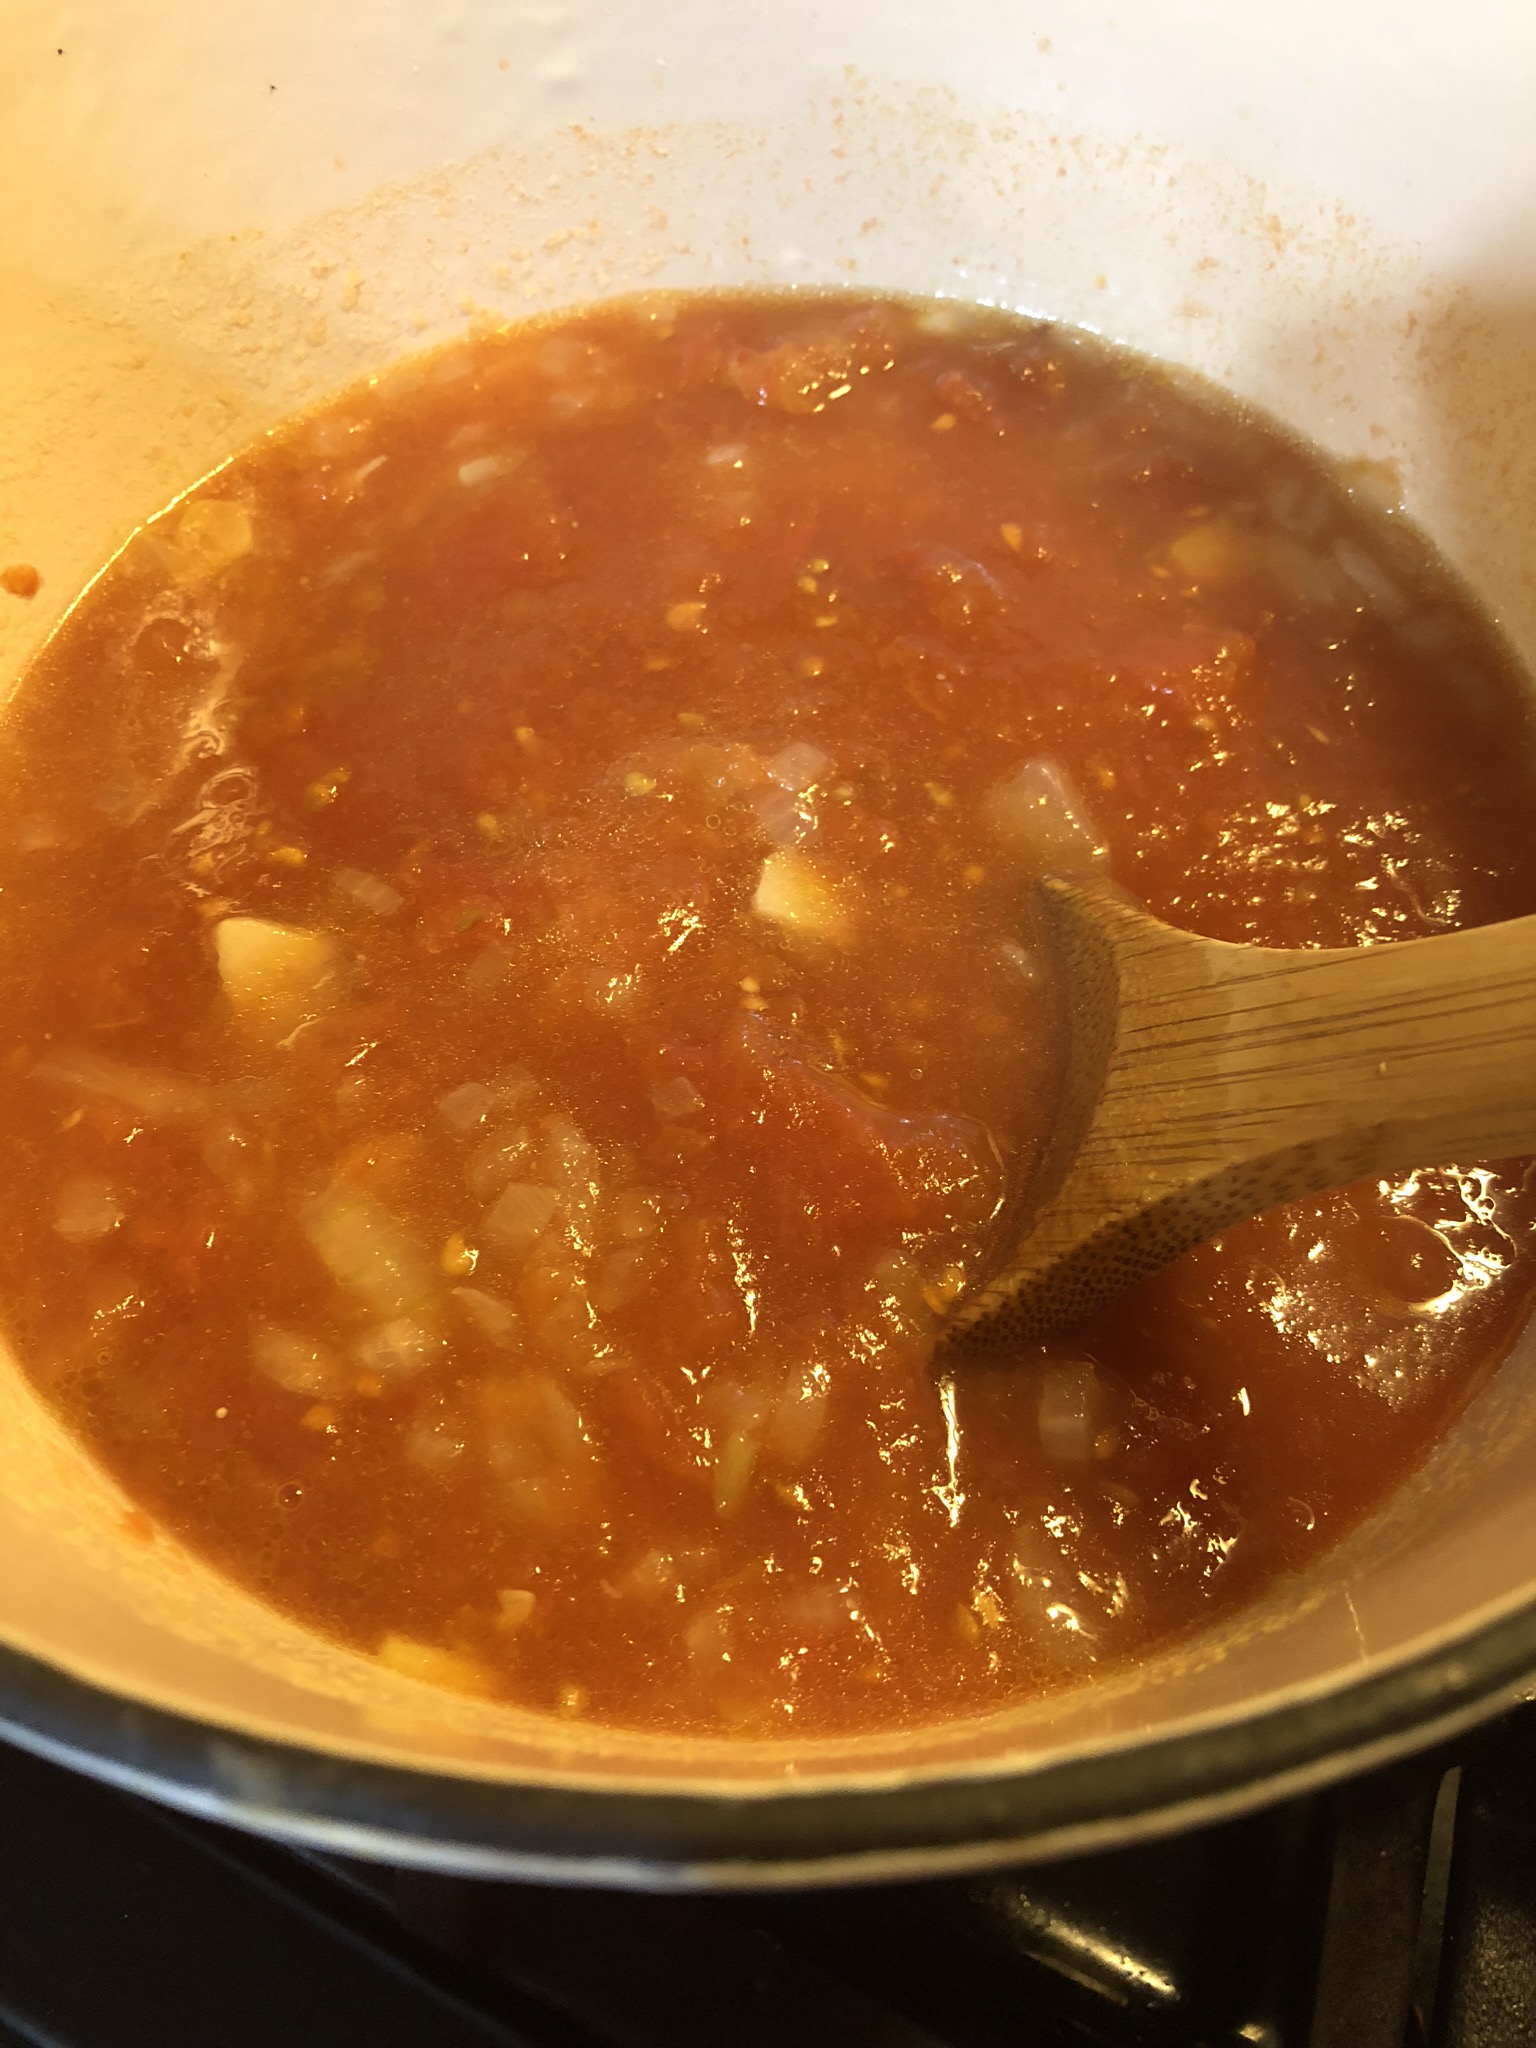
The recipe called for canned cherry tomatoes. I have personally never seen canned cherry tomatoes but they did give a pro tip for substituting fresh cherry tomatoes. The recipe called for 1 pint of fresh cherry tomatoes, 2 T tomato paste and 2 T of water simmered together until the tomatoes begin to wilt. I recommend doubling the amount of tomatoes to 2 pints and doubling the water to 1/4 cup. Two tablespoons of tomato paste is plenty. I almost always buy small heirloom tomatoes and those worked just fine.
Ingredients:
2 (13.5 oz) cans of cherry tomatoes OR the fresh tomatoe substitute above
2 T fresh basil leaves
1 tsp fresh oregano leaves
1 T each of dried basil and oregano
1 tsp garlic powder
3 T kosher salt, divided
fresh ground pepper
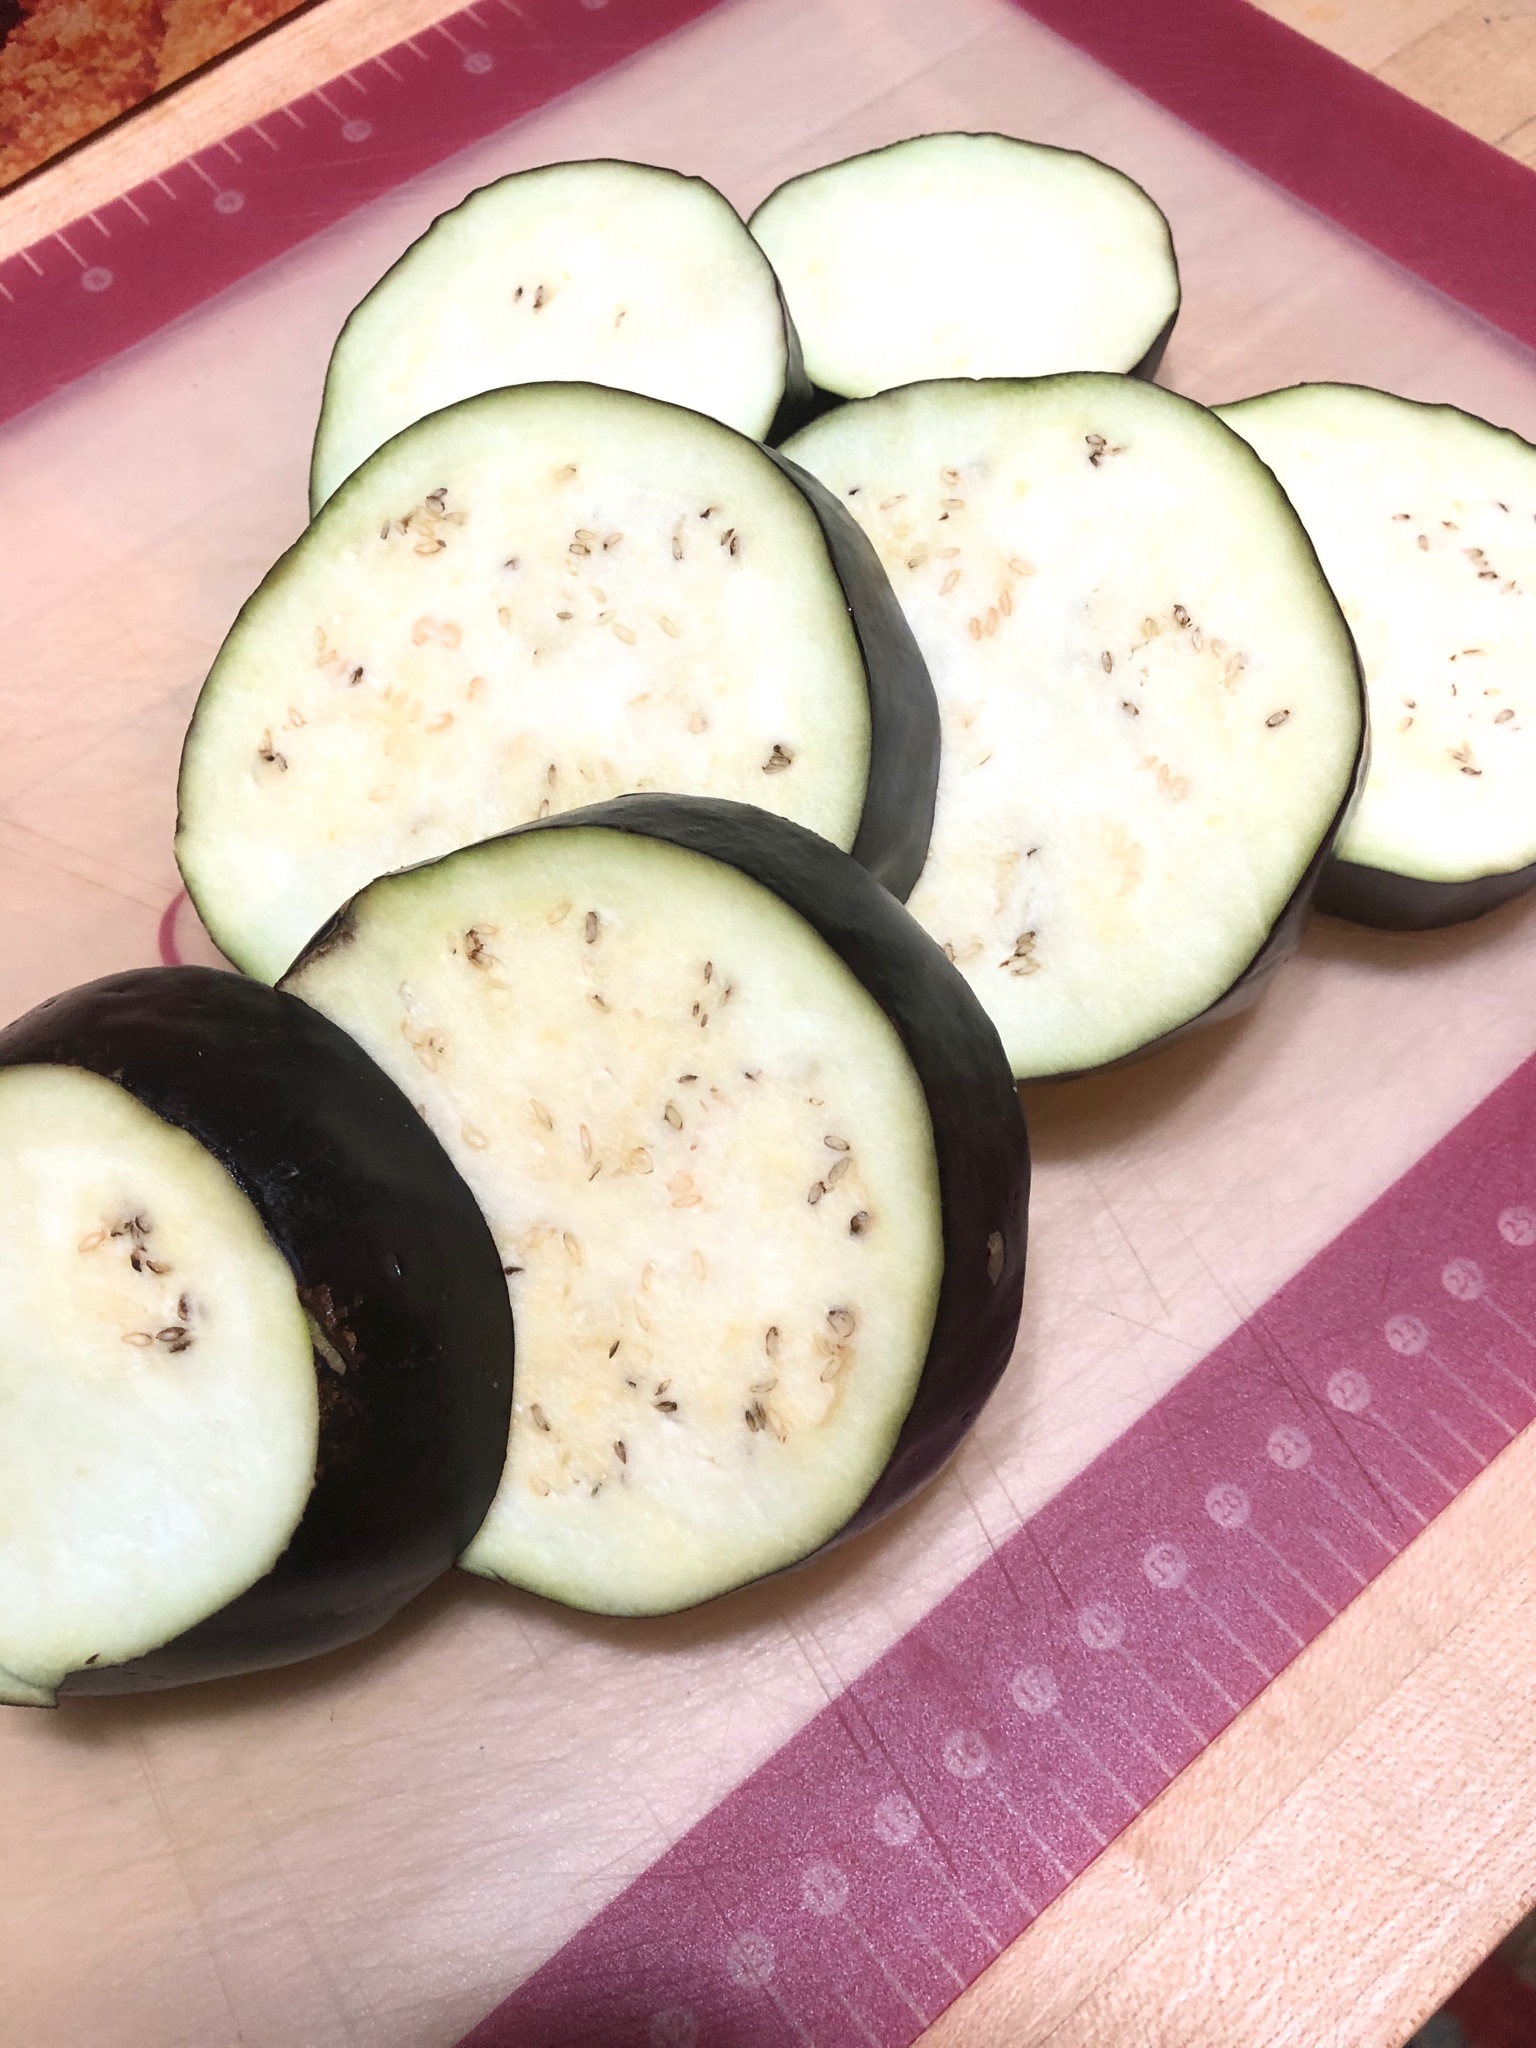
1-2 eggplants cut into 1 inch rounds
4 T olive oil, divided
1 cup panko
1 cup shredded mozzarella cheese
1/4 cup fresh grated Parmesan cheese

Preheat your oven to 375 degrees.
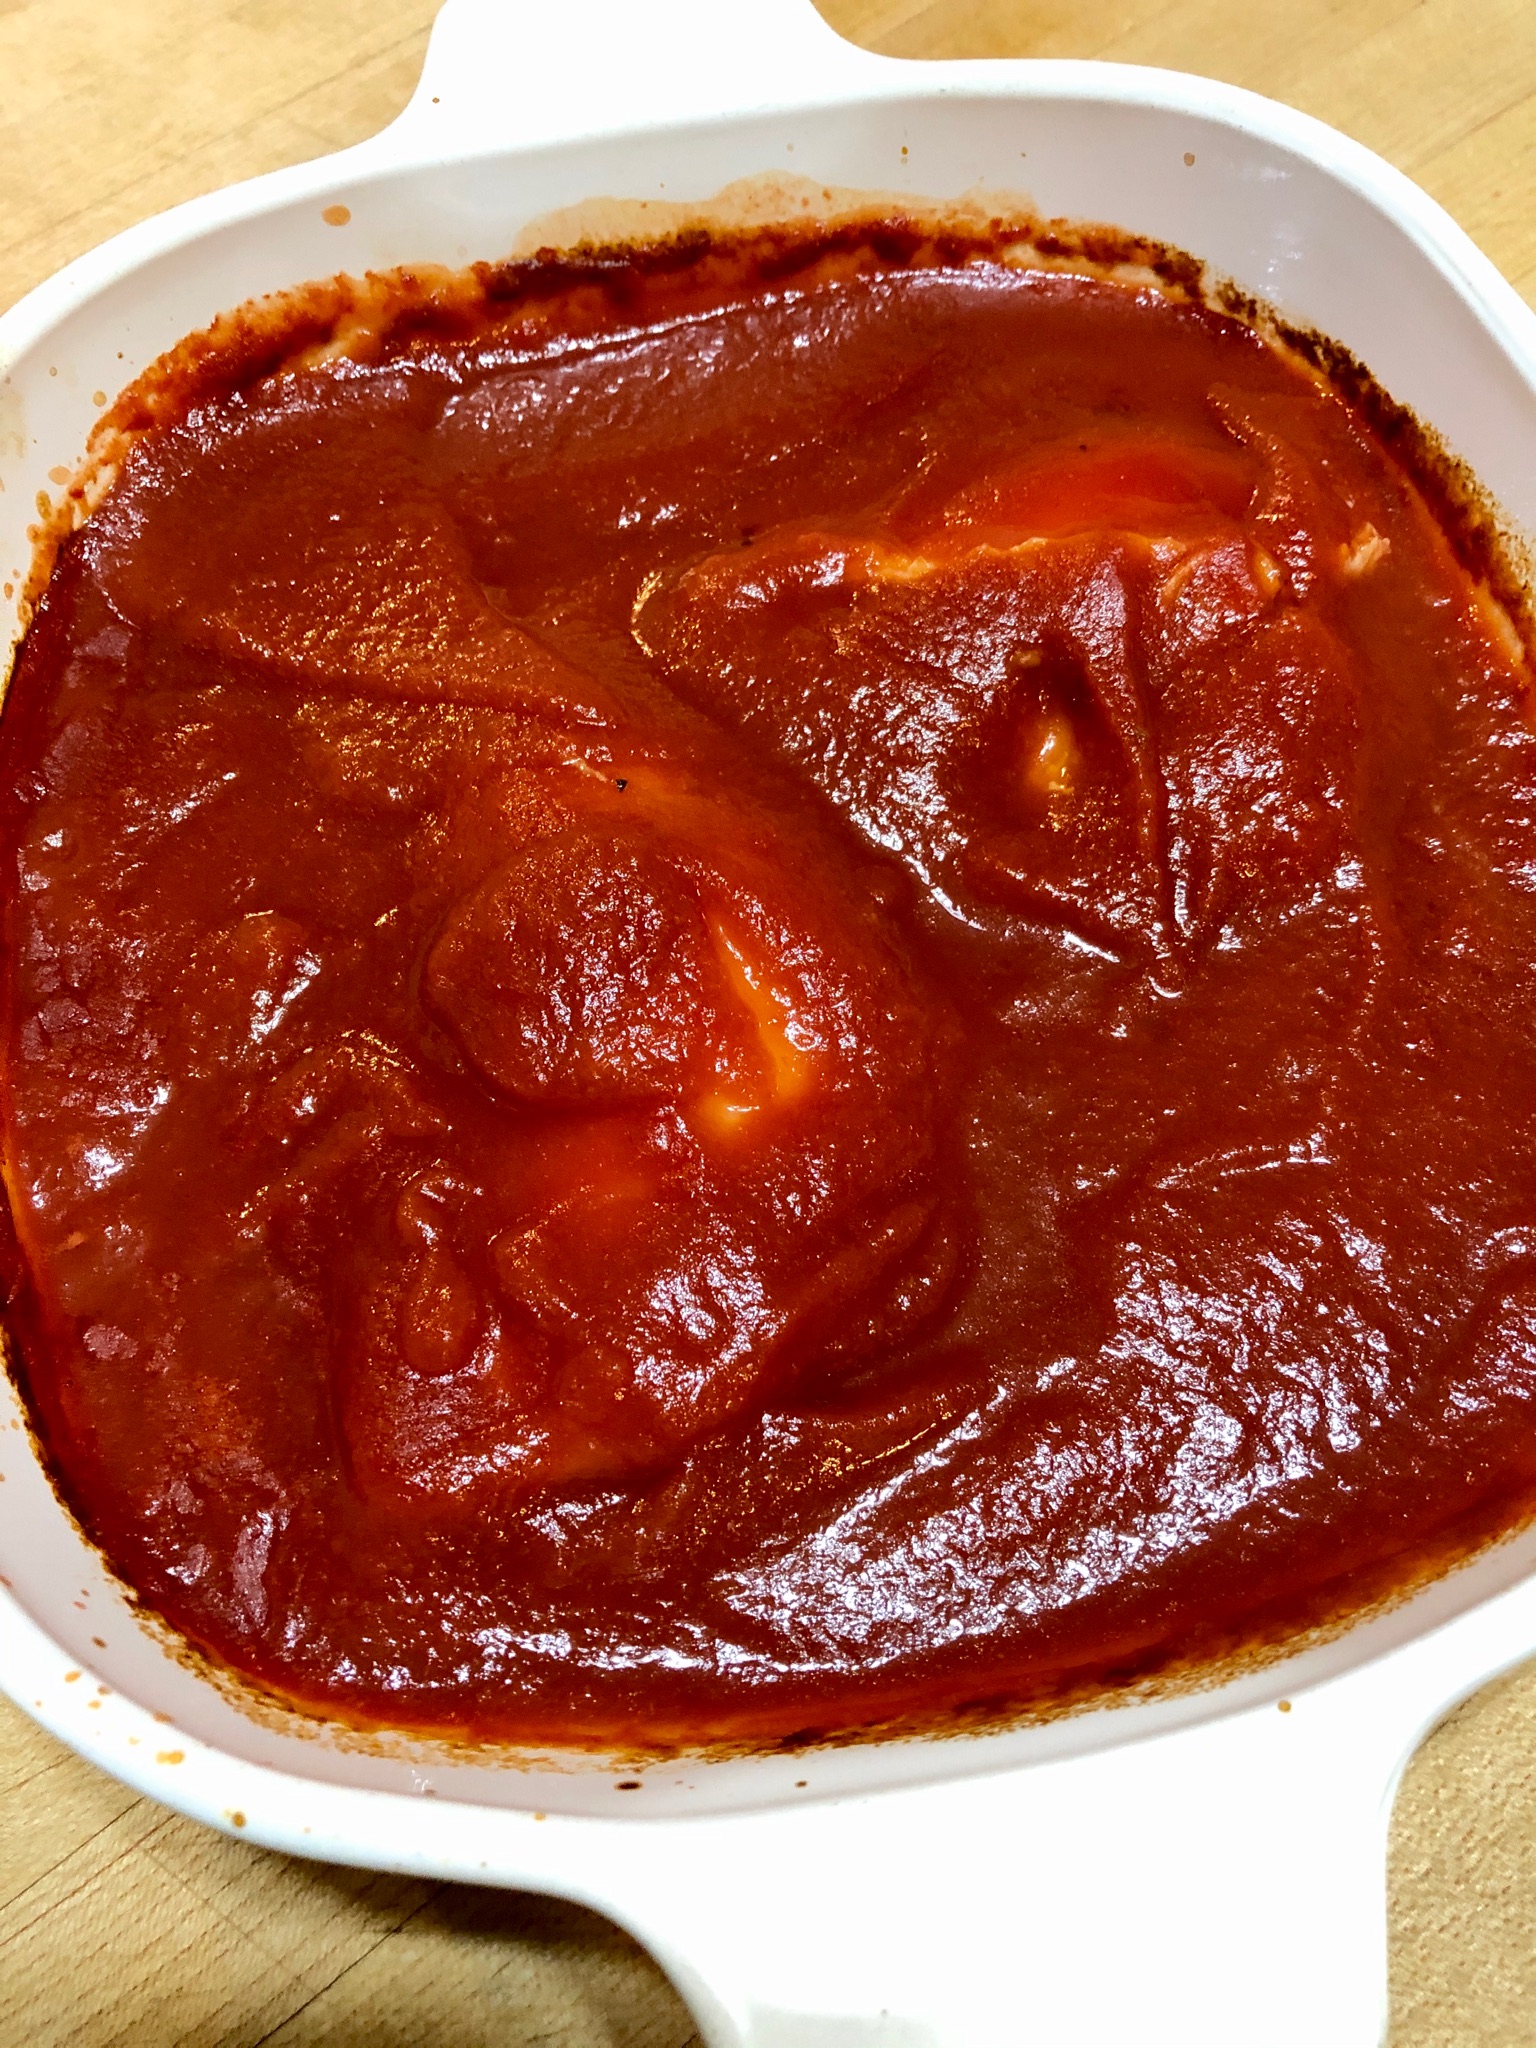
Unless you find canned cherry tomatoes prepare your fresh tomatoes over medium heat in a heavy skillet. Simmer until the tomatoes start to wilt or burst.


Once your tomatoes are ready stir in the fresh herbs and the garlic powder and transfer them to a casserole dish.

Cut your eggplant into 1 inch thick rounds and nestle them in among the tomatoes.

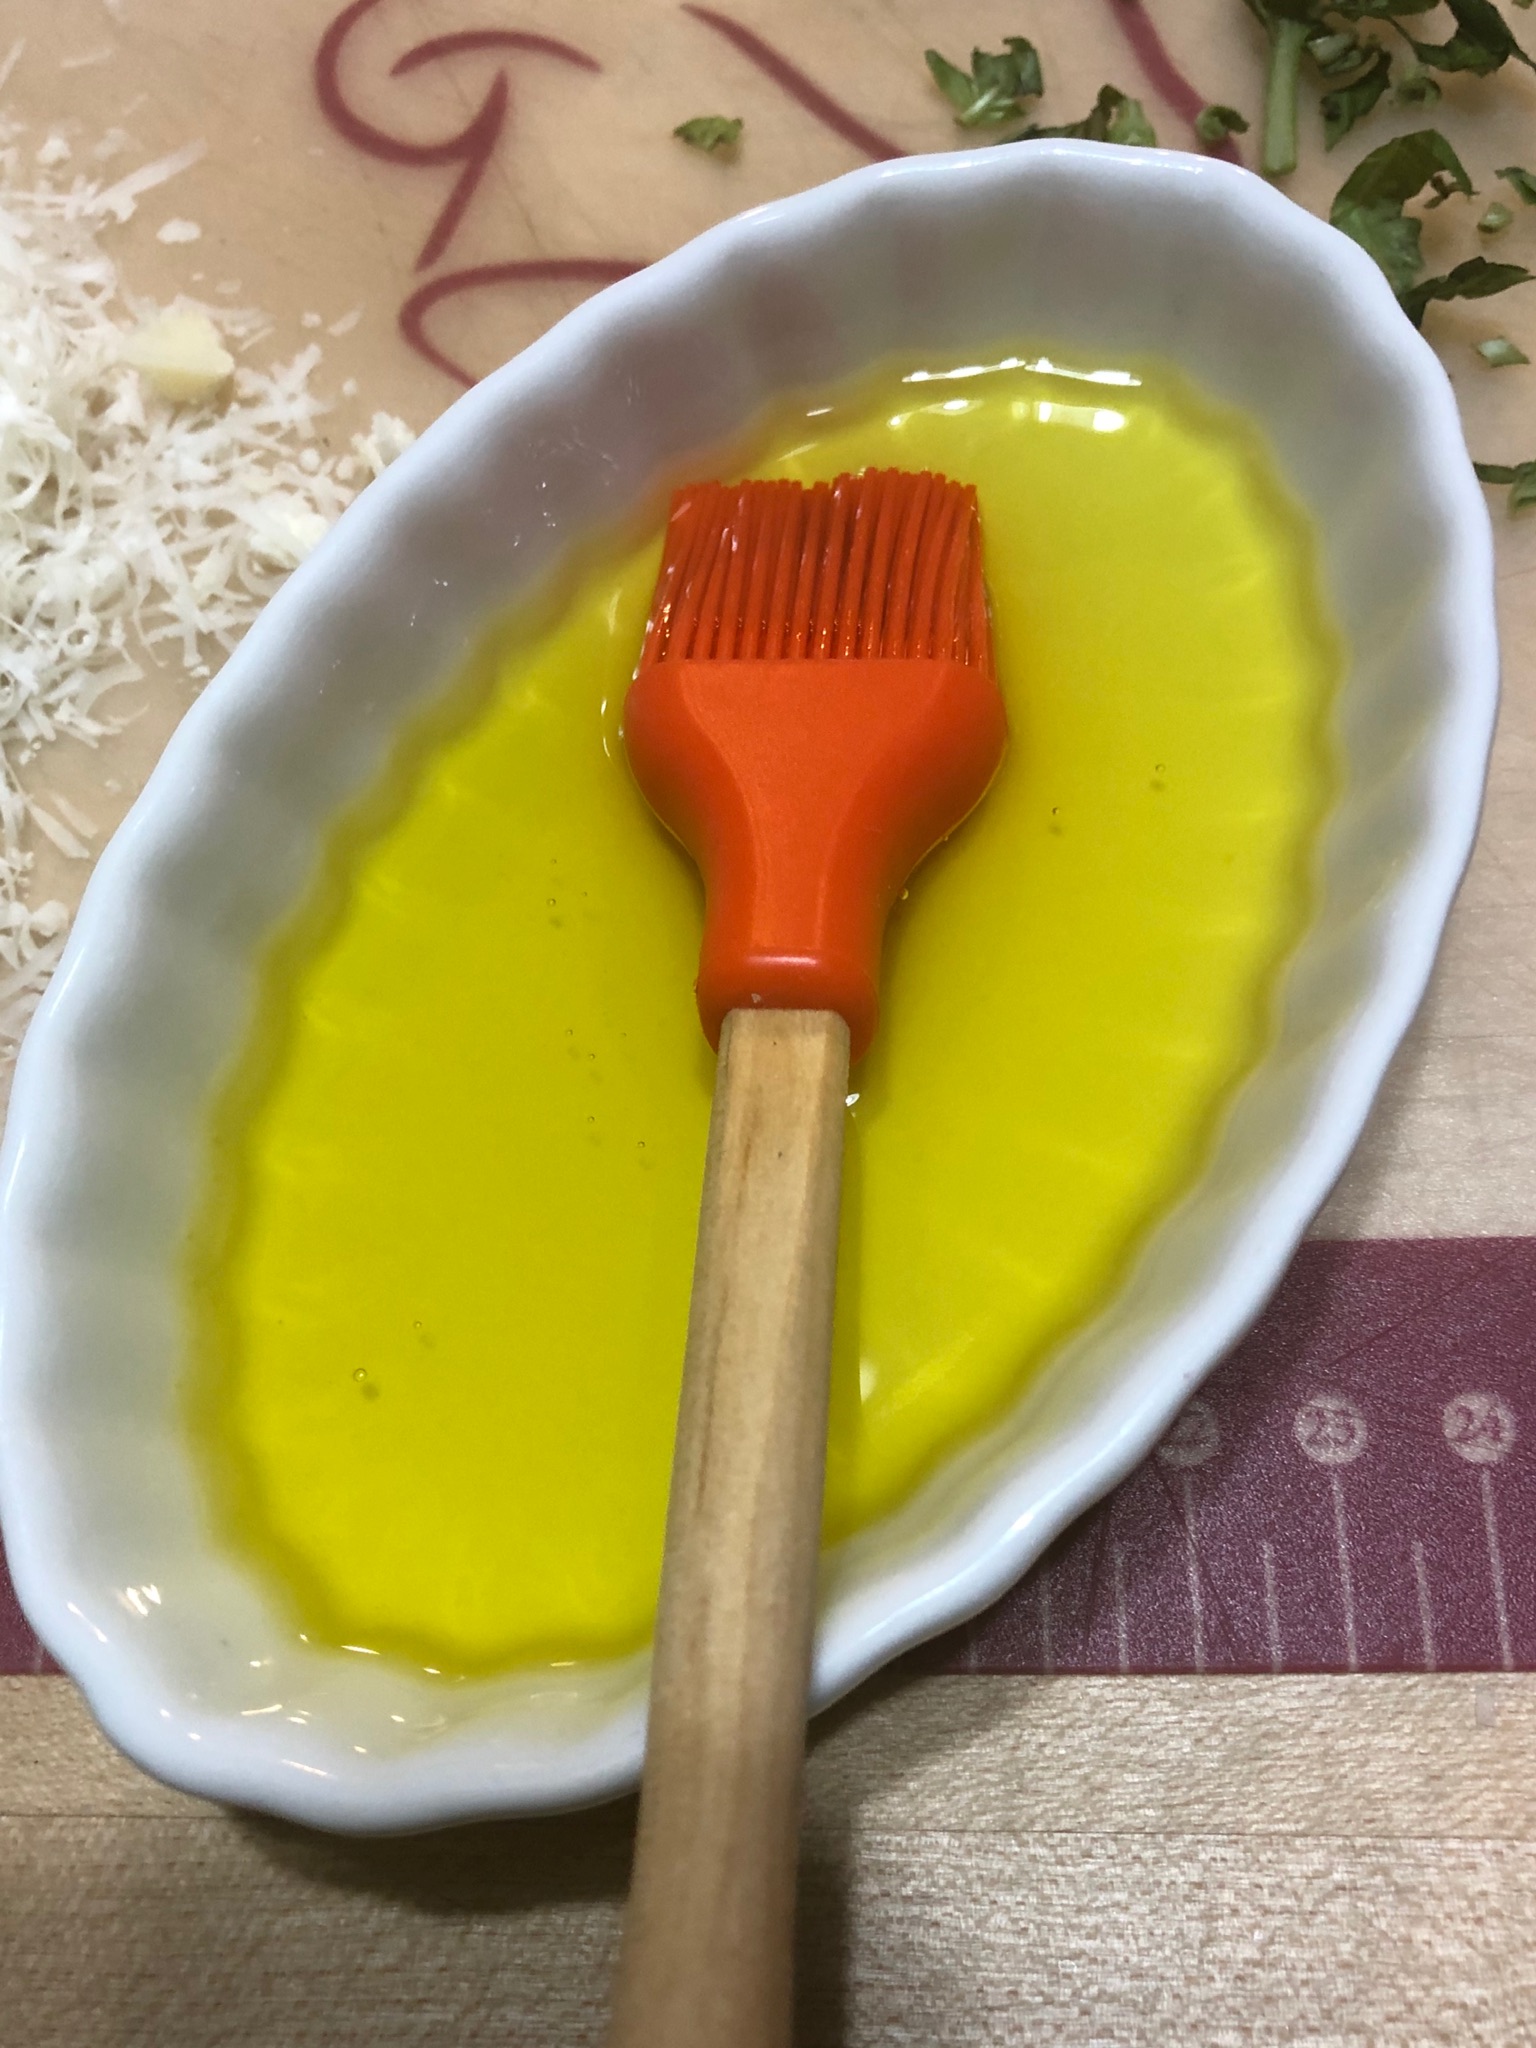
Generously brush the eggplant with olive oil and season with salt and pepper.

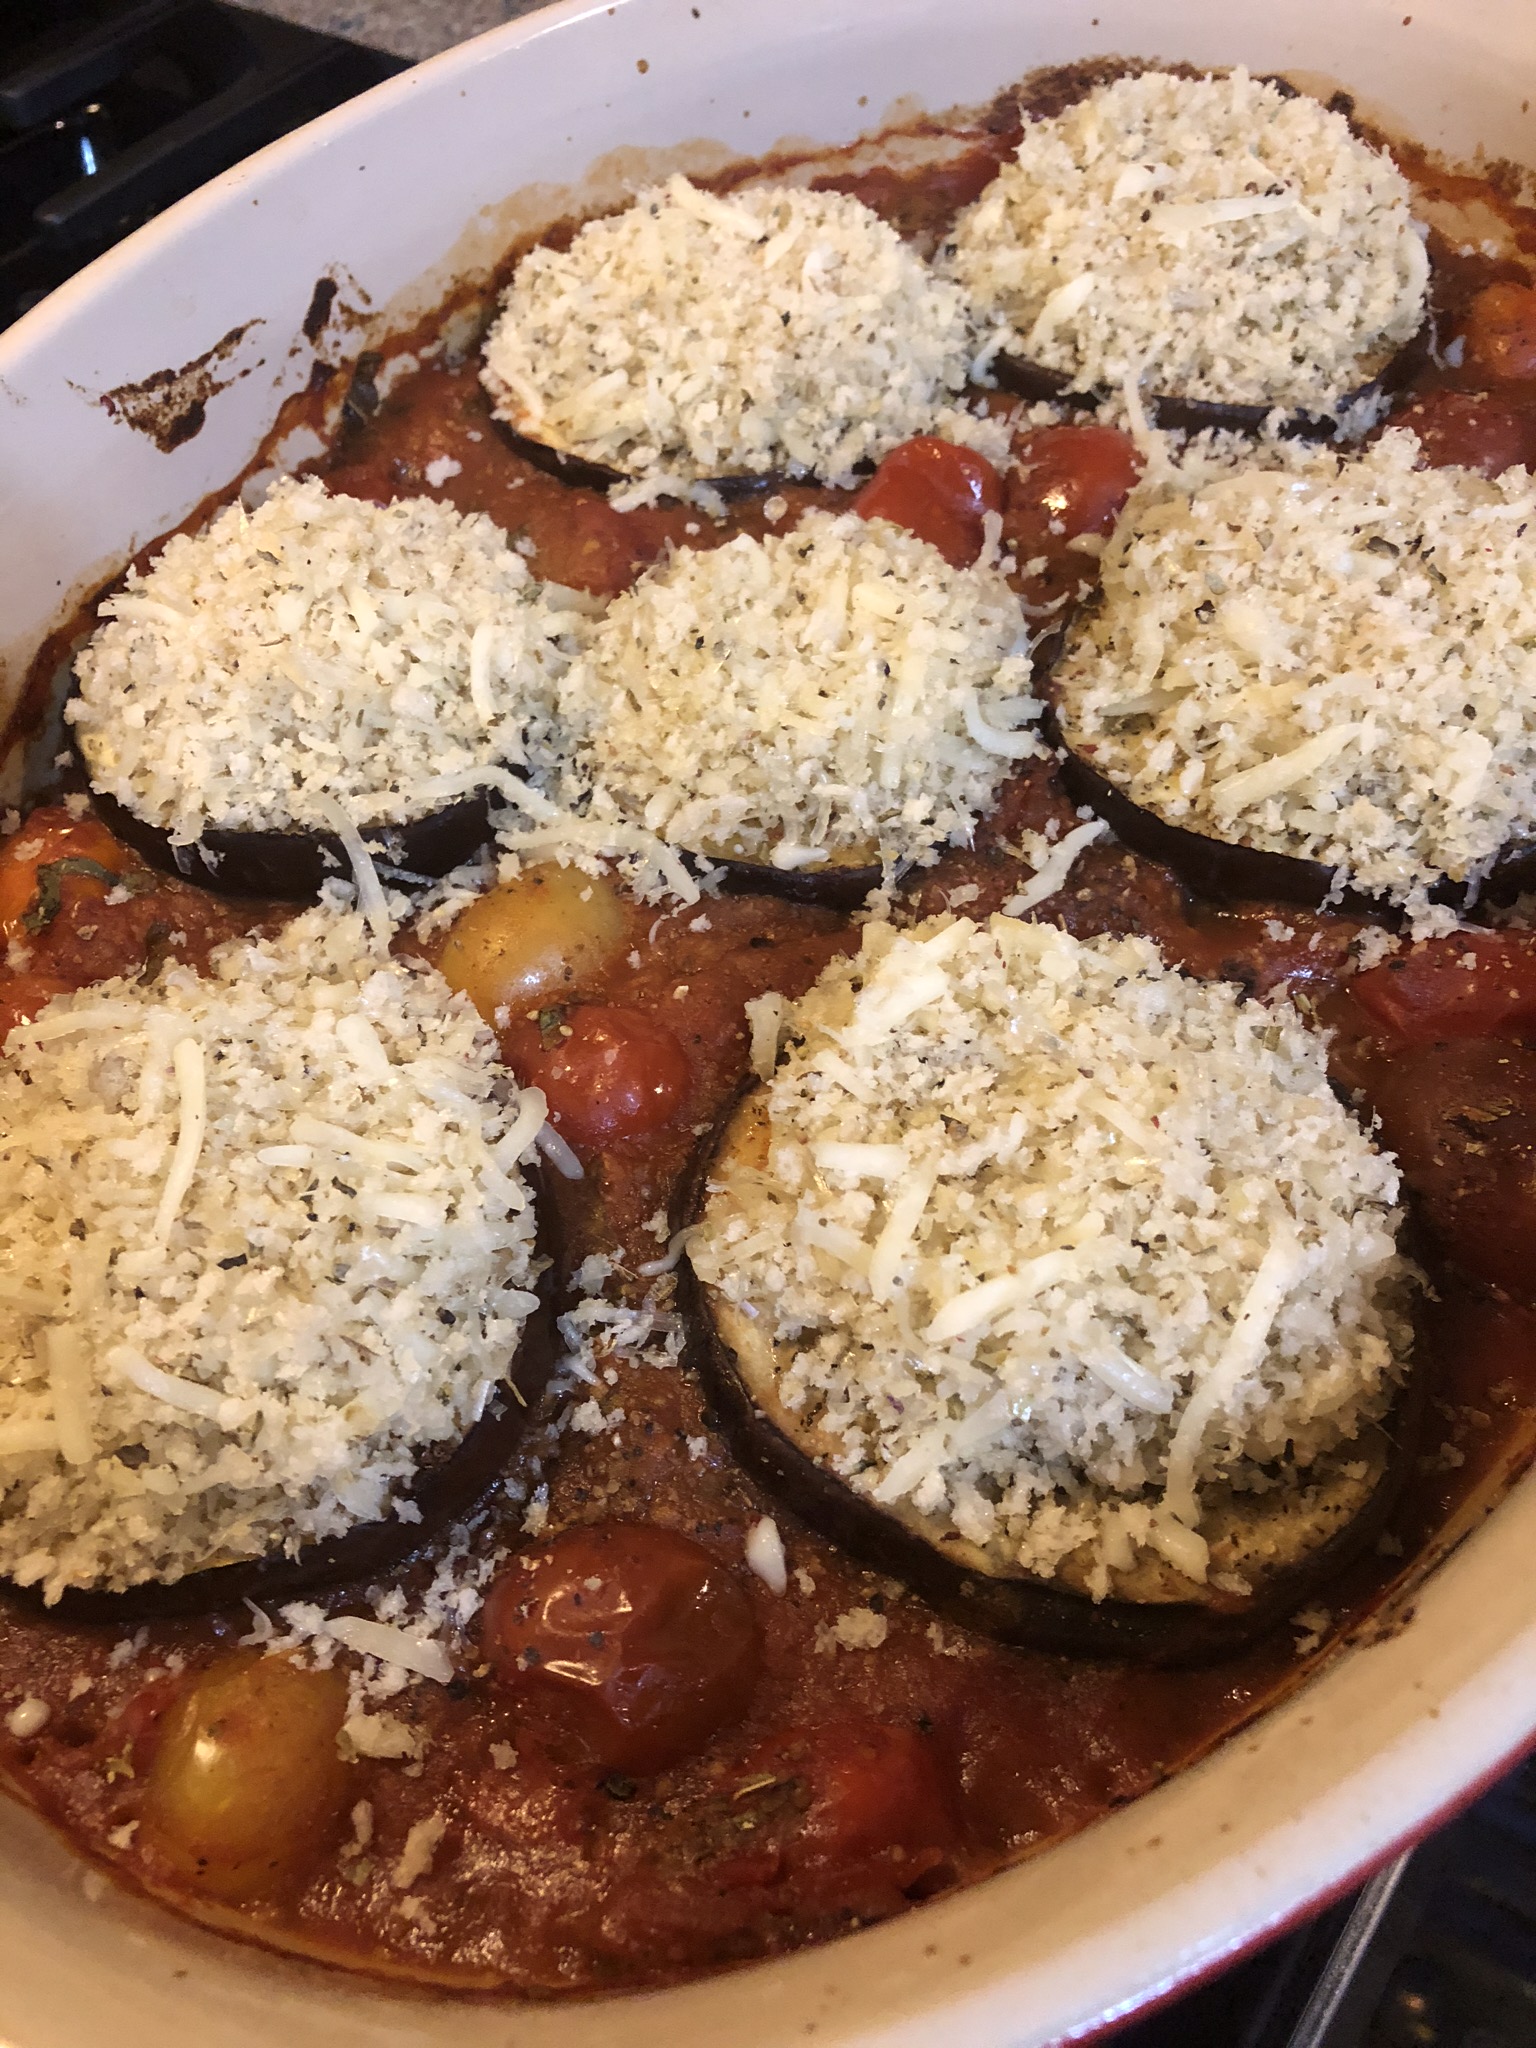
Bake for 25-30 minutes until the eggplant rounds are tender. While the casserole is in the oven toss the panko, cheeses, salt, and dried herbs together with 2 T of olive oil in a medium bowl.

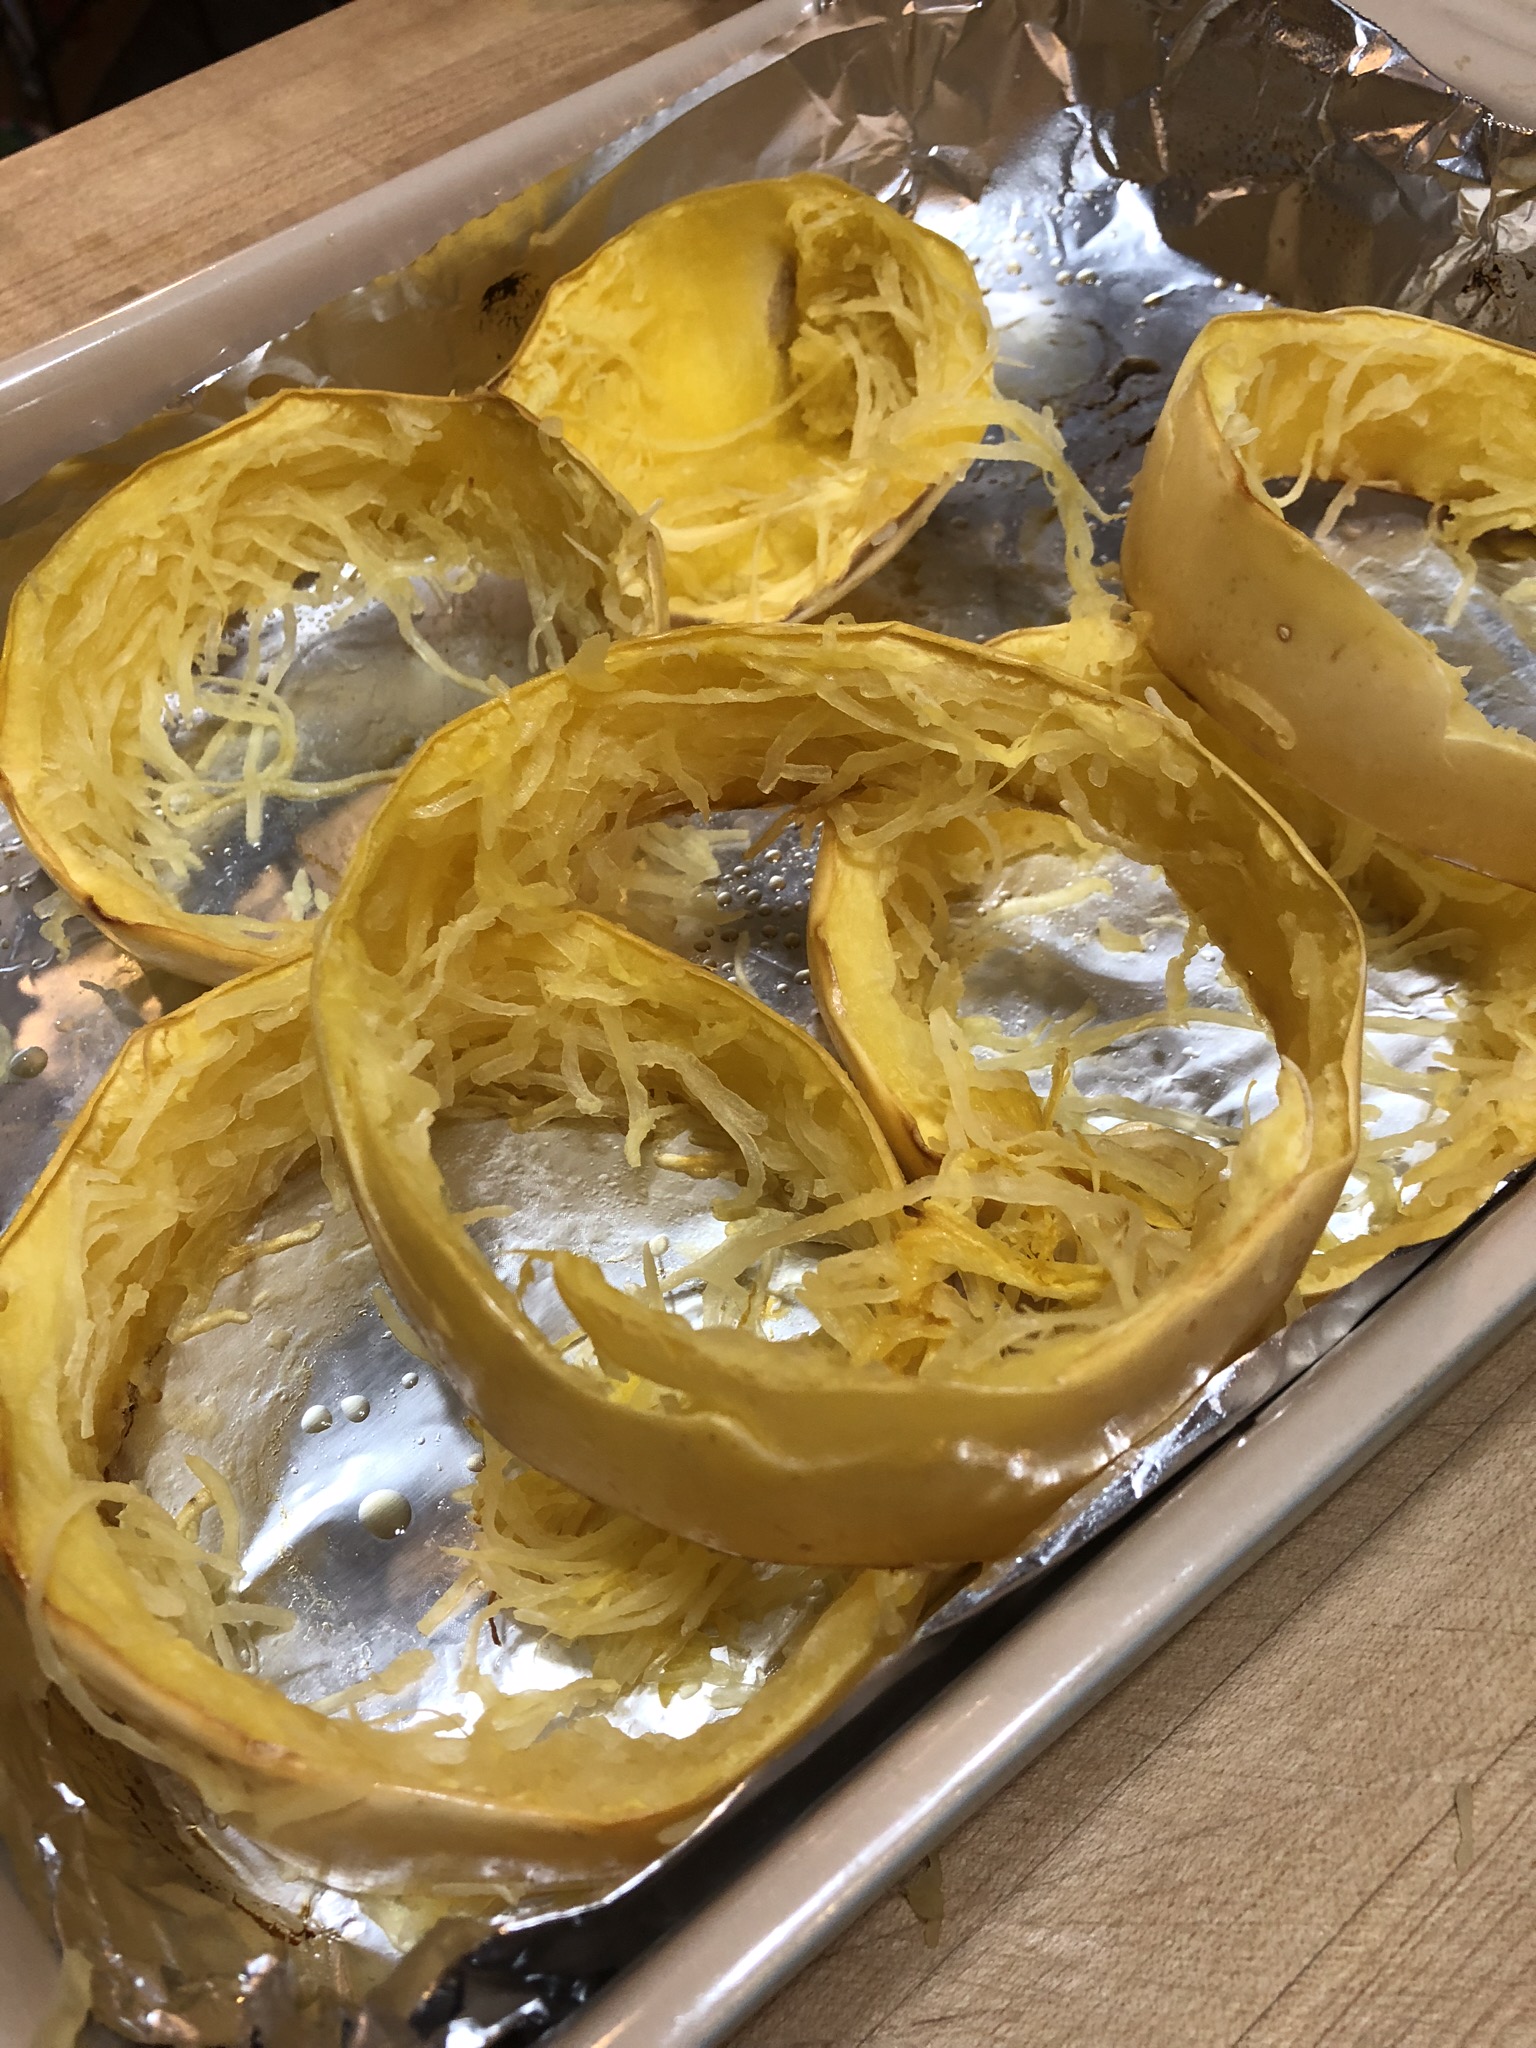
Also, while the eggplant rounds are cooking, prepare your polenta and keep it warm for serving. Once the eggplant is tender, remove it from the oven and top each round with the cheese breadcrumb mixture. Return the casserole to the oven and bake until the topping is a golden brown.

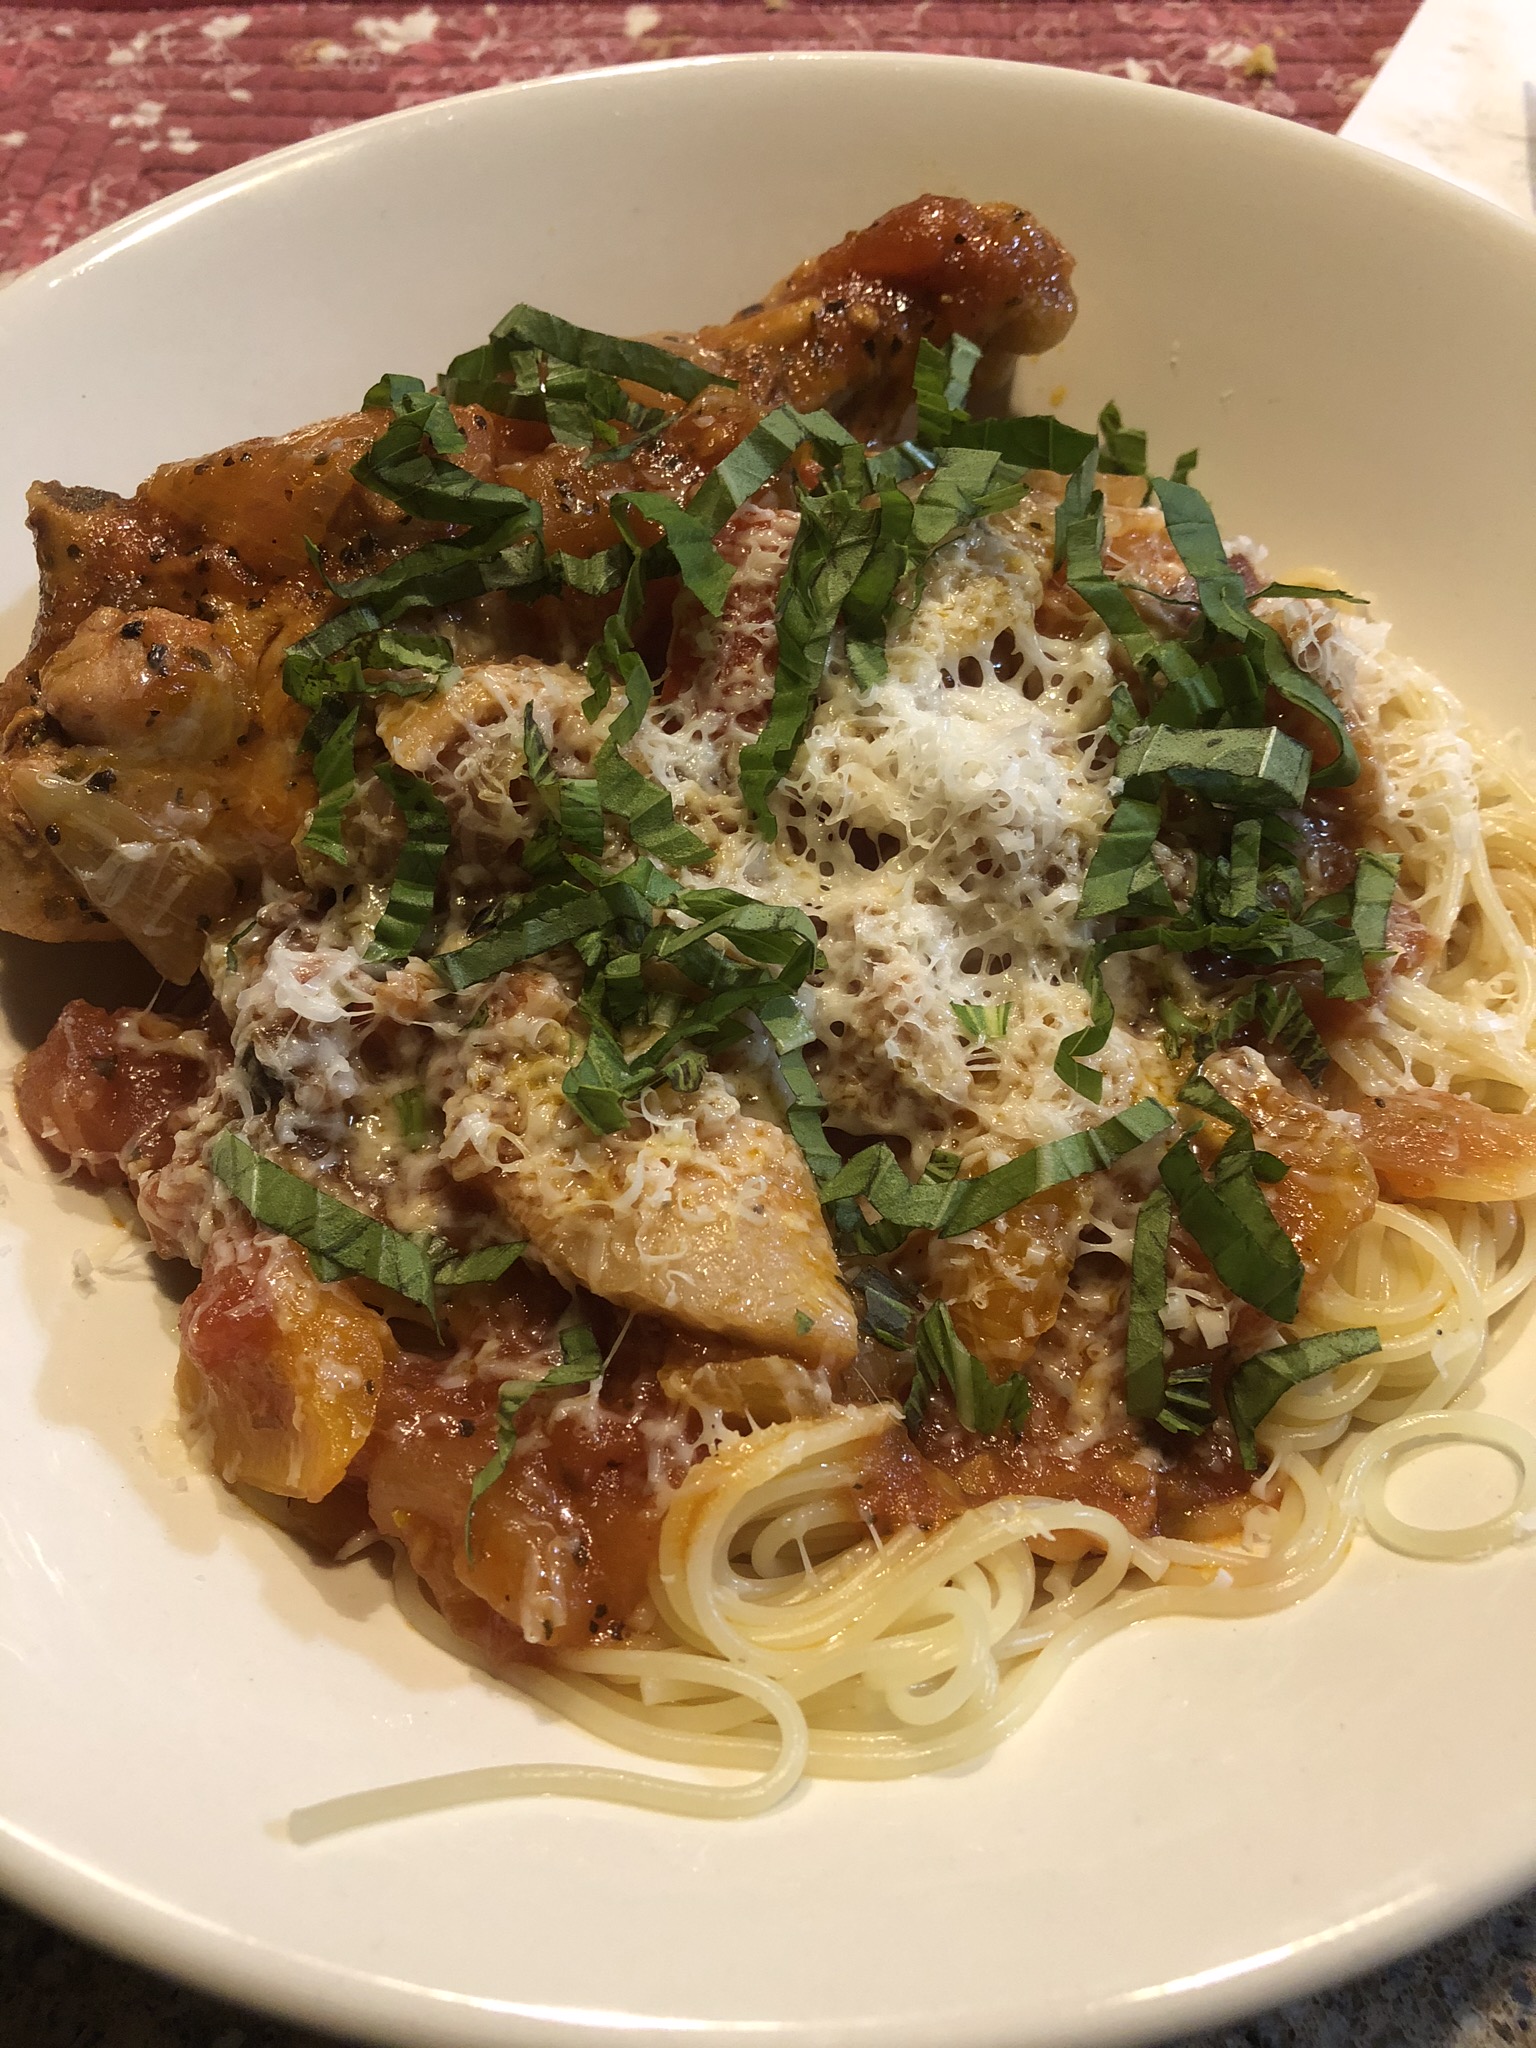
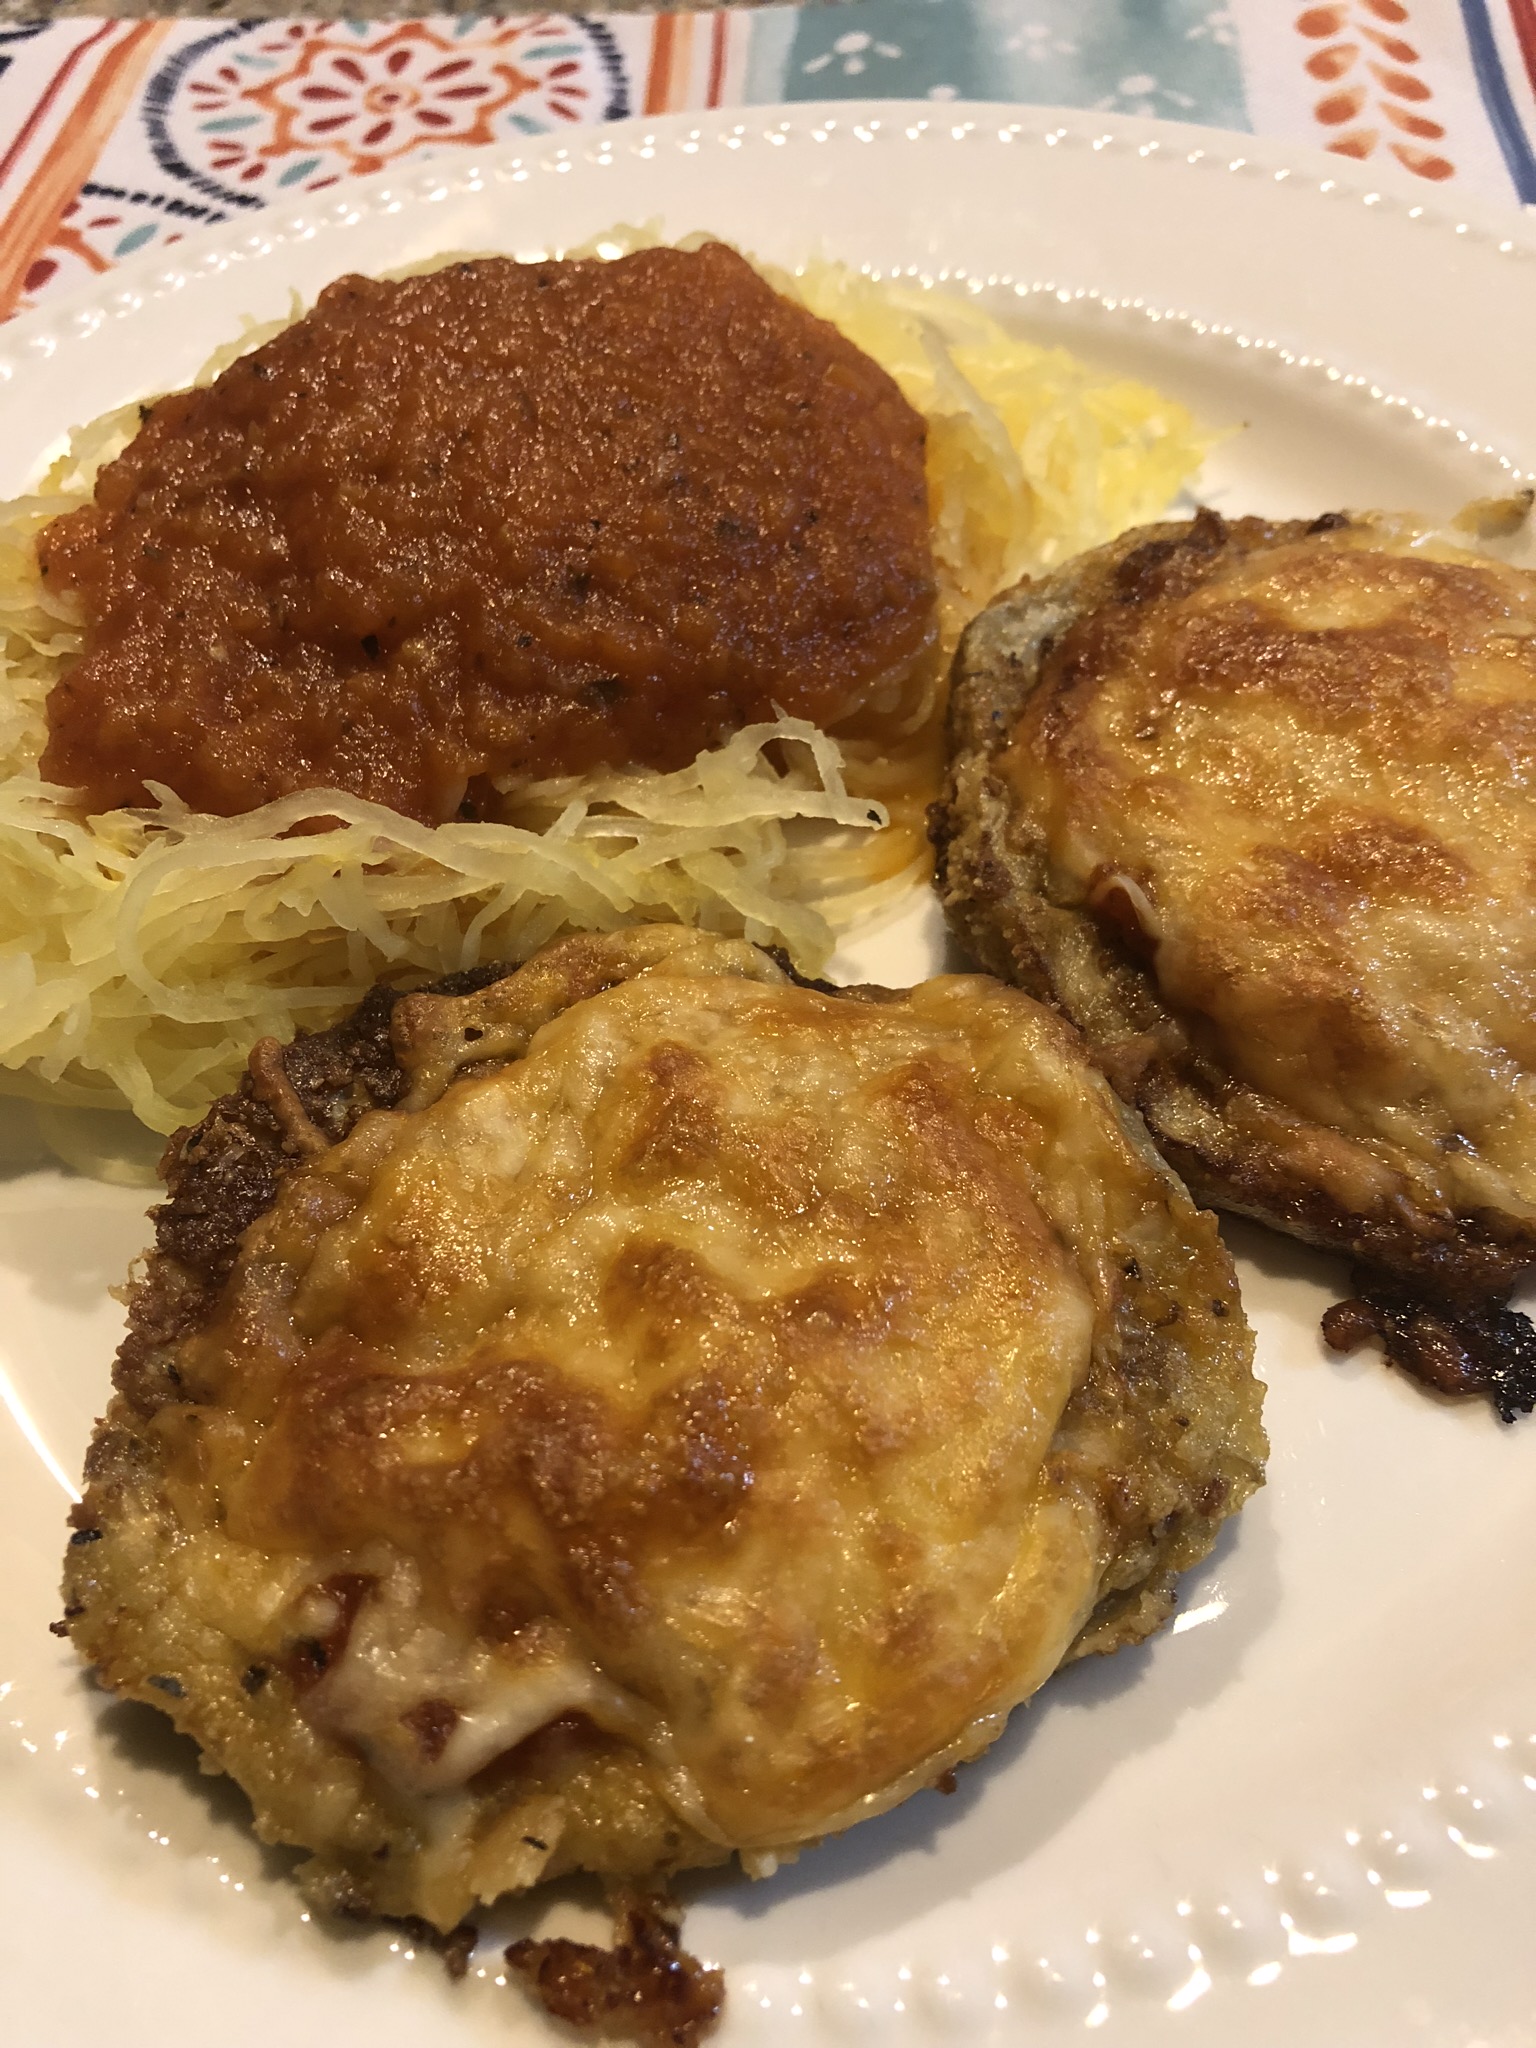
“Bowl” up and serve! A spoonful of polenta, an eggplant round, and a spoonful of sauce. Serve with fresh grated Parmesan. If you follow the recipe with my modifications you will have more sauce in your bowl than shown below.

Enjoy this take on eggplant Parmesan.
NOTE: While tonight is the first time I’ve made this, I think you could cook down whole or diced tomatoes, vs the cherry tomatoes, and get pretty much the same flavor profile. A little chiffonade of fresh basil would look great on this dish. I should have thought of that before I took my photos and we devoured our bowls.


You must be logged in to post a comment.