
A chuck roast is a relatively inexpensive cut of beef that is perfectly suited for slow cooking in an oven, a crock pot or a pressure cooker. Growing up it was one of our regular Sunday dinners. Ours was usually cooked in a brown gravy and served with mashed potatoes and a can of peas or corn or green beans. There were no “exotic” vegetables at our house. When my Dad was cooking for himself he would put a chuck roast in the crock pot with an envelop of French onion soup and a can of cream of mushroom soup. Easy to make and the meat came out tender and the gravy was actually pretty yummy. My husband loves anything with tomatoes so this recipe puts a little different twist on a chuck roast. I cooked the roast in a 300 degree oven for two and a half hours.
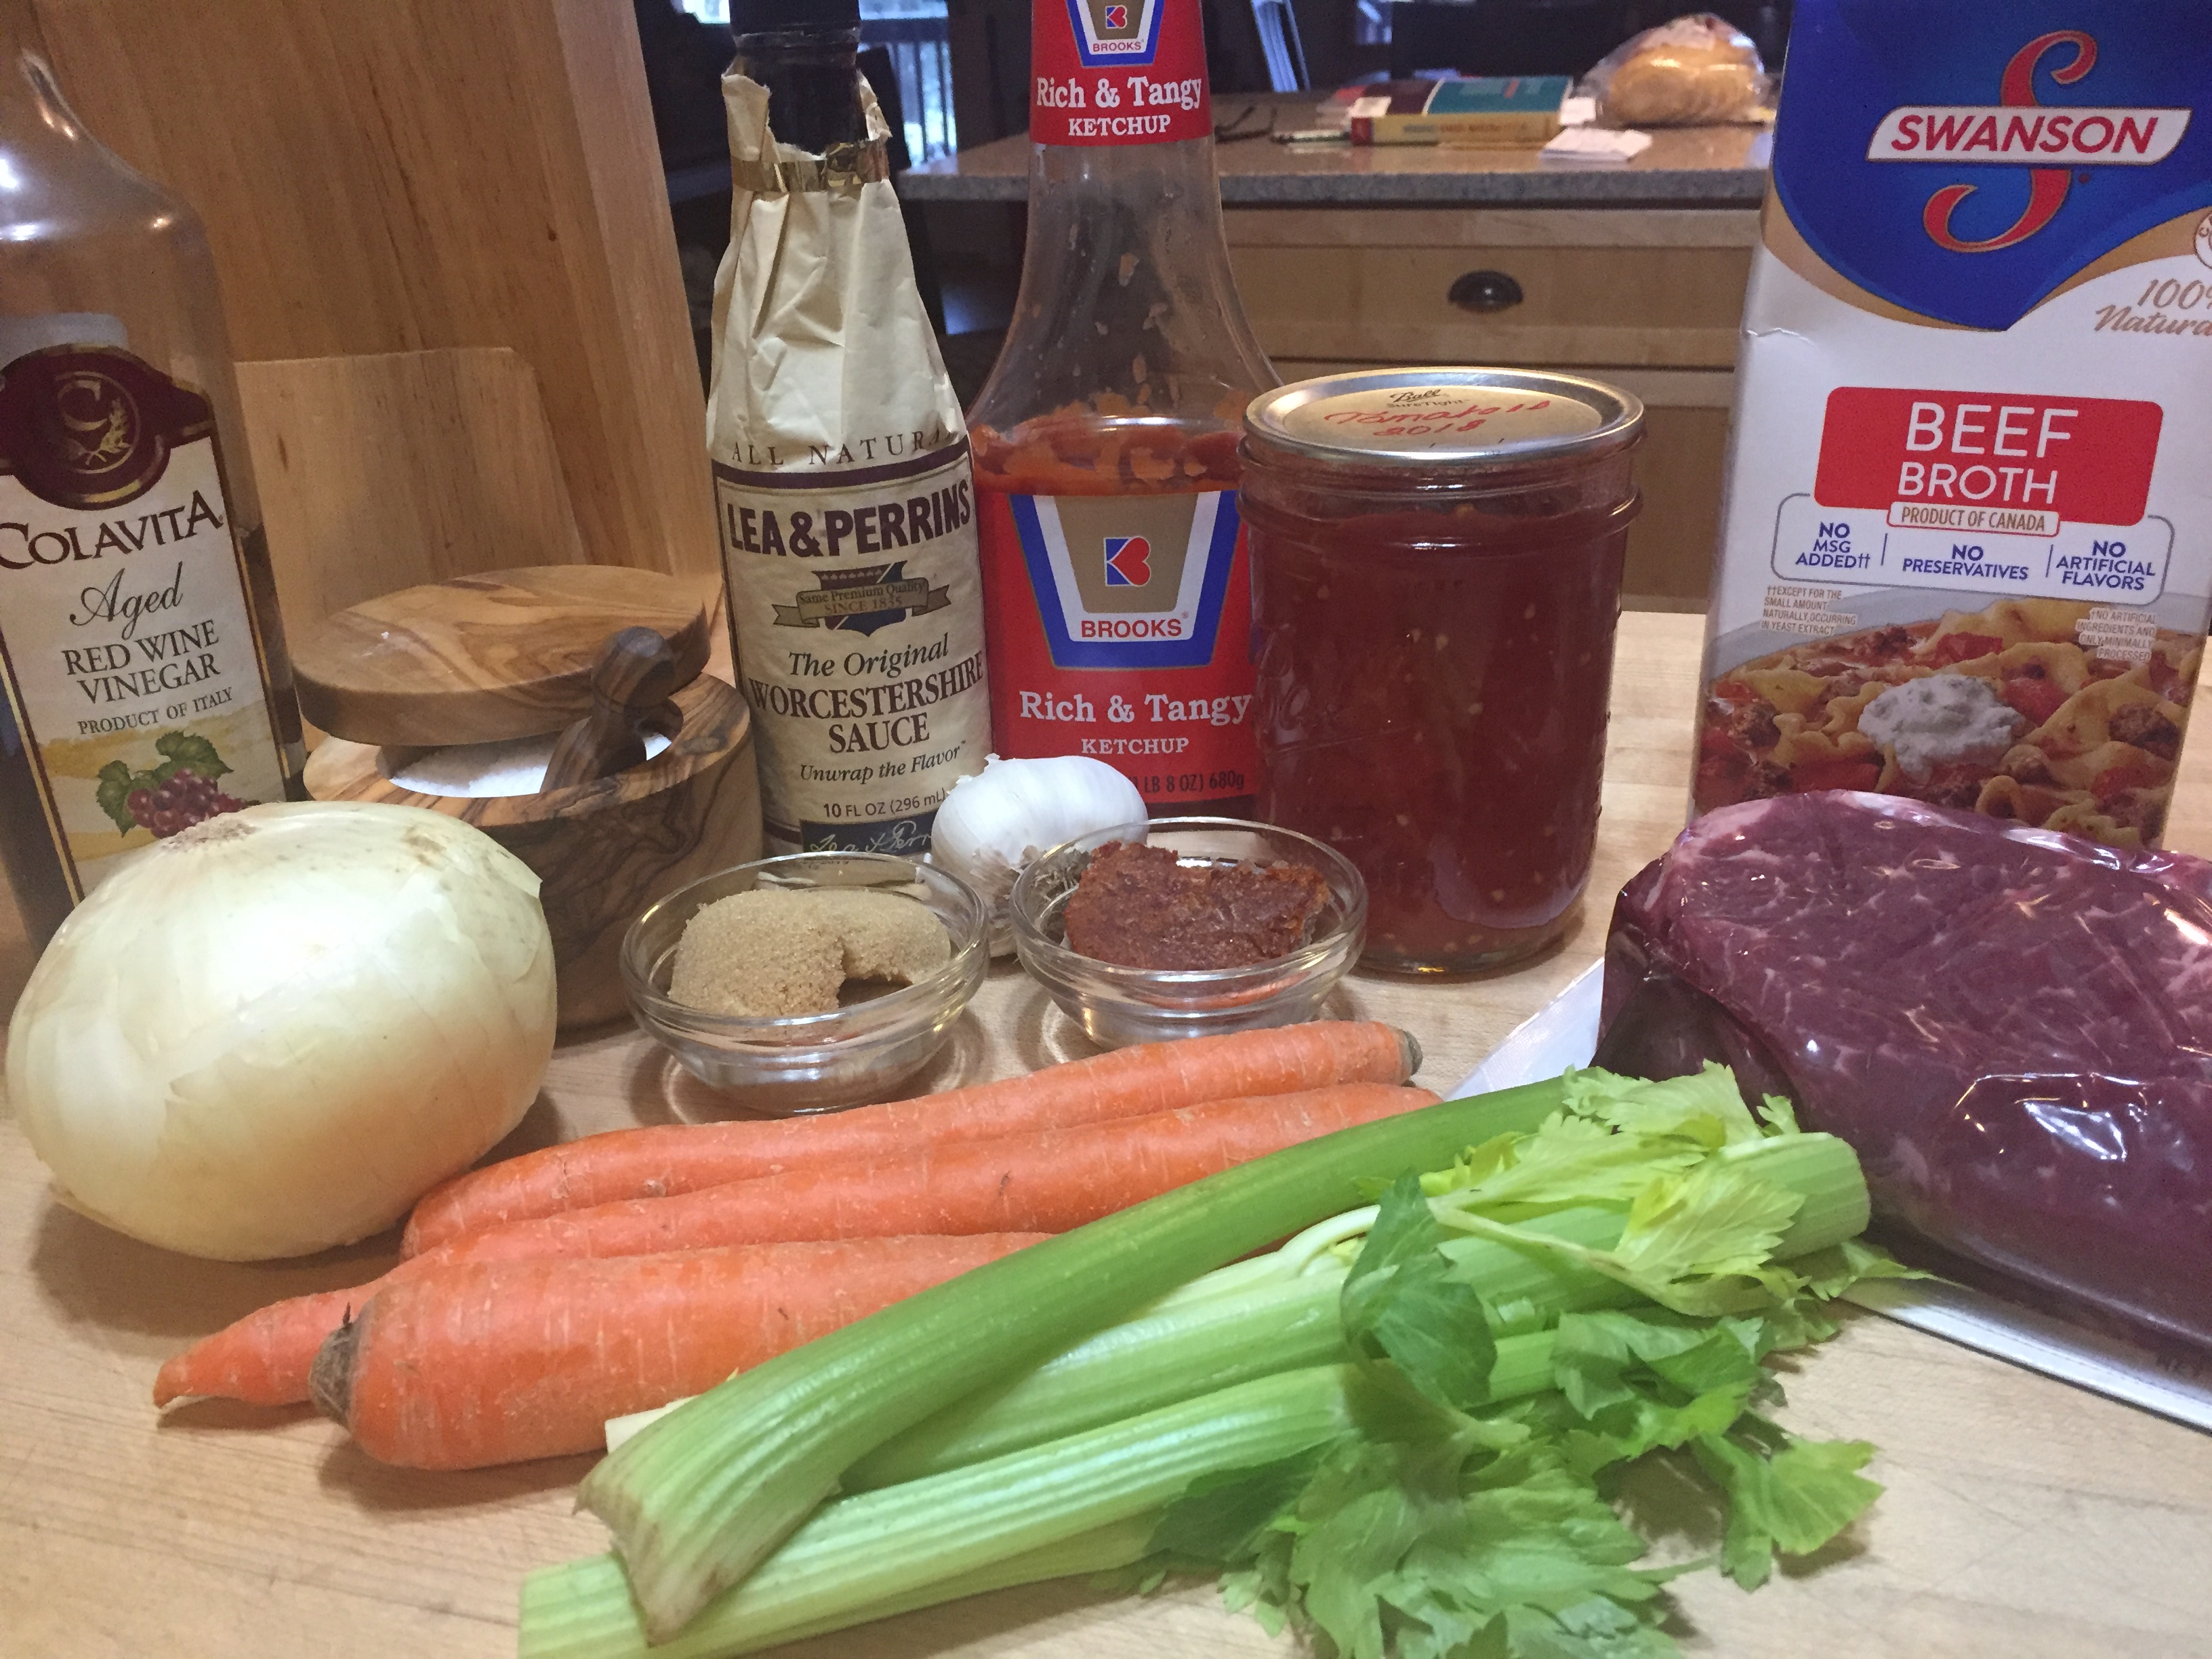
Ingredients:
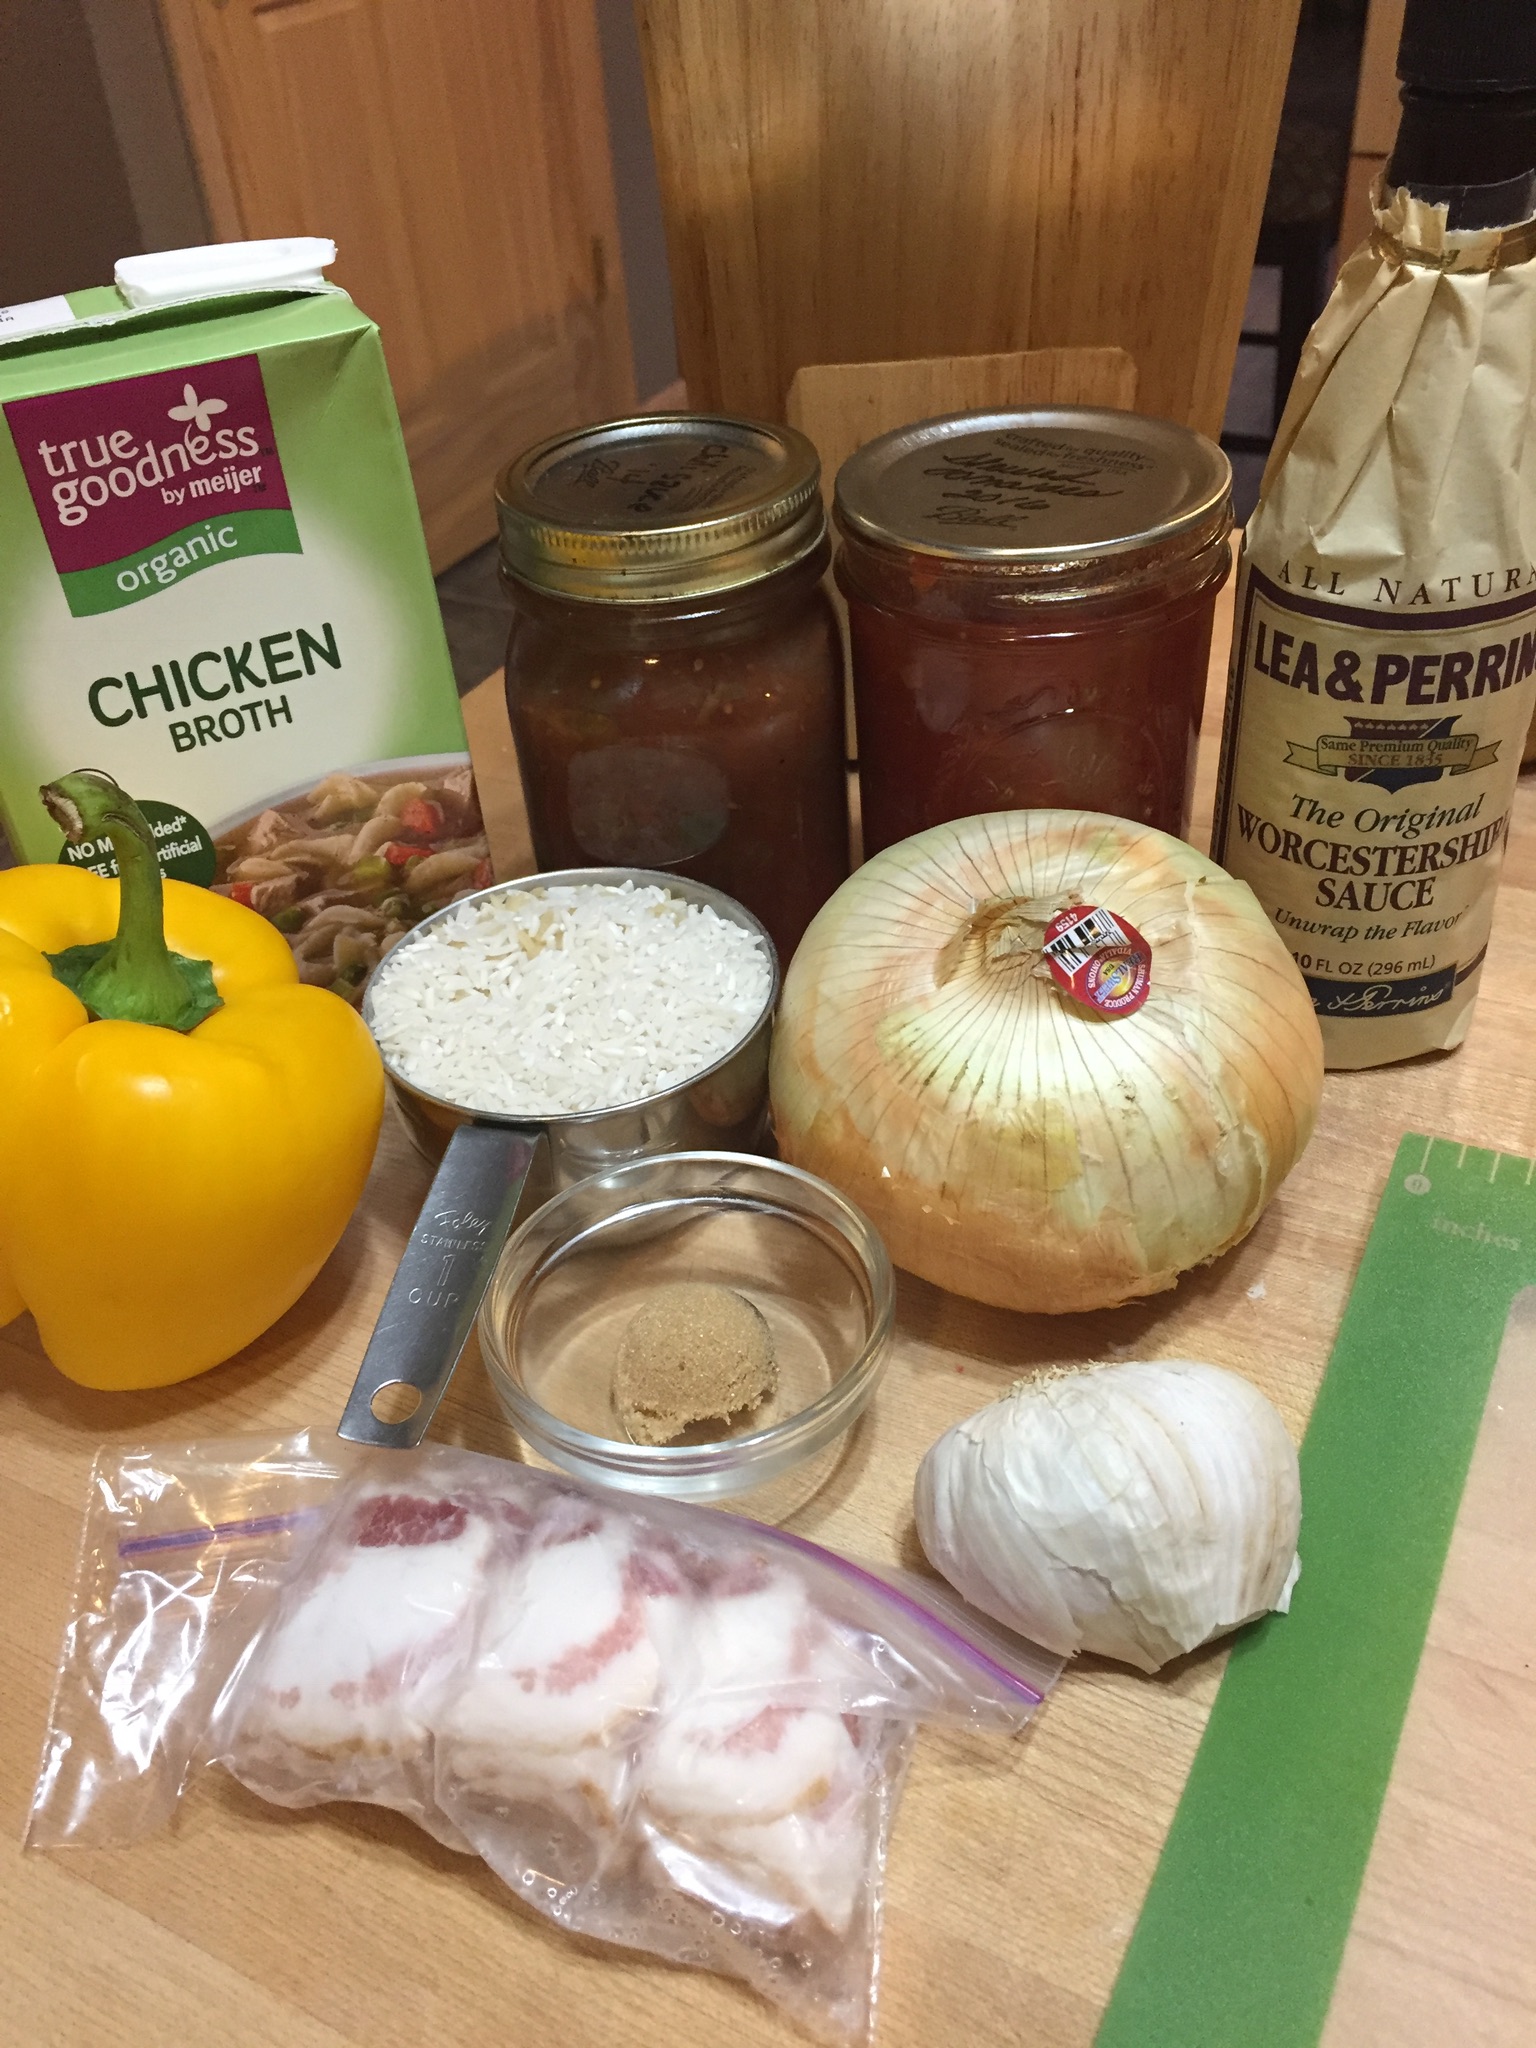
1.5 – 2 pound chuck roast
1 pint jar diced or stewed tomatoes
1/2 cup beef broth or red wine
1/2 cup catsup
3 T brown sugar
2 T Worcestershire sauce
2 T red wine vinegar
1 T chipotle in adabo sauce
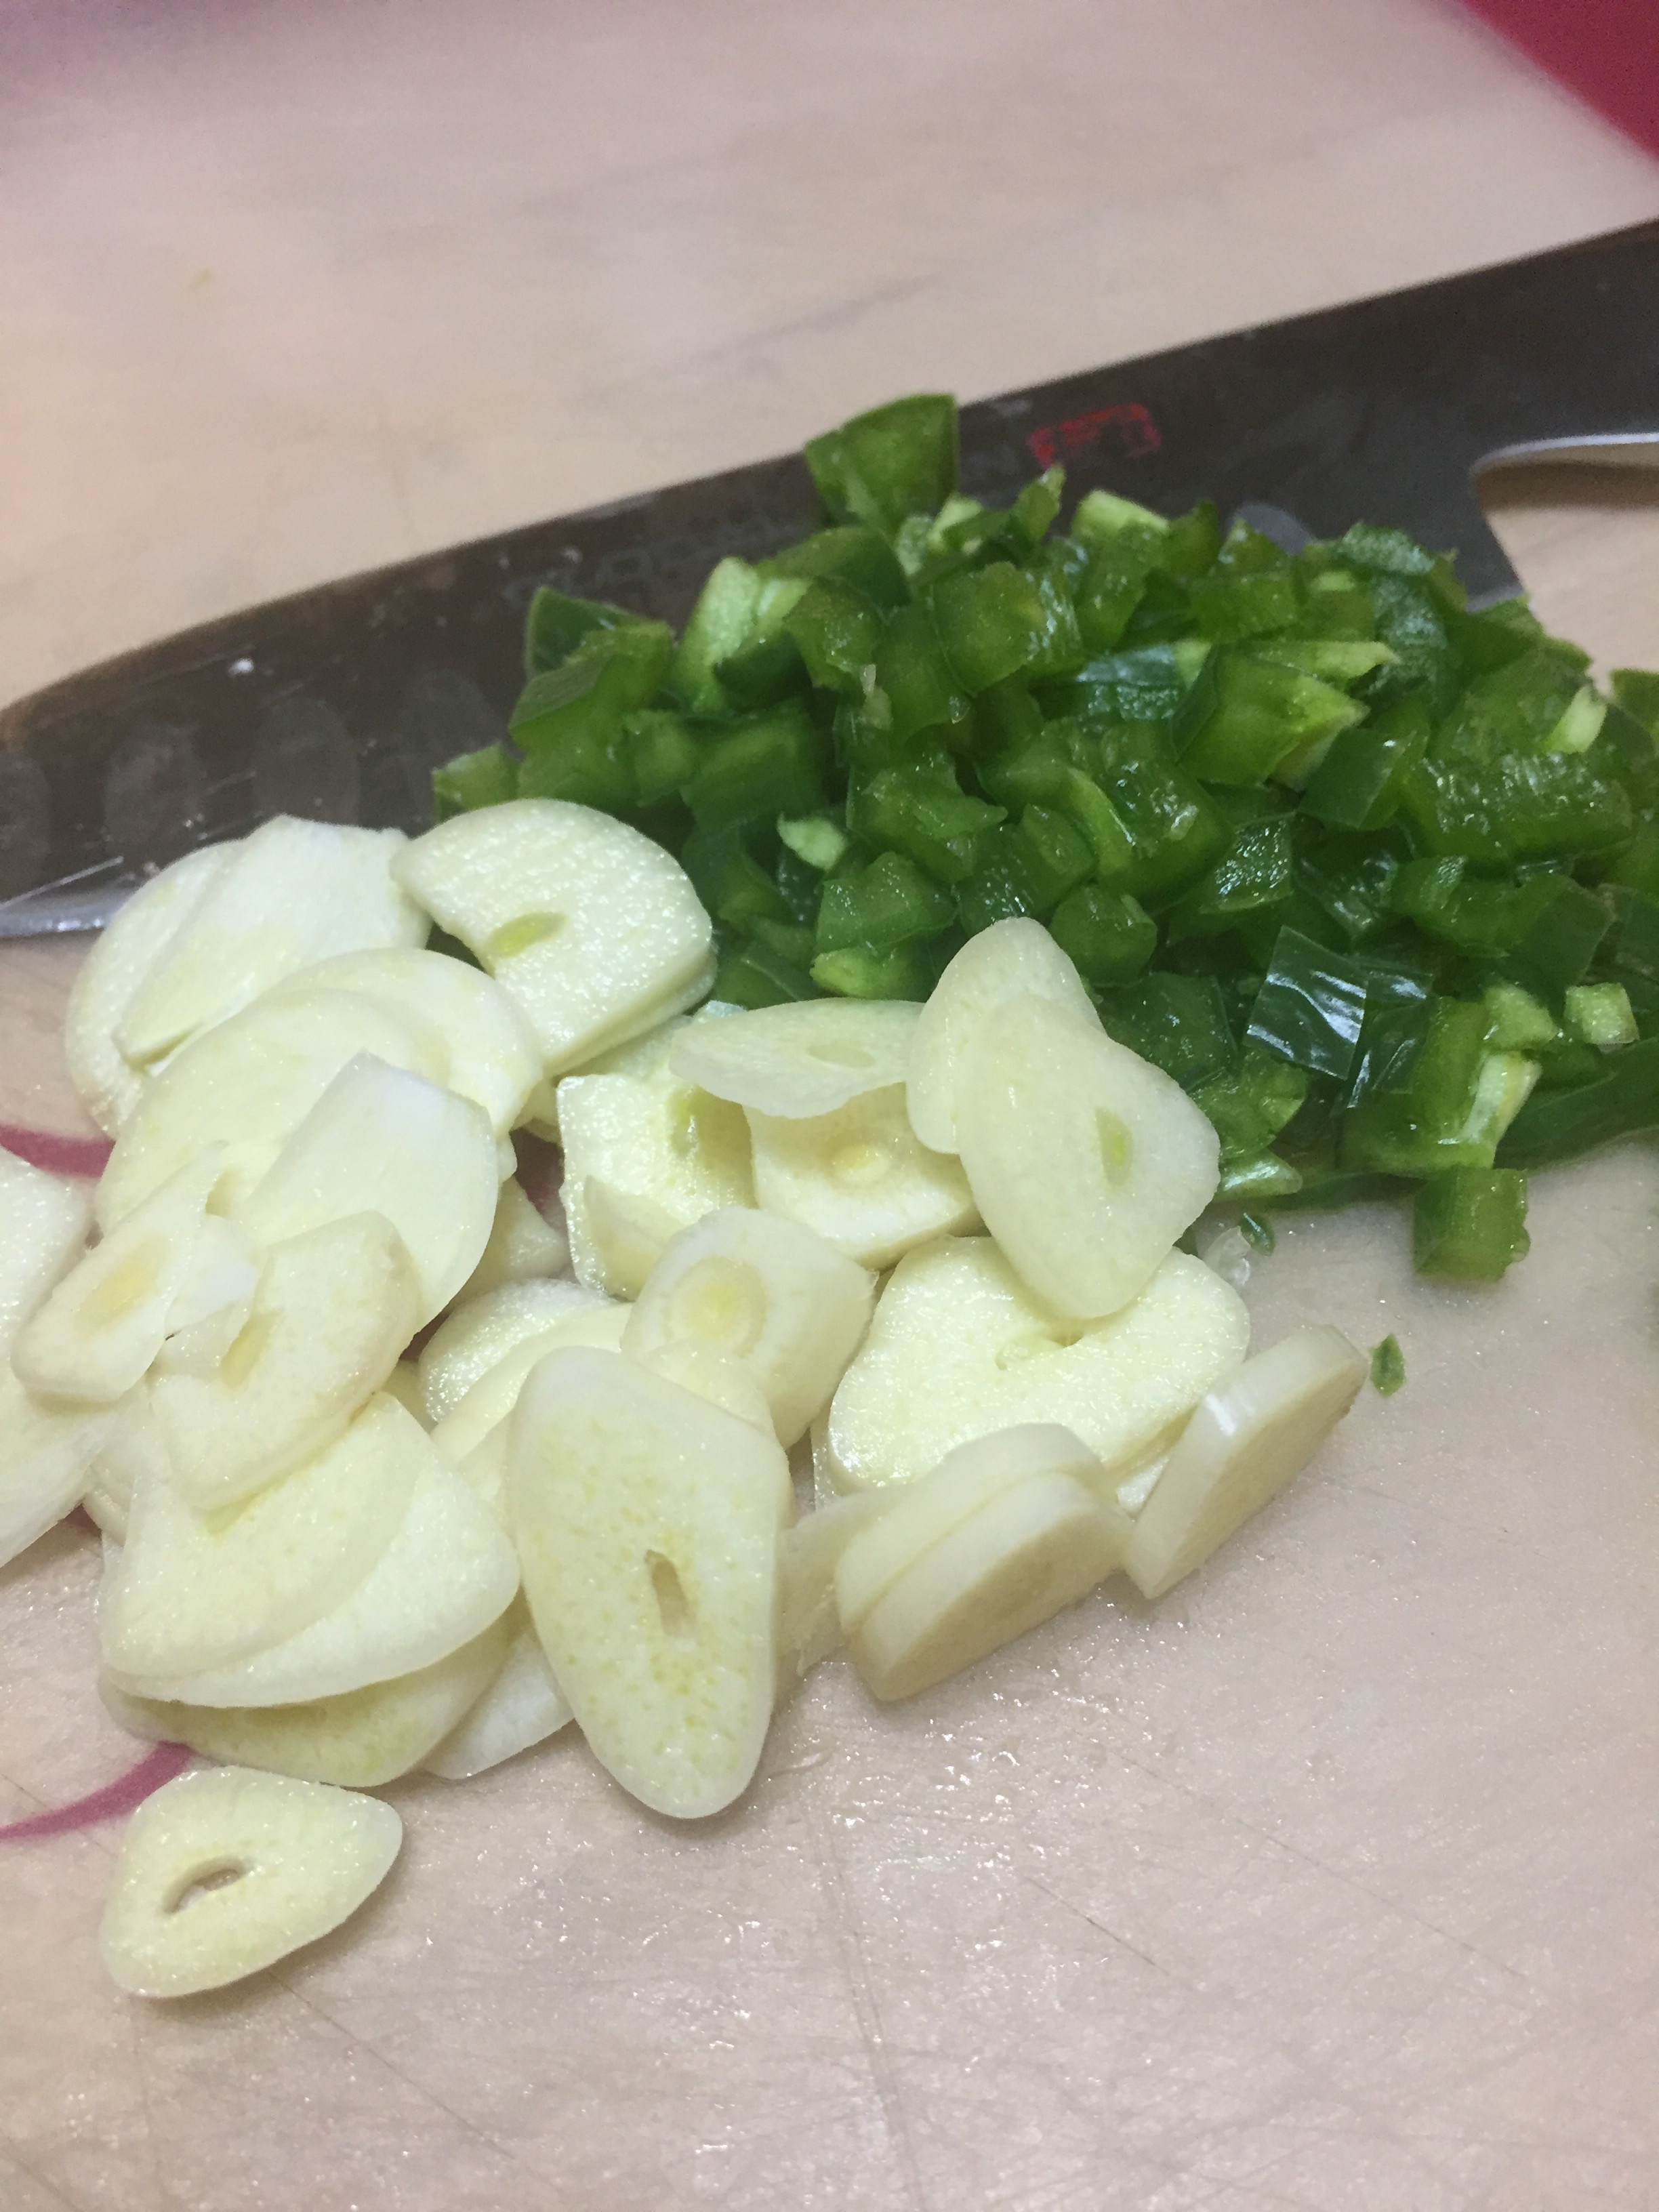
3 cloves of garlic thin sliced
2 T olive oil
salt and pepper
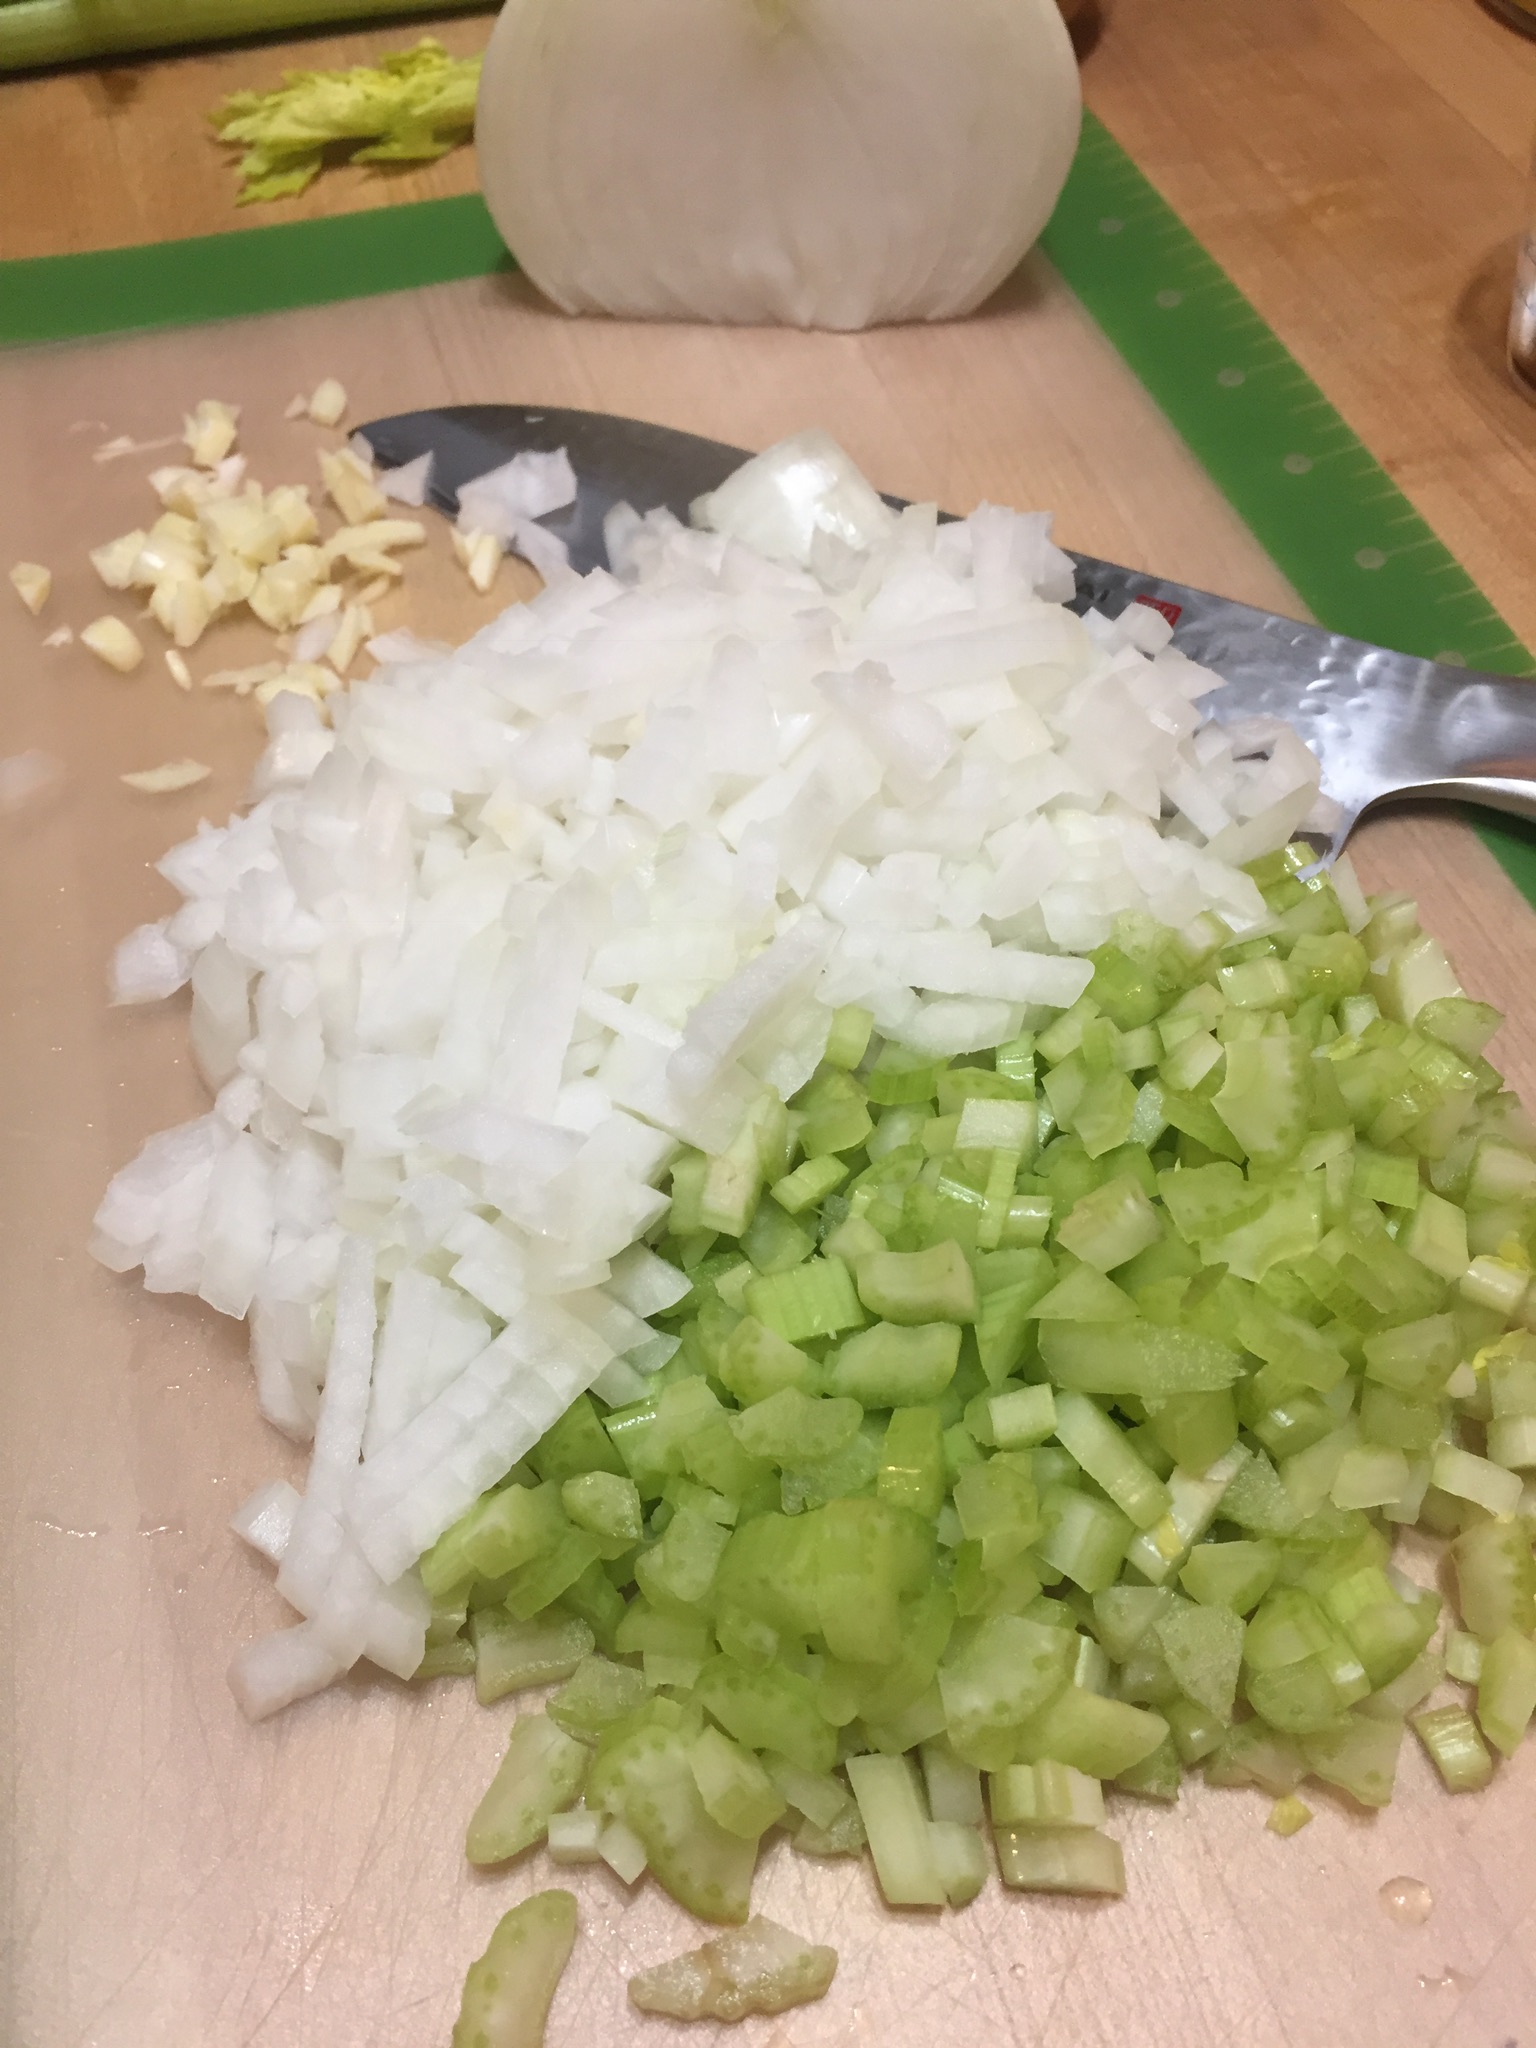
1 medium onion quartered
3-4 carrots
3-4 stalks of celery
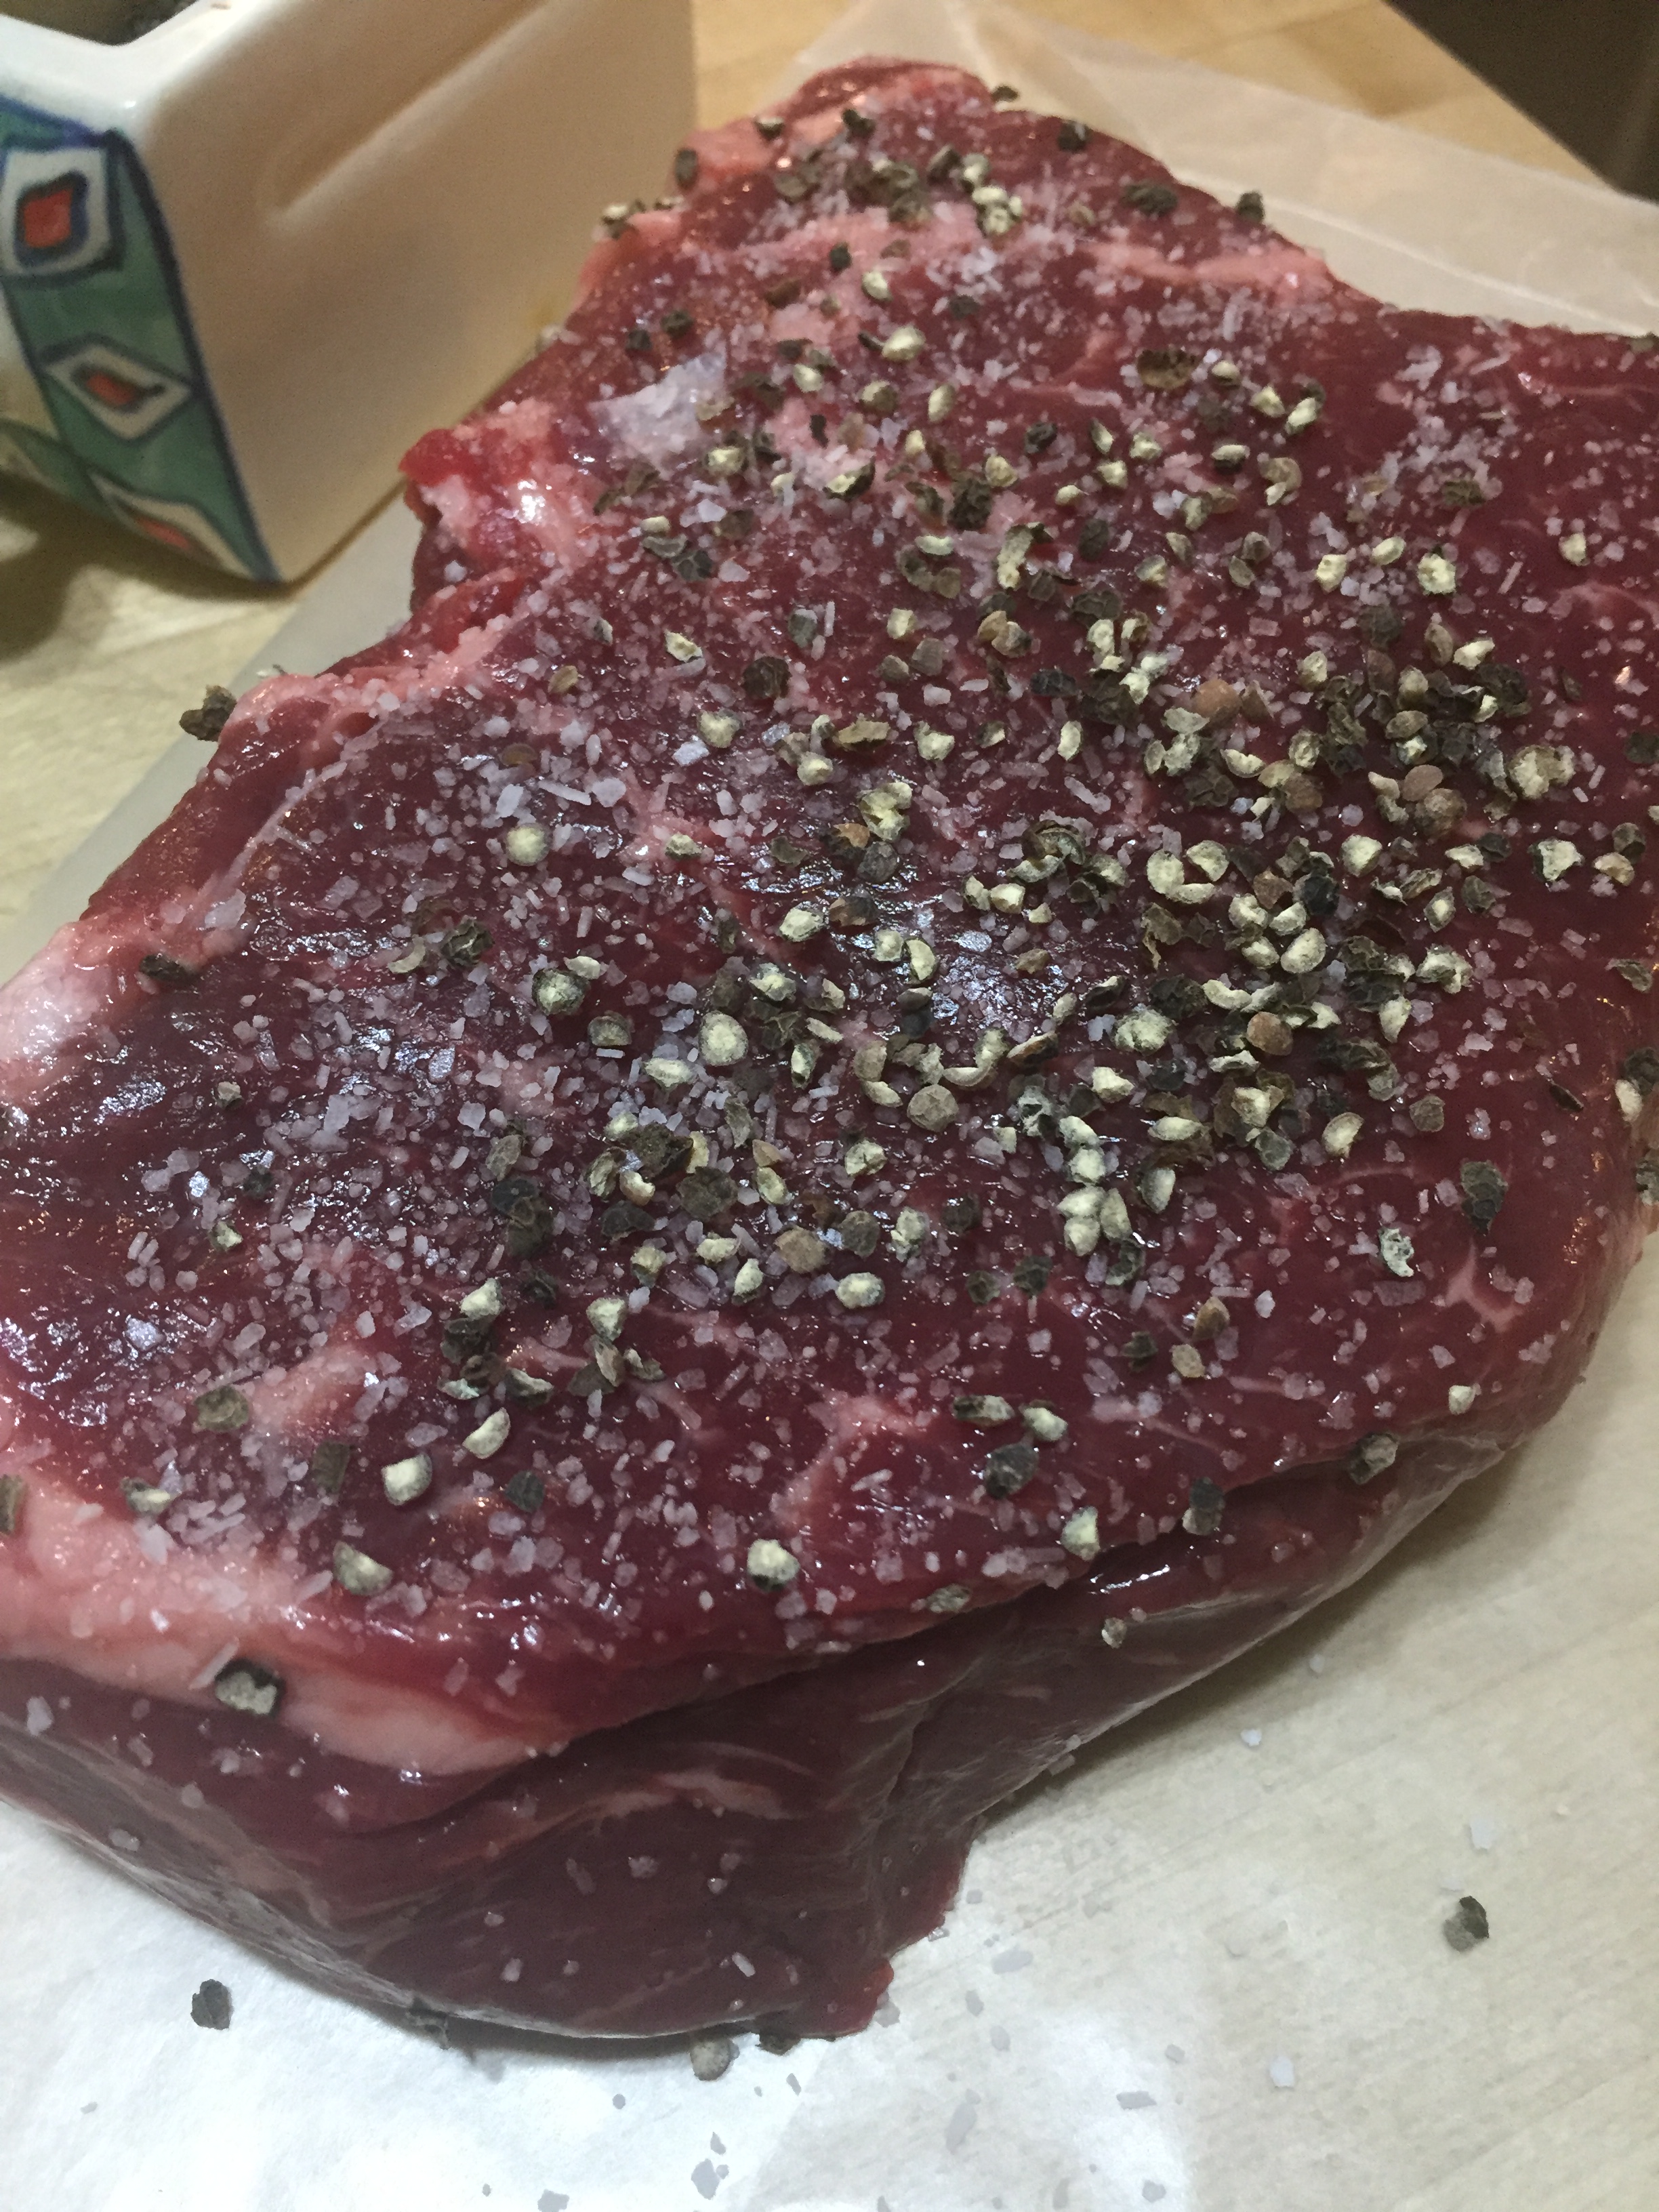
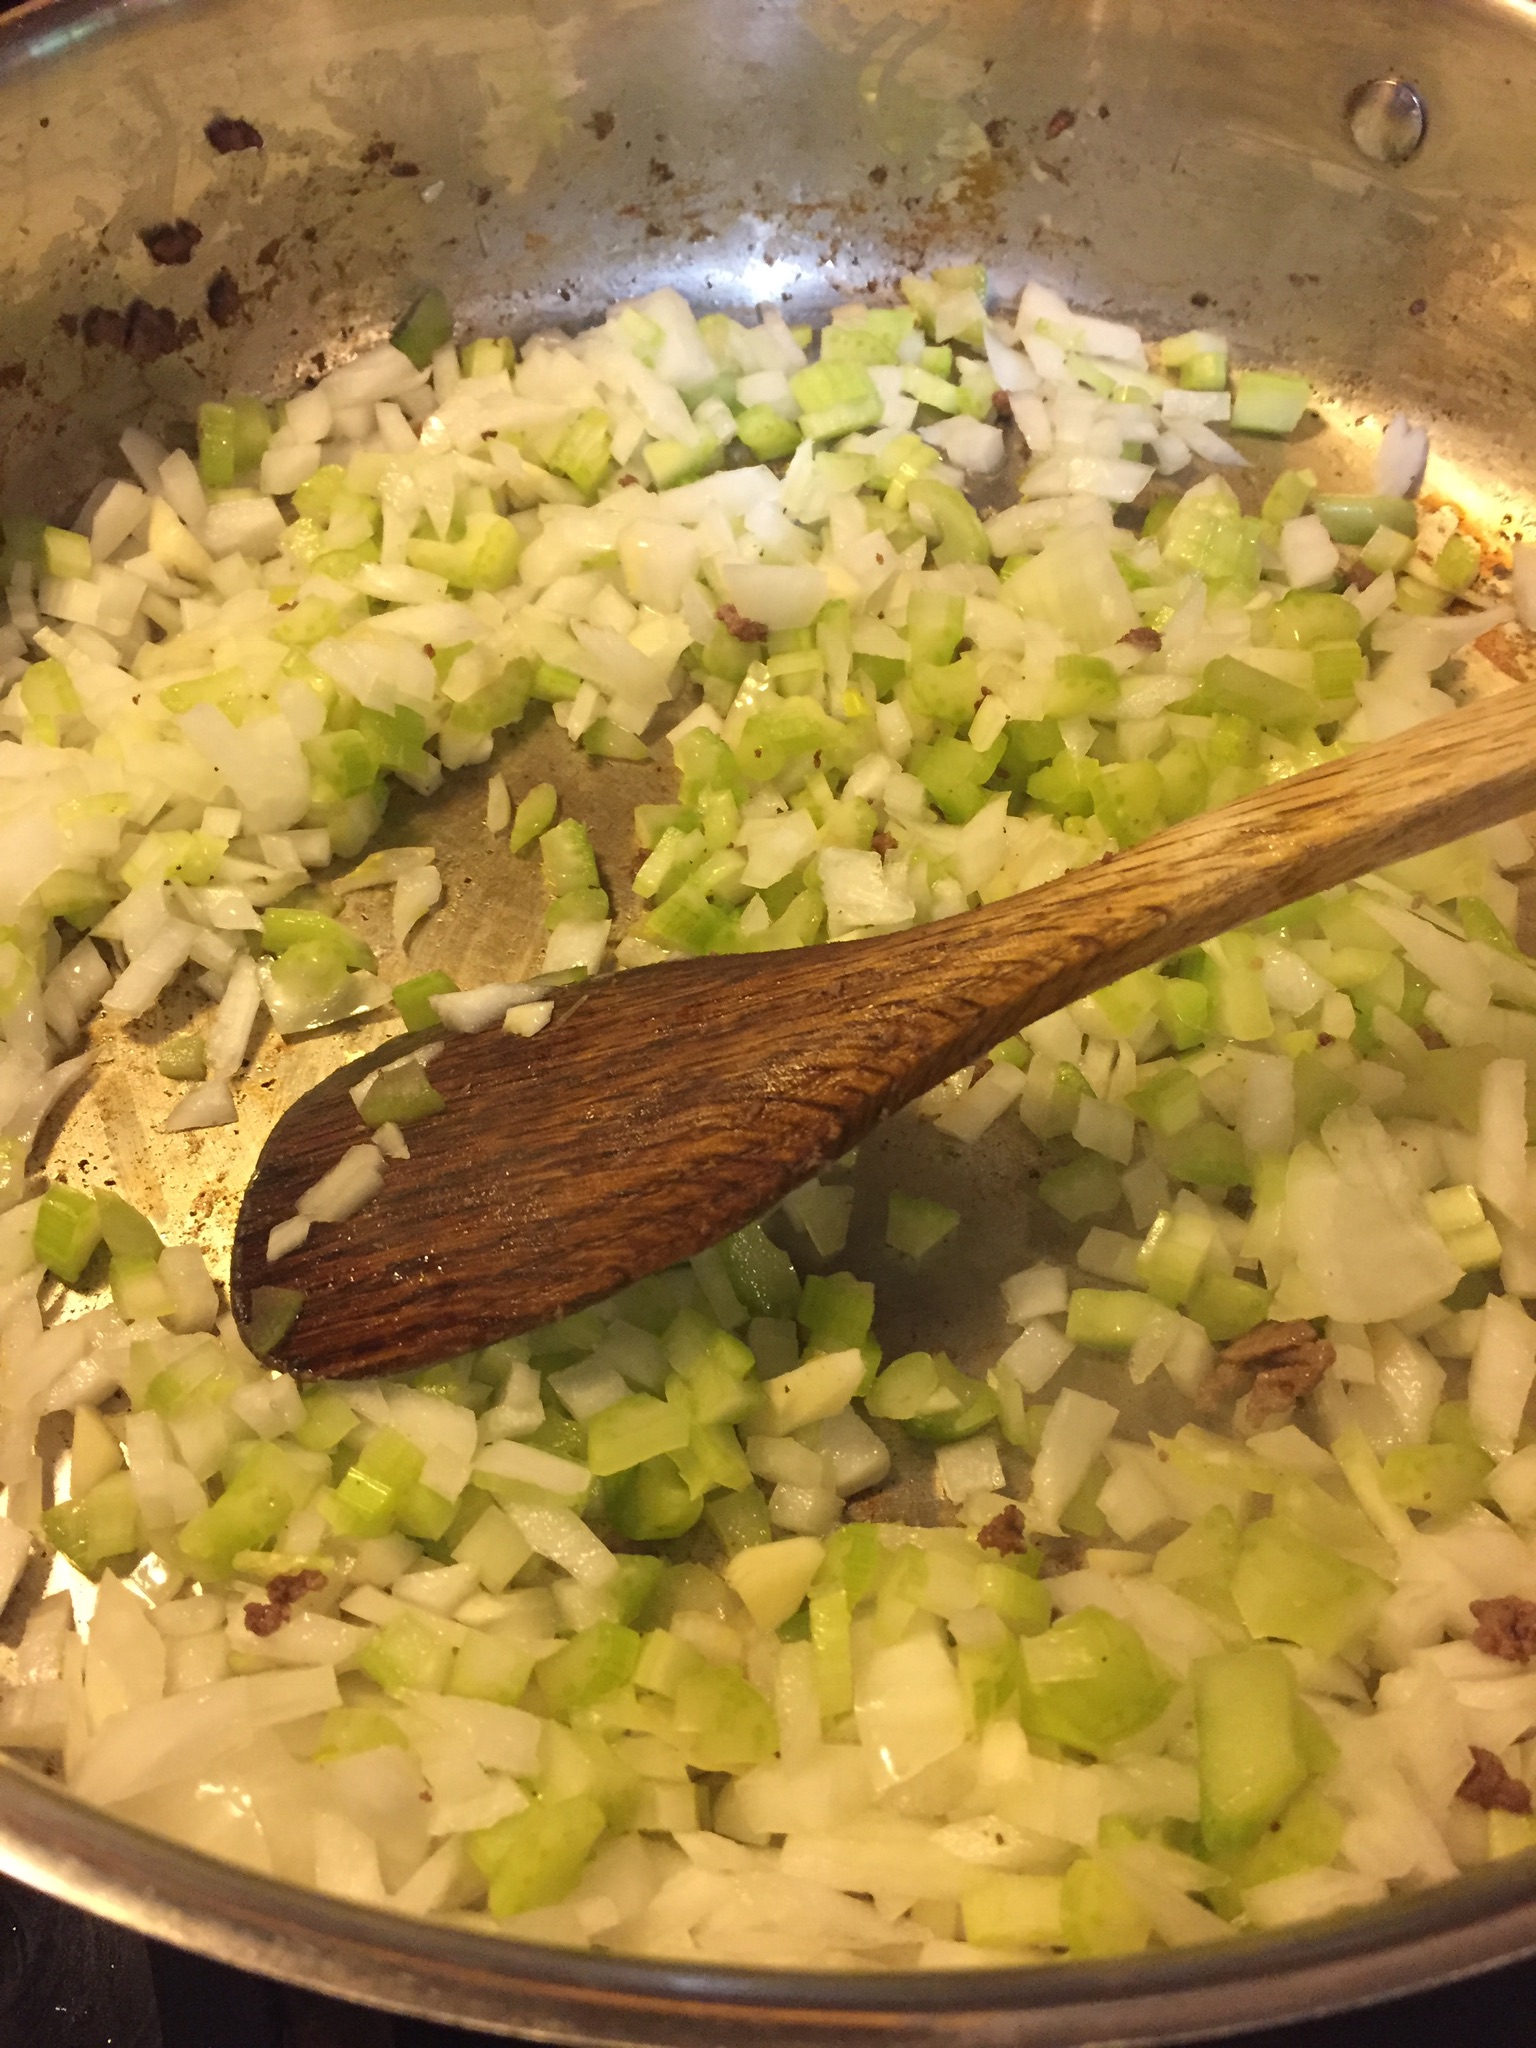
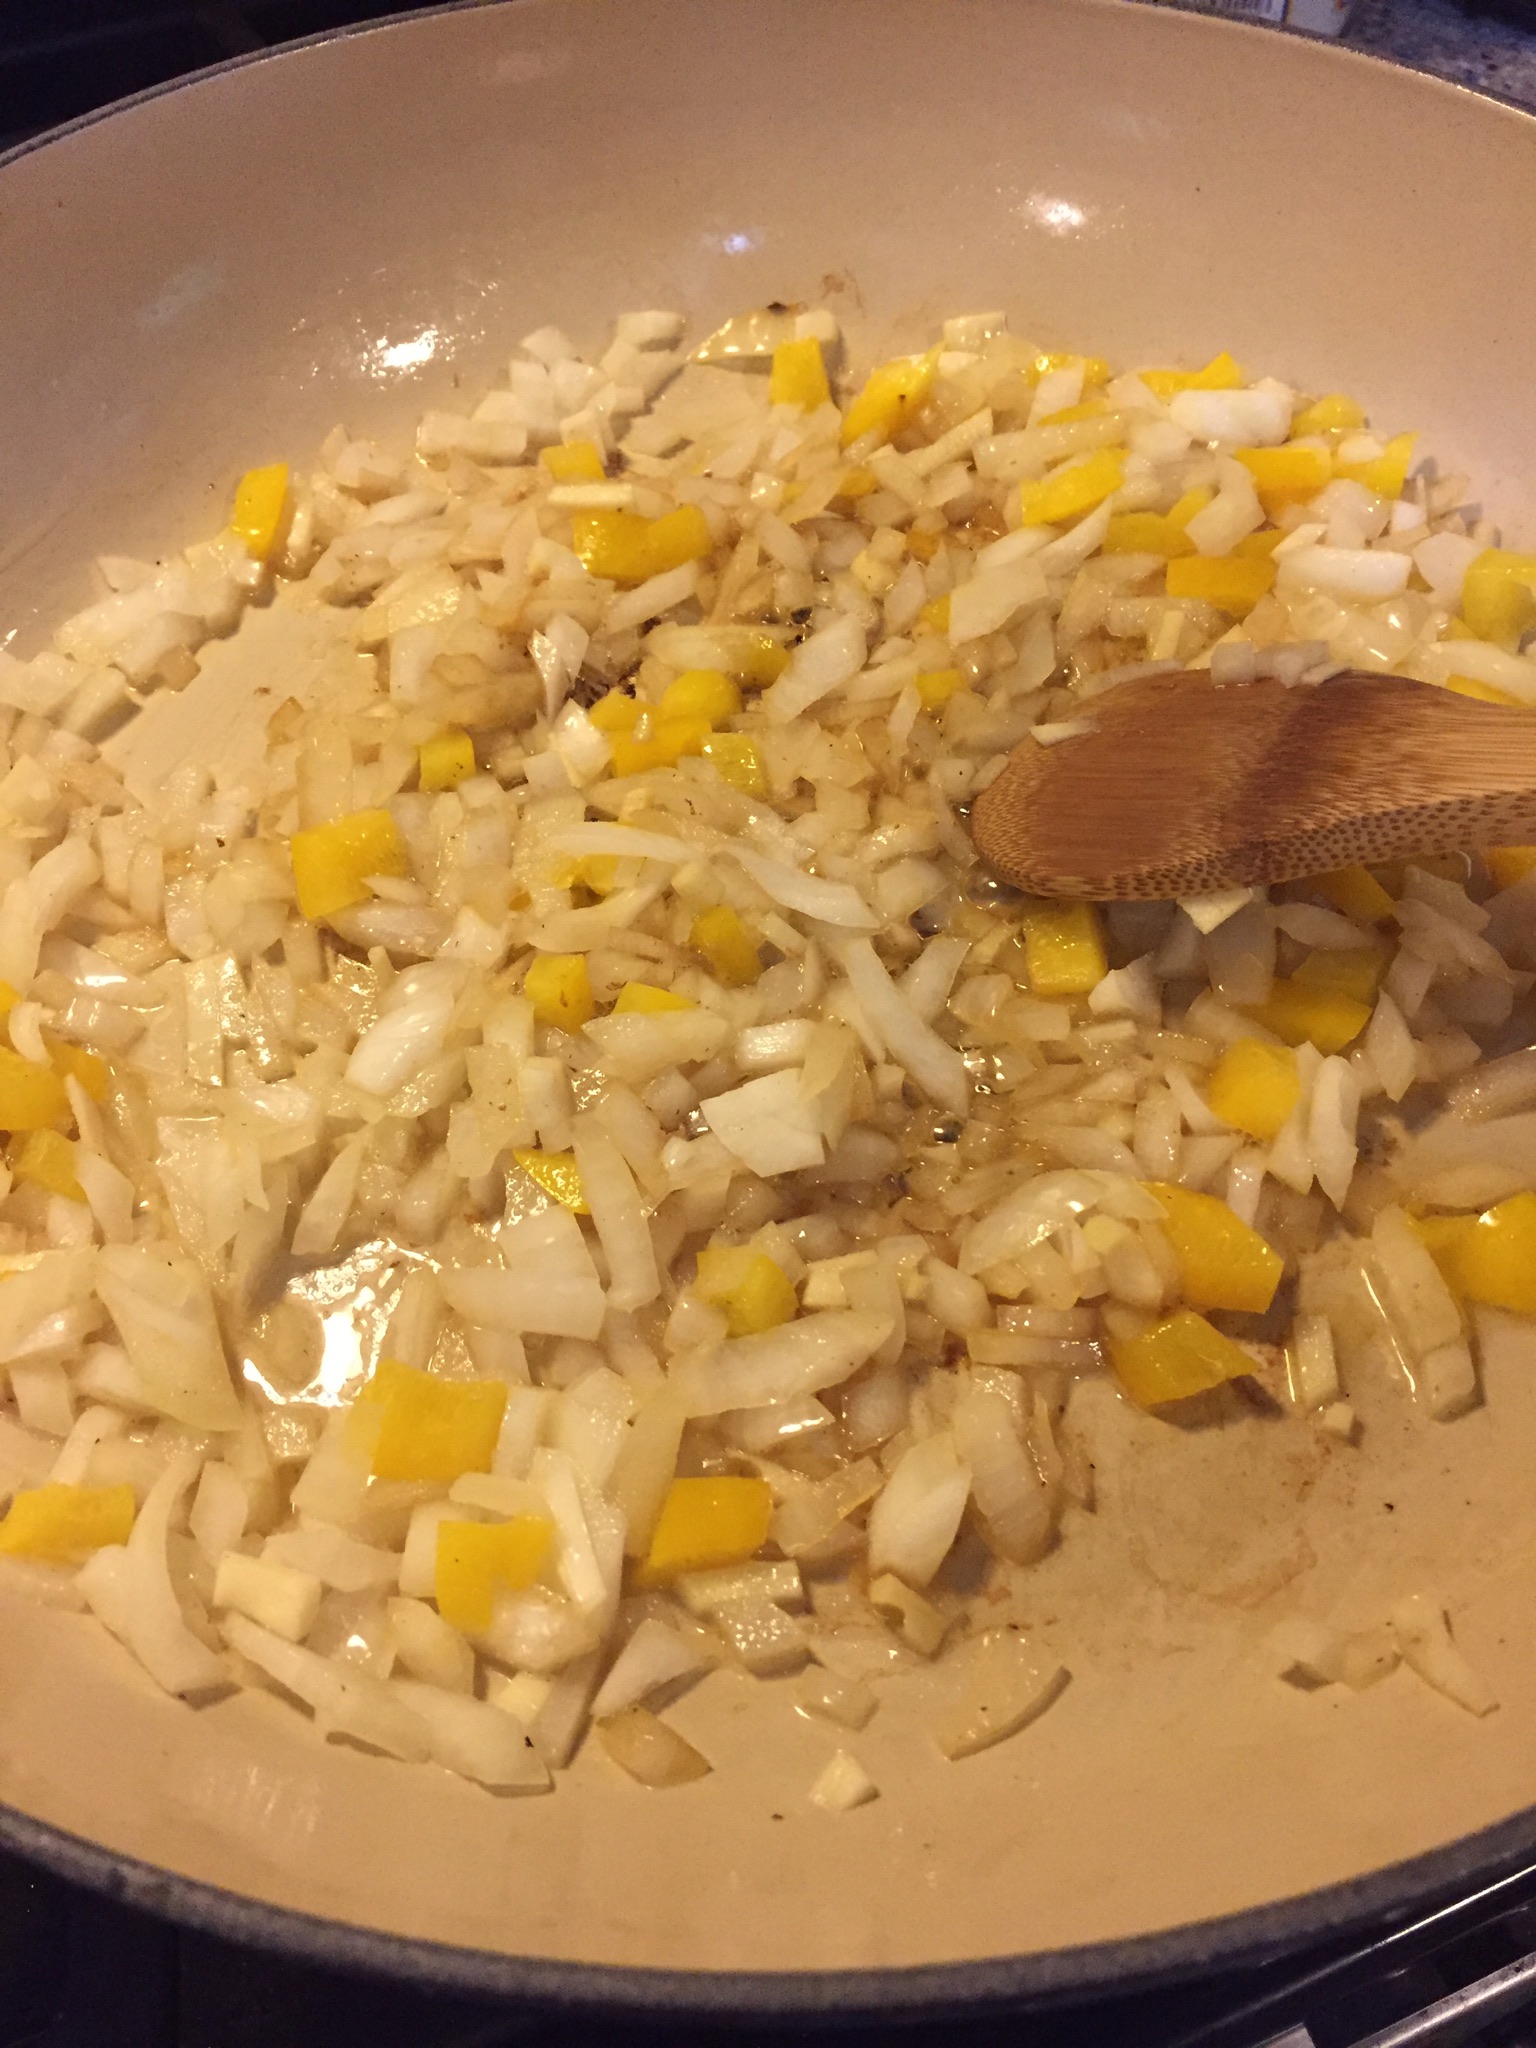
Heat the olive oil in a Dutch oven, season the meat with salt and pepper and sear on both sides.

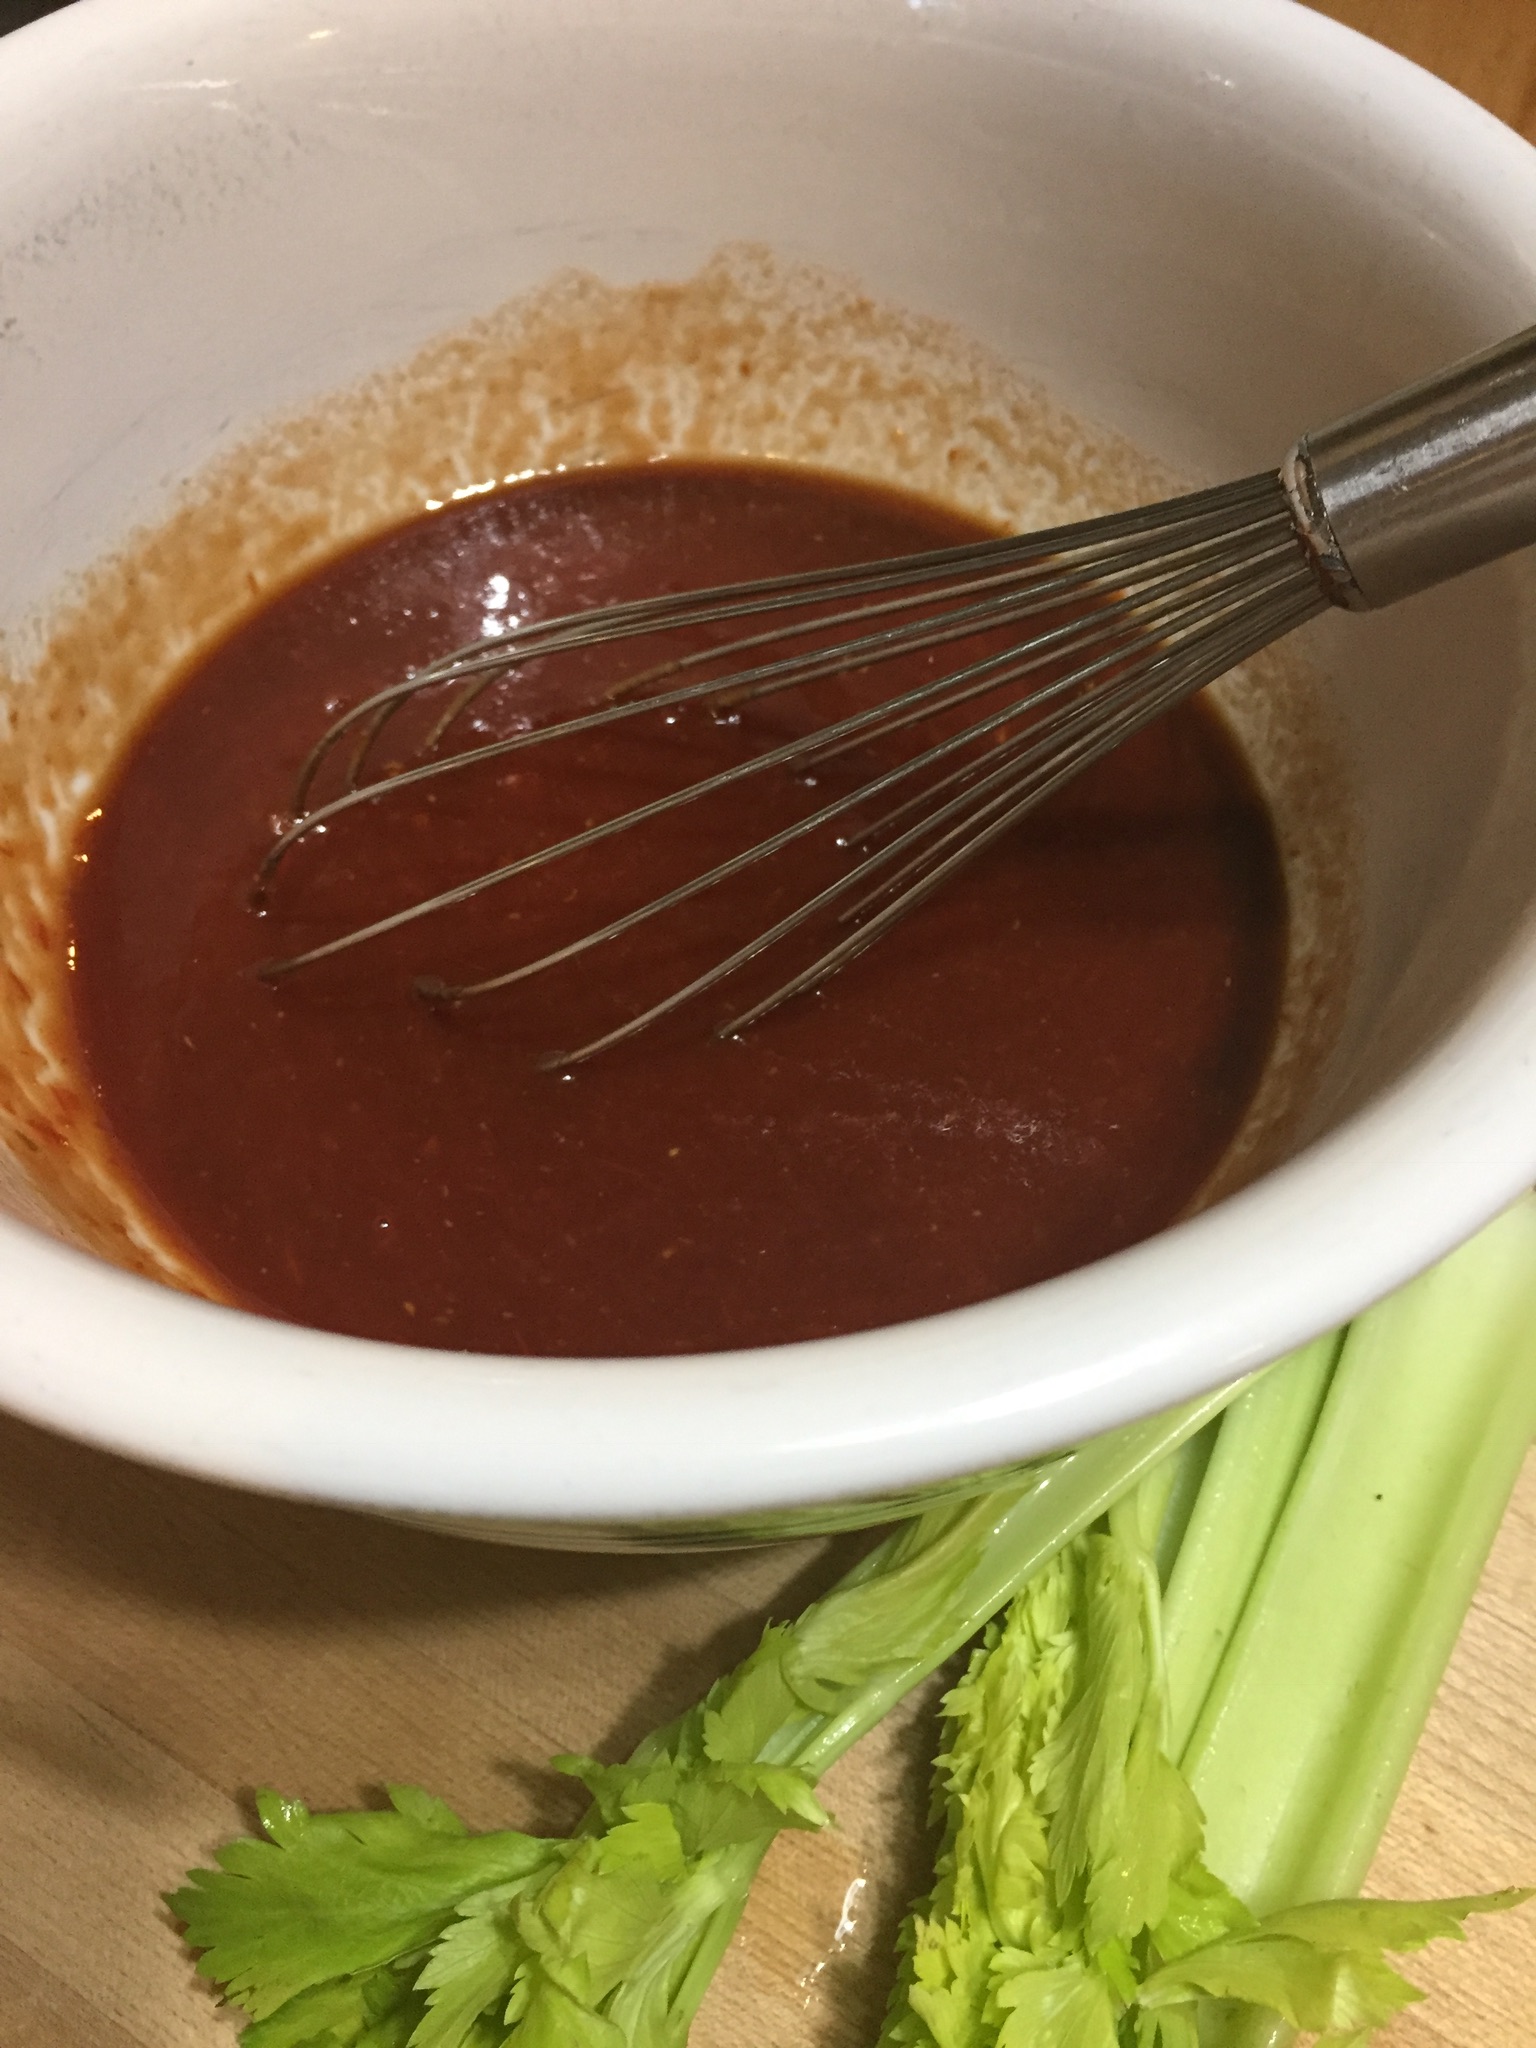
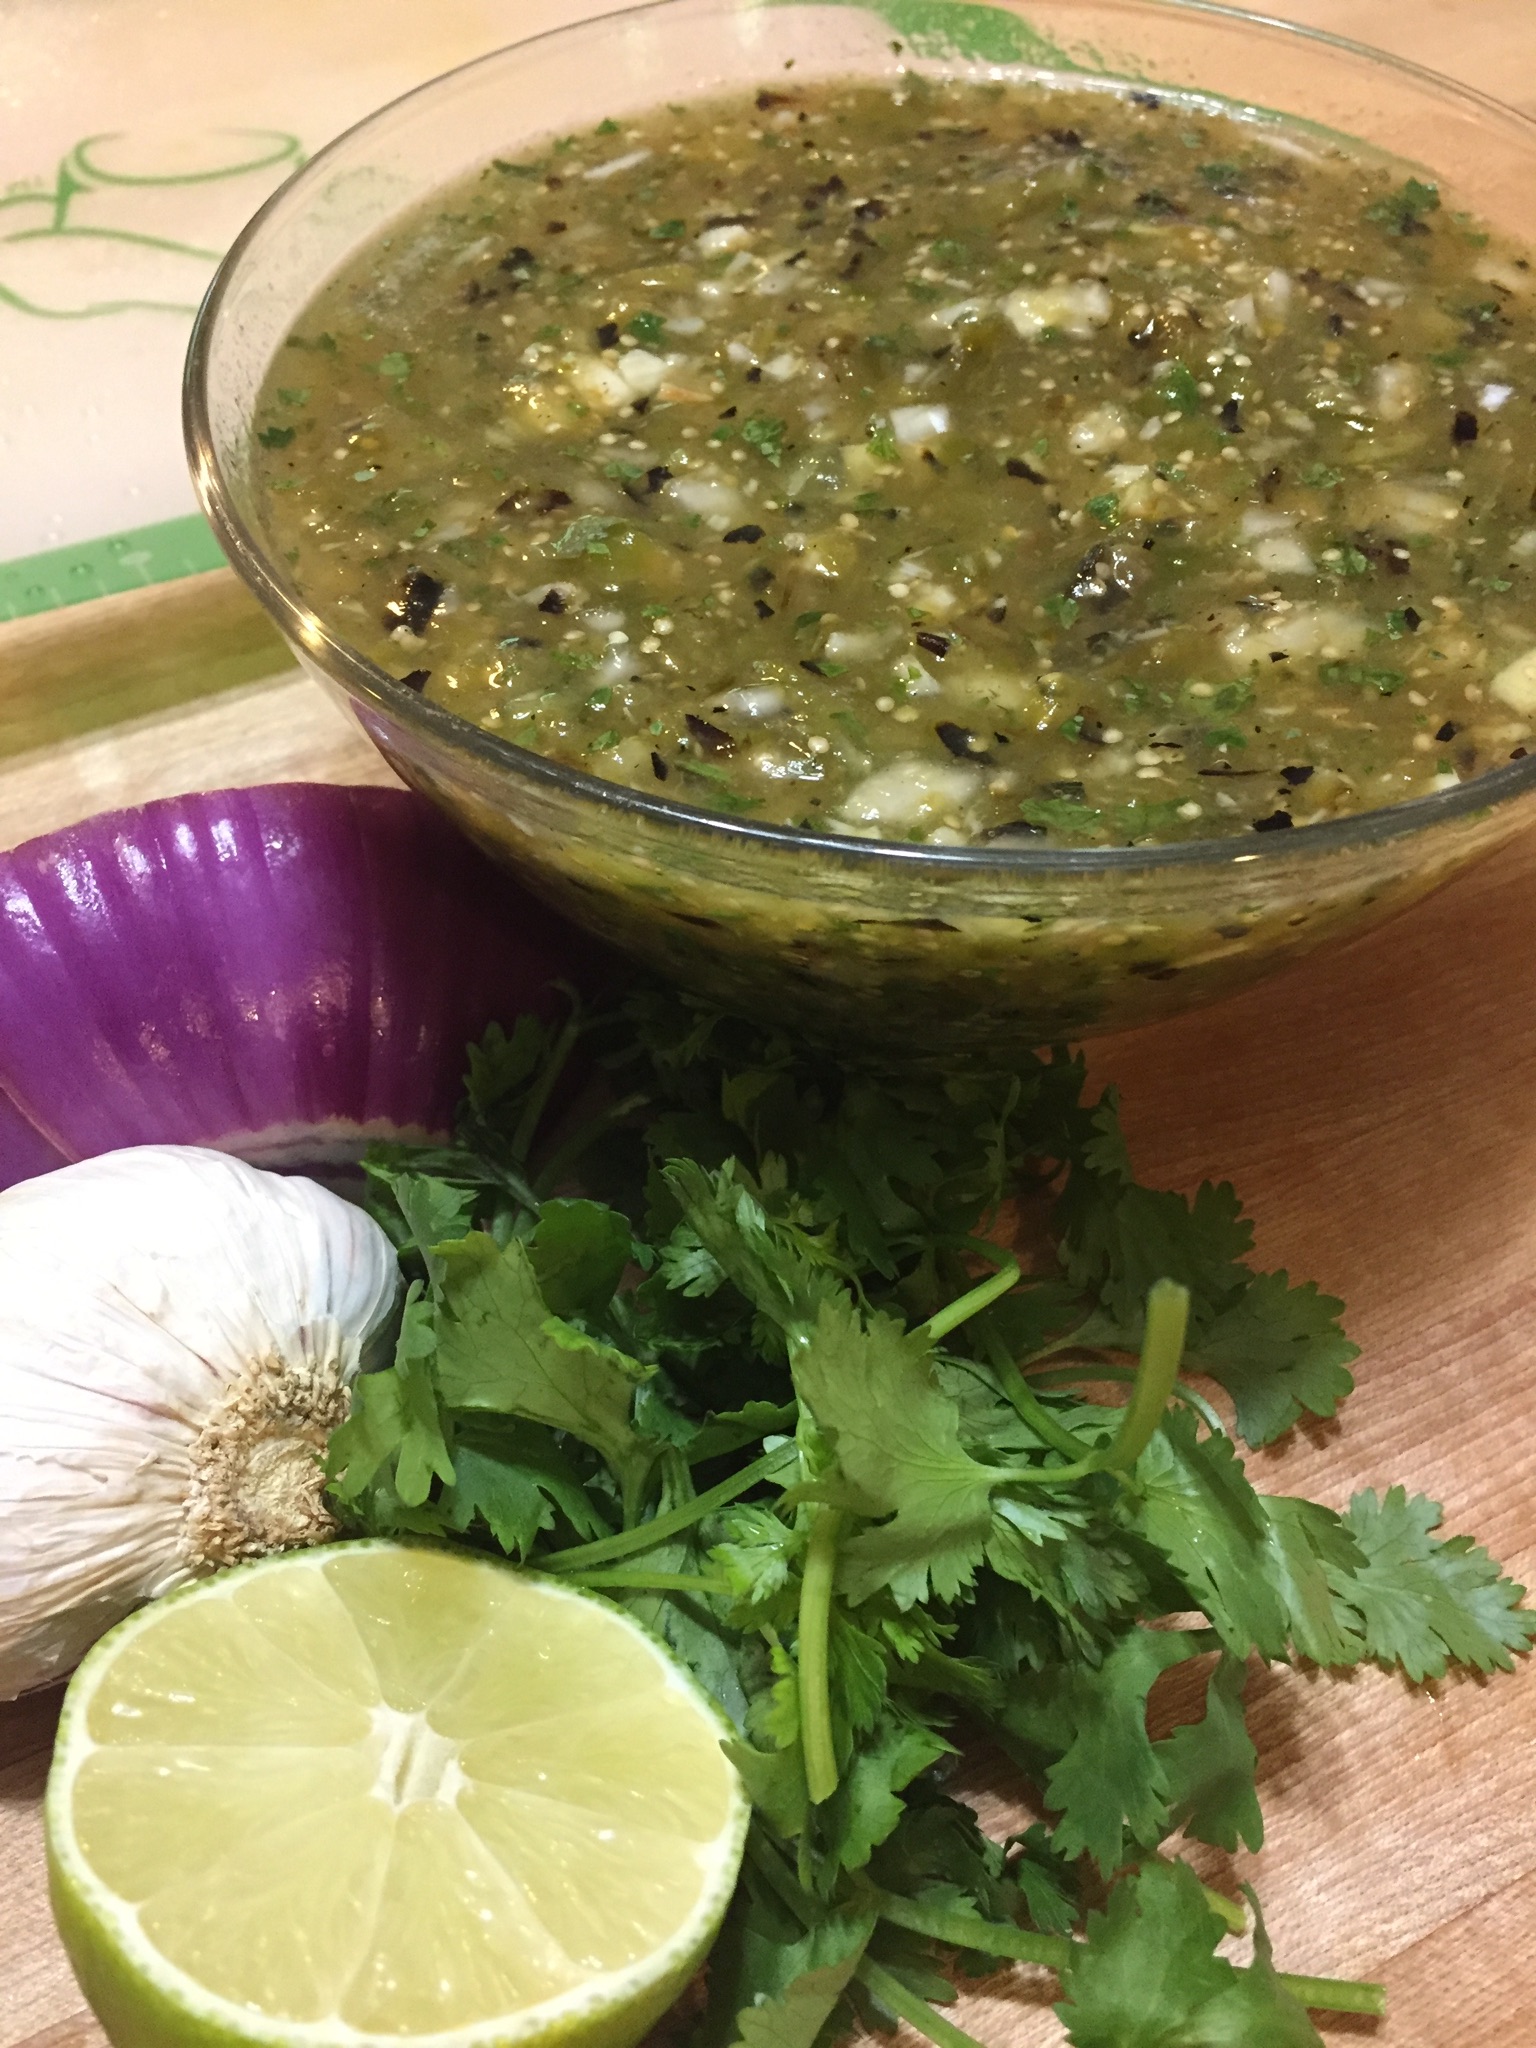
While the meat is browning mix the sauce ingredients; tomatoes, broth (or wine), catsup, brown sugar, Worcestershire sauce, vinegar, chipotle in adabo, and garlic,

I like adding the chipotle in adabo sauce because it gives the sauce a little smoky flavor and a bit of heat. Depending on your personal taste you can add more or eliminate it entirely.
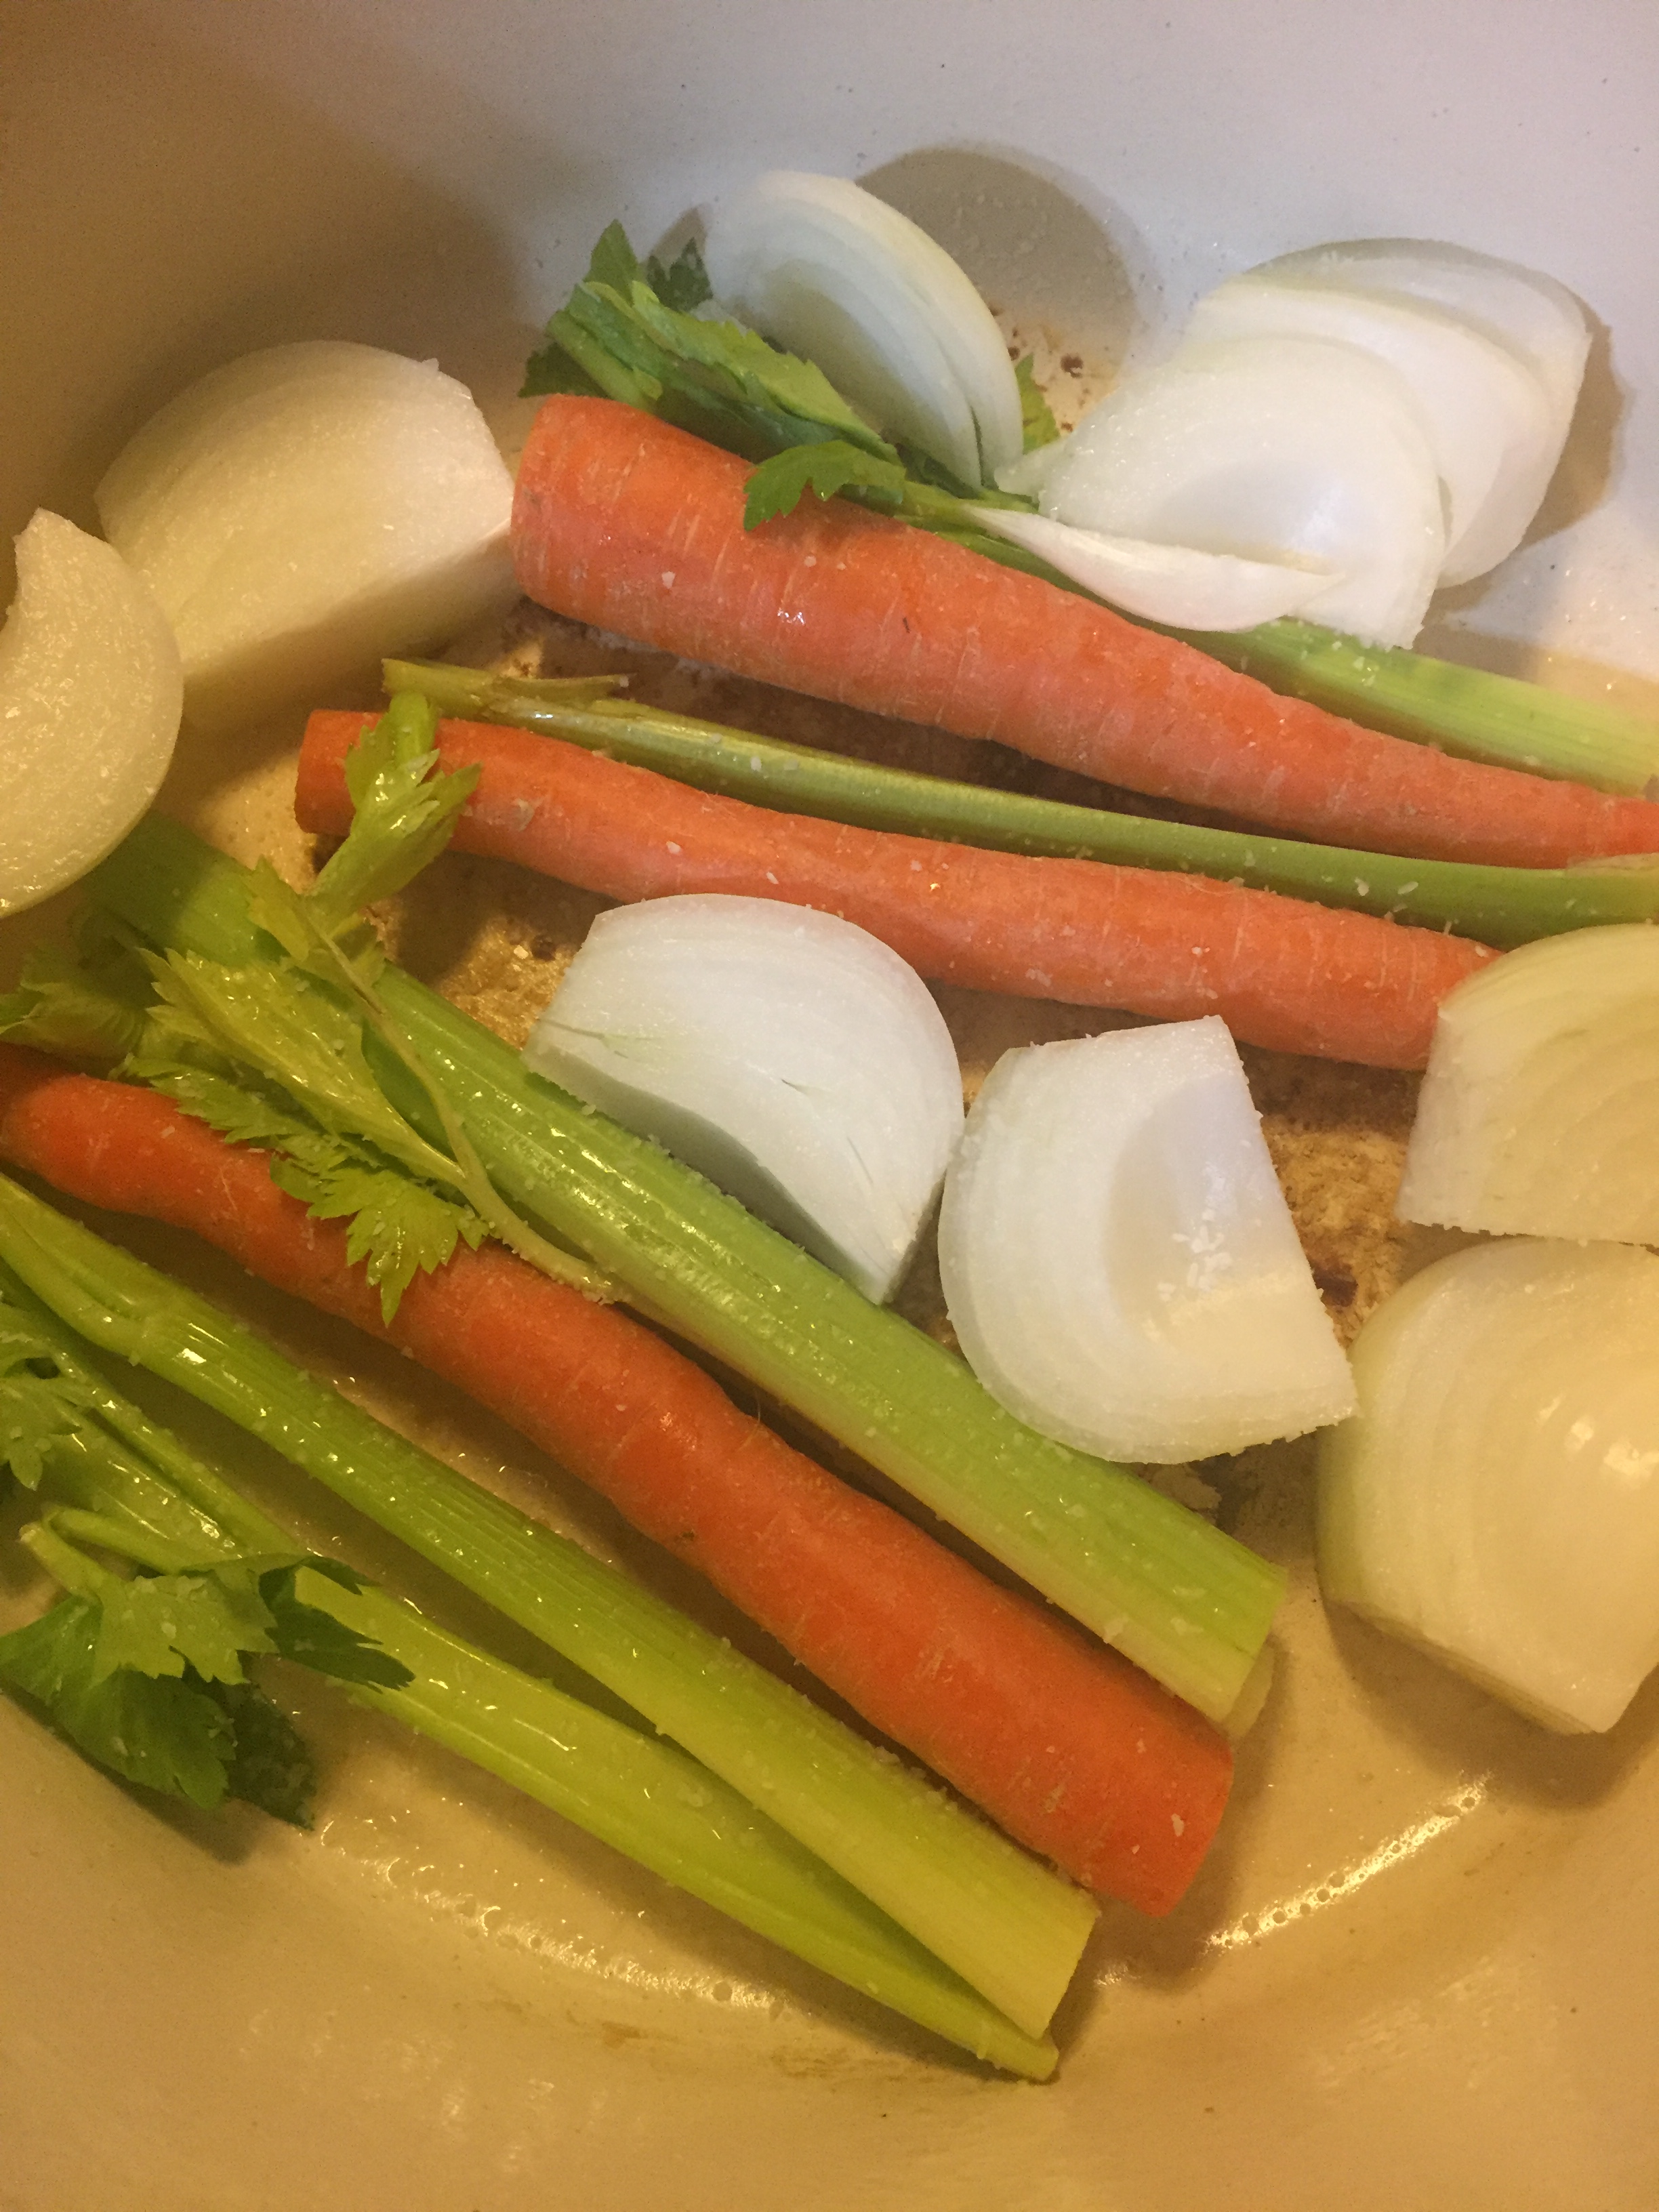
Once the meat has been seared on both sides remove it to a plate. Line the Dutch oven with the vegetables and put the roast on top.

Pour the sauce over the meat and vegetables, cover, and get it in the oven.

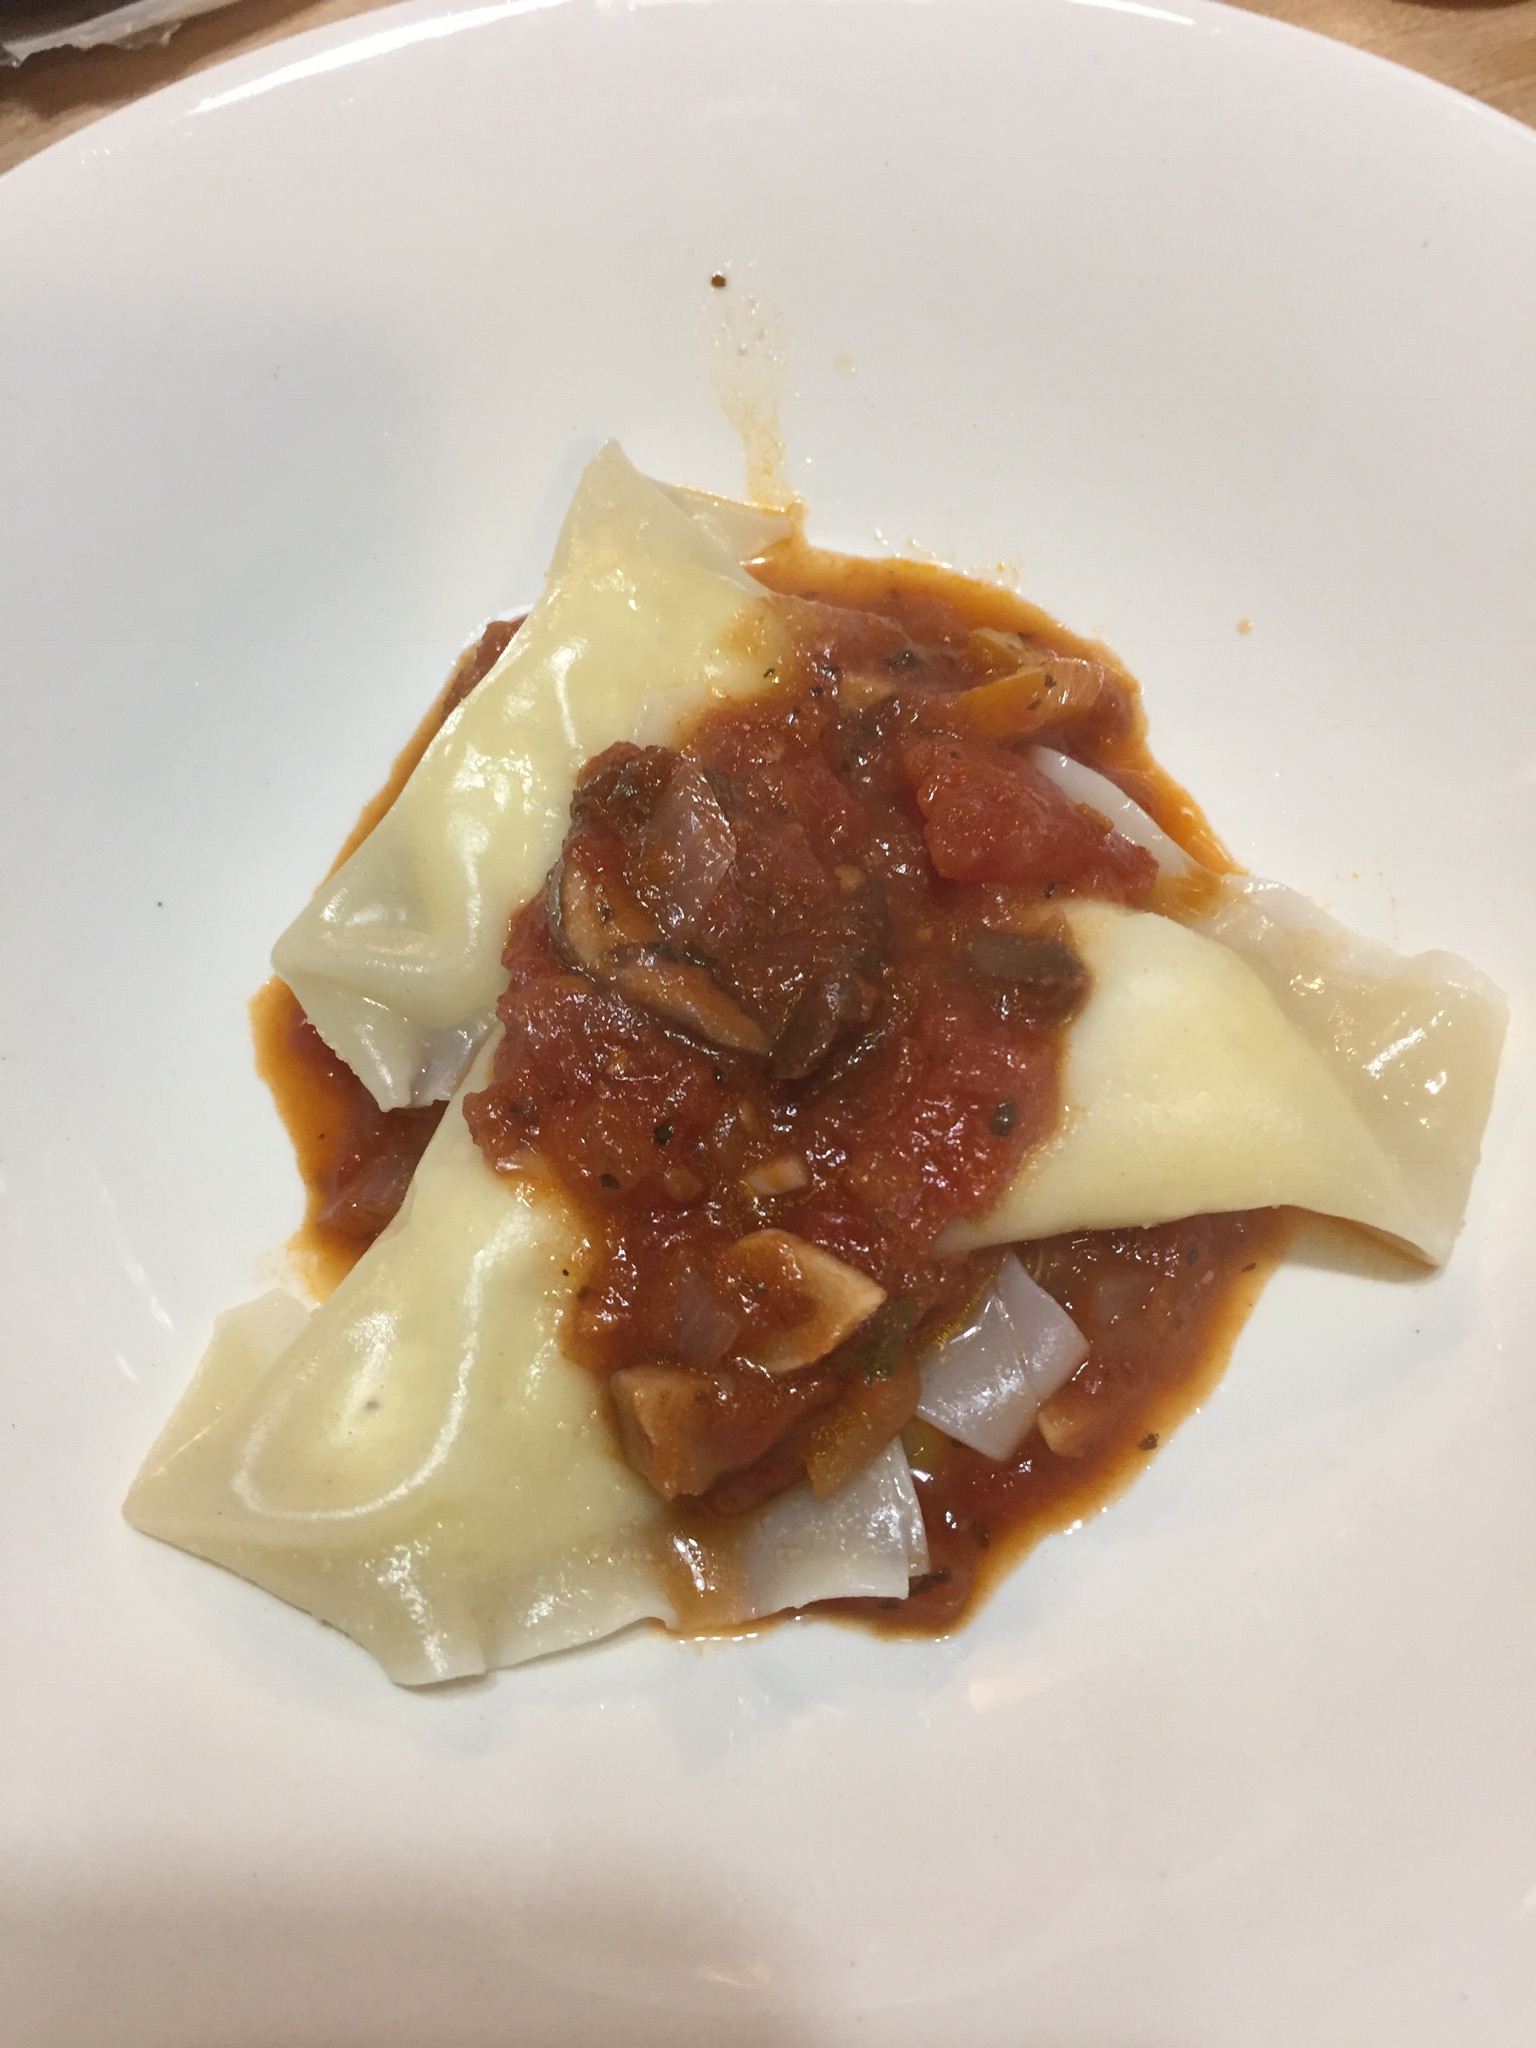
Roast for 2-3 hours until the meat is tender and the gravy is thickened. Turn the meat over a couple times as it is roasting. Once the meat is done, slice and serve with a generous scoop of the smoky tomato gravy.
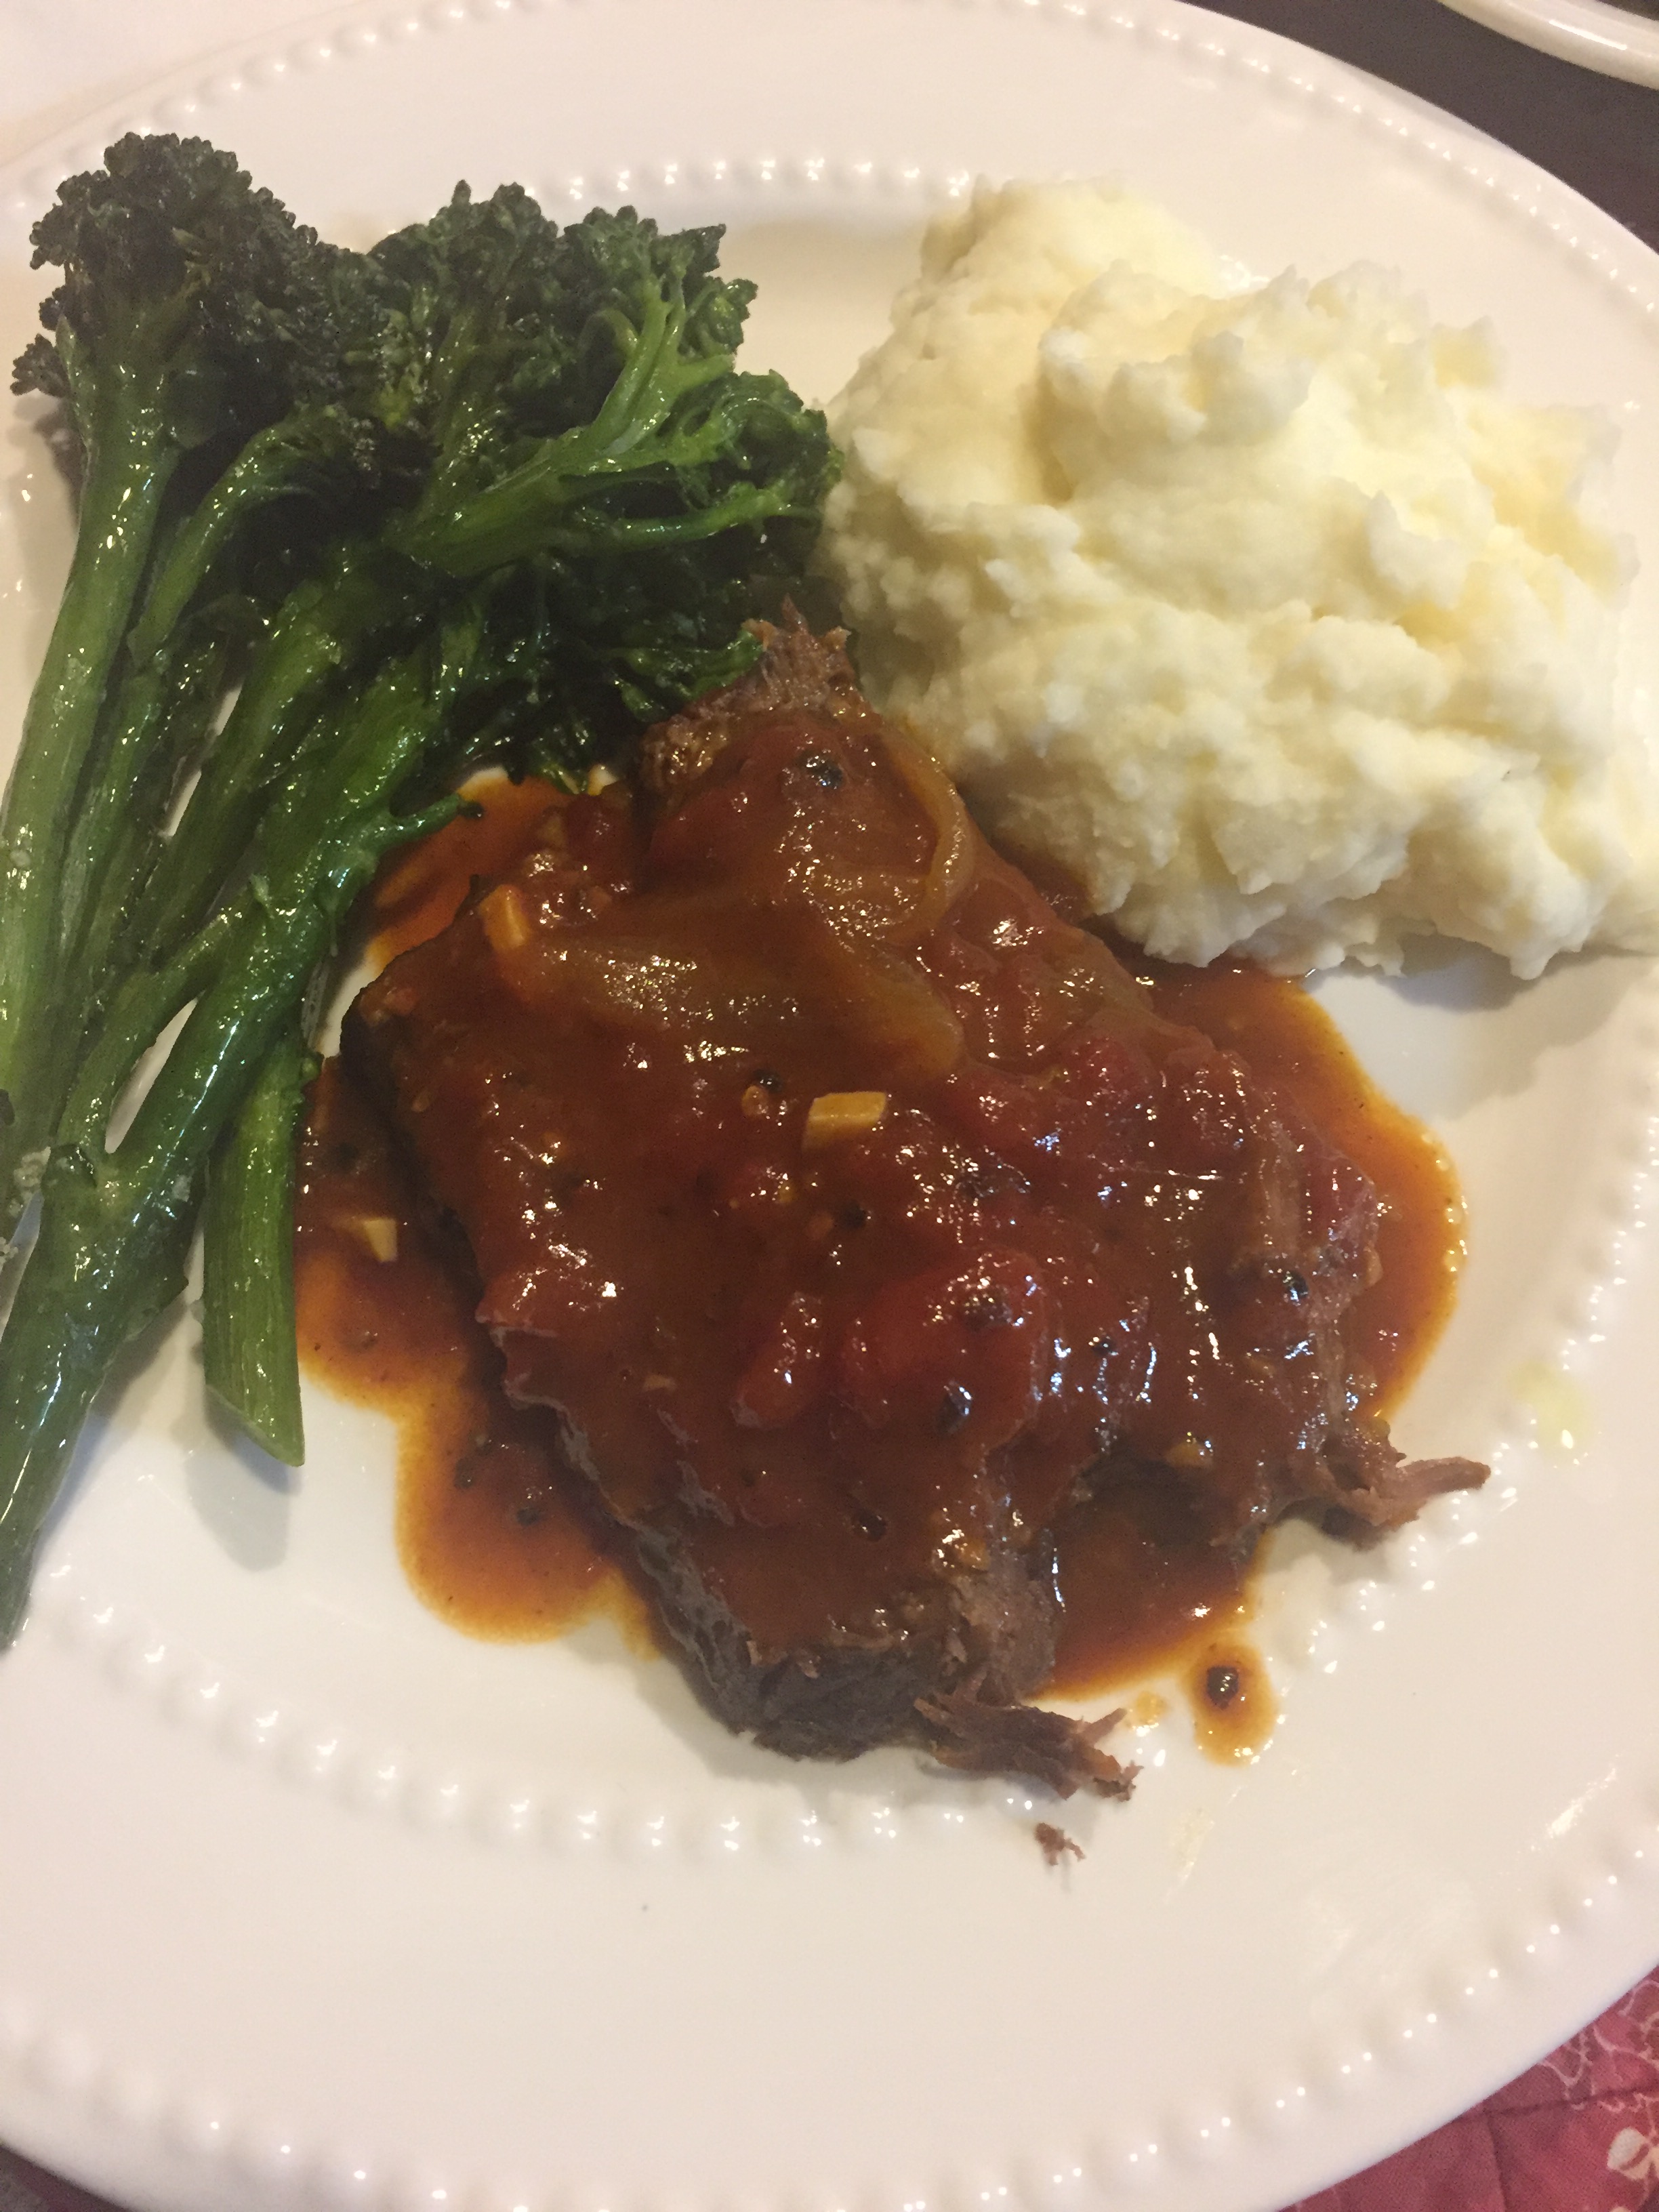
I served the roast beef and tomato gravy with potatoes mashed with sour cream and broccolini.
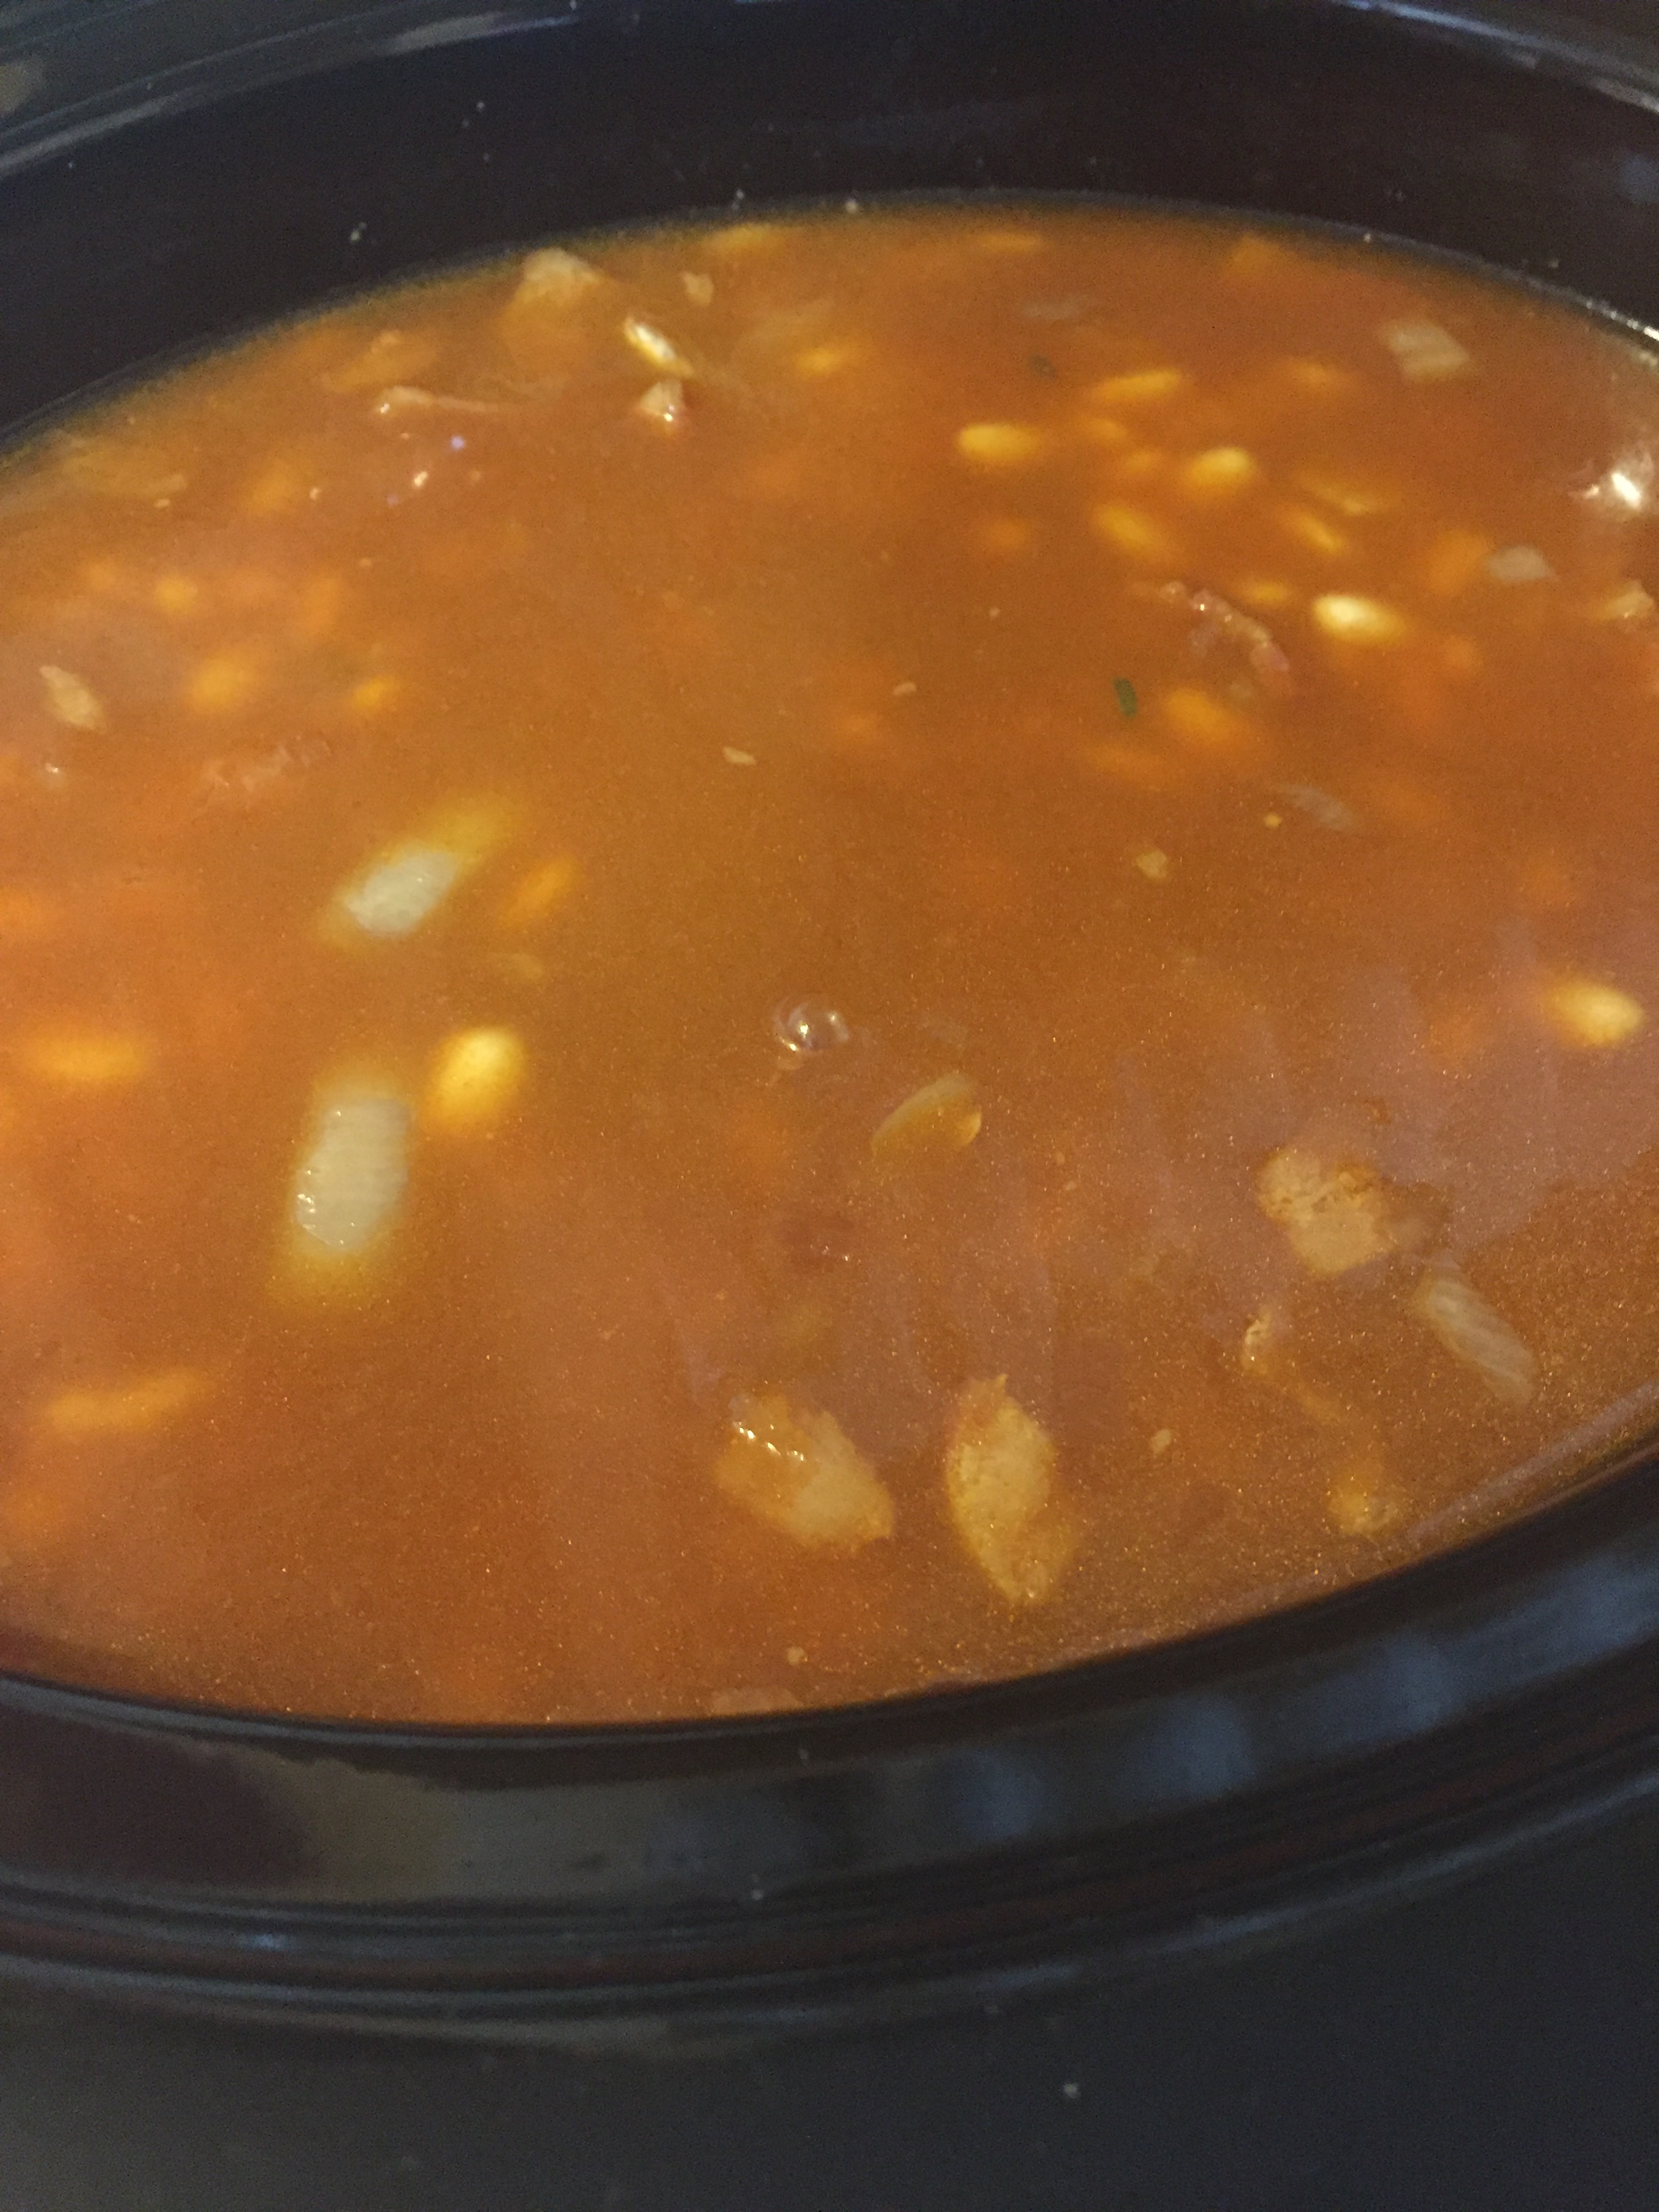
NOTE: This roast can be cooked on low for 6-8 hours in a crock pot or 35-40 minutes in a pressure cooker on high pressure, allowing for a natural release. I think I will do mine in the pressure cooker next time.
I like using chipotle in adobo but no matter the size of the can there is a lot left over. I now buy the larger can, dump the entire can into my little food processor and pour it in an ice cube tray. Once frozen, I bag the individual cubes in snack bags and store them in the freezer. No waste and the cubes are easy to use.
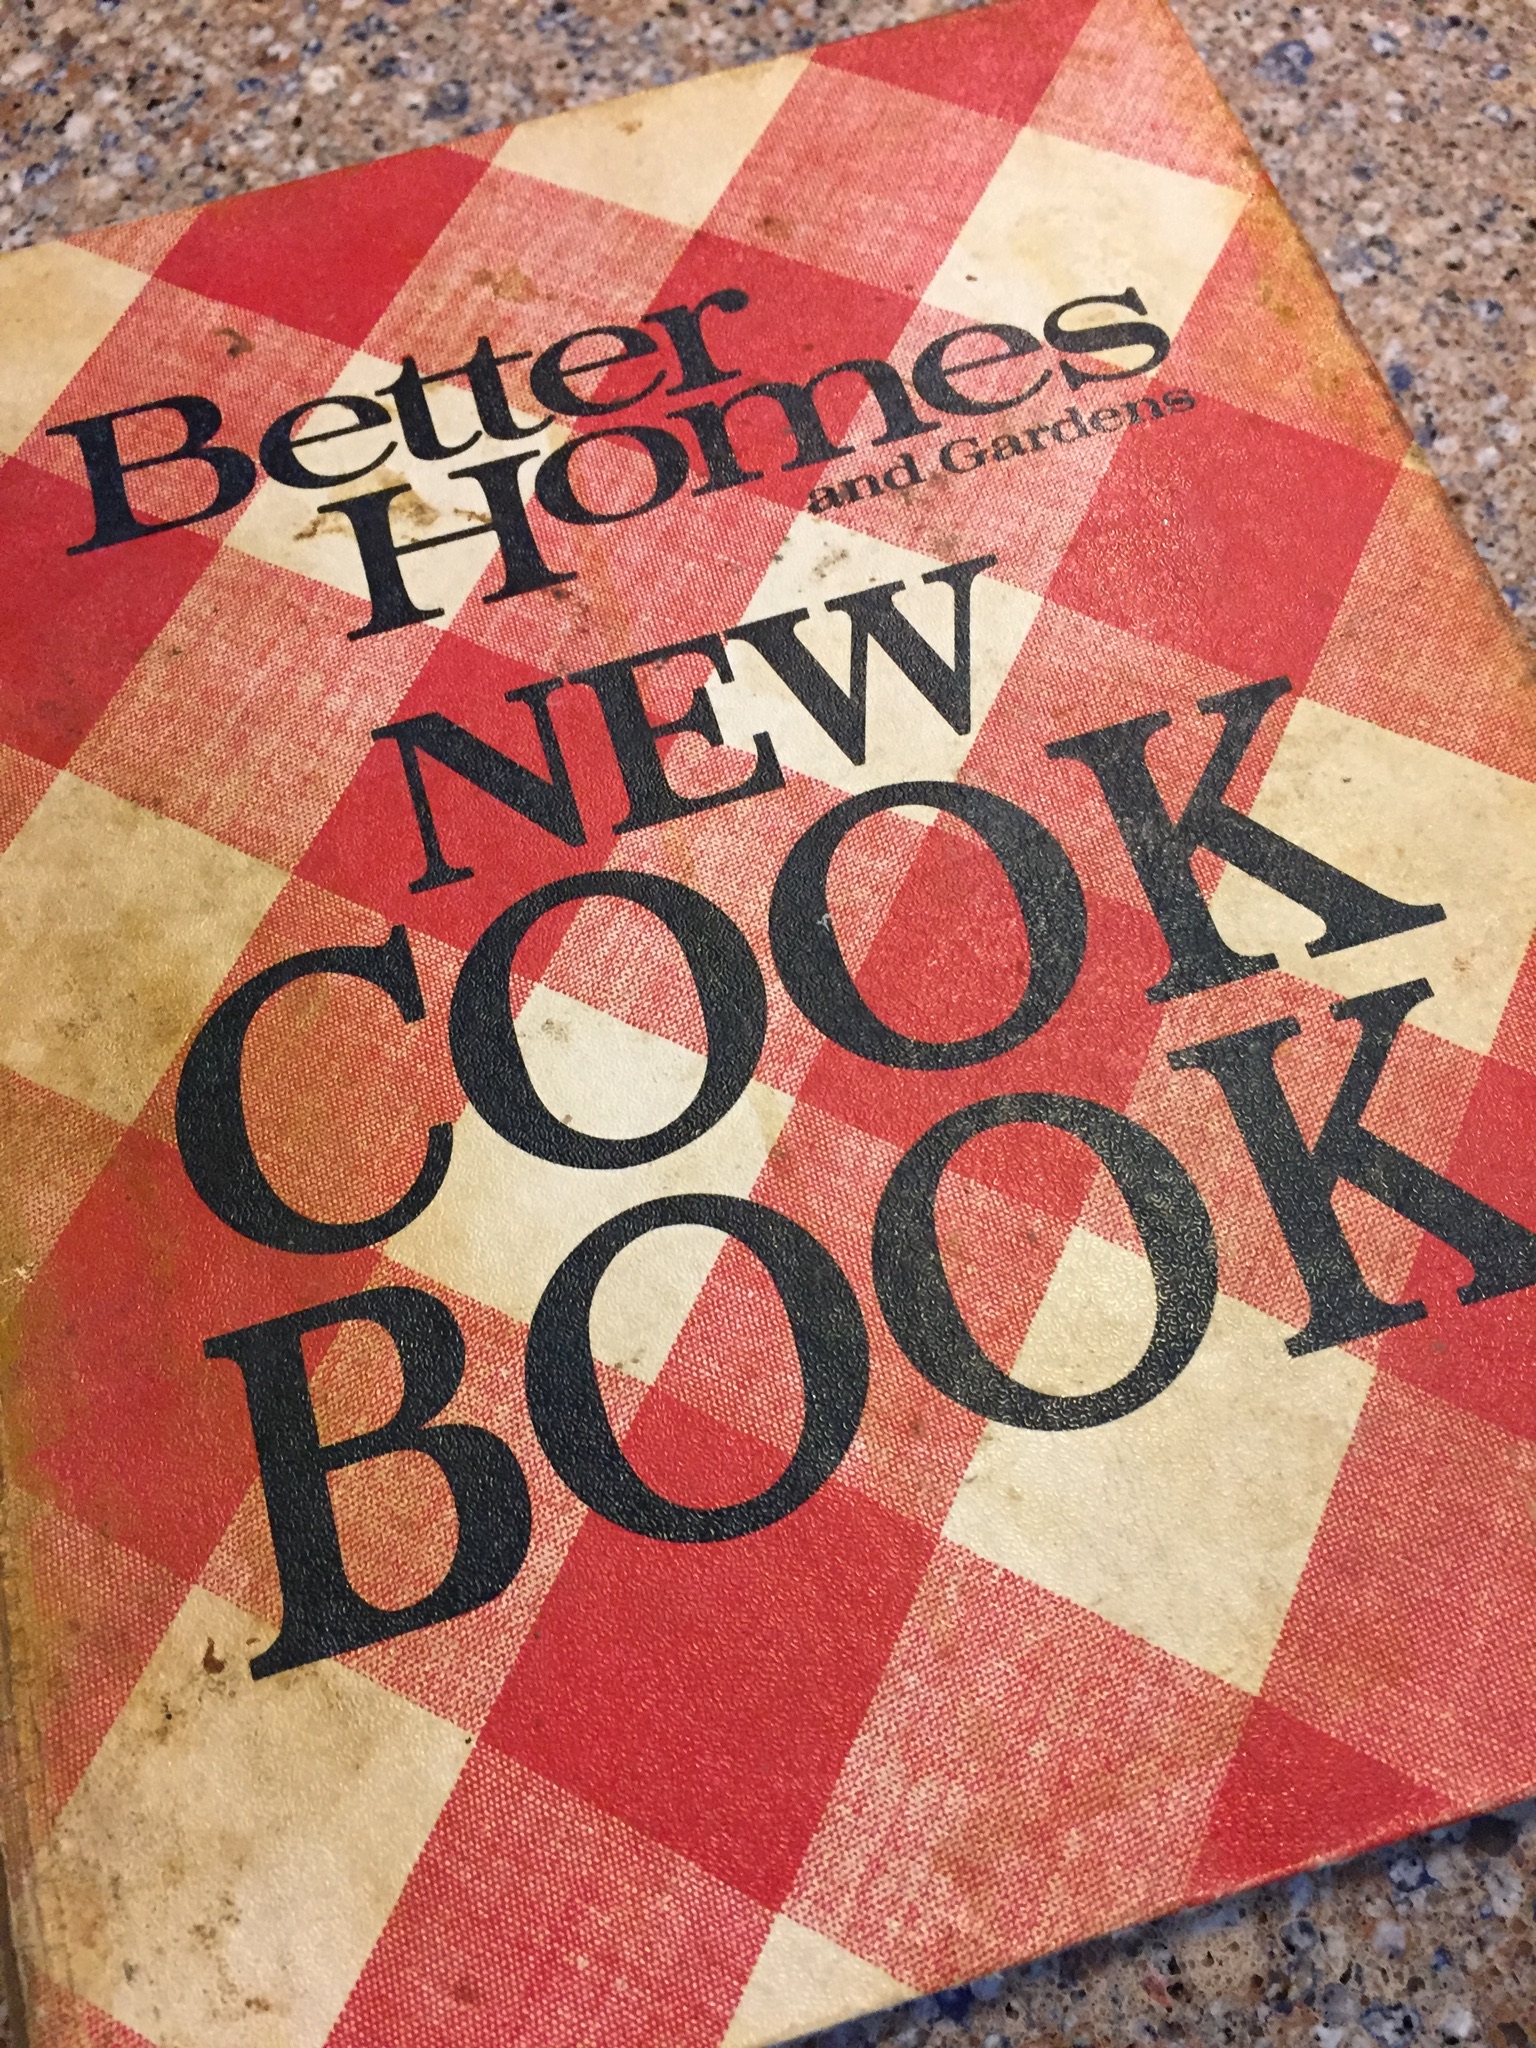
When I was thinking back to the Sunday dinners of my childhood, I remembered our roasts being cooked in a blue and white speckled enamel roaster in the oven. I assumed crockpots had not yet been invented. However, I looked it up (I googled it of course) and found out Irving Nachumsohn received a patent for the device that became the crock pot in 1940. It was invented to cook a traditional stew eaten by Jews in Eastern Europe on the Sabbath and was marketed as “Naxon Beanery All-Purpose Cooker.” In 1971 the cooker was reintroduced by Rival under the name “Crock Pot” and gained popularity as more and more women joined the work force. Women were able to start dinner in the morning before leaving for work and finish preparing the meal when they came home. Our little bit of trivia for today!


You must be logged in to post a comment.