Macadamia and White Chocolate Cookies

image


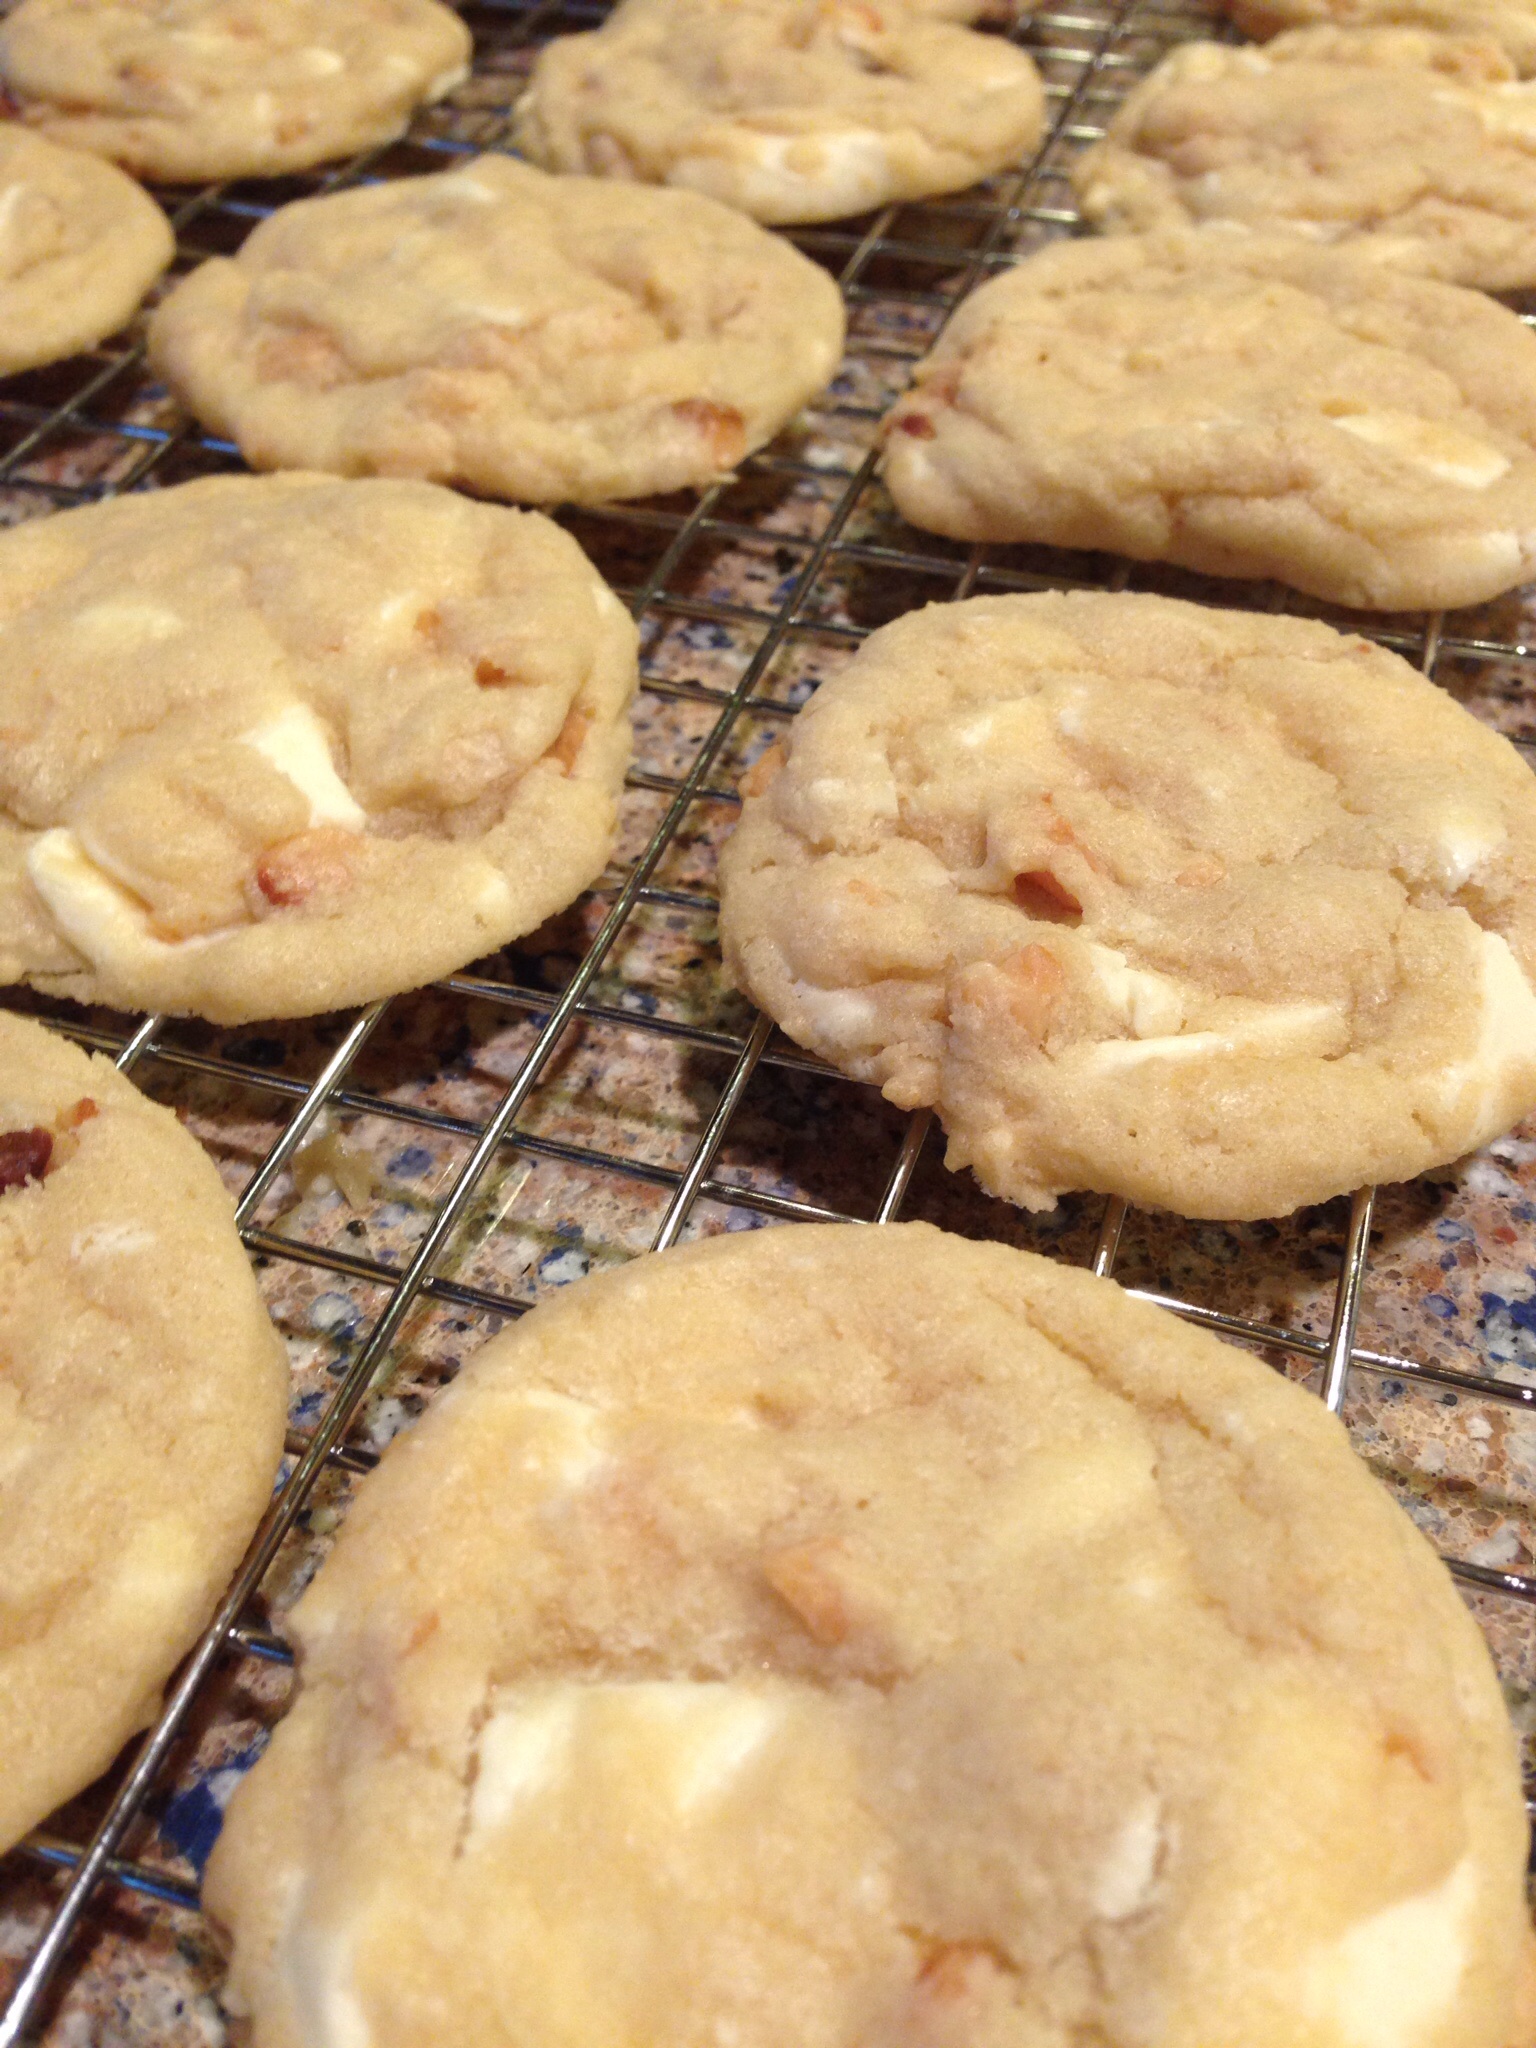
Yesterday, while doing my every Tuesday grocery shopping with my friend Jane, we discovered macadamia nuts in the baking aisle. I never see macadamia nuts at my grocery!  This is something new in our fairly rural Michigan grocery… I’m thinking…I must make some cookies. So we both bought a couple bags. I used the cookie recipe that was on the package. I’m sure I will find another creative use for the second bag of nuts or I may make another batch of cookies another time. Who knows.   They are very good. A nice texture; a little crispy on the edges and soft in the center. It’s what’s for dessert tonight.

Cookie Ingredients

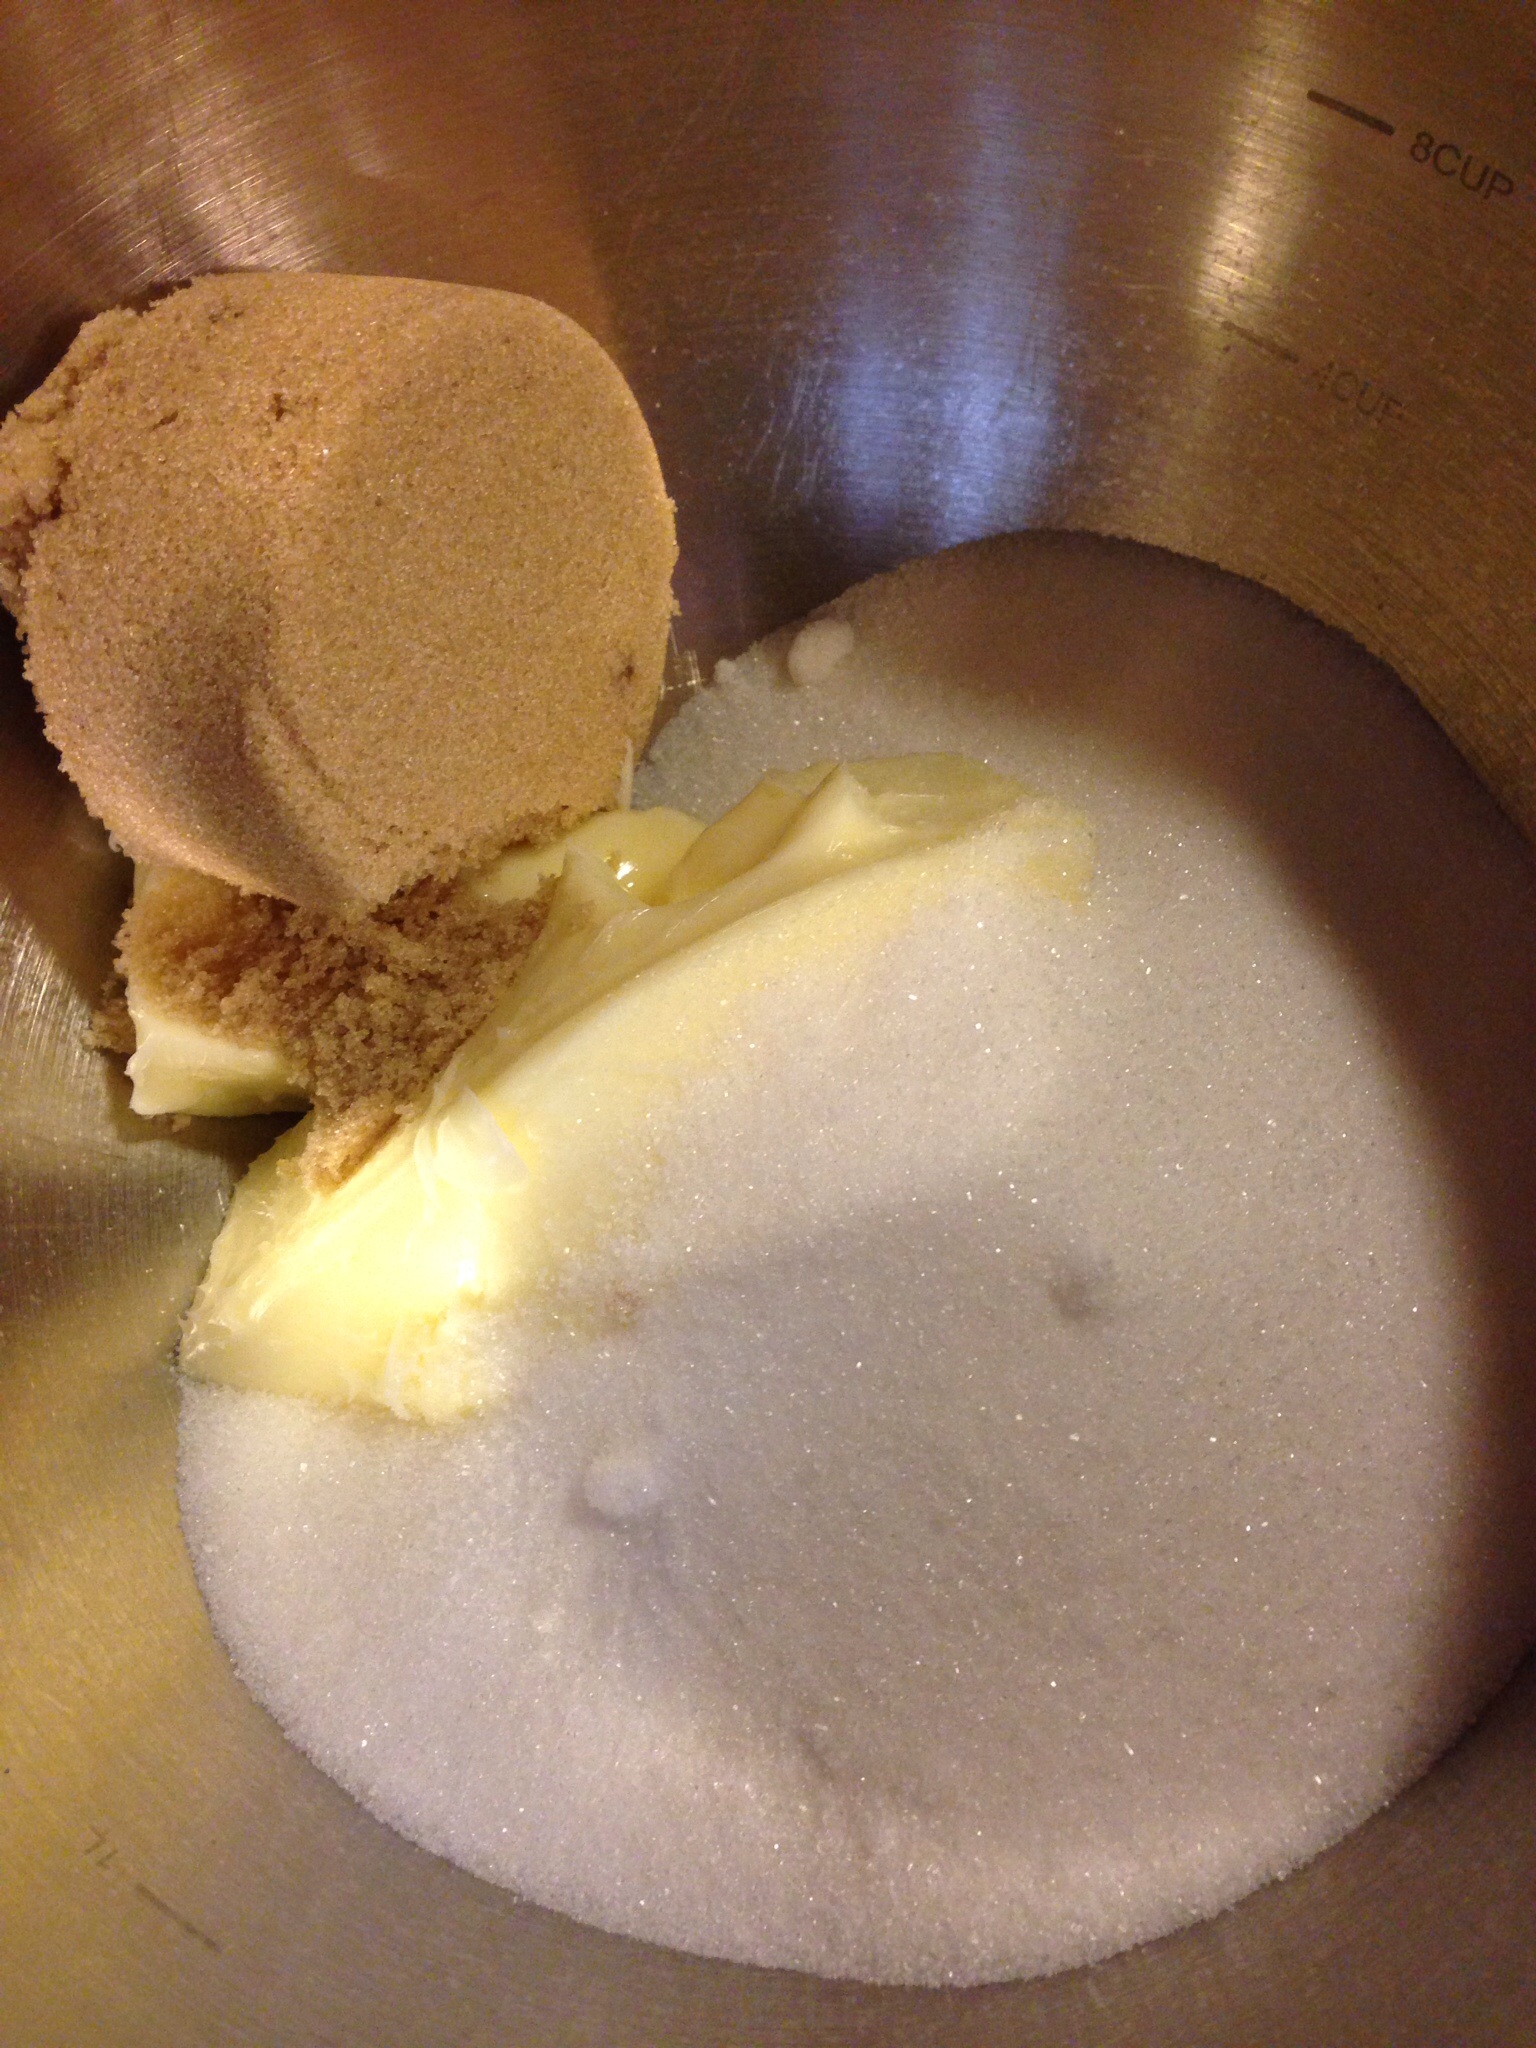
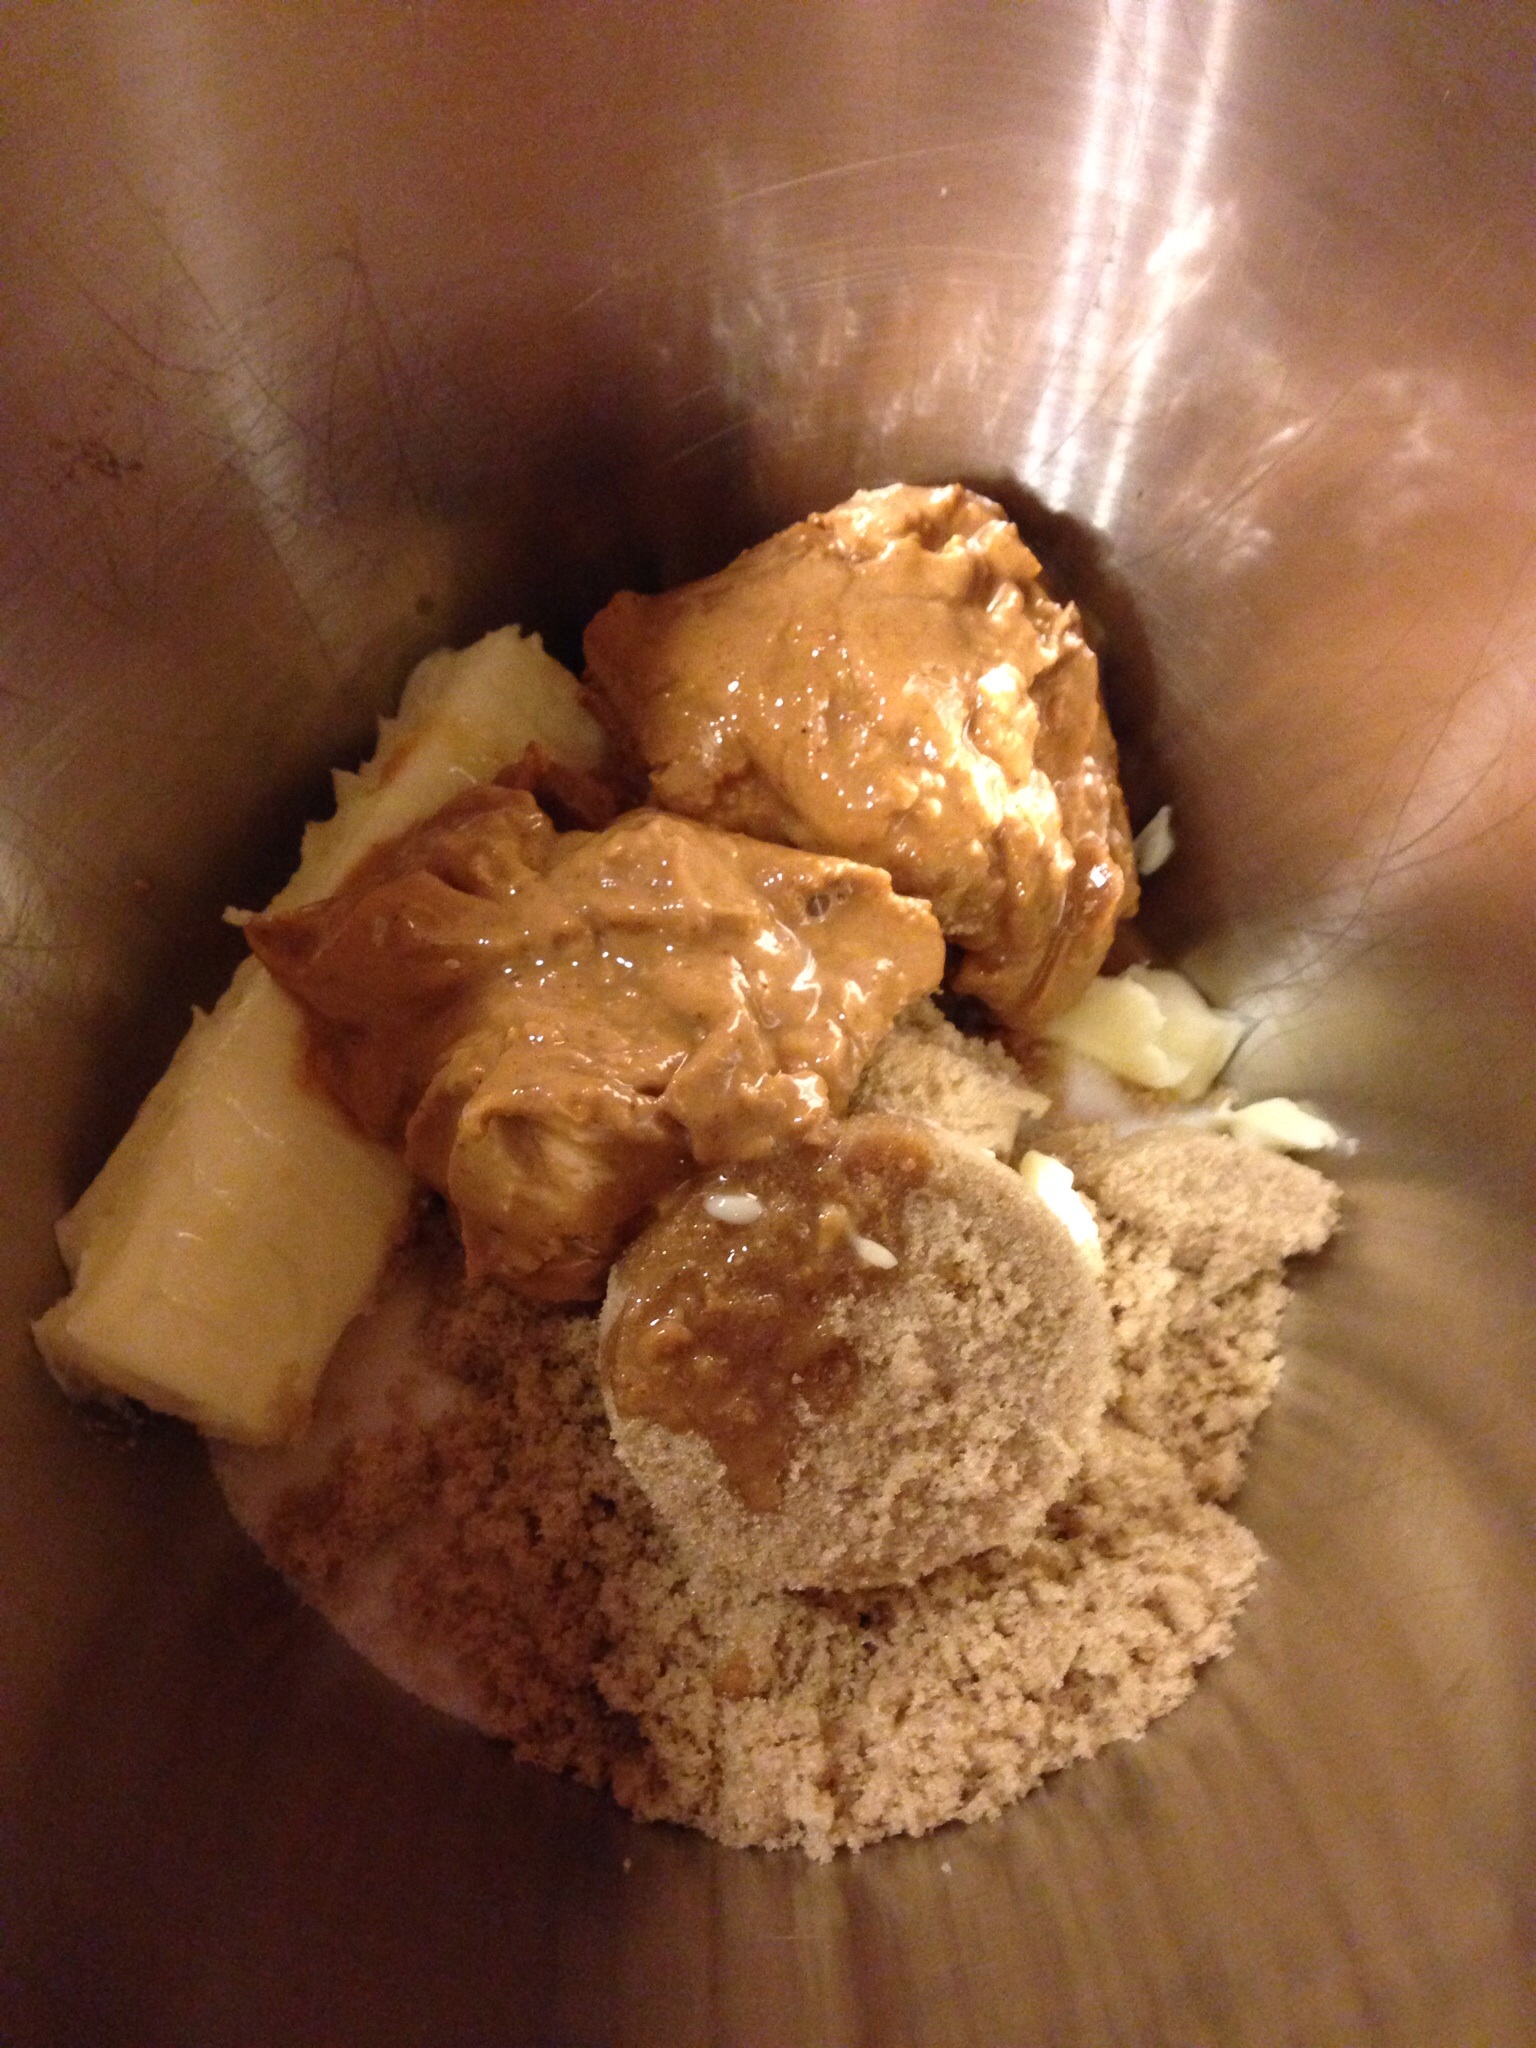
1 cup butter at room temperature

1 1/2 cups white sugar

1/2 cup brown sugar (packed)

2 eggs

1 1/2 tsp pure vanilla

3 cups all purpose flour

1/2 tsp baking soda

1 tsp salt

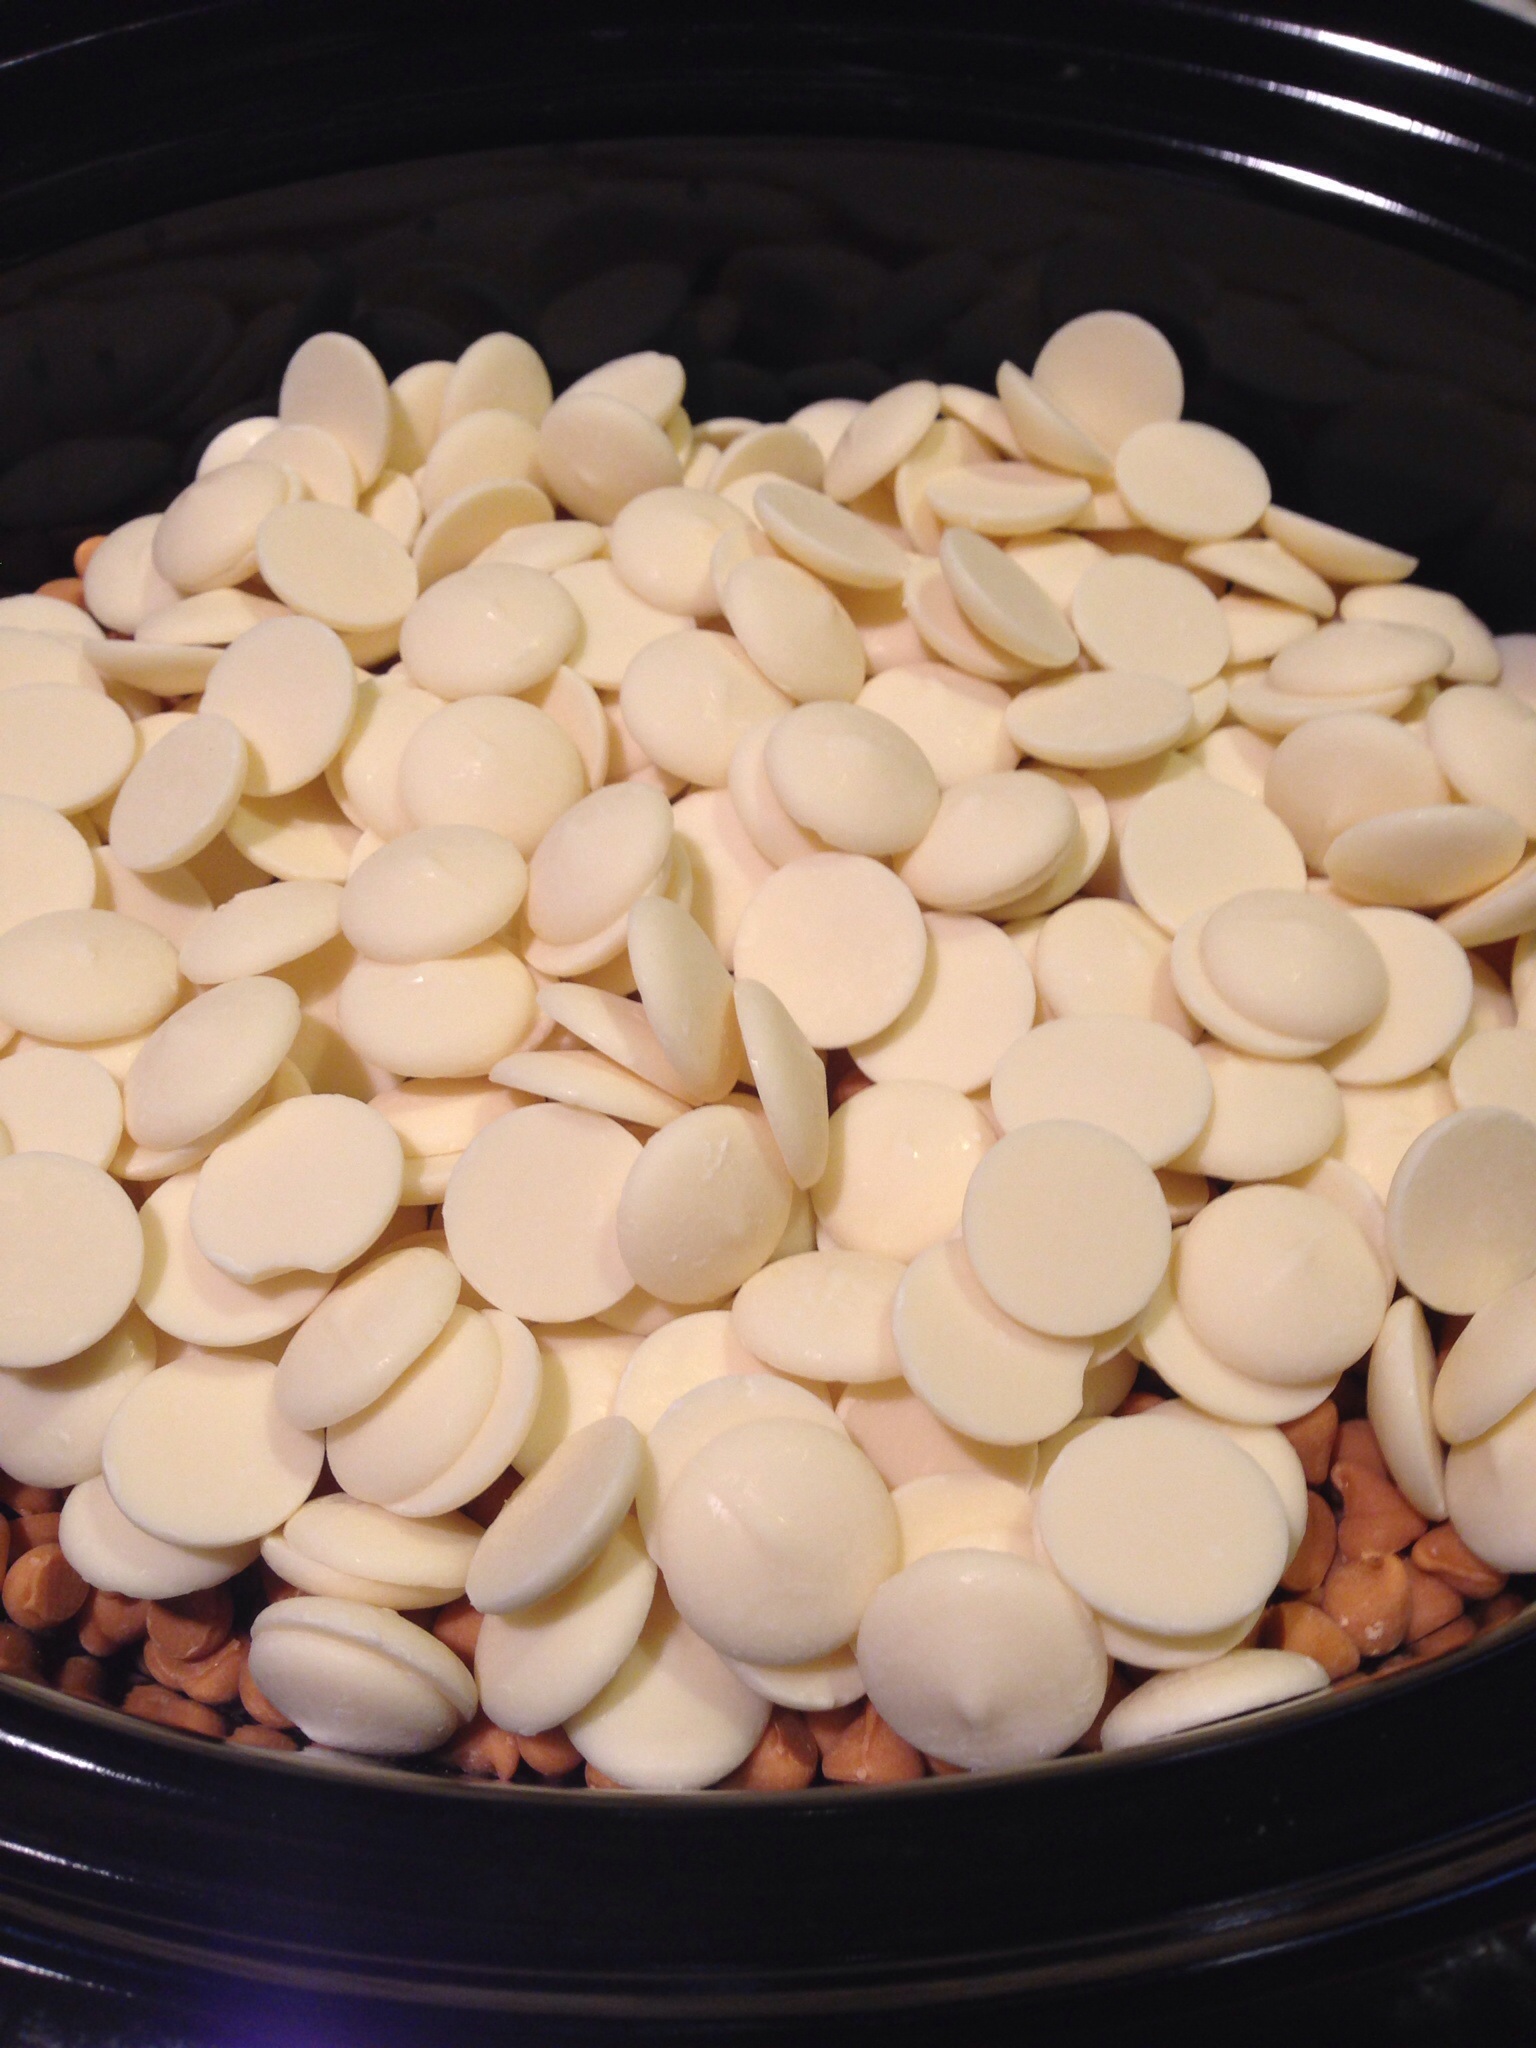
2 cups white chocolate chips (I use Ghirardelli)

6 oz (1 1/2 cups) macadamia nuts chopped

image

Preheat oven to 350.

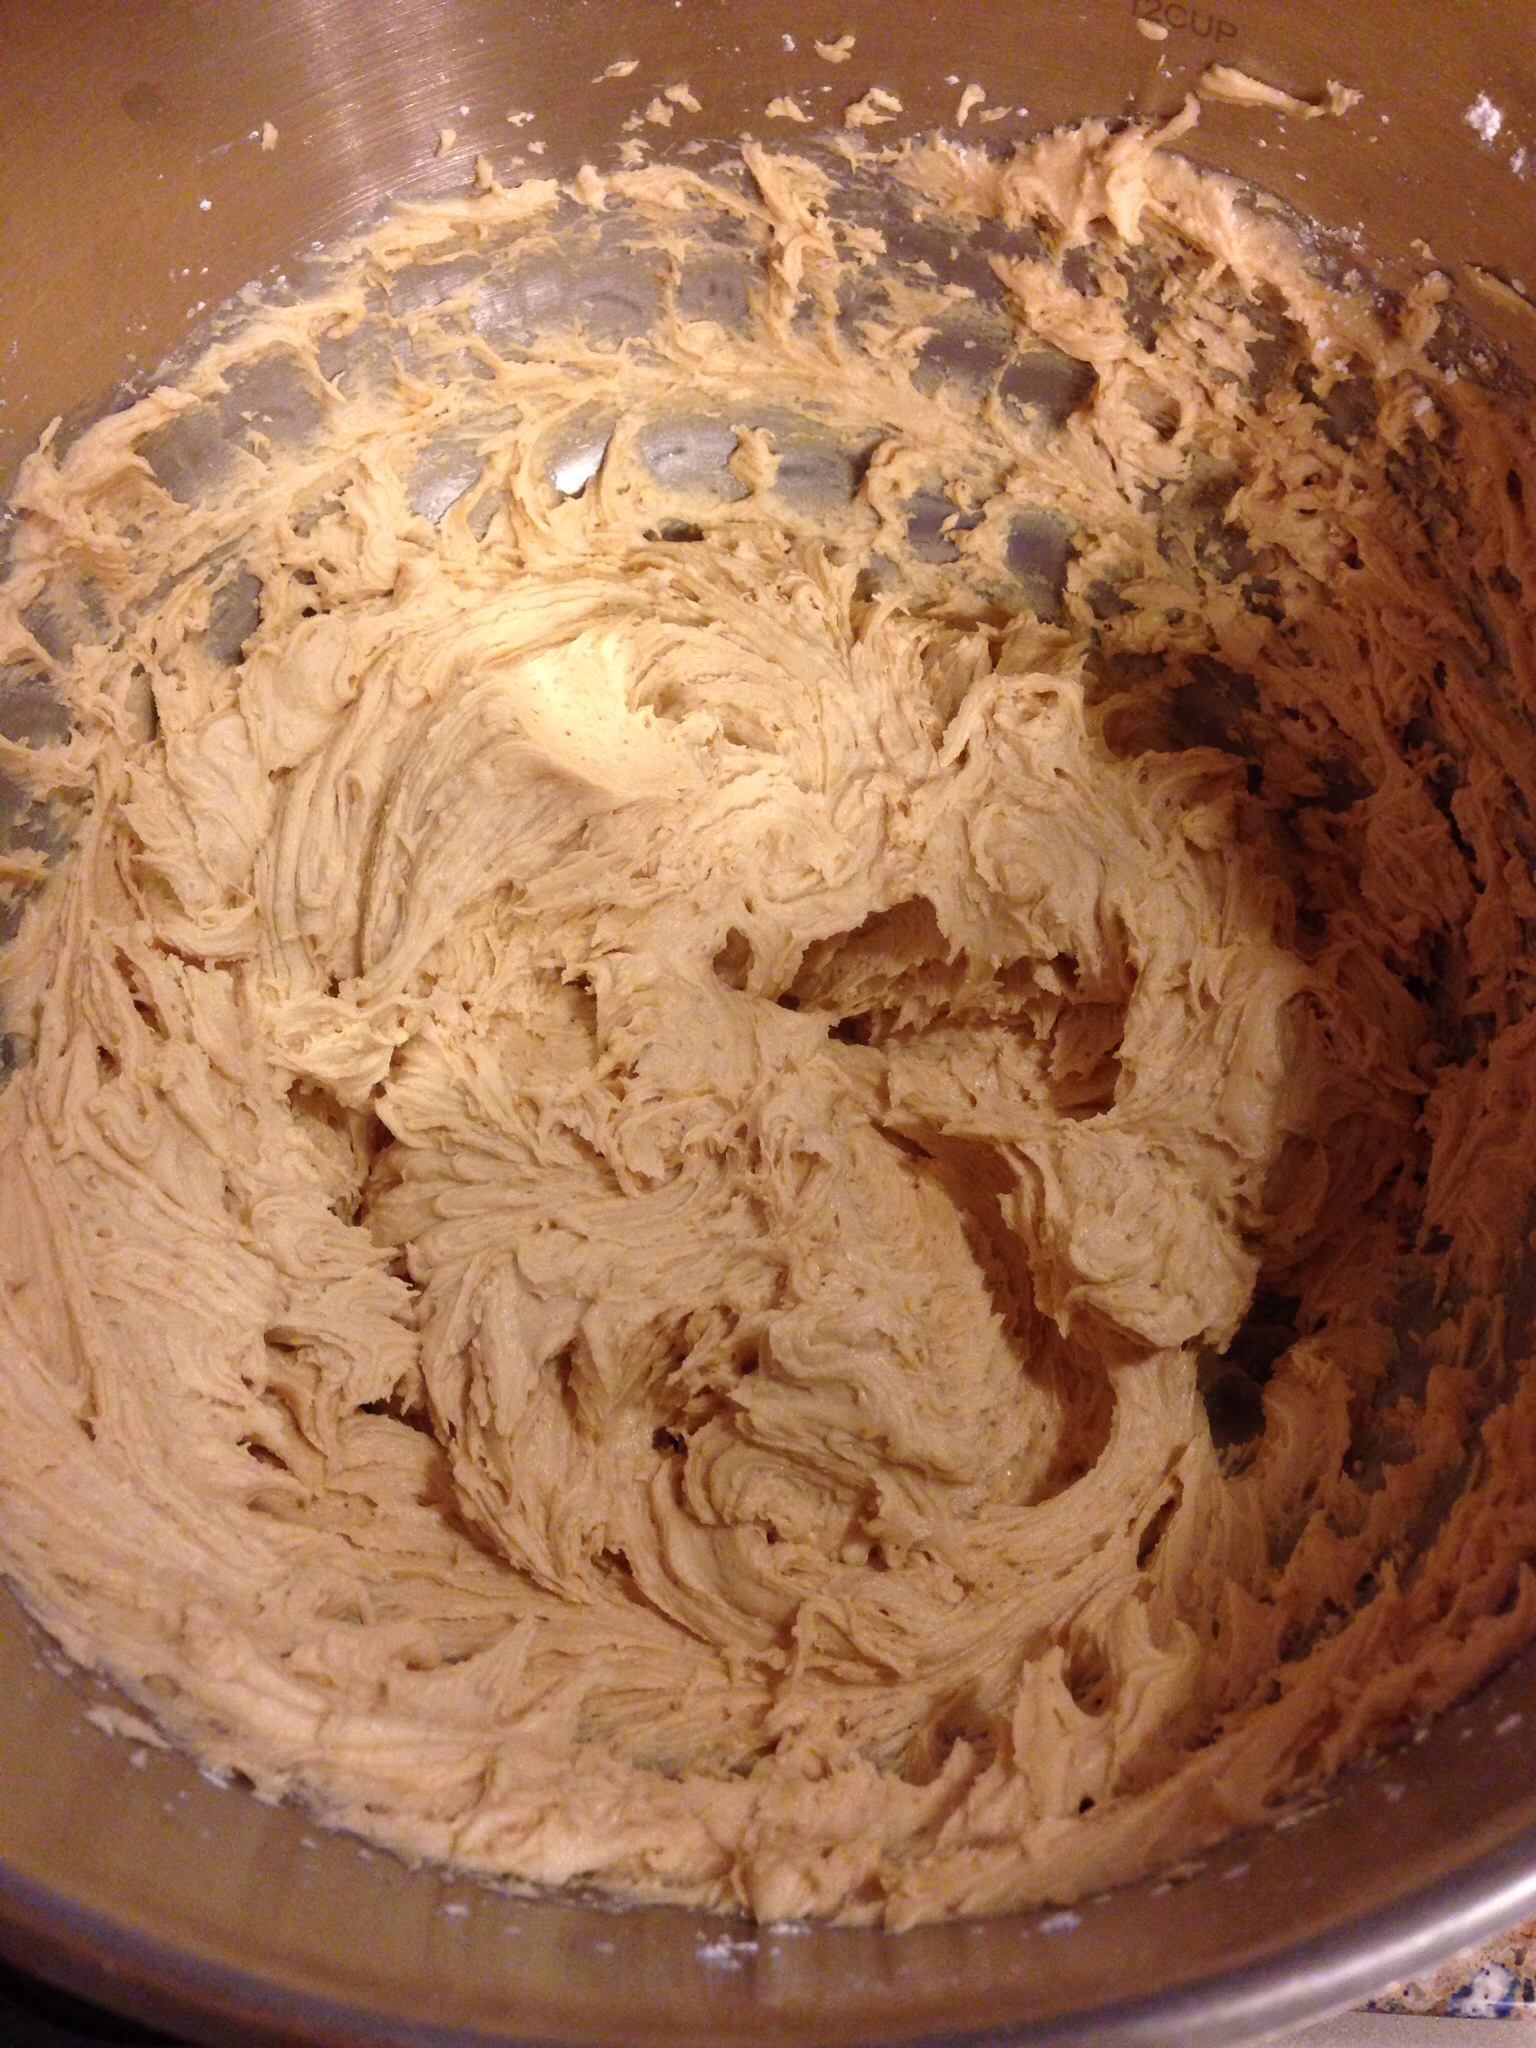
In mixing bowl cream together butter and white and brown sugar until fluffy.

image

Add eggs and vanilla and beat well.

image

In a smaller bowl whisk together dry ingredients.

image

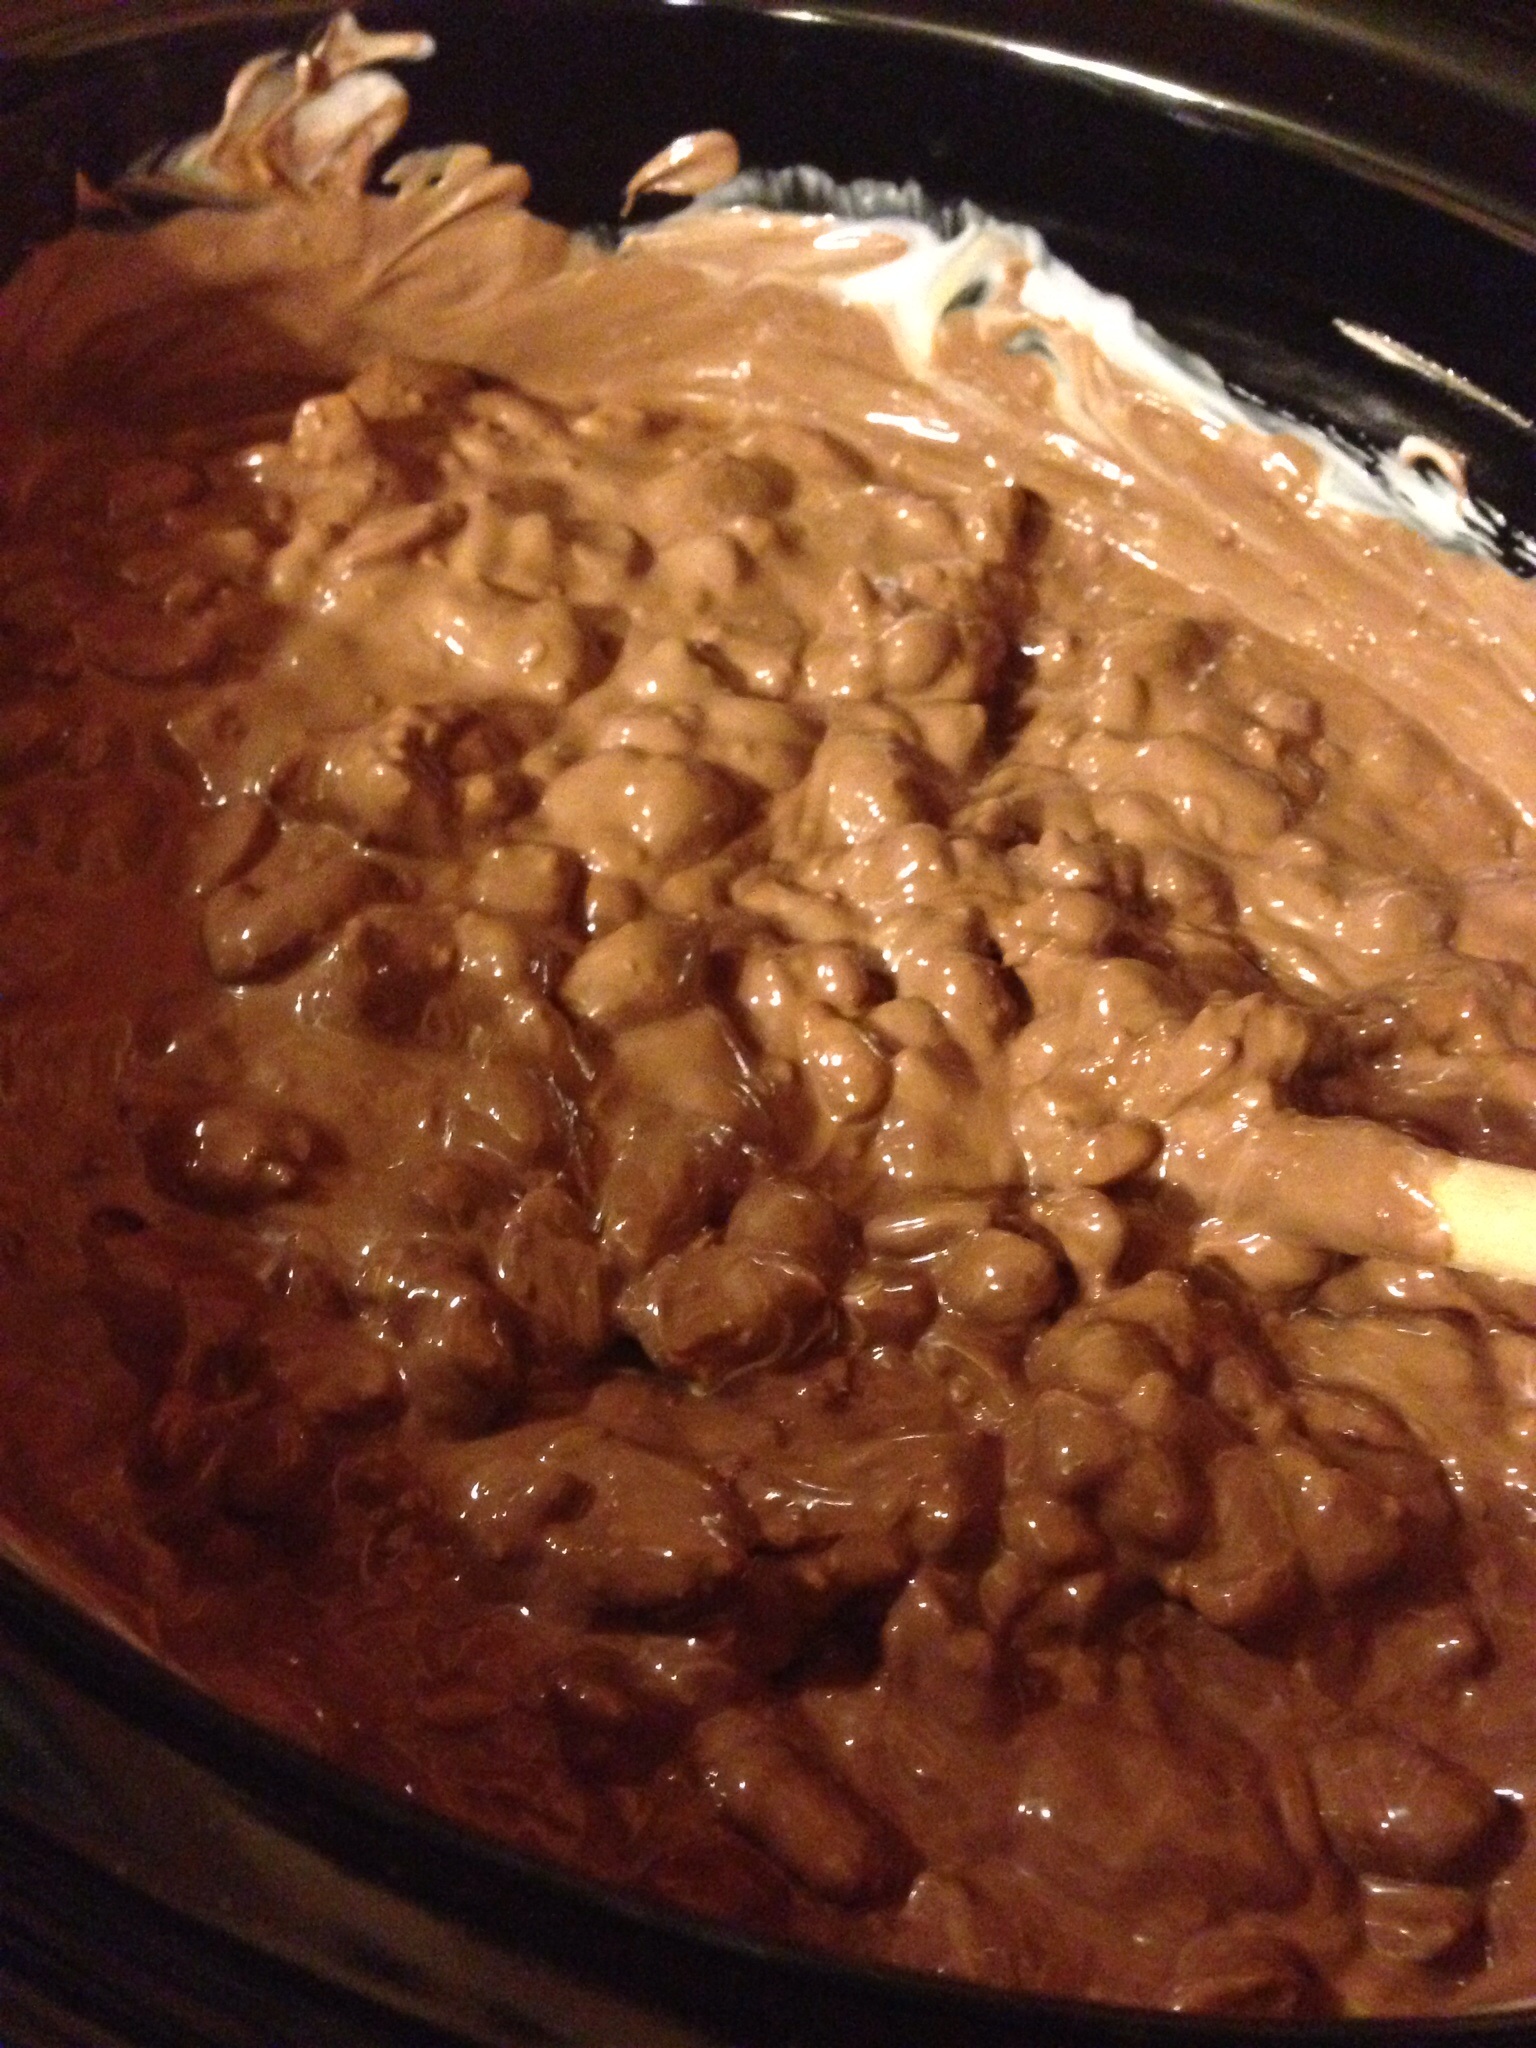
With a wooden spoon blend in dry ingredients. Stir in white chocolate and nuts.

image

Drop by teaspoonfuls onto an ungreased baking sheet. I always use a cookie scoop for uniform baking and uniform cookies.

image

Bake for 10-12 minutes. Remove to wire racks to cool.

image

I thought I had white chocolate chips but I did not. I did, however, have large white Ghirardelli pieces so I chopped those into smaller pieces and substituted them for the chips. They worked fine. My mother used to say “necessity is the mother of invention.” She and Plato both said that. I think Plato said it first.

May you all find something new in your grocery and bring it home to whip up  something you’ve never prepared before.

Crockpot Candy

image


I very often see recipes that people copy and post to their Facebook page with a comment like “looks great” or “I want to make this.”  Because people have seldom actually tried the recipes I’m always a little skeptical thinking something might have gotten lost in translation. Over the years I’ve actually known people who give you a recipe and intentionally leave out an ingredient. When you try to replicate a dish you loved that someone else made, the missing ingredient assures that it will never turn out as good as theirs.

The Crockpot Candy was one of the rare, untested by anyone I know, Facebook post I decided to try. I don’t eat chocolate but I make a lot of chocolate candy and desserts because chocolate is one of my husband’s favorite things. The recipe is definitely simple and the first time I made it it was a huge hit.   This is my second batch and I decided to make this batch in mini-cupcake papers rather than putting spoonfuls on wax paper. The recipe made about 50 candies.

Get your crockpot out and in about 3 hours you’ll have some beautiful and delicious chocolate treats.

1 16-oz can of lightly salted peanuts

1 16-oz can of lightly salted mixed nuts

1 12-oz bag of dark chocolate chips

1 12-oz bag of milk chocolate chips

2 11-oz bags of butterscotch chips

2 12-oz bags of white chocolate wafers

image


Layer the ingredients in your crockpot in the order listed above.

image image


imageimage


Cover your crockpot, turn it on low and set a timer for 2 hours. After 2 hours stir all the ingredients well, put the cover back on and set your timer for another 30 minutes.

image image


Turn off the crockpot. Using two spoons fill mini-cupcake papers or put chocolate on wax paper and allow the chocolate to harden. If you put a tray at a time in your freezer for 5 minutes or so it makes the candy set up faster and it’s easier to handle.

image


Amazingly easy.

I always use good chocolate in my recipes. In this case all of the chocolate is Ghiradelli. If you prefer you can substitute peanut butter chips for the butterscotch chips. The original recipe I saw used peanut butter chips but my husband doesn’t like peanut butter mixed with his chocolate so I improvised.  I also added some coconut to half of the chocolates this time around. I stirred in about a cup of coconut to the already melted/stirred chocolate.  You could also add raisins or dried cherries to the melted chocolate.

I have not tried halving this recipe. Chocolate can be temperamental when melting so I’m not sure how well it would work.

Find yourself some pretty little boxes, fill them with the chocolates and these would make much appreciated gifts for the holidays, for hostess gifts, or as a thank you.

image

P B & J Cake

image


I made this dessert once before and it is actually the recipe that, a couple years ago, prompted me to start cutting out and organizing recipes I thought looked good from magazines.  I wanted to make this cake a second time and COULD NOT remember what issue of what magazine I’d seen it in. Turns out it was the June 2010 issue of Cuisine at Home. That recipe is now neatly clipped and filed in the dessert section of a spiral notebook and is marked with 4 stars. It looks enough like a PB&J sandwich to fool some people.  And it’s what was for dessert tonight.

Cake

3 cups all purpose flour

1 tsp baking powder

1/2 tsp baking soda

1/2 tsp salt

1 1/4 cups whole milk

2 tsp vanilla extract

1 1/2 cups creamy peanut butter

1 stick butter at room temperature

2 cups granulated sugar

1 cup packed brown sugar

6 eggs at room temperature

image


Preheat your oven to 350. Generously grease the bottom of 2 loaf pans.

Whisk together flour, baking powder and soda, and salt and set aside. Combine milk and vanilla and set aside. Cream peanut butter, butter, and white and brown sugar in a stand mixer with paddle attachment on medium high speed for 5 minutes until well combined. Add eggs to the creamed mixture one at a time beating well after each addition.

imageimage


Alternately add flour and milk to creamed mixture beating after each addition just until mixed, scraping the sides of the bowl when necessary.

Divide batter evenly between prepared pans. Bake 50 minutes. If cakes are browning too much on the sides after 50 minutes loosely tent with foil and bake 10-15 minutes more until toothpick inserted in the center comes out clean.

Let cakes rest in pans on a wire rack for about 20 minutes then turn them out to cool completely.

Peanut Butter Icing

3/4 cup peanut butter

1 stick butter at room temperature

3 cups powdered sugar sifted

1/4 cup milk

2 tsp vanilla extract

image


Beat peanut butter and butter at medium speed until light and fluffy, about 5 minutes. Add powdered sugar, milk and vanilla and beat just until smooth and creamy. image


Assemble your sandwiches. Slice the cake loaf.

image

Spread a slice with a generous amount of peanut butter icing and jam of your choosing (I used my homemade strawberry jam). Put a second slice of cake on top, just like making a PB&J sandwich, and enjoy!  Great with a glass of milk or a cup of coffee.

imageimage


After the first time I made this cake my daughter bought me a cake pan shaped like a slice of bread. Today I baked one loaf pan of batter and the slice of bread shaped pan with the other half of the batter. I assembled the slice of bread cake by trimming off the top to level the cake and slicing it in half and spreading the icing and jam in the center. I’ll have to share that with friends…it’s a lot of cake!  (The jam on this cake is a tart cherry).

image


imageimage


image


Lemon Poppyseed Loaf

image


Today was a baking day. I found a recipe for lemon loaf and made some modifications including the poppy seeds. I remember having lemon poppy seed muffins frequently at the Courtland Room in Jacobsons and when I tasted this loaf it reminded me a lot of those muffins.

1 1/2 cups all purpose flour

1/2 tsp baking soda

1/2 tsp baking powder

1/2 tsp salt

1 T poppy seeds

3 eggs

1 cup sugar

2 T butter at room temperature

1 tsp vanilla

1 tsp lemon extract

1/3 cup fresh lemon juice

1 T lemon zest

1/2 cup canola oil

imageimage

Preheat oven to 350. With a hand mixer on low speed beat the eggs, sugar, butter, vanilla, lemon extract, and lemon juice until well combined. Whisk together dry ingredients including lemon zest and poppy seeds and gradually add to egg mixture beating on low until well combined. Add canola oil and mix well.

image

Pour batter into a greased 9×5″ loaf pan and bake for 45 minutes or until a tester inserted in the center comes out clean. Cool on a wire rack. After 10 minutes or so invert the pan.  Allow the loaf to cool completely before adding the glaze.

Glaze

1 cup powdered sugar

2 T milk or lemon juice

Add the liquid to the powdered sugar gradually and continue whisking until the glaze is smooth and has a good drizzling consistency.  You may not need a full 2 T of liquid. I used lemon juice for my glaze because I liked the additional tartness.

image

This will be a new favorite for us. I have some key lime extract so I may try using that with key lime juice and zest for a little different taste experience. But it’s all good.

TIP:  If you have extra lemon or lime juice measure it out, put it in a zip lock snack bag, and store in your freezer. Next time you need fresh lemon juice for a recipe and you have no lemons you’ll be glad you saved that extra juice.

Chocolate Chip Cookies

Chocolate Chip Cookies

This morning I made chocolate chip cookies. I had an admirer who, years ago, studied for the priesthood. He said my chocolate chip cookies were quintessential…apparently Latin for an A-one cookie! My daughter says they are the best…sweet and a little salty.

Here we go. You too can make the quintessential cookie!

Preheat oven to 375°F

Cream together:
1 c shortening (I use butter flavored Crisco)
1 c sugar
1/2 c brown sugar (packed)
2 eggs
2 tsp good vanilla

IMG_4428.JPG

With a wooden spoon stir in:
2 c flour
1 1/2 tsp salt
1 tsp baking soda
2 generous cups chocolate chips (I use Ghirardelli)

IMG_4430.JPG

Using a small scoop, place dough on un-greased cookie sheets.

Bake for 11 minutes.

Enjoy!!

IMG_4435-0.JPG

A couple notes:
I use Airbake cookie sheets exclusively. I love them!

Once you put the cookies in the oven, don’t open and close and open and close the oven door to check on their progress.

These cookies, like most, are best right out of the oven. But I’ve found the best way to store them is to package individual servings (three or four cookies) in Ziploc sandwich bags in the freezer.