Kaalipiirakka (Cabbage Pasty)

image

If you’re Spanish you might have empanadas, if you’re Polish pierogis, Italian raviolis, and if you’re Finnish kaalipiirakka (cabbage pasty). I was reading a Finnish cookbook today and came across this recipe. I didn’t grow up eating these but I might have. These would be served as an accompaniment to soup or as a bread side with a meal. I think they would be great with tomato soup!  Bread is a mainstay of the Finnish diet…and true to his heritage my grandfather could not eat a meal without bread. I remember both of my grandparents eating bread slathered with butter and sprinkled with salt.

These little cabbage pasties are fairly easy to make. The slightly sweet pastry dough and the savory cabbage are a nice combination. They might be tasty with a dip of some kind…I’ll have to work on that. Suggestions??

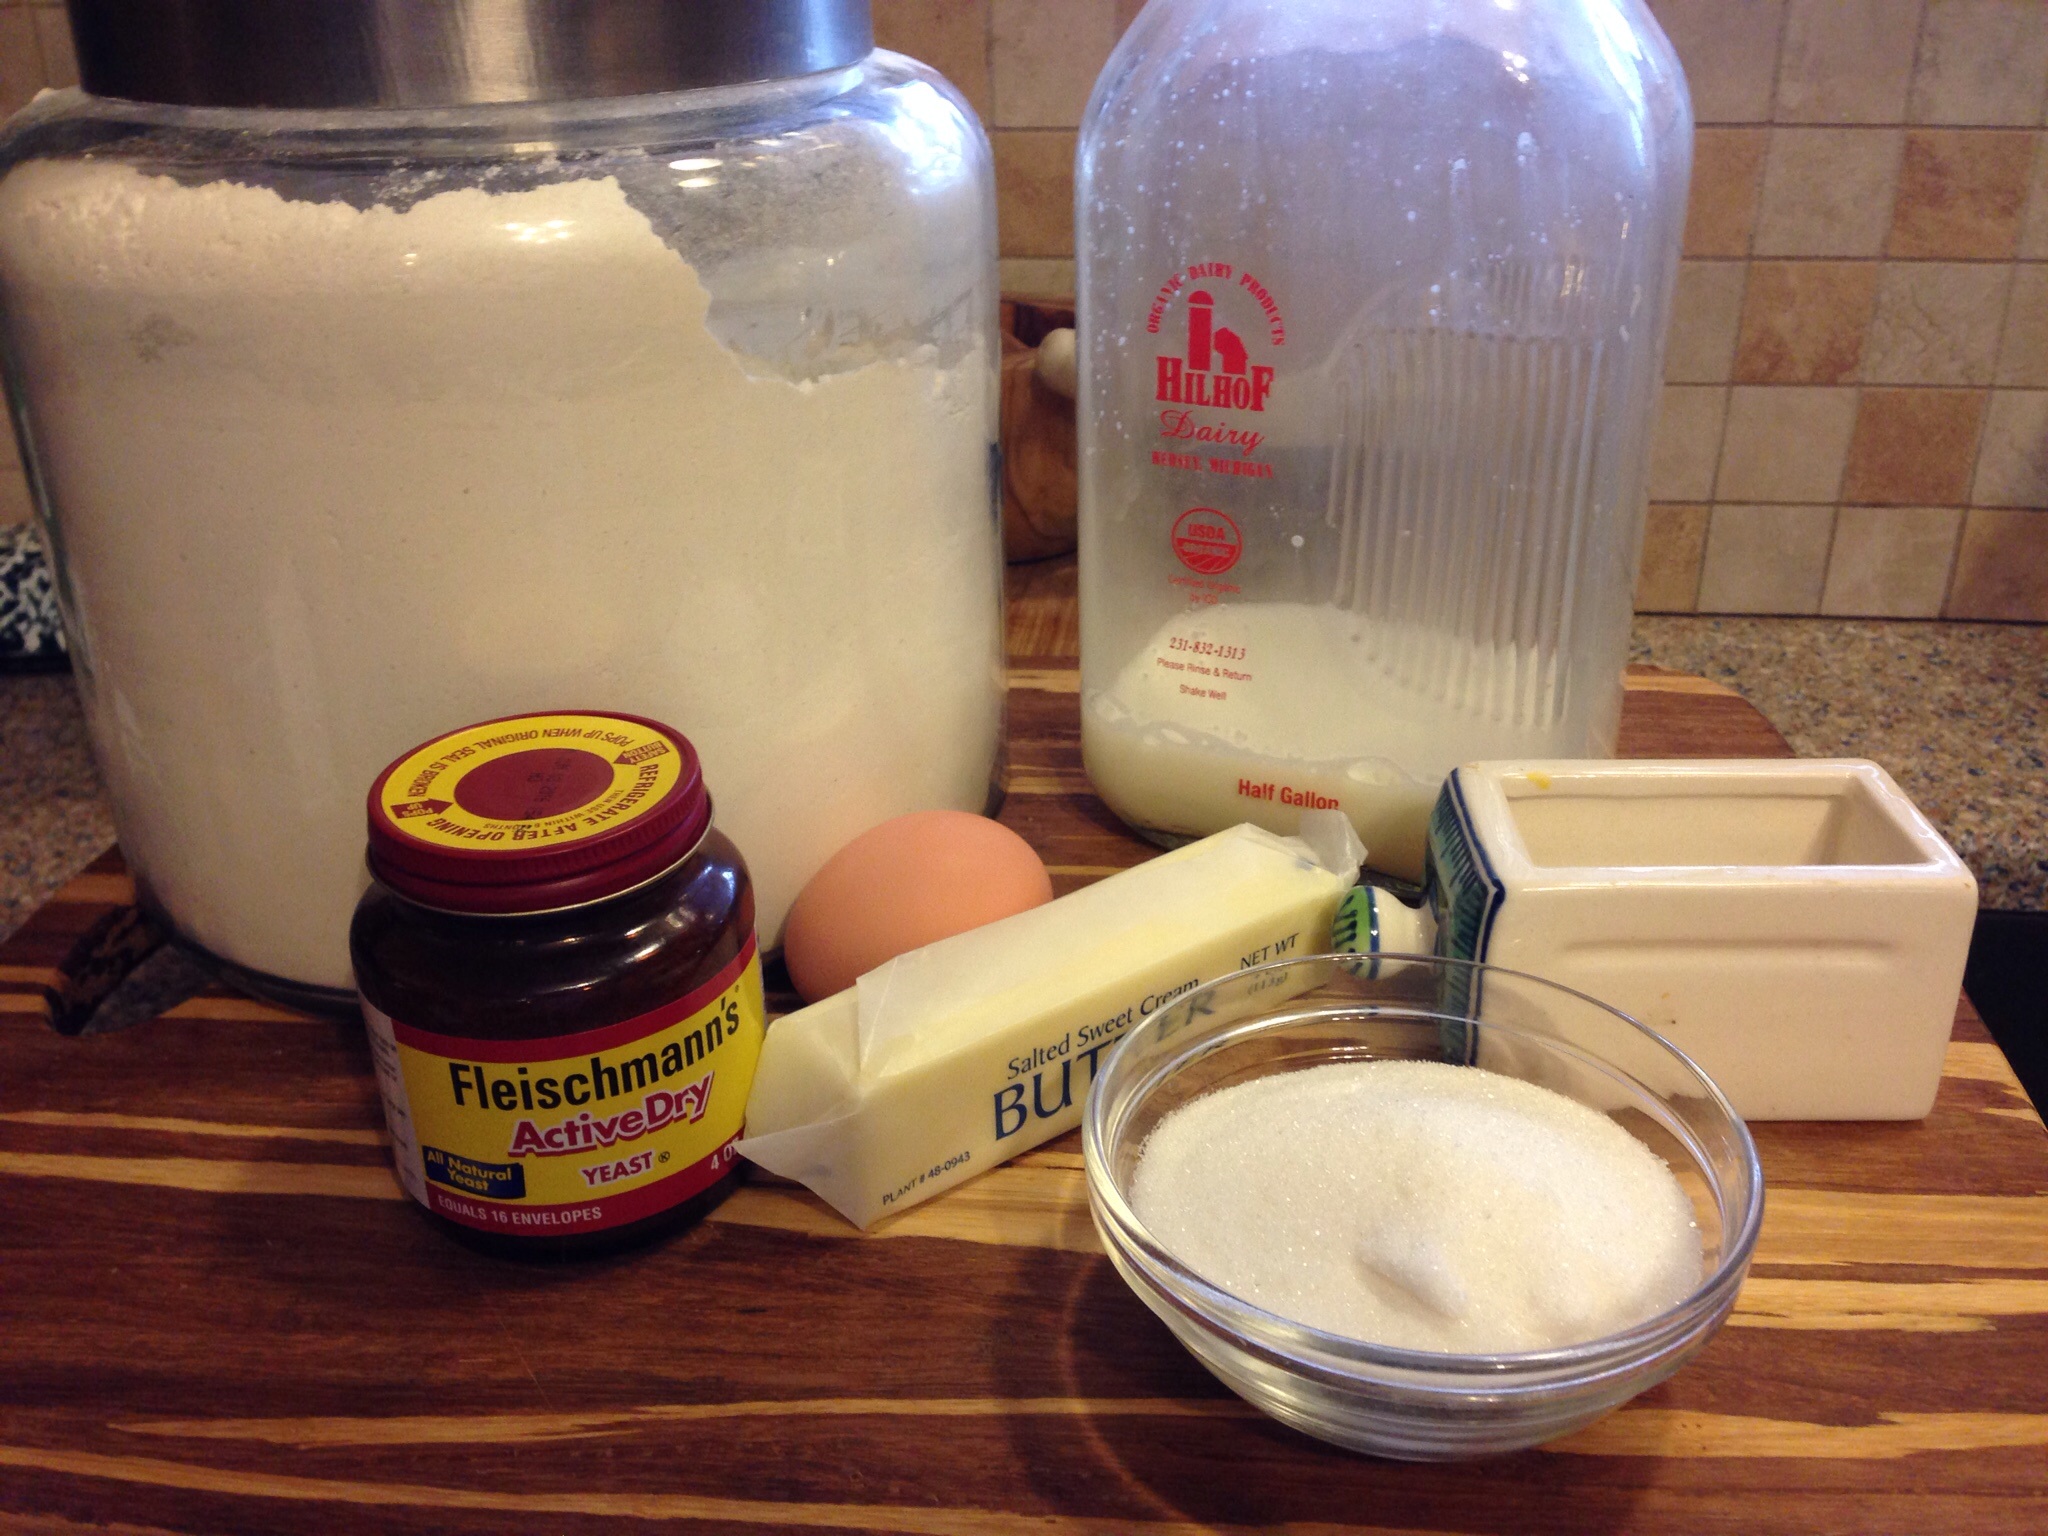
Yeast Pastry ingredients:

2 1/4 tsp active dry yeast

1/4 cup warm water

1 cup whole milk, scalded and cooled to lukewarm

1 tsp salt

1 egg, well beaten

1/2 cup sugar

4-4 1/2 cups all purpose flour

1/2 cup melted butter

image

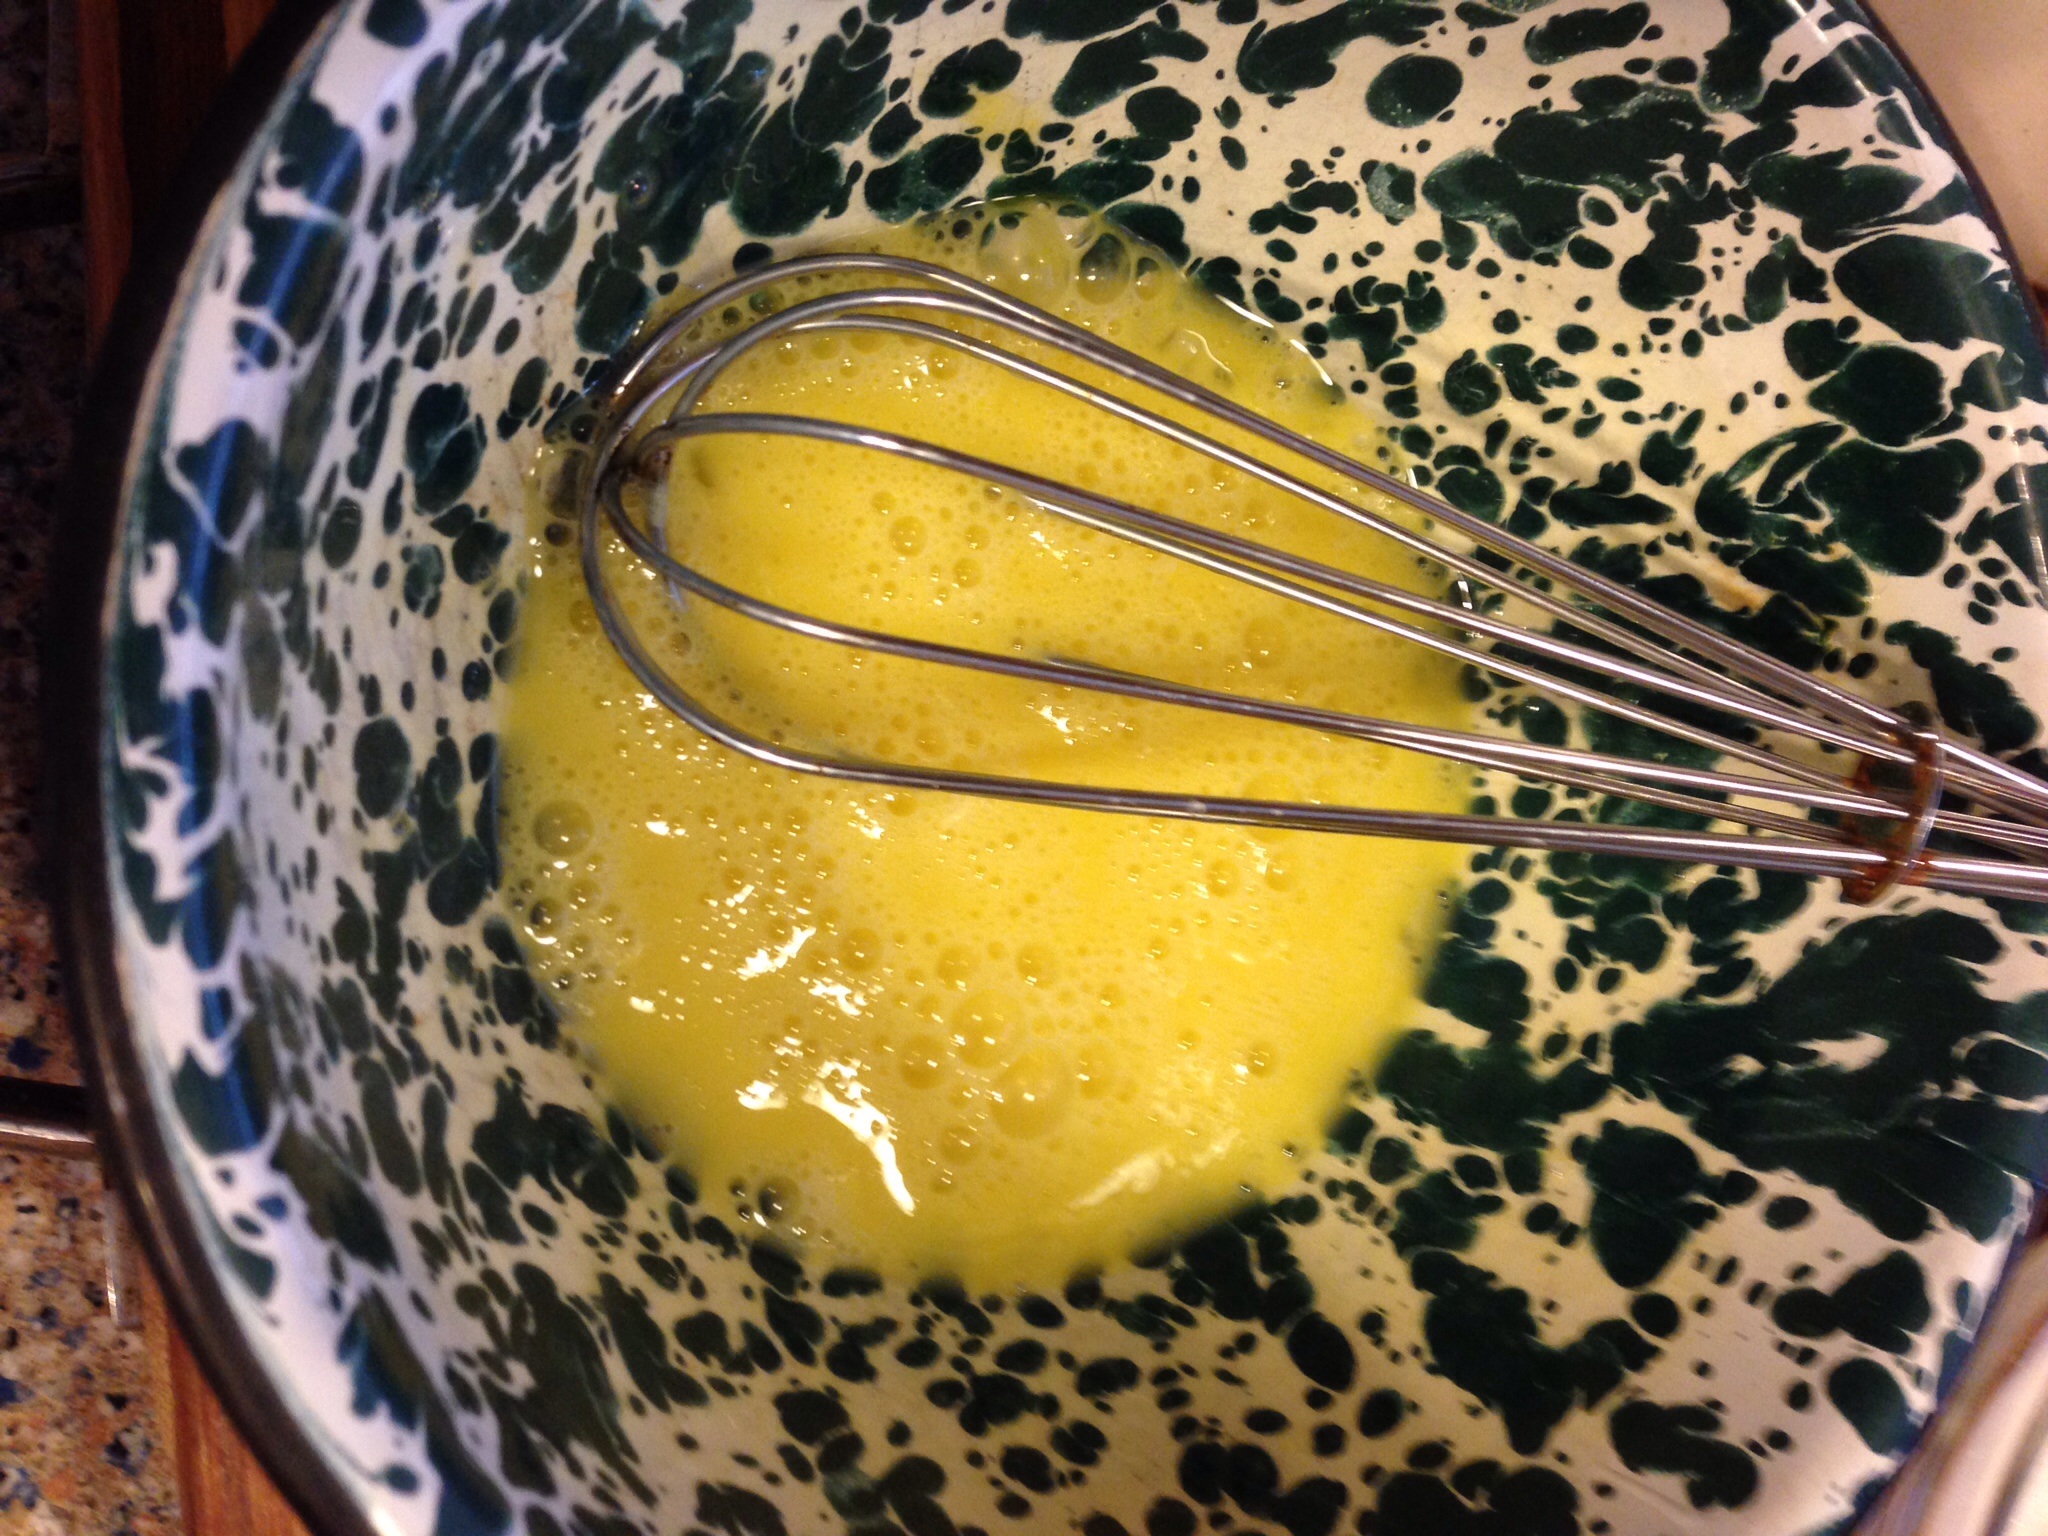
Dissolve the yeast in the water. Beat the egg well with a whisk.

image

Combine the milk, salt, egg, and sugar in a large bowl.

image

Add the yeast and 2 cups of flour and stir with a wooden spoon until smooth and elastic.

image

Stir in the butter until blended. Add the remaining flour and mix until you have a stiff dough. Turn dough out onto a lightly floured surface and knead until smooth. About 5 minutes.

image

Place dough in a lightly buttered bowl, cover with a towel and allow to rise in a draft free place until doubled in size. Punch down and let rise again for about 30 minutes. While dough is rising make your filling.

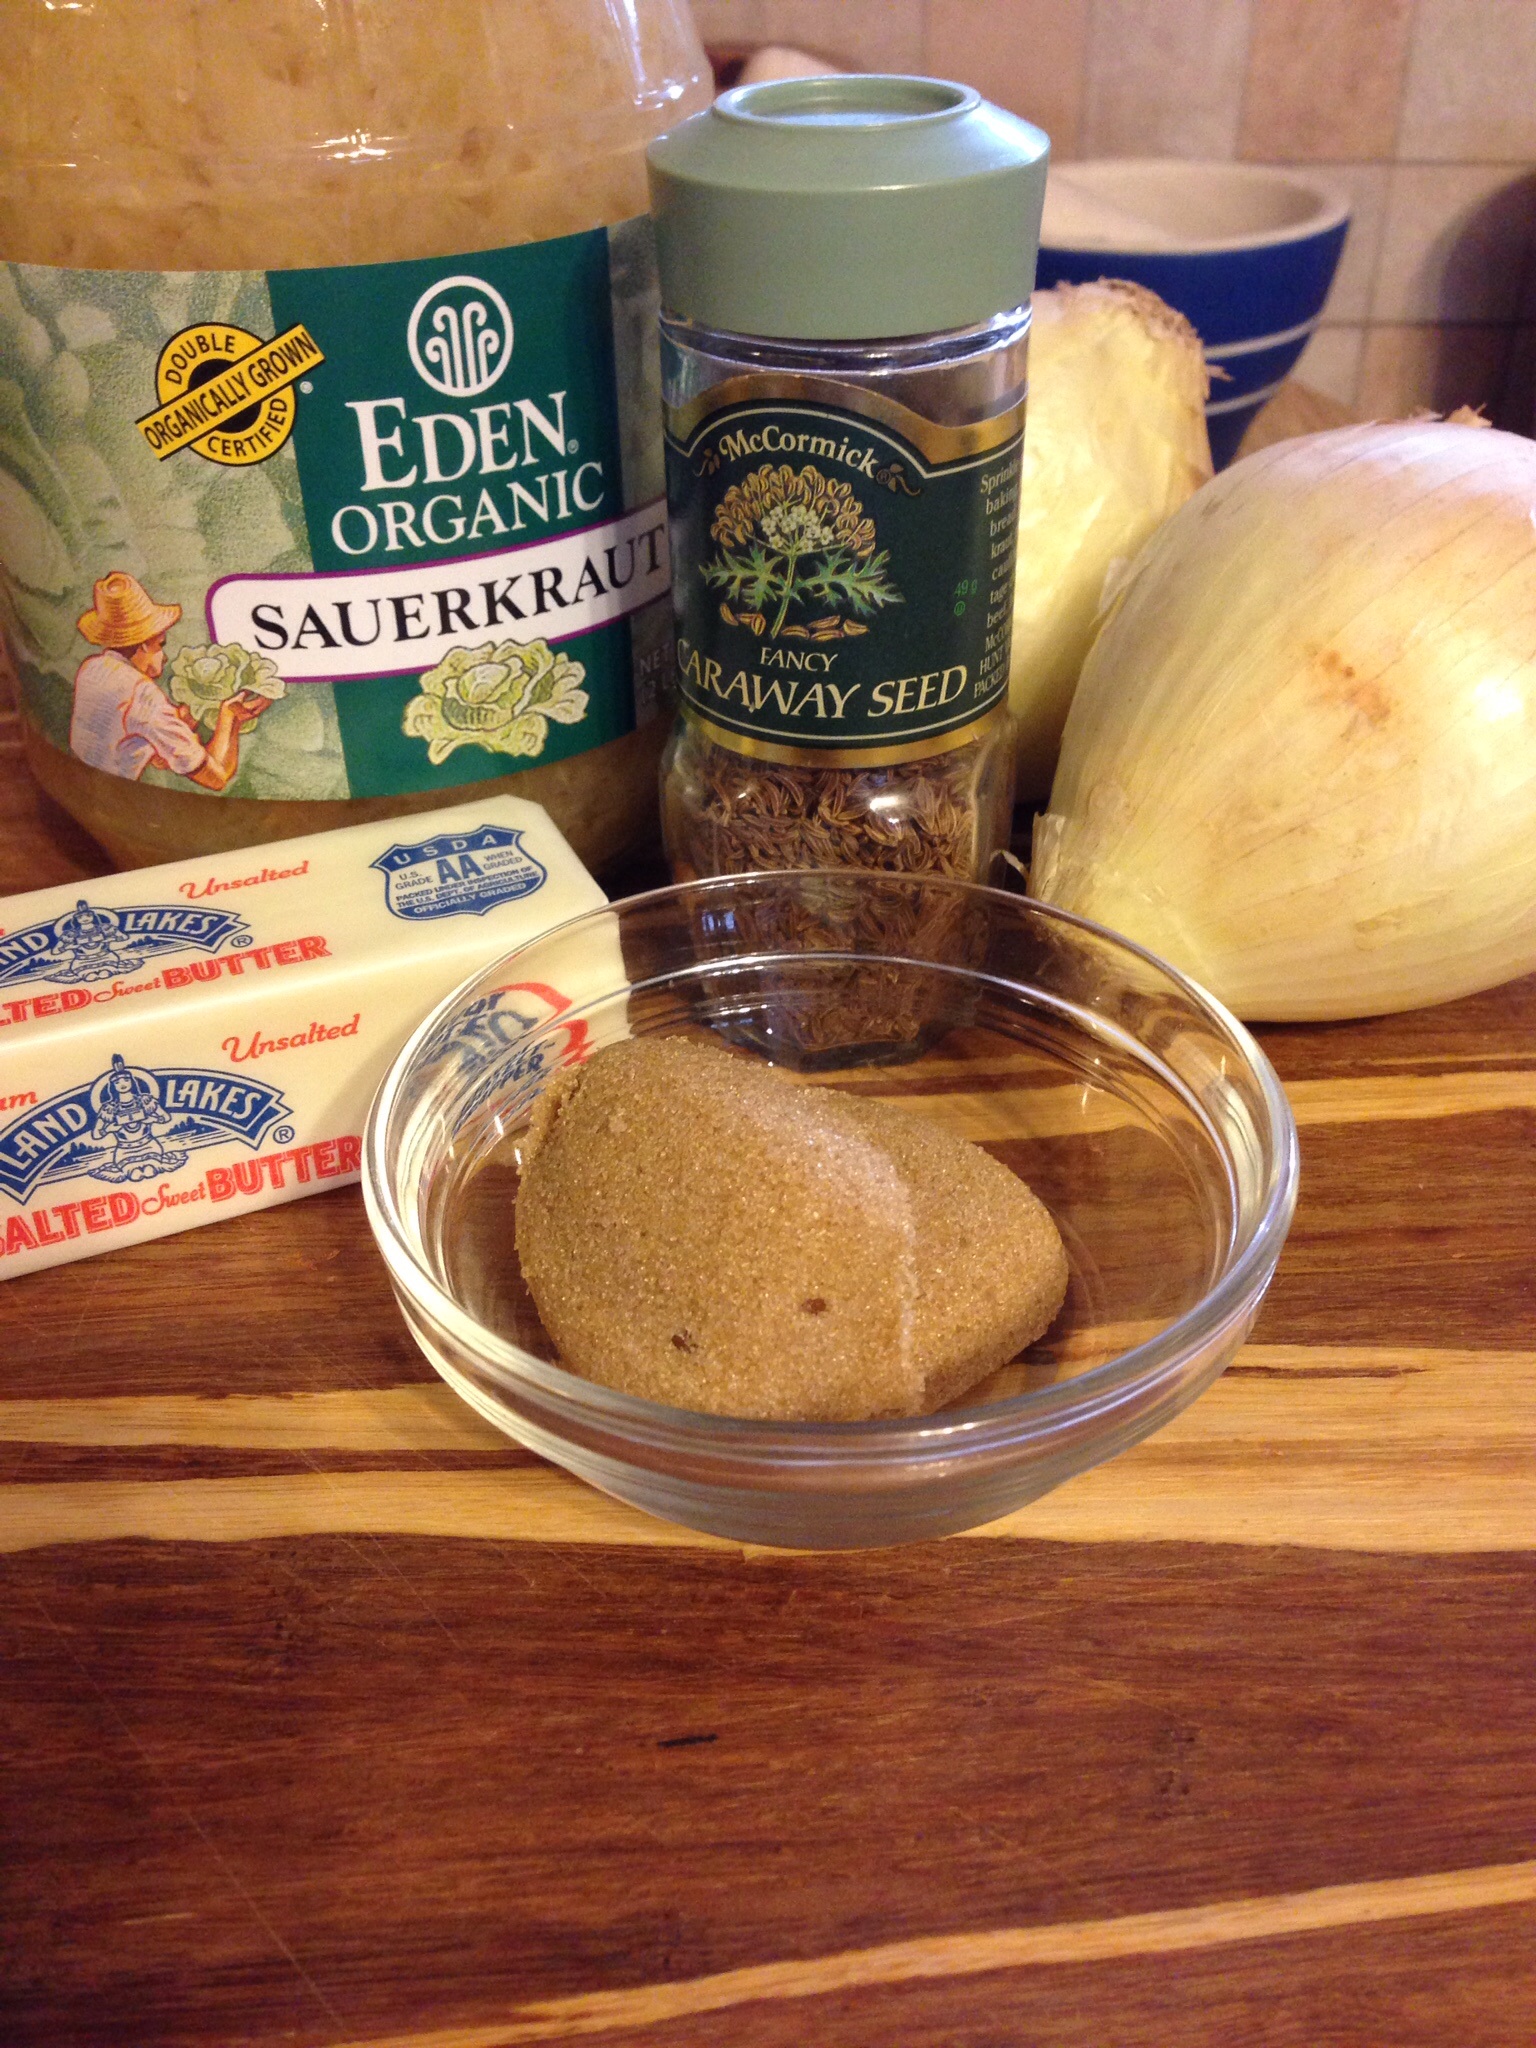
Filling Ingredients:

4 T butter

2 cups sauerkraut drained

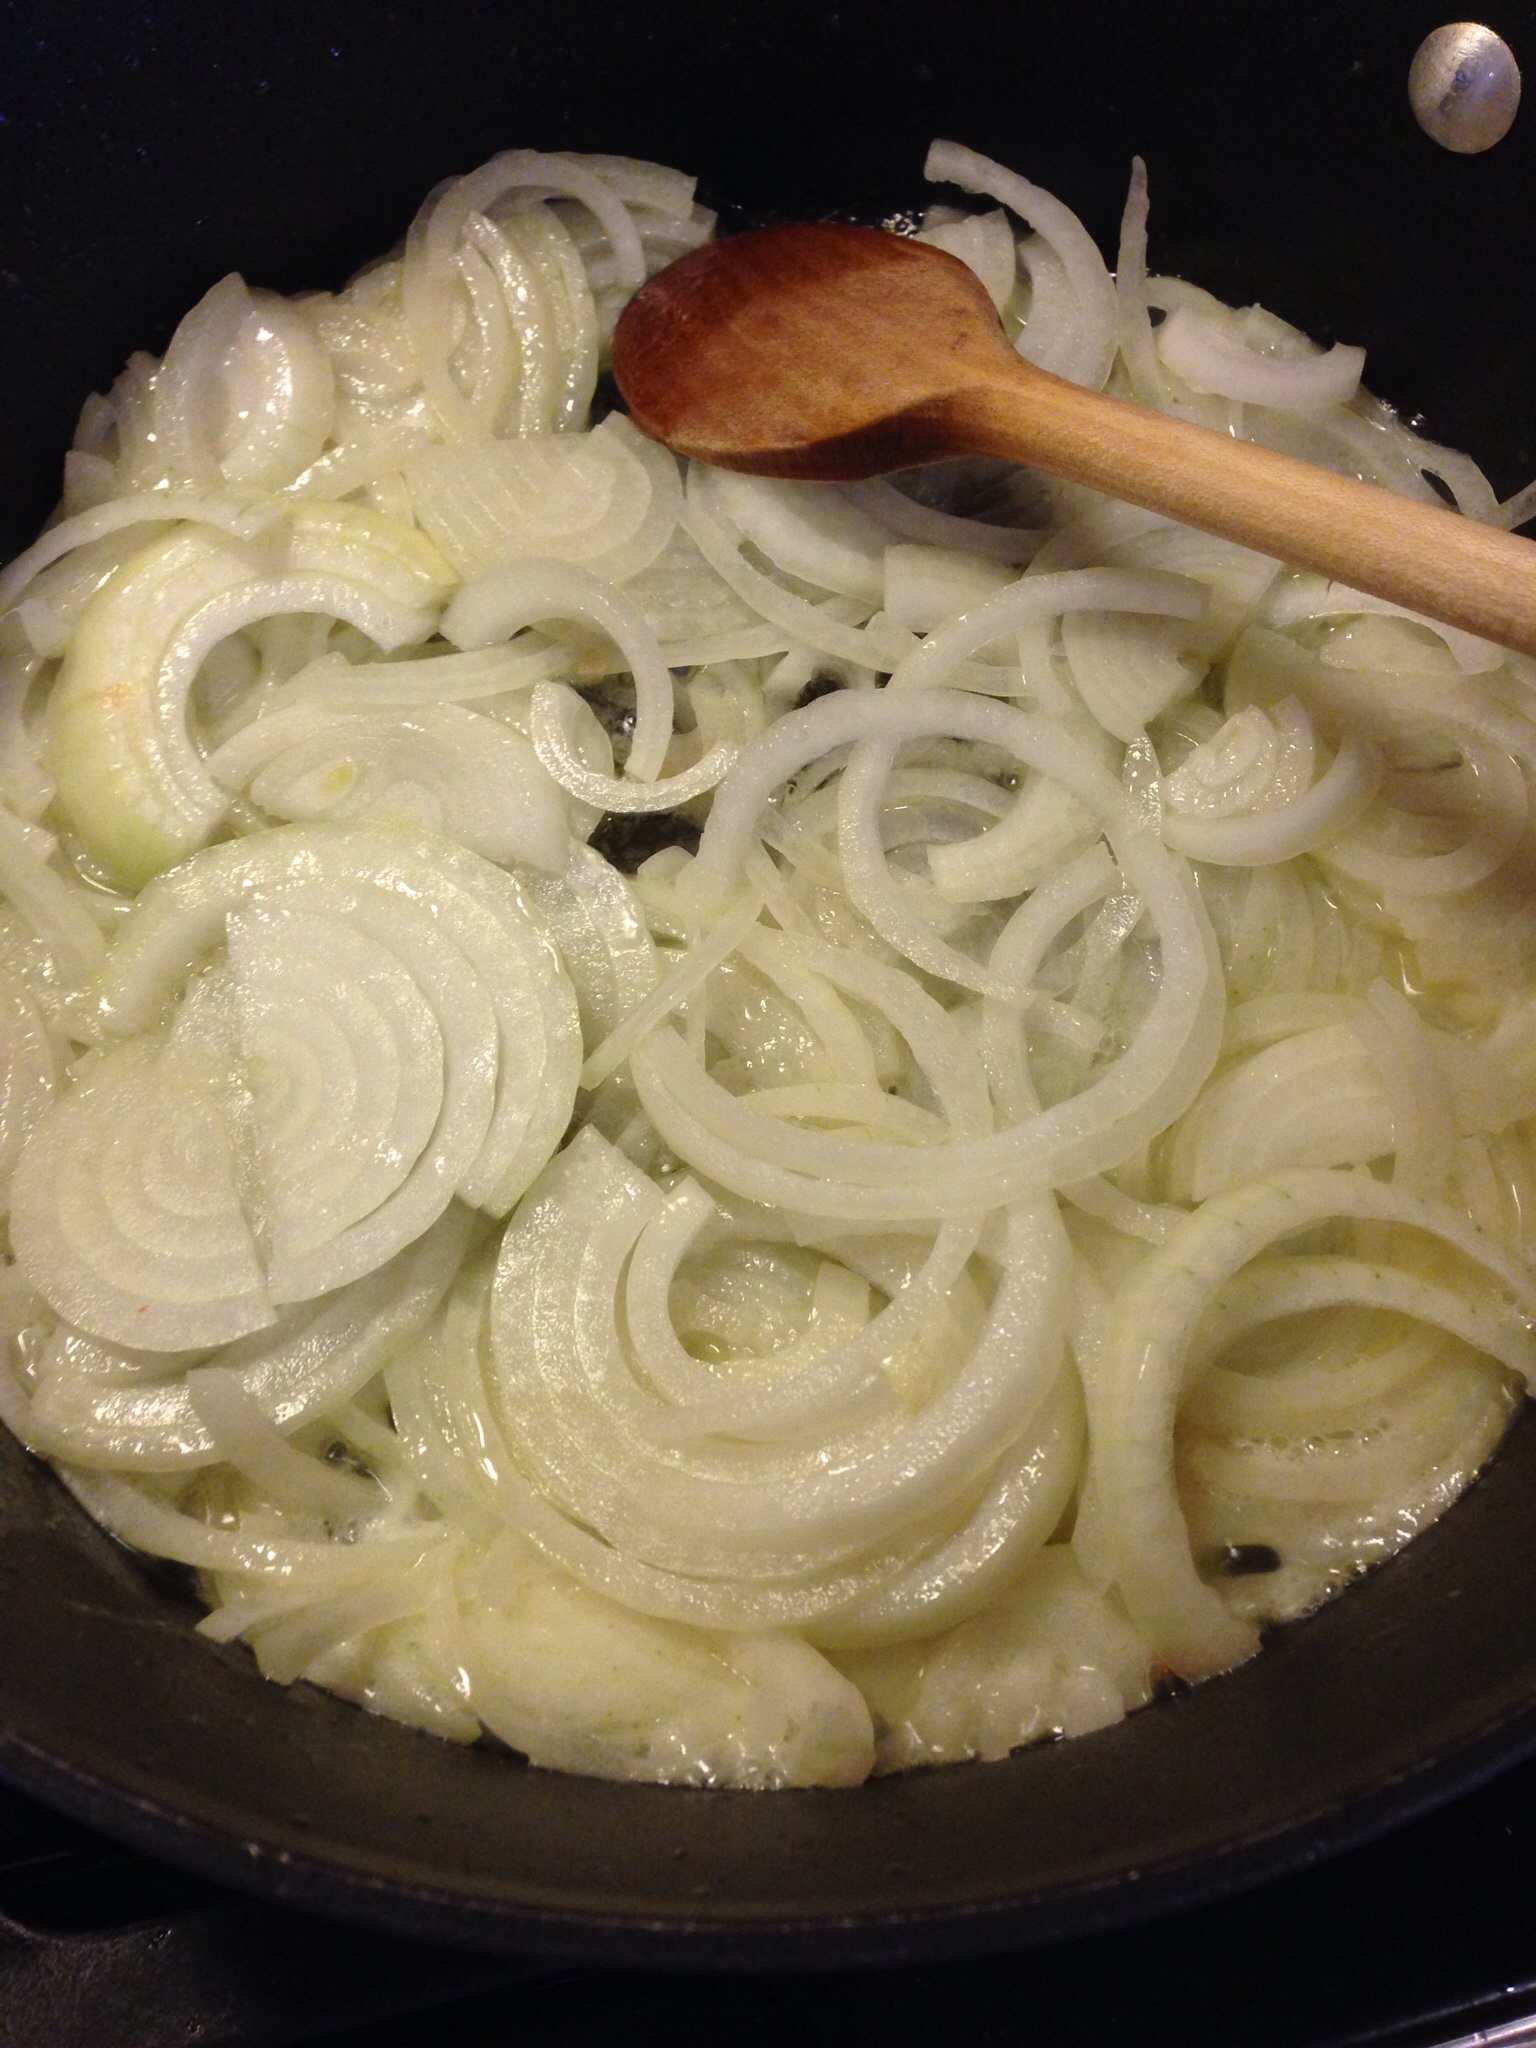
2 medium onions sliced thin

2 T brown sugar

1 tsp caraway seeds

image

In a heavy skillet melt the butter. Add the onion and cook over medium heat until the onion is tender and beginning to caramelize.

image

Add the sauerkraut, sugar, and caraway seed. Stir until well blended and cook for 2-3 minutes. Remove from the heat. Our filling is ready.

image

Preheat your oven to 375.

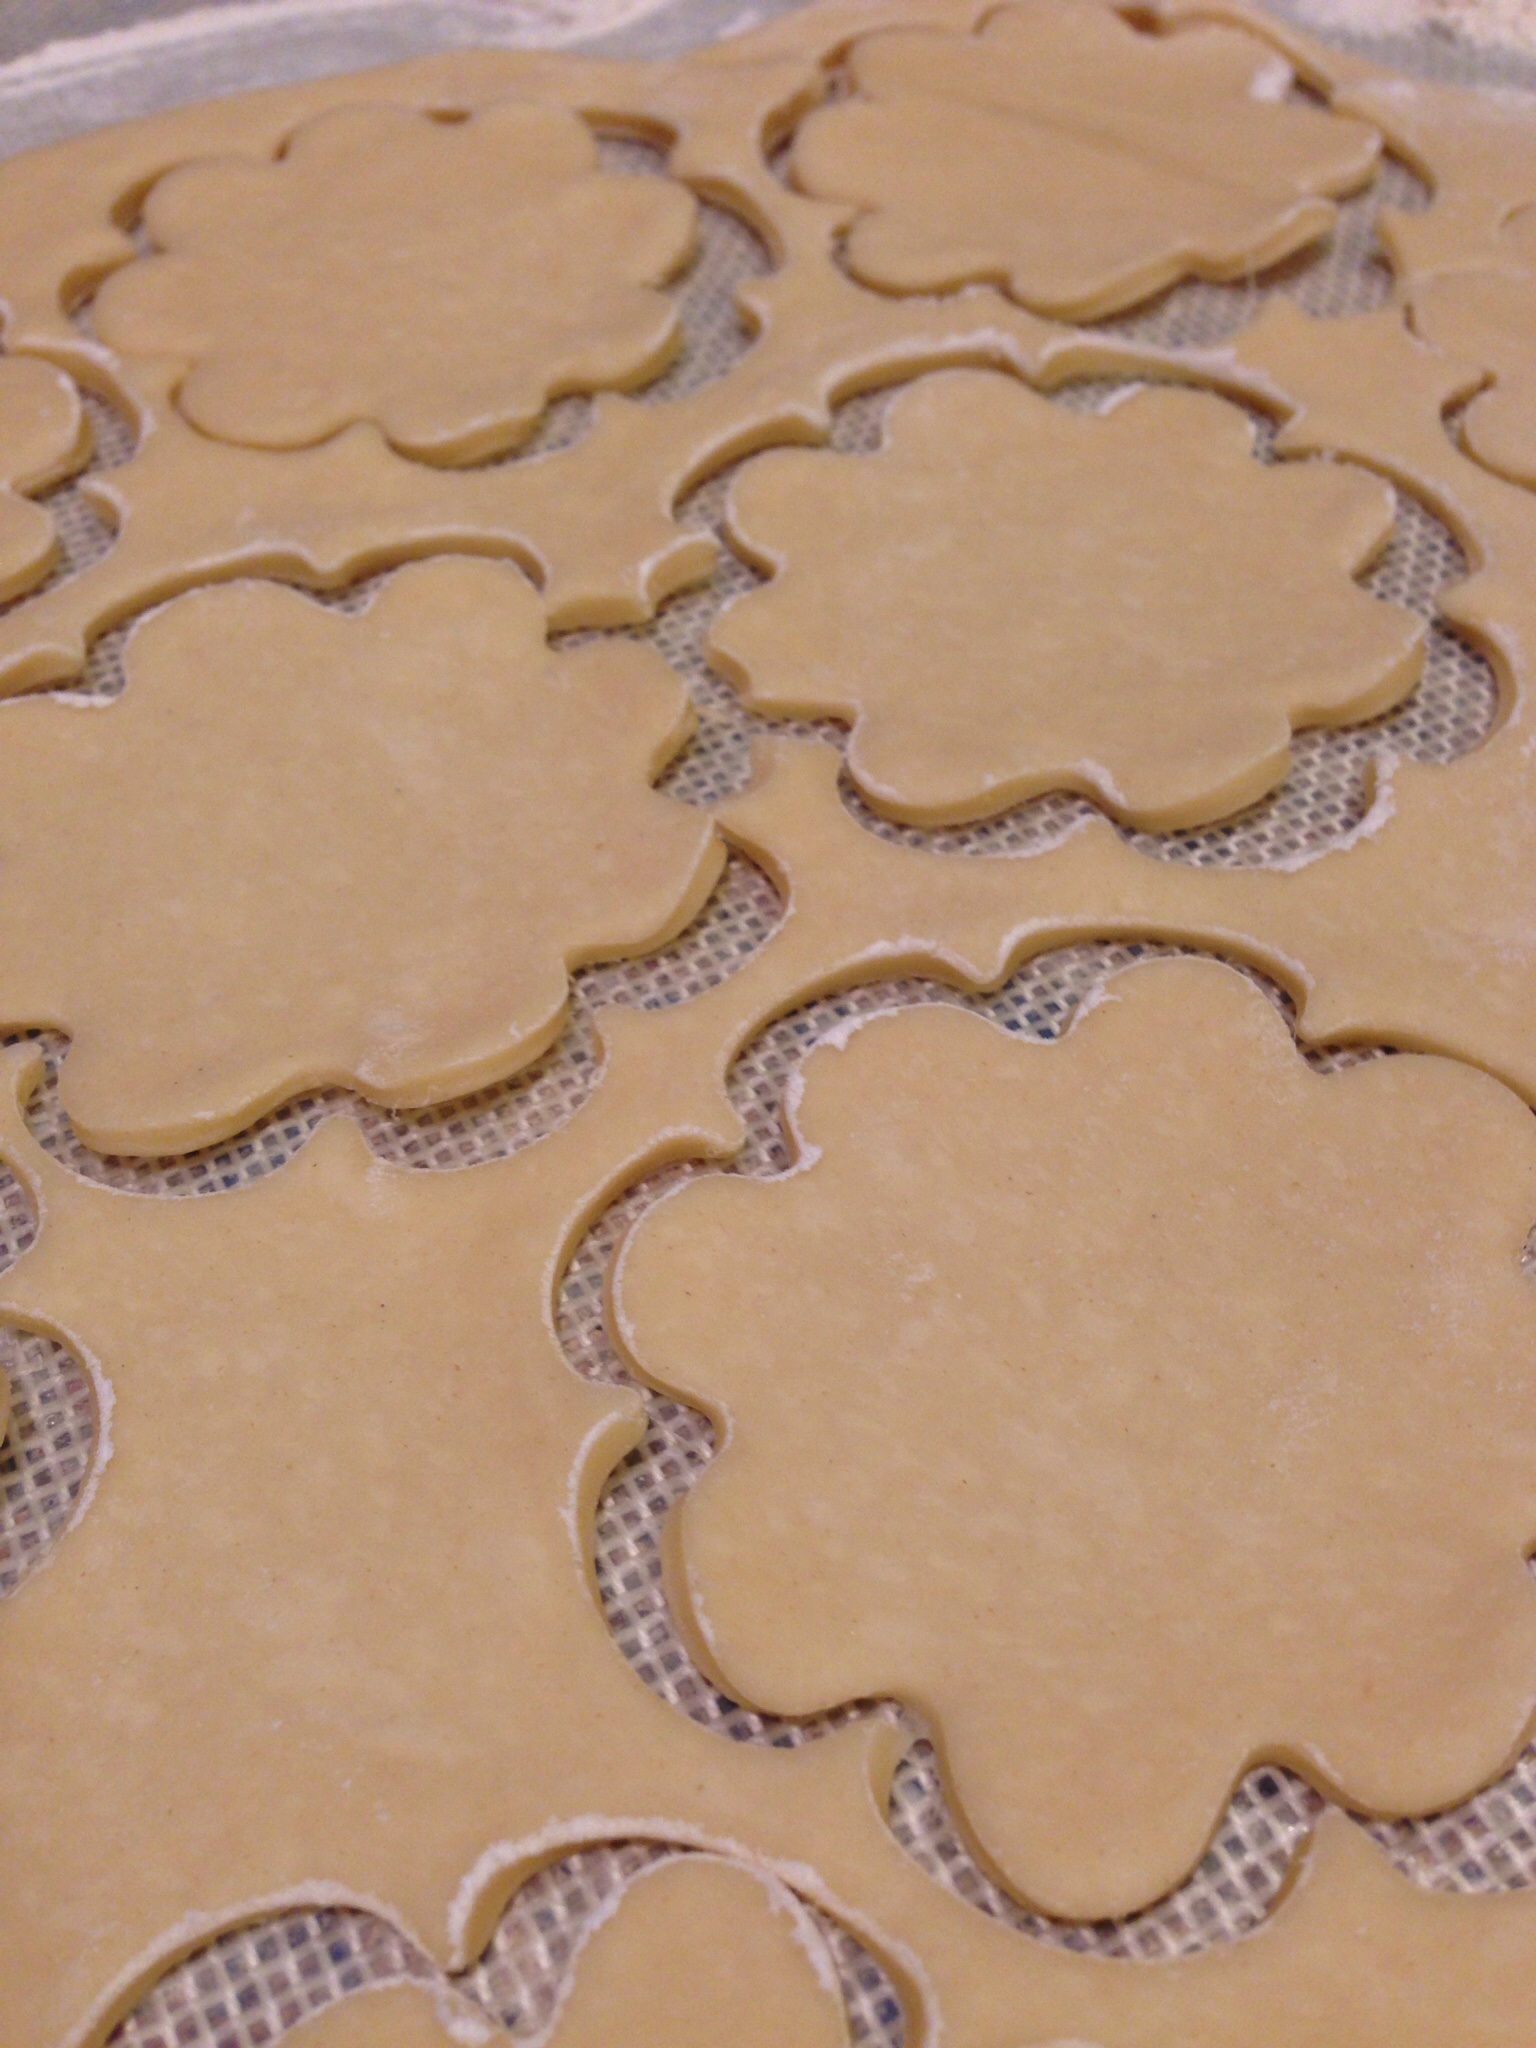
Now you’re ready to roll your dough and fill your kaalipiirakka. Divide the dough into thirds and roll the dough about 1/3 inch thick on a lightly floured surface. Use a glass or cookie/biscuit cutter on the dough. I used a scalloped cutter but round would work just fine.

image

Brush each circle with half and half to moisten the edges for sealing. Put a tsp of filling in the center of a disc, put a second disc on top and crimp the edges with a fork.

image

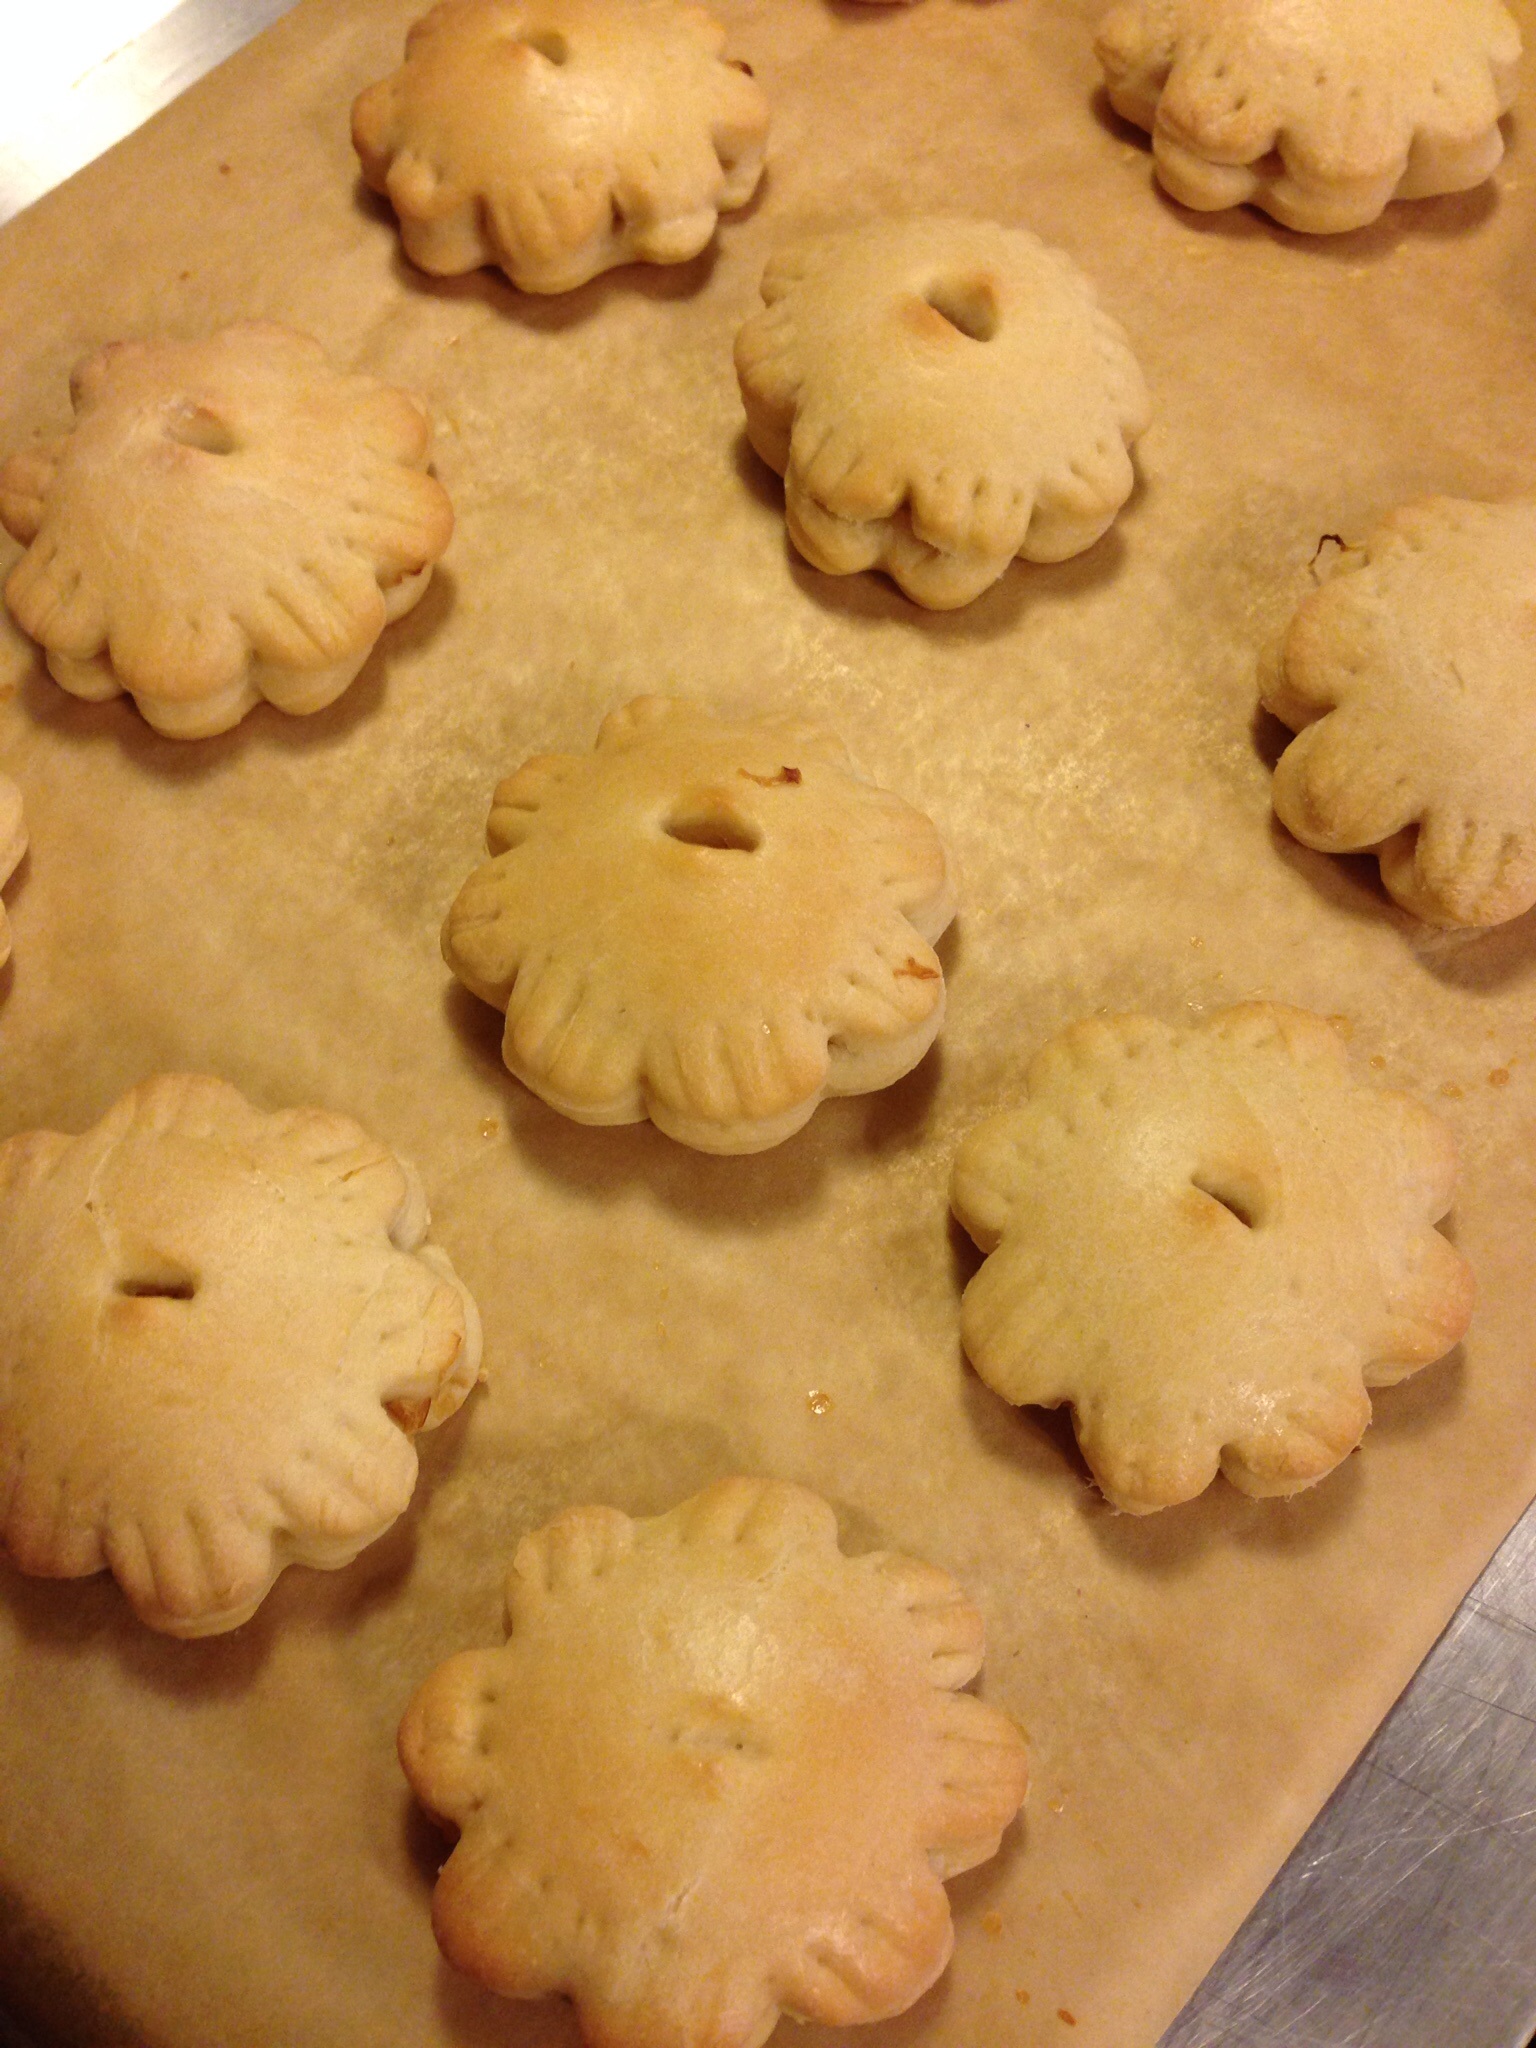
(The amount of filling in each will actually depend on the size of your discs). Brush each filled and crimped kaalipiirakka with half n half and cut a little steam vent in the center. Put on a baking sheet with parchment paper.

image

Bake for 15 or 20 minutes until golden brown.

image

image

You’ll have extra filling. Just get out a fork and finish it off. Tastes great!!

Lemon and Garlic Chicken ala Pressure Cooker

image

Can you imagine cooking an entire chicken in 15 minutes that is moist and fall off the bone tender and has a delicious sauce?  It’s that easy in my electric pressure cooker. The beauty of this pressure cooker is that you can brown, boil, simmer and keep food warm. One pan to wash and it’s easy to clean. If you don’t have a pressure cooker you can surely prepare this recipe using a roaster in your oven. Use a meat thermometer to make sure your chicken reaches 165F.  I used to be a little frightened of pressure cookers…some of you might be as well. Afraid it would start rocking on the stove and the top would blow off leaving dinner on the ceiling. Trust me, the new electric model is easy to use, safe, and not the least bit scary.

Though I love the combination of garlic and lemon I was a little concerned that the flavors might be too strong but they were not. The sauce had a nice citrus tang but was not overpowering. Good balance.  I think you’ll like it.

Ingredients:

1 roasting chicken cut into pieces (I saved the back for broth)

kosher salt to taste

3 T canola or olive oil

5-6 cloves of garlic sliced

1 tsp red pepper flakes

1 tsp oregano

1/2 cup vermouth or dry white wine

1/2 cup lemon juice

1/2 cup chicken stock

Fresh parsley chopped

image


image

Generously salt chicken pieces and heat oil in the pressure cooker. Add the chicken, a few pieces at a time, and brown on both sides.  Remove browned pieces to a platter. While your chicken is browning squeeze your lemons and slice your garlic.

image

Add the garlic, oregano and red pepper flakes to the hot oil and cook for about 1 minute until garlic becomes fragrant. image

Add lemon juice, vermouth and stock to the pot and arrange the chicken in the liquid.

image


Lock the lid and cook at high pressure for 15 minutes. Allow the pressure to release naturally. Remove the chicken to a serving platter. Bring the sauce to a boil and stir in chopped parsley. If you wish you can thicken the juices with a little flour or corn starch. Pour the sauce over the chicken and serve.

While the chicken was cooking I decided to prepare some smashed cauliflower for a side. An easy, tasty side.

Ingredients:

1 large head cauliflower cleaned and cut up

3-4 garlic cloves (I know, no vampires in our house!)

1-2 cups chicken stock or broth

1/2 cup Romano cheese shredded

1/2 cup Le Gruyere cheese shredded

2-3 green onions thin sliced

salt and pepper (white pepper if you have it) to taste

2 T butter

image

image

Cook cauliflower and garlic cloves in the chicken broth until the cauliflower is fork tender. Drain off the broth holding a little back to add in while smashing. Add butter to the cauliflower and begin mashing with an ordinary potato masher until the consistency of mashed potatoes. Add some of the broth if necessary. Add the shredded cheese, salt and pepper to taste and green onions stirring well. This is one of my favorite sides!

I was always taught to use contrasting colors on your plate and white and white are a bit off putting. So I added a sizable sprig of parsley (good for getting rid of garlic breath after dinner) and some cranberry relish which I think is a must have for any poultry dish.

image

And then there was color.

Lemon and garlic chicken with smashed cauliflower. It’s what’s for dinner tonight. And tomorrow night.

NOTE:  My lemons were particularly juicy and 2 of them made a little over 3/4 cup of juice. I put the extra juice in a small zip lock snack bag and freeze it for a time when I have no fresh lemons on hand.


And seriously, parsley IS a good breath freshener.

Galette aka Rustic Tart

image

Pie is one of my favorite desserts and this rustic tart (or galette) is easy and beautiful in its simplicity.  My good friend Jane introduced me to this recipe a couple years ago. She made hers with pears. It works with almost any kind of fruit filling….peaches, pears, apples, berries. Today I made it with pears and apples.  Awhile back my daughter and I made a galette with apples and raspberries. I keep my cornstarch and baking powder right next to each other in my baking cupboard and I somehow confused the two. We wondered why our fruit was bubbling. Was a fail that we fortunately were not serving to guests. But, we did eat it ourselves. Waste not, want not…or something like that.  Pay attention to the ingredients and I promise that you will enjoy this recipe.

Ingredients:

Pie crust (homemade or pillsbury refrigerated crust)

I prefer to make my own crust but in a pinch the refrigerated crust works fine.

5 cups of sliced fruit (I used 2 pears and 3 apples)

1/2 cup golden raisins or dried cherries or cranberries

1/2 cup amaretto

3 T cornstarch

3 T brown sugar

5 T white sugar

Preheat oven to 450

image

image

Peel, core and slice the apples. Core and slice the pears. Put them in a shallow dish with the raisins and amaretto and let them marinate for about 30 minutes. Longer is okay. While you’re waiting for the fruit,  prepare your pastry. Roll out a disc about the size of a pizza pan.

image

Line a baking pan with parchment paper. Once your fruit has marinated combine the brown sugar, corn starch, and 3 T of the white sugar. Drain the amaretto from the fruit. (Save it, it’s perfectly fine to sip on while you finish preparing the tart). Toss the fruit in the sugar mixture. Heap the fruit in the center of the prepared pastry.  Fold the edges over.  Sprinkle with 2 T of granulated sugar.

image

Bake at 450 for 20 minutes. Reduce oven temperature to 350 and bake for 45 minutes. Remove to a cooling rack.

image

Serve warm with a scoop of vanilla ice cream or at room temperature with a generous dollop of whipped cream.

image

Galette is a French word and means “any of various round flat pastries with a sugar glaze or a sweet filling such as fruit.”  If you want to impress people serve them a “galette”.  If you’re just serving it for dessert tonight call it a rustic tart.  Either way, enjoy!

Spiral Veggie Pie

image

A few weeks ago a friend posted a recipe for a veggie spiral that looked beautiful and challenging. I love making meatless dishes and decided to try a modified version of the recipe. In the making of this dish I decided I need a new mandolin. Mine didn’t seem to cut the veggies as thin as they should have been and I had to use a wide peeler for the sweet potatoes and carrots.

Preheat oven to 375.

Ingredients:

2-3 yellow squash

2-3 zucchini

2 small eggplants

2 carrots

2 sweet potatoes

4 oz cream cheese at room temperature

1/2 cup sour cream

2 T Dijon mustard

fresh sage leaves

salt and pepper

olive oil

single pie crust

image

image

Prepare your pie crust.

image

Using a mandolin (or wide peeler) thin slice the vegetables. Do not peel the vegetables; the skins add color to the dish.

image

Using a hand mixer beat cream cheese, sour cream, and Dijon mustard until smooth.

image

image

Spread cream cheese mixture in the pie shell. Sprinkle with chiffonaded sage leaves.

image

Begin rolling the veggies, skin side up, in a spiral alternating the colors. Continue until you reach the ends of the dish.

image

image

image

image

Drizzle with olive oil and season with kosher salt and fresh ground pepper.

imagey

Bake in preheated oven for 45 minutes.

image

Cool for 5 minutes, slice and enjoy.

image

Great served with a salad and bread. It’s a beautiful dish in its own right that’s fun to prepare. A perfect vegetarian dish or a side for a meat dish.

Beef Short Ribs Asian Style

image

I’ve been on holiday, so to speak, but I’m back to cooking and baking and blogging!

Last year I asked for and received an electric pressure cooker for Christmas. Like a lot of kitchen appliances I used it a lot at first and hadn’t taken it out for awhile. While we were visiting our daughter and her boyfriend over Christmas they reminded me how awesome this electric pressure cooker is and I remembered why I asked for it in the first place. It was late and we hadn’t planned on what was for dinner that night. They took a soup bone out of the freezer…yes, the freezer… put the frozen bone, some vegetables, broth and spices into the pressure cooker and in less than an hour we had truly awesome, tasty soup.  Just before serving they added some cooked kale and gnocchi and garnished the soup with Parmesan.  How great to be able to prepare great food with complex flavors in no time at all when you’ve worked all day.

Sometimes we can learn things from our kids!  When I came home the pressure cooker was put back in service.

image

Tonight I made beef short ribs Asian style with rice and stir fried vegetables. The pressure cooker is easy to use and makes the meat fall off the bone tender.

Ingredients:

Beef short ribs, approximately 3-4 pounds with bone in

kosher salt and course ground pepper to taste

3 T olive oil

5-6 garlic cloves minced

1 T fresh grated ginger

1/4 cup soy salt

1/4 cup hoisin sauce

1/4 cup catsup (or 2 T tomato paste)

1 1/2 cups beef broth

2 T cornstarch

1/4 cup water or broth

image

image

Heat 2 T of the olive oil in the pressure cooker. Generously salt and pepper the ribs, add to the pressure cooker and brown.  Transfer them to a plate as they get done.

image

Heat the remaining 1 T of oil and add the garlic, ginger, soy sauce, hoisin, catsup, and broth to the pot.

image image

Stir to blend. Return the browned meat to the pot. Lock the lid and cook at high pressure for 25 minutes.

image

Release the pressure naturally.  Remove the lid tilting it away from you to avoid escaping steam. Skim off any excess fat from the top of the sauce. Bring the sauce to a boil. Whisk the 2 T of corn starch into the water or broth and add to the sauce stirring until it’s thickened. Cover and keep on the warm setting until ready to serve.

While the ribs are cooking prepare the rice of your choice (jasmine, brown, long grain white).

Choose some of your favorite vegetables and do a quick stir fry. I used carrots, celery, onion, red pepper, pea pods, and broccoli.

image

Heat 2 T olive or sesame oil in a wok or heavy skillet. Cook your vegetables until tender crisp.

image

Plate your food. First the rice topped with the vegetables and short ribs. Ladle the sauce over the dish. I garnished with green onion, basil, and sesame seeds.

image

image

Short ribs with rice, stir fried veggies, and a rich, tasty sauce. It’s what was for dinner tonight.

NOTE:  When I buy ginger I peel it, cut it into several pieces and freeze it in zip lock bags. I always have fresh ginger and it grates easily when frozen.